|
|
Post by dusty350 on Dec 22, 2018 9:15:24 GMT 1
Barrels are left as they are. I love the vapour blasted look, especially against the black cylinder head. Did the same on my last Lc engine and my orange hybrids valve engine is the same too. I do get a bit OCD with building them to be honest - probably coz I build more than ride, but I believe if it's really clean to start with it's easier to keep clean in use ! Dusty  |
|
|
|
Post by dusty350 on Dec 22, 2018 9:52:12 GMT 1
As you can see in the last pic, I fitted the first of the hoses. Red Samco hoses came with this bike, and although I'm not a fan of coloured hoses, the fact the bike is a red 2 stripe hybrid, I think they are fine. Plus I don't want the expense of changing good quality hoses just because of the colour !! The top hose union was really manky when I dug it out of the box of engine bits, so I stripped the paint off and polished it; 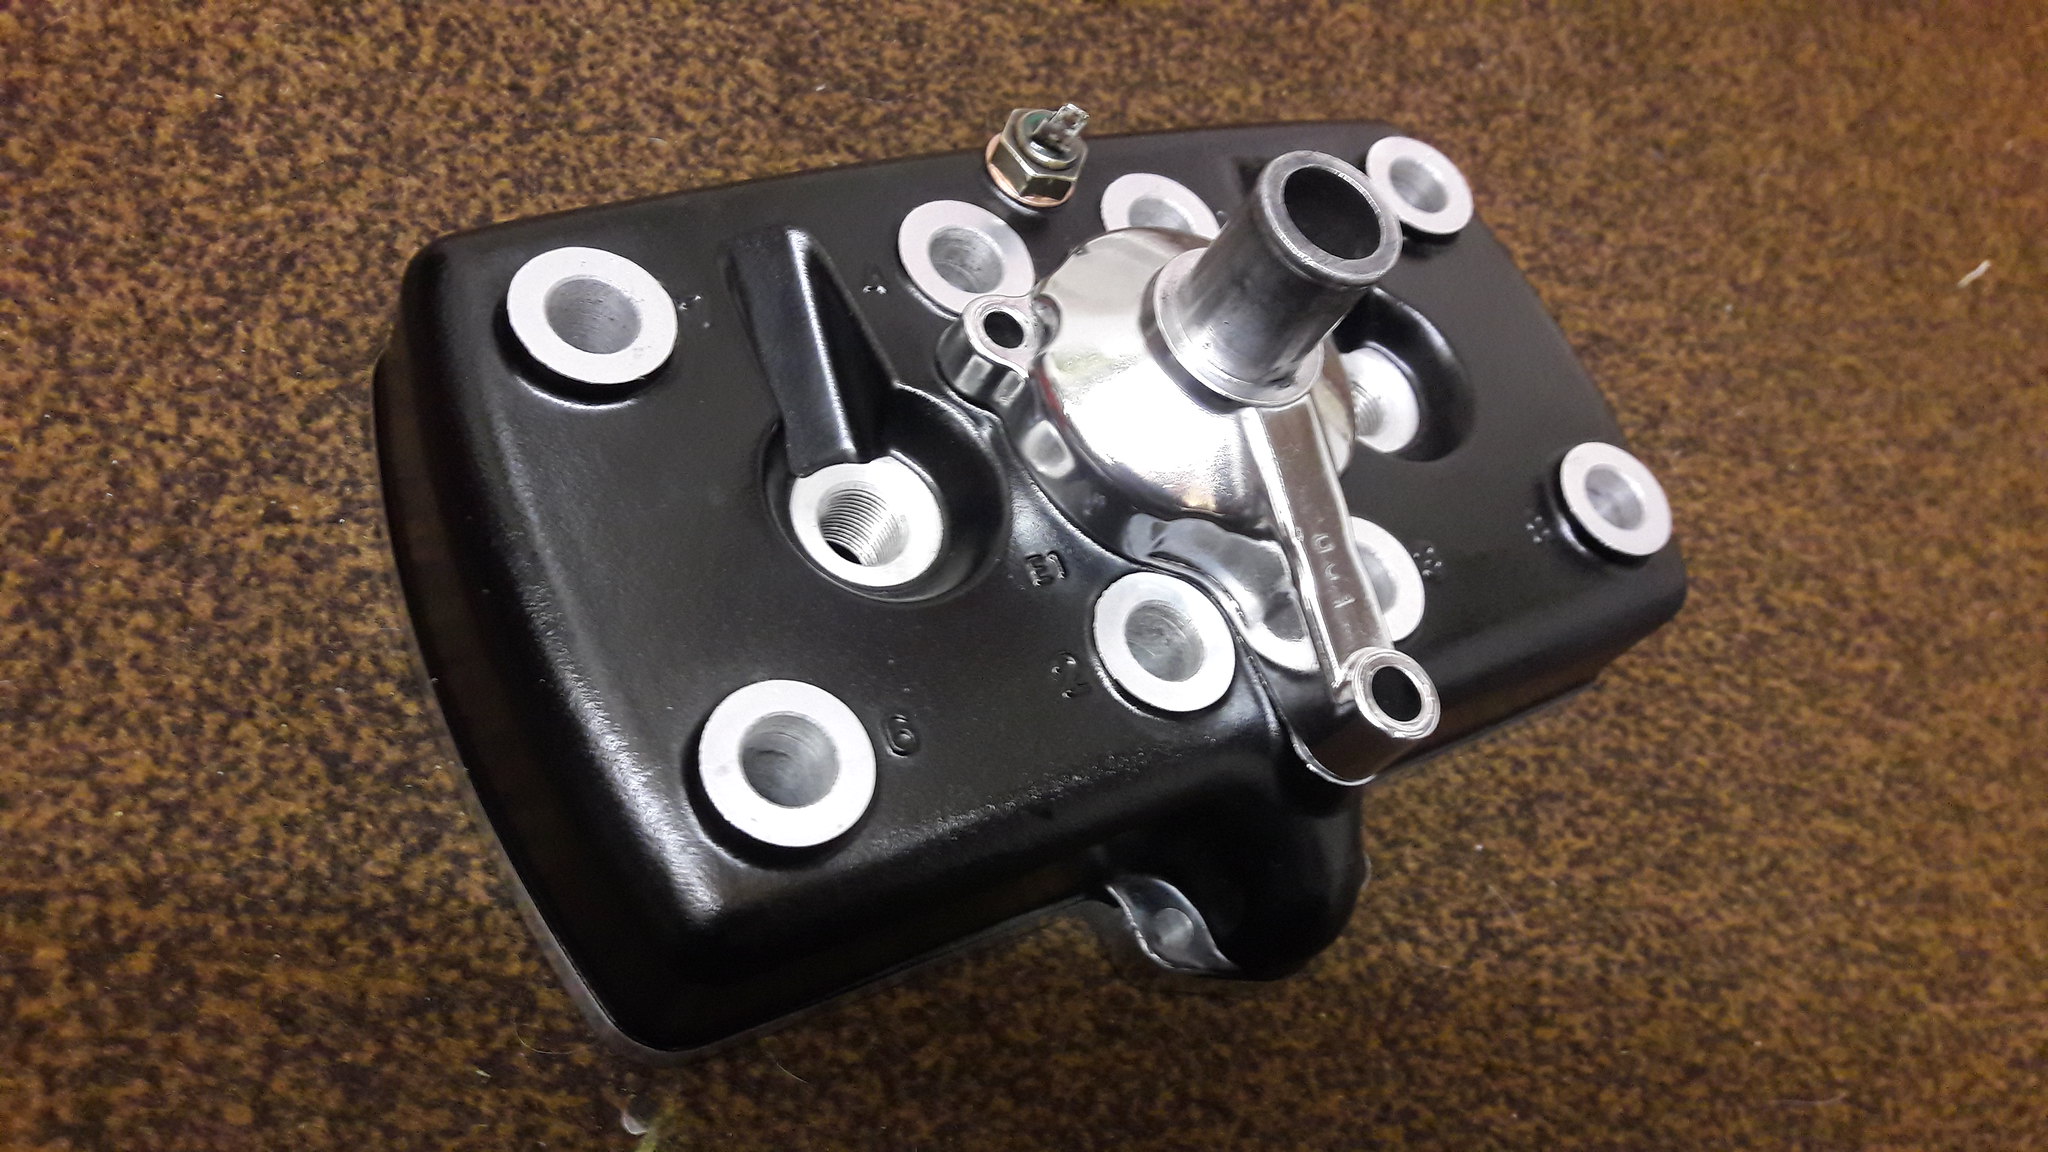 20181127_193628 20181127_193628 by David Miller, on Flickr And then bought a new gasket for it; 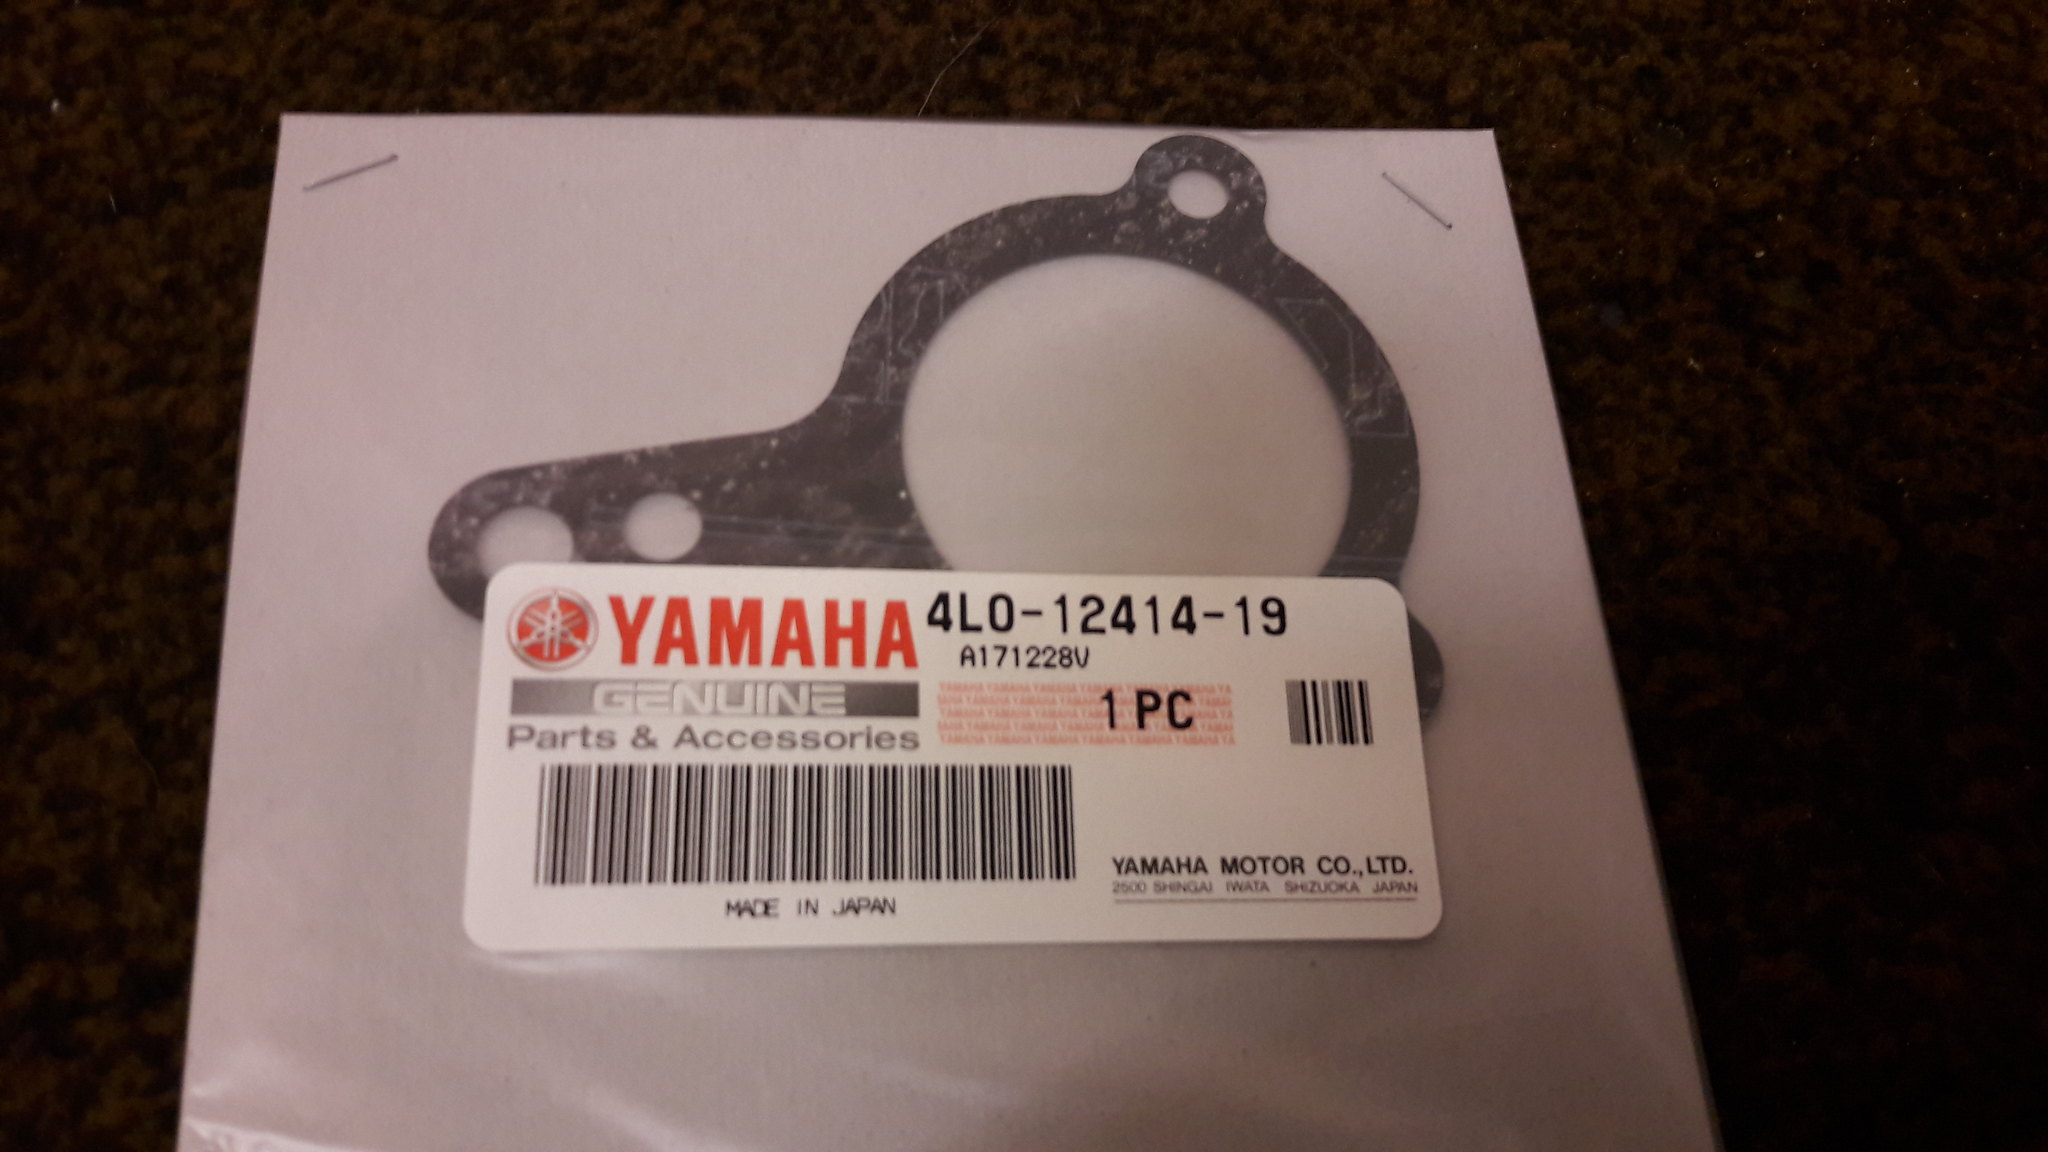 20181127_193333 20181127_193333 by David Miller, on Flickr £5.05 from Fowlers. I also polished up the temp sender as it looked tired; 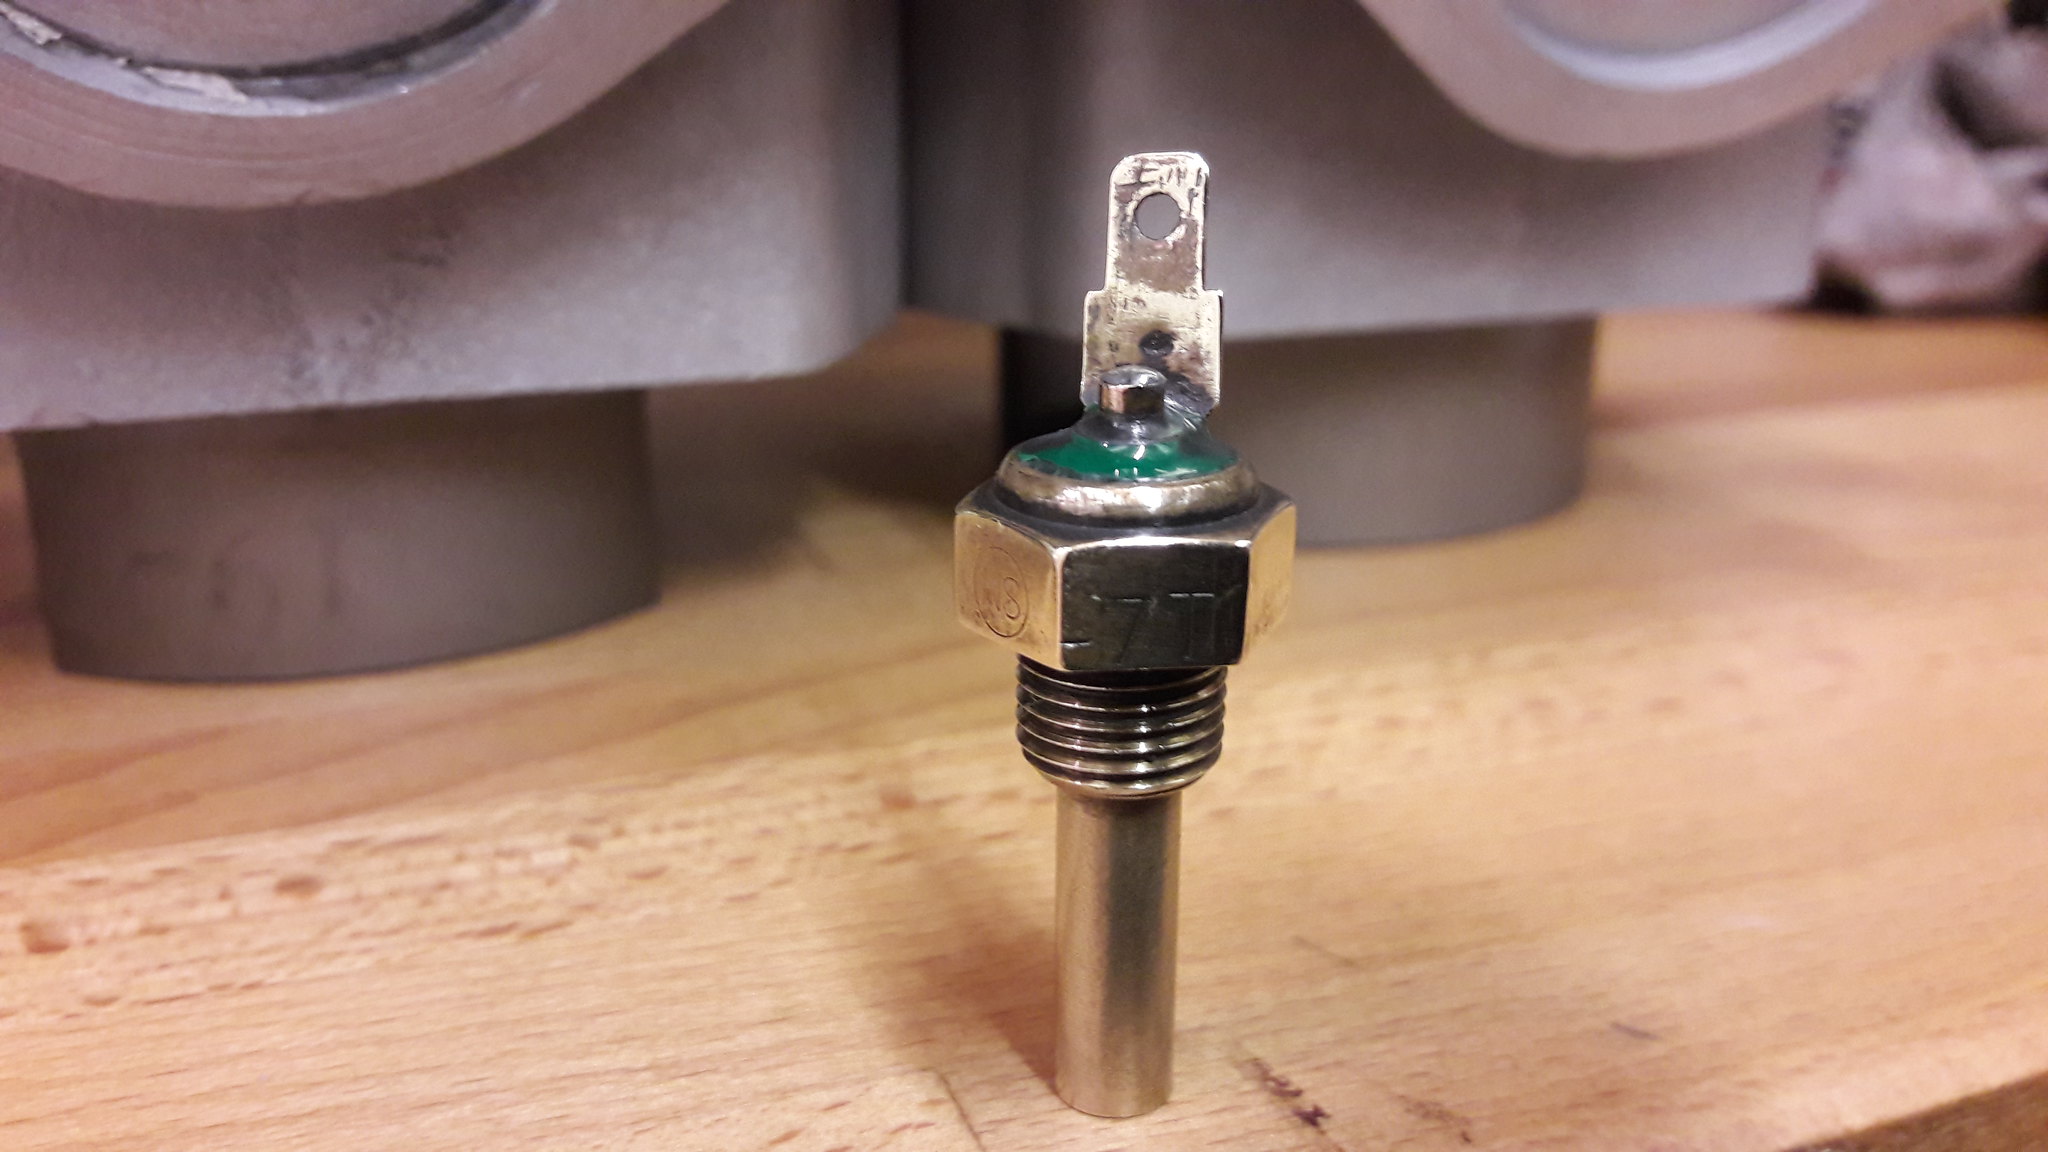 20181127_192846 20181127_192846 by David Miller, on Flickr The hose union on the back of the head got a polish, and a new gasket too; 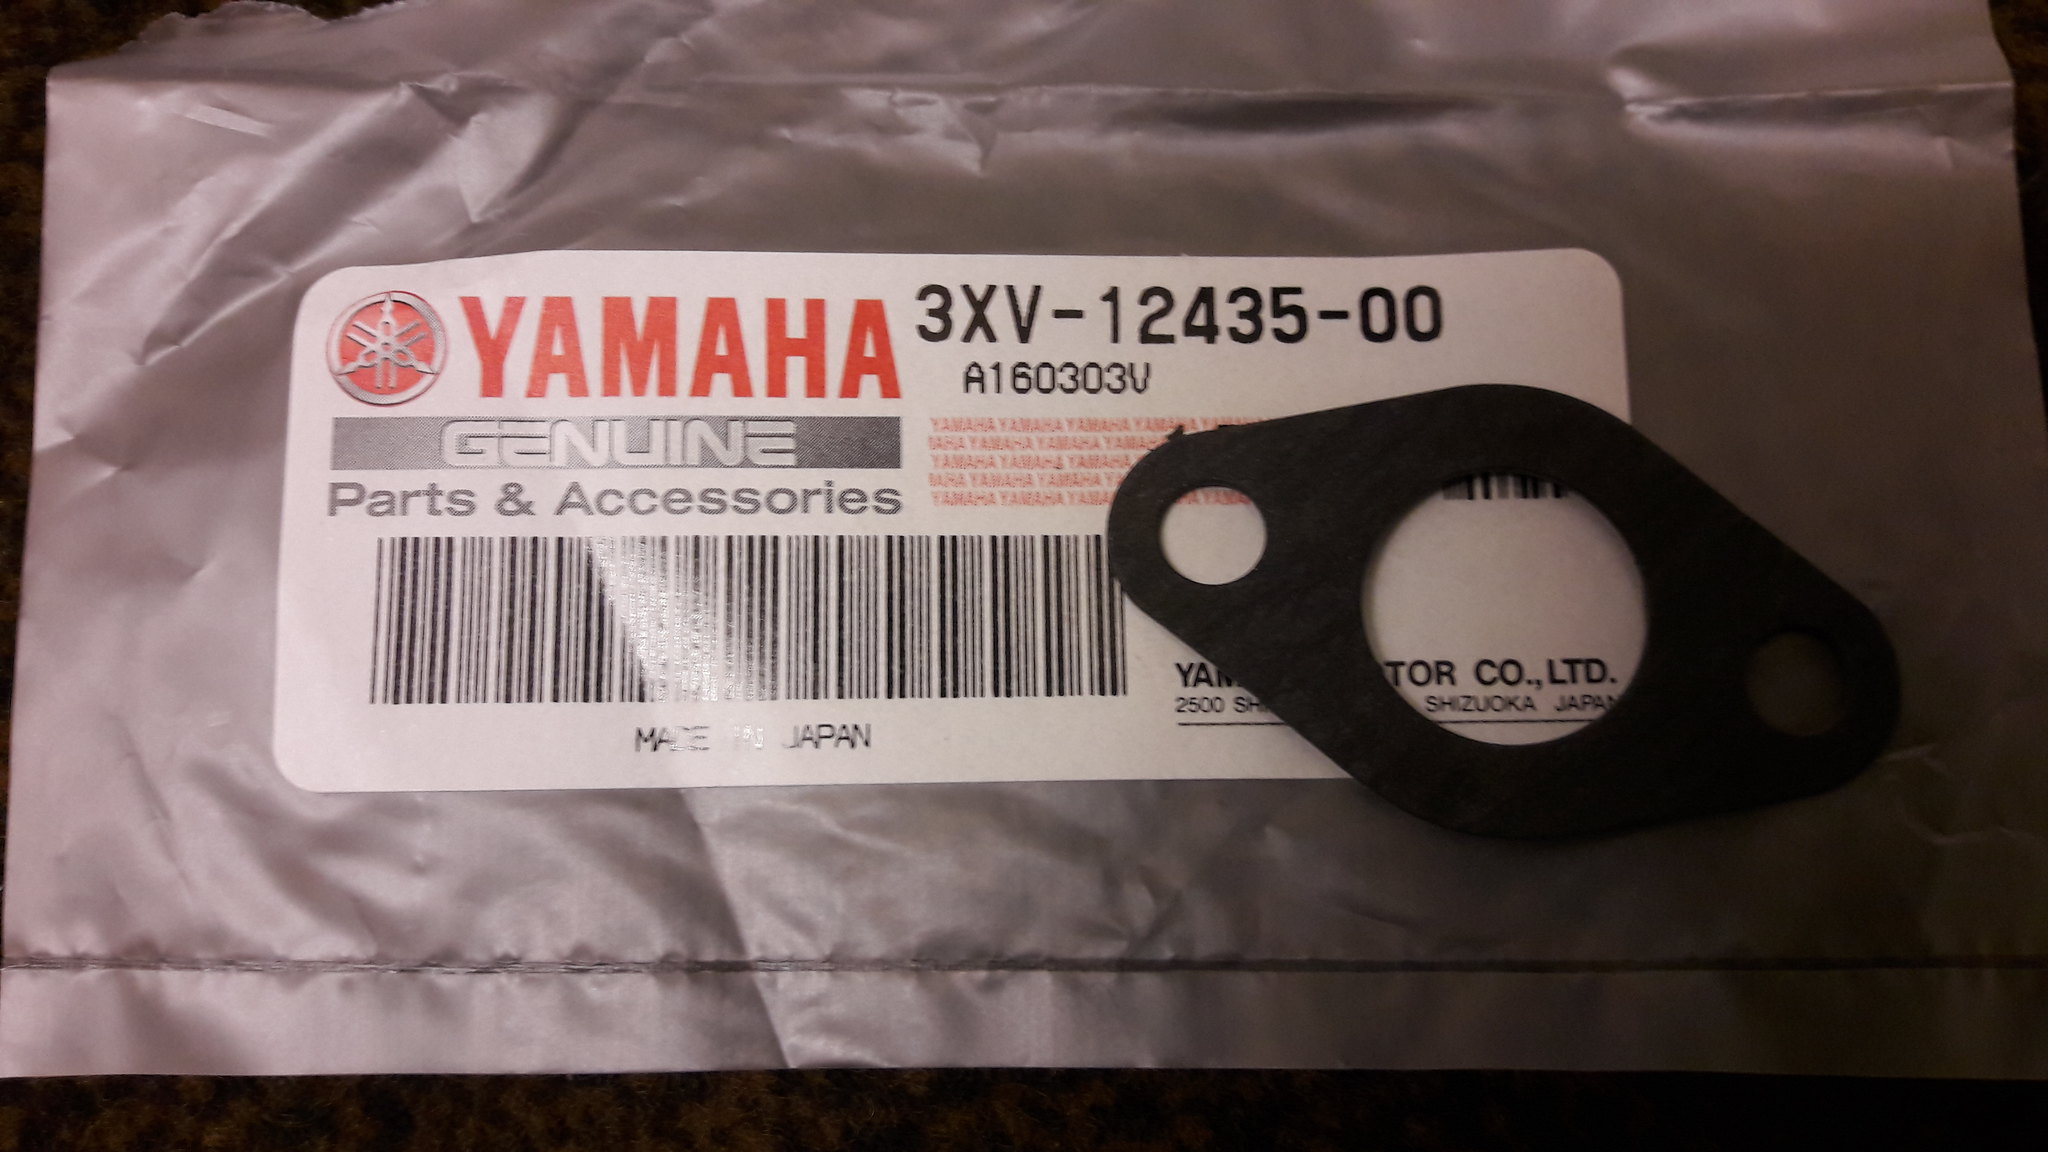 20181202_151303 20181202_151303 by David Miller, on Flickr £1.55. I bought the NOS head off ebay last year for £200, so the top end part of this build has been very expensive !! Thankfully the head bolts had already been chromed, and although they were covered in grime they cleaned up lovely. 2 new Ngk plugs finished off the cylinder head  Dusty |
|
|
|
Post by bezzer on Dec 22, 2018 12:14:48 GMT 1
Hi Paul Unfortunately, "Dave" the Hoglet died a few days after going to the sanctuary  They found he had a broken leg and some damage to his back - possibly caused by another animal, and hence why he was out in the open during daylight. At least he had a comfortable last few days. Dusty Well done for trying Dusty
Cheers Paul
+1 on Paul’s comment, good that you did make him safe and comfortable mate 🤗👍🏻. On a lighter note I’m really enjoying the detail of this rebuild thread, especially as I’m just at the clutch stage myself!. Regards bezzer |
|
|
|
Post by dusty350 on Dec 23, 2018 11:38:36 GMT 1
Cheers Bezzer  Rotor can be fixed back on now. I've not made any timing marks on this engine as it came to me in bits, so it will need timing once everything is done and before it goes back in the frame. If I had stripped it beforehand I would have made some marks, but you should always check your timing afterwards anyway to make sure it's spot on. So, washer, spring washer and nut; 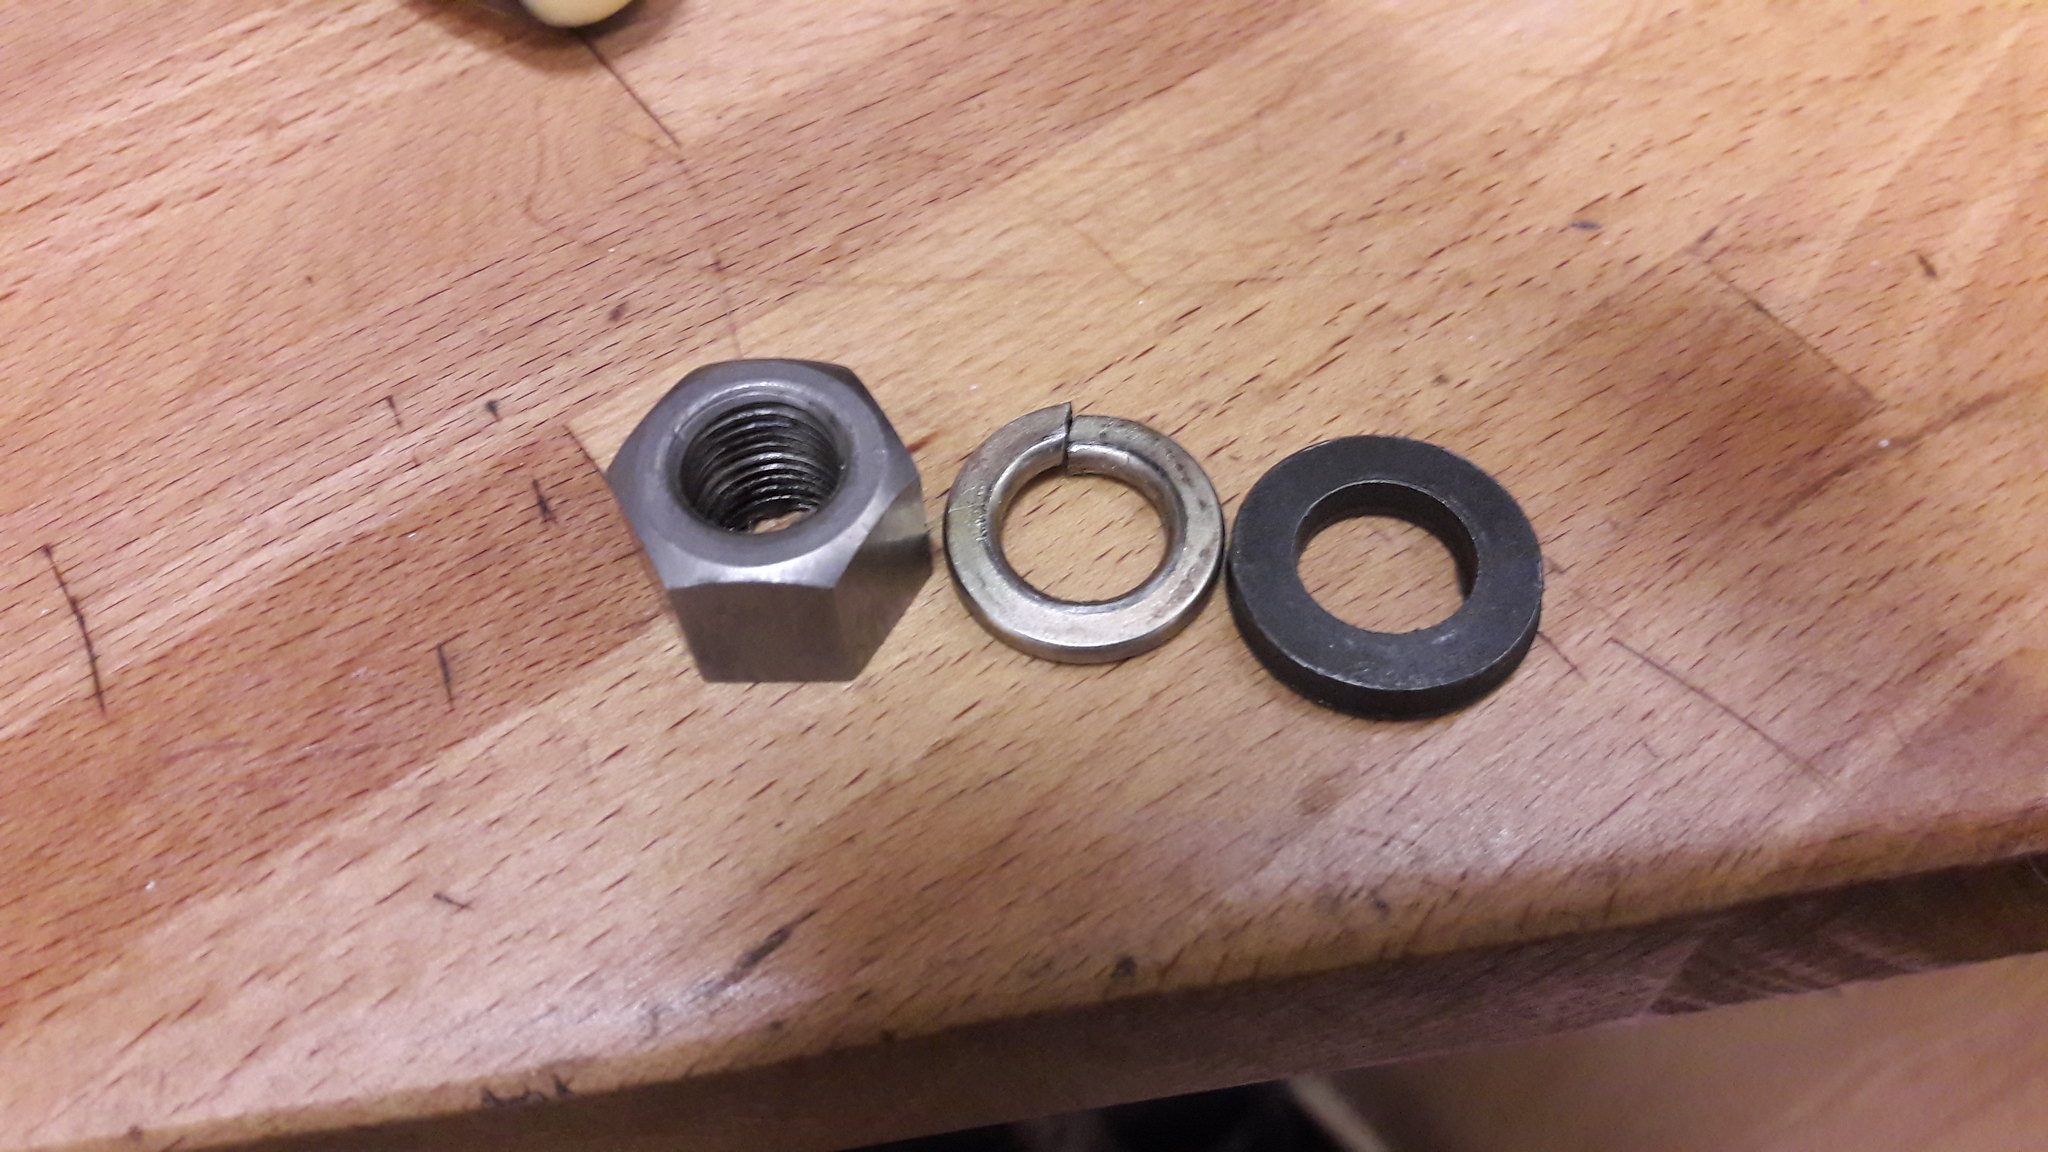 20181222_110823 20181222_110823 by David Miller, on Flickr And using the rotor tool and a torque wrench, tighten up to 61ft/lb; 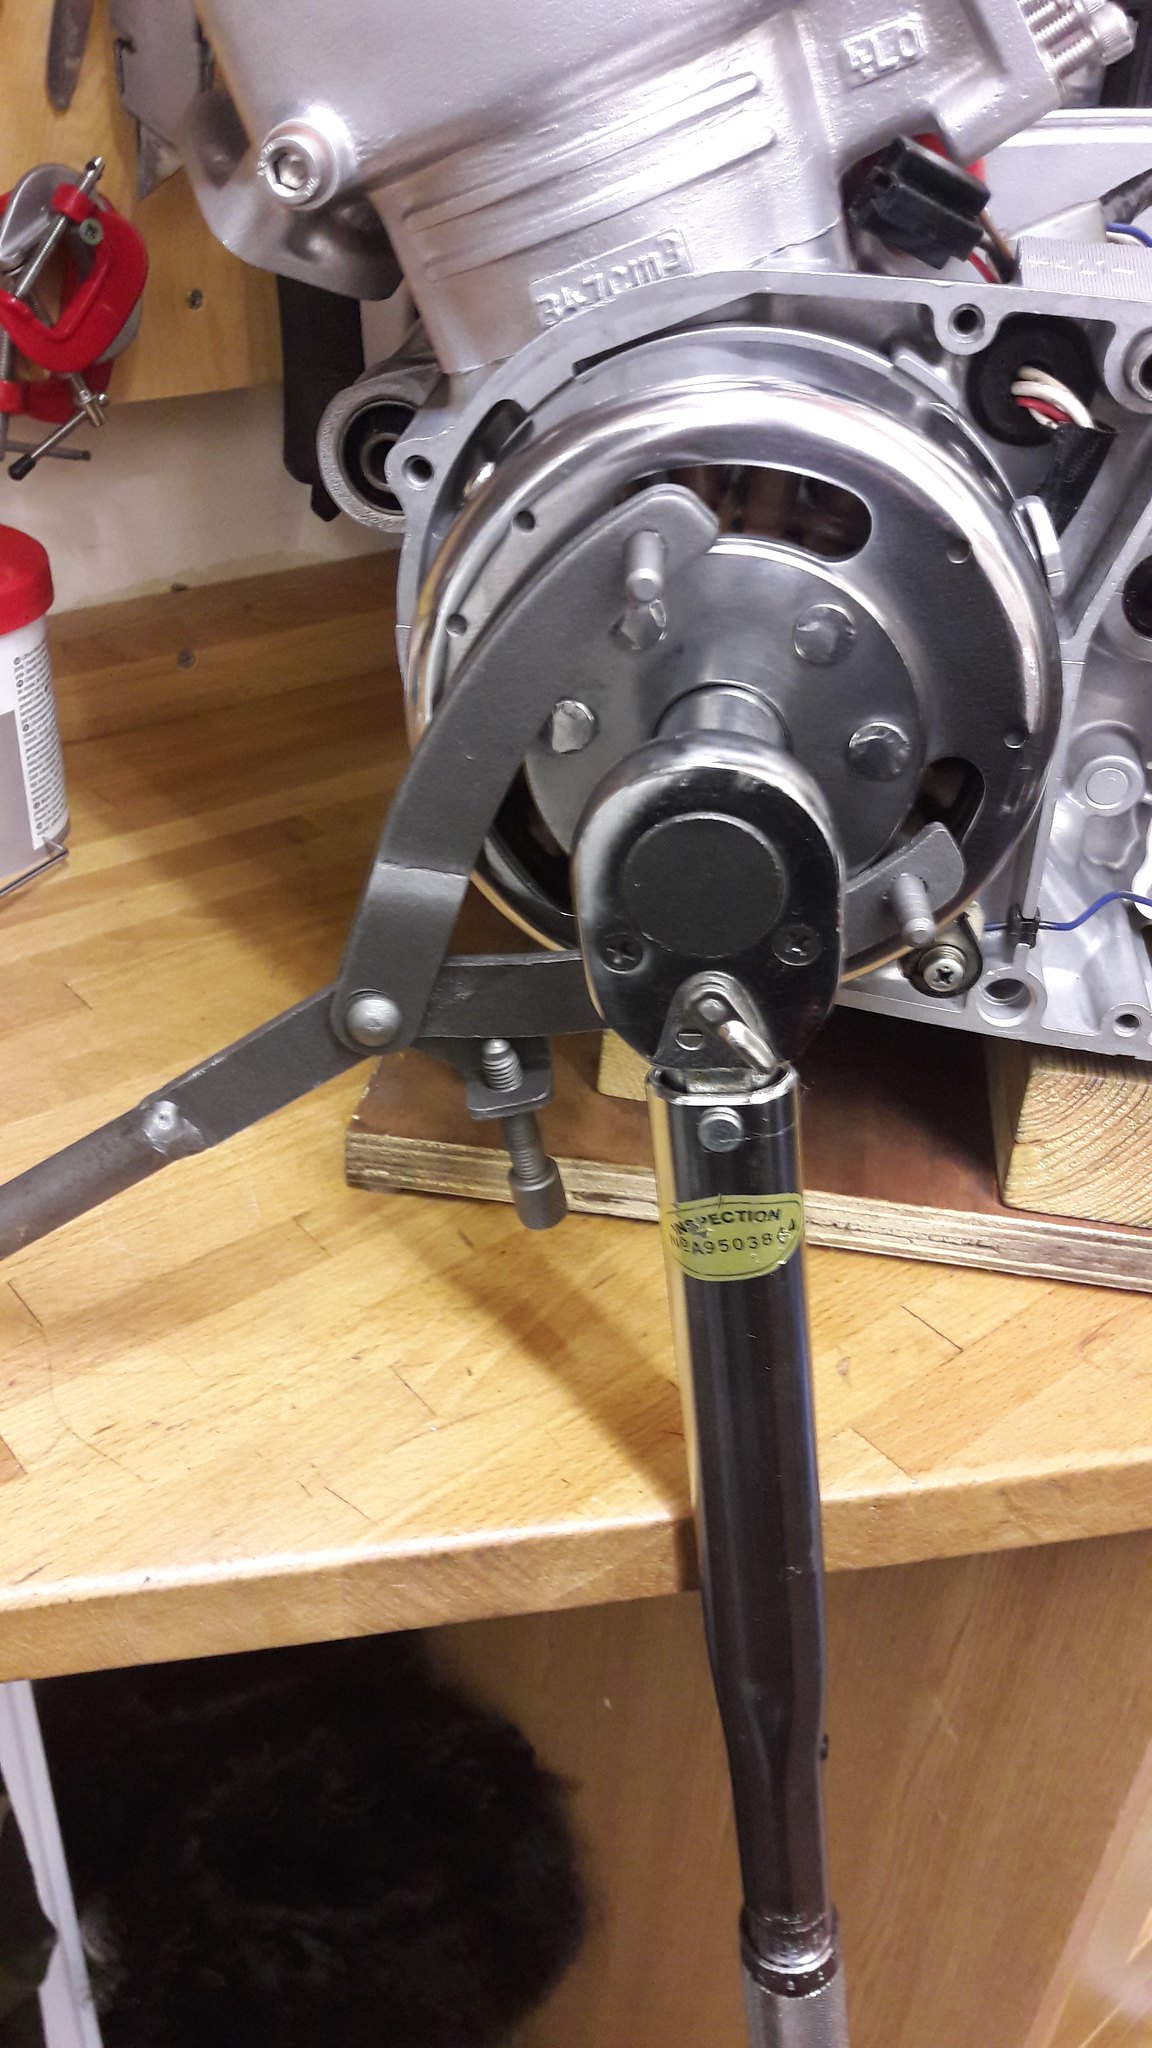 20181222_111309 20181222_111309 by David Miller, on Flickr Once tight, I make a mark with a permanent marker on the nut so I can easily check it during the initial running/early miles; 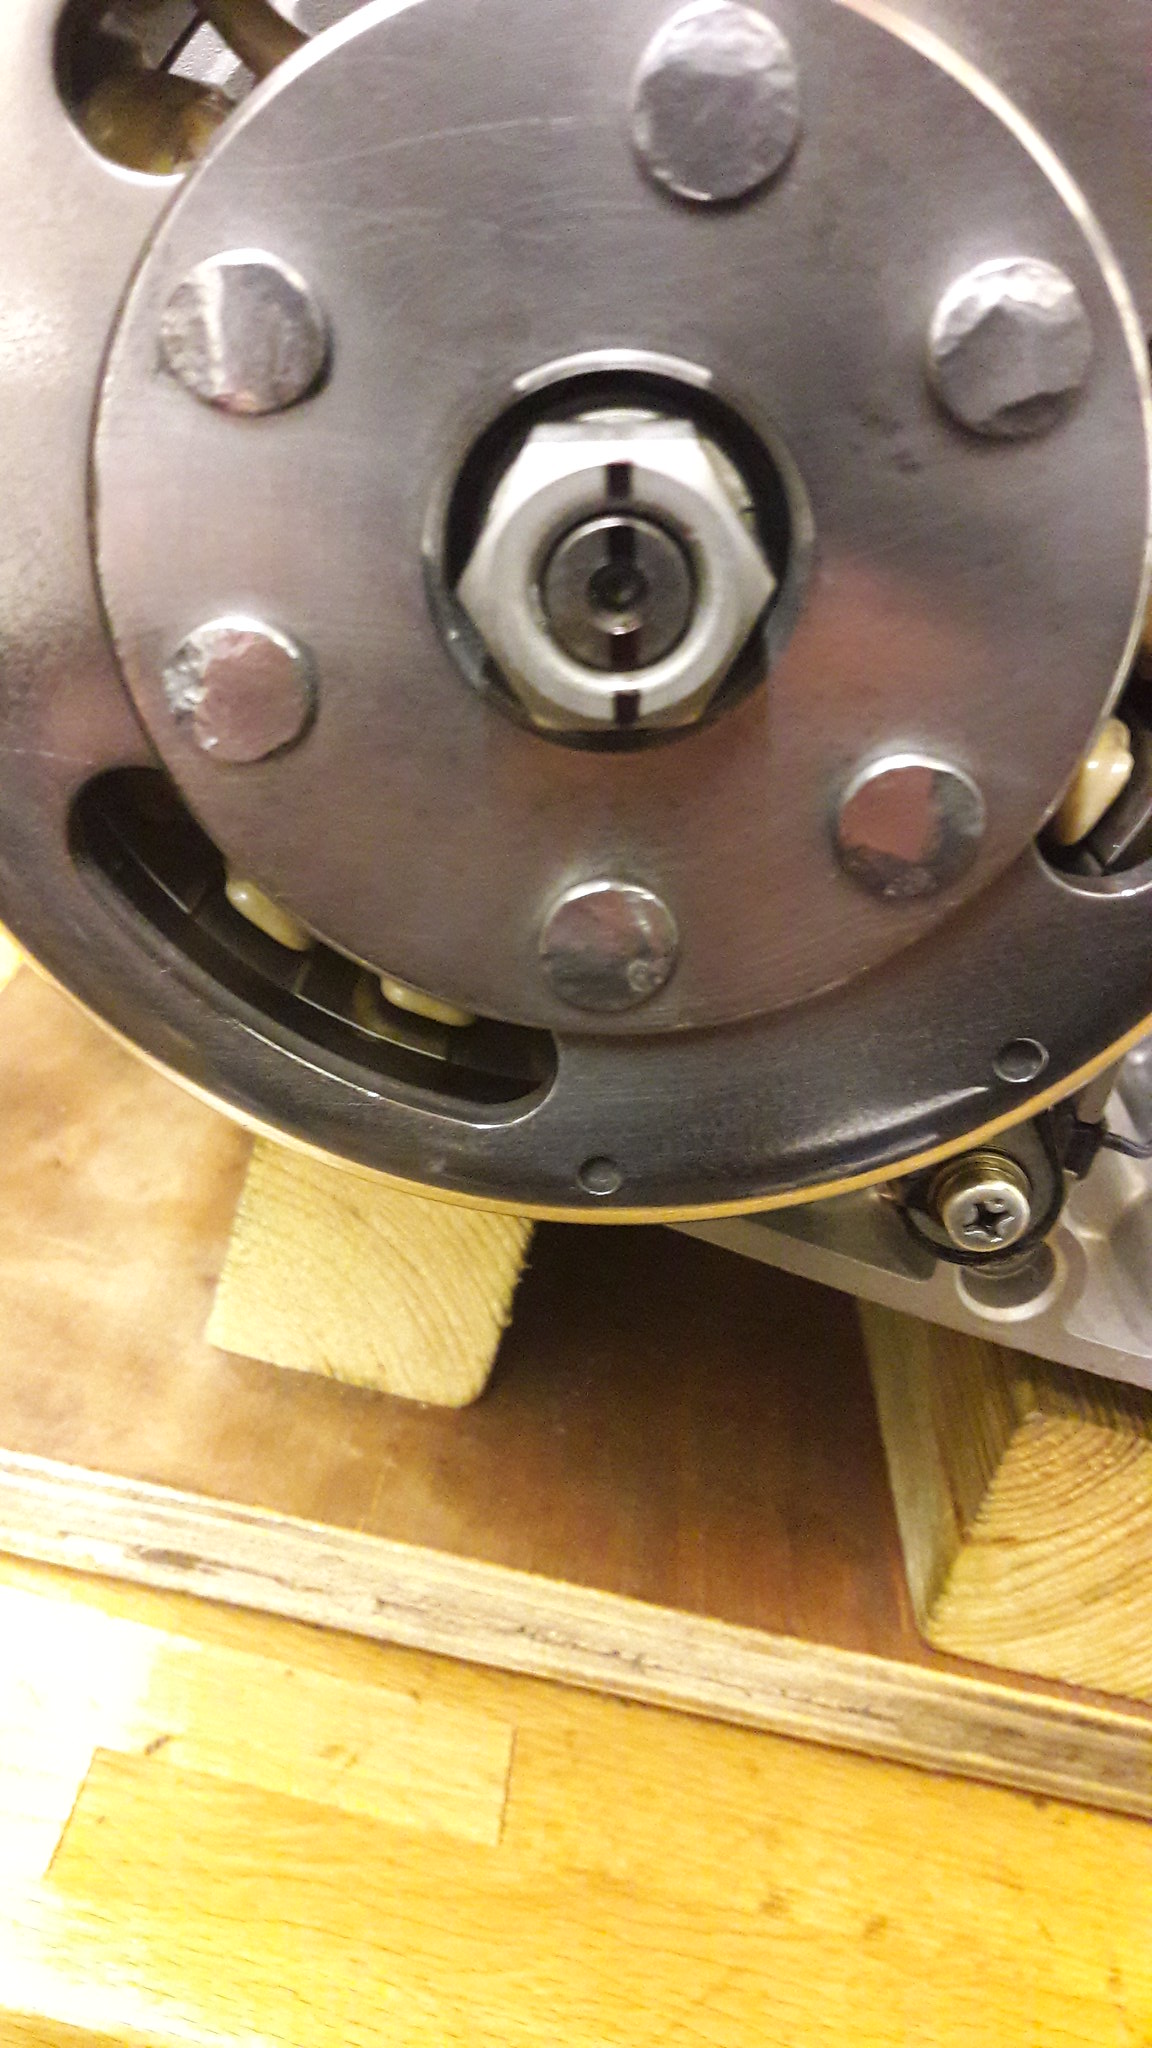 20181223_094415 20181223_094415 by David Miller, on Flickr Next - the stator wiring grommet. I don't have the correct tool for removing the wires from the connector blocks that come away from the stator, and even if I did, I'm not sure I want to disturb them due to their age ! So I cheat, and cut the grommet straight down the middle, allowing me to wrap it around the wiring. I then use superglue to stick it permanently back together. Some black insulating tape makes it water tight. Doesn't look as clean as a non taped grommet, but it's preferable to messing with connectors, imo, and not seen once the carbs are in place; 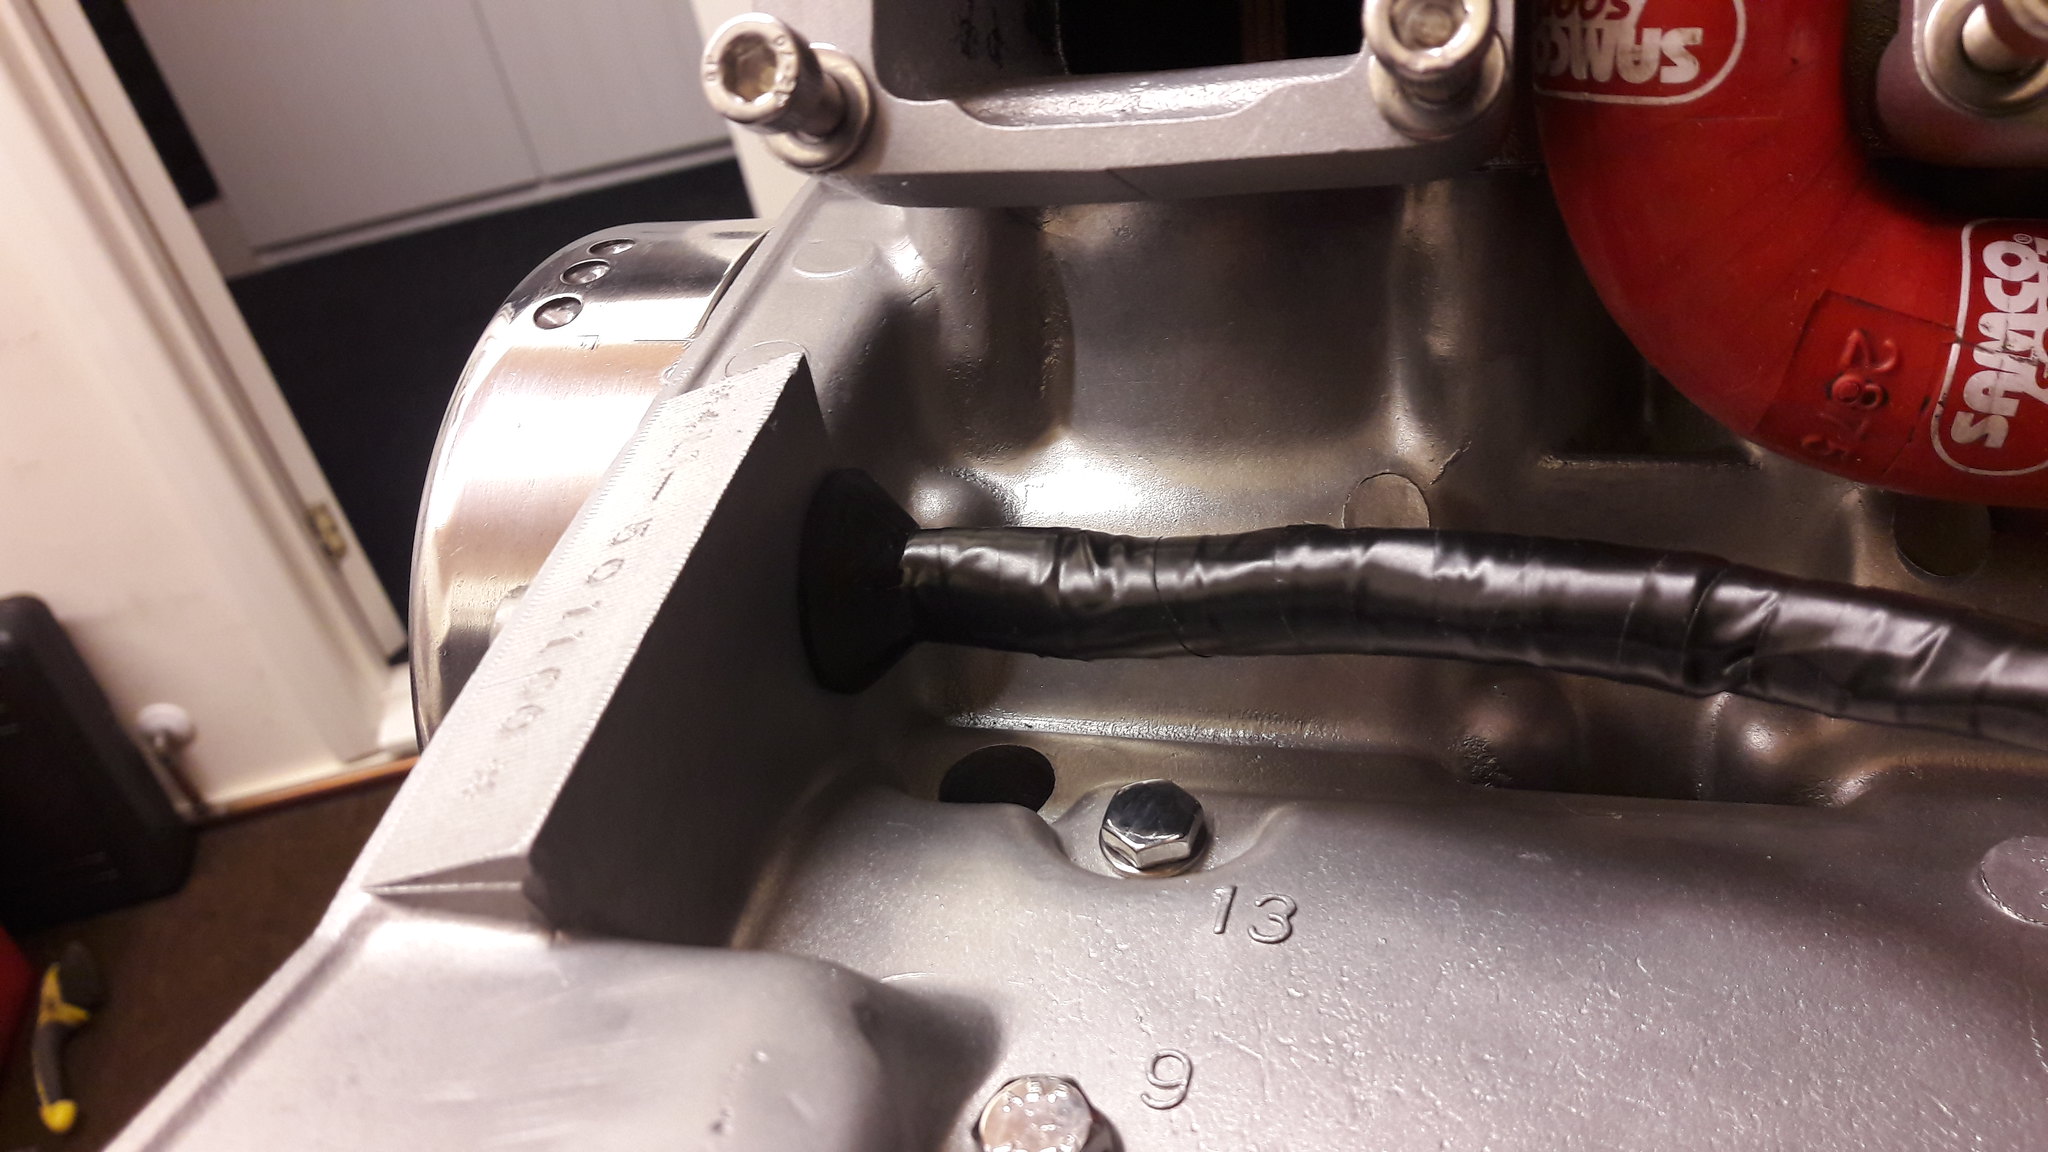 20181222_111856 20181222_111856 by David Miller, on Flickr I had an offcut of carb overflow pipe, so used that for the crankcase breather; 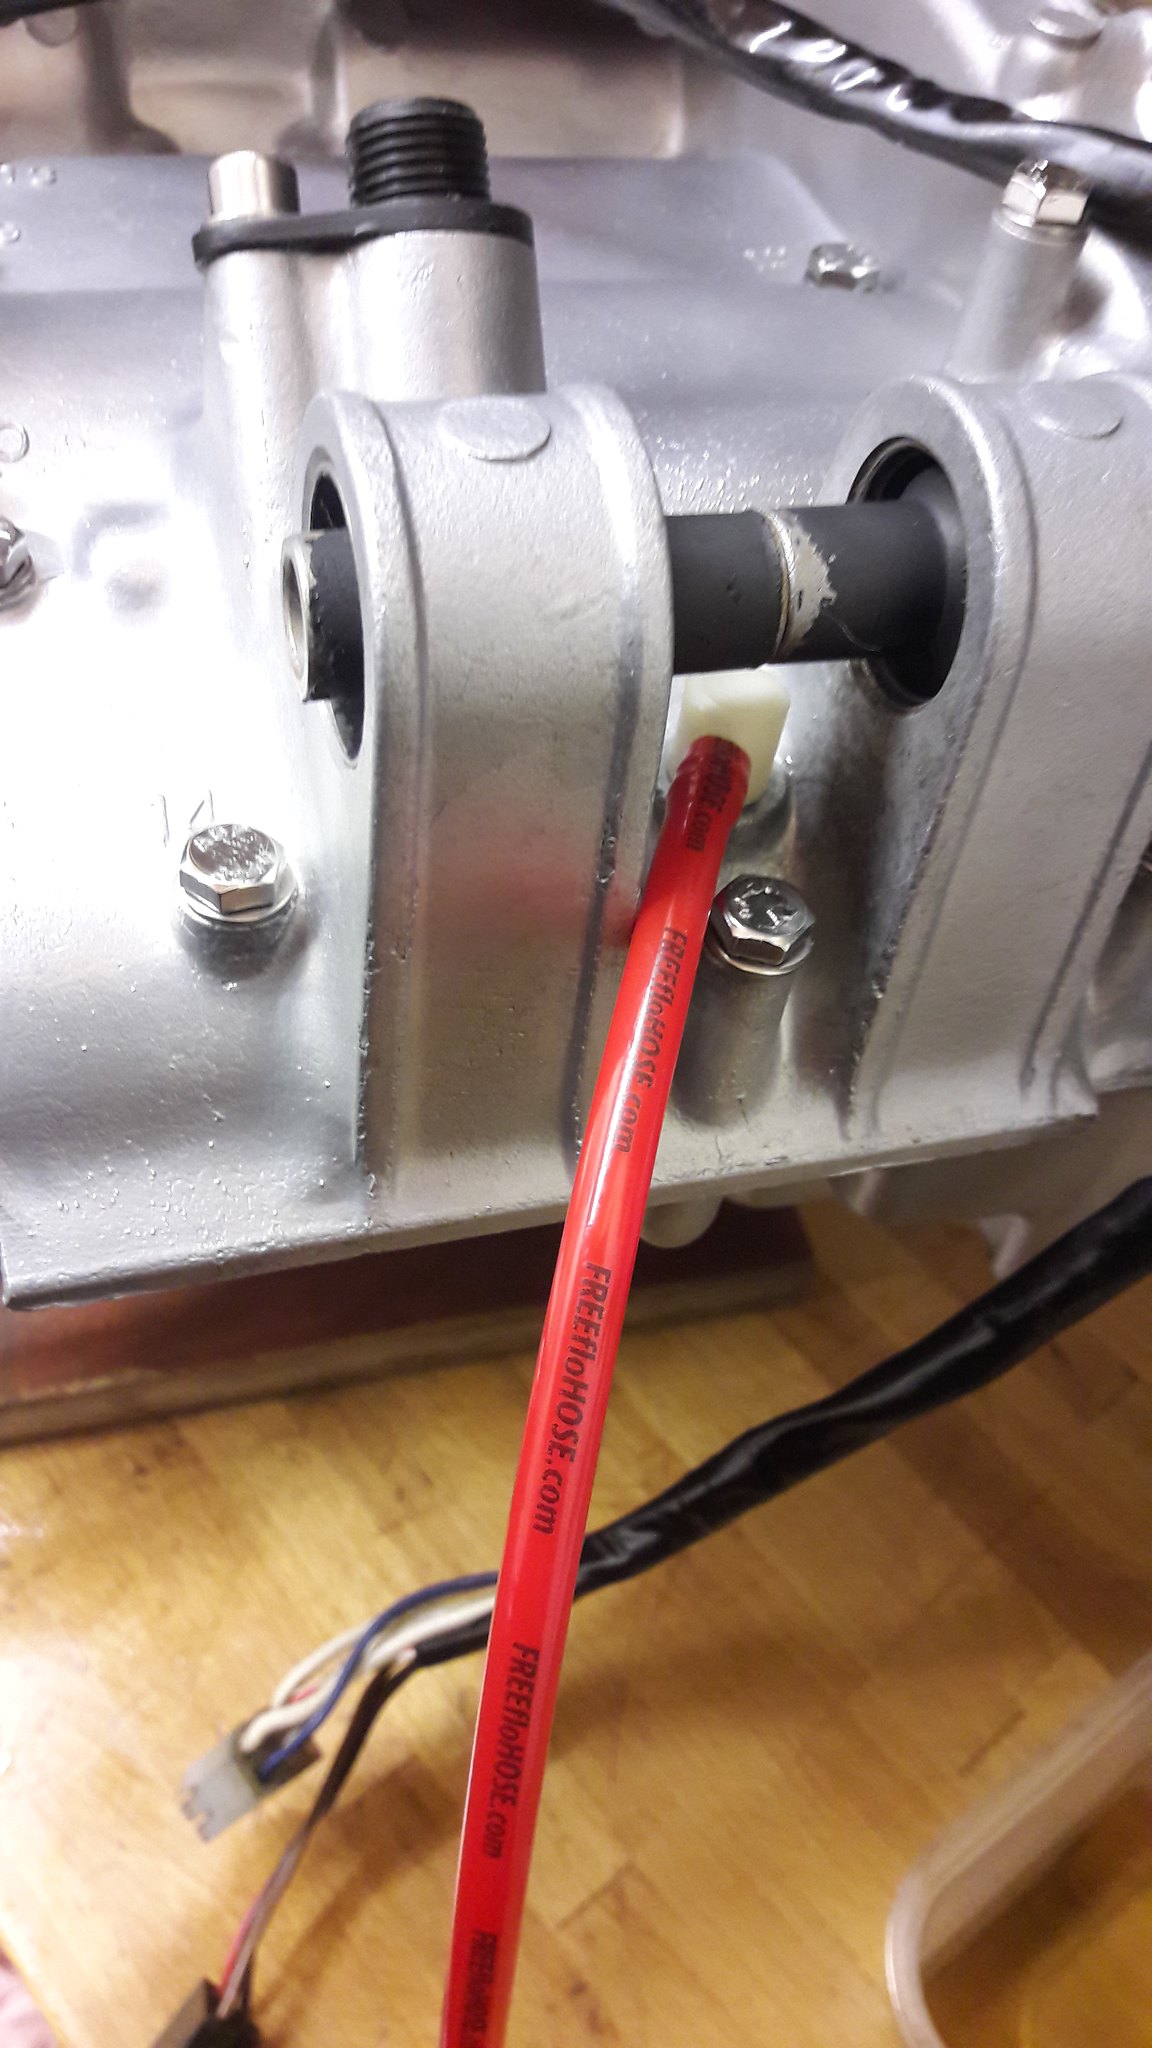 20181222_111906 20181222_111906 by David Miller, on Flickr And fitted the kick start gear; 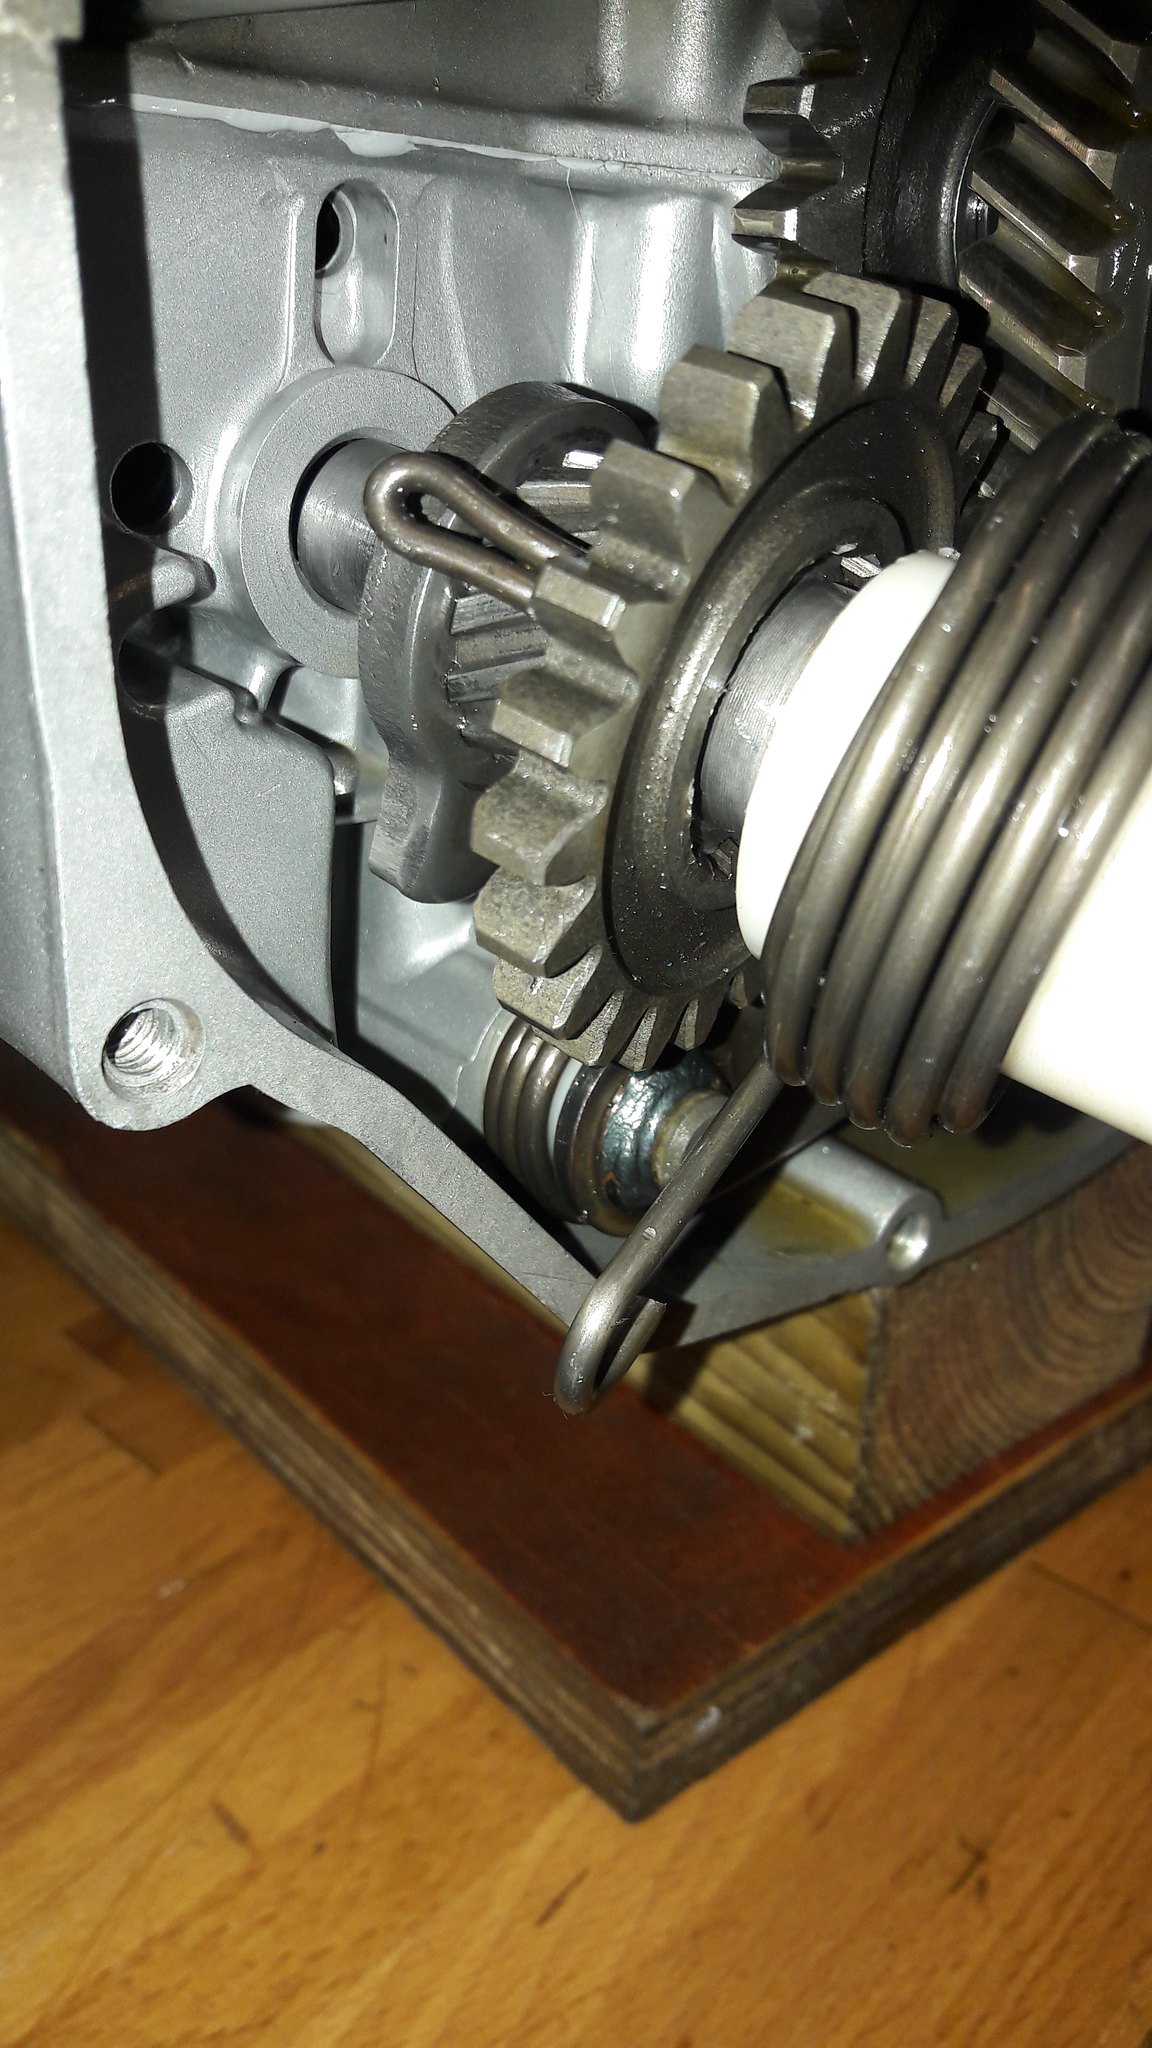 20181222_112245 20181222_112245 by David Miller, on Flickr 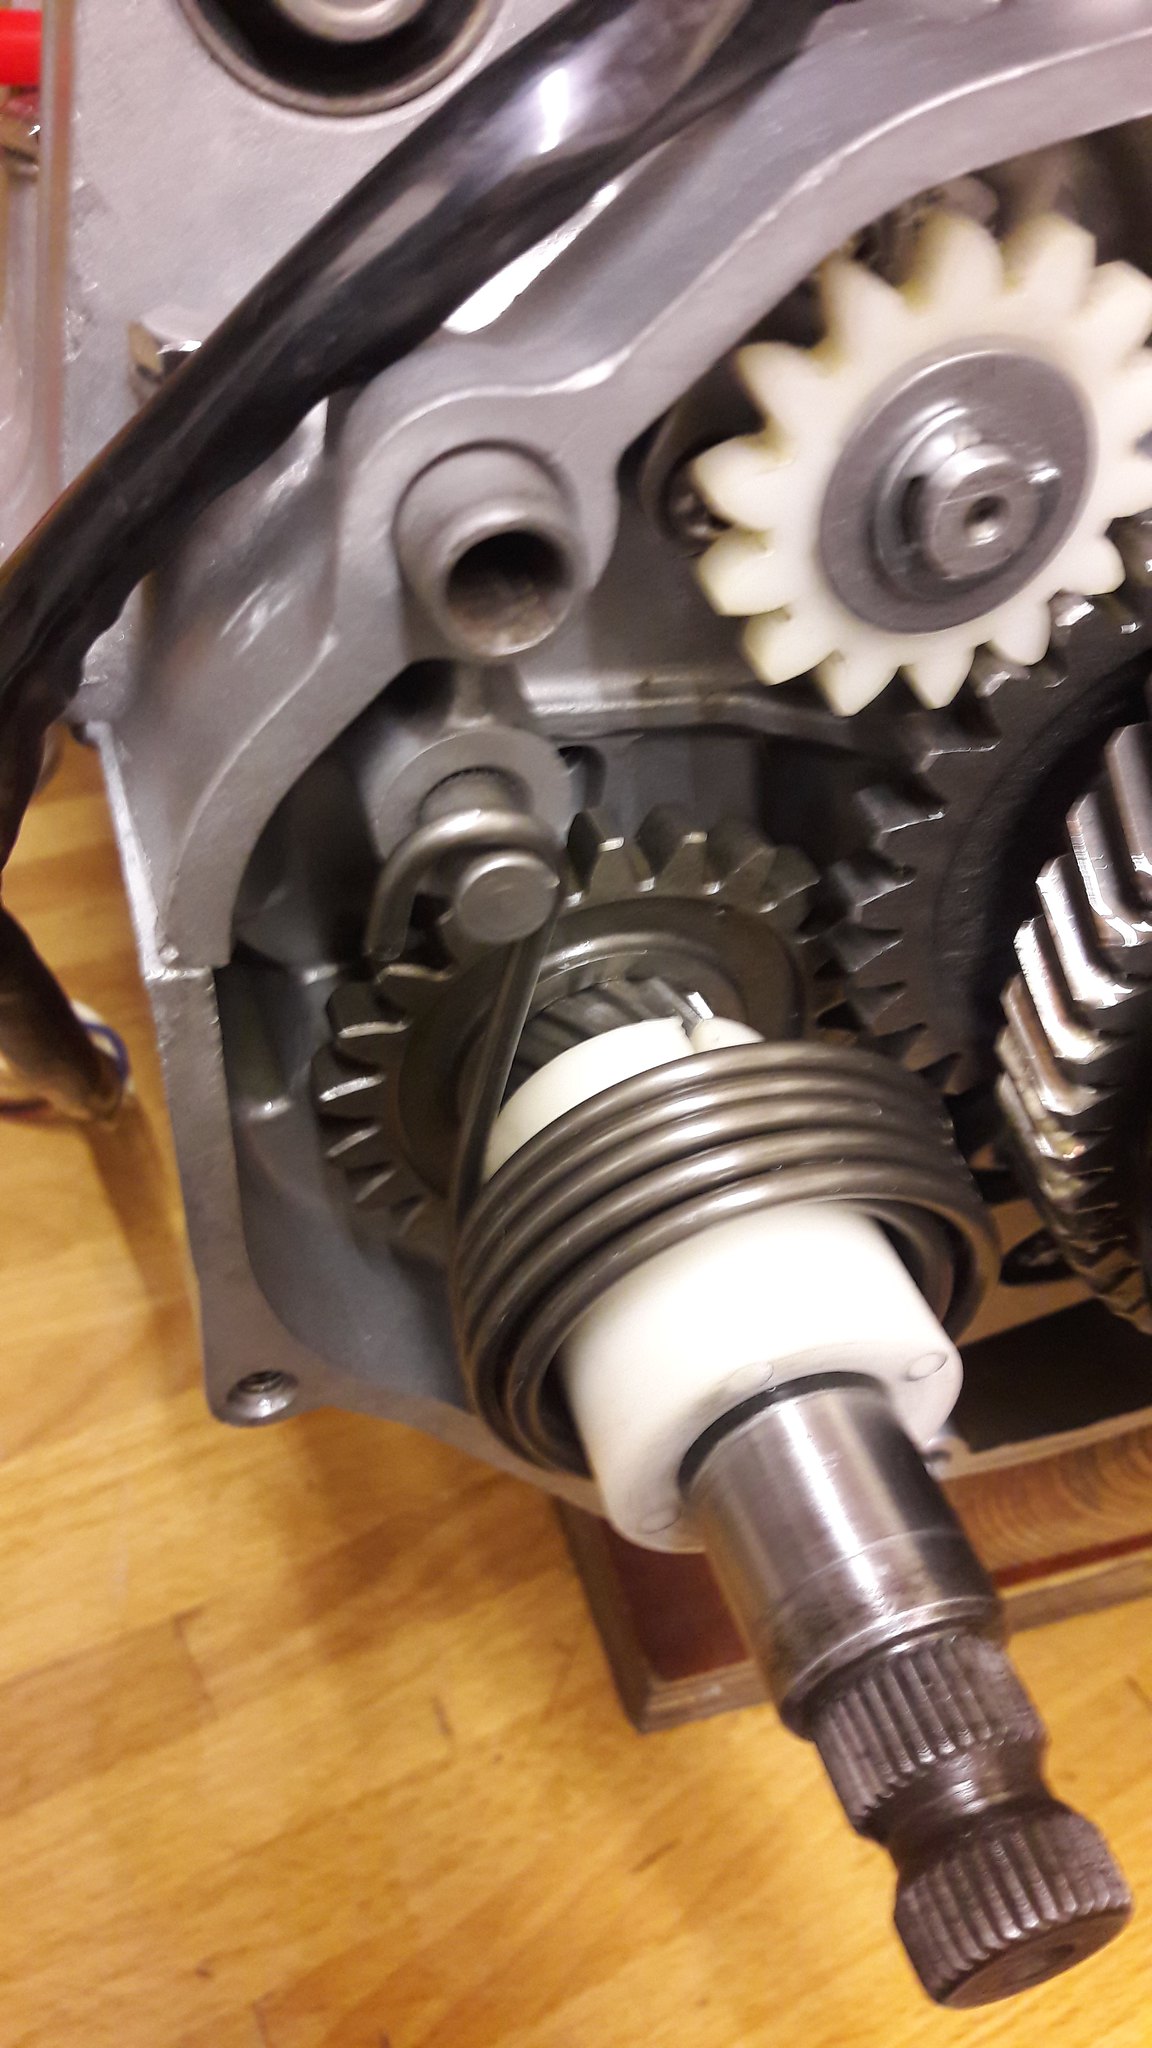 20181222_112436 20181222_112436 by David Miller, on Flickr Dusty  |
|
|
|
Post by ringding on Dec 23, 2018 12:16:23 GMT 1
Shiniest flywheel ever! 😀
|
|
|
|
Post by donkeychomp on Dec 23, 2018 23:39:04 GMT 1
Ah...thought I was missing something on my temp sender. The clip part! I will solder one on.
Alex
ps good choice on the barrels. Makes it very trick looking!
|
|
|
|
Post by marrcel on Dec 25, 2018 10:07:50 GMT 1
Love your work Dusty!
My special xmas tip is to use self vulcanising tape. This is tape without the messy glue. It vulcanises together after taping.
It is very stretchy so your taping is always thight.
It keeps the same apperance after lots of years.
|
|
|
|
Post by dusty350 on Dec 26, 2018 17:27:01 GMT 1
Hi Marcel I do have a roll of self vulcanising tape. Bought it for a loom a few builds ago, but I prefer a good quality insulating tape to be honest, hence using it again this time. As Santa delivered 2 new inlet rubbers, I decided to fit them today. These genuine rubbers from Norbo are £35.00 each. Fowlers price is £78.00 each, so you know where to buy them  . 2 new Yam gaskets for the inlet; 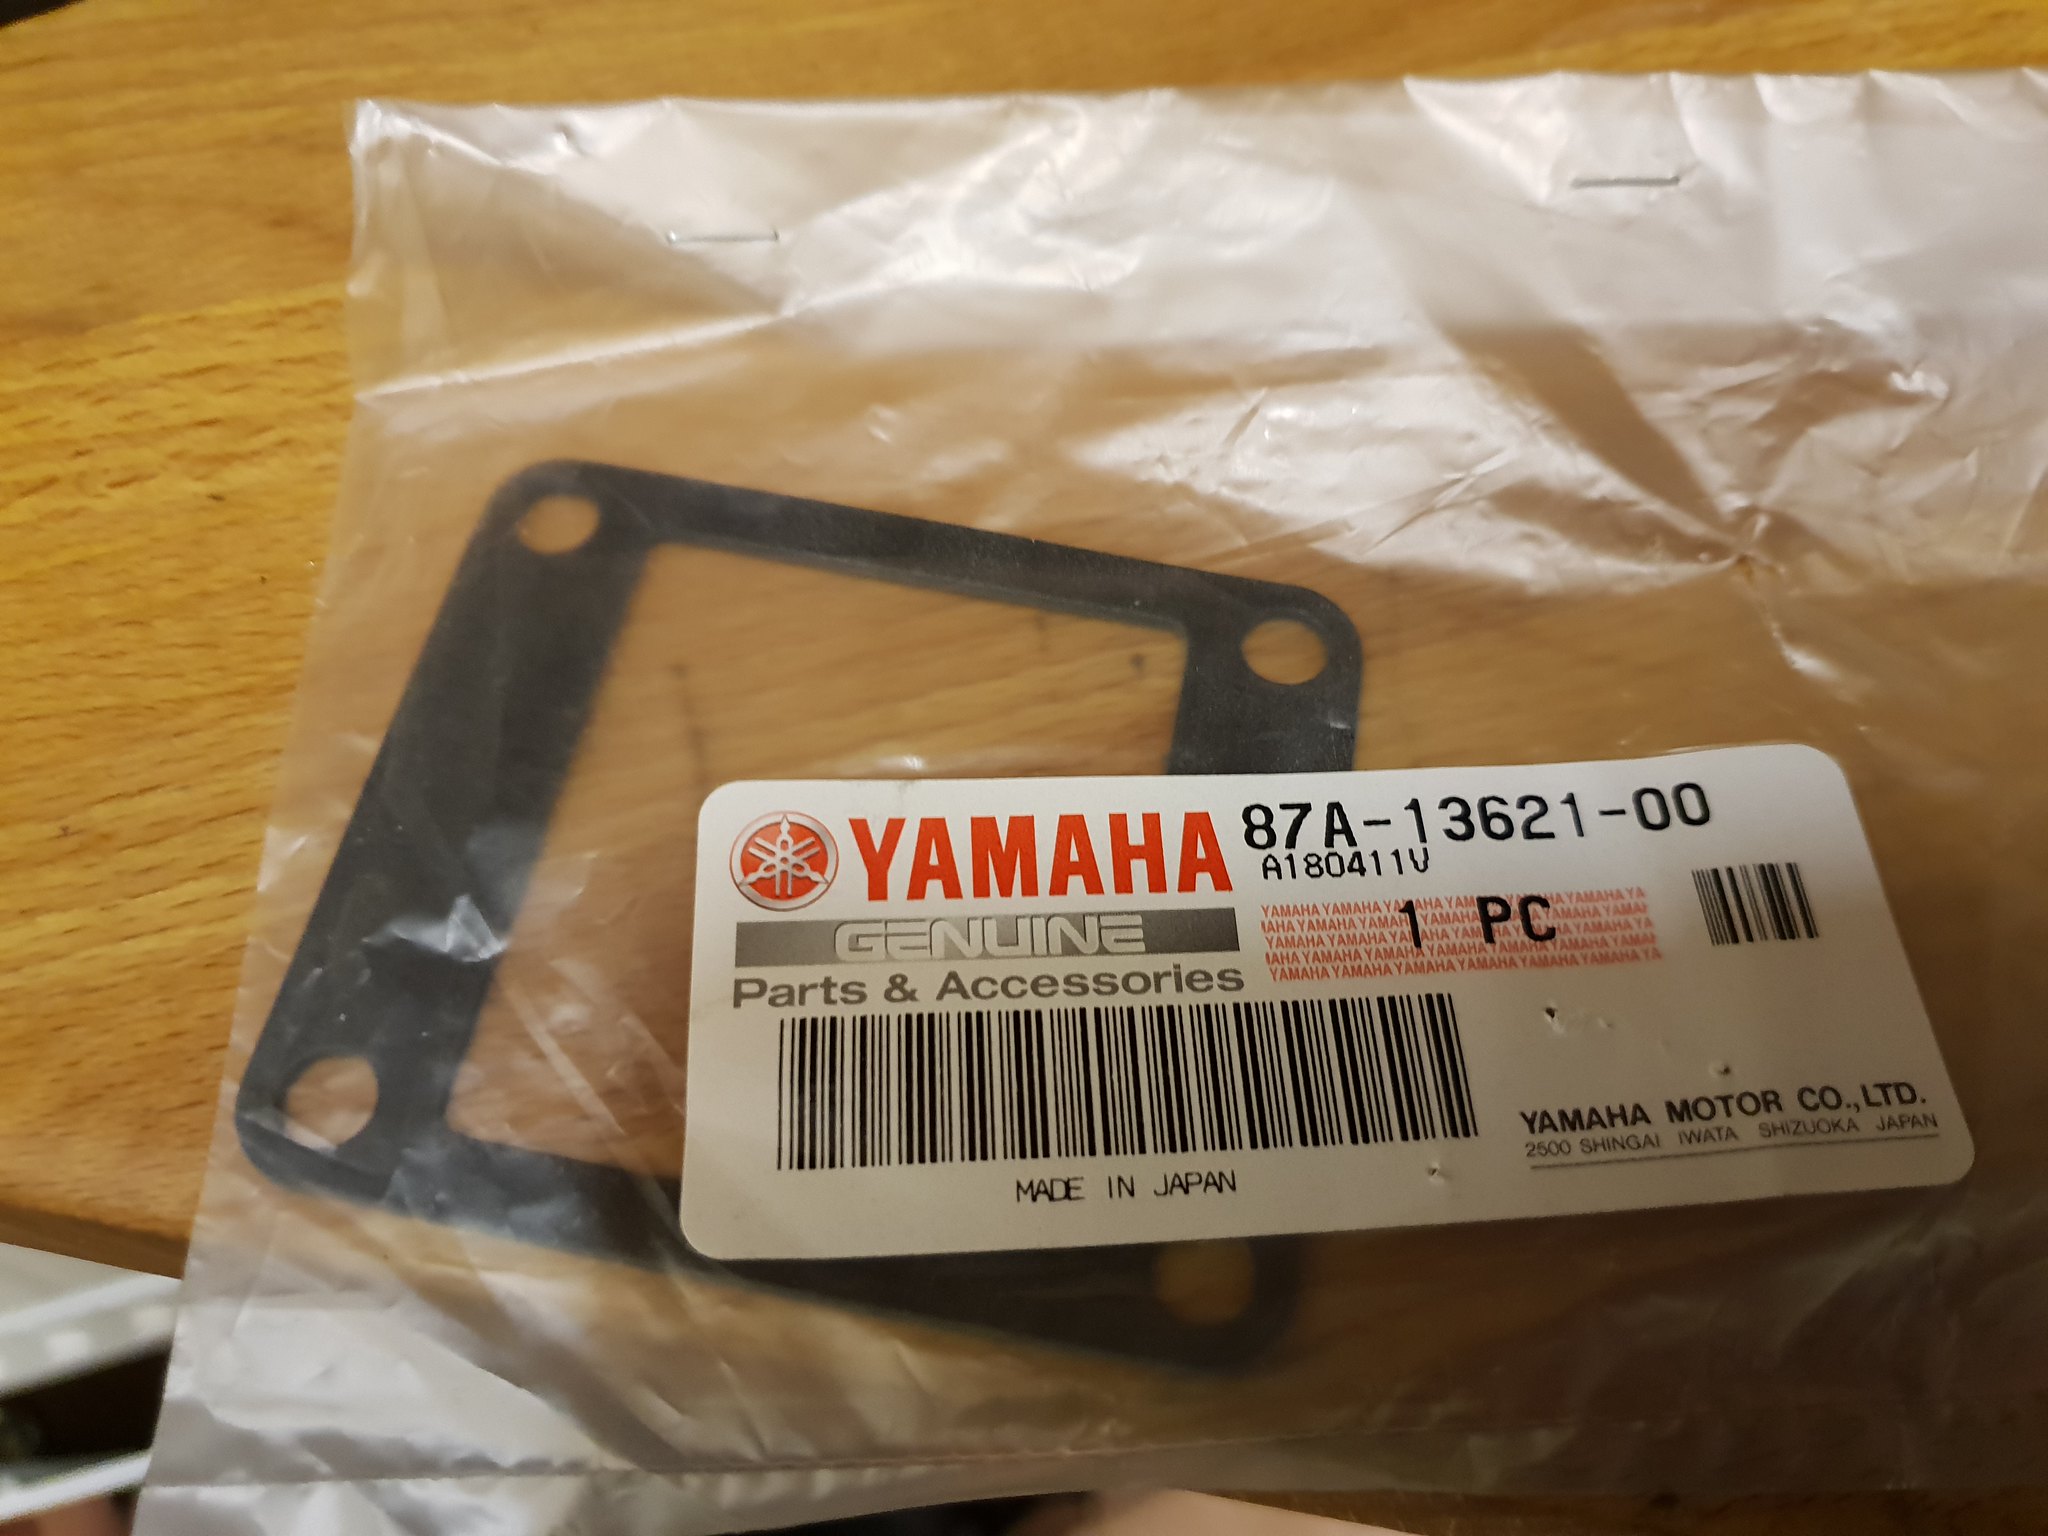 20181226_120302 20181226_120302 by David Miller, on Flickr £2.64 each from Fowlers. The inlets are a prime place for an air leak, so even though I had really cleaned up the reed cages, I used a good amount of Threebond on both sides of the gasket, the reed block and on the inside of the rubber too. First one on; 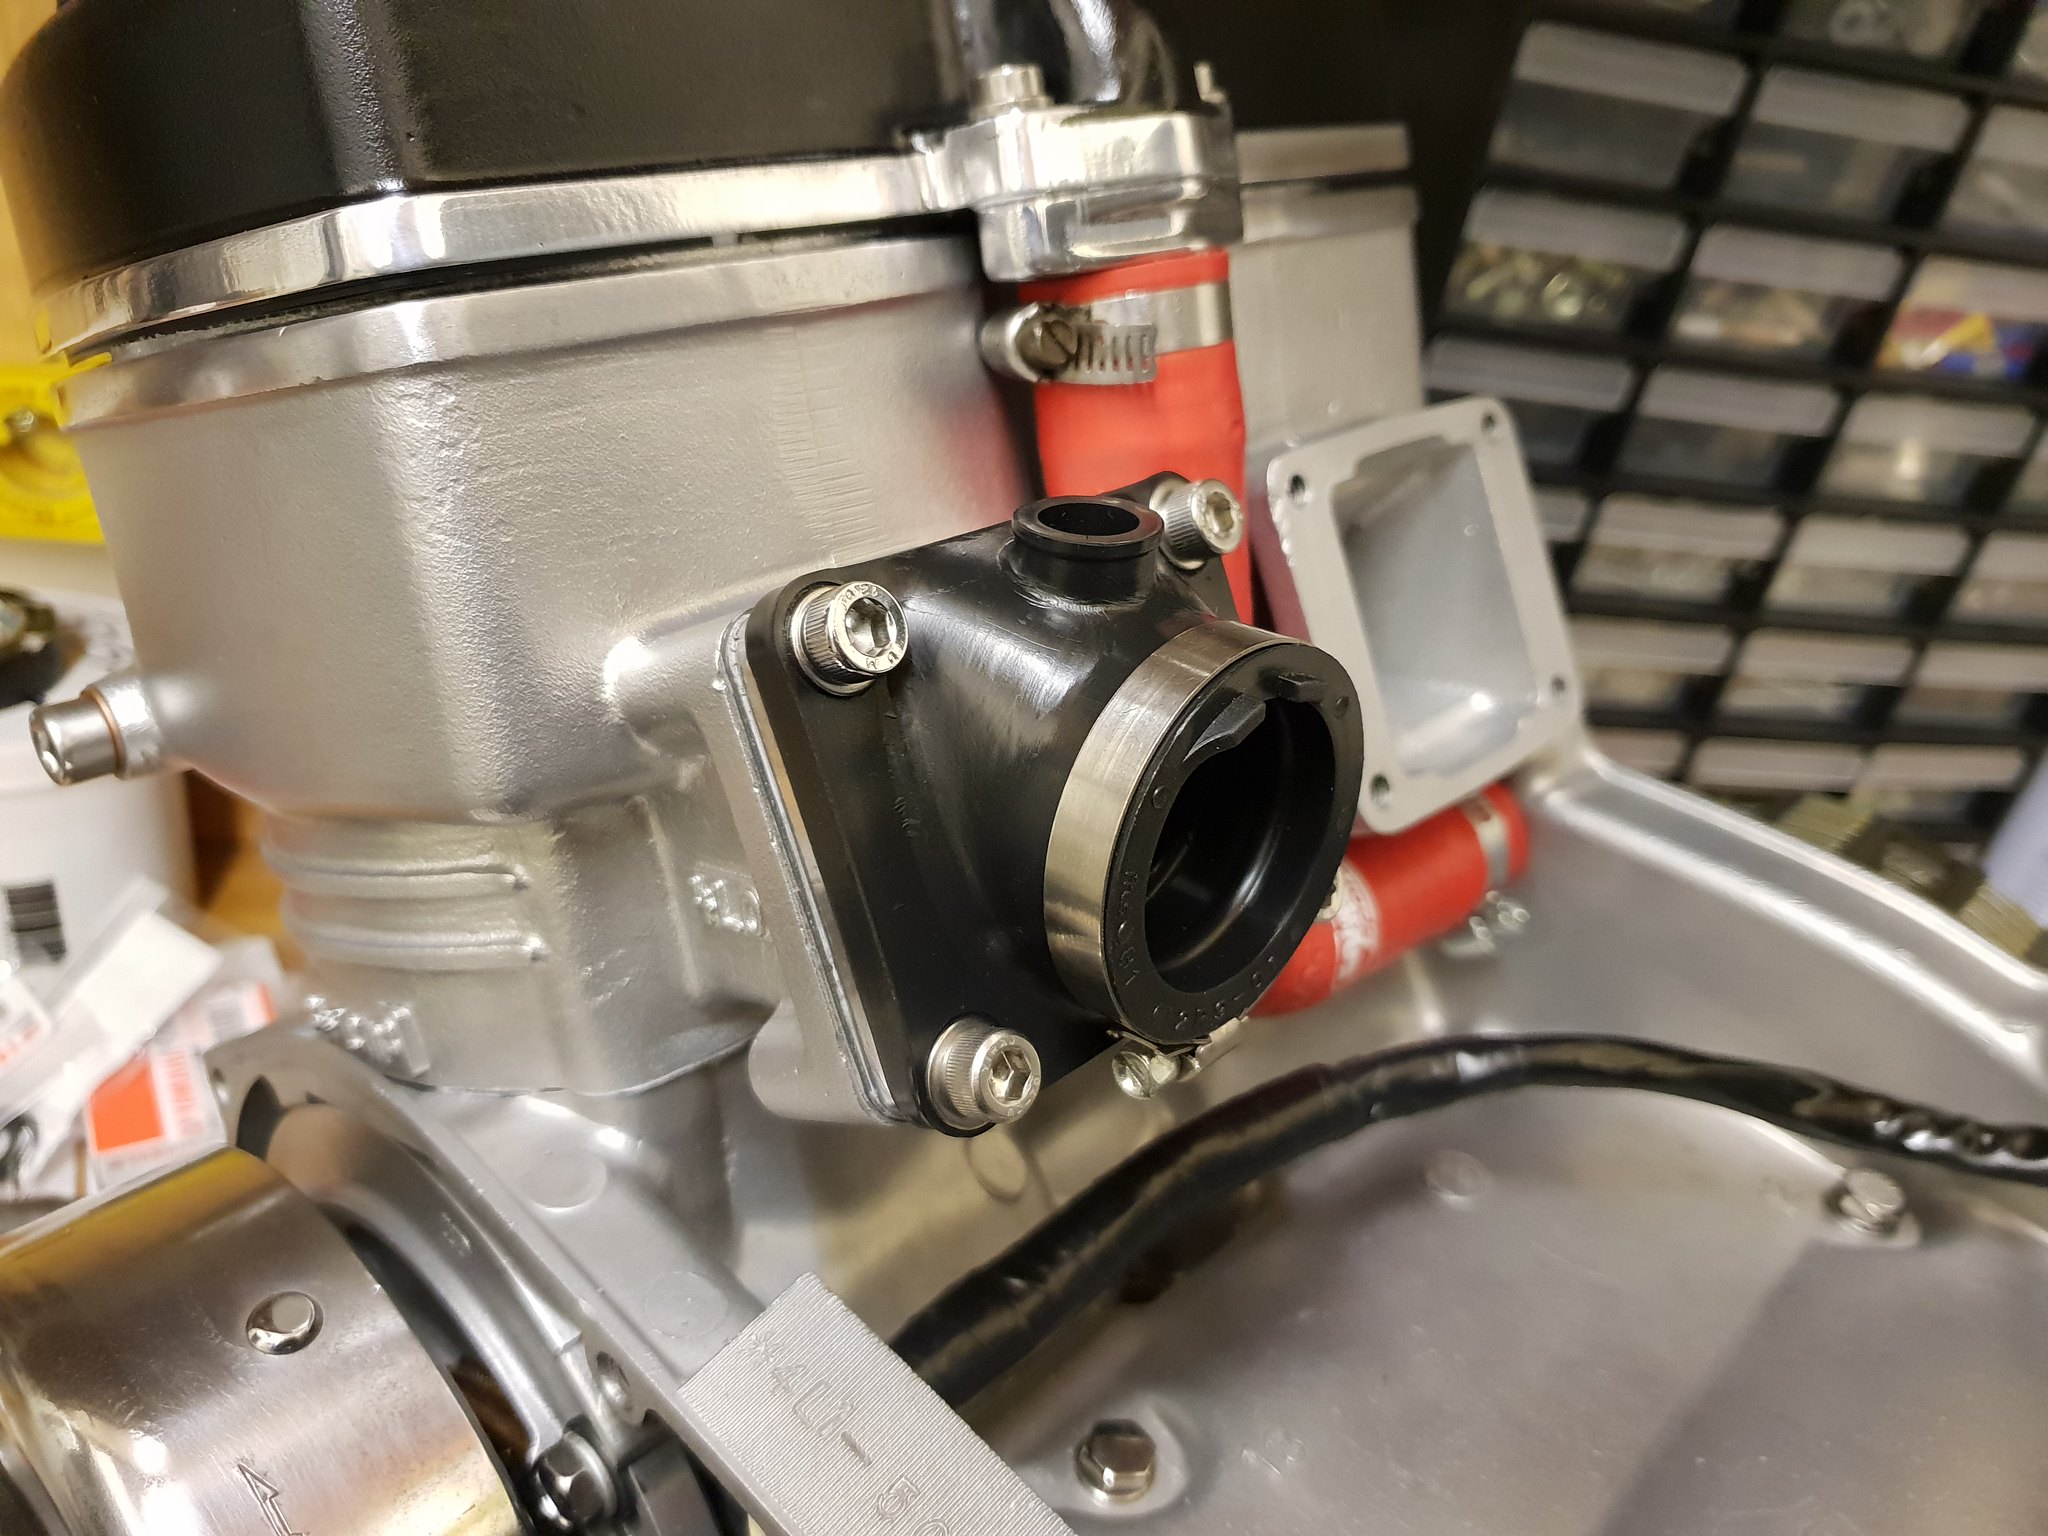 20181226_122313 20181226_122313 by David Miller, on Flickr Then the other; 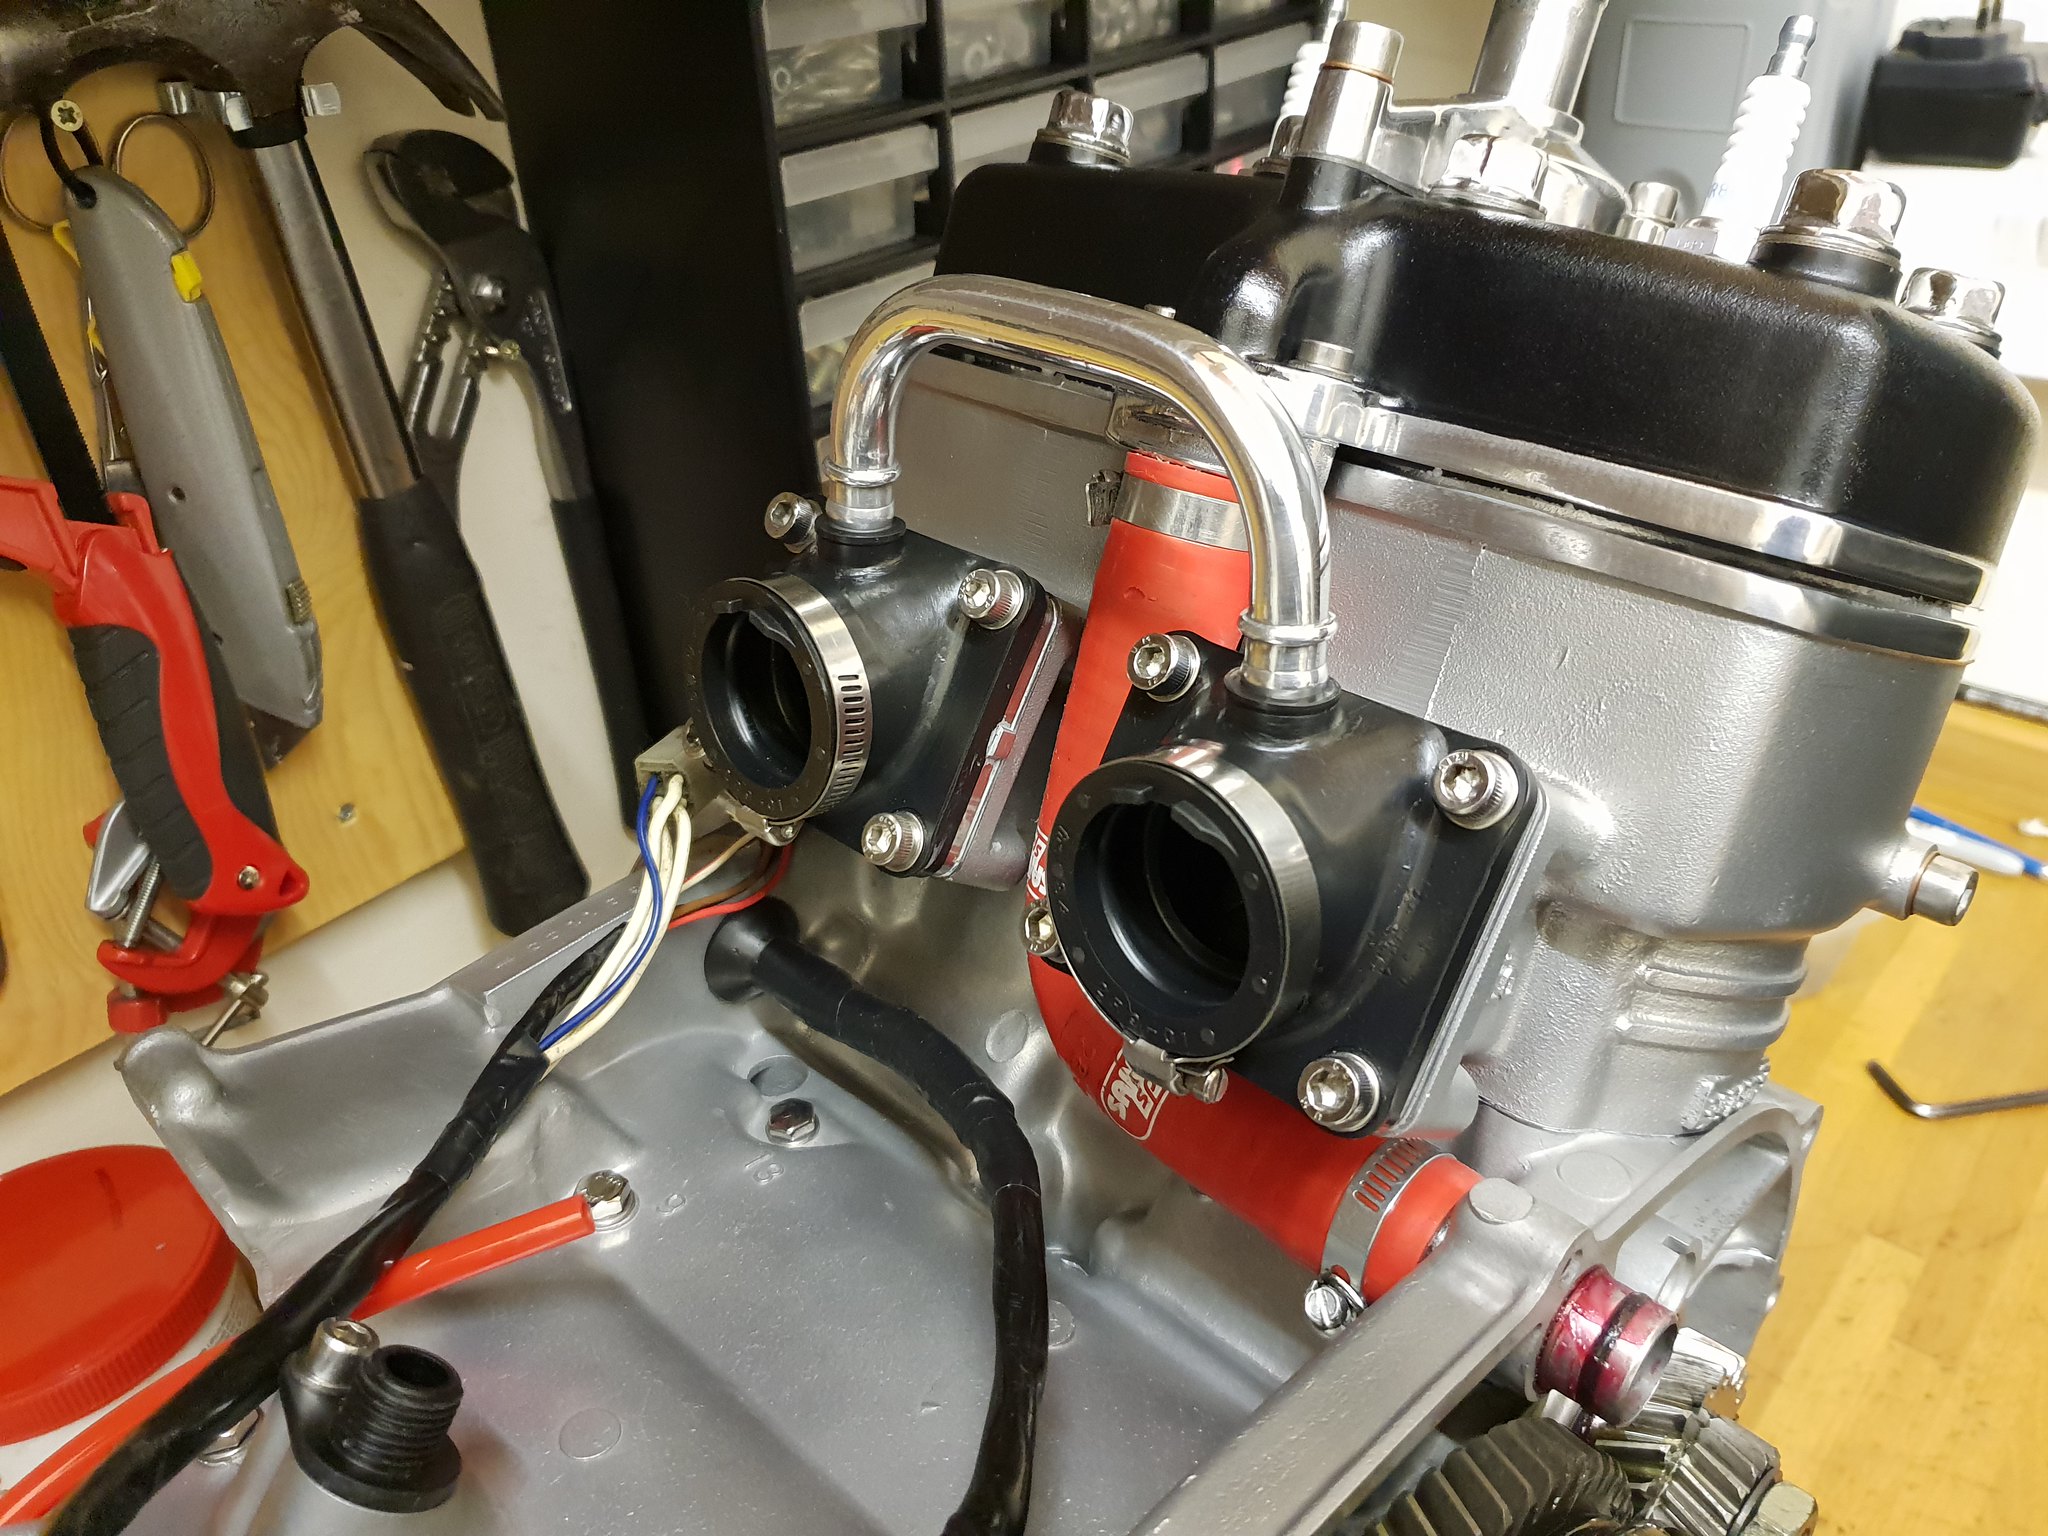 20181226_125734 20181226_125734 by David Miller, on Flickr New bolts and washers, new stainless hose clips and a re polished cross over tube. Also bought new clips for the cross over tube - they can make a big difference for solving leaks;  20181226_125446 20181226_125446 by David Miller, on Flickr £1.32 each. Ready for a pressure test now, and check the timing and then the engine is done. Gotta get the clutch side case powdercoated - satin black this time to match the head, and then rebuild the oil and water pumps. Dusty  |
|
|
|
Post by alankelly on Dec 26, 2018 18:03:47 GMT 1
Hi Dusty
Looks fantastic 👍👍👍
Keep up a great work👍👍👍
Best wishes Always
|
|
|
|
Post by bezzer on Dec 26, 2018 18:23:43 GMT 1
+1 Al, a great source of reference too 👍🏻
|
|
|
|
Post by mak595 on Dec 27, 2018 9:38:25 GMT 1
Awesome work
|
|
|
|
Post by bid on Dec 27, 2018 14:13:52 GMT 1
wish i had this sort of attention to detail as dusty has, cracking is this, job more than well done, oh and merry christmas and happy new year to one and all, and lets all have a toast to the little hog that sadly never made it too, 😉
|
|
|
|
Post by marrcel on Dec 27, 2018 16:09:29 GMT 1
I am curious about how you will set the timing.
|
|
|
|
Post by dusty350 on Dec 28, 2018 20:39:09 GMT 1
Hi Marcel Timing will be set to 2.0mm btdc with a dial gauge. Just got to get one first though !! Couple of small wiring repairs today. First was to repair the neutral switch wire from the stator as the forked end was, well, forked !! 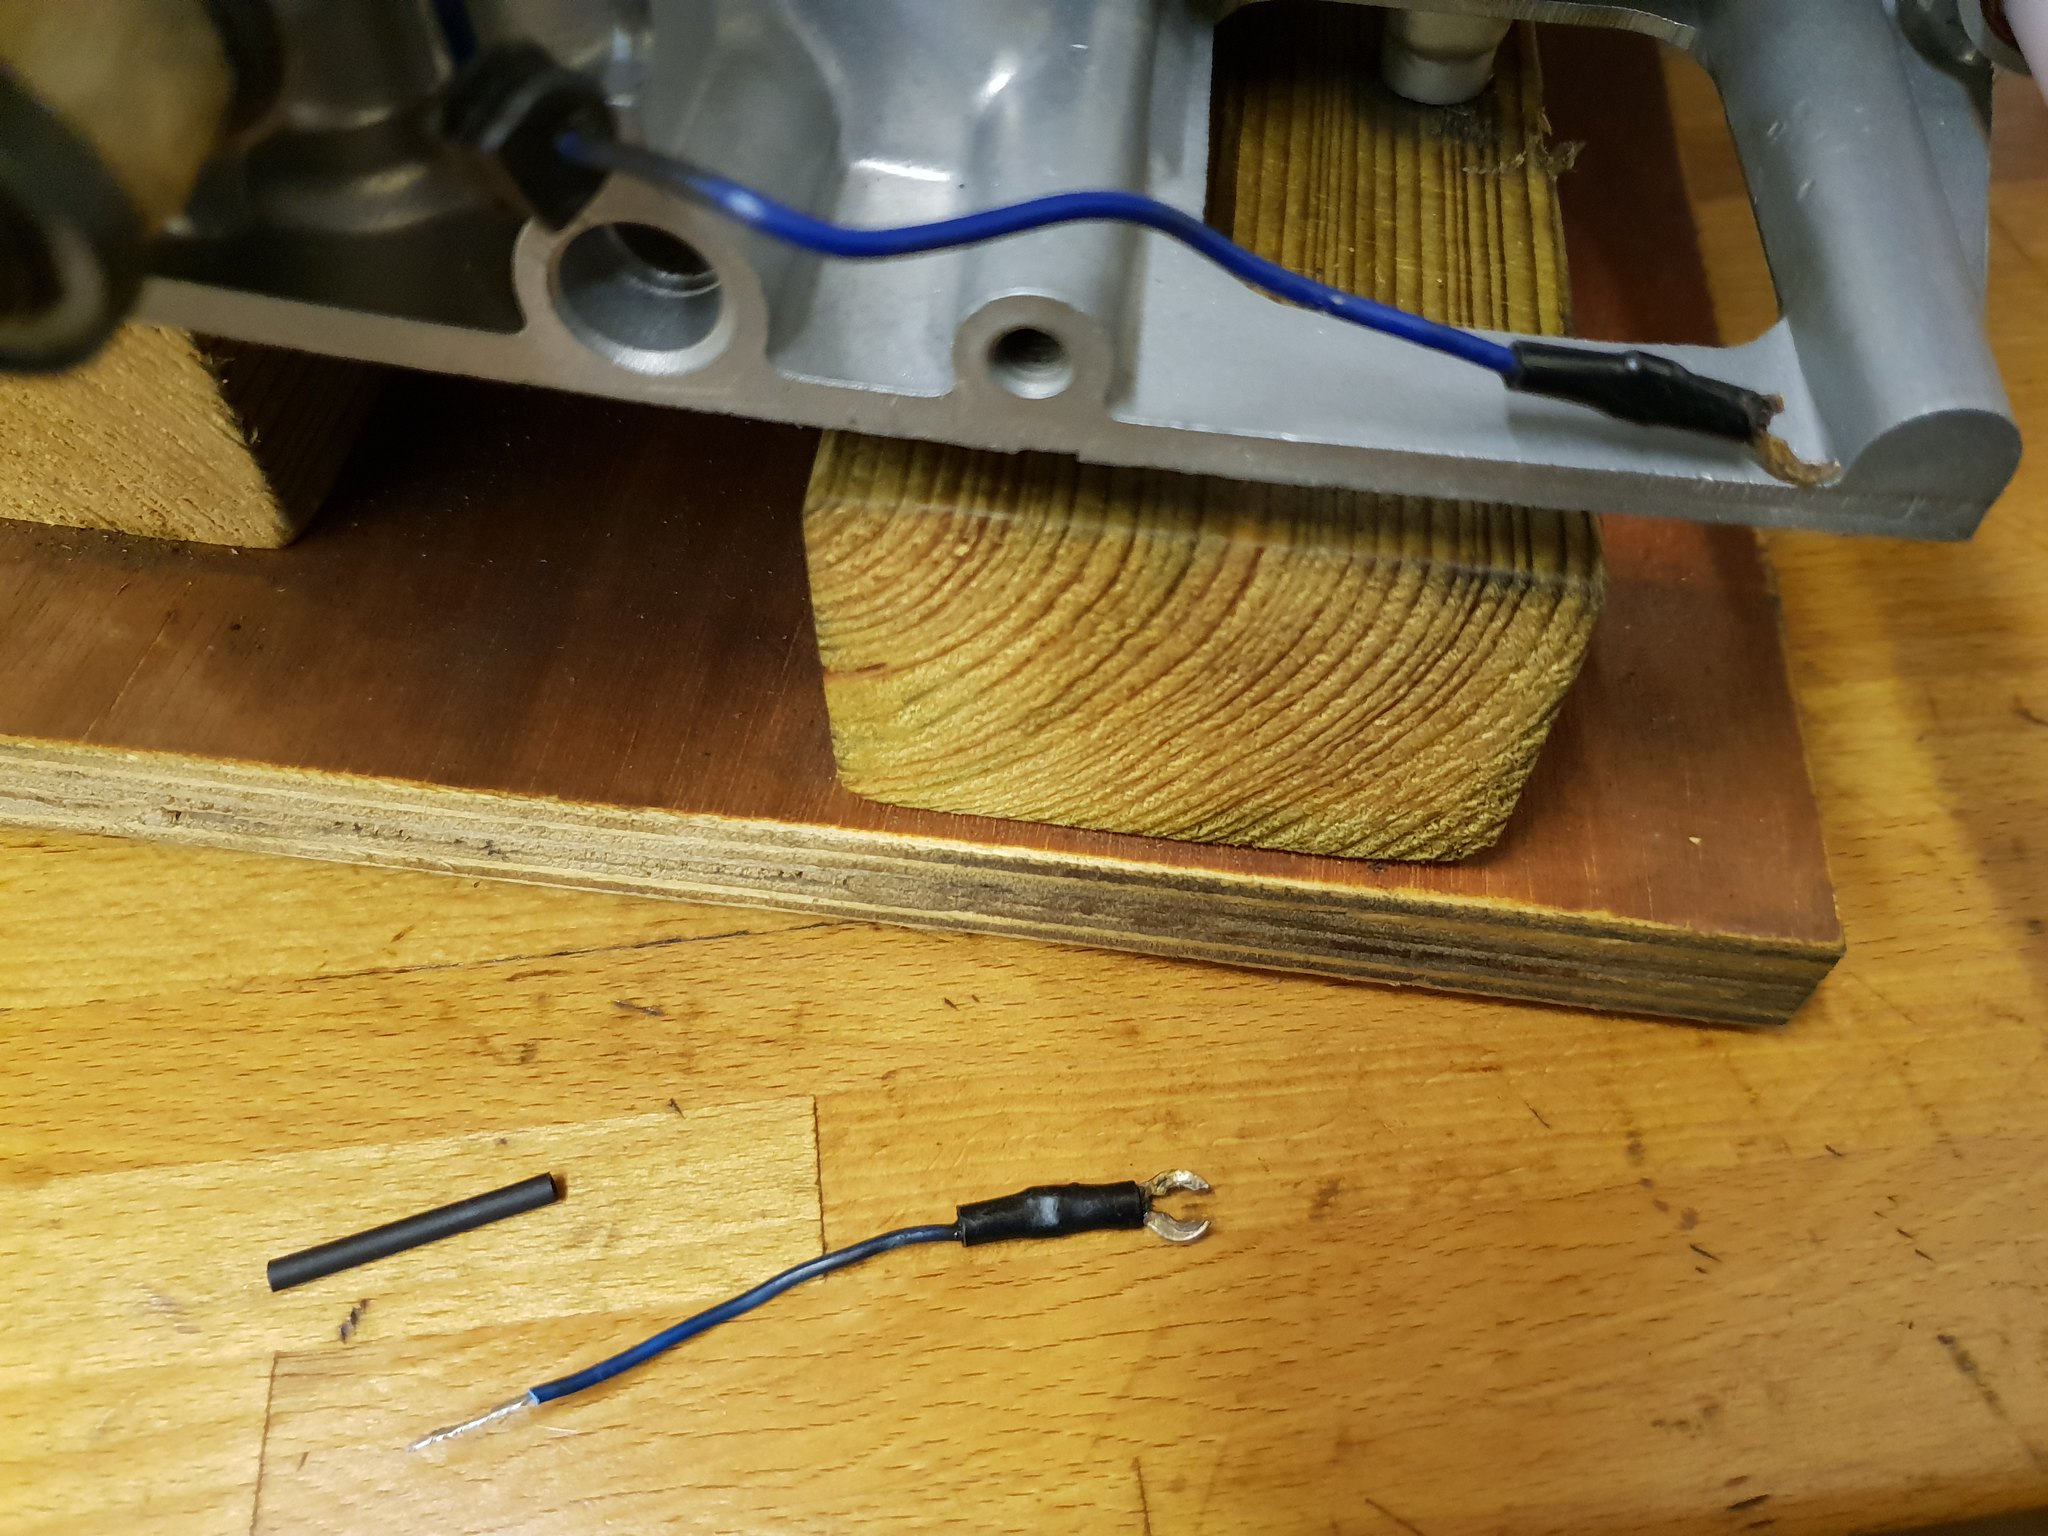 20181228_122658 20181228_122658 by David Miller, on Flickr Soldered on and shrinkwrapped; 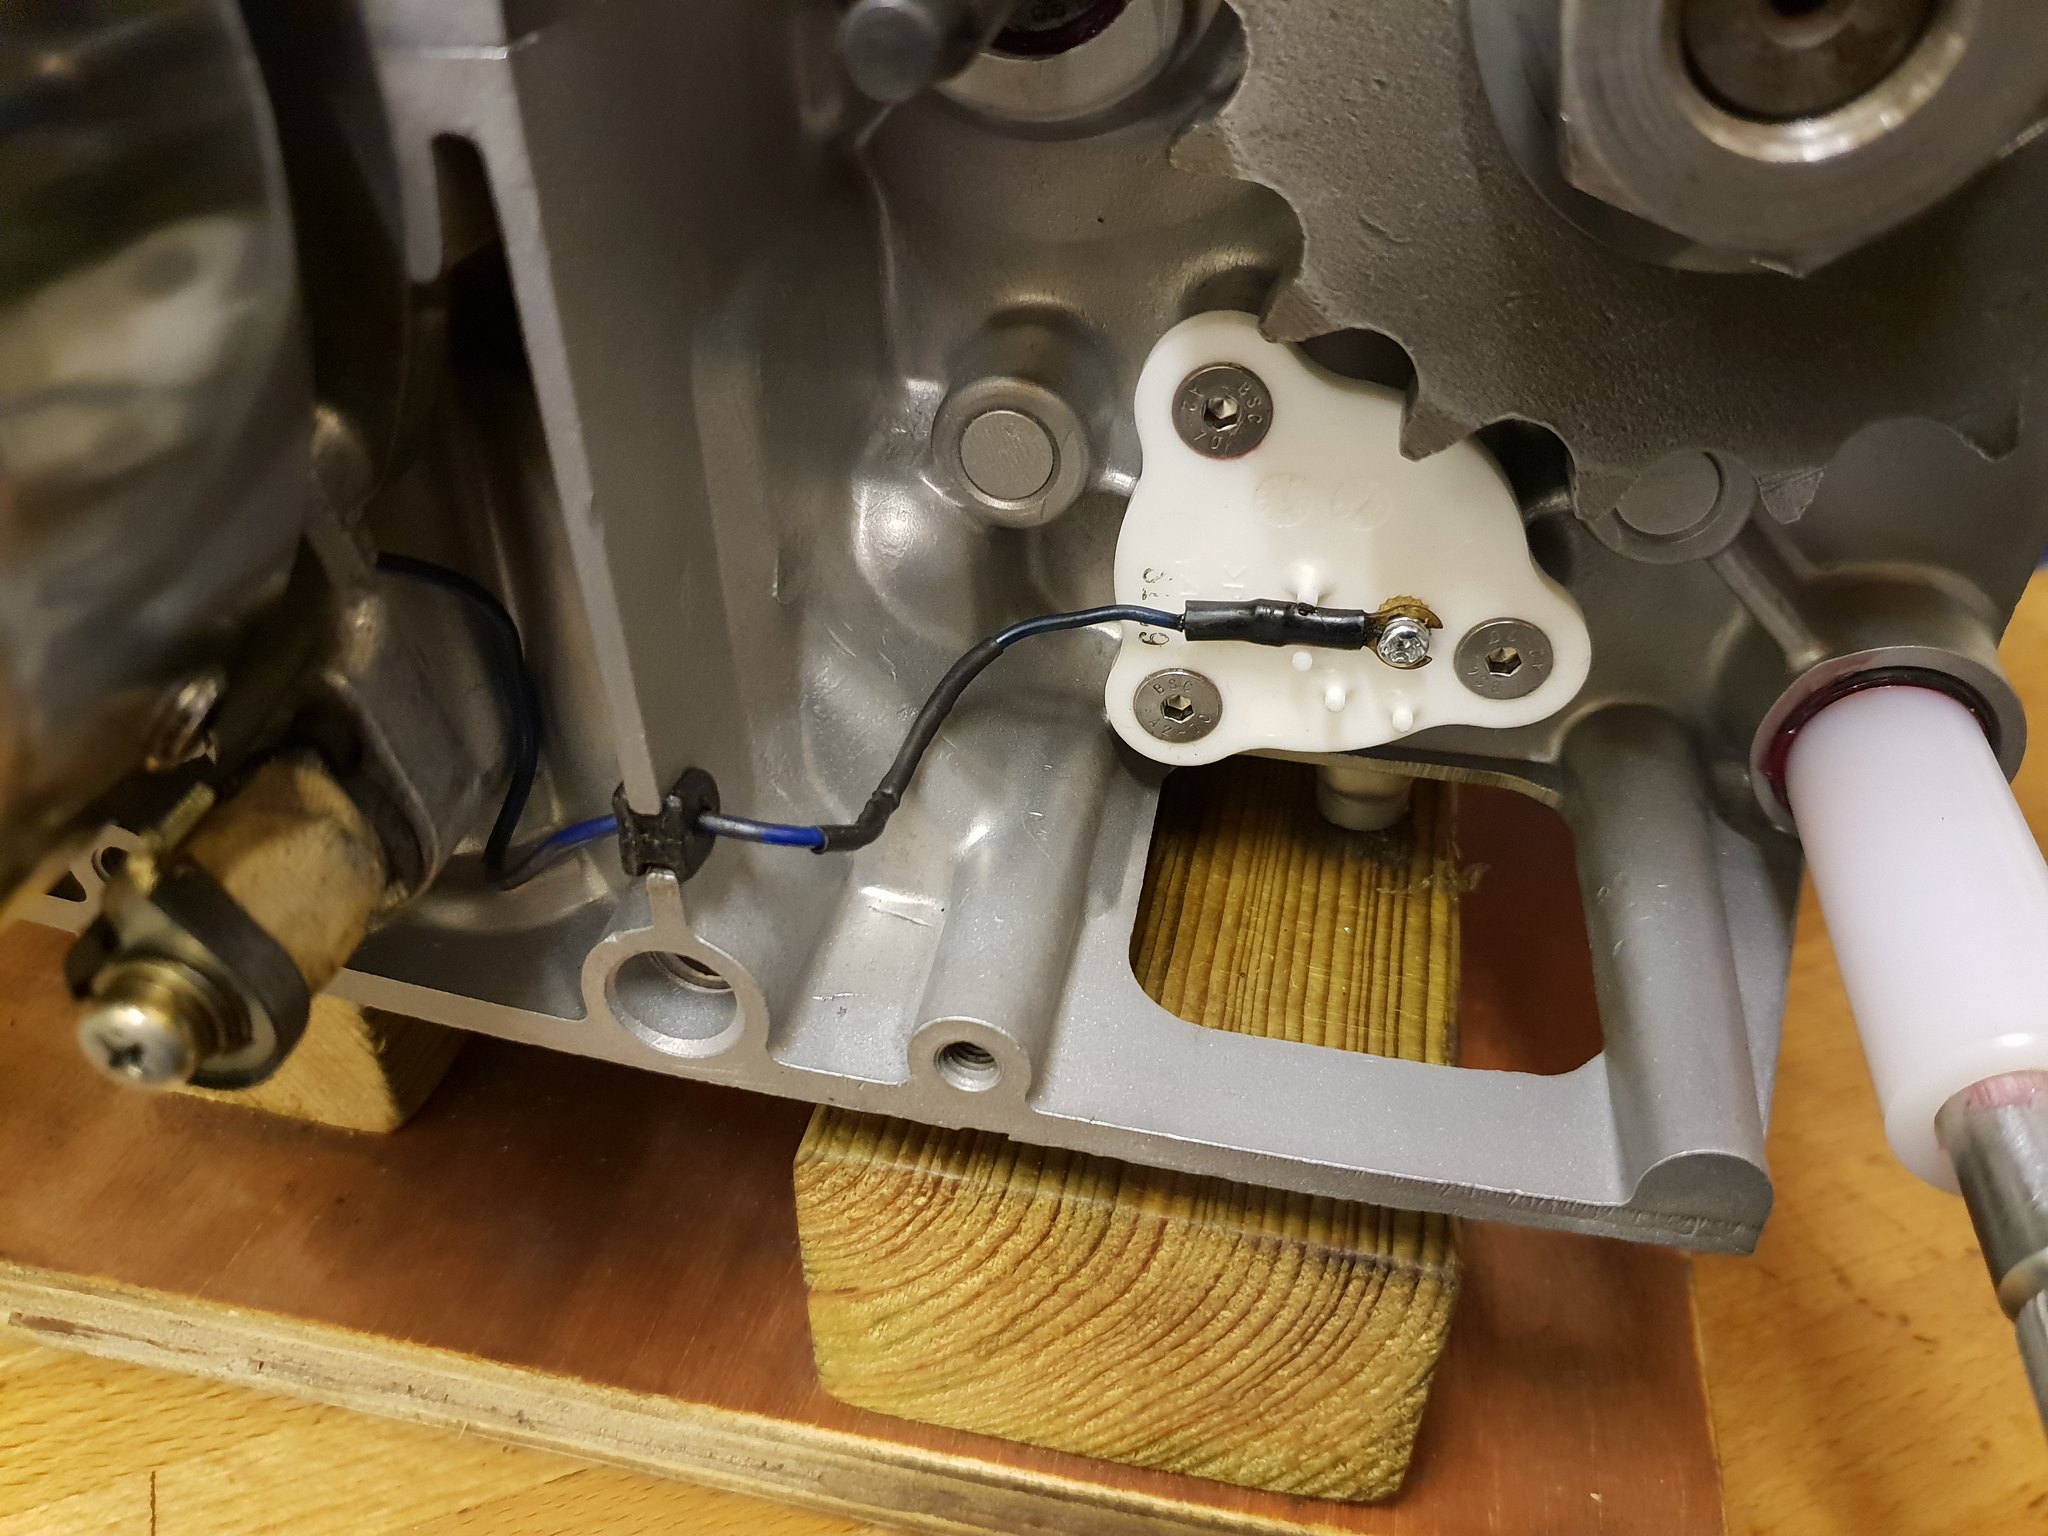 20181228_151721 20181228_151721 by David Miller, on Flickr Also soldered on a new female connector on the white/red wire from the stator that goes to the Cdi. Then I decided to do the pressure test. I cut some new rubber and using my existing circular plastic plates, I blocked off the exhaust ports using the new exhaust manifolds; 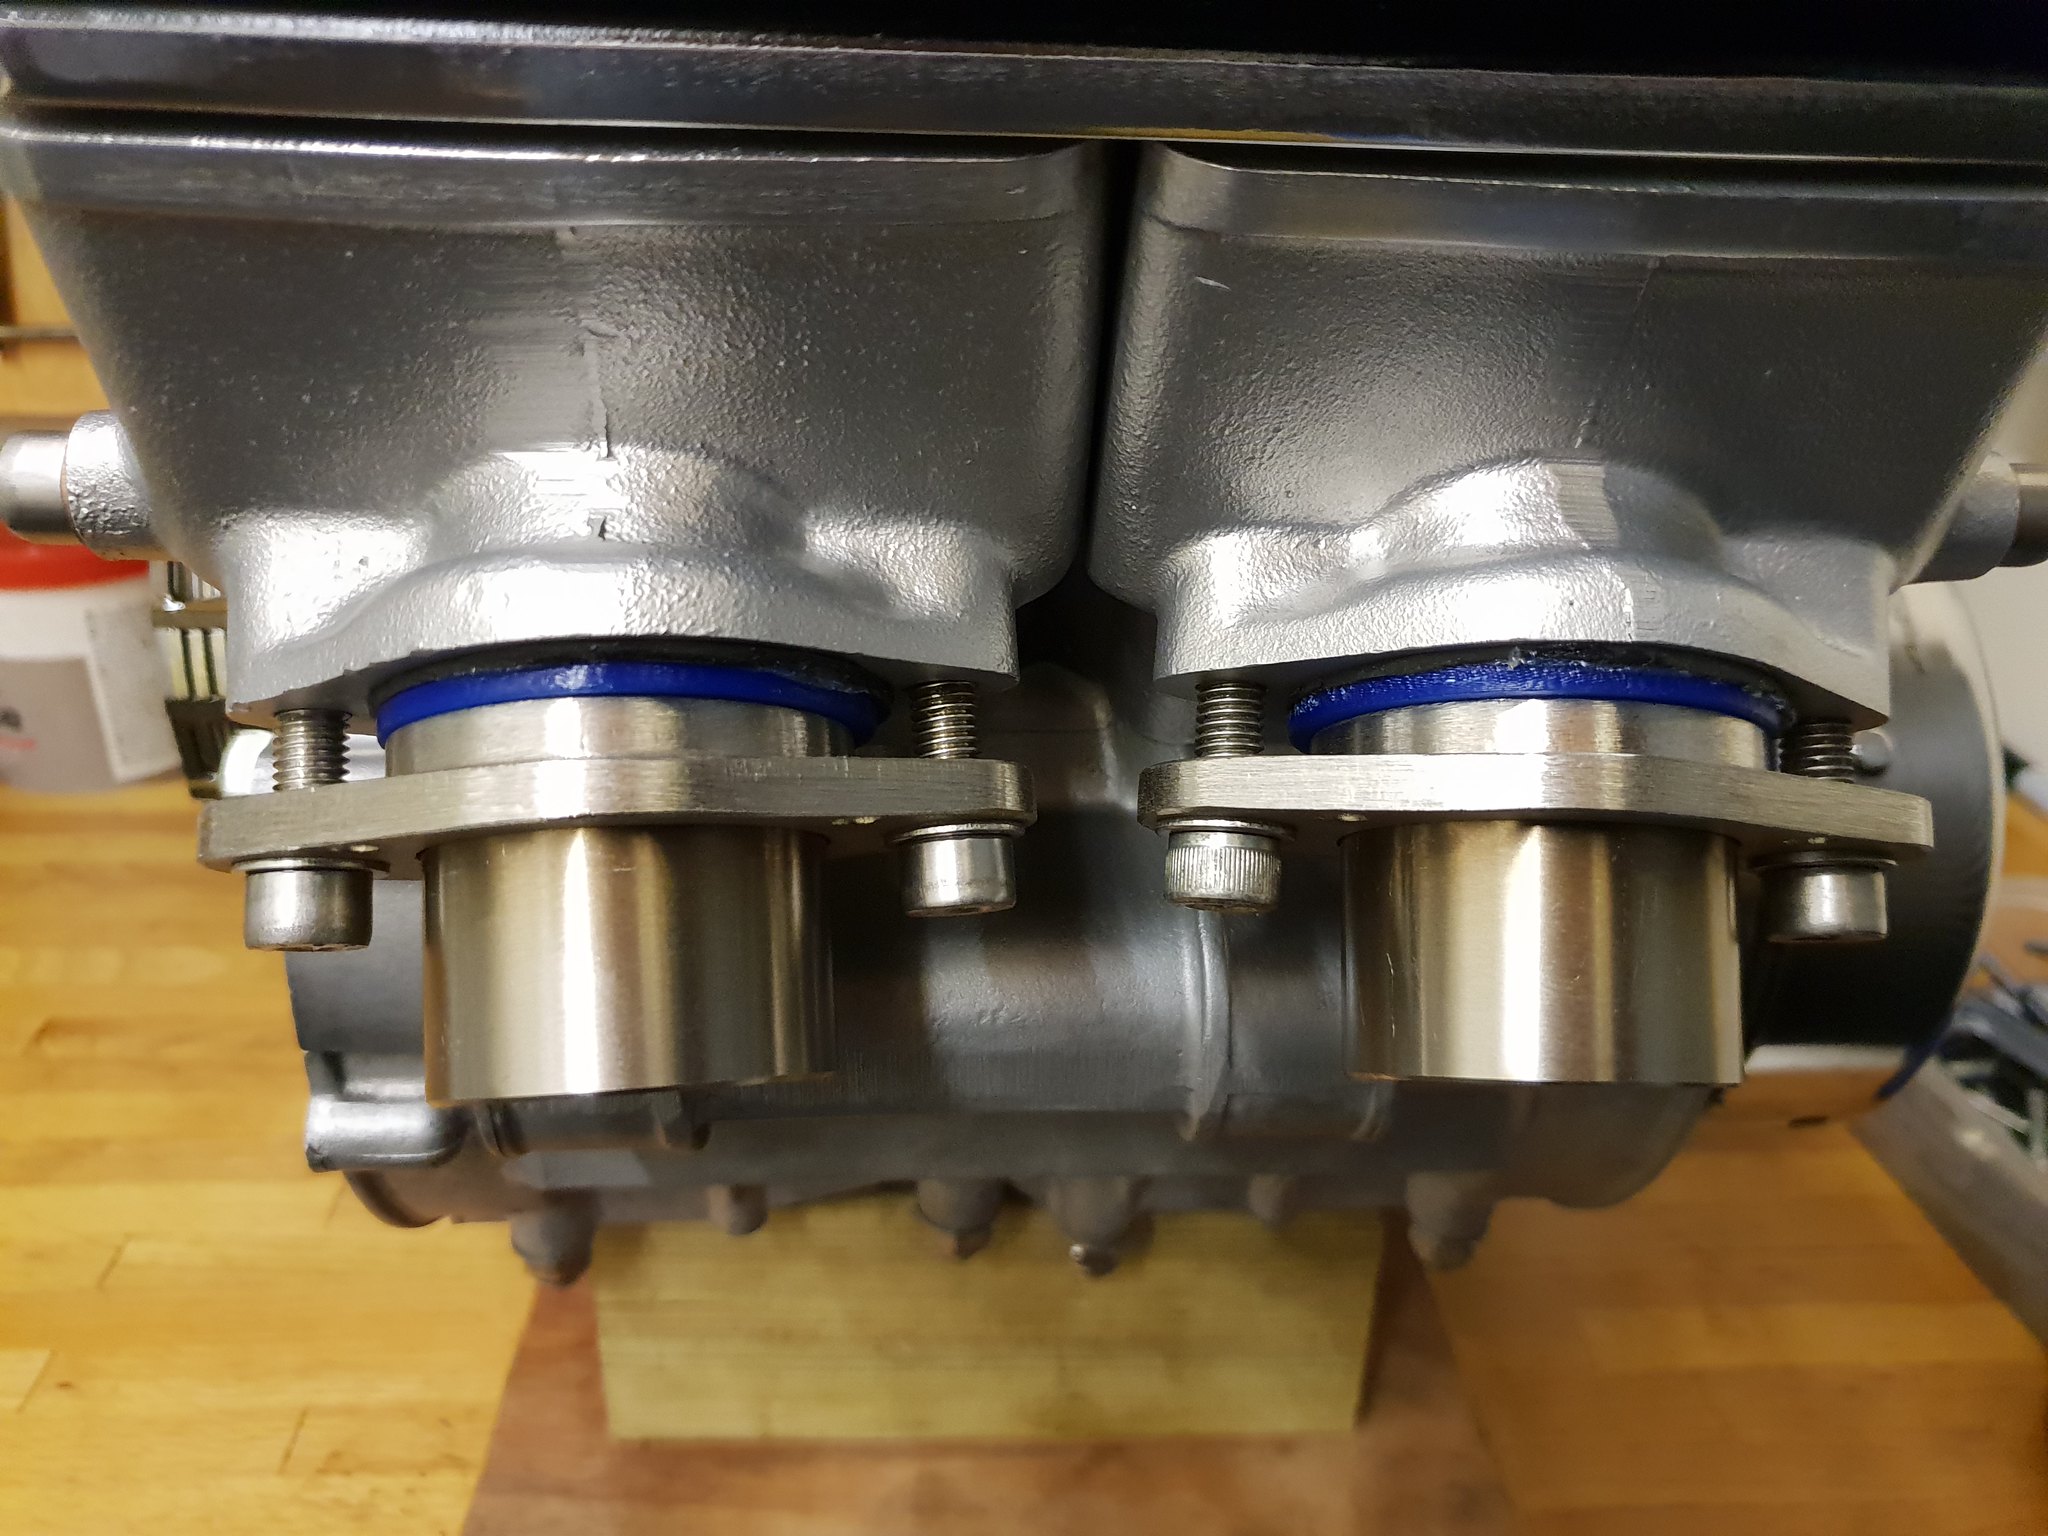 20181228_163015 20181228_163015 by David Miller, on Flickr Pumped up to 6psi and left for about 35 minutes, and the needle didn't budge at all, so well happy with that  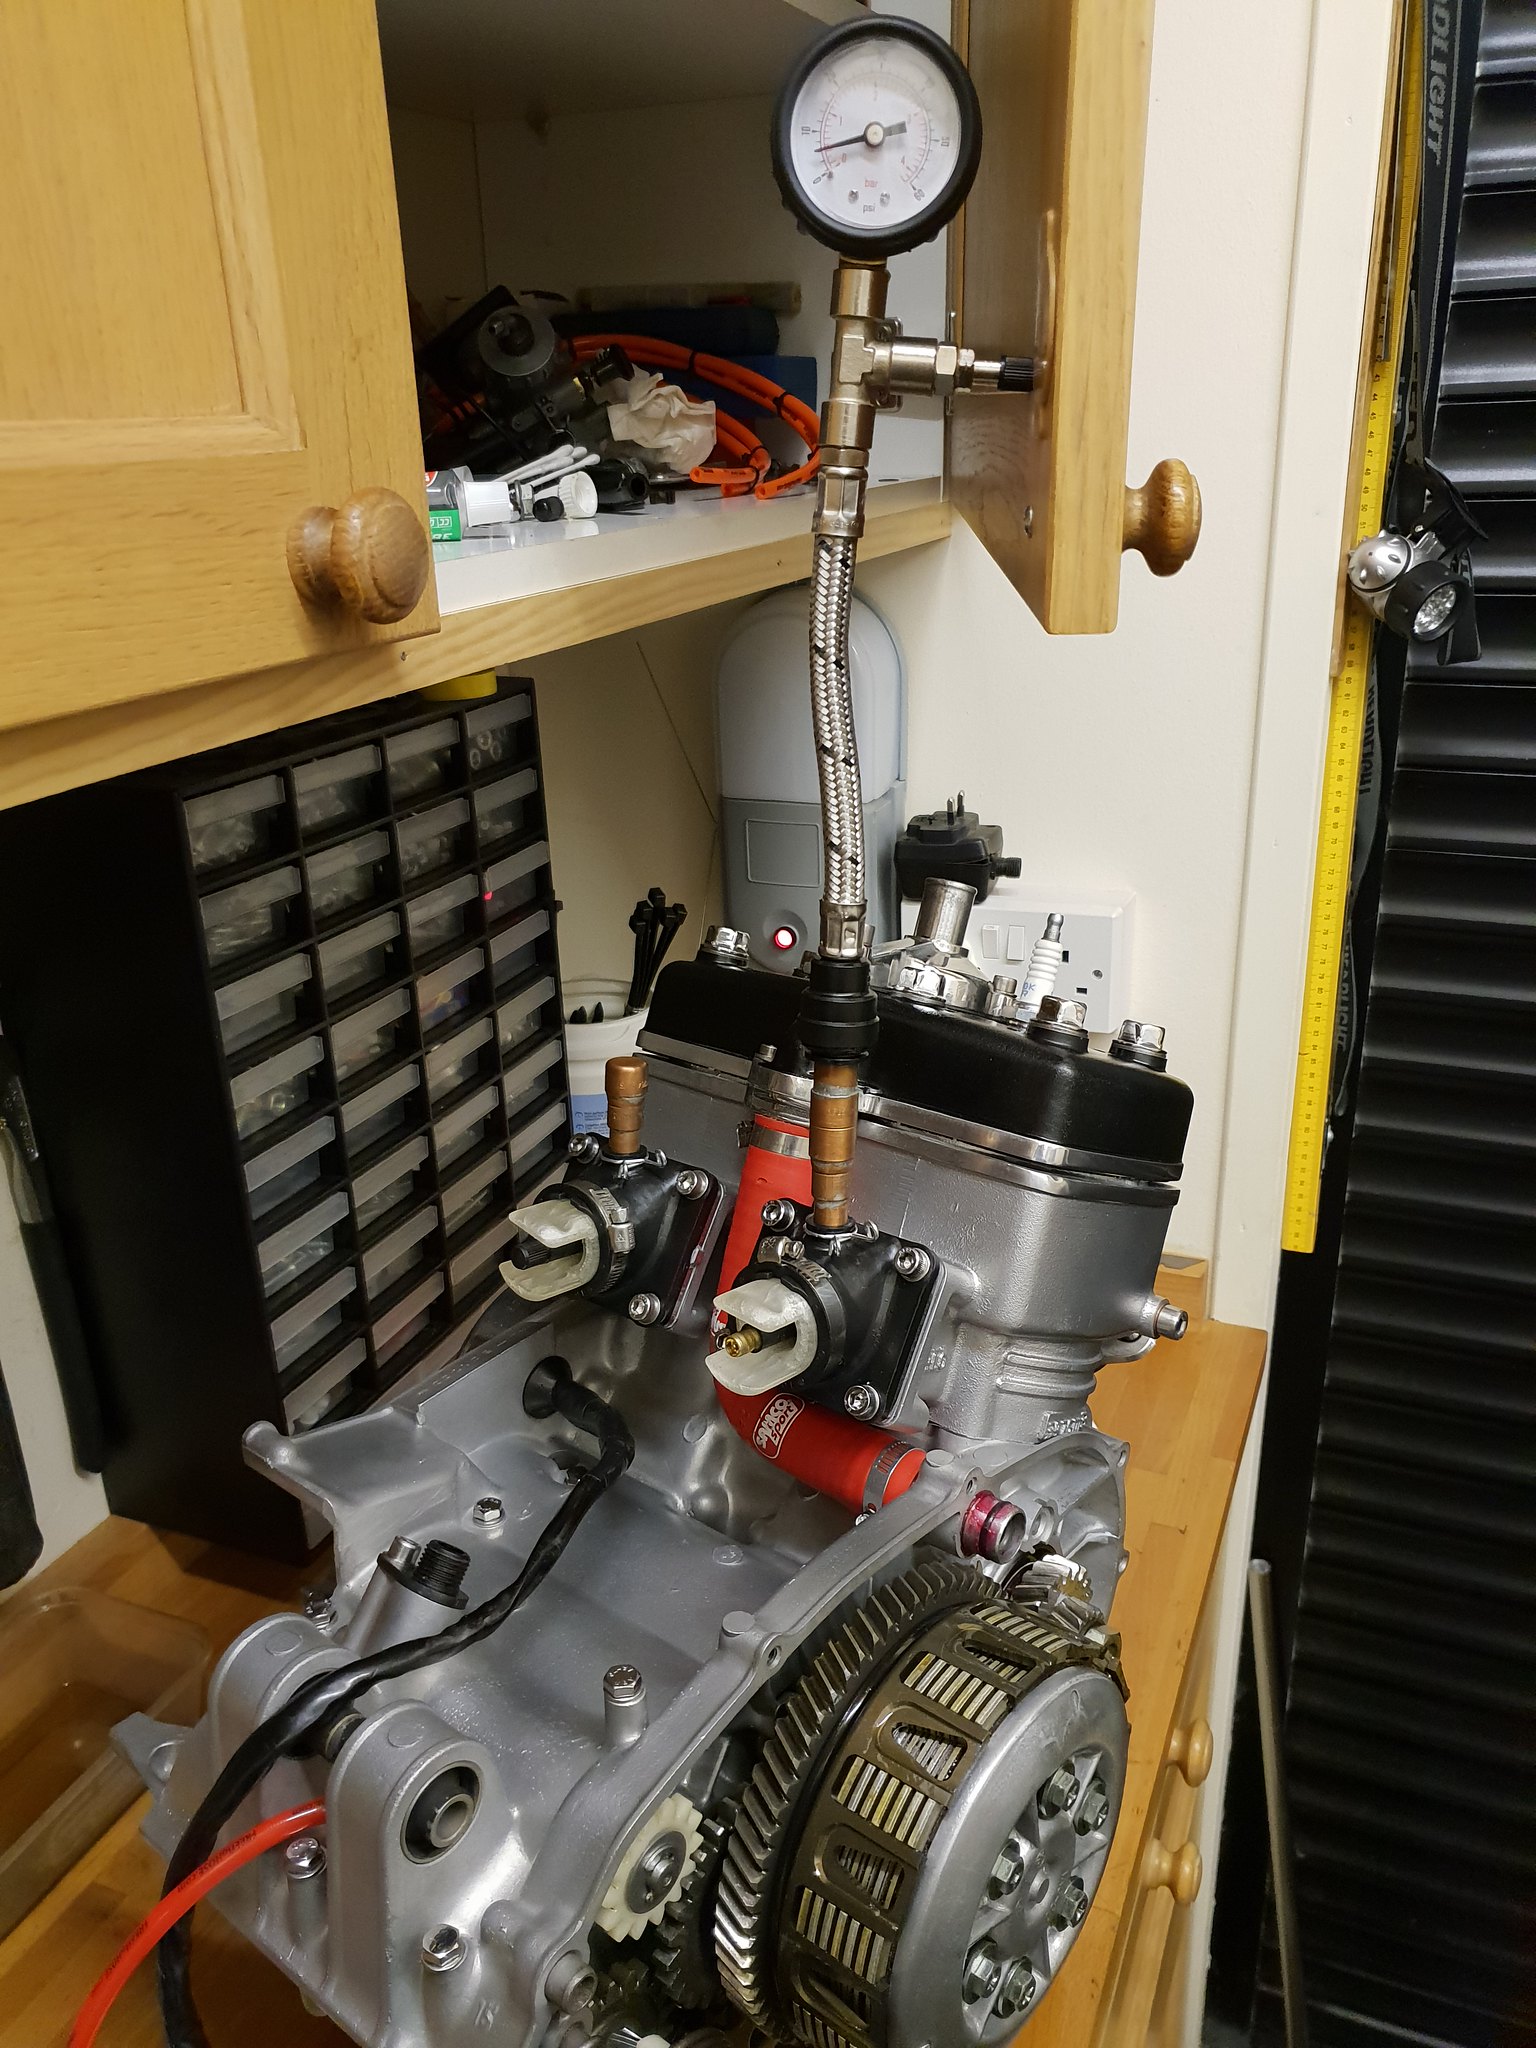 20181228_182812 20181228_182812 by David Miller, on Flickr Dusty  |
|
|
|
Post by donkeychomp on Dec 28, 2018 23:41:29 GMT 1
Saw this engine earlier and it's coming along a treat. Great news about the 6psi mate!
Alex
|
|
|
|
Post by tacky1 on Dec 29, 2018 4:11:01 GMT 1
Looking great. 6psi and nothing lost. That’s a win. Nice job 👍
|
|
|
|
Post by dusty350 on Dec 29, 2018 12:16:14 GMT 1
Thanks  Took the red hose off today to give it a final clean up, and fitted new hose clamps; 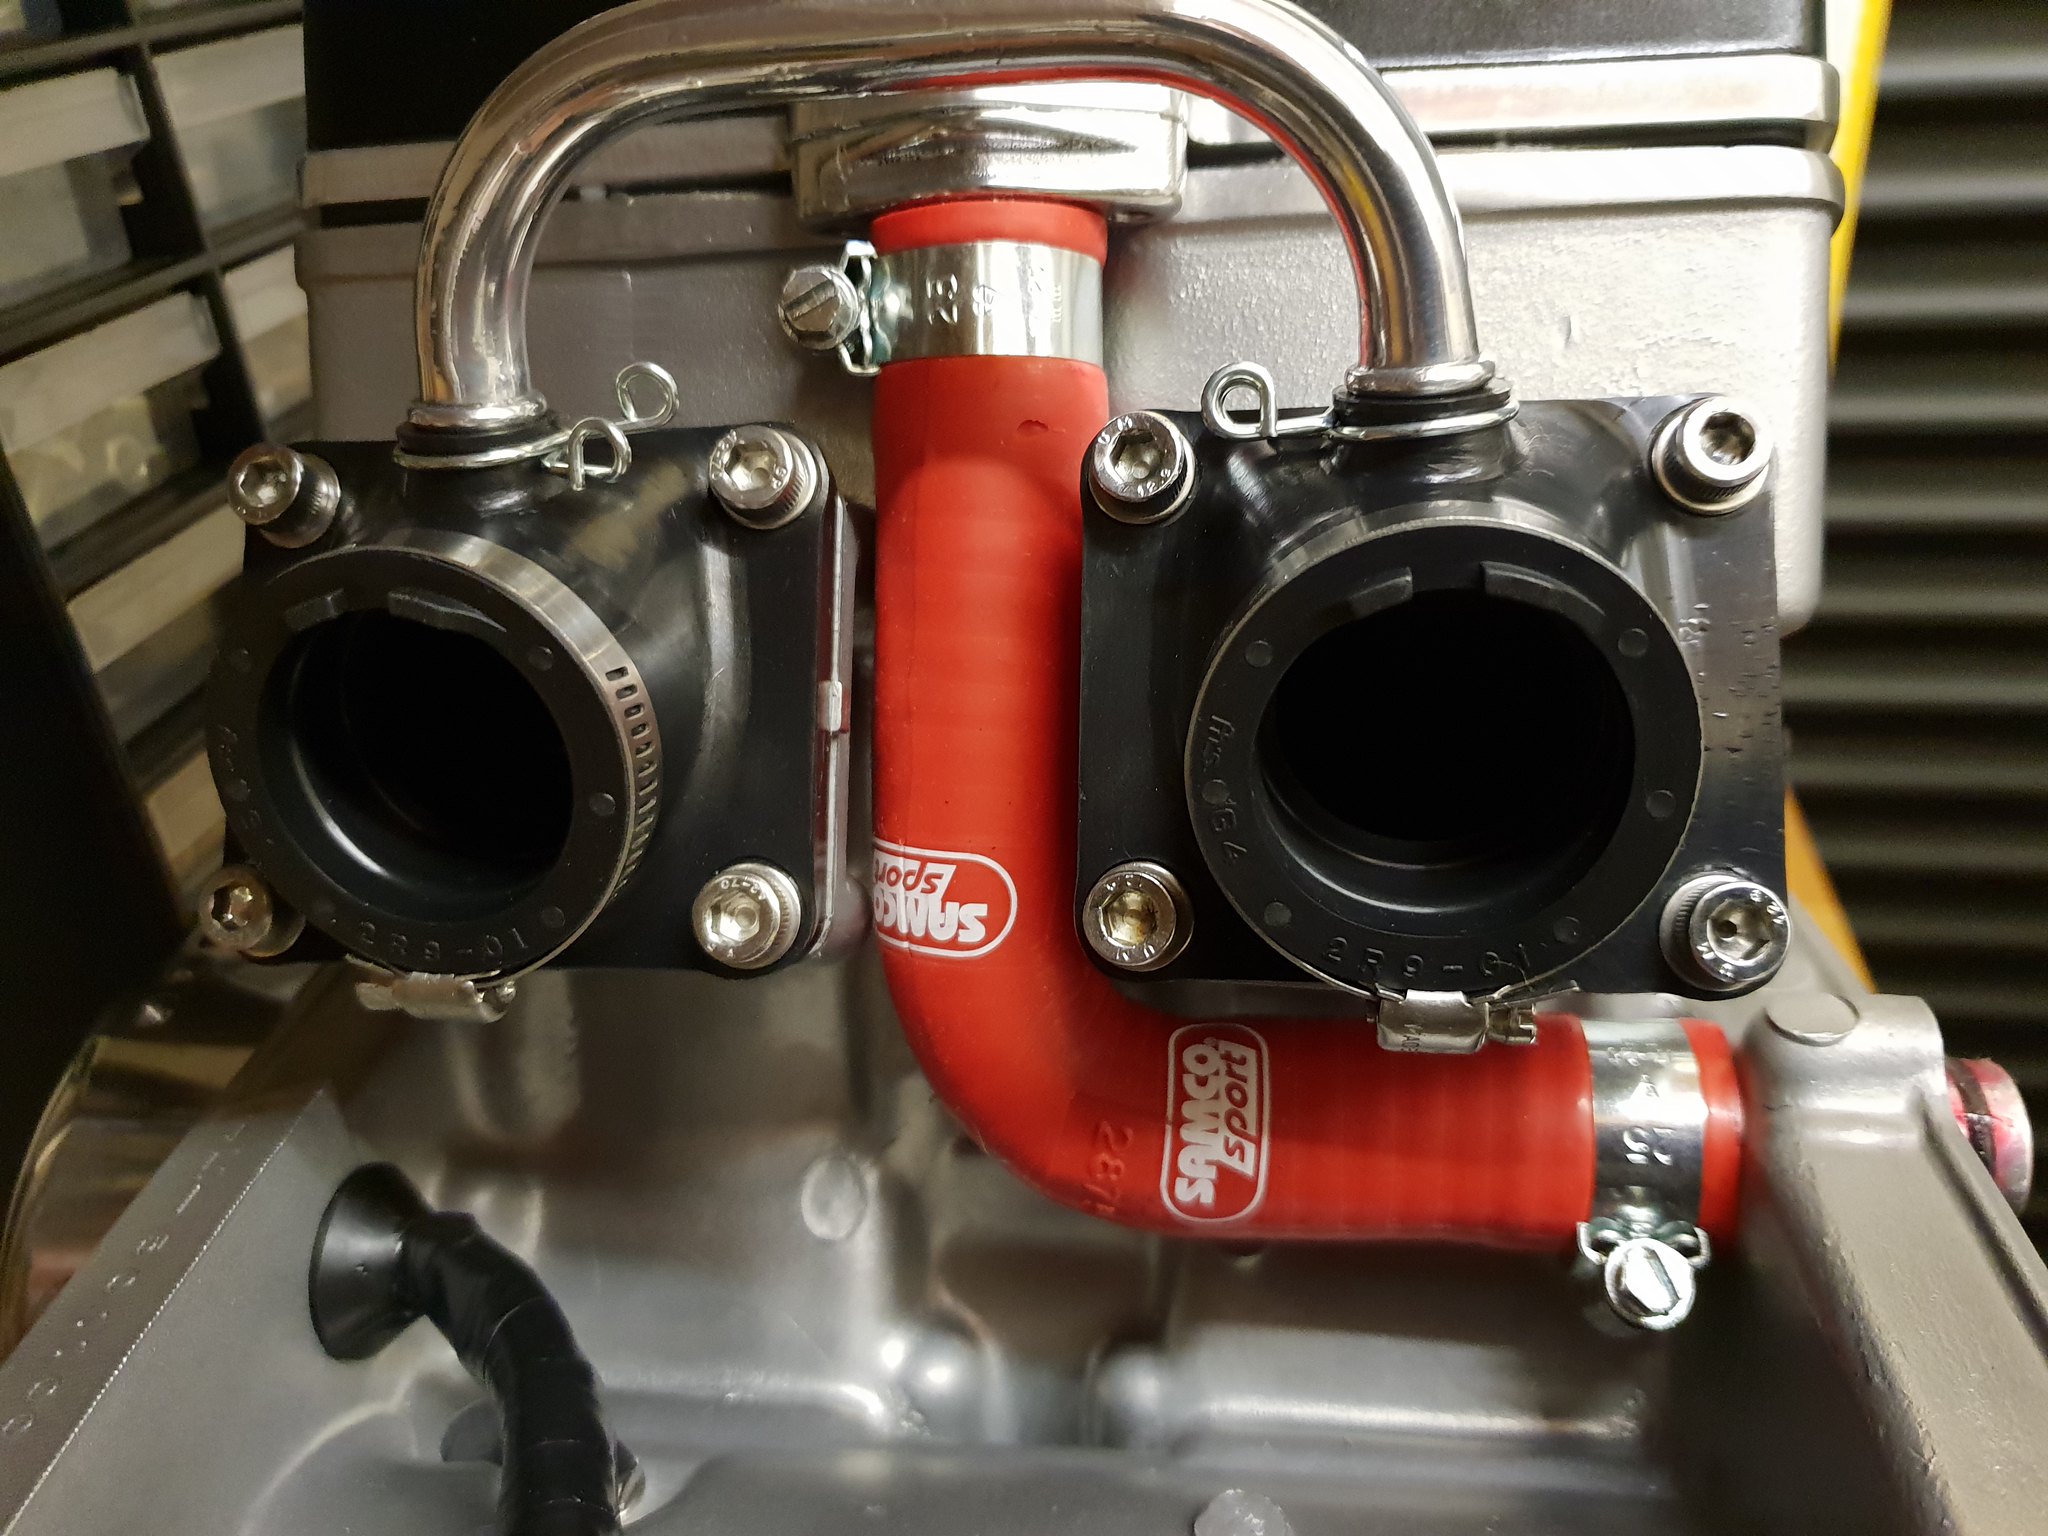 20181229_104203 20181229_104203 by David Miller, on Flickr I'm going to pop the clutch case on temporarily and fit the engine back in the frame. I can time it, once I get a dial gauge, with the engine in the frame. Clutch case had some bad screwdriver damage where a previous owner has prised the circular disc out. I dressed the damage back with a Dremel and some abrasive pads. It was already stripped of paint and semi polished, but it's gonna be powdercoated satin black; 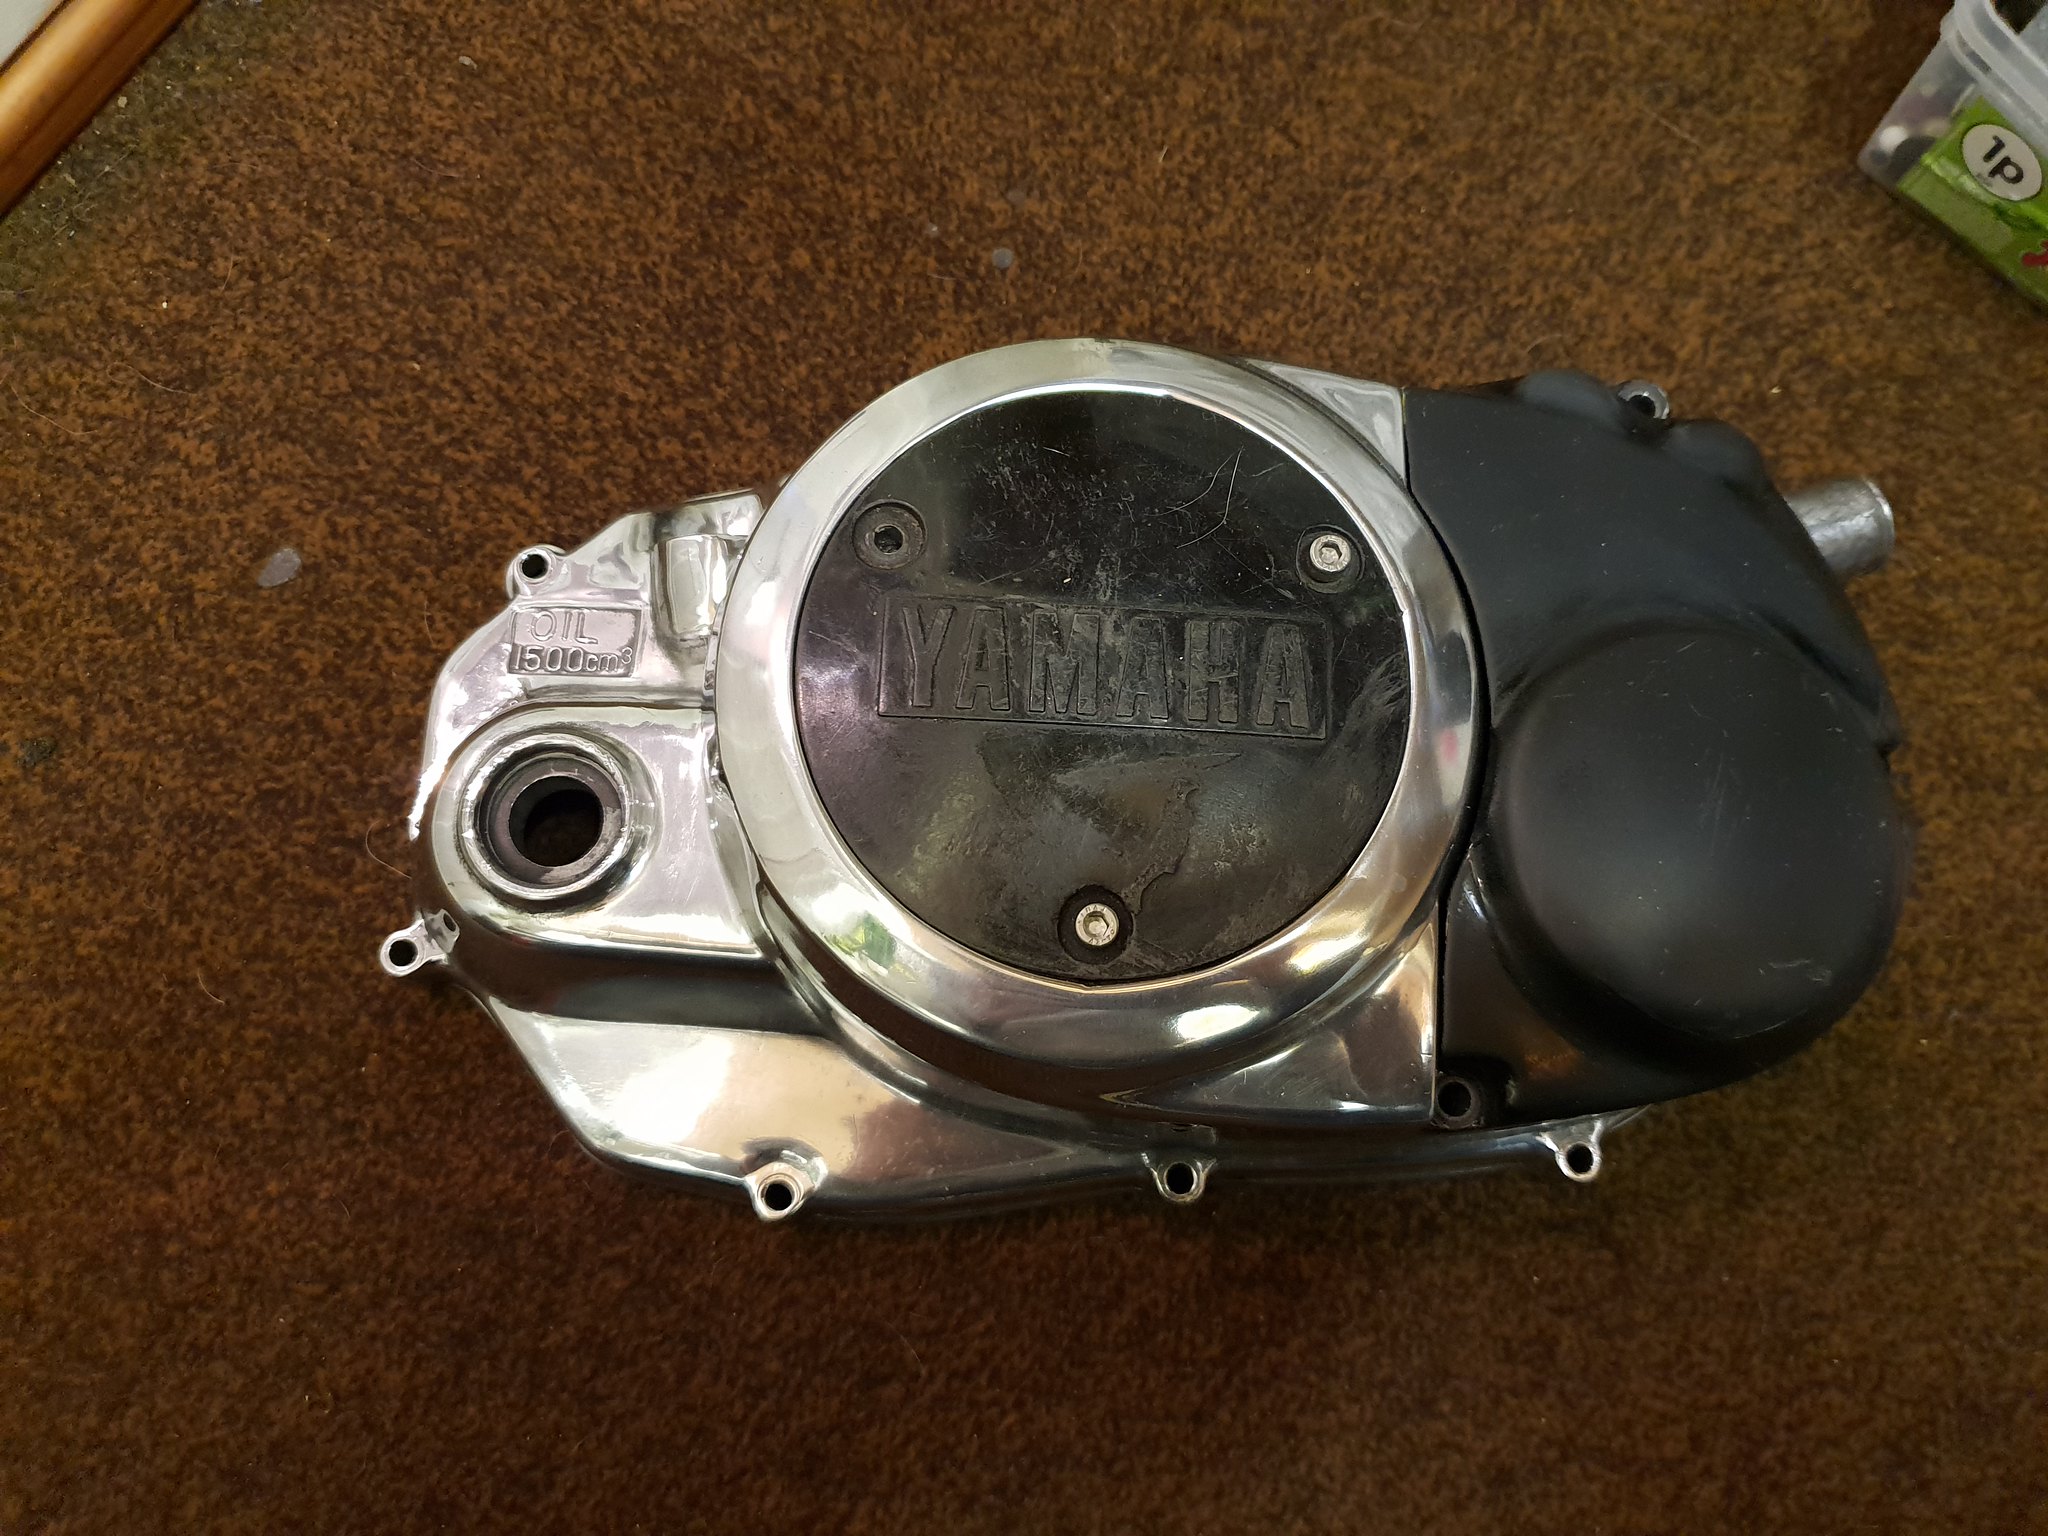 20181229_104301 20181229_104301 by David Miller, on Flickr Dusty  |
|
|
|
Post by dusty350 on Dec 29, 2018 16:01:17 GMT 1
Engine is now back in the frame - first time the engine has been in since I've owned the bike; 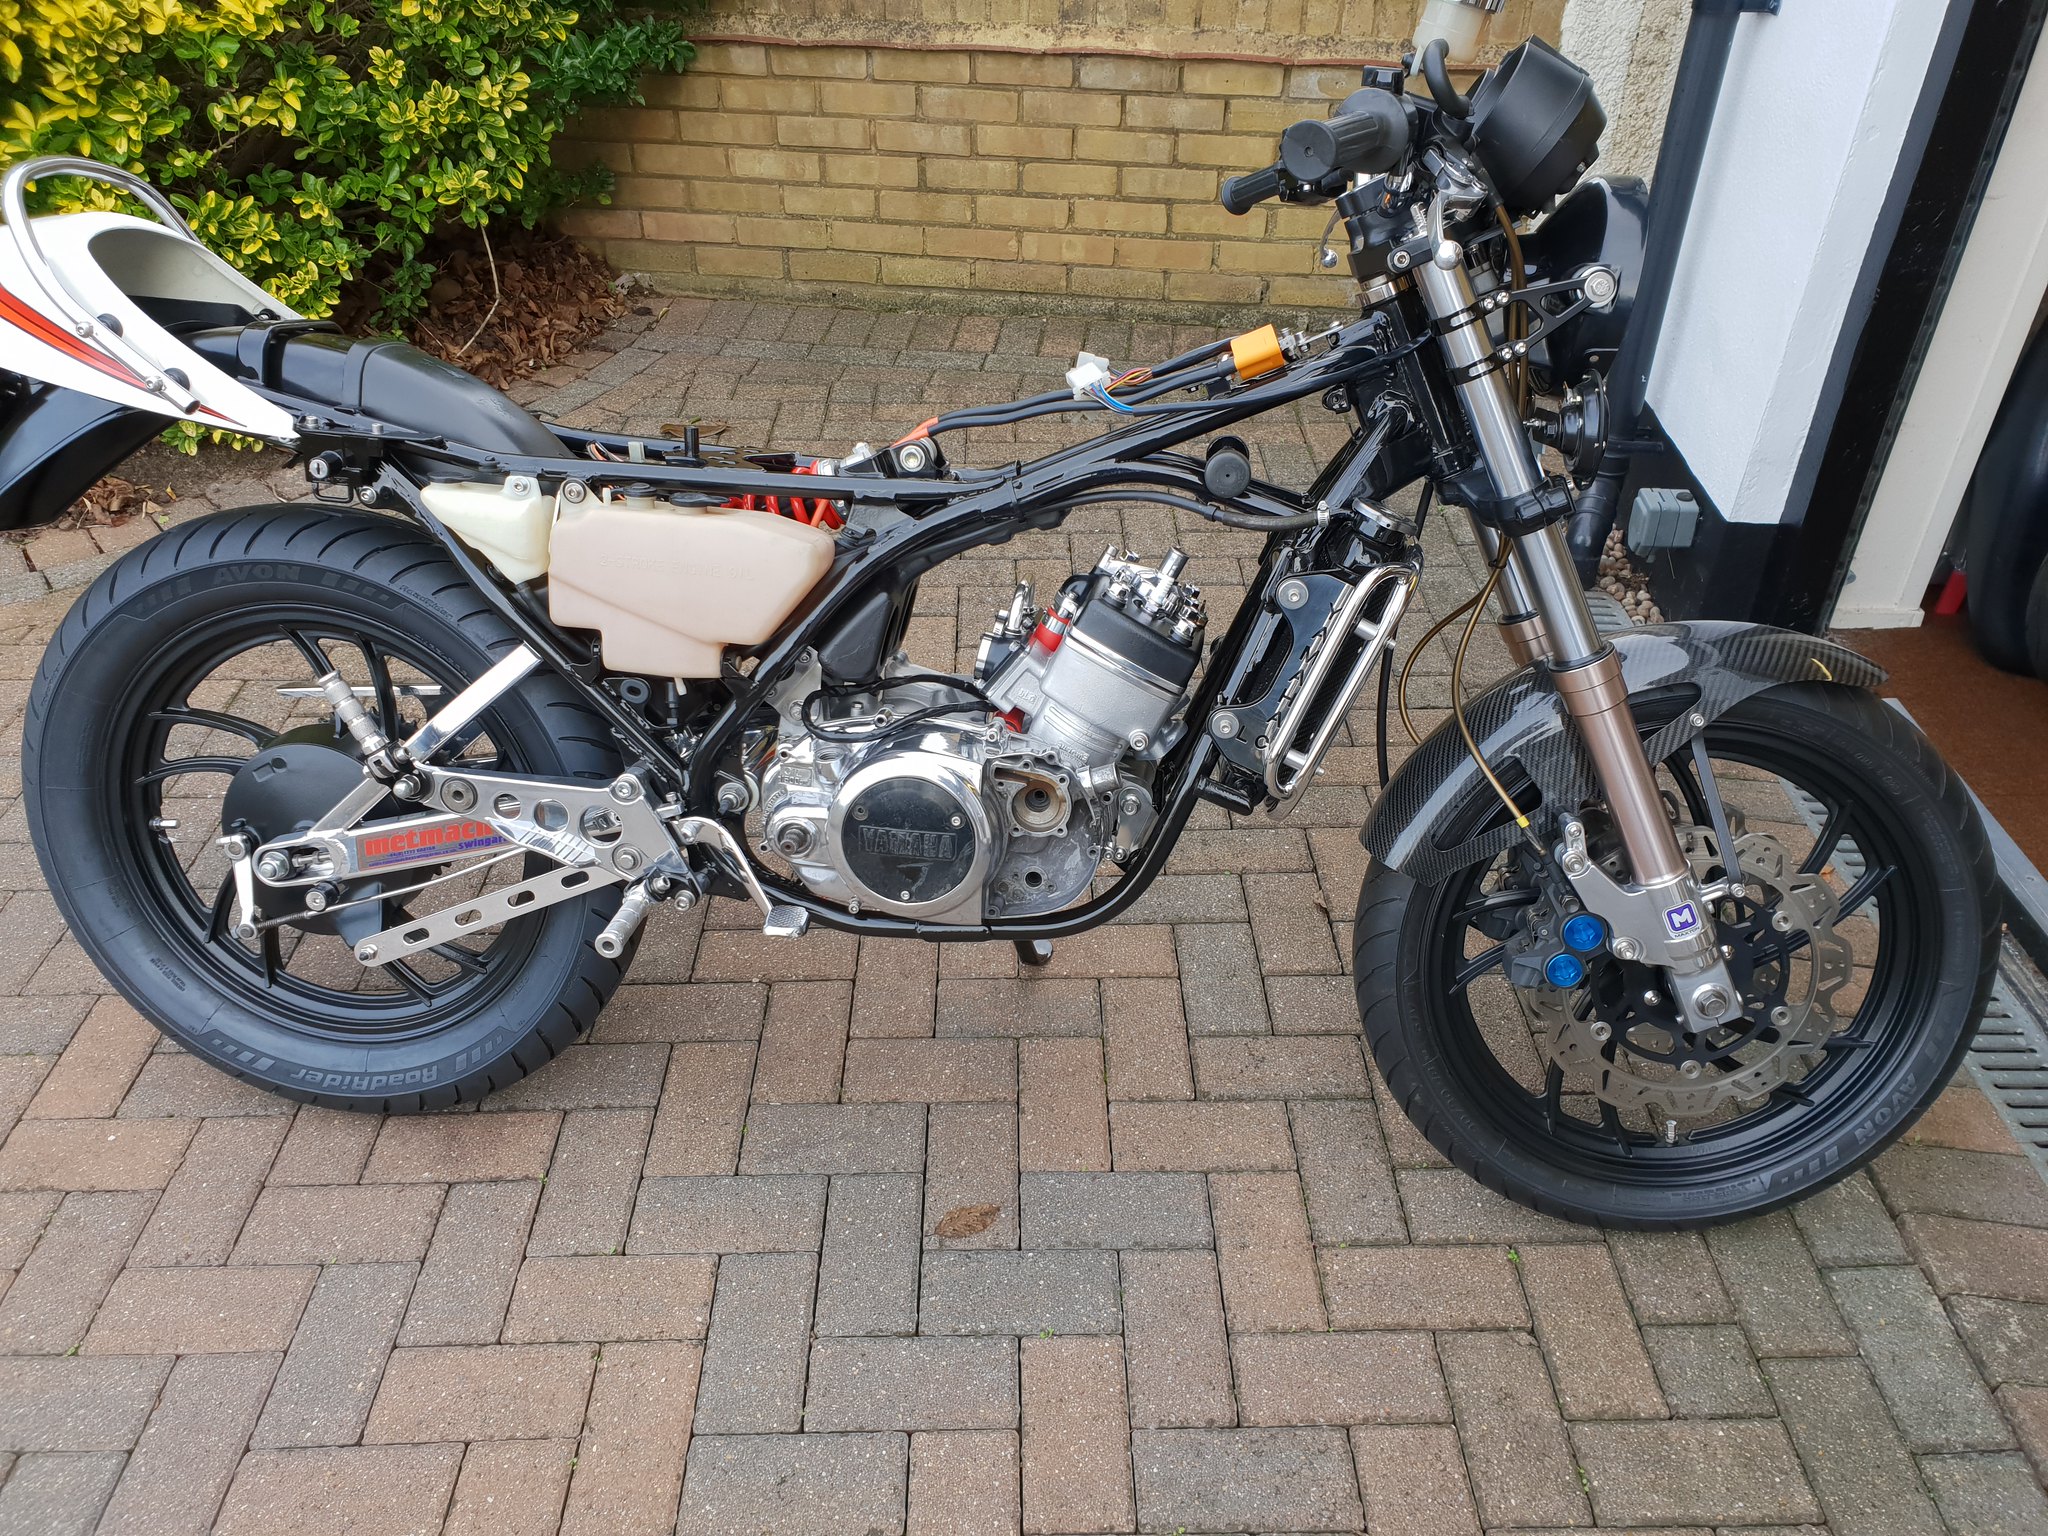 20181229_133346 20181229_133346 by David Miller, on Flickr 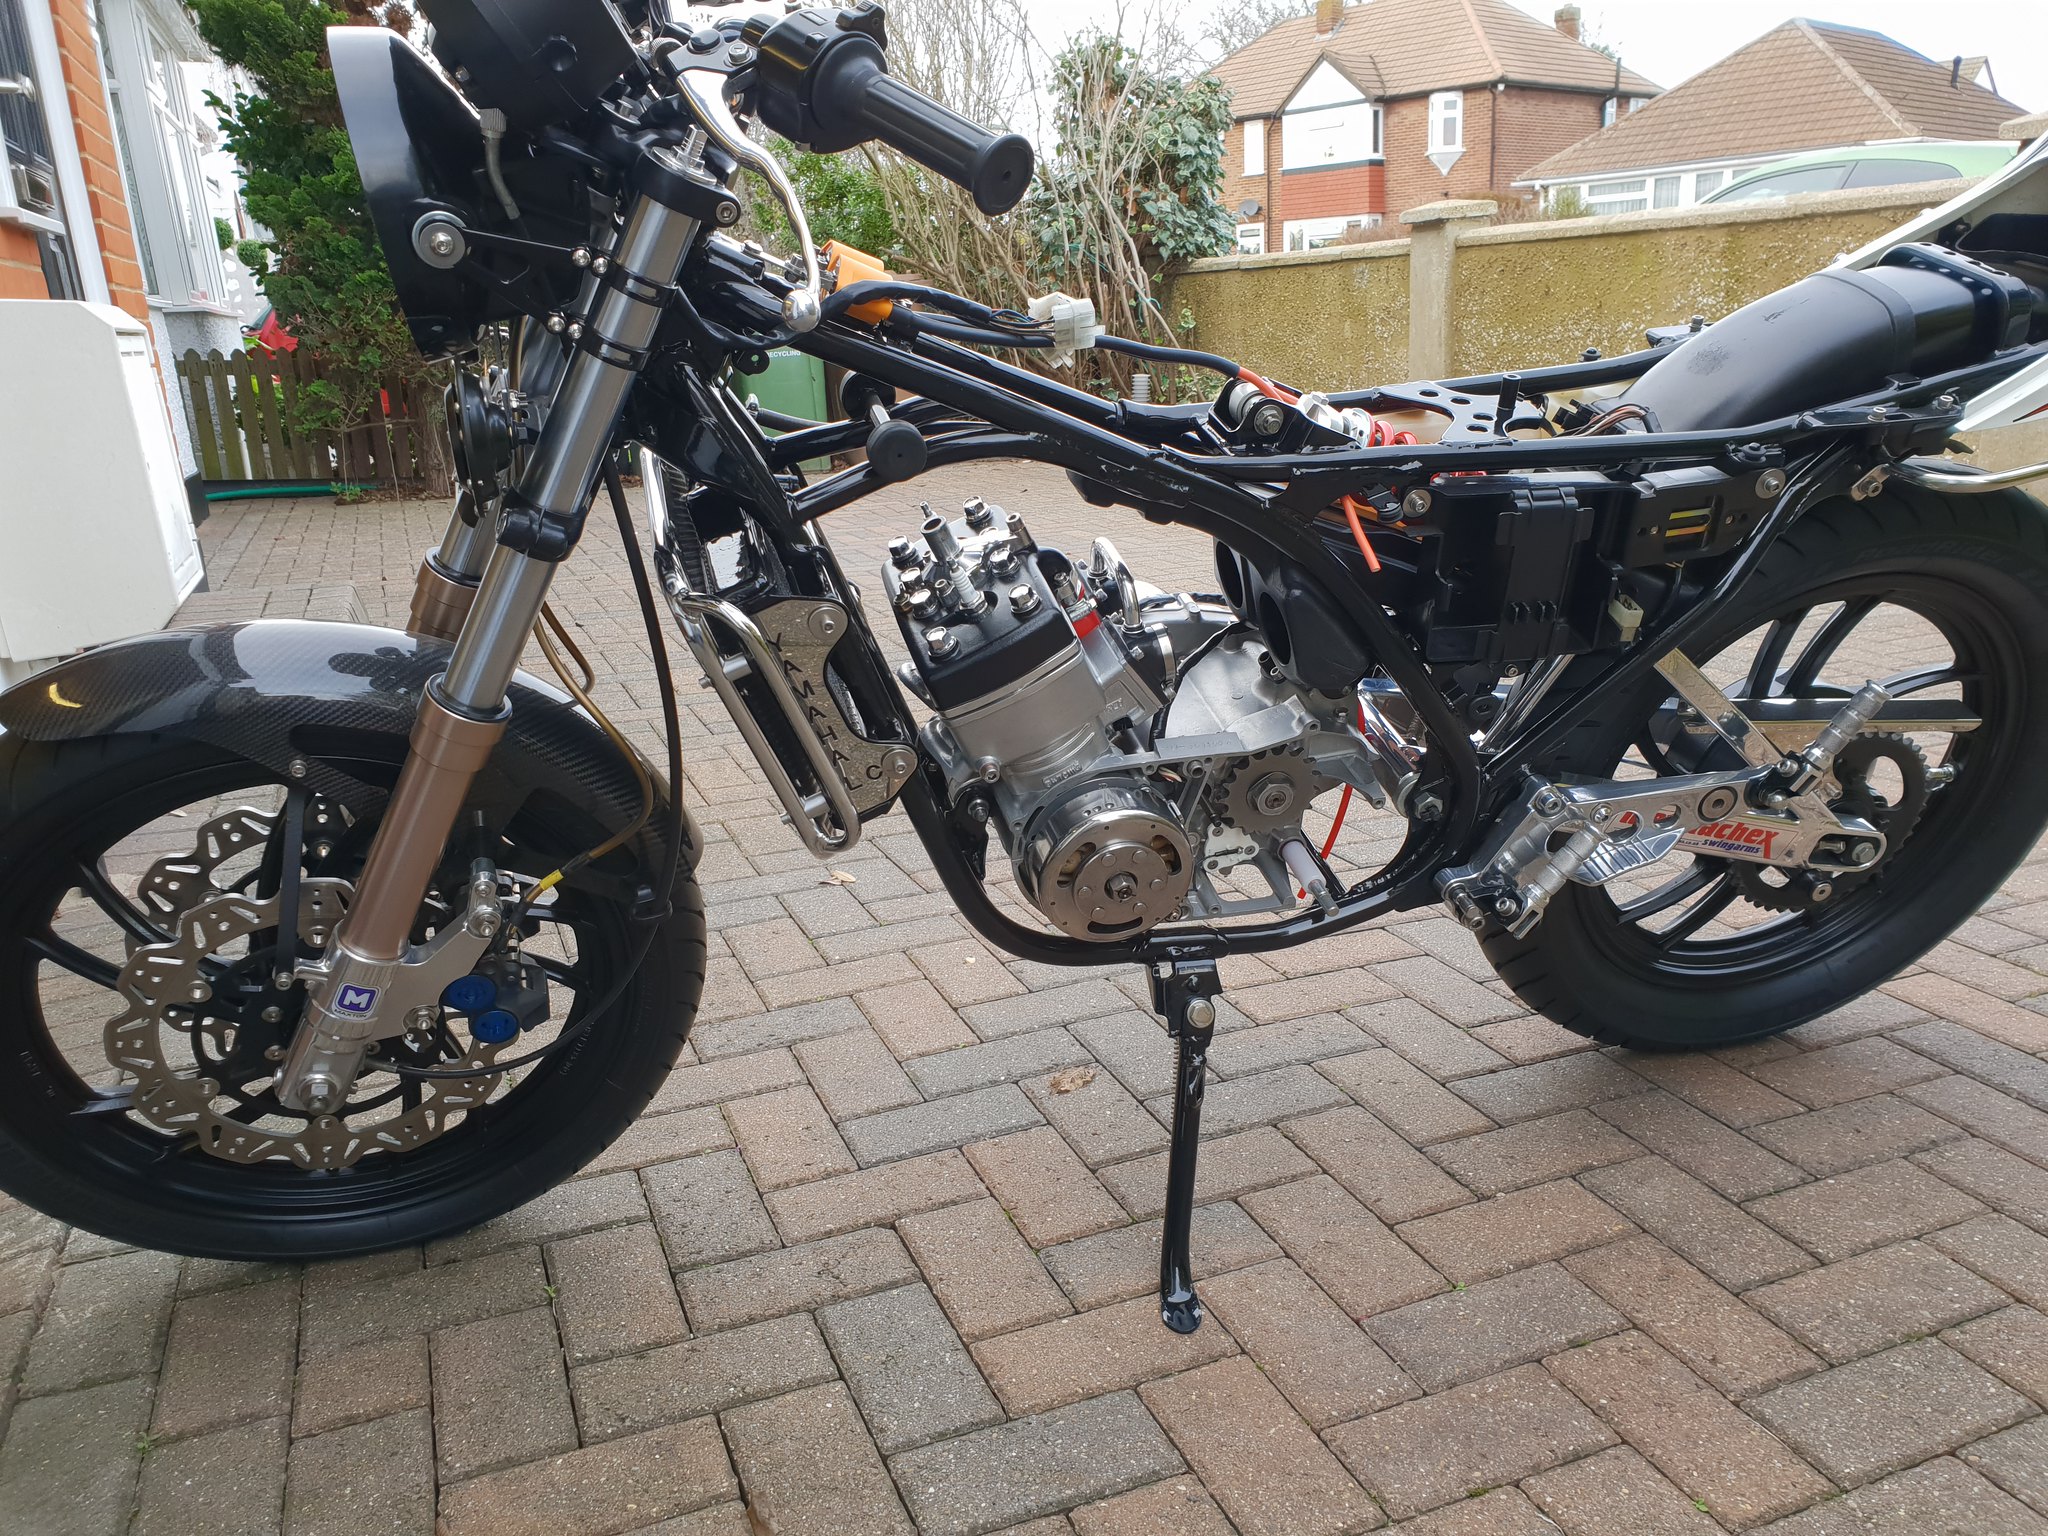 20181229_133401 20181229_133401 by David Miller, on Flickr Whilst securing the side case, I found a stripped thread on one of the lower casing holes so I need to repair that - I can get to it with the engine in the frame. Dusty  |
|
|
|
Post by alankelly on Dec 29, 2018 16:32:51 GMT 1
Hi Dusty
Looking good as always 👍👍
Have a great new year
Best wishes Al
|
|
|
|
Post by dusty350 on Dec 29, 2018 16:34:30 GMT 1
Cheers Alan Happy New year to you too  Regards Dusty  |
|
|
|
Post by panzermatt on Dec 29, 2018 17:49:01 GMT 1
i cant imagine anyone saying this about your work.
|
|
|
|
Post by bezzer on Dec 29, 2018 18:41:13 GMT 1
Looks great back in the chassis Dusty 👍🏻, those discs and the carbon muddy look sooooo pornographic!!! 😁
|
|
|
|
Post by 350guy on Dec 30, 2018 1:51:52 GMT 1
Season's greetings Dusty!
As always, you are indeed a great source of inspiration.
I was going thru this thread, and on page #4, seems like the lock on the nut that holds the clutch basket is wrongly placed??
Cause the little tab on the lock needs to be lifted against the nut once the nut is tightened to prevent it from loosening I would suppose...
I also looked at the pictures of my engine at the time I had disassembled.....at are a few pictures. if you zoom in you will be able to tell..
Unless I've mistaken??
K'rgds,
Daryl
|
|
|
|
Post by 350guy on Dec 30, 2018 1:55:30 GMT 1
|
|
|
|
Post by tacky1 on Dec 30, 2018 4:32:59 GMT 1
Season's greetings Dusty! As always, you are indeed a great source of inspiration. I was going thru this thread, and on page #4, seems like the lock on the nut that holds the clutch basket is wrongly placed?? Cause the little tab on the lock needs to be lifted against the nut once the nut is tightened to prevent it from loosening I would suppose... I also looked at the pictures of my engine at the time I had disassembled.....at are a few pictures. if you zoom in you will be able to tell.. Unless I've mistaken?? K'rgds, Daryl I'm afraid yours is backwards Daryl. The square metal tab goes the opposite way on yours and you then bend the metal washer against the nut. The tab should be on the clutch drum.
|
|
|
|
Post by dusty350 on Dec 30, 2018 10:30:22 GMT 1
Hi Daryl, Hope you are well  Tacky is right, yours is on the wrong way round. That folded tab locates in a cut out in the inner basket - locks the washer in place as you tighten the nut. If you look at the first clutch hub pic on page 4 you can see the folded tab located in the cut out. There is one slightly folded edge on the washer - that's what you press down onto the flat edge of the tightened clutch centre nut; 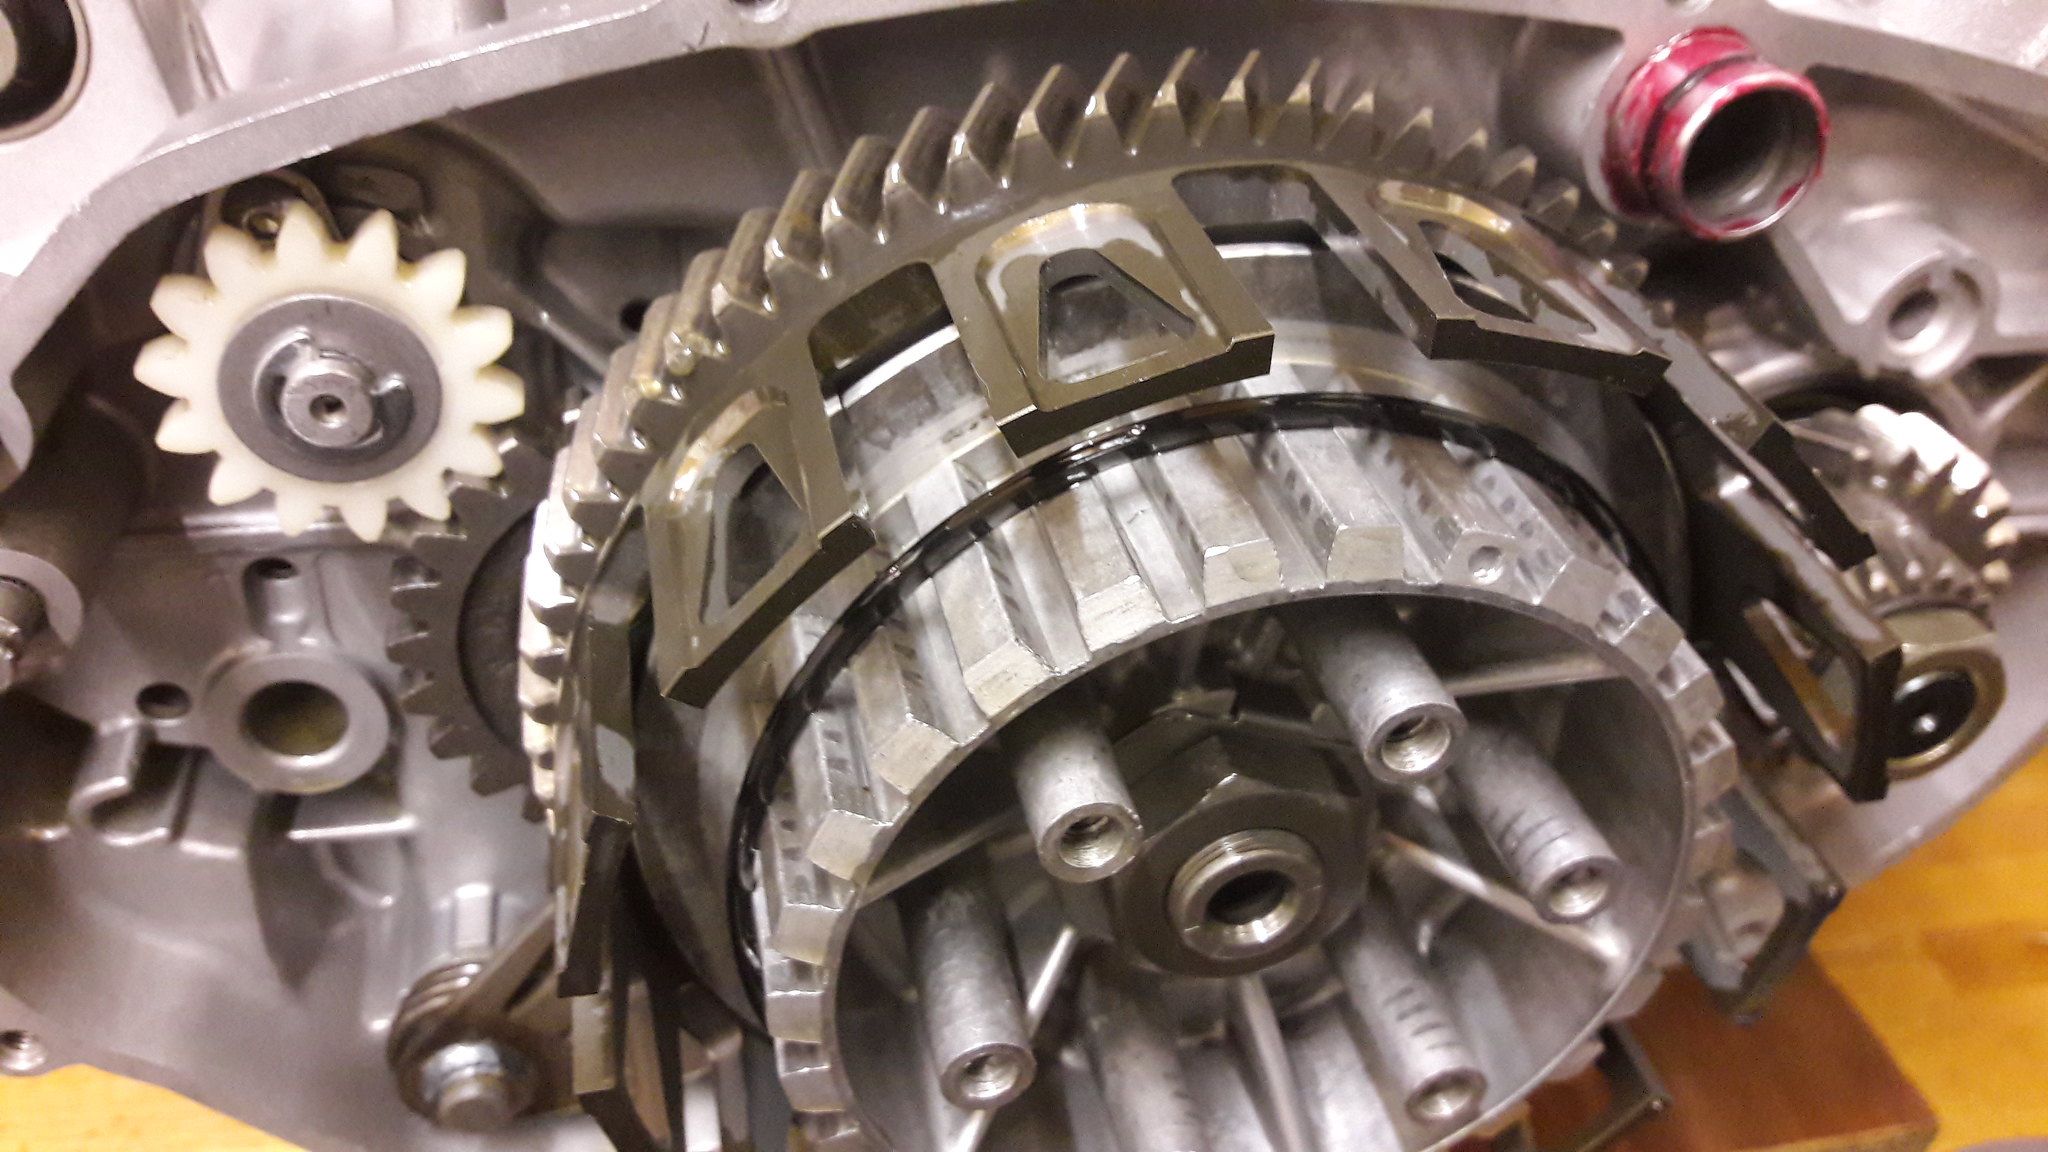 20181216_115111 20181216_115111 by David Miller, on Flickr 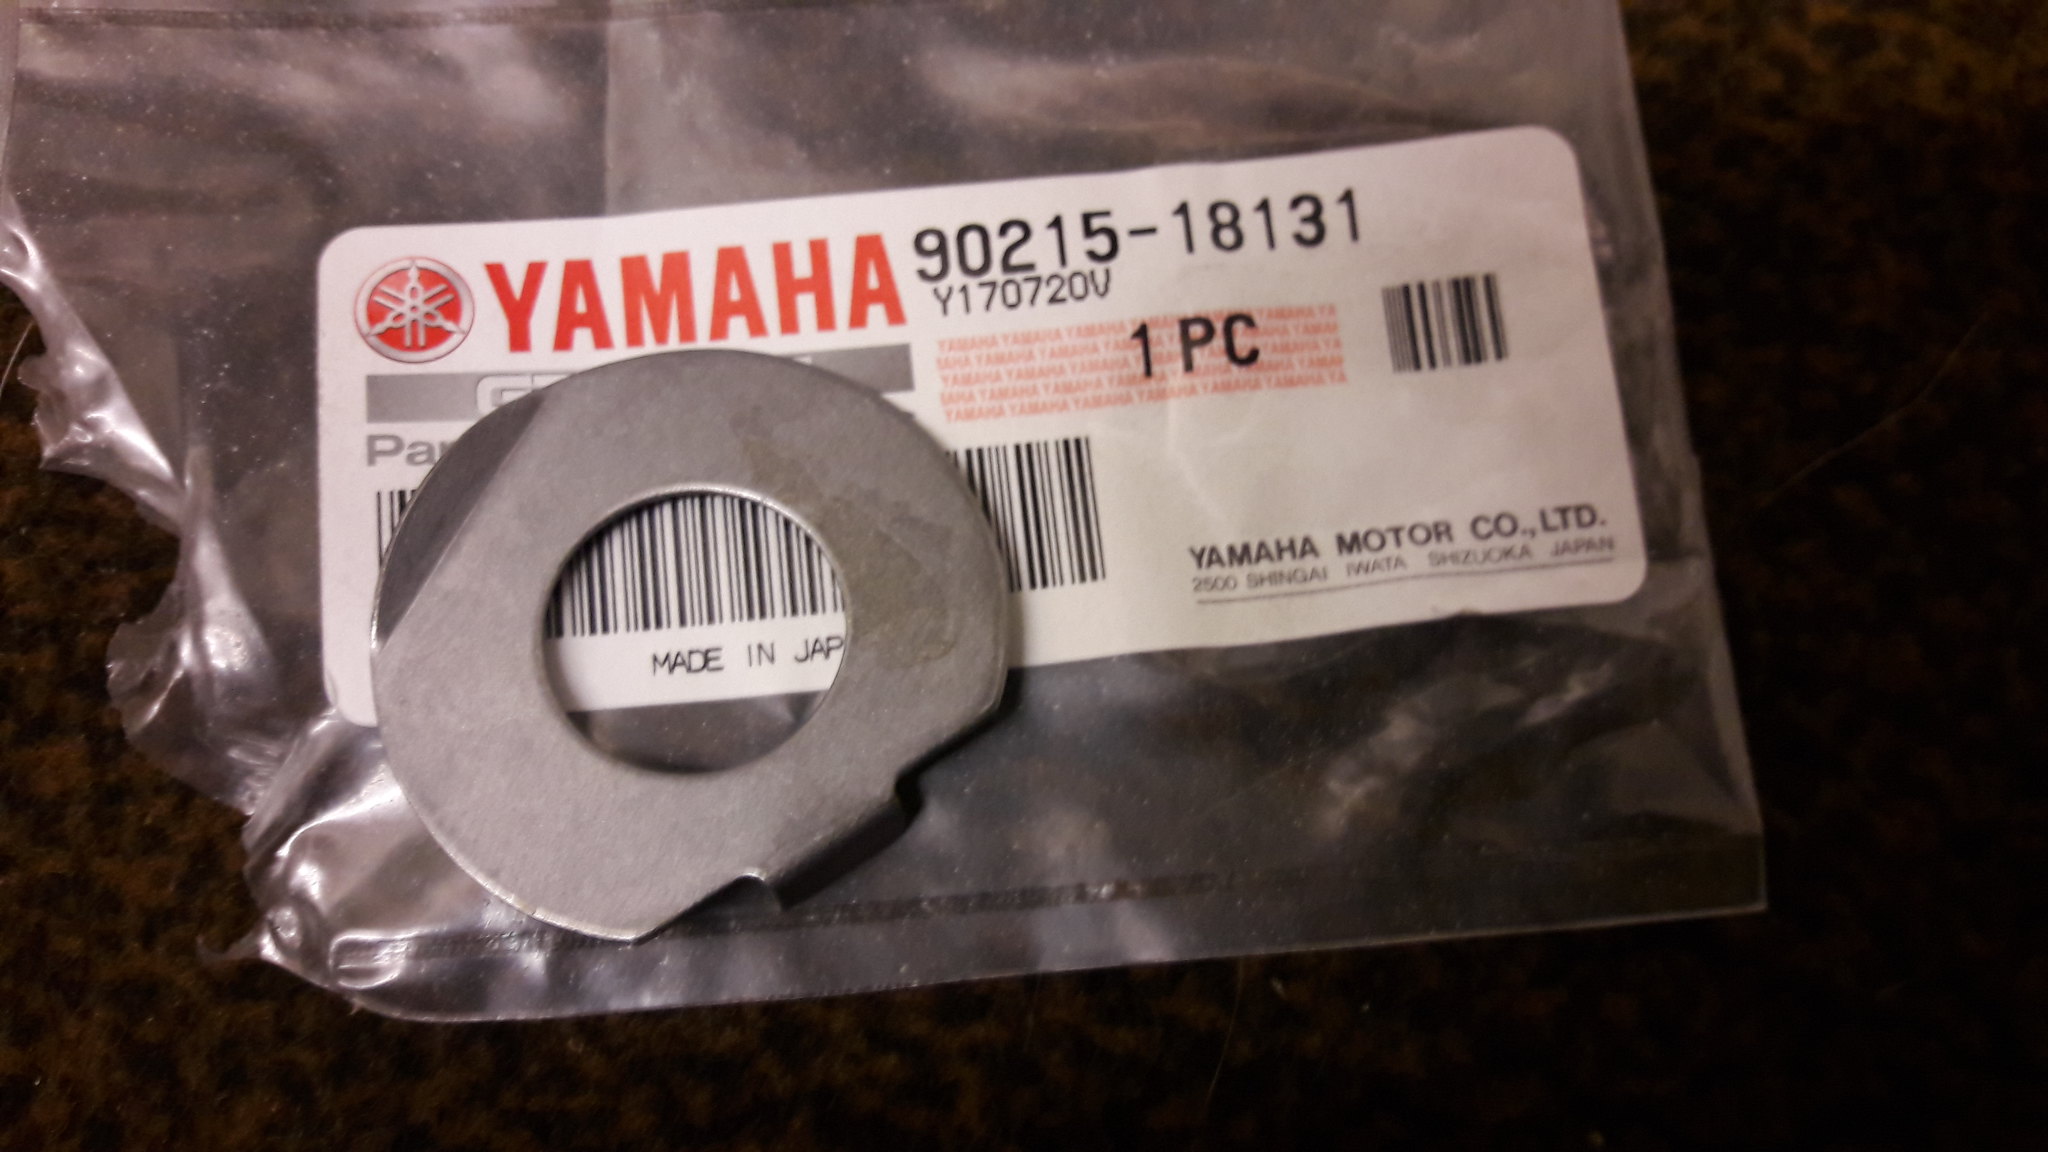 20181202_131742 20181202_131742 by David Miller, on Flickr Hth Dusty  |
|
dbgr
Drag-strip hero
 
Posts: 204
|
Post by dbgr on Dec 30, 2018 10:38:47 GMT 1
Hi Dusty, just out of interest what size is the centre nut and what tourque is it tightened to.. thanx
|
|
|
|
Post by dusty350 on Dec 30, 2018 10:51:43 GMT 1
Hi You'll need a 32mm socket and torque it to 47ft/lb. I got my lad to hold it whilst I torqued it on the bench, and used the clutch holding tool and the flattened copper pipe as the engine wants to flip over otherwise. Dusty  |
|
|
|
Post by 350guy on Dec 30, 2018 17:41:42 GMT 1
Hi Tacky and Dusty! I stand corrected, you guys are certainly the LC guru's!
Clearly, mine was totally wrong in the first place. Those were the pictures from last year when I begun disassembly and now slowly beginning to put it together.....once again, I stand corrected. Thank you so much.
K'rgds,
Daryl
|
|
|
|
Post by hudtm60 on Feb 18, 2019 5:26:16 GMT 1
Daryl Tacky and Dusty
thanks for making this public...I did exactly the same thing, I had the square tab against the nut! luckily had only just finished the clutch, didn't have any grinding paste to lap the rotor so was just browsing when I read about it so am able to rectify without too many tears.
This forum never ceases to amaze me, has brought me more help and joy than religion.
|
|