|
|
Post by dusty350 on Dec 14, 2018 8:01:43 GMT 1
I always use genuine where possible. They are relatively cheap. I just imagine the possible carnage if an inferior item fails😣
Dusty
|
|
|
|
Post by Mr Kipling on Dec 14, 2018 14:12:06 GMT 1
cracking job on the engine bud , great write up n pic,s too...
|
|
|
|
Post by dusty350 on Dec 17, 2018 20:44:11 GMT 1
Cheers Mr K  The clutch plates that I found in the box of engine parts looked a little tired, so I bought a set of Ebc plates and springs from Martin at MBD; 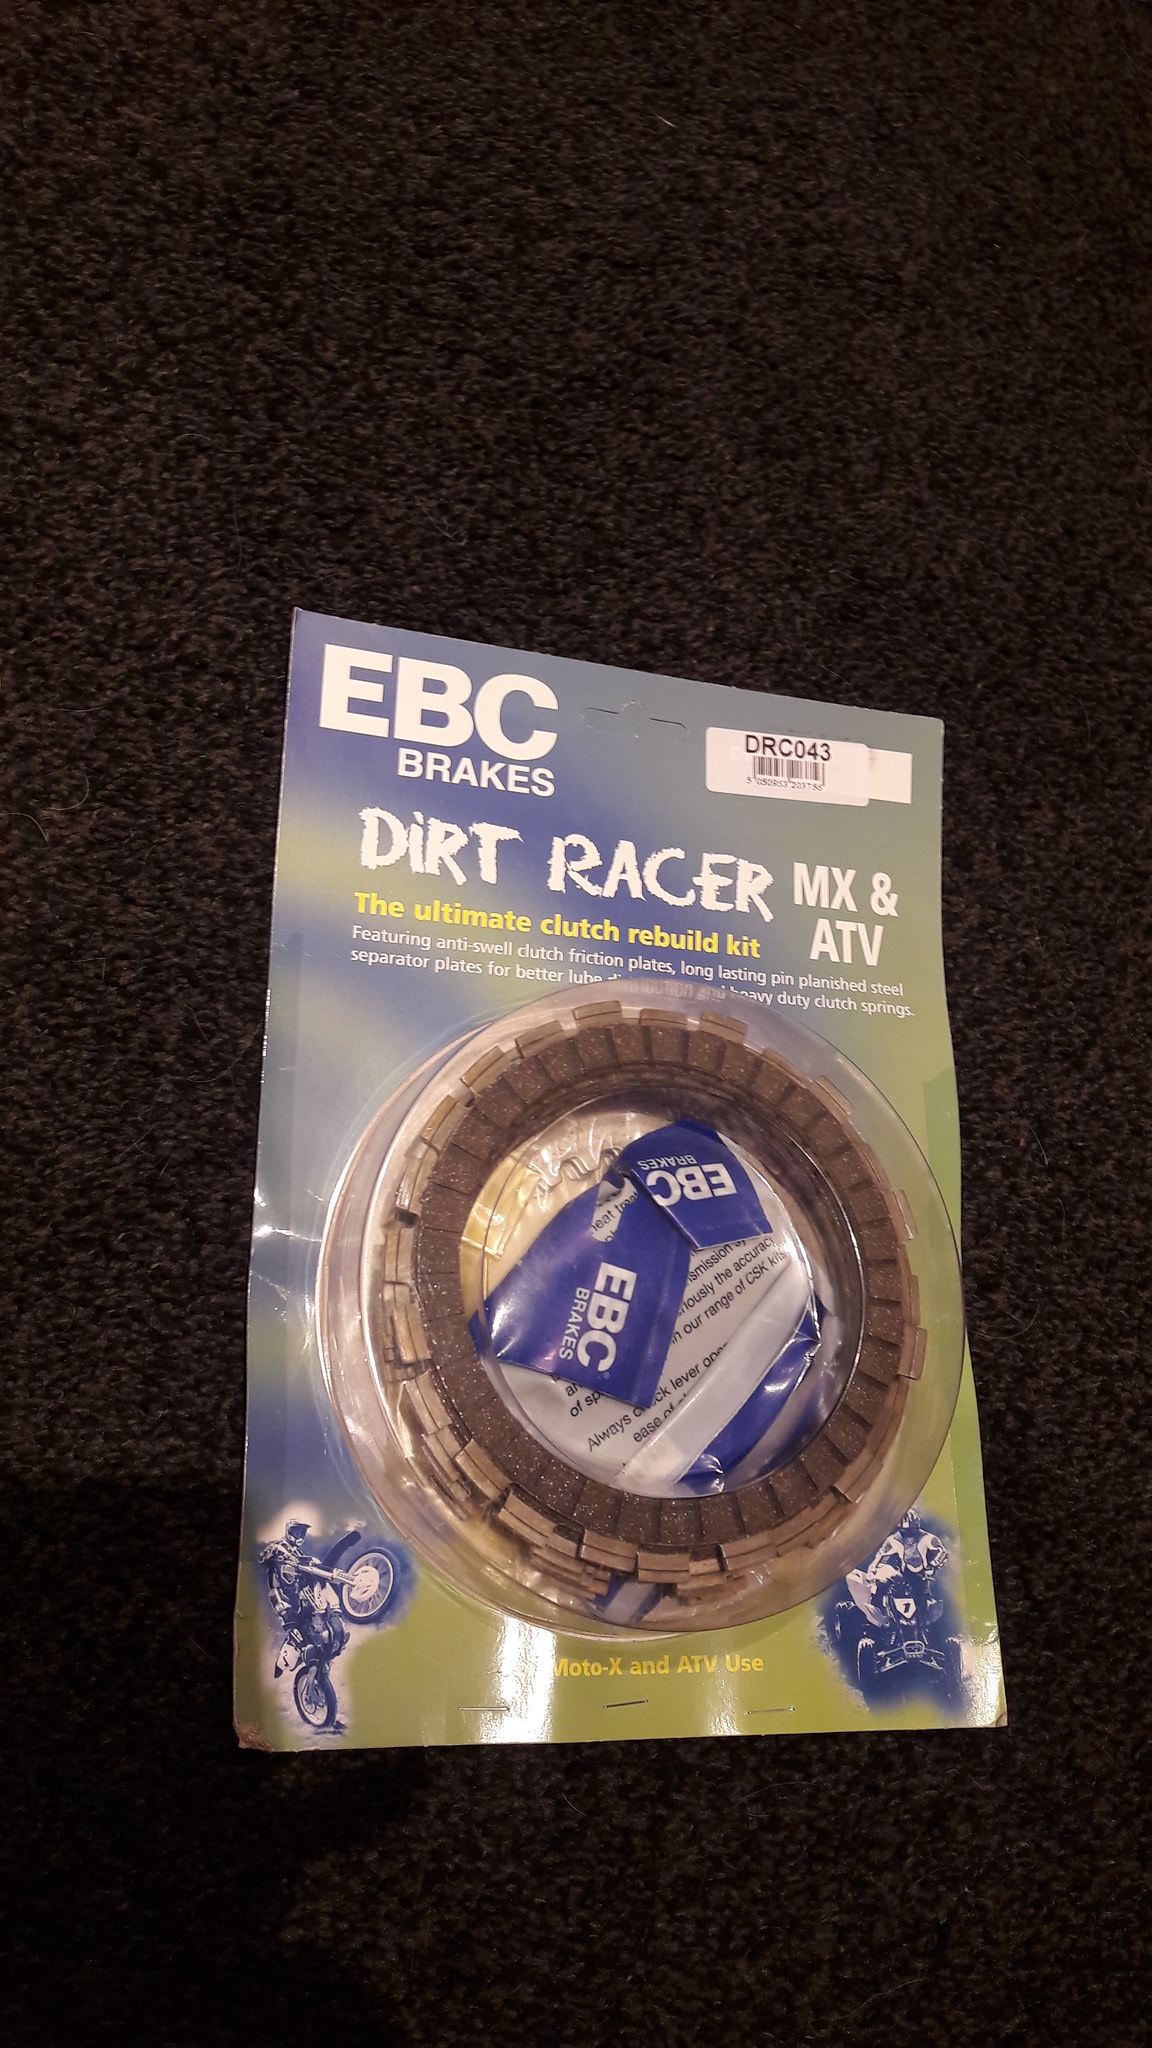 20181207_103737 20181207_103737 by David Miller, on Flickr First job is to soak the friction plates in fresh gear oil - I used the blister pack from the packaging it all came in; 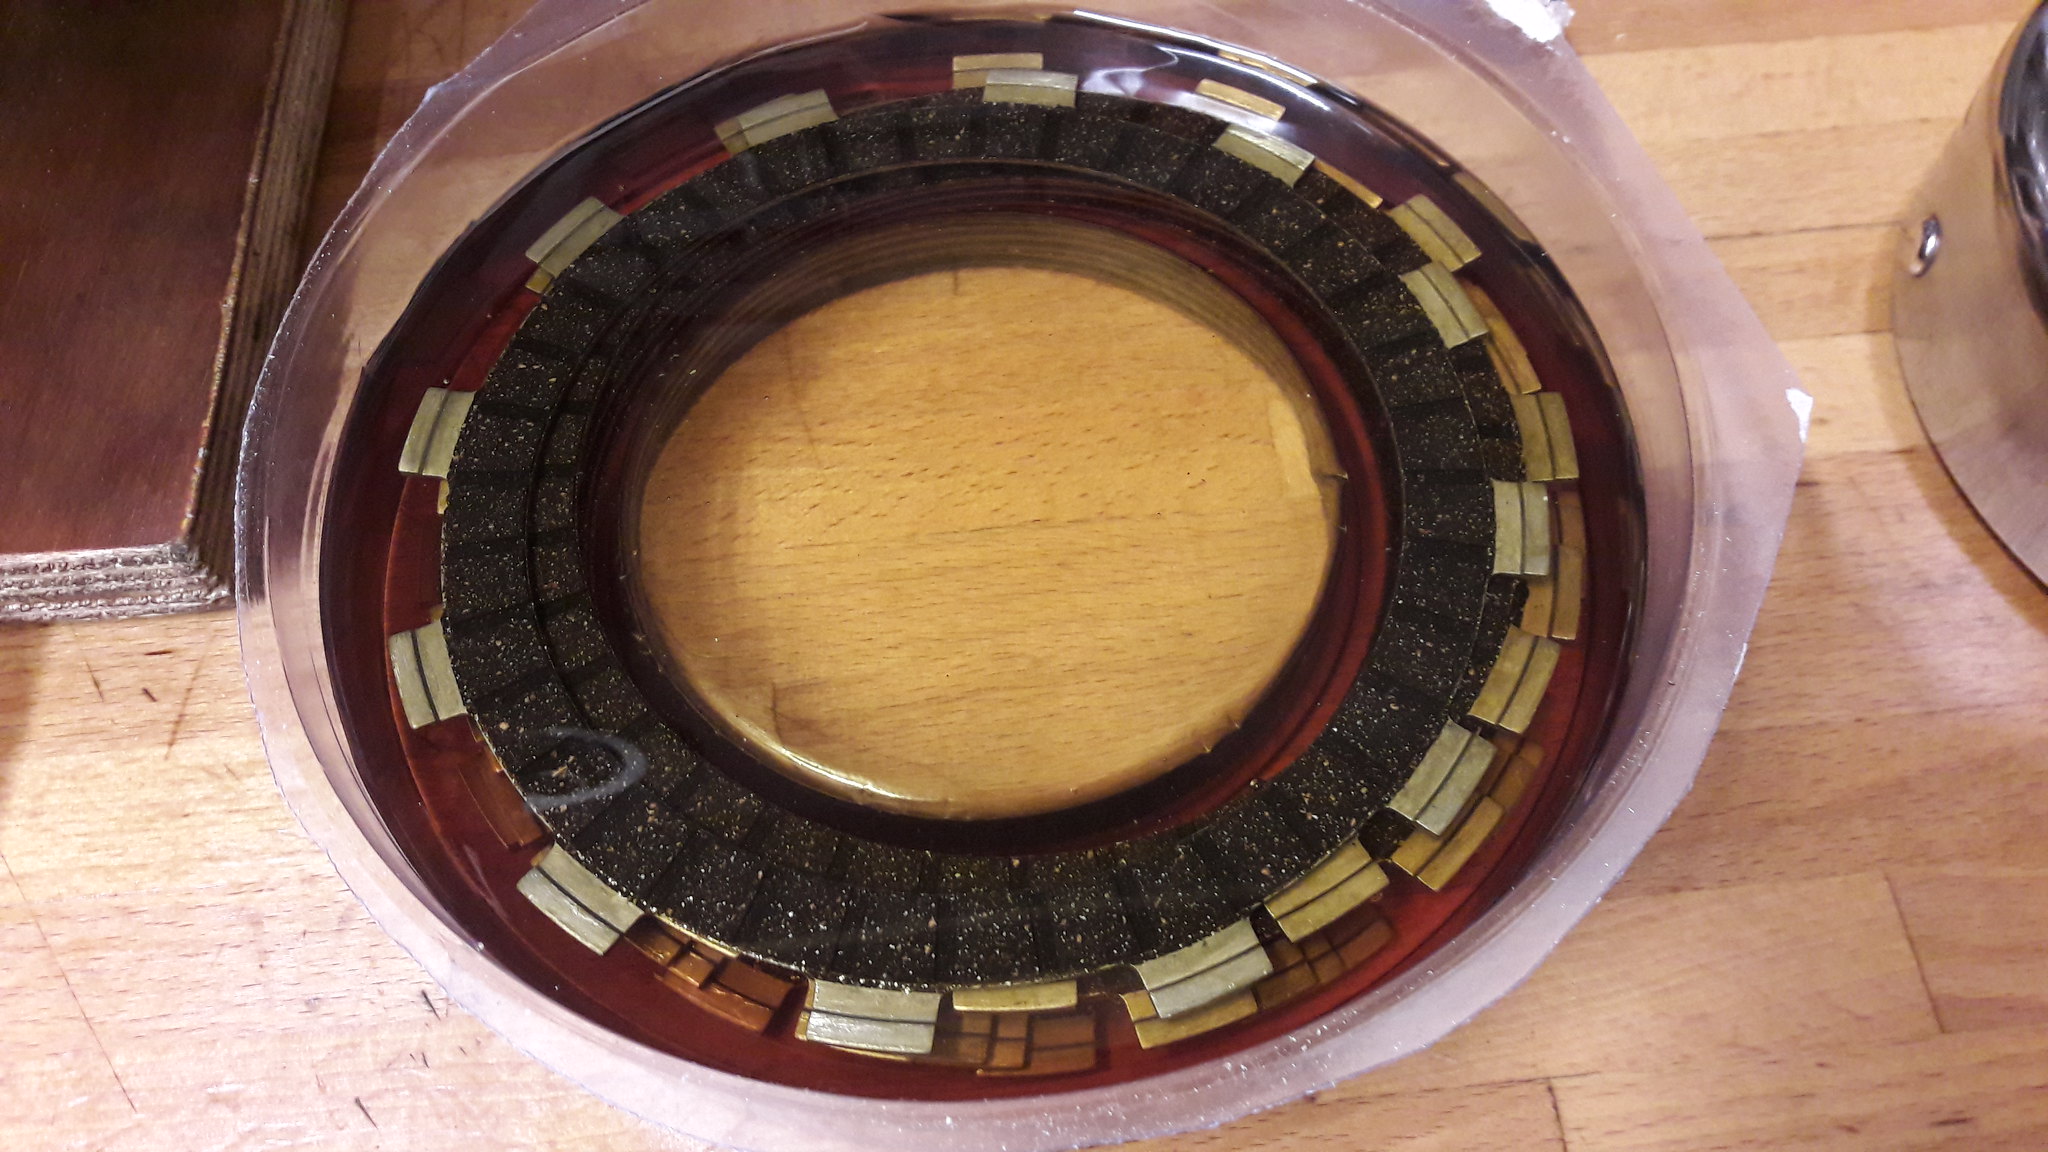 20181207_104034 20181207_104034 by David Miller, on Flickr I start with the mark on the inner hub at the 12 o clock position. A rubber damper goes on first; 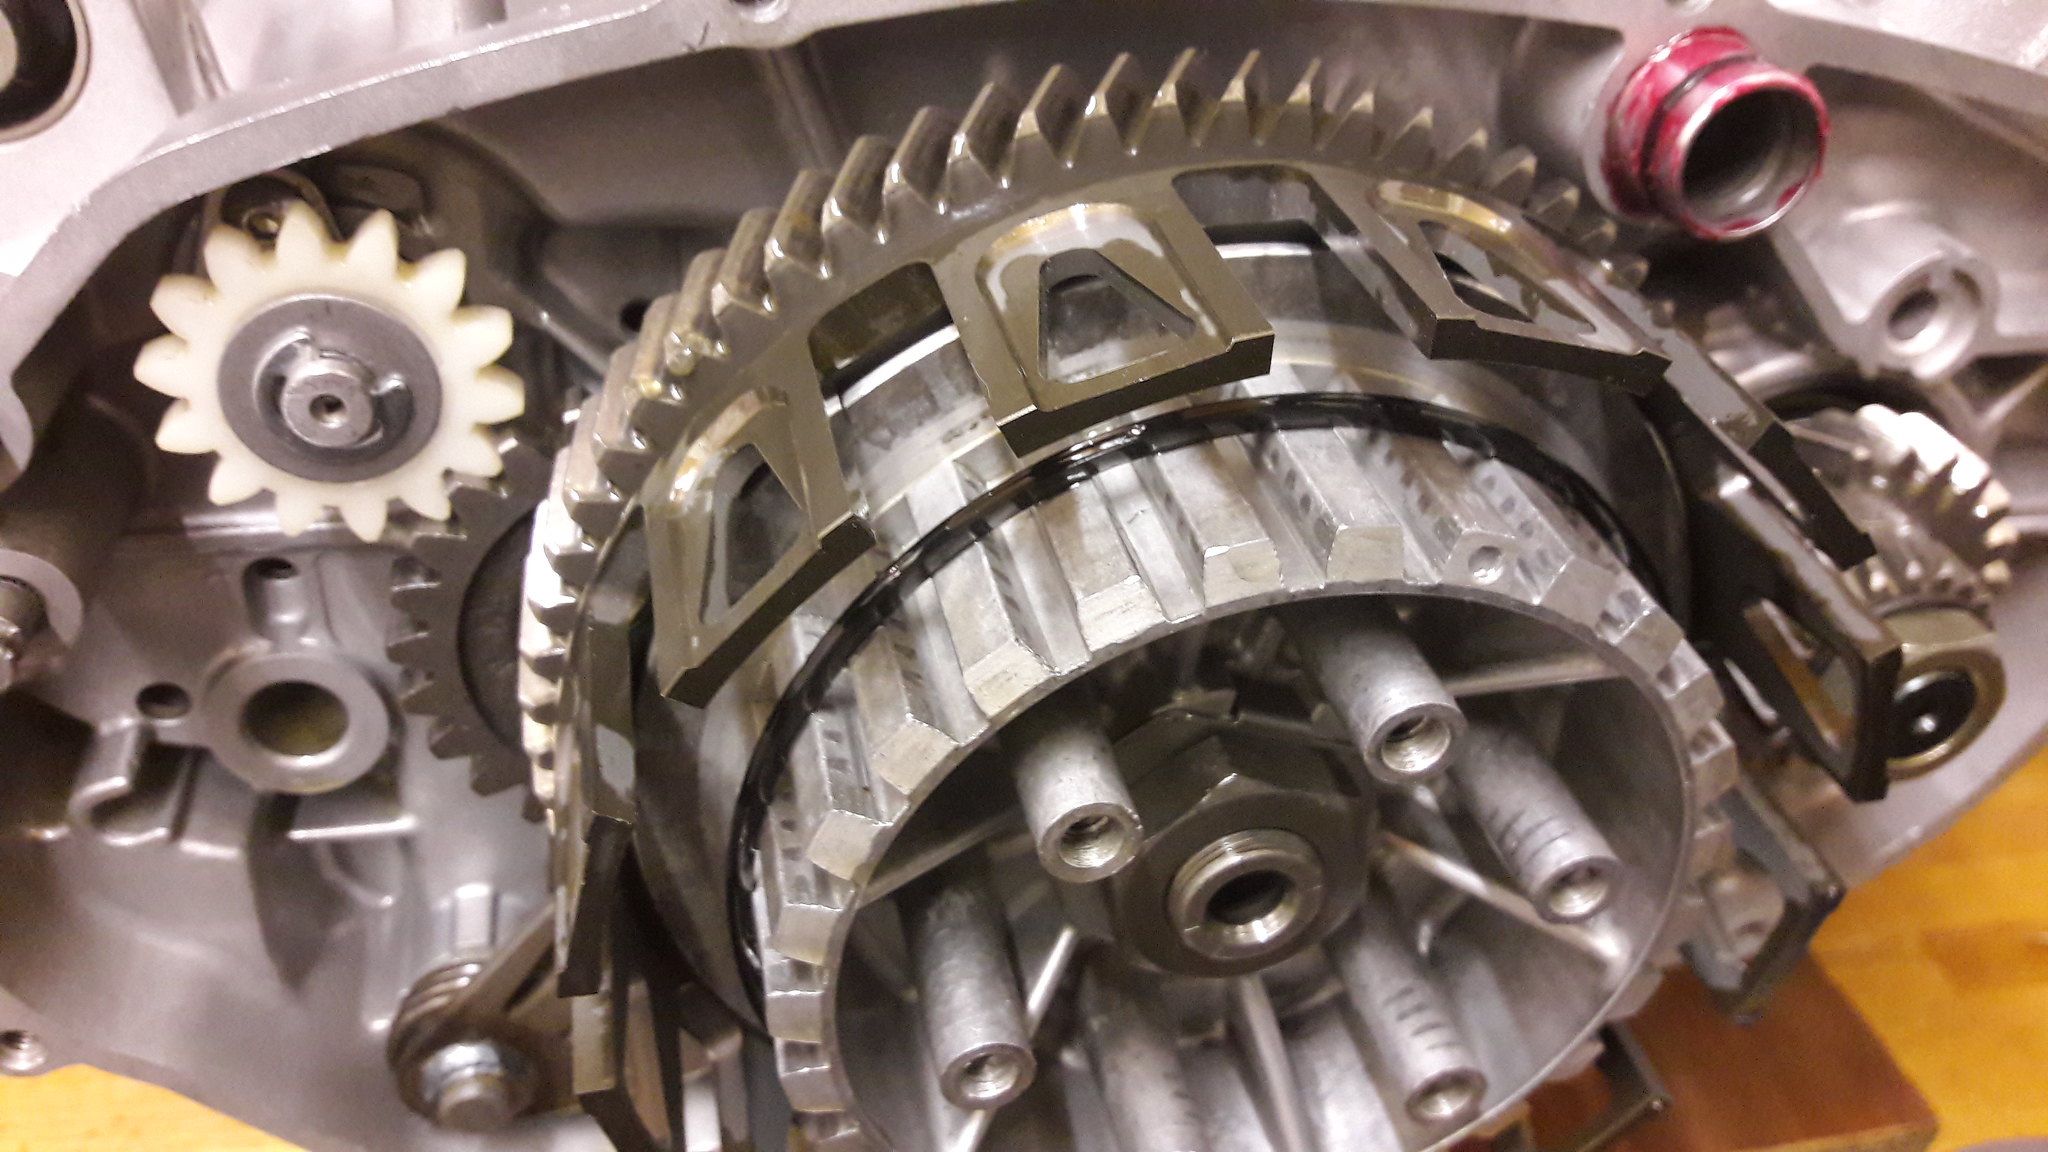 20181216_115111 20181216_115111 by David Miller, on Flickr Then a friction slides on - it actually sits on top of the damper ring so may need some gentle pressure; 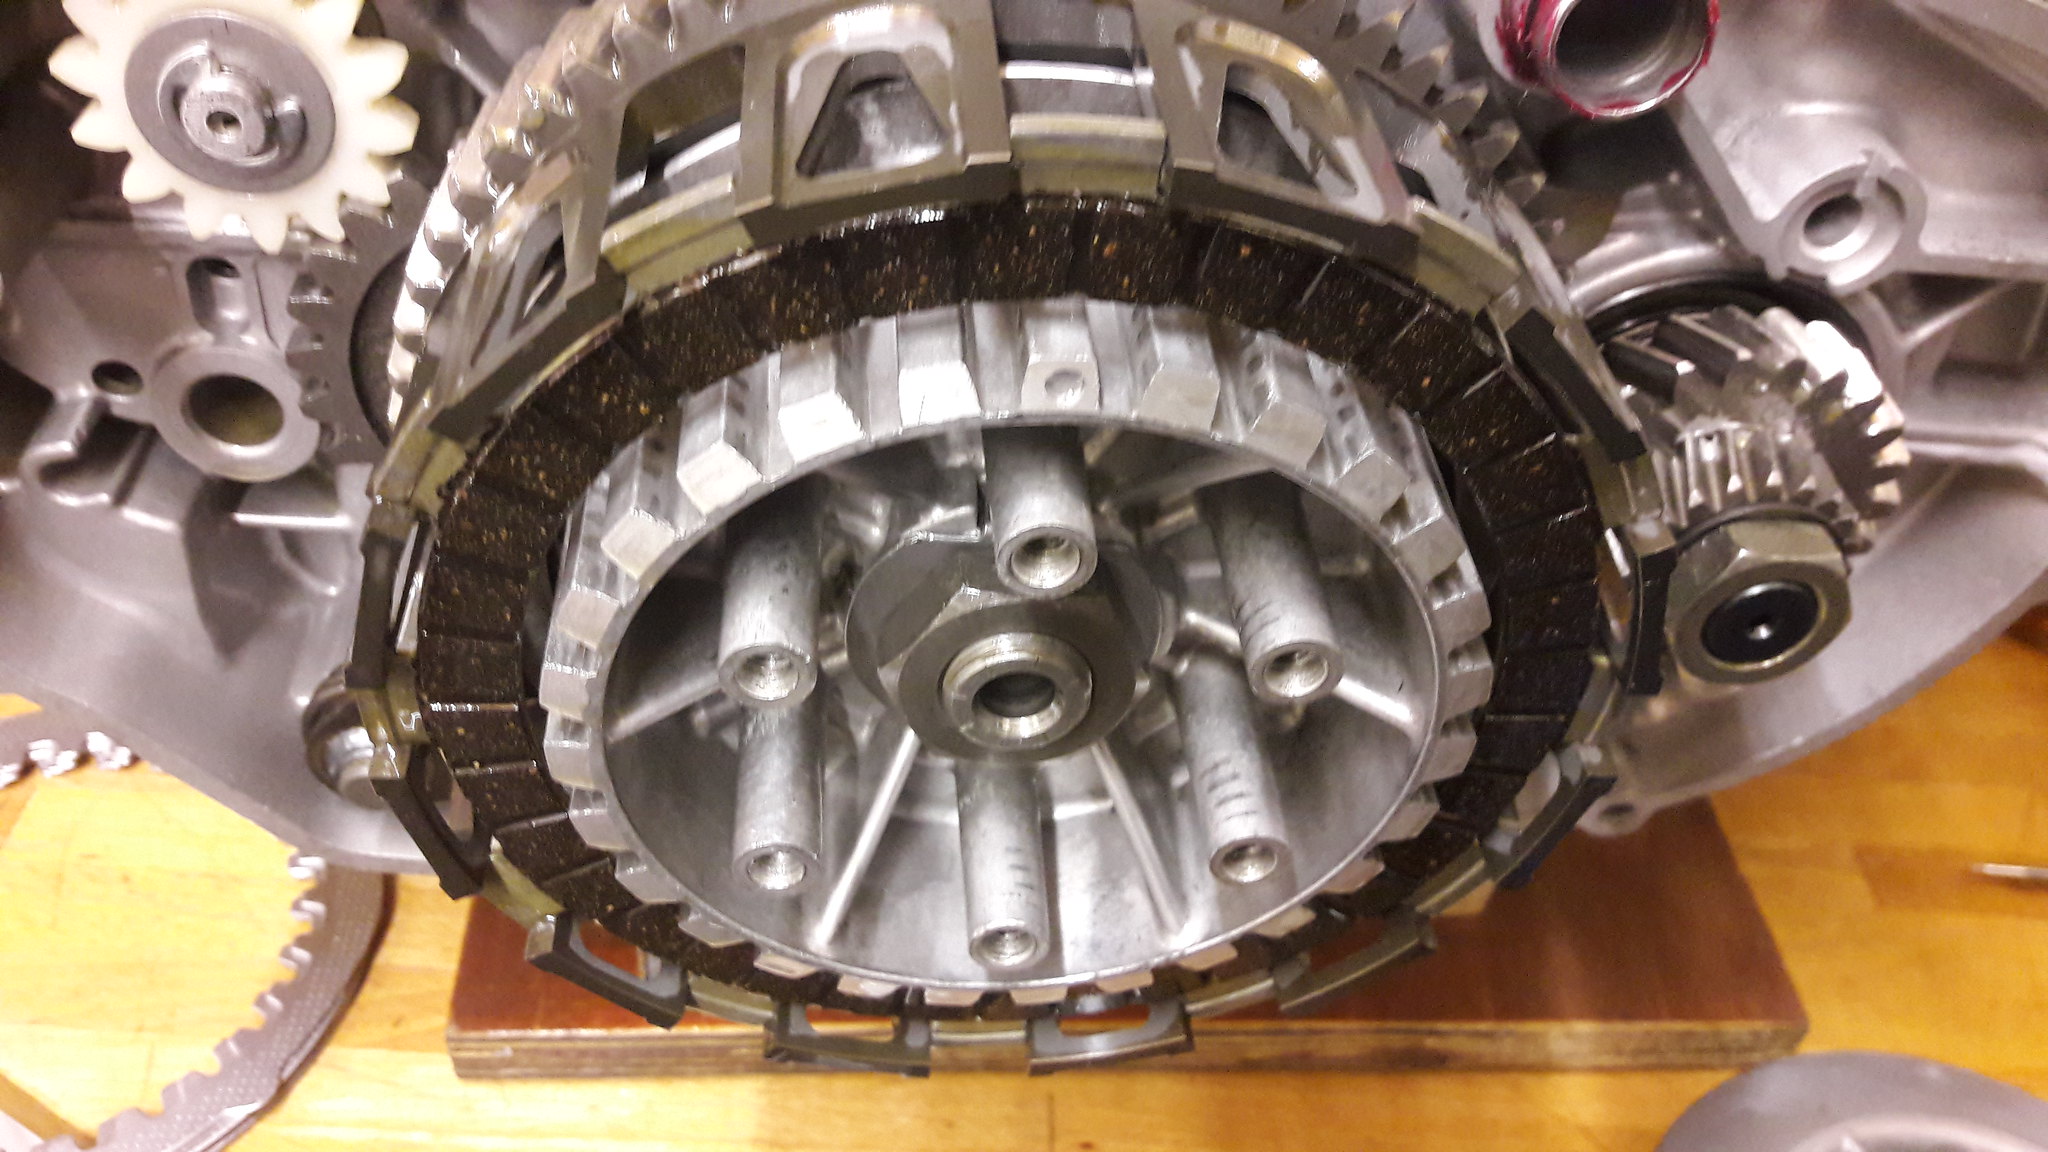 20181216_115304 20181216_115304 by David Miller, on Flickr Then a steel plate. Note the shaped "tab" on all the steels - fit this first one at the 12 o clock position; 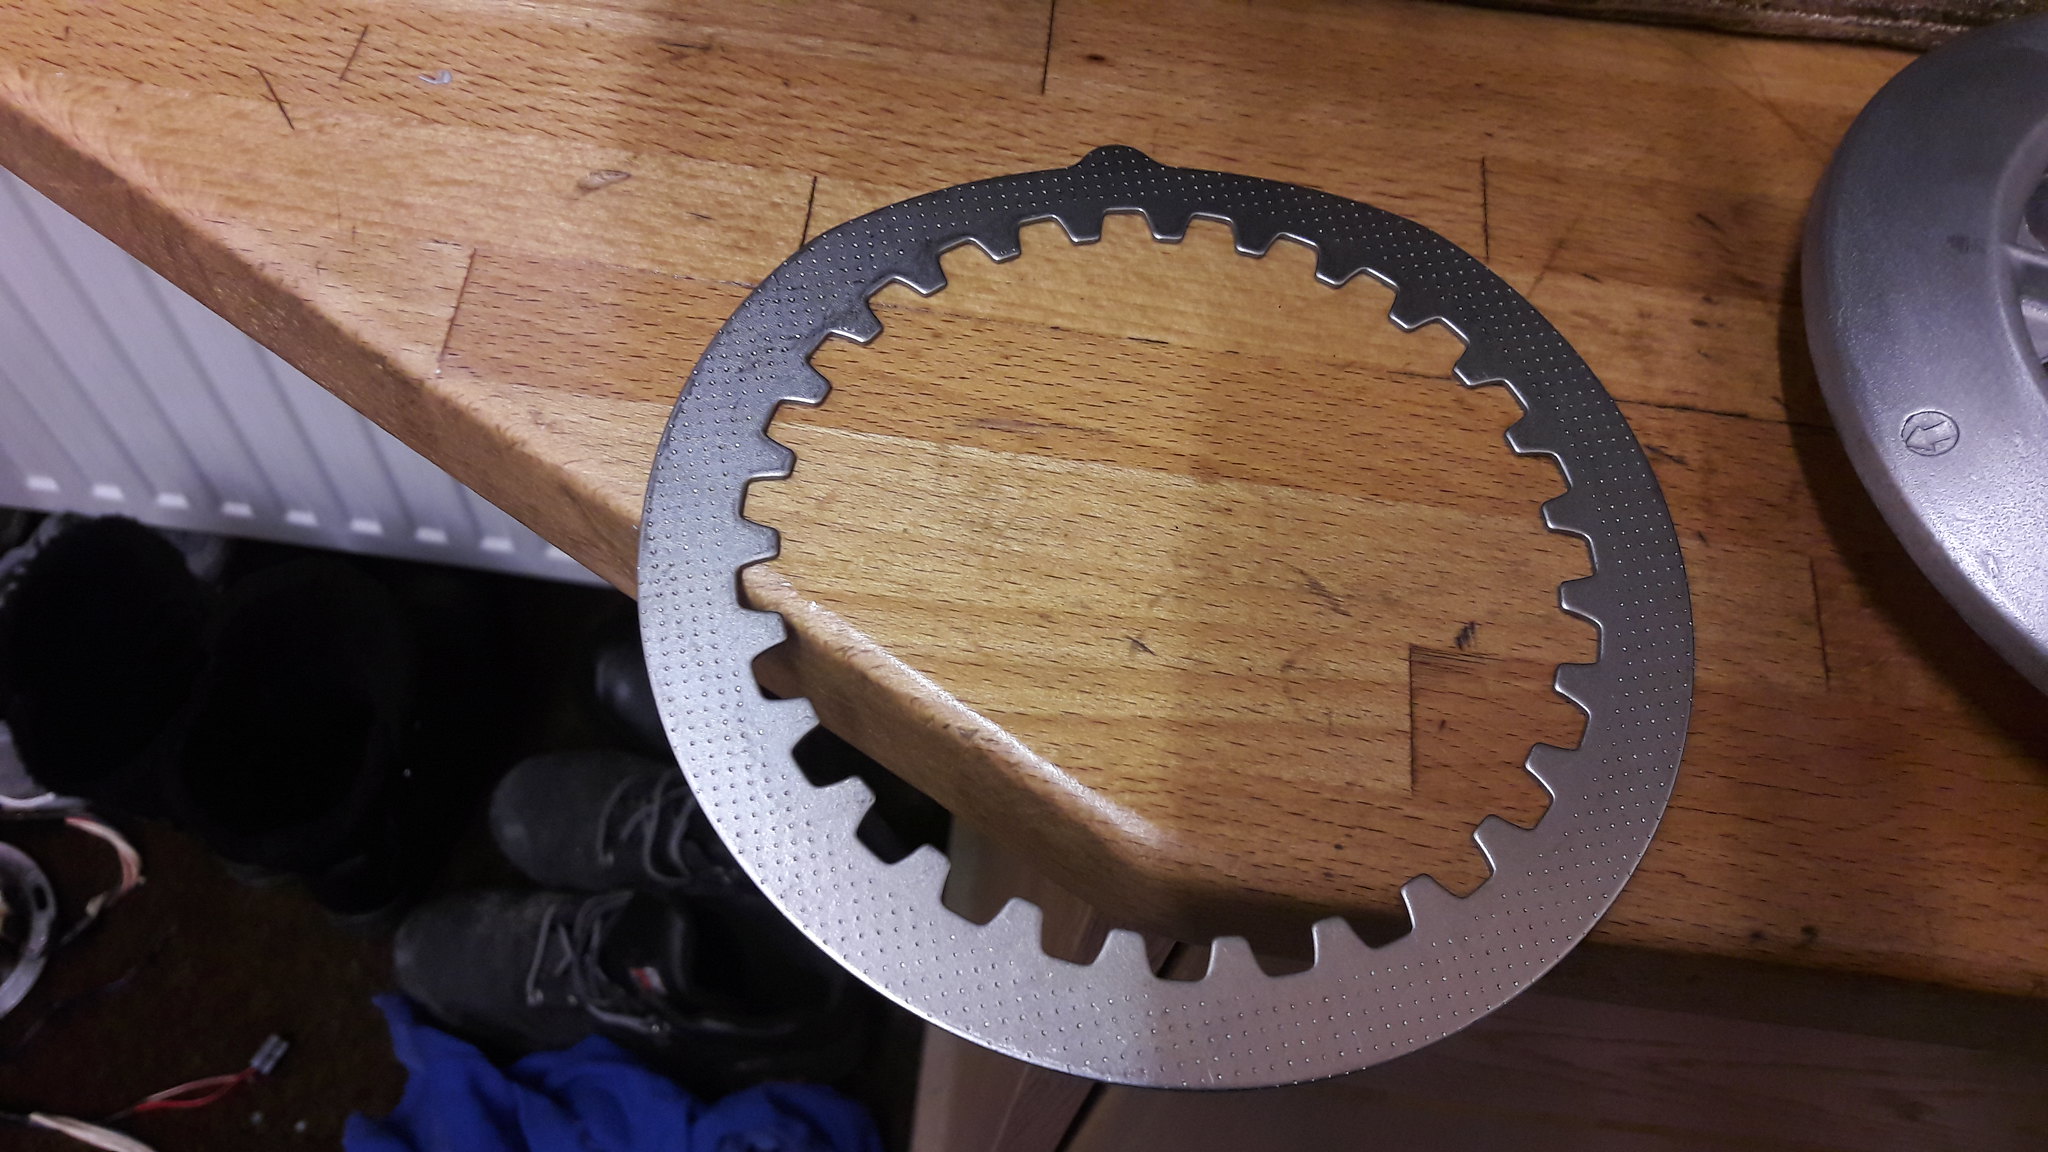 20181216_115253 20181216_115253 by David Miller, on Flickr 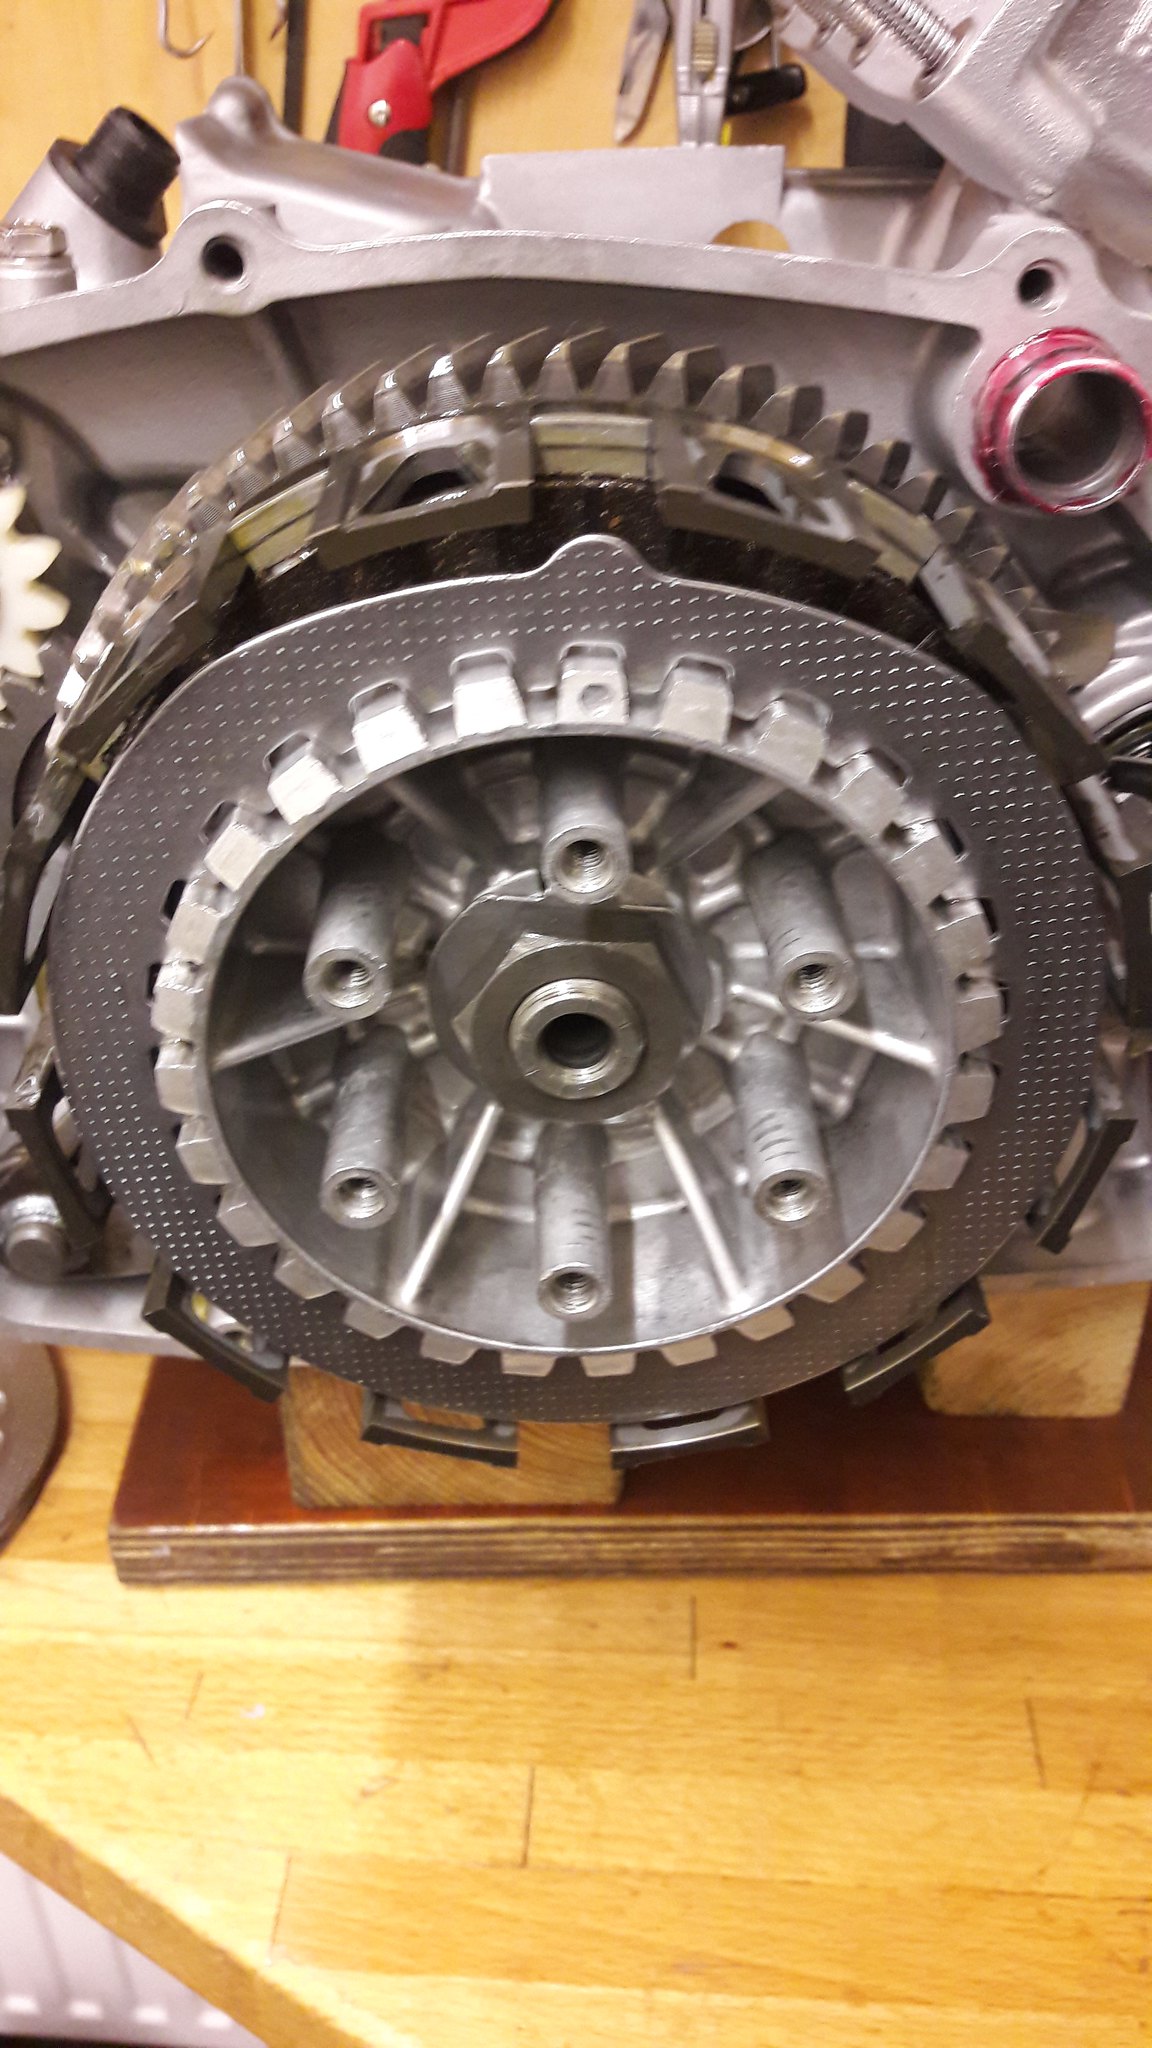 20181216_115426 20181216_115426 by David Miller, on Flickr Then another damper ring, friction plate and the next steel - put this one in so the tab points to the 2 o clock position; 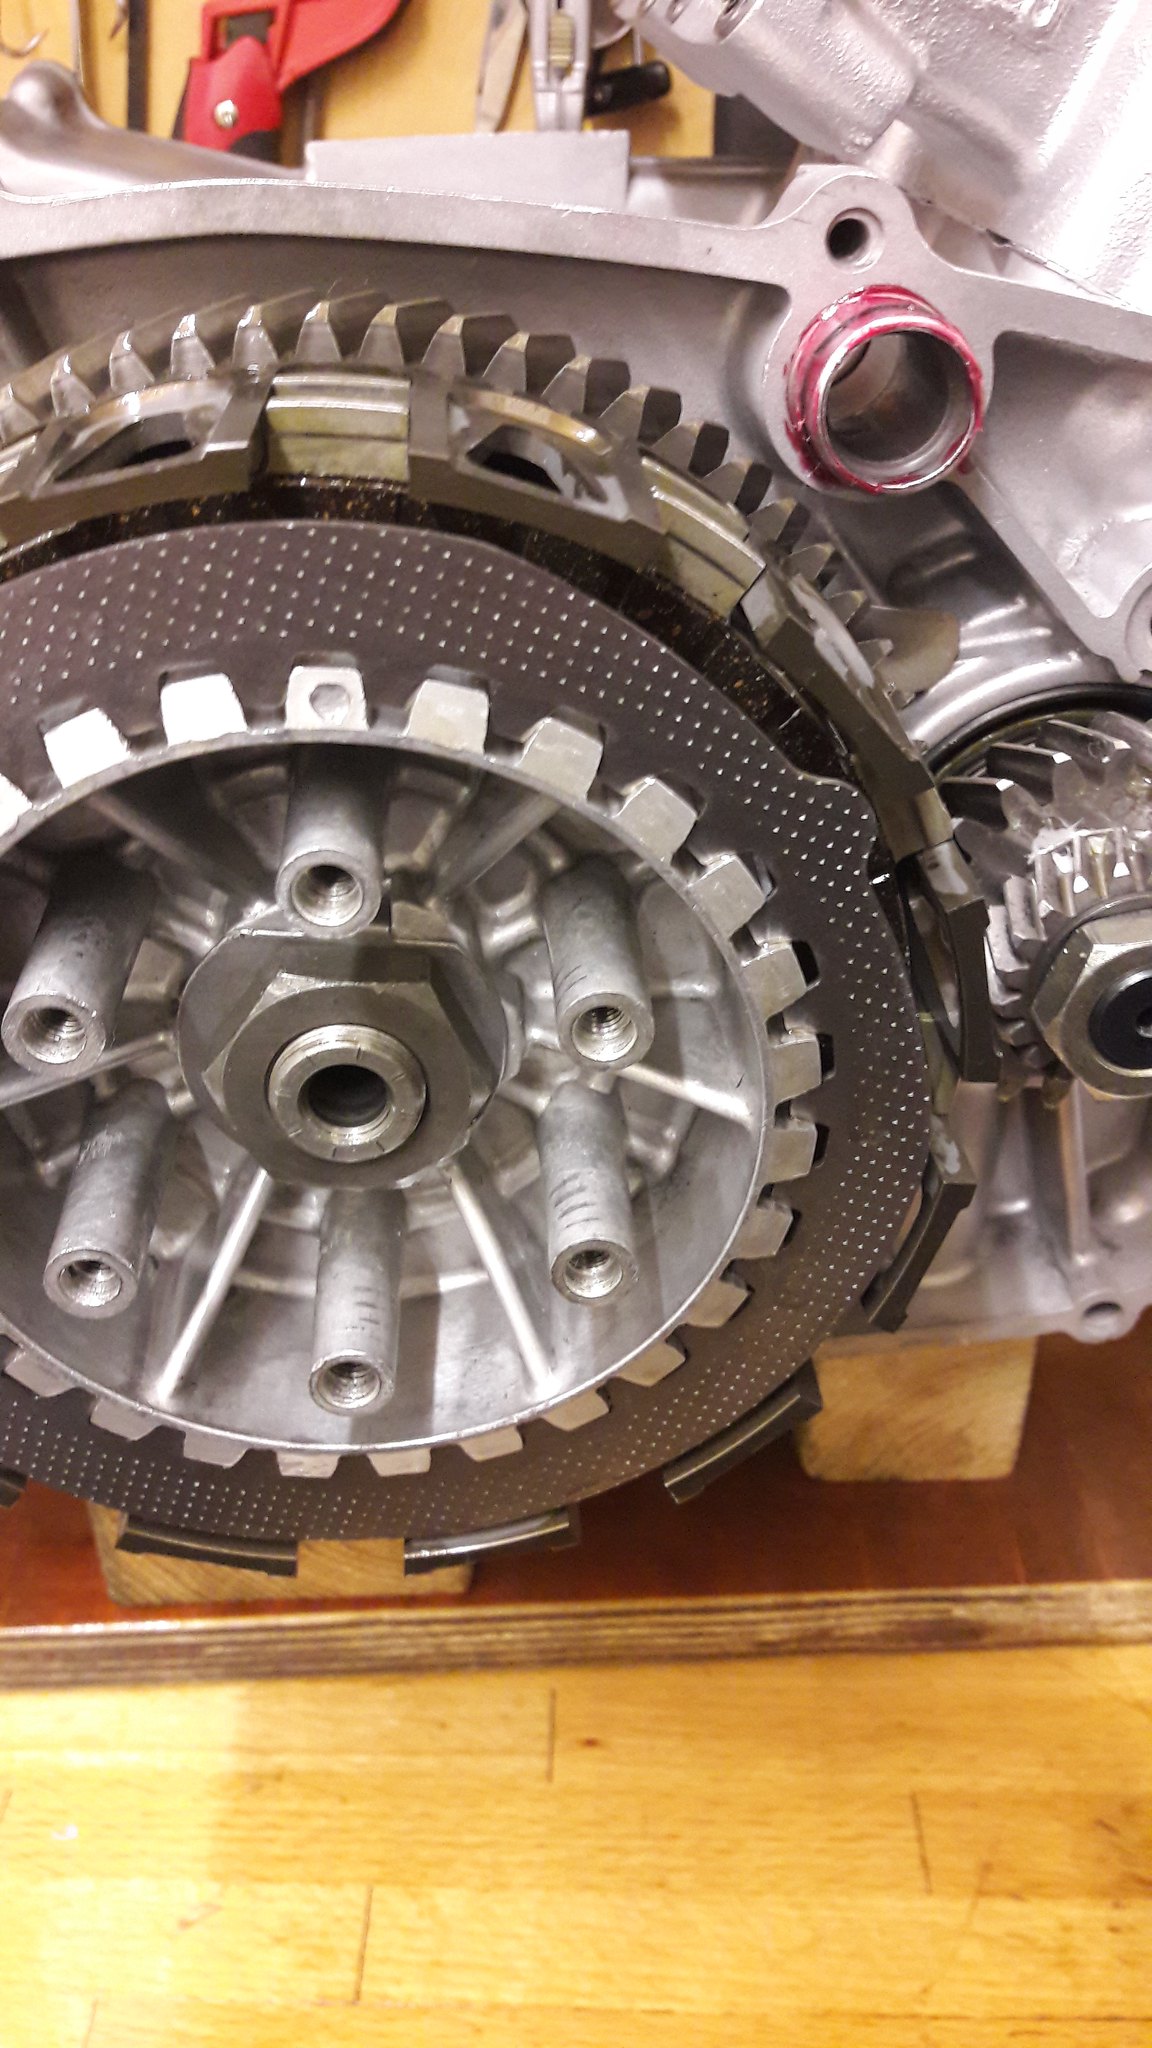 20181216_115634 20181216_115634 by David Miller, on Flickr Then damper, friction plate, and the next steel points to the 4 o clock position. Carry on like this so the steels then point to 6, 8 and 10 o clock. This helps reduce vibes in the spinning clutch basket. You finish with a friction plate, and now you can fit the clutch mushroom; 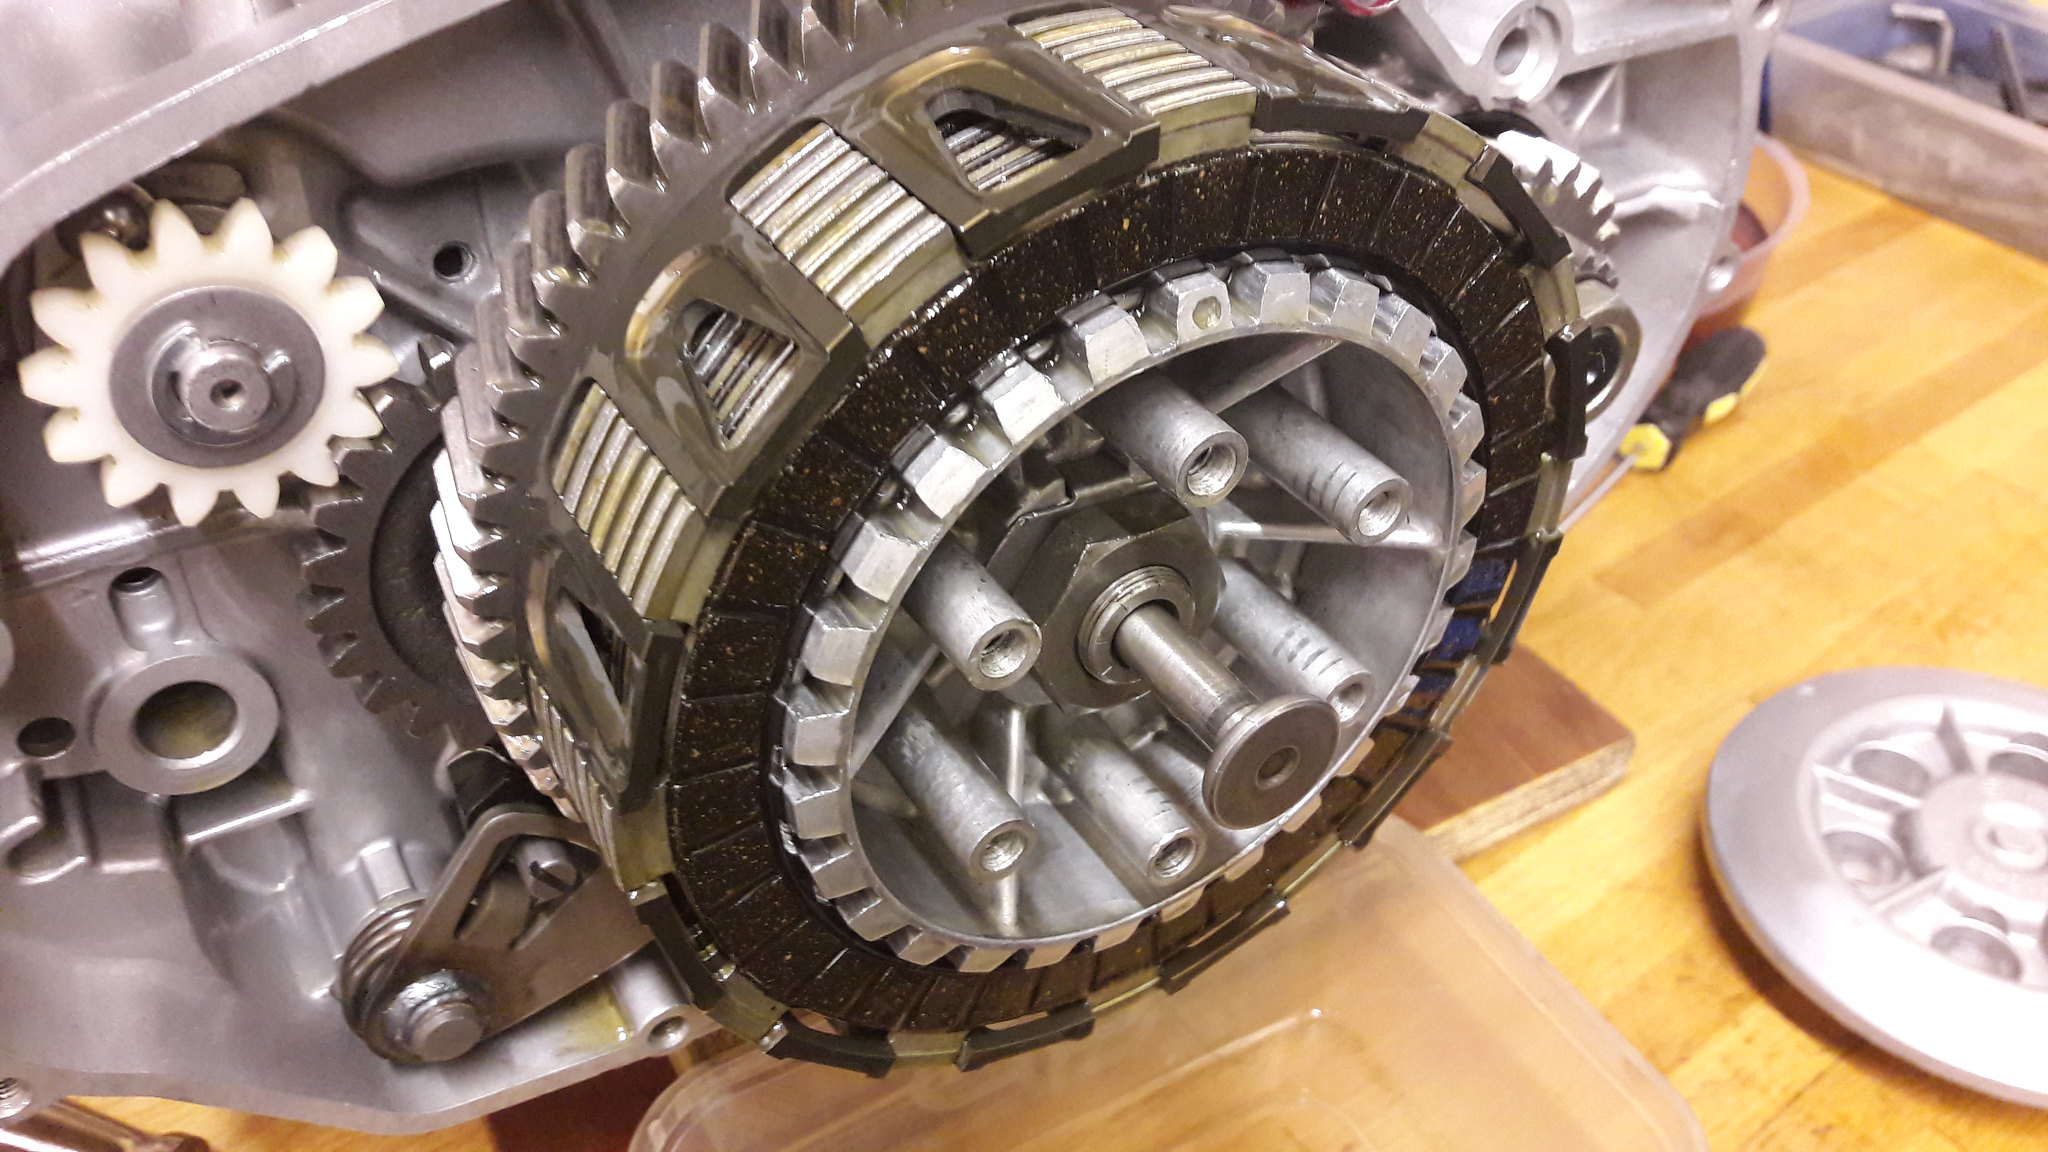 20181216_121103 20181216_121103 by David Miller, on Flickr Then the pressure plate can go on. Line one of the arrows on the plate with the mark on the inner hub. The Ebc kit comes with new uprated springs. The last engine I built I used all 6 springs and the clutch was quite heavy, so I'm going with 3 and 3 standard; 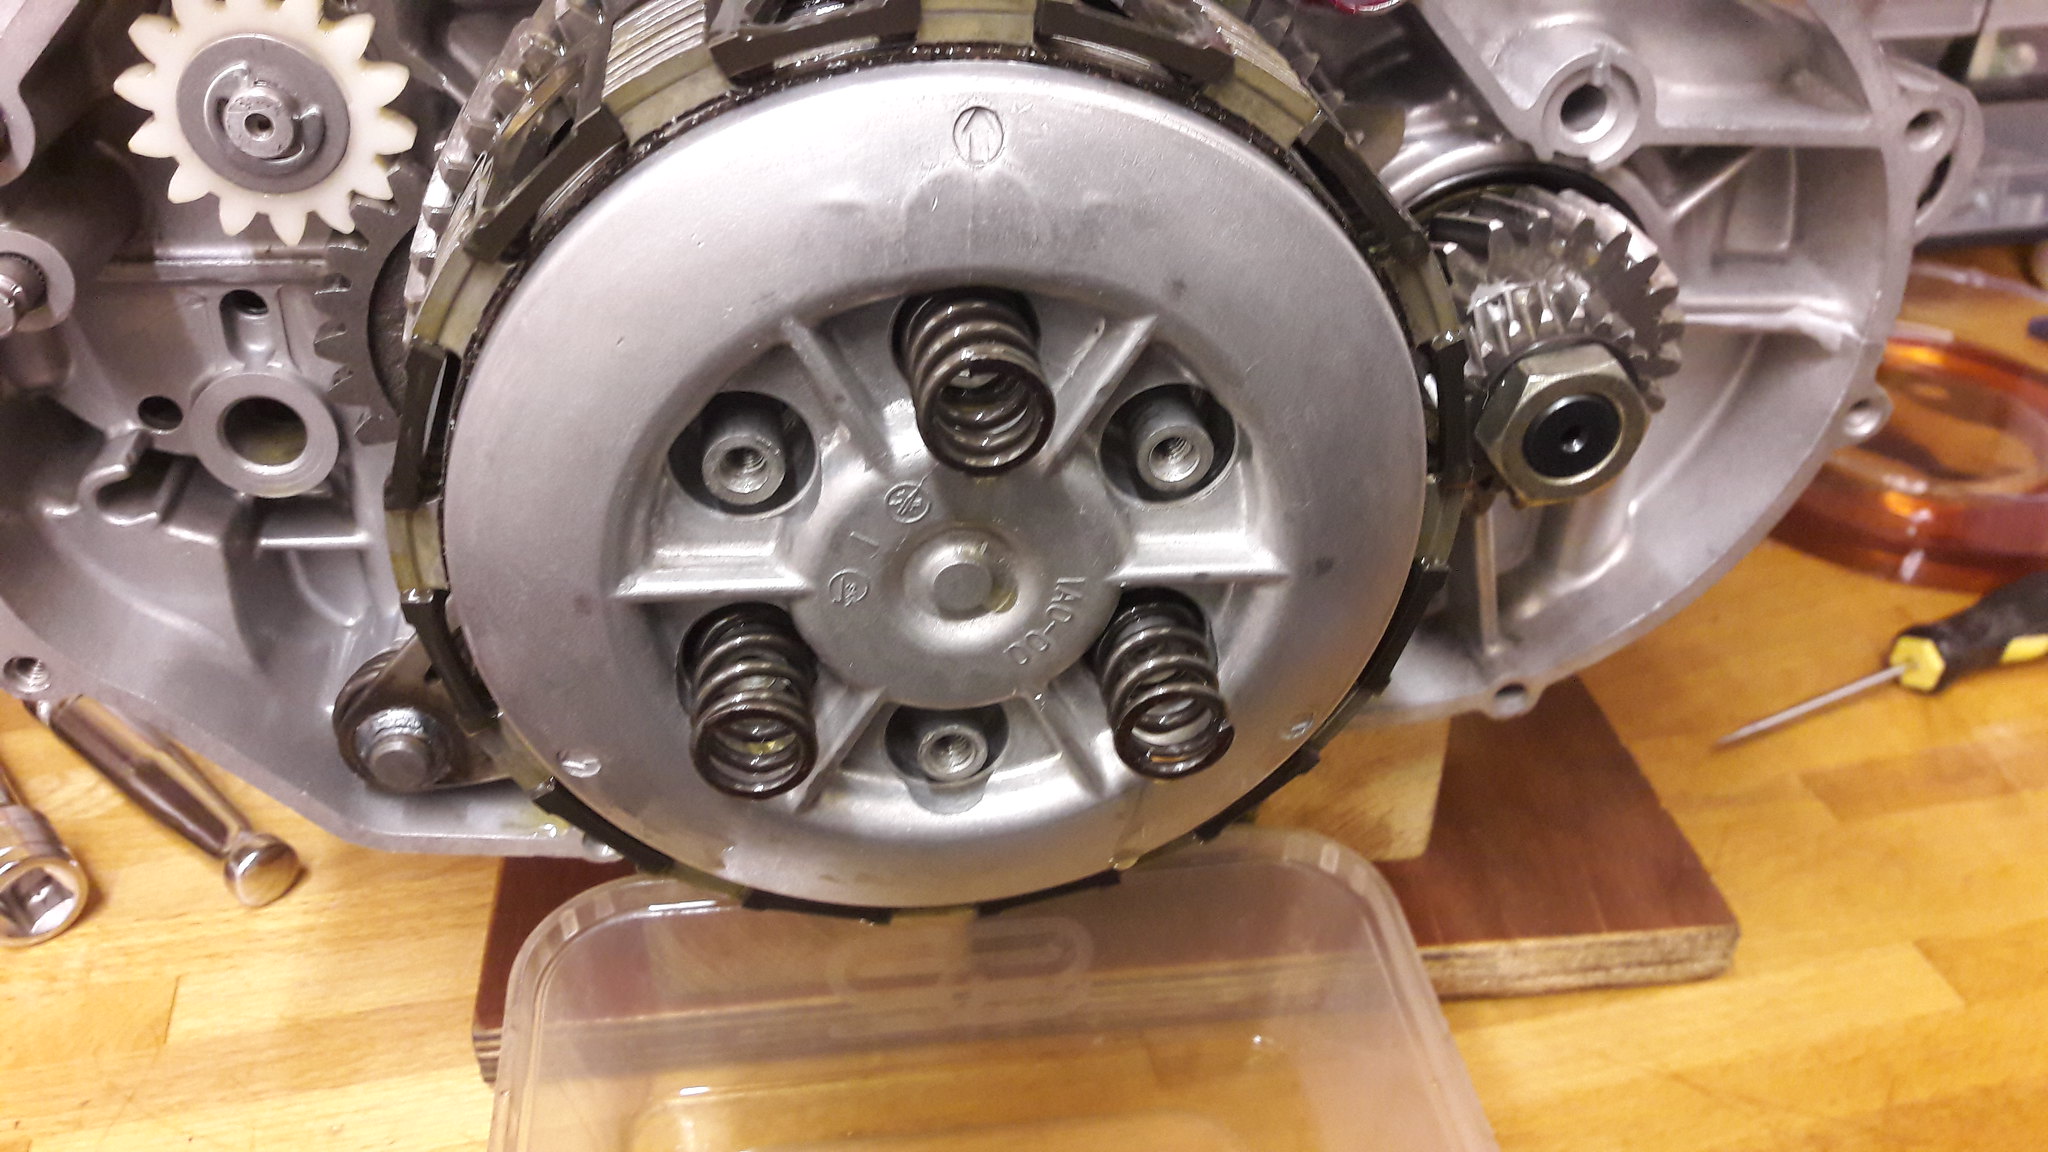 20181216_121405 20181216_121405 by David Miller, on Flickr Tighten the spring bolts progressively 1, 3 and 5 and 2, 4 and 6. Once done, you can spin the engine round and fit the new ball bearing and clutch pushrod; 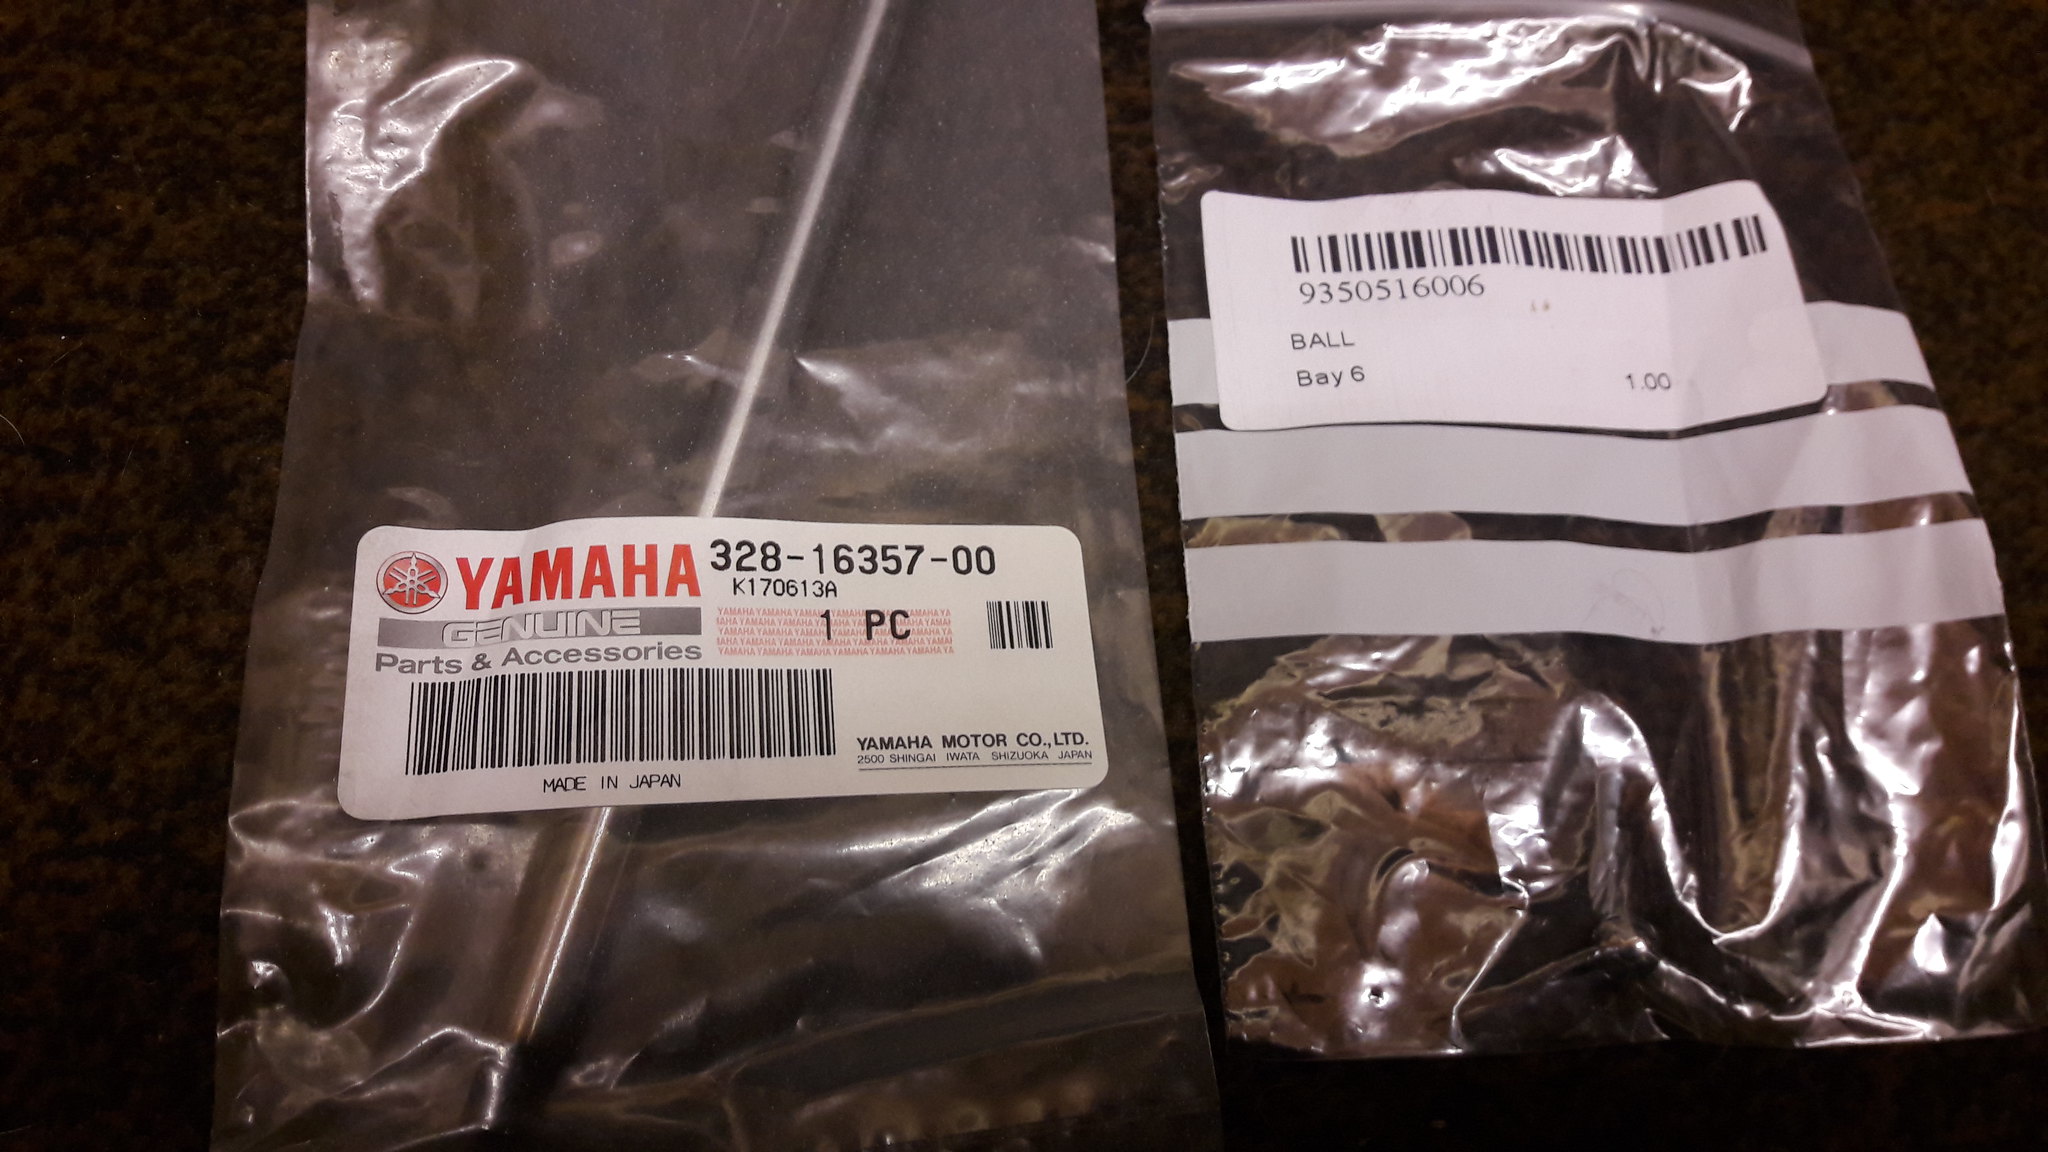 20181216_124431 20181216_124431 by David Miller, on Flickr Pushrod is £8.32 and ball is 23p. 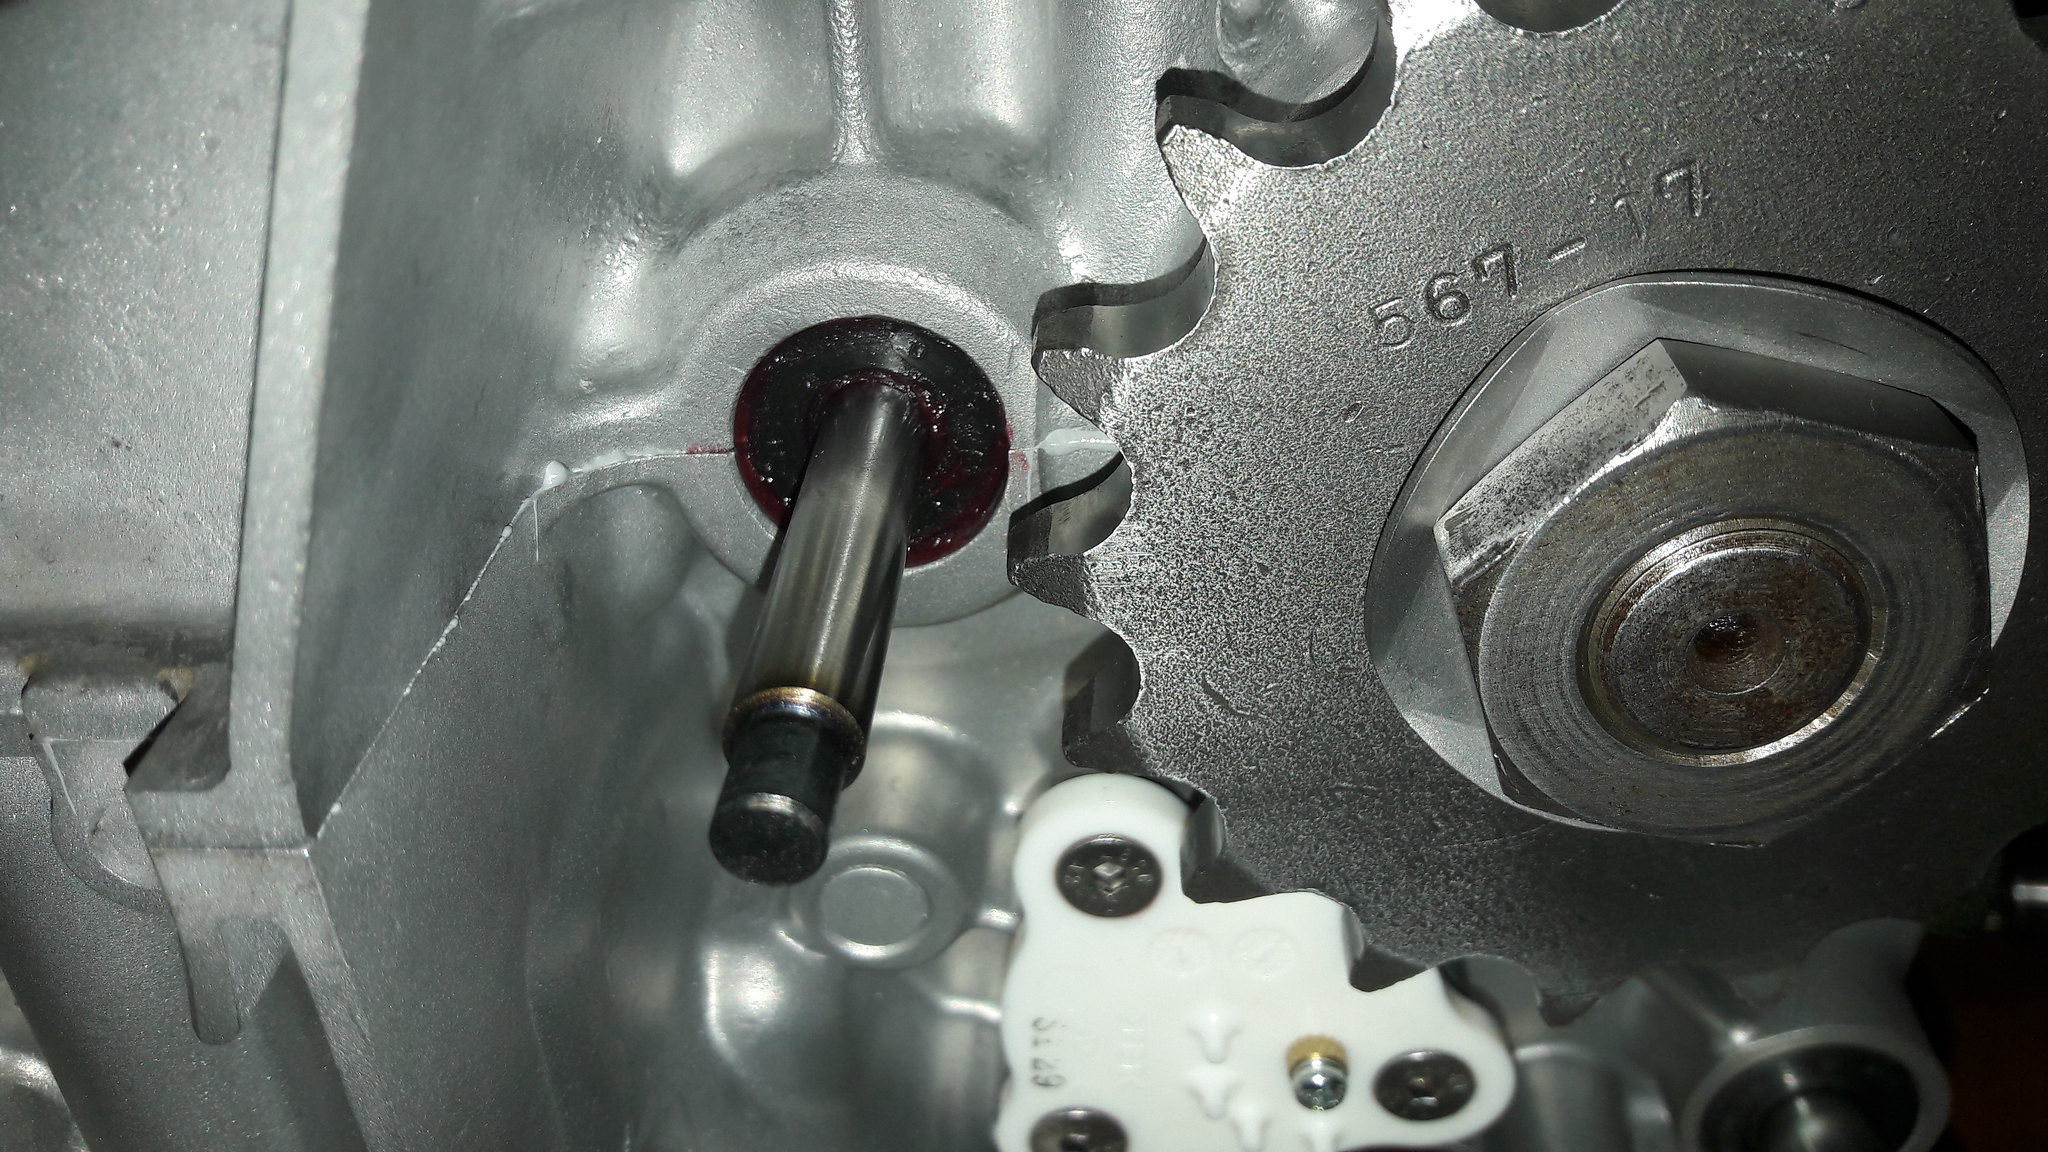 20181216_124811 20181216_124811 by David Miller, on Flickr Dusty  |
|
|
|
Post by stusco on Dec 17, 2018 21:01:18 GMT 1
I’ve never seen chequered clutch steels before
|
|
|
|
Post by dusty350 on Dec 17, 2018 22:30:21 GMT 1
"Pin planished" steels for better lubrication according to the packaging. I guess the little indentations hold oil better than a flat plate ? The same as the last set I fitted on last years Lc engine build. Dusty  |
|
|
|
Post by earthman on Dec 17, 2018 22:58:50 GMT 1
Let us know how the 3 standard/3 up rated springs work out in the end,......at some point in the future I should open my clutch up, I were thinking of trying a full set of standard springs.
|
|
|
|
Post by dusty350 on Dec 17, 2018 23:27:48 GMT 1
The springs in the kit are supposedly 10% stiffer than standard. On the last Lc engine I built, all 6 were used and the lever was a bit of a pain to use to be honest, hence trying 3 this time. Plus Martin suggested only using 3 when I bought the latest kit as he had reports of the same heavy lever as I had experienced. It's basically a standard engine apart from Dave's pipes so I think a set of standard springs would handle things ok. I will let you know when it's all built up - I'm keen to see if there is much difference too  Dusty  |
|
|
|
Post by oldbritguy on Dec 18, 2018 0:10:39 GMT 1
Nice one Dusty.
Great pics too for those of us about to undertake a similar venture in the near future. (tools all ordered up now)
I would echo Earthman in his interest to see how you get on with the three new springs to compliment the std ones.
Also interested to see if the new damper rings settle in as I have read in various threads that some people leave them out altogether.
J
|
|
|
|
Post by dusty350 on Dec 18, 2018 8:21:29 GMT 1
Hi 3 Tz springs is what a lot of guys used back in the day when beefing up the clutch ! With all new plates and fresh oil, I'm sure 6 new, standard springs would be fine on a standard ish power engine but I will put 3 in this and the other 3 in next years Pv engine build. And you are right regards the damper rings - some leave them out, citing them as part of the problem in neutral selection that seems to plague the Lc/Pv gearboxes. I cant comment as I've always built the clutch with them fitted. I think the clutch is a bit nosier without them. Dusty  |
|
|
|
Post by mouse on Dec 18, 2018 9:37:16 GMT 1
Nice job on the clutch Dusty, much better explanation than the Haynes manual. I run 3 HD duty springs on my YPVS engines as they are tuned and no damper rings and they work fine. The guy who built my last YPVS engine put six HD clutch springs in! A bit overkill and the clutch was unbelievably heavy! Put three normal ones in which cured it.
Mouse
|
|
|
|
Post by Tobyjugs on Dec 18, 2018 9:54:44 GMT 1
I helped a Dutch forum member out with his clutch. He also had the rubber rings installed. When i inspected the clutch basket it looked like the rubber rings were fighting for the same space as the friction plates. I tried several times to fit them, i ended up not using them. I think the larger friction plates and the rubber rings were hampering the clutch movement so you needed more force to operate the clutch. There were a few more issue's which compounded the problem as well.
I have a 250 engine which was idle for a long time and the clutch plates were stuck. This was standard with the rubbers and the operation is nice on that as well.
|
|
|
|
Post by mikee on Dec 18, 2018 10:45:37 GMT 1
cb125 inner valve springs work well too , but probably not so easy to find these days
used to dot punch the steel plates back in the day too
lining all the plates up at the cutout seems to help neutral selection ,leave the damper rings out
mike
|
|
|
|
Post by dusty350 on Dec 18, 2018 12:32:14 GMT 1
Clutch actuation, apart from the stiff lever at the bars, is fine with the rubber rings on my last Lc engine build - it's done over 400 trouble free miles now with the new owner who I am in touch with. I would say that when fitting, make sure the frictions actually sit on top of the rings all the way around. You may need to apply some firm pressure to get the plates seated on them. It would be easy to assume that the rings sit between the plates, but that's not the case. Not sure I would spend £50 odd on a set if I didn't already have them, but as they were there and in good nic, I fitted them. Poor neutral is more likely shift star and actuator I think (plus oil and adjustment of course) Dusty  |
|
|
|
Post by mikee on Dec 18, 2018 14:02:01 GMT 1
don't forget shift shaft support in cases and outer cover ,and linkage placement as well
mike
|
|
|
|
Post by 4l04ever on Dec 18, 2018 18:45:05 GMT 1
If the clutch pull is too heavy, you can lengthen the clutch actuator arm by 10mm. This allows heavier springs to be used and still be able to pull the lever!
I had problems with aftermarket clutch cables causing heavy lever issues, so only use original Yamaha cable now.
|
|
|
|
Post by Mr Kipling on Dec 18, 2018 19:37:30 GMT 1
I always use 3 TZ springs in my engines too have done since the 80,s never ever needed 6 my spondon tz used all 6 clutch I can remember being quite tiresome at the lever... Cracking job Dusty....
|
|
rd84
Drag-strip hero
 
Posts: 289 
|
Post by rd84 on Dec 19, 2018 16:34:05 GMT 1
Hi Dusty, Enjoying the engine build. My wife does hedgehog rescue - www.facebook.com/spikeycritters - she wants to know how the hedgehog's doing !  Cheers Paul |
|
|
|
Post by dusty350 on Dec 19, 2018 18:32:29 GMT 1
Hi Paul Unfortunately, "Dave" the Hoglet died a few days after going to the sanctuary  They found he had a broken leg and some damage to his back - possibly caused by another animal, and hence why he was out in the open during daylight. At least he had a comfortable last few days. Dusty |
|
rd84
Drag-strip hero
 
Posts: 289 
|
Post by rd84 on Dec 19, 2018 18:35:36 GMT 1
Hi Paul Unfortunately, "Dave" the Hoglet died a few days after going to the sanctuary  They found he had a broken leg and some damage to his back - possibly caused by another animal, and hence why he was out in the open during daylight. At least he had a comfortable last few days. Dusty Well done for trying Dusty
Cheers Paul
|
|
|
|
Post by donkeychomp on Dec 19, 2018 23:54:14 GMT 1
Sad news about the Hoglet. But ty Dusty for doing what you could mate.
也许你腰部的种子会在你女人的腹部富有成效
Yěxǔ nǐ yāobù de zhǒngzǐ huì zài nǐ nǚrén de fùbù fùyǒu chéngxiào (Mandarin lol)
This clutch build has coincided with my clutch build. The one thing I kinda missed when Peter stripped the A/C engine down. Perfect timing!
Alex
|
|
|
|
Post by dusty350 on Dec 21, 2018 20:30:34 GMT 1
I spun the engine round next, to fit the generator, as it was sat on the floor in the garage and I thought I would tread on it eventually ! But before I fitted it, I thought I would lap the rotor onto the end of the crank. Being a new crank, the taper was unmarked; 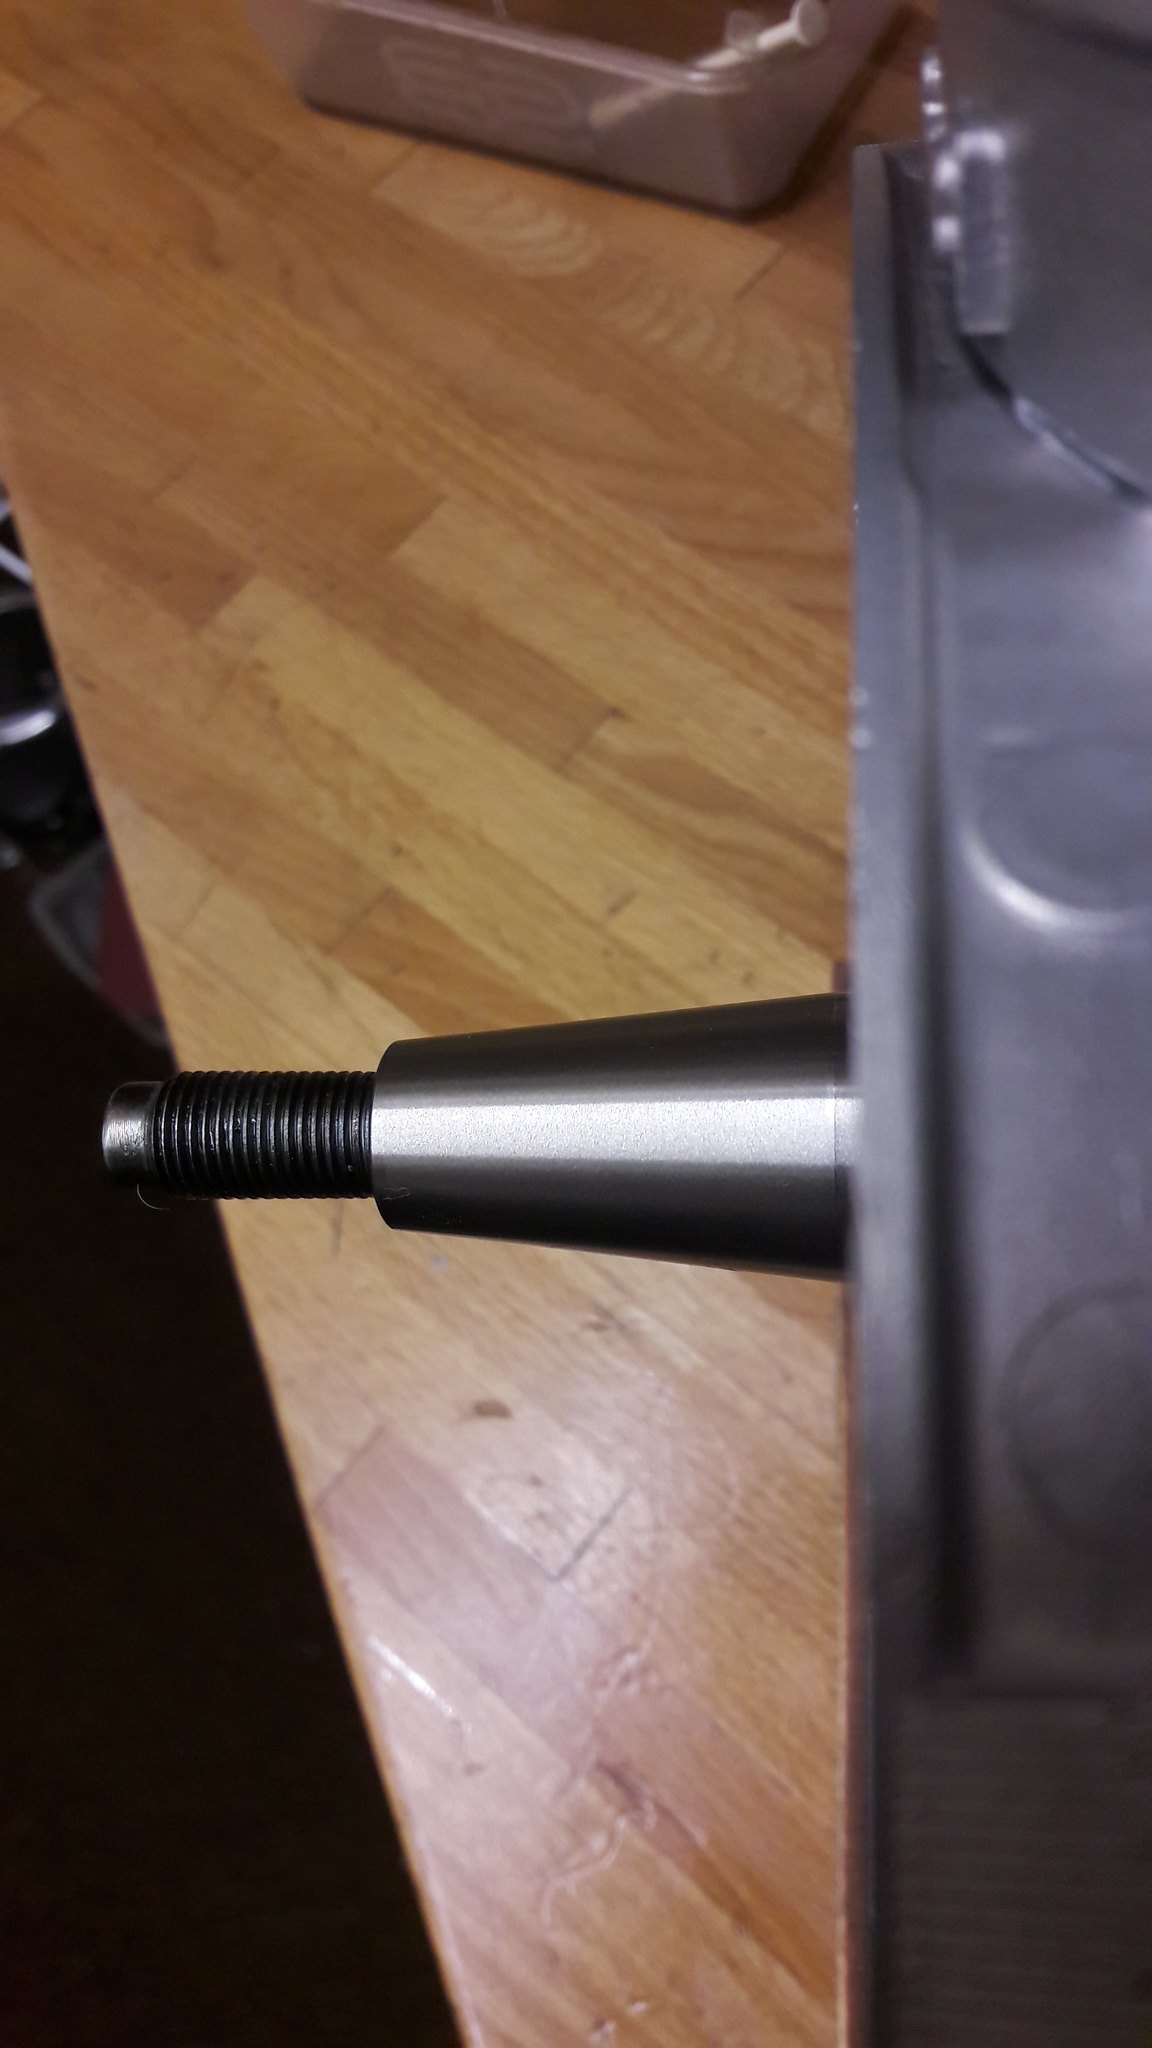 20181220_144023 20181220_144023 by David Miller, on Flickr So I applied some fine grinding paste; 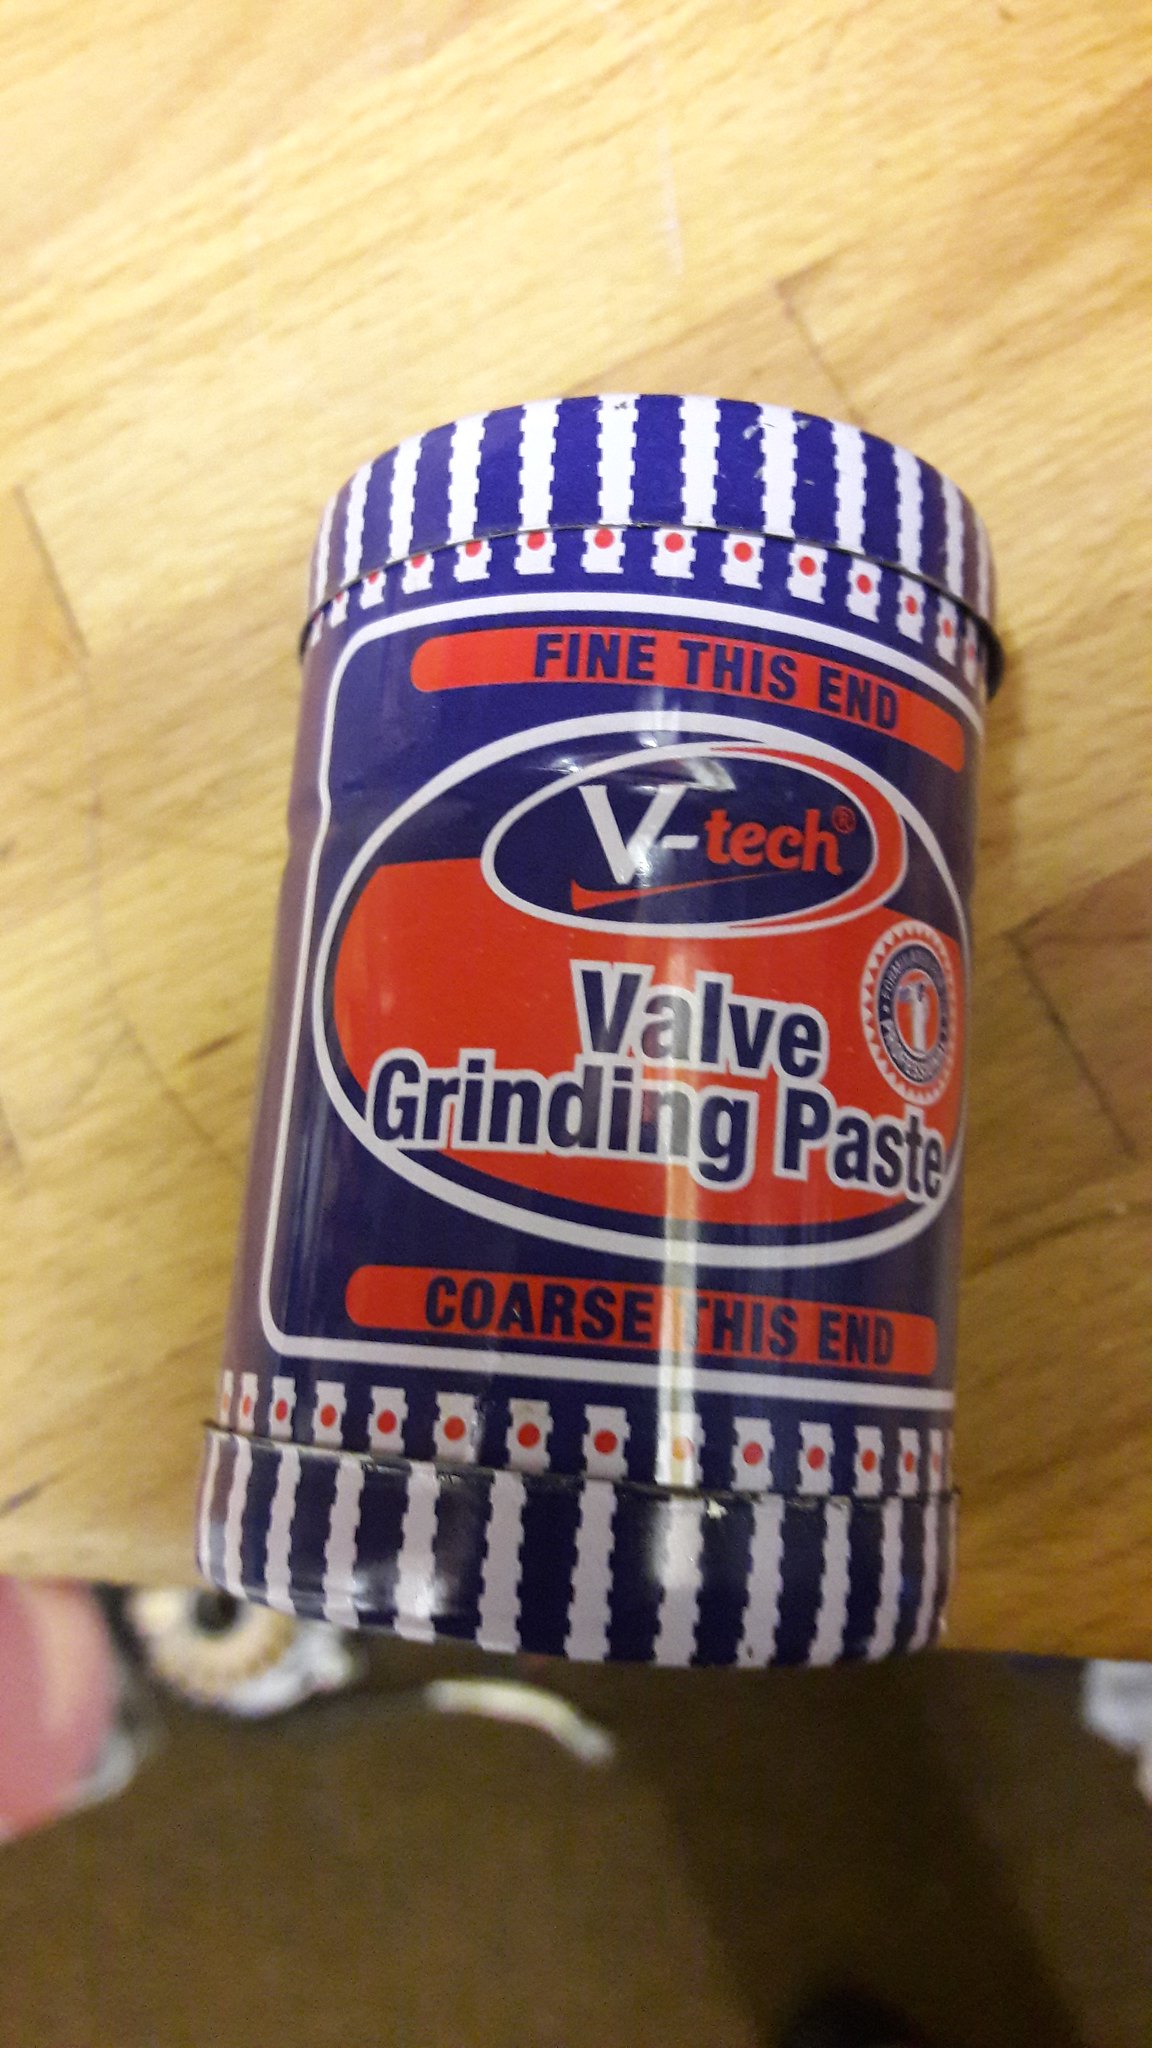 20181220_144045 20181220_144045 by David Miller, on Flickr 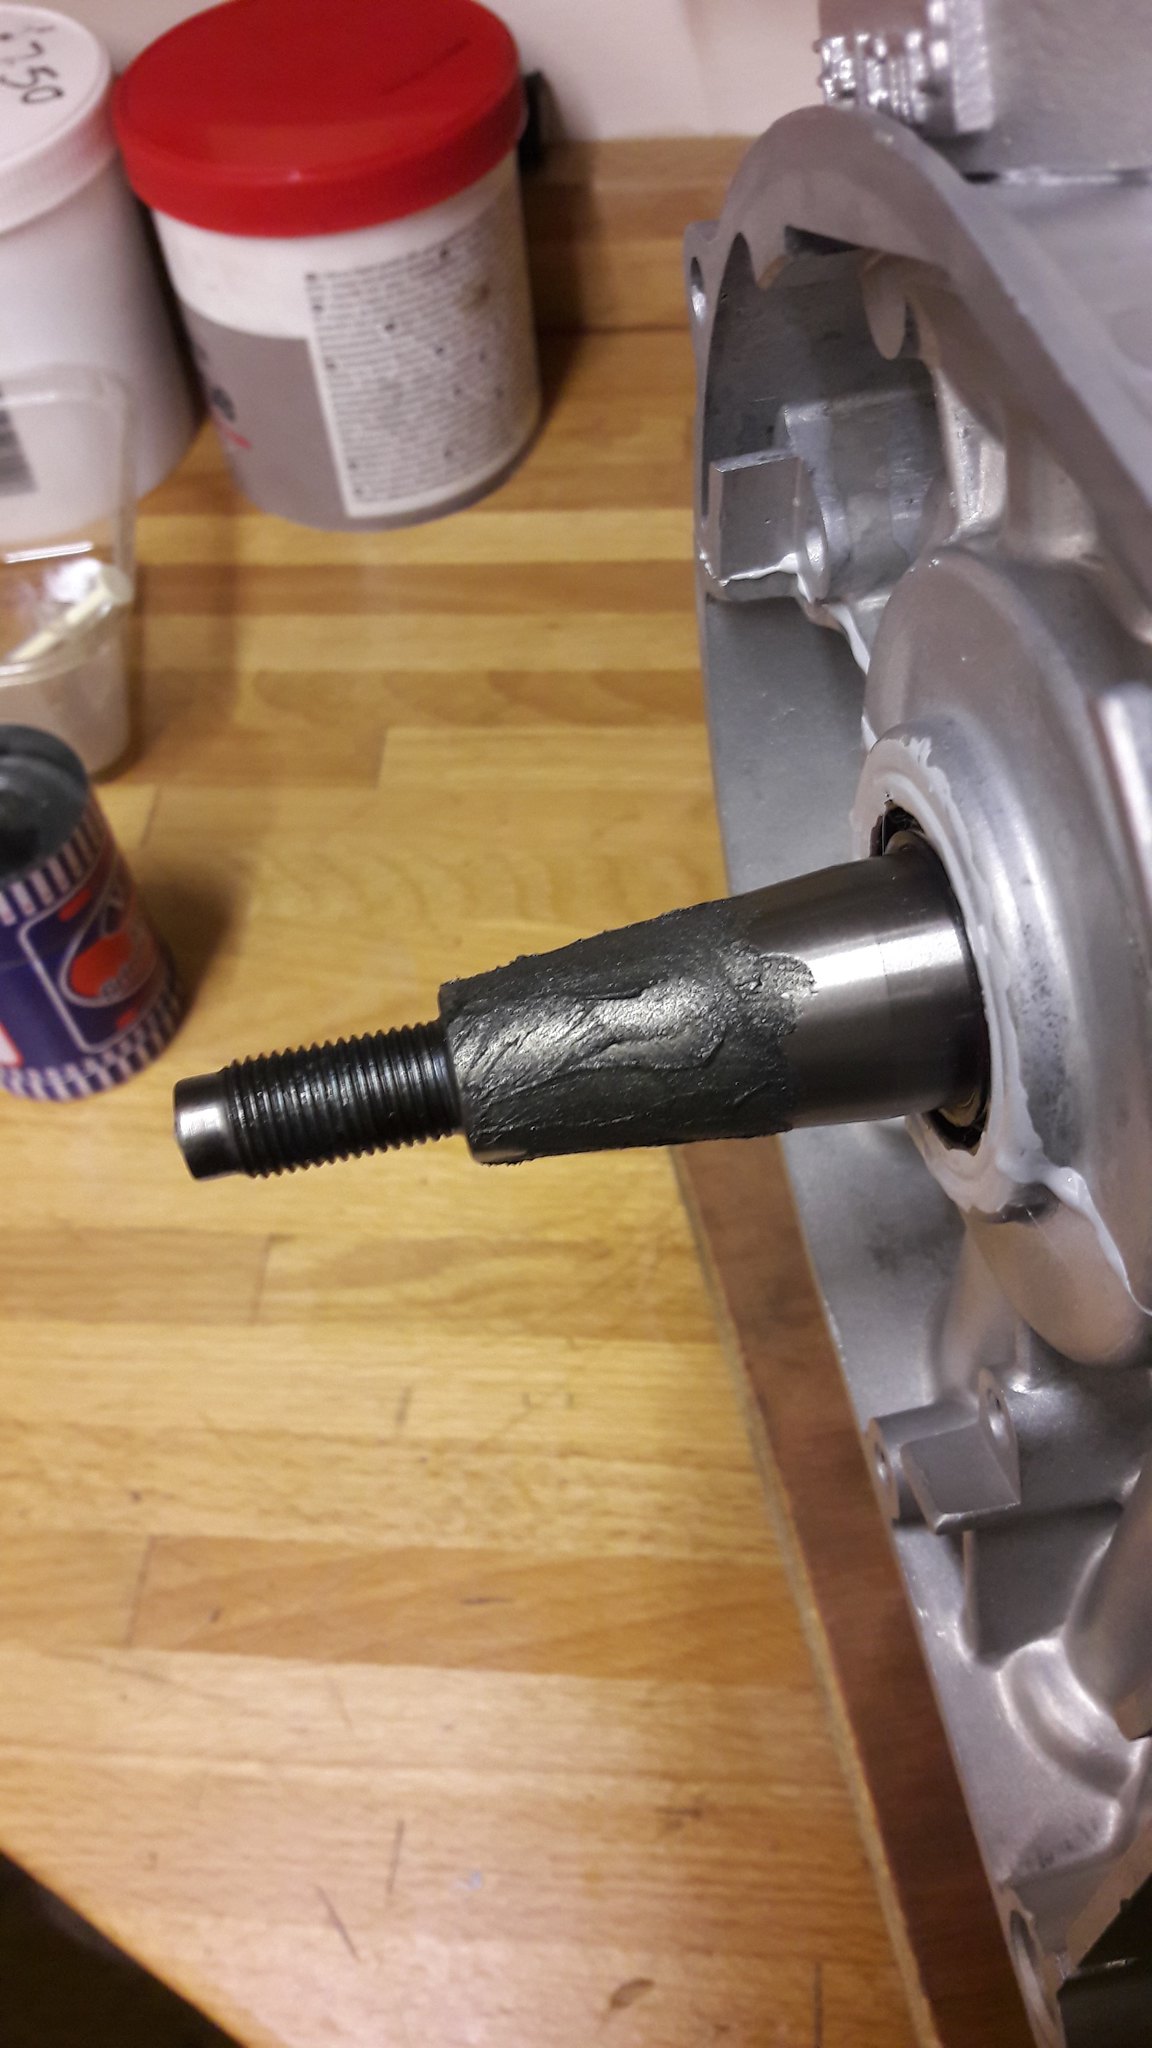 20181220_144151 20181220_144151 by David Miller, on Flickr And fitted the rotor. The rotor had started out fairly manky; 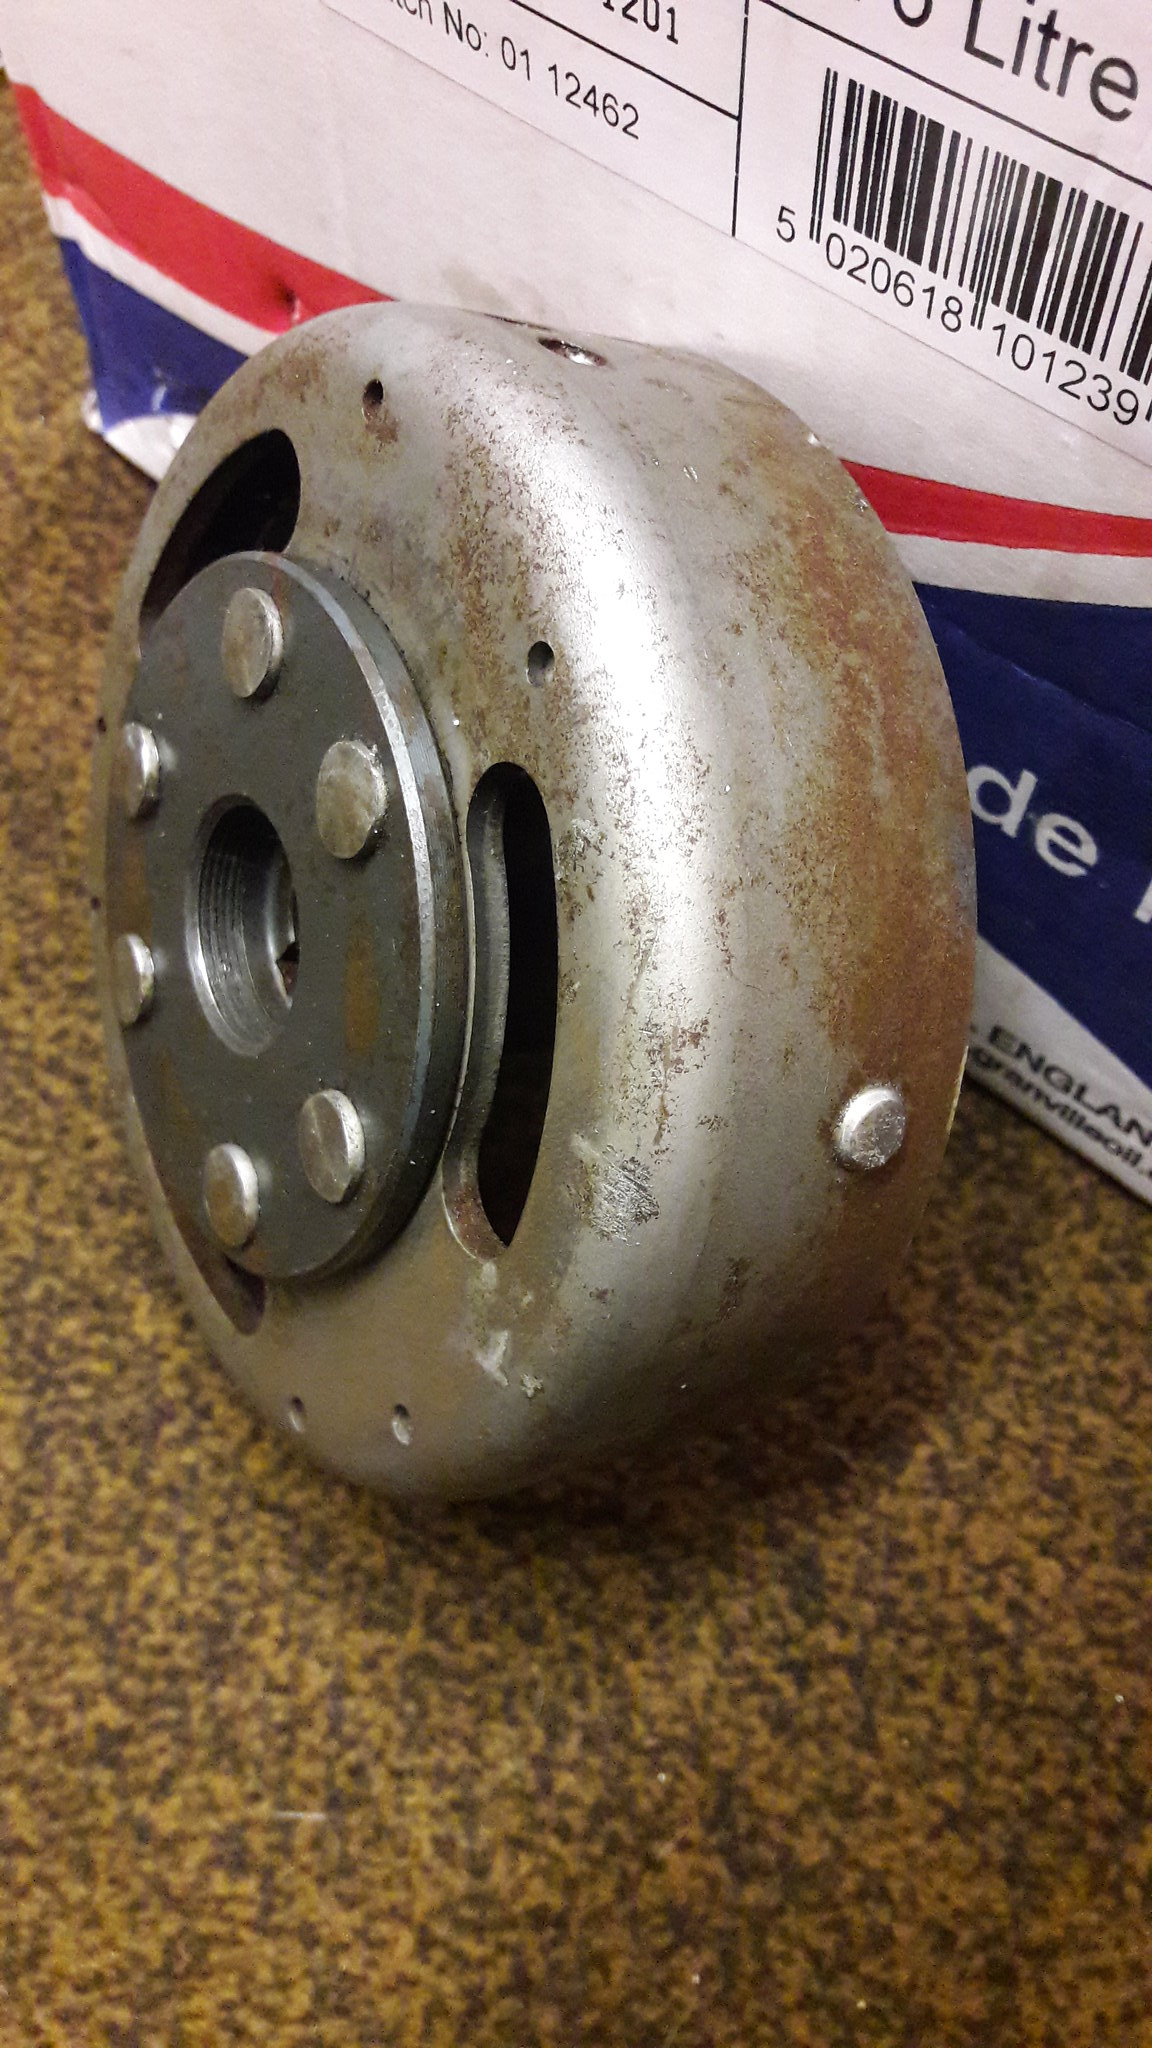 20181024_104839 20181024_104839 by David Miller, on Flickr So I gave it a good clean in and out and a light polish. Fitted to the crank; 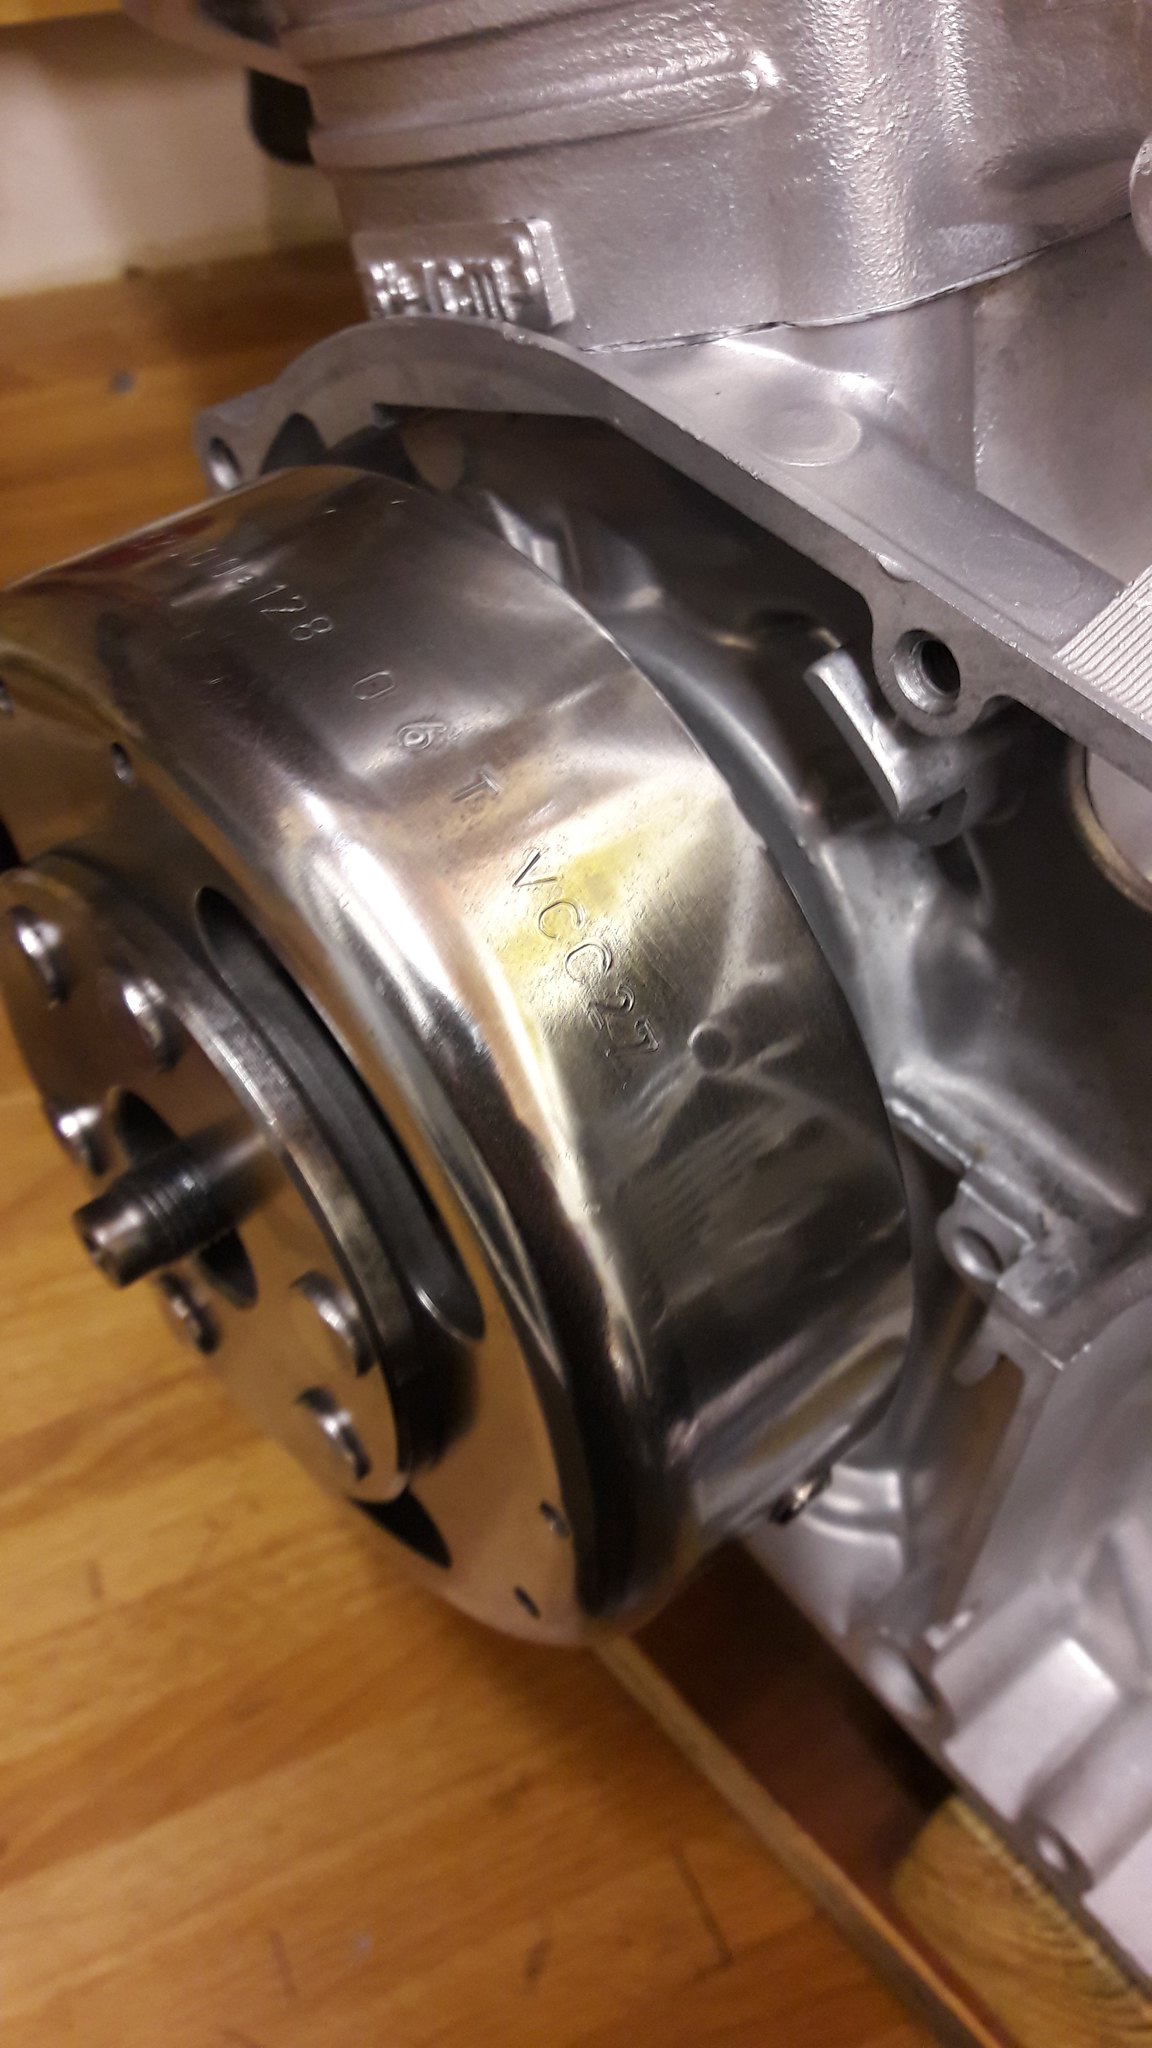 20181220_144439 20181220_144439 by David Miller, on Flickr I then turned the rotor on the crank, in the direction of travel, for a couple of minutes, and this is the result; 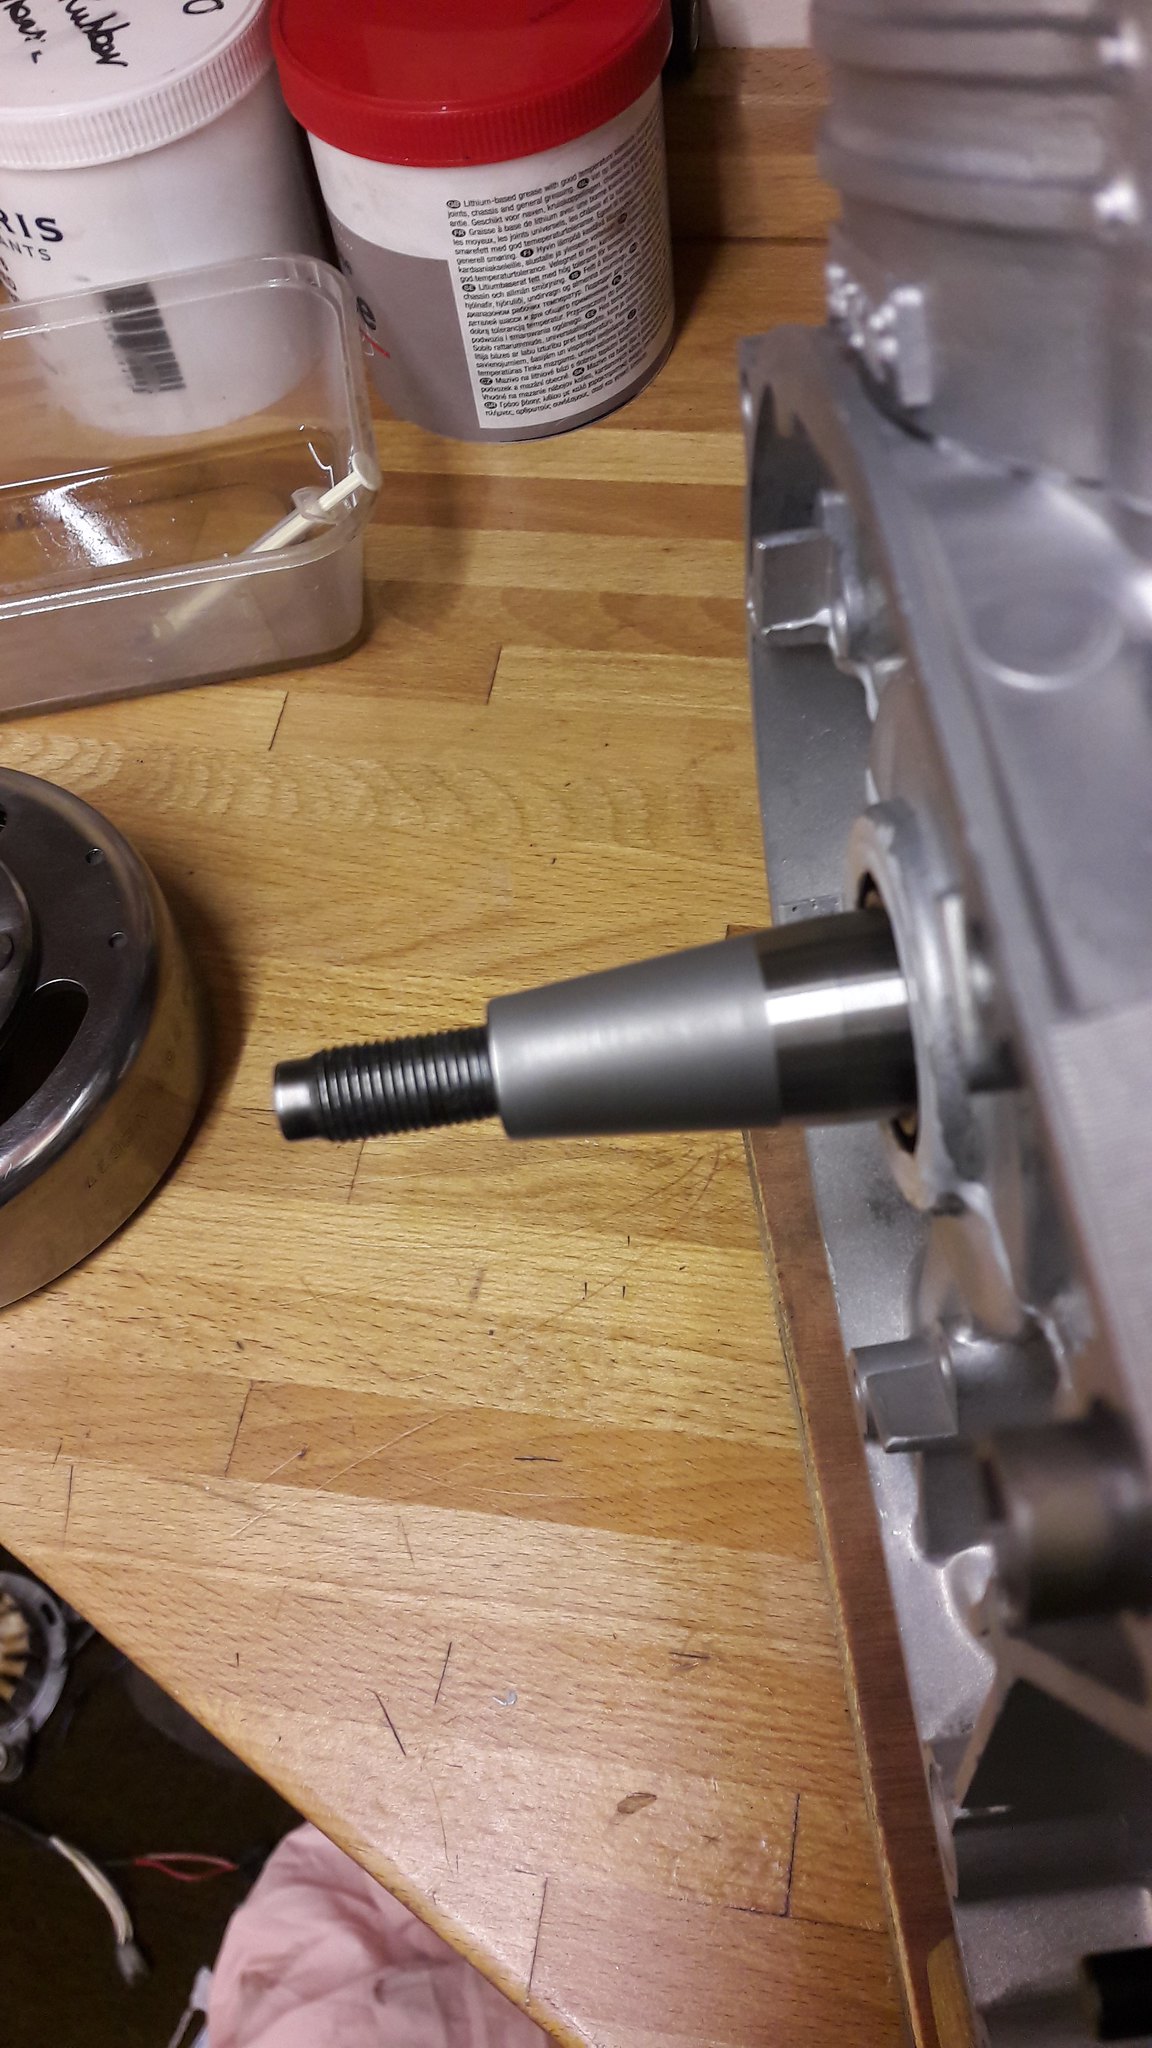 20181220_150119 20181220_150119 by David Miller, on Flickr This should ensure a good key between crank taper and rotor. Make sure you clean all the paste off well, even the fine paste feels gritty. Then you can fit your new woodruff key; 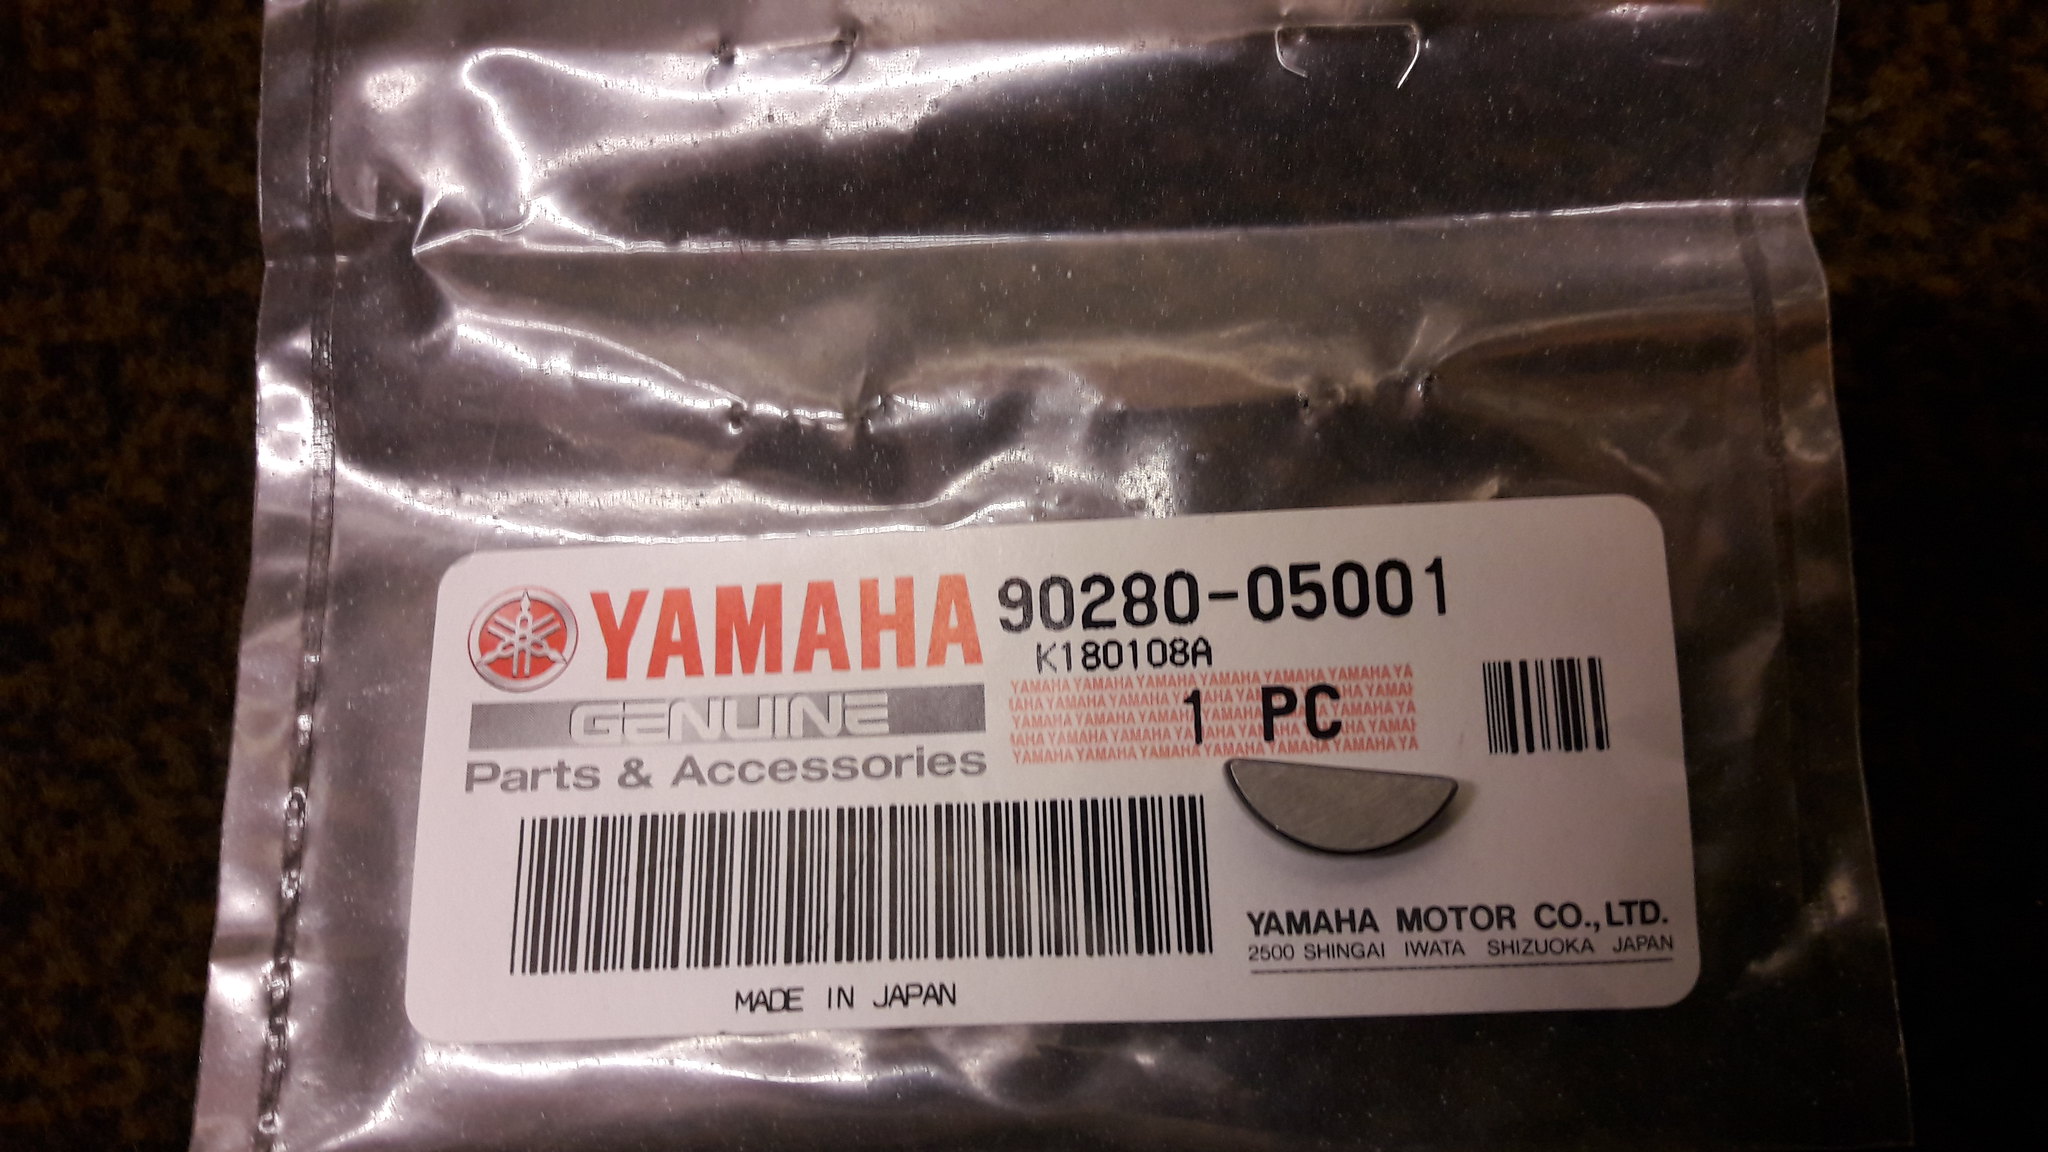 20181220_152127 20181220_152127 by David Miller, on Flickr There is a raised punch mark on one side of the key - makes a tight fit in the groove of the crank. I give it a very light tap with a hammer and wooden drift to seat it evenly; 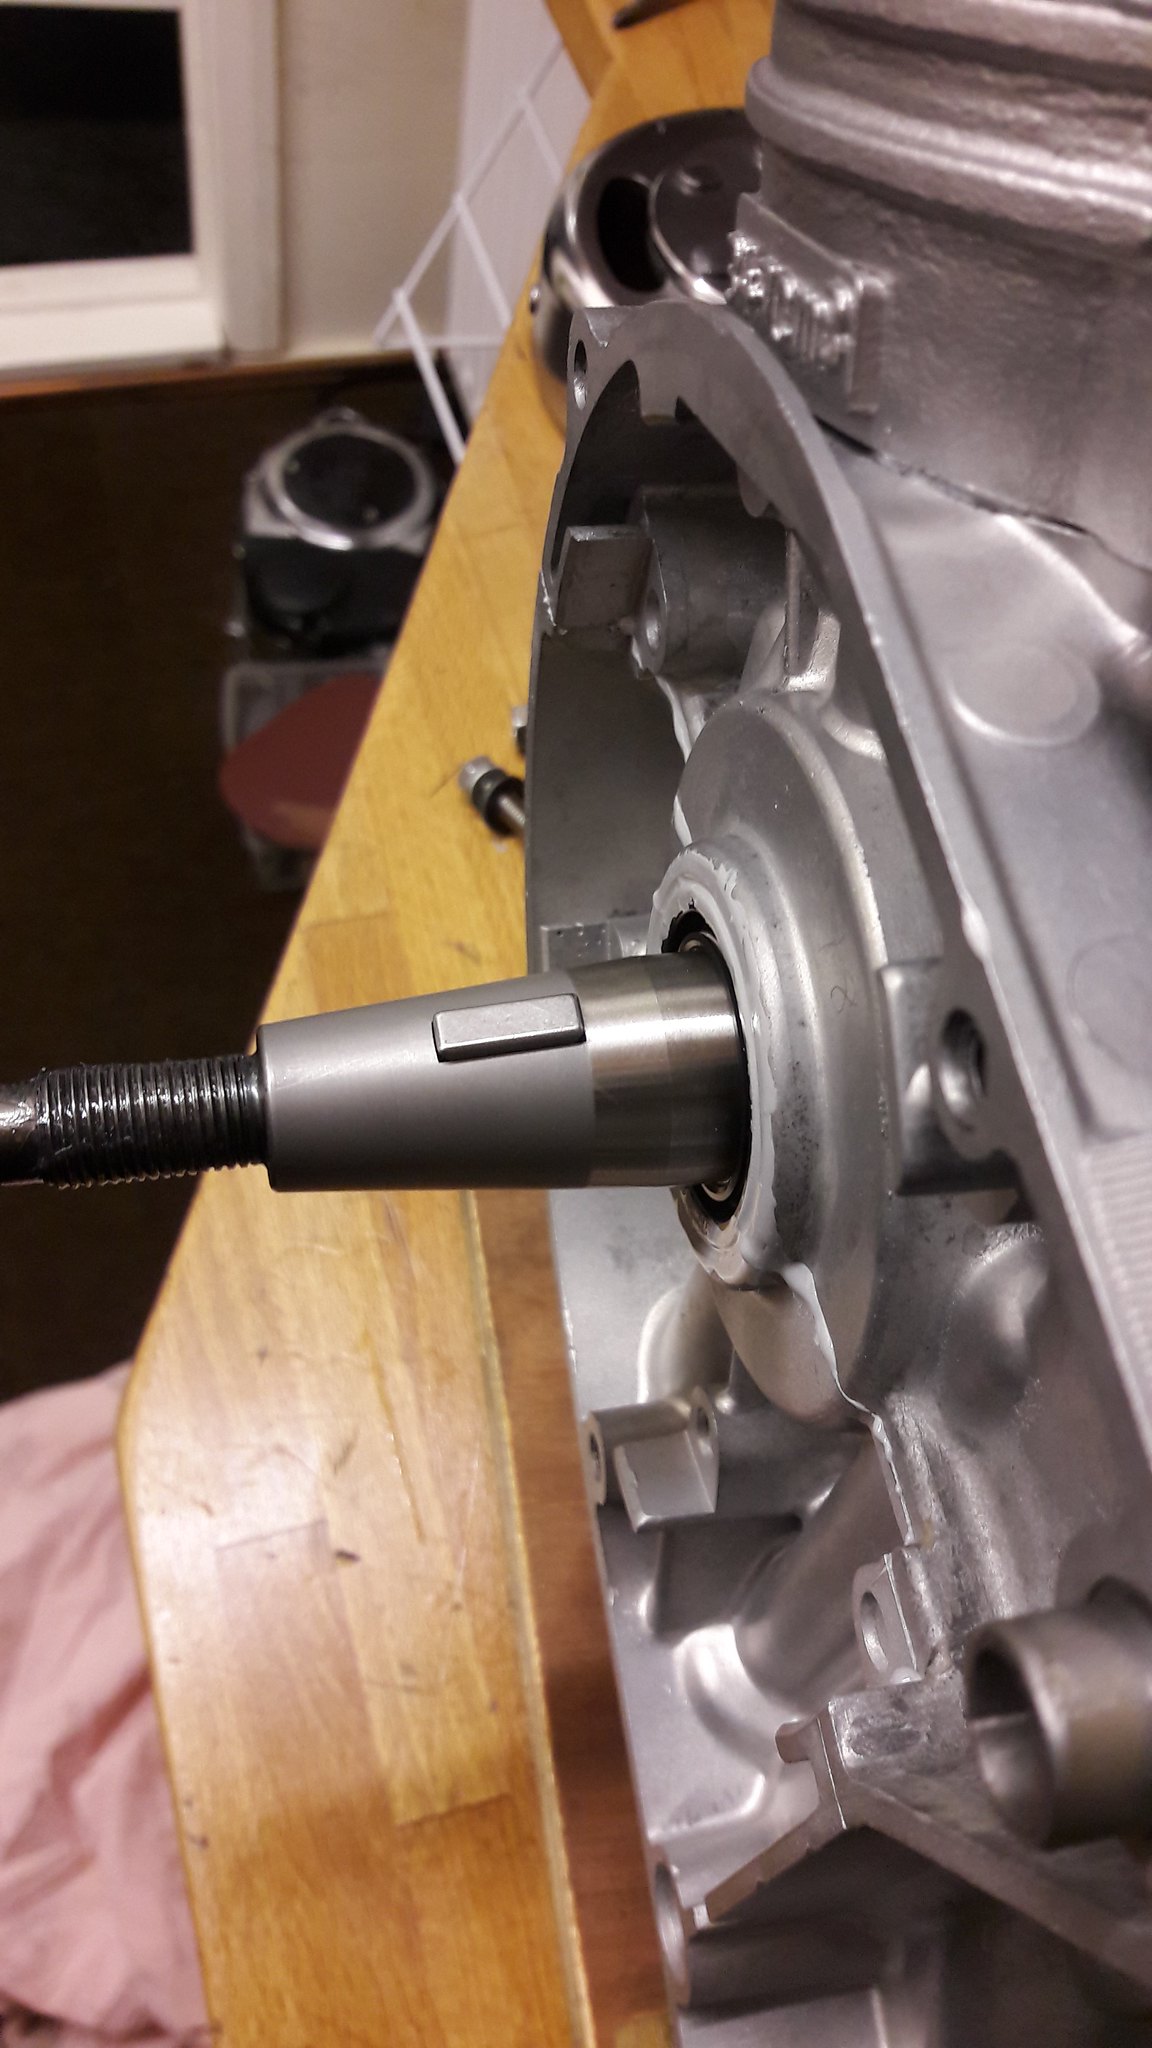 20181220_152342 20181220_152342 by David Miller, on Flickr Once happy, you can fit the stator plate. I cleaned this up prior to fitting, and fitted with new bolts; 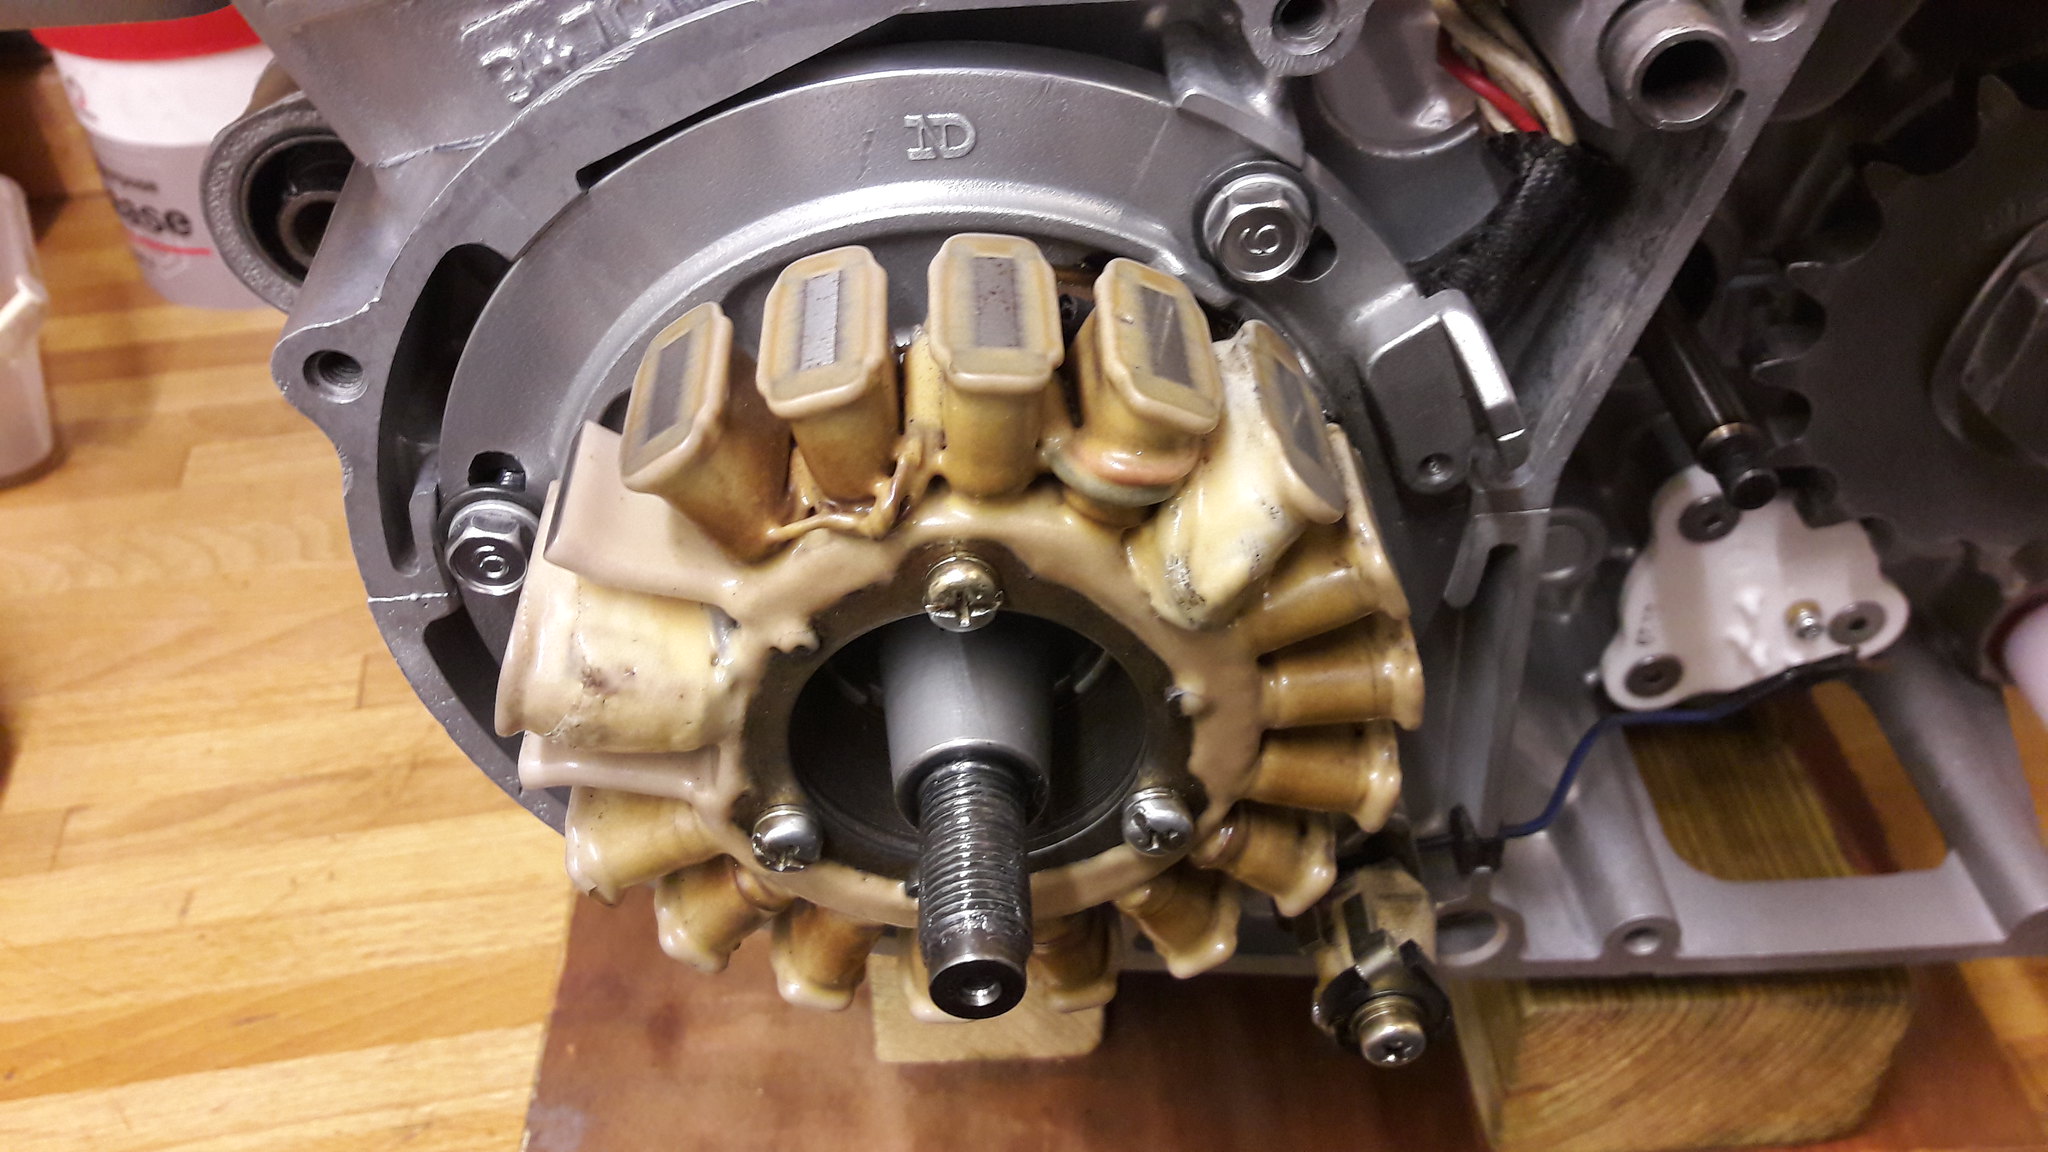 20181220_153740 20181220_153740 by David Miller, on Flickr Dusty  |
|
|
|
Post by Tobyjugs on Dec 21, 2018 20:40:54 GMT 1
I have never seen such a set of clean windings before. How did you clean them?
|
|
|
|
Post by dusty350 on Dec 21, 2018 20:48:54 GMT 1
Hi mate There were a bit corroded so I used a foam, abrasive block and just went over them lightly - didn't want to damage the insulation coating which can be quite brittle after all these years ! Came up pretty good with some patience. Got the inside of the rotor spotless too, although that wasn't too bad to start with luckily. Dusty  |
|
|
|
Post by Mr Kipling on Dec 21, 2018 20:48:58 GMT 1
nice work Dusty , looking Ace..
|
|
|
|
Post by dusty350 on Dec 21, 2018 20:53:27 GMT 1
Cheers Mr K  Been dragging my heels a bit as I've been quite busy lately, but getting to the point where the engine can go back in the frame soon  Dusty  |
|
|
|
Post by dusty350 on Dec 21, 2018 21:34:08 GMT 1
Barrels and head went on just before I did the rotor. I pre fit the circlips to the inner sides of the pistons before fitting them to the rods to make life easy, Soak the little ends in 2 stroke oil then fit to the rods, then offer up the pistons and push an oily gudgeon pin home. Then you only have the outer circlips to fit, making sure the crankcase mouth is stuffed with clean rag in case you drop a circlip !! Bit of oil on the piston crown and some in the bore, and lower the barrel on as you squeeze the rings together; 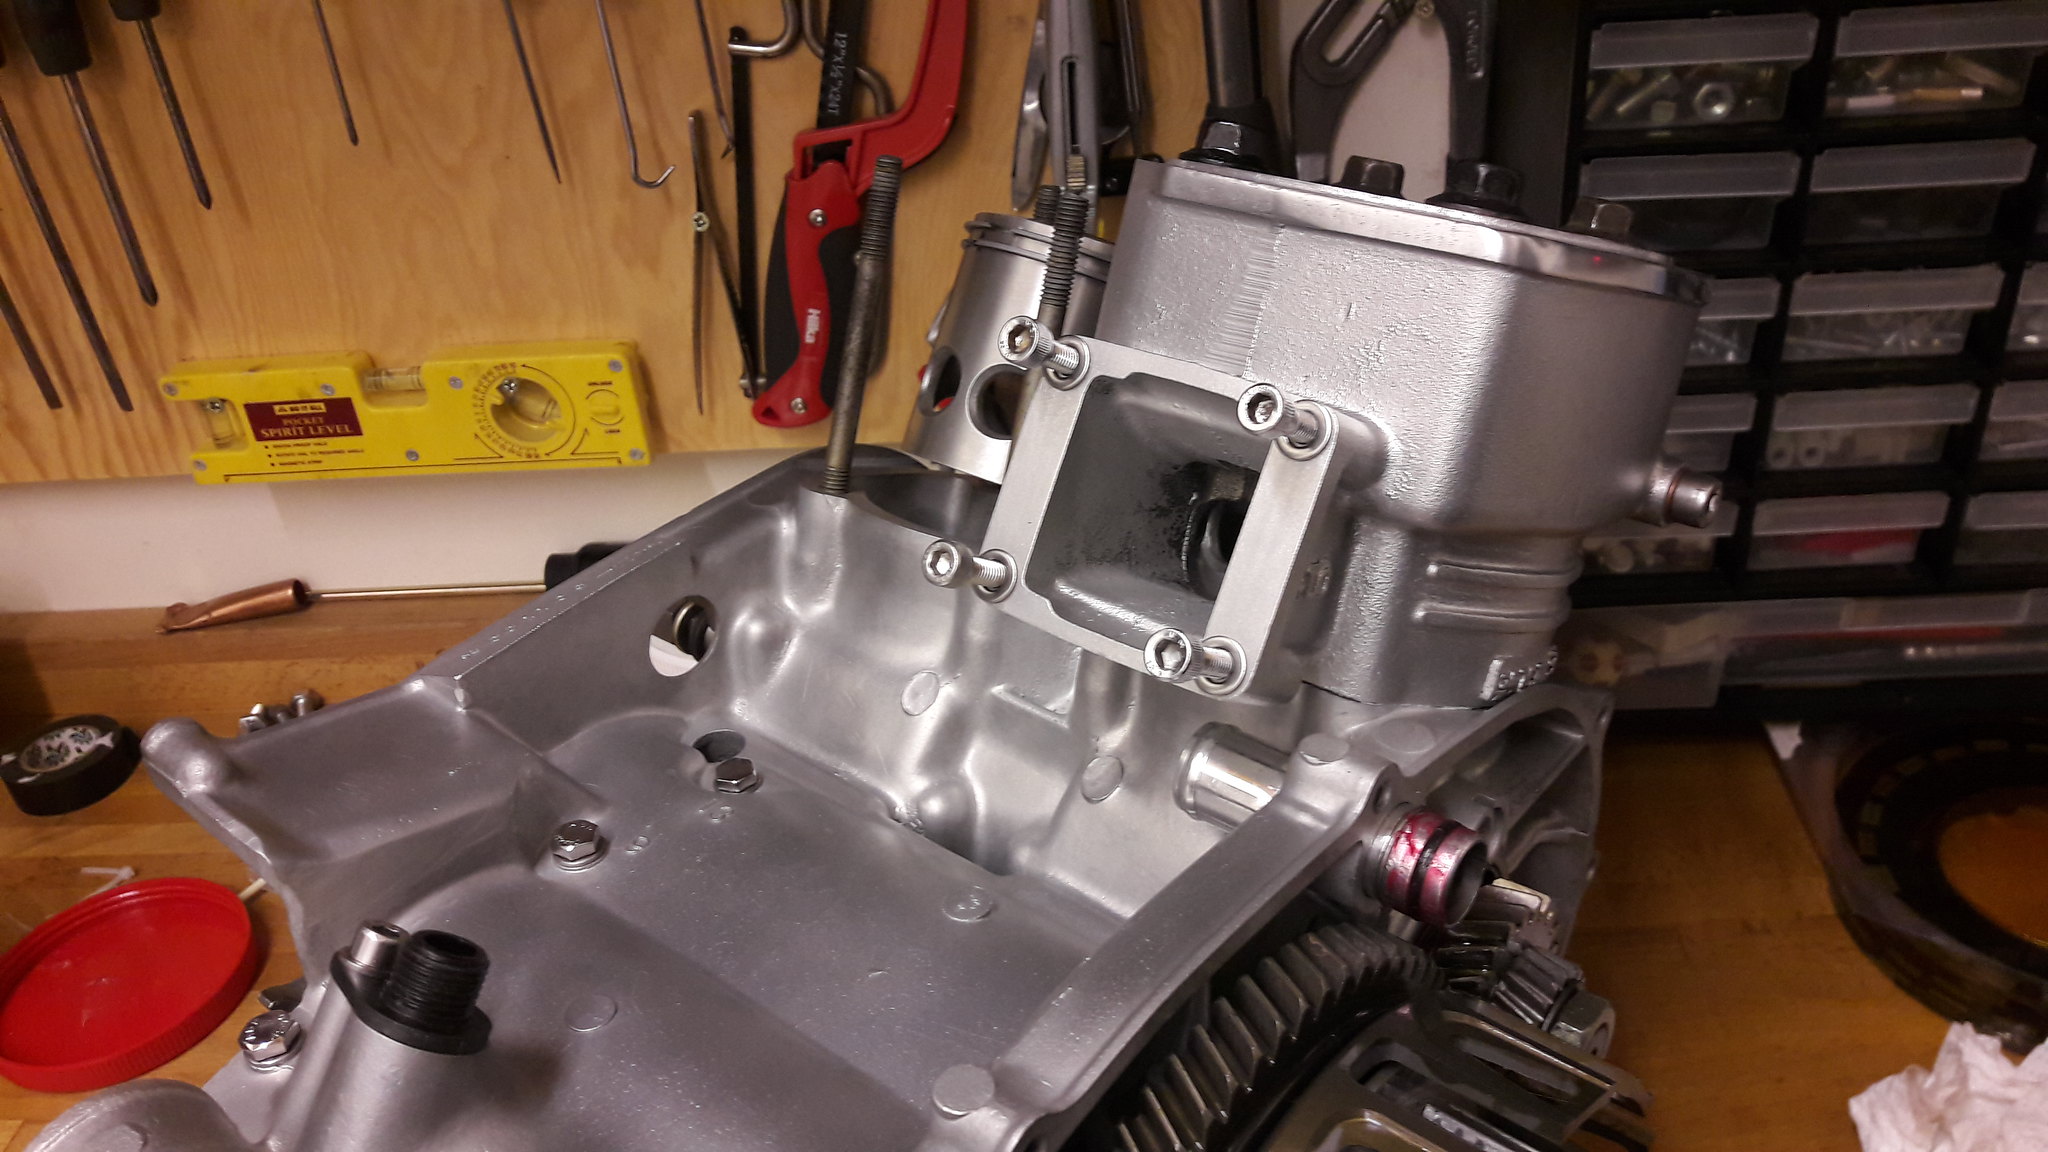 20181216_100200 20181216_100200 by David Miller, on Flickr 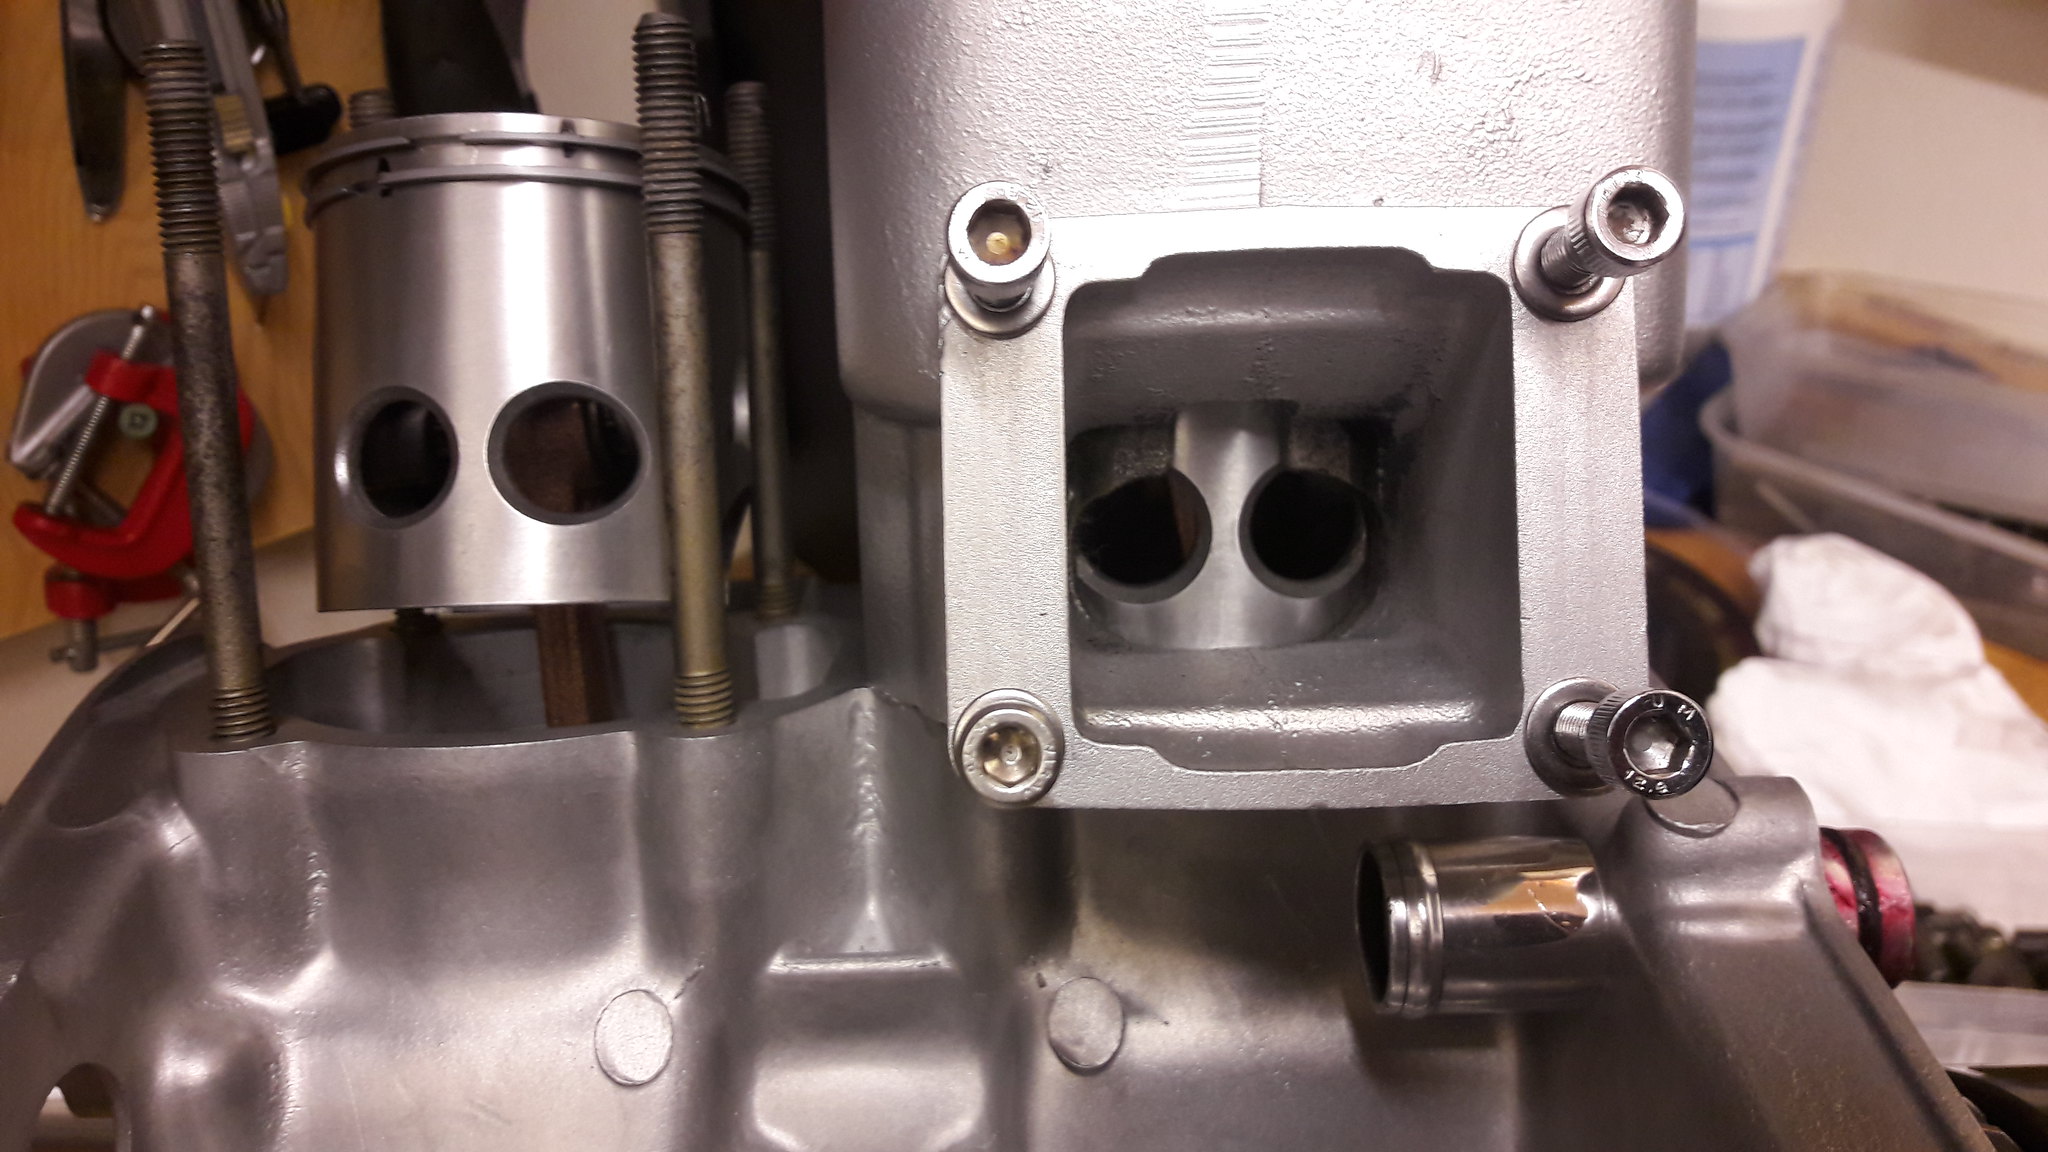 20181216_100208 20181216_100208 by David Miller, on Flickr New Yam base gaskets; 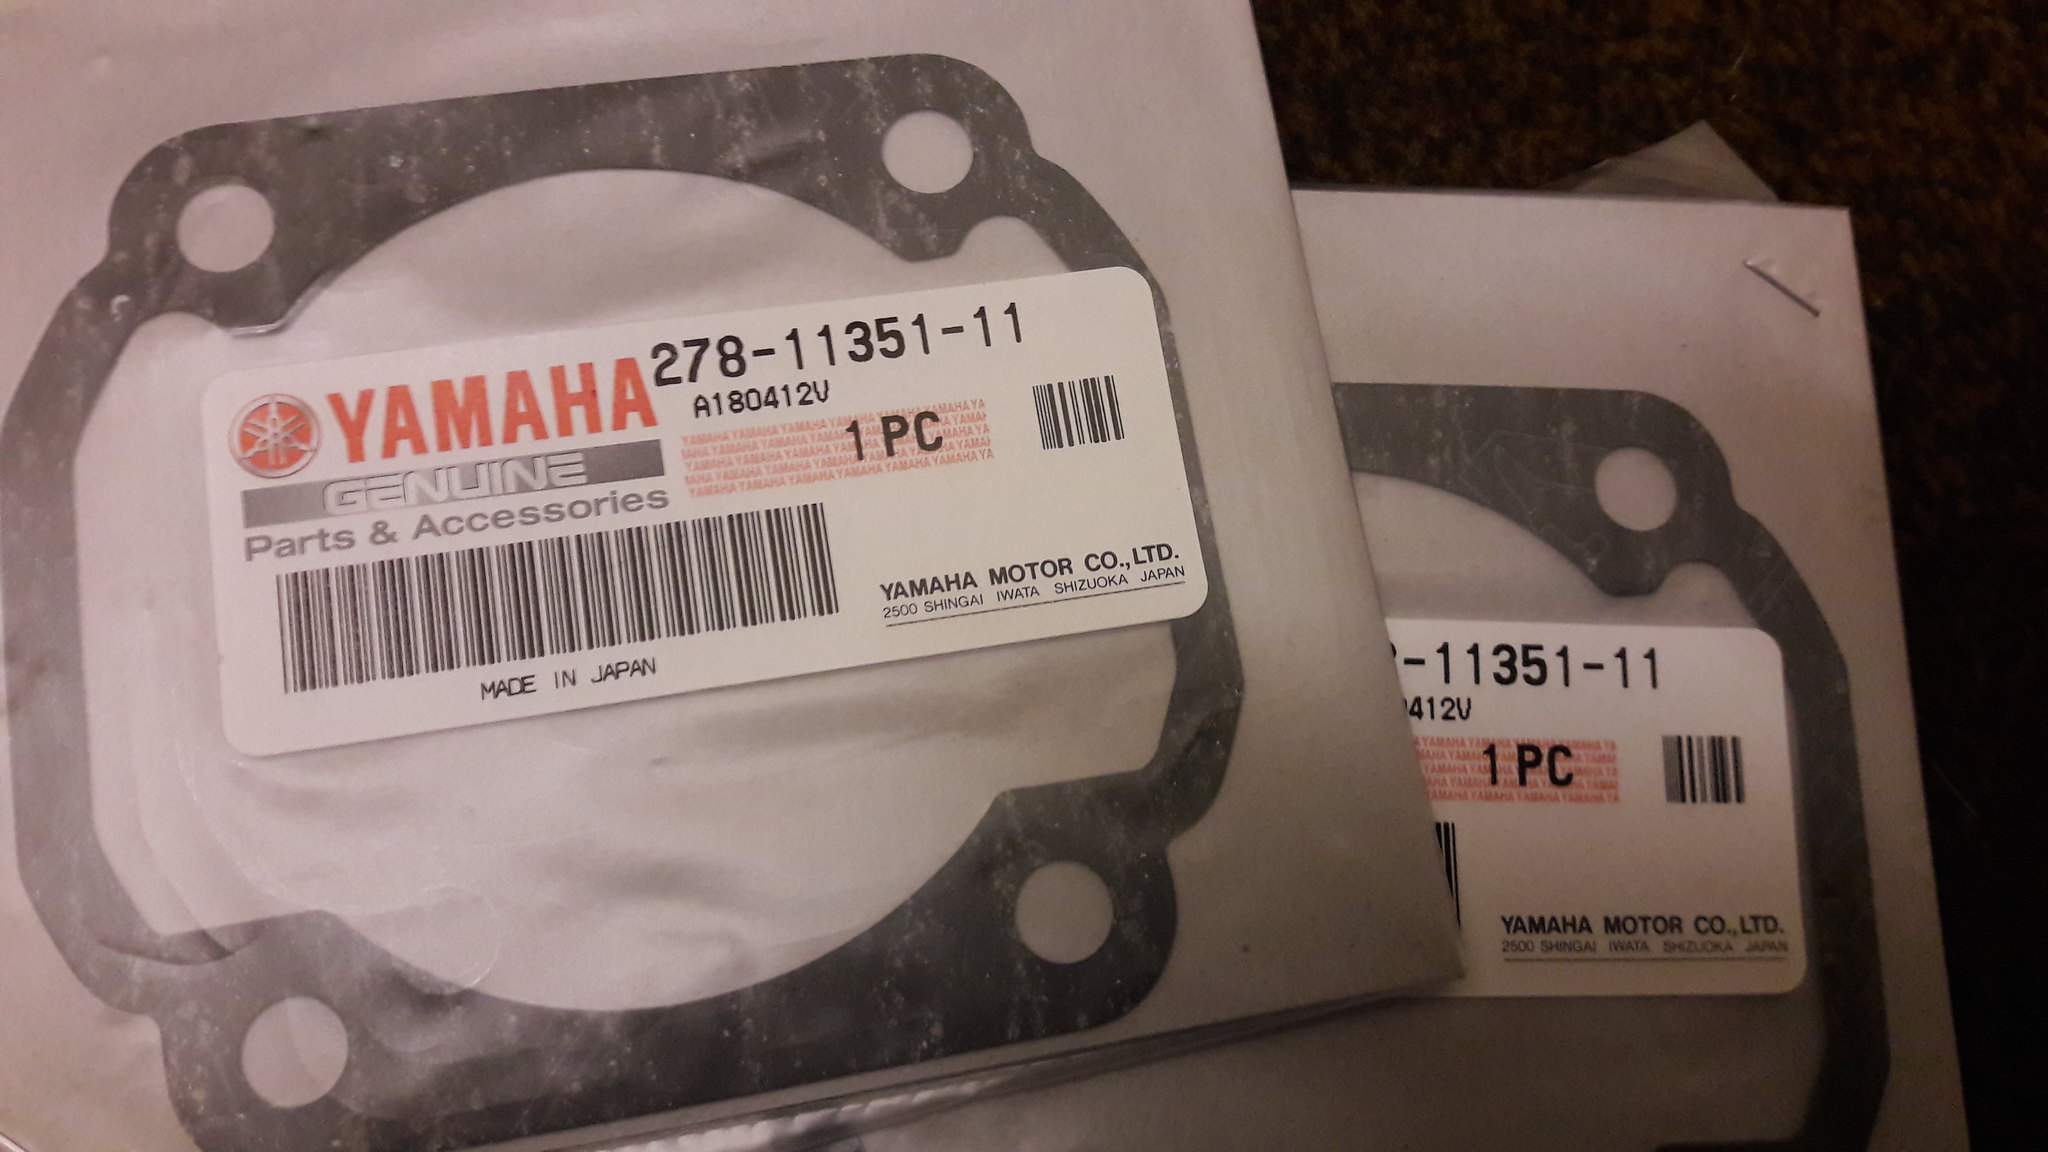 20181216_093910 20181216_093910 by David Miller, on Flickr £7.32 each. I apply a thin smear of Yamabond to each side of the gasket - probably overkill but hopefully leak free. With both barrels on, I fit a new Yam head gasket; 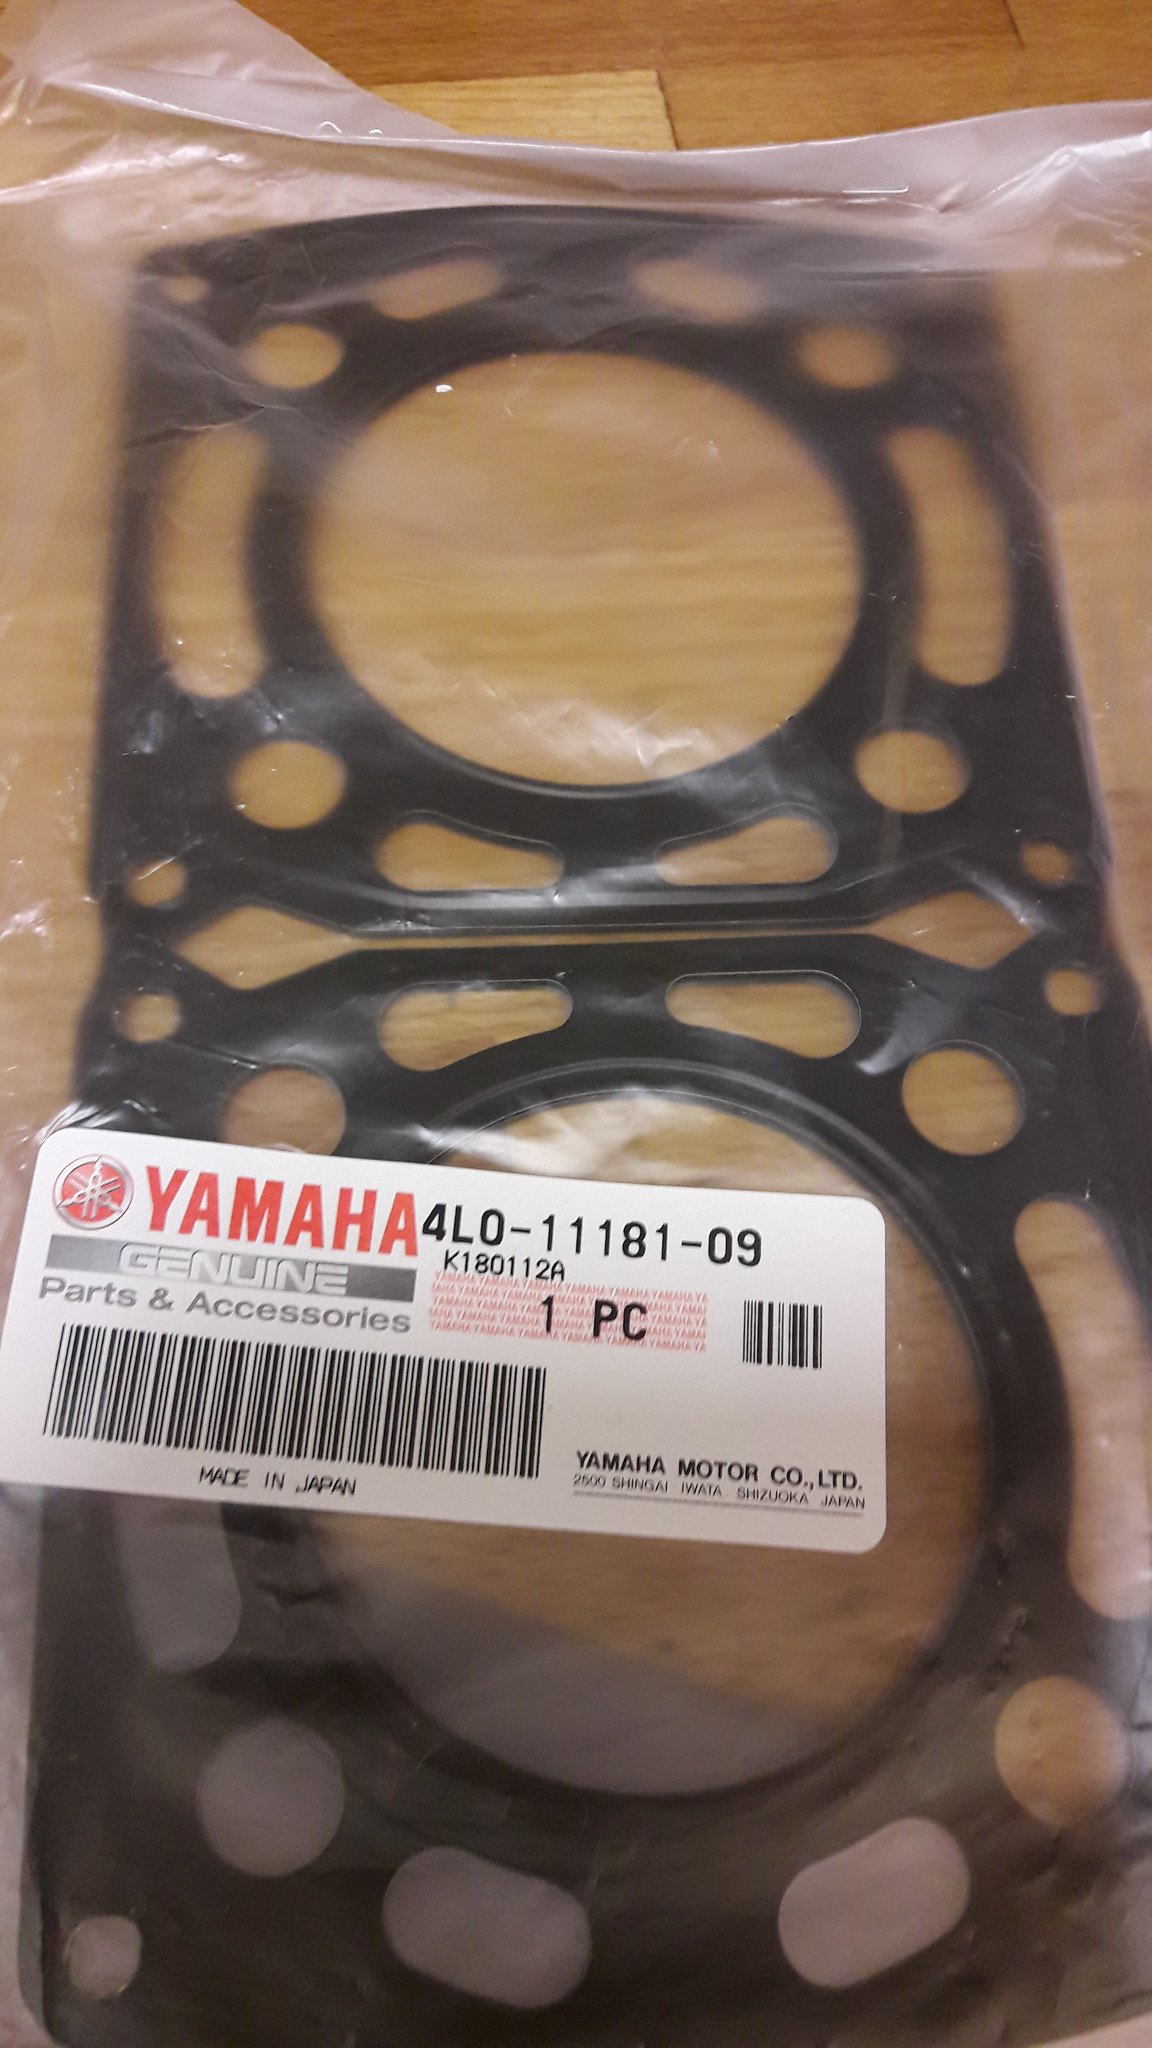 20181216_104723 20181216_104723 by David Miller, on Flickr £49.42. My NOS head can go on now, with the chromed bolts that came in the box of engine parts, and torque down evenly and progressively to 20ft/lb; 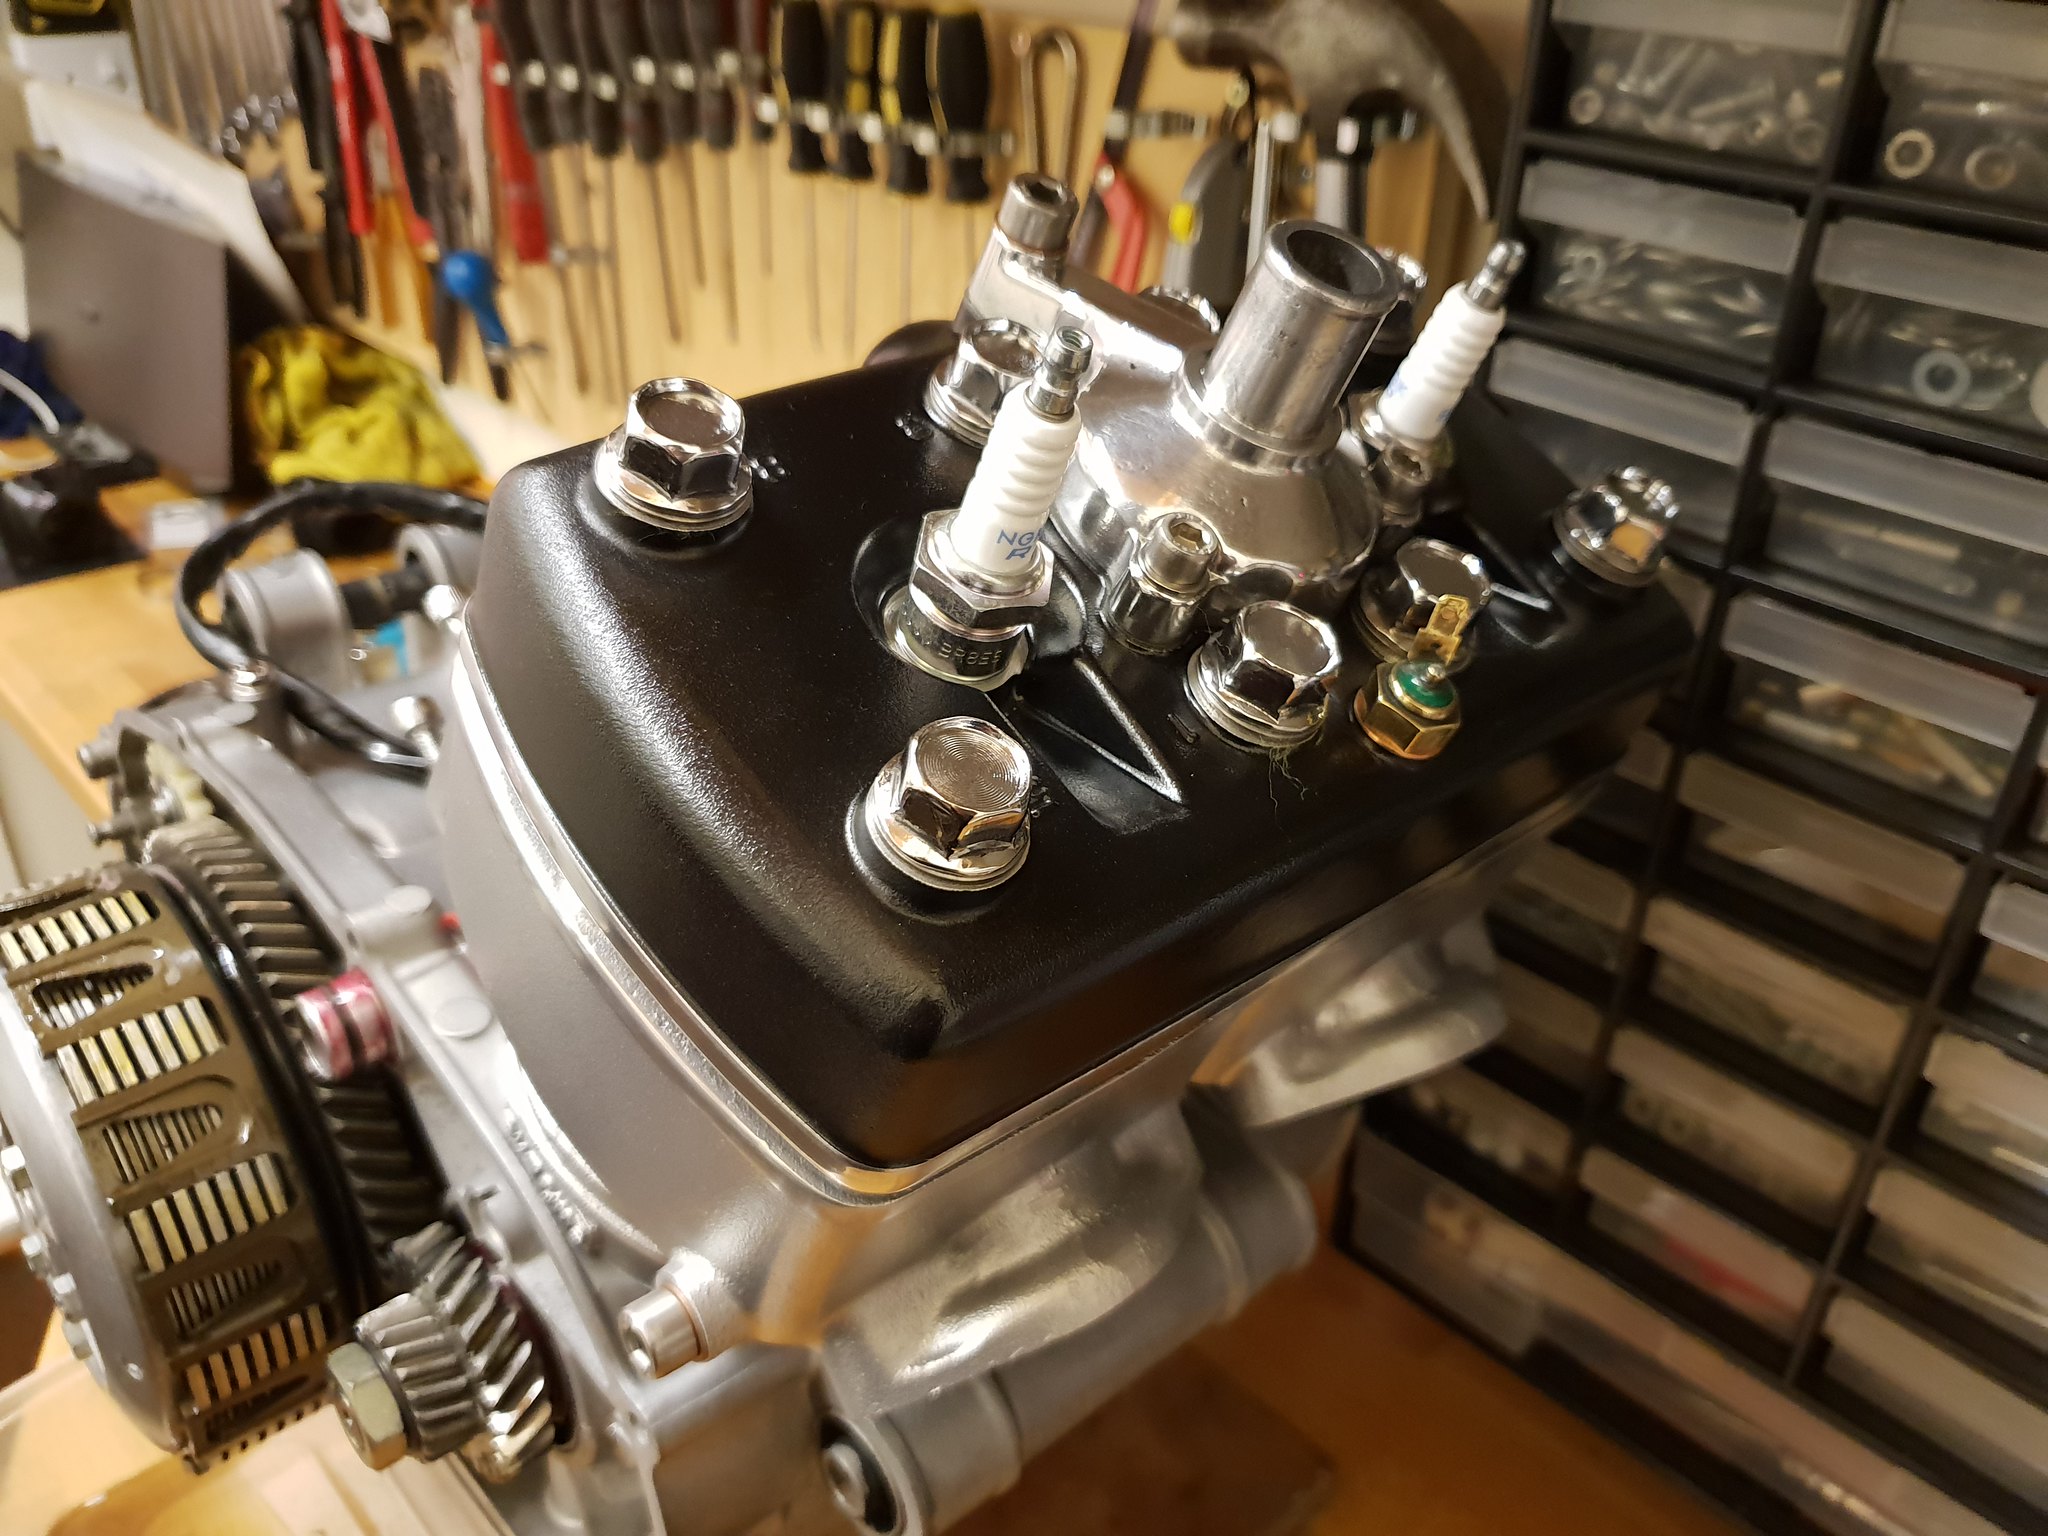 20181221_202009 20181221_202009 by David Miller, on Flickr 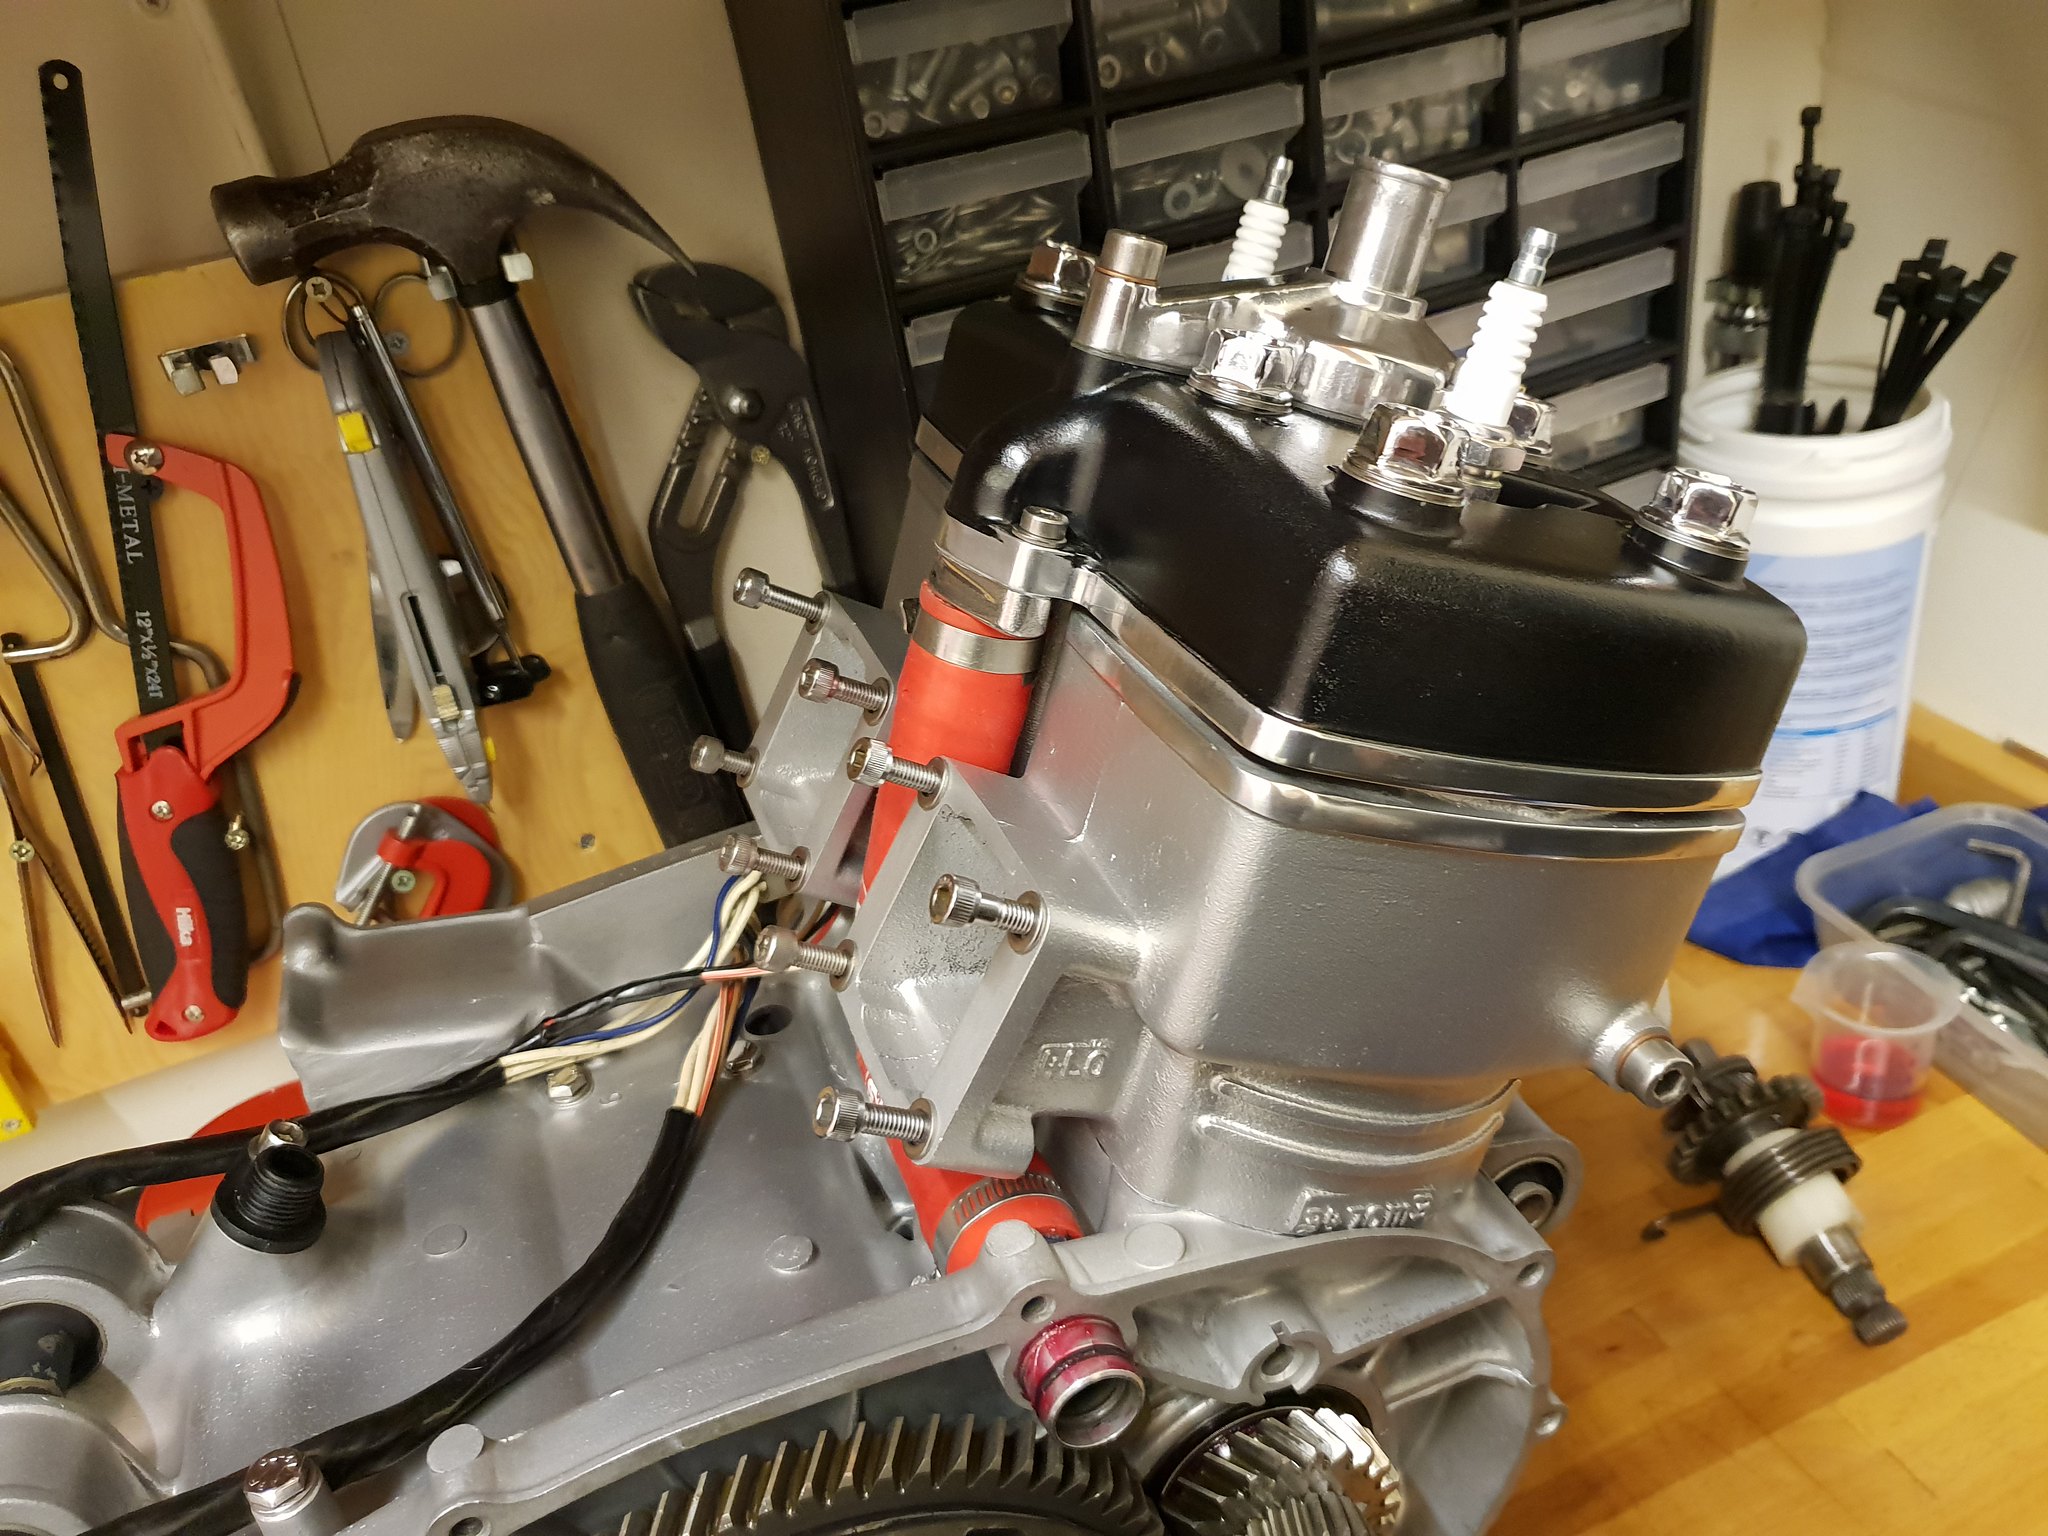 20181221_202021 20181221_202021 by David Miller, on Flickr Dusty  |
|
|
|
Post by wallcraft on Dec 21, 2018 22:23:12 GMT 1
Great tips Dusty, like the flywheel/ crank lapping one. Noticed the flywheel side crank seal has three bond around it, did you fit it dry then brush around with the three bond as a belt and braces approach or was there a previous issue?
Mark.
|
|
|
|
Post by dusty350 on Dec 21, 2018 23:02:37 GMT 1
Hi I had a blob of 3 bond on a sheet of paper - it had leaked out the end of the tube when I was applying it to the case halves, so there was enough to smear around the outside of the seal !! You don't need to do it otherwise. No other reason than that !! You don't need to put 3 bond round the seals as long as everything else is good quality/new/clean. I do put some on gaskets though - just a thin smear, as vapour blasting shows up little imperfections in the castings. I've never had a leak doing it that way. Dusty  |
|
|
|
Post by donkeychomp on Dec 21, 2018 23:47:25 GMT 1
Are you leaving the barrels as they are coz I think it looks great!
Alex
|
|
|
|
Post by oldbritguy on Dec 22, 2018 0:29:43 GMT 1
Absolutely cracking job Dusty, better than new!!!
I don't think I have ever seen such a tidy job
|
|