|
|
Post by andymoore on Oct 28, 2018 22:08:49 GMT 1
The Attention to detail is top-notch 🖒🖒
|
|
|
|
Post by mouse on Oct 29, 2018 8:31:25 GMT 1
This is fantastic Dusty. It makes me think even i could strip and engine.
All you need to do now is run out colour copies and get them bound and sell them, i'm sure people would buy them.
Mouse
|
|
|
|
Post by bezzer on Oct 29, 2018 22:01:21 GMT 1
This is fantastic Dusty. It makes me think even i could strip and engine. All you need to do now is run out colour copies and get them bound and sell them, i'm sure people would buy them. Mouse 😁 You can put me down for one mouse 👍🏻 |
|
|
|
Post by dusty350 on Oct 31, 2018 8:17:56 GMT 1
Ha, thanks for the kind words. Mr Haynes need not worry though, im not going beyond the forum with this !!😉
Its just another engine build that will hopefully help and encourage others. I learnt a lot from the last one thanks to input on here from members and some things will be different again with this one. Im dropping into Pjme on Thursday with the crank and barrels for them to assess and if the crank is good then the bottom end can move on quite quickly.
More soon.
Dusty😉
|
|
|
|
Post by hudtm60 on Nov 1, 2018 5:04:32 GMT 1
Had no idea another build was going on! Fantastic work- and I can already tell the sequel's going to be great...if not better.
Haven't started my rebuild yet- still a bit intimidated- was going to make a thread of it- but ......let's just say you make it look a lot easier than it really is. I think most of us realize that and It's much appreciated.
And thank you.
|
|
|
|
Post by dusty350 on Nov 1, 2018 9:09:59 GMT 1
Hi mate
It really is a simple engine to build
The hardest part of a build, in my opinion, is stripping them down in the first place. Seized or chewed up fixings can make a strip difficult as you try not to damage parts as you disassemble them. I hate whacking case fixings with an impact driver but its inevitable to find bolts and screws seized in. Once stripped its clean up and methodical build back up. I promise you - if you can wire a plug you can build an lc/pv engine !!
Dusty😉
|
|
|
|
Post by earthman on Nov 1, 2018 12:19:54 GMT 1
Hi mate It really is a simple engine to build The hardest part of a build, in my opinion, is stripping them down in the first place. Seized or chewed up fixings can make a strip difficult as you try not to damage parts as you disassemble them. I hate whacking case fixings with an impact driver but its inevitable to find bolts and screws seized in. Once stripped its clean up and methodical build back up. I promise you - if you can wire a plug you can build an lc/pv engine !! Dusty😉 Can you even get a JIS bit for an impact driver? This is where I went wrong back in the day but to be honest, I never even knew that they weren't actually Phillips. |
|
|
|
Post by Shytalk on Nov 1, 2018 14:34:13 GMT 1
Can you even get a JIS bit for an impact driver?
Yes you can, do a search on ebay - there’s not too many sellers out there but they are available.
|
|
|
|
Post by dusty350 on Nov 1, 2018 22:47:39 GMT 1
A strip down can be straight forward of course, but as the vast majority of engines have been through many hands and rebuilds, all sorts can be found !. I've broken a clutch inner hub and a clutch holding tool trying to undo a clutch centre nut that was unbelievably tight ! I've had to drill and "easy out" snapped bolts, get broken cases re welded, whack rotor pulling tools far harder than I'm comfortable with to "break" the rotor's grip on the crank taper etc etc. The state of the engine is something you have no control over before you strip it, but once stripped down to it's component parts, you then have full control over what happens next - quality of parts used, what gets renewed and what is acceptable, how methodical you want to be etc etc. I'm no engineer, and have basic workshop tools and no training so I always sweat on the strip down !!  I dropped into Pjme today, on the way home from the Lake District. I took my supposedly "rebuilt" Lc crank, the 350 standard barrels which will replace the 375's, and my Pv crank for a check over. The barrels are on standard bore but had a "nic" just below the a transfer port, so they are getting a rebore and a clean up. The Lc crank didn't fair so well though. It has been rebuilt, but Pj's reckon it may have spun at some point. It has been welded at one end only; 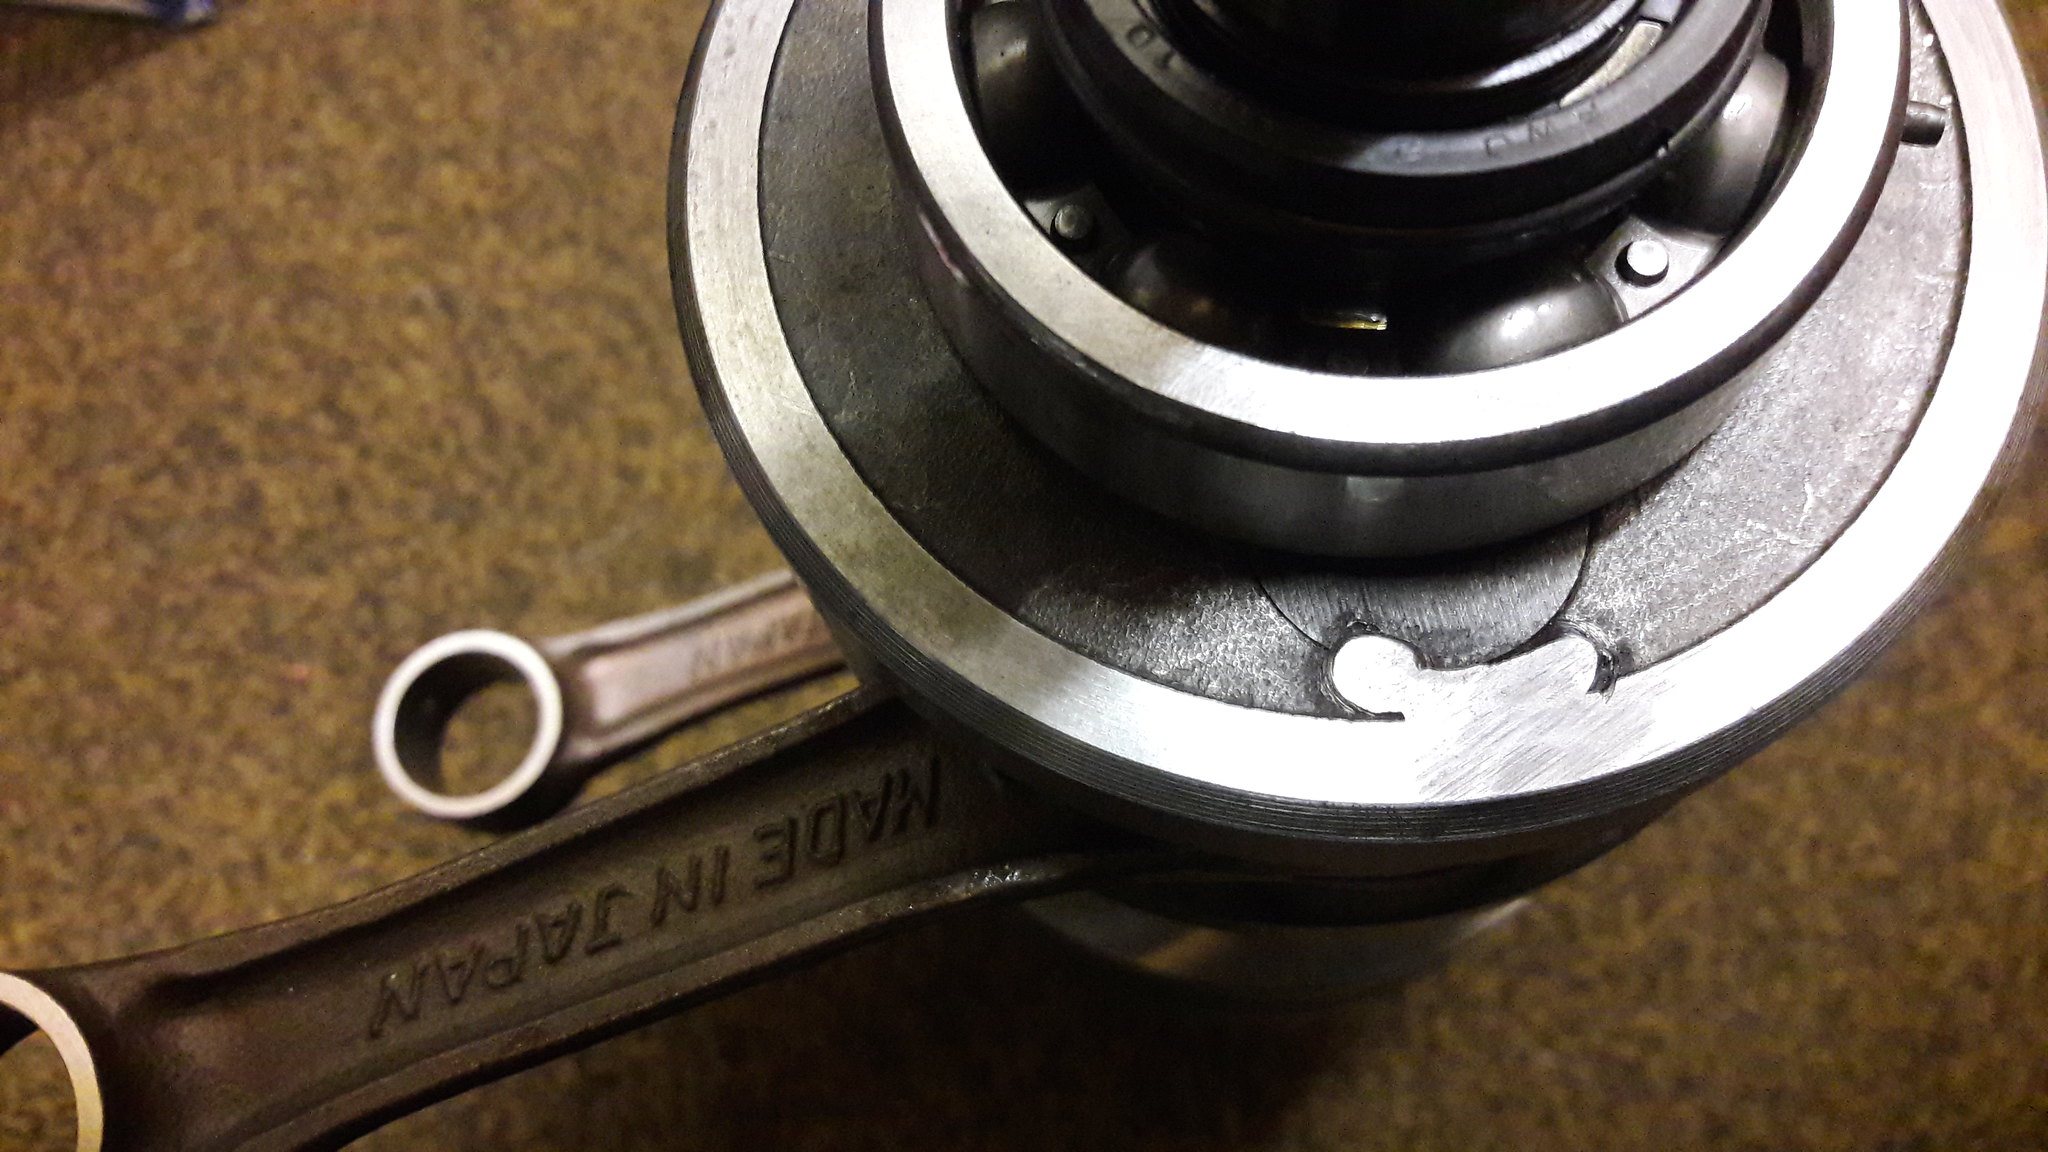 20181101_170622 20181101_170622 by David Miller, on Flickr It certainly isn't a newly built crank - wear marks are quite numerous; 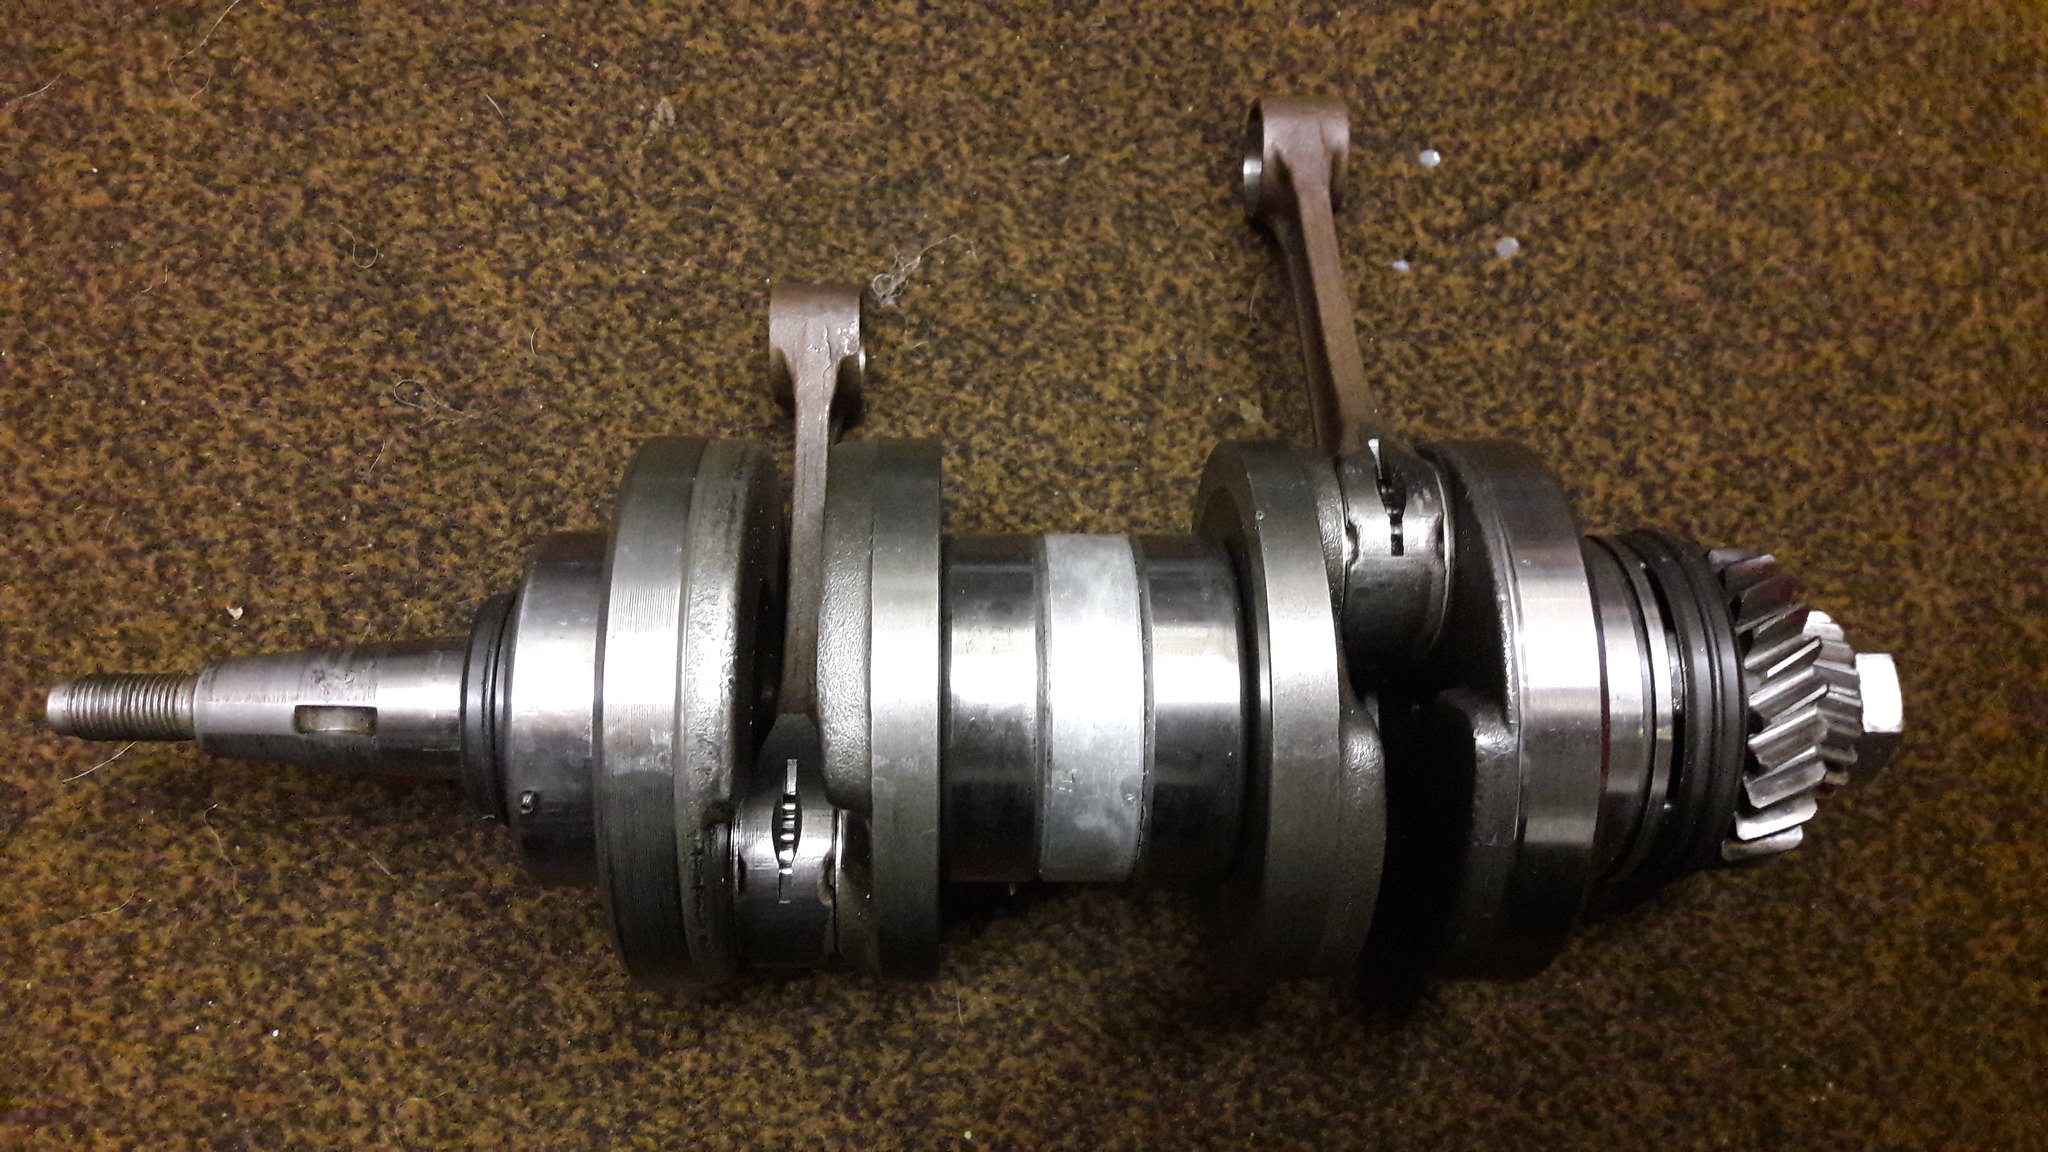 20181101_170529 20181101_170529 by David Miller, on Flickr It would need a rebuild, but the welded end creates difficulties so I've ordered a new crank from them, same as the last engine build. I will salvage the primary drive and smaller gear from this crank but the rest is toast. Approx a week turnaround so not long to wait. Dusty  |
|
|
|
Post by donkeychomp on Nov 1, 2018 23:35:47 GMT 1
Cant wait for the 3rd chapter. The Return of the LC Engine, the Crank Strikes Back  Alex |
|
|
|
Post by Tobyjugs on Nov 2, 2018 1:15:47 GMT 1
Hi Dusty I am interested in that toast, the middle bit actually. If you want to sell it.
|
|
|
|
Post by dusty350 on Nov 2, 2018 8:18:03 GMT 1
Hi Toby All I need is the primary and small gear off the end. The bearings are actually good. It's the fact that it's been welded at one end that makes the difference between the cost of getting it rebuilt against a brand new crank, so it was a no brainer for me. Post could be pricey though - it's a heavy item ! Dusty  |
|
|
|
Post by Tobyjugs on Nov 2, 2018 8:57:47 GMT 1
Hi Dusty let me know what you want for it either here or via Pm for it to be posted to Plymouth.
|
|
|
|
Post by mikee on Nov 2, 2018 10:46:44 GMT 1
looks to have been welded with some care
you can only re-build an lc crank so many times then they get slack (4-5 times max in my experience) then you need to weld them
in the early days of proddy racing these were welded on the first re-build , or had hybrid rd/lc cranks built
strangley su*uki motors don't suffer from this to the same extent
mike
|
|
|
|
Post by midlifecrisisrd on Nov 2, 2018 13:54:56 GMT 1
Hi mate It really is a simple engine to build The hardest part of a build, in my opinion, is stripping them down in the first place. Seized or chewed up fixings can make a strip difficult as you try not to damage parts as you disassemble them. I hate whacking case fixings with an impact driver but its inevitable to find bolts and screws seized in. Once stripped its clean up and methodical build back up. I promise you - if you can wire a plug you can build an lc/pv engine !! Dusty😉 Can you even get a JIS bit for an impact driver? This is where I went wrong back in the day but to be honest, I never even knew that they weren't actually Phillips. I cheat a bit JIS driver bit in a 1/4 drive socket bit Then a 1/4 to 3/8 adaptor Then a 3/8 to 1/2 adaptor which fits on my impact driver Job done 😁 Steve |
|
|
|
Post by bare on Nov 2, 2018 17:49:10 GMT 1
Suggest you Do the star shift Mod.
No it's not a Bodge. It really does improve shift feel.
Note that Later Yamahas had this as OEM.
|
|
|
|
Post by dusty350 on Nov 4, 2018 22:12:24 GMT 1
Took a small step backwards with the build this week. Alan Kelly very kindly supplied me with a small, shallow headed bolt to use with the bearing on the stopper arm - thanks again Al  , so I have now fitted that; 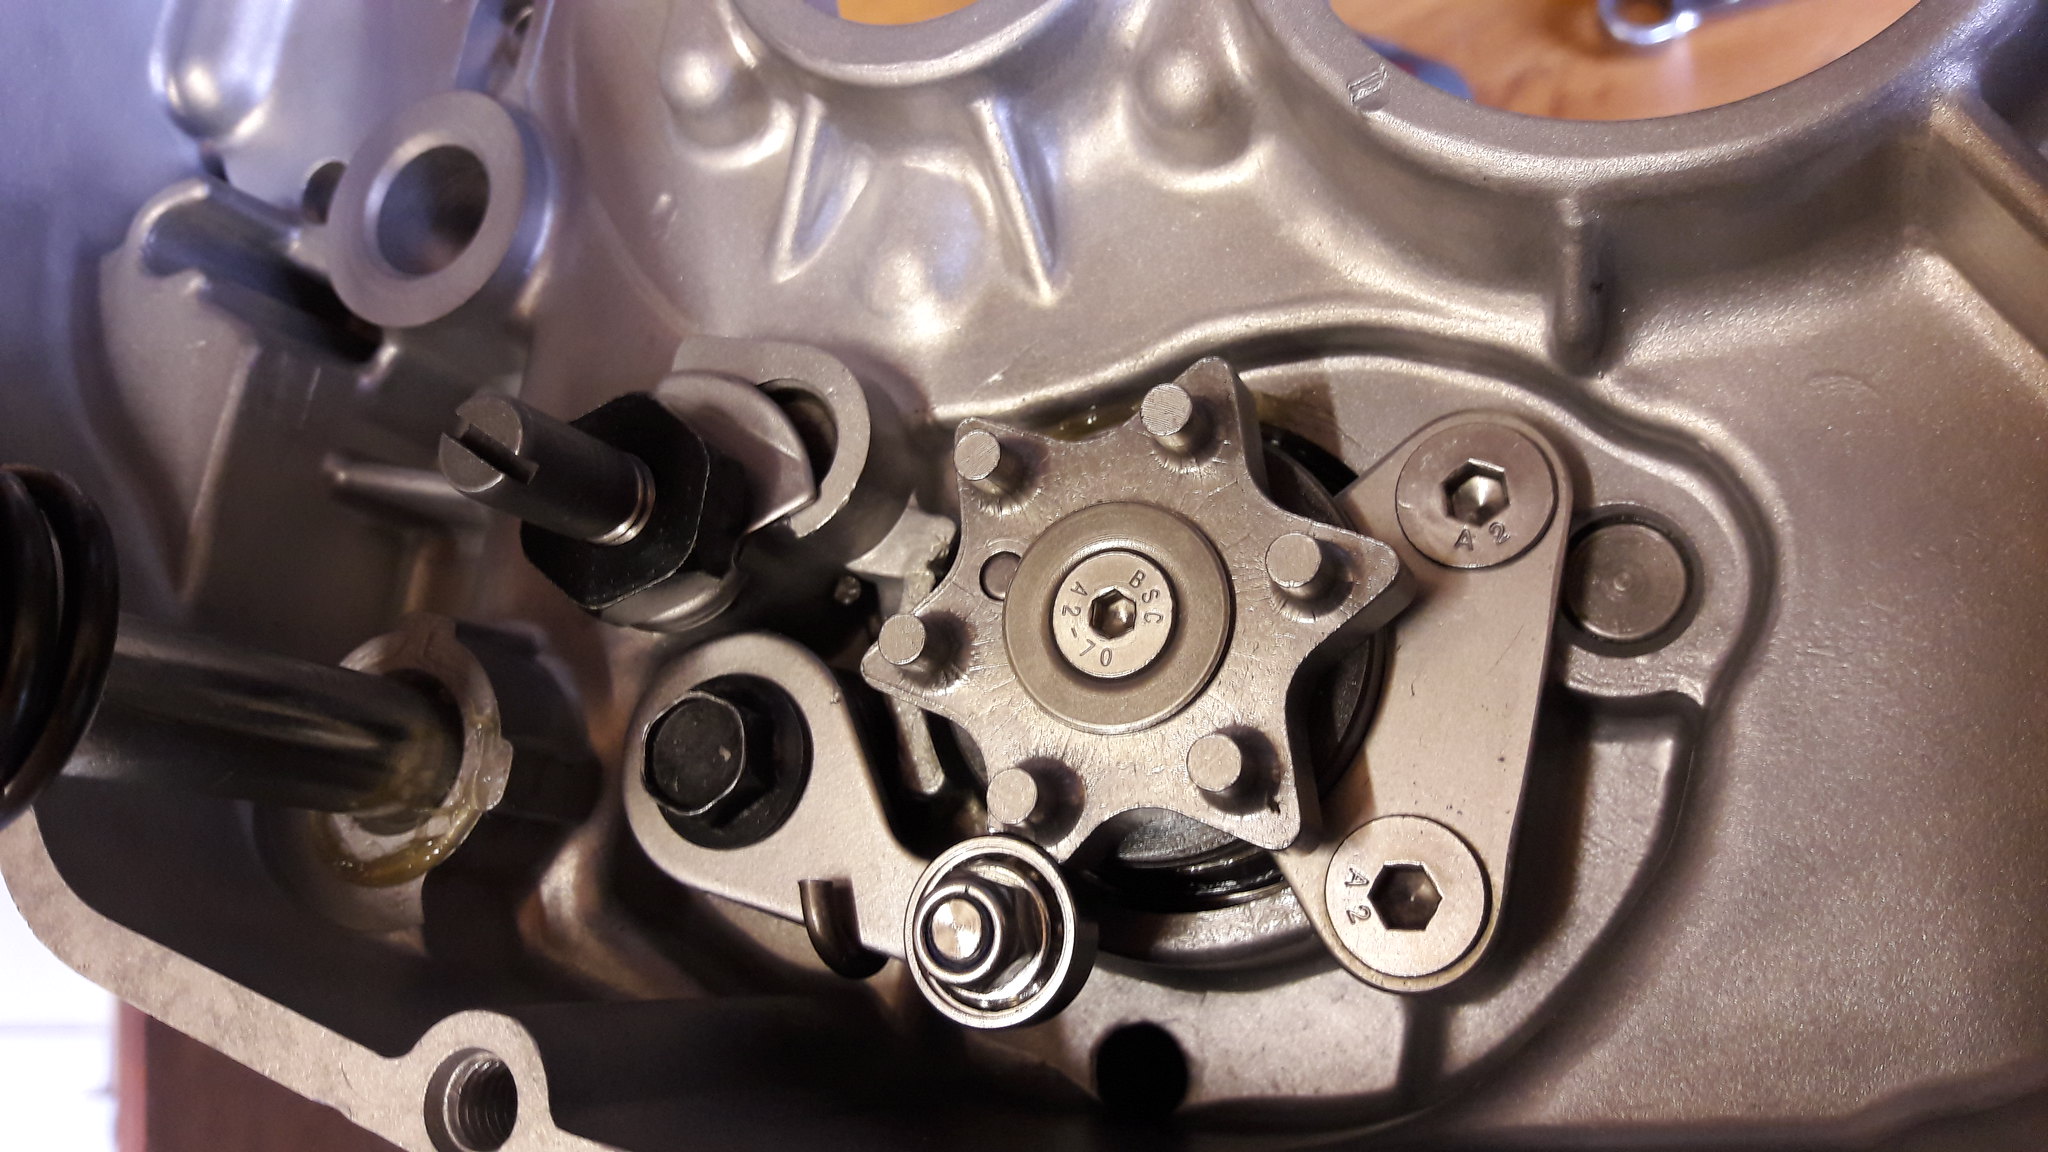 20181104_134853 20181104_134853 by David Miller, on Flickr As you can see, I removed the rubber shields from the bearing so it will always get lubrication. Alan also very kindly modified a spare shift star that I had, but I have decided to use that on my next engine build - a pv for the café racer - so that will go in the parts collection for next years project. So I am now back to the point where I can fit the gear clusters. First, the main shaft bearings; 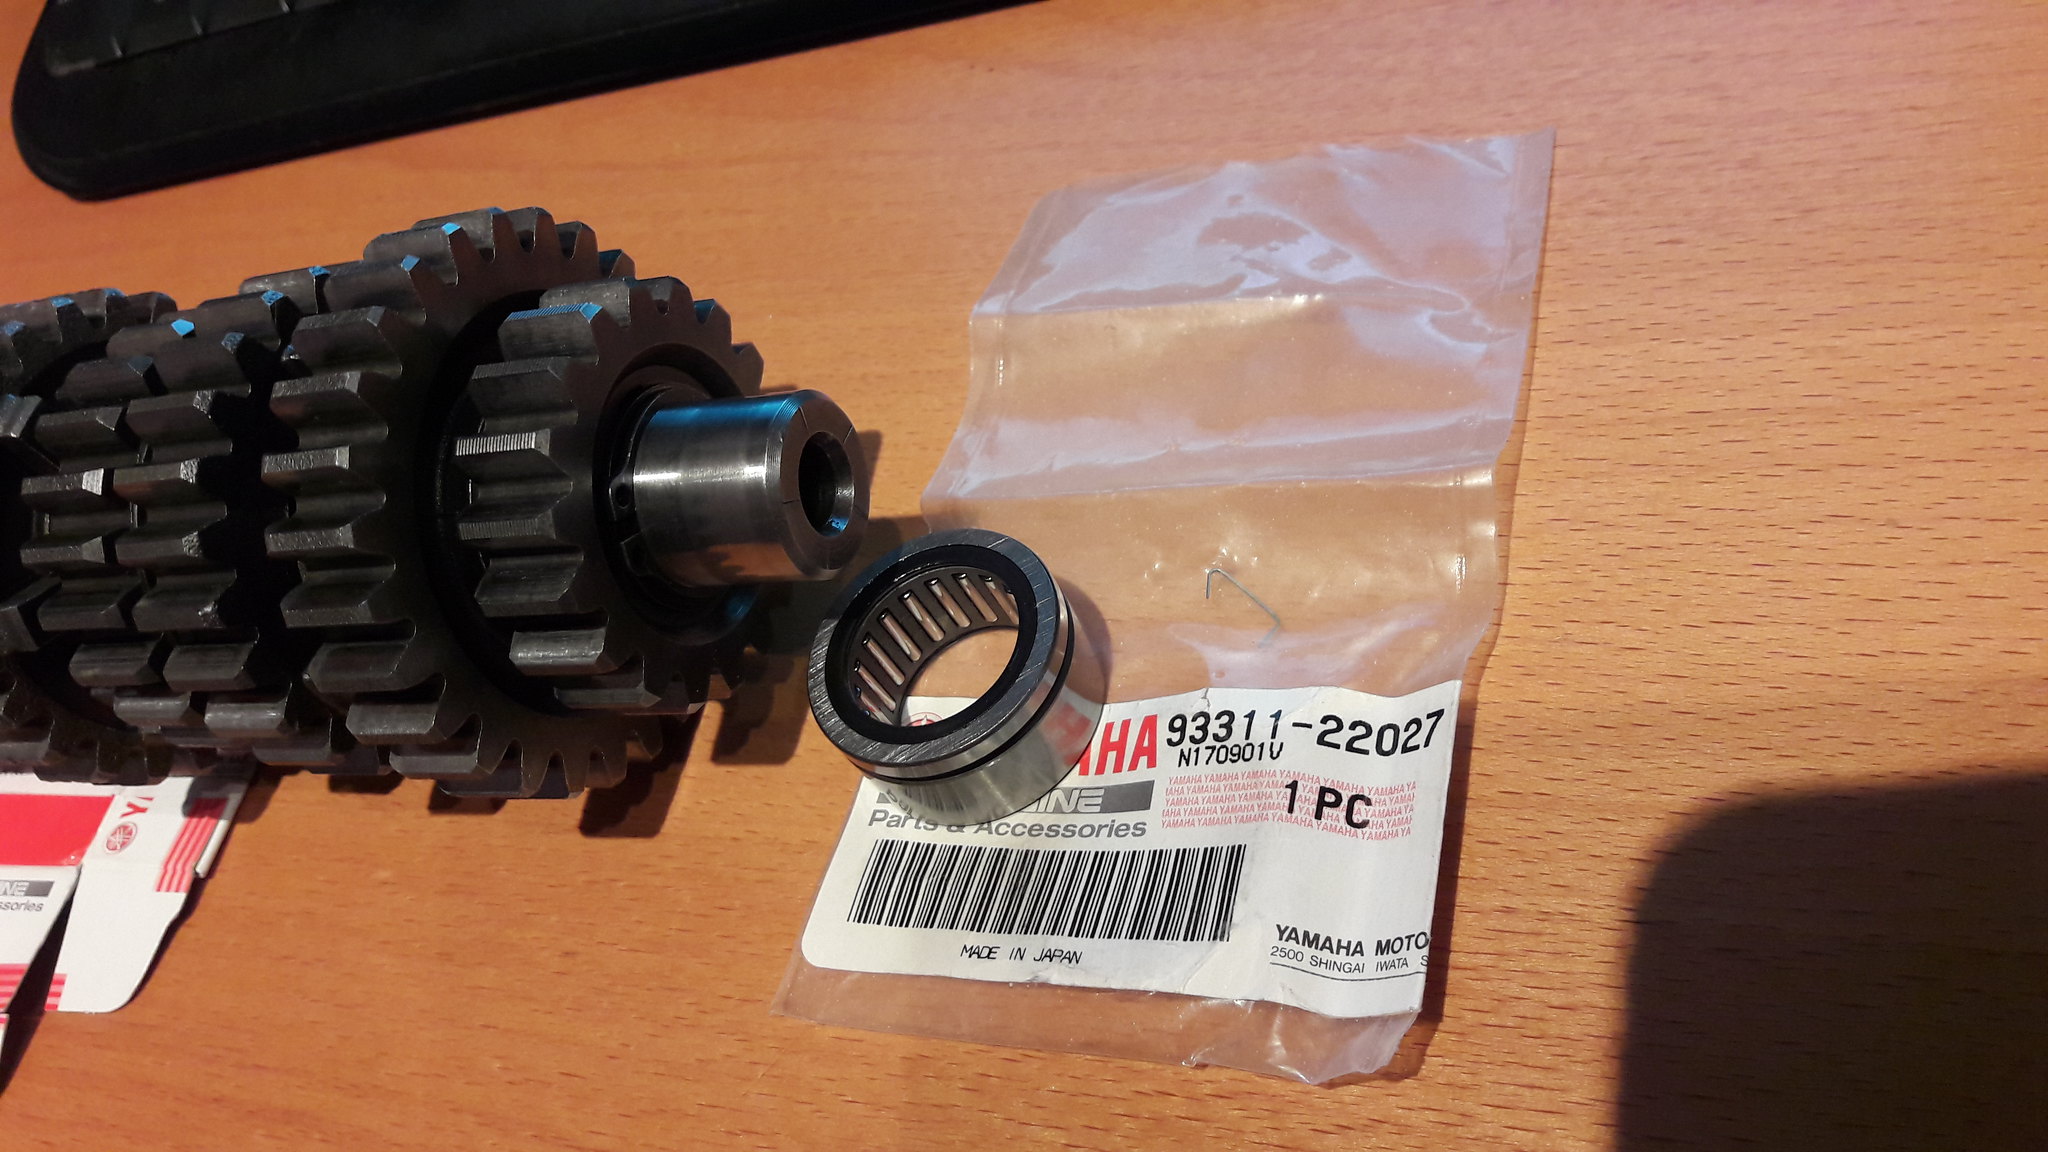 20181104_143711 20181104_143711 by David Miller, on Flickr 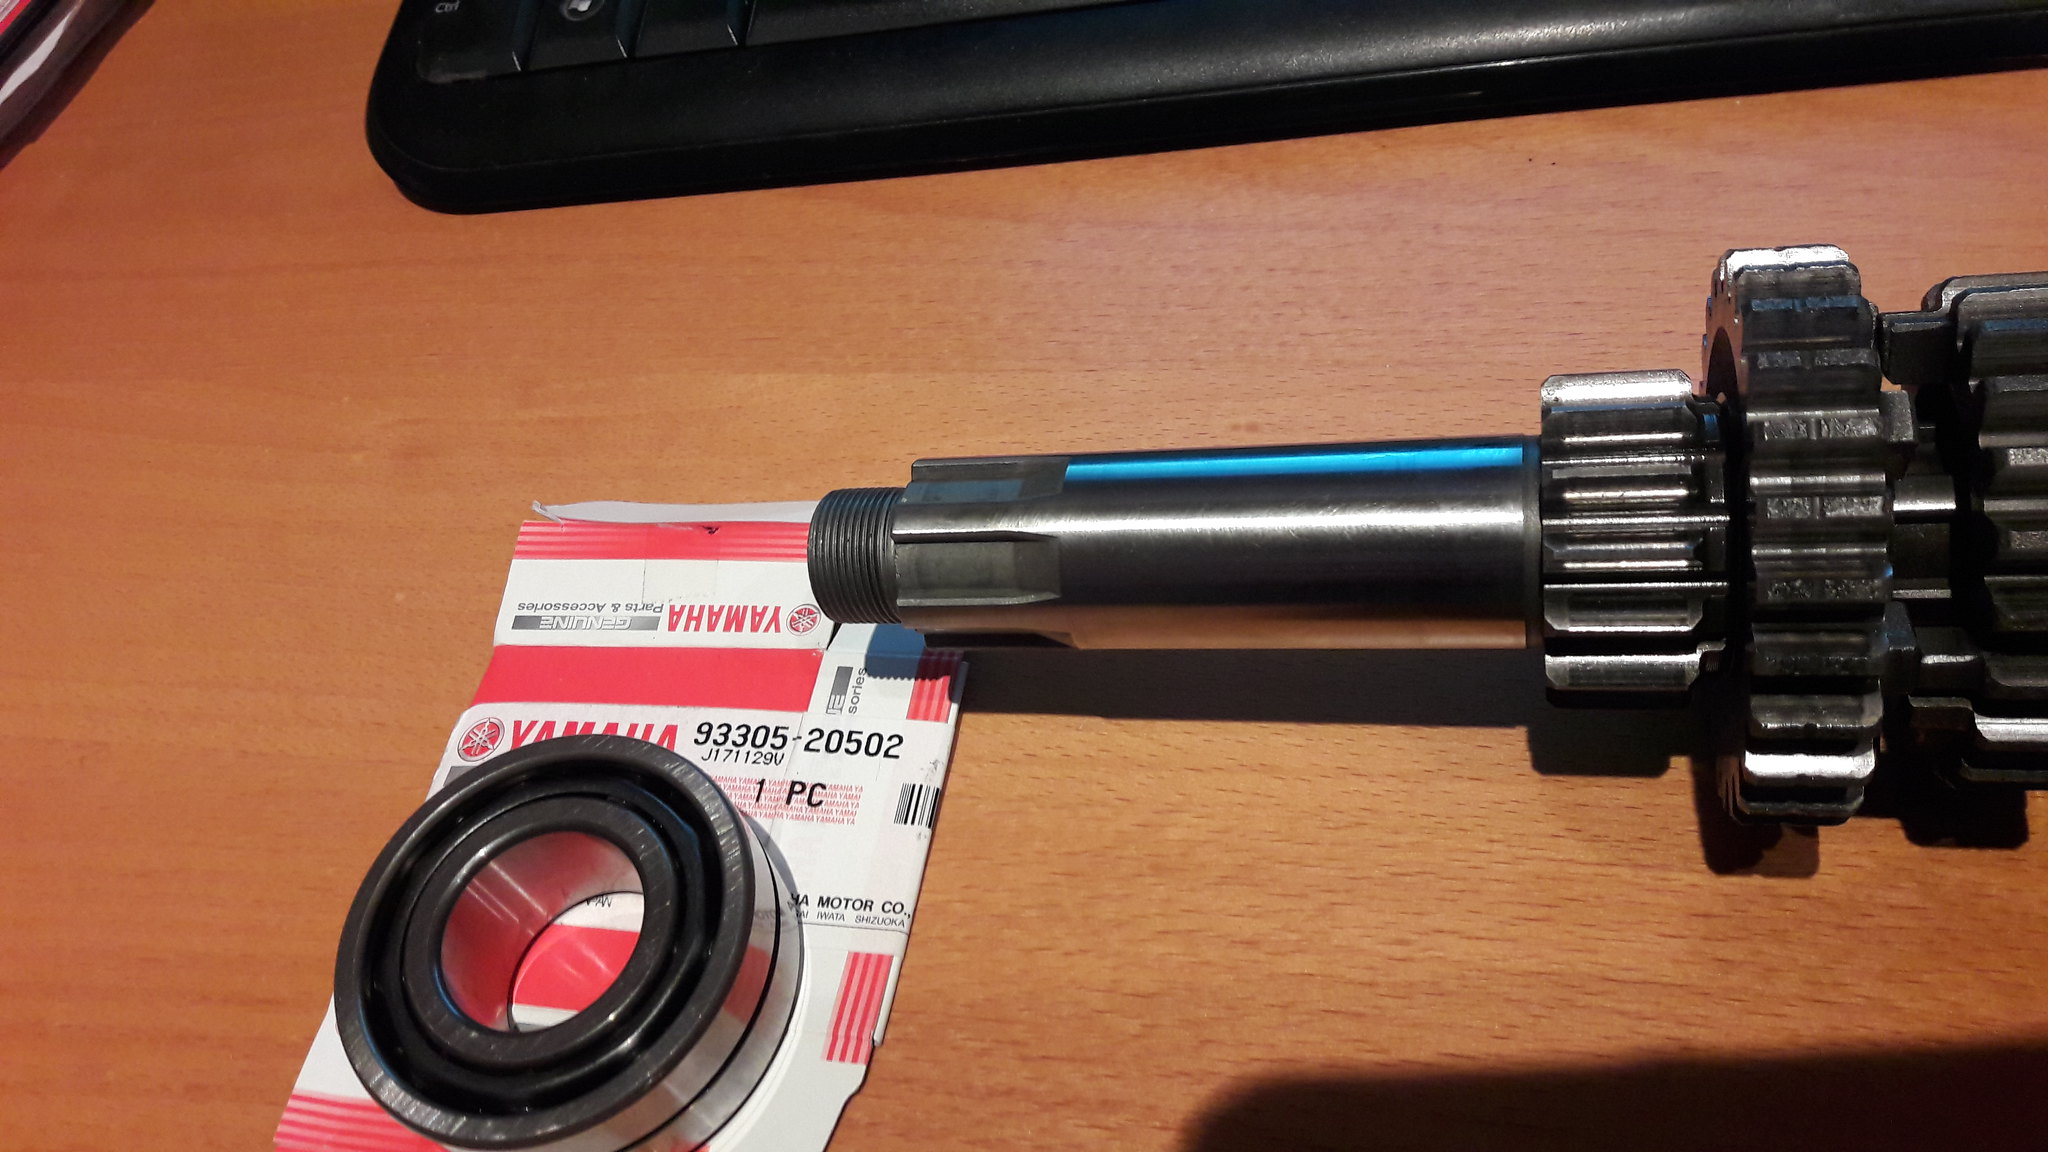 20181104_143603 20181104_143603 by David Miller, on Flickr 93311 22027 is £18.54 93305 20502 is £46.75 (ouch) Drive shaft next; 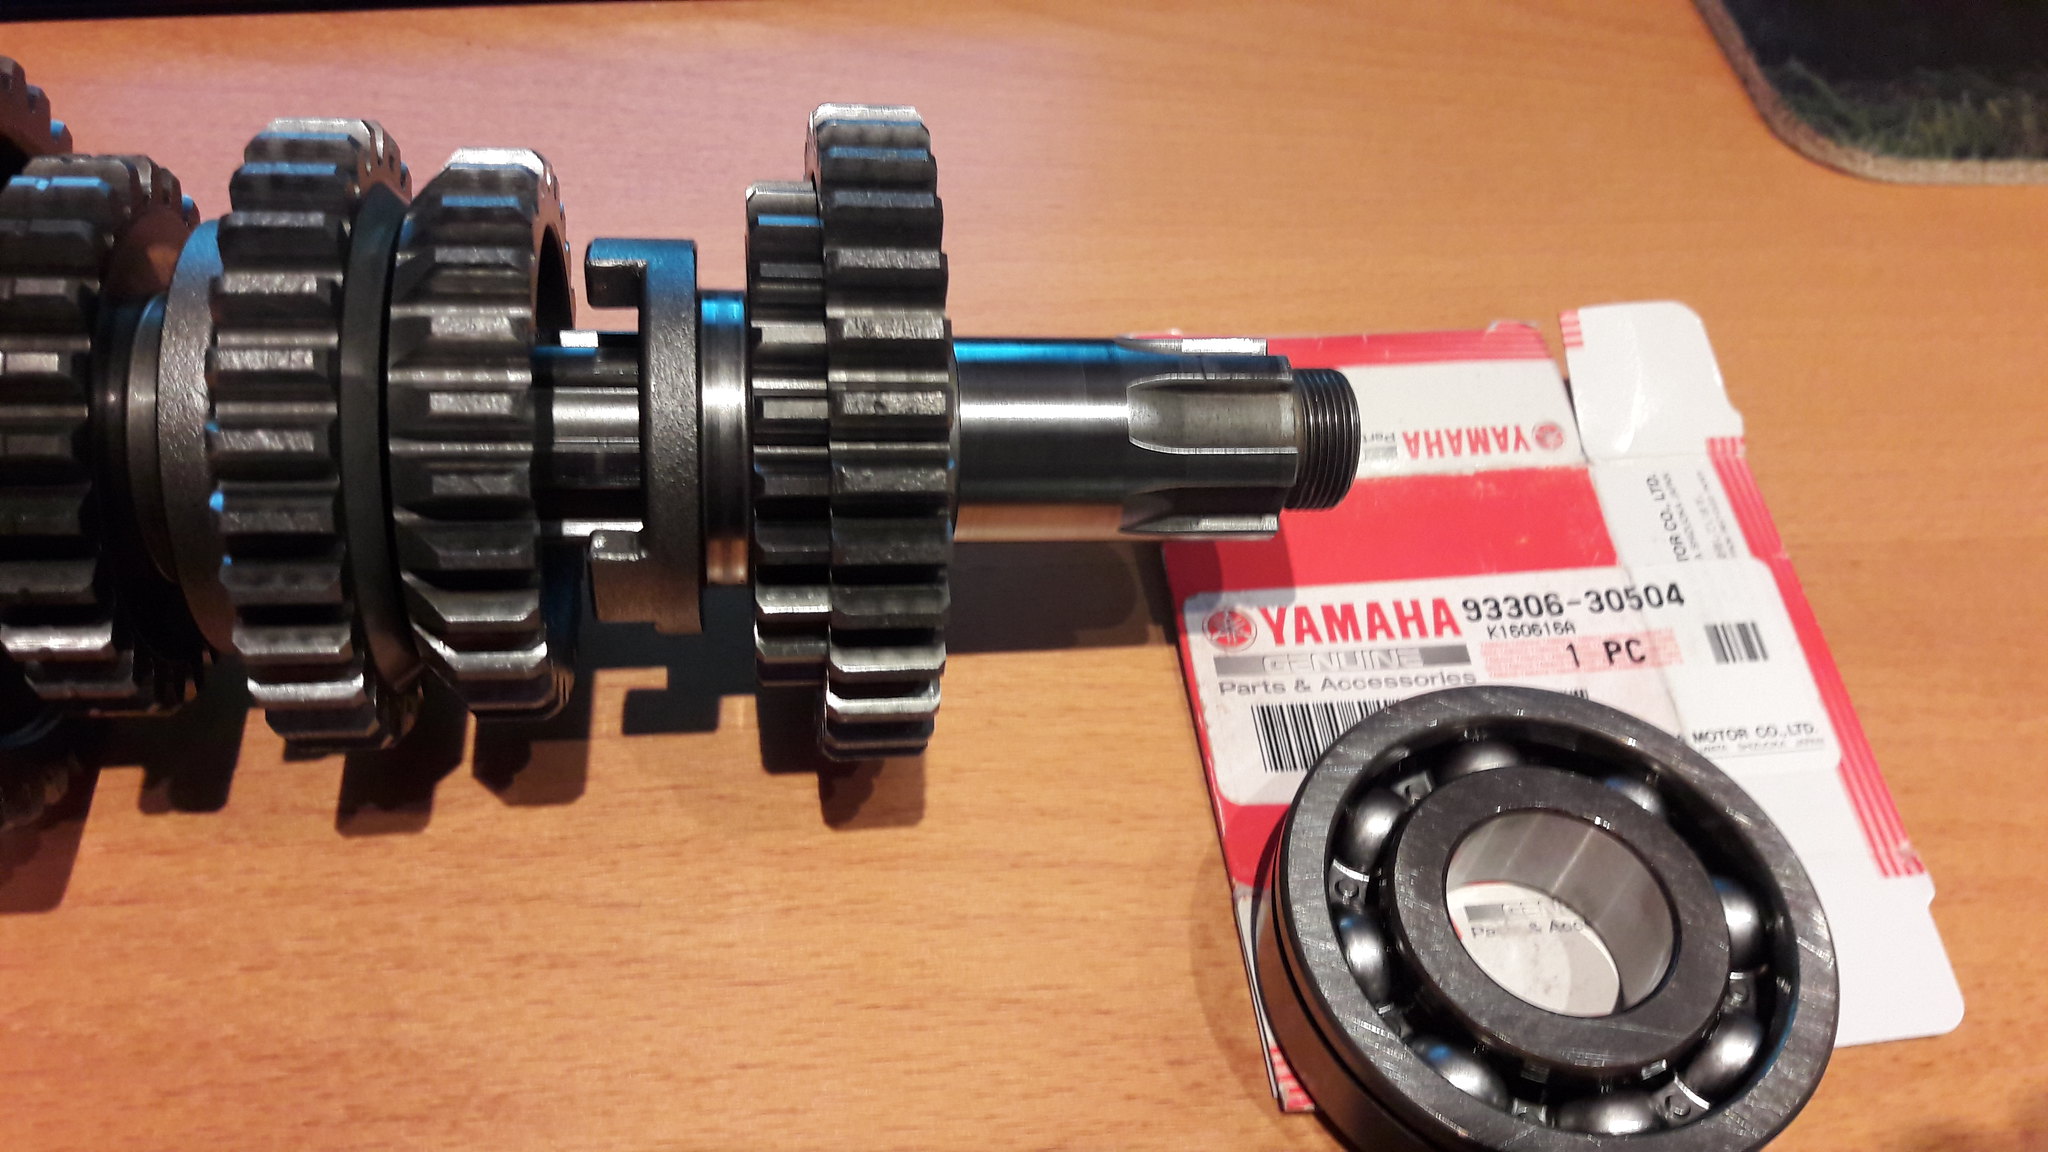 20181104_143311 20181104_143311 by David Miller, on Flickr 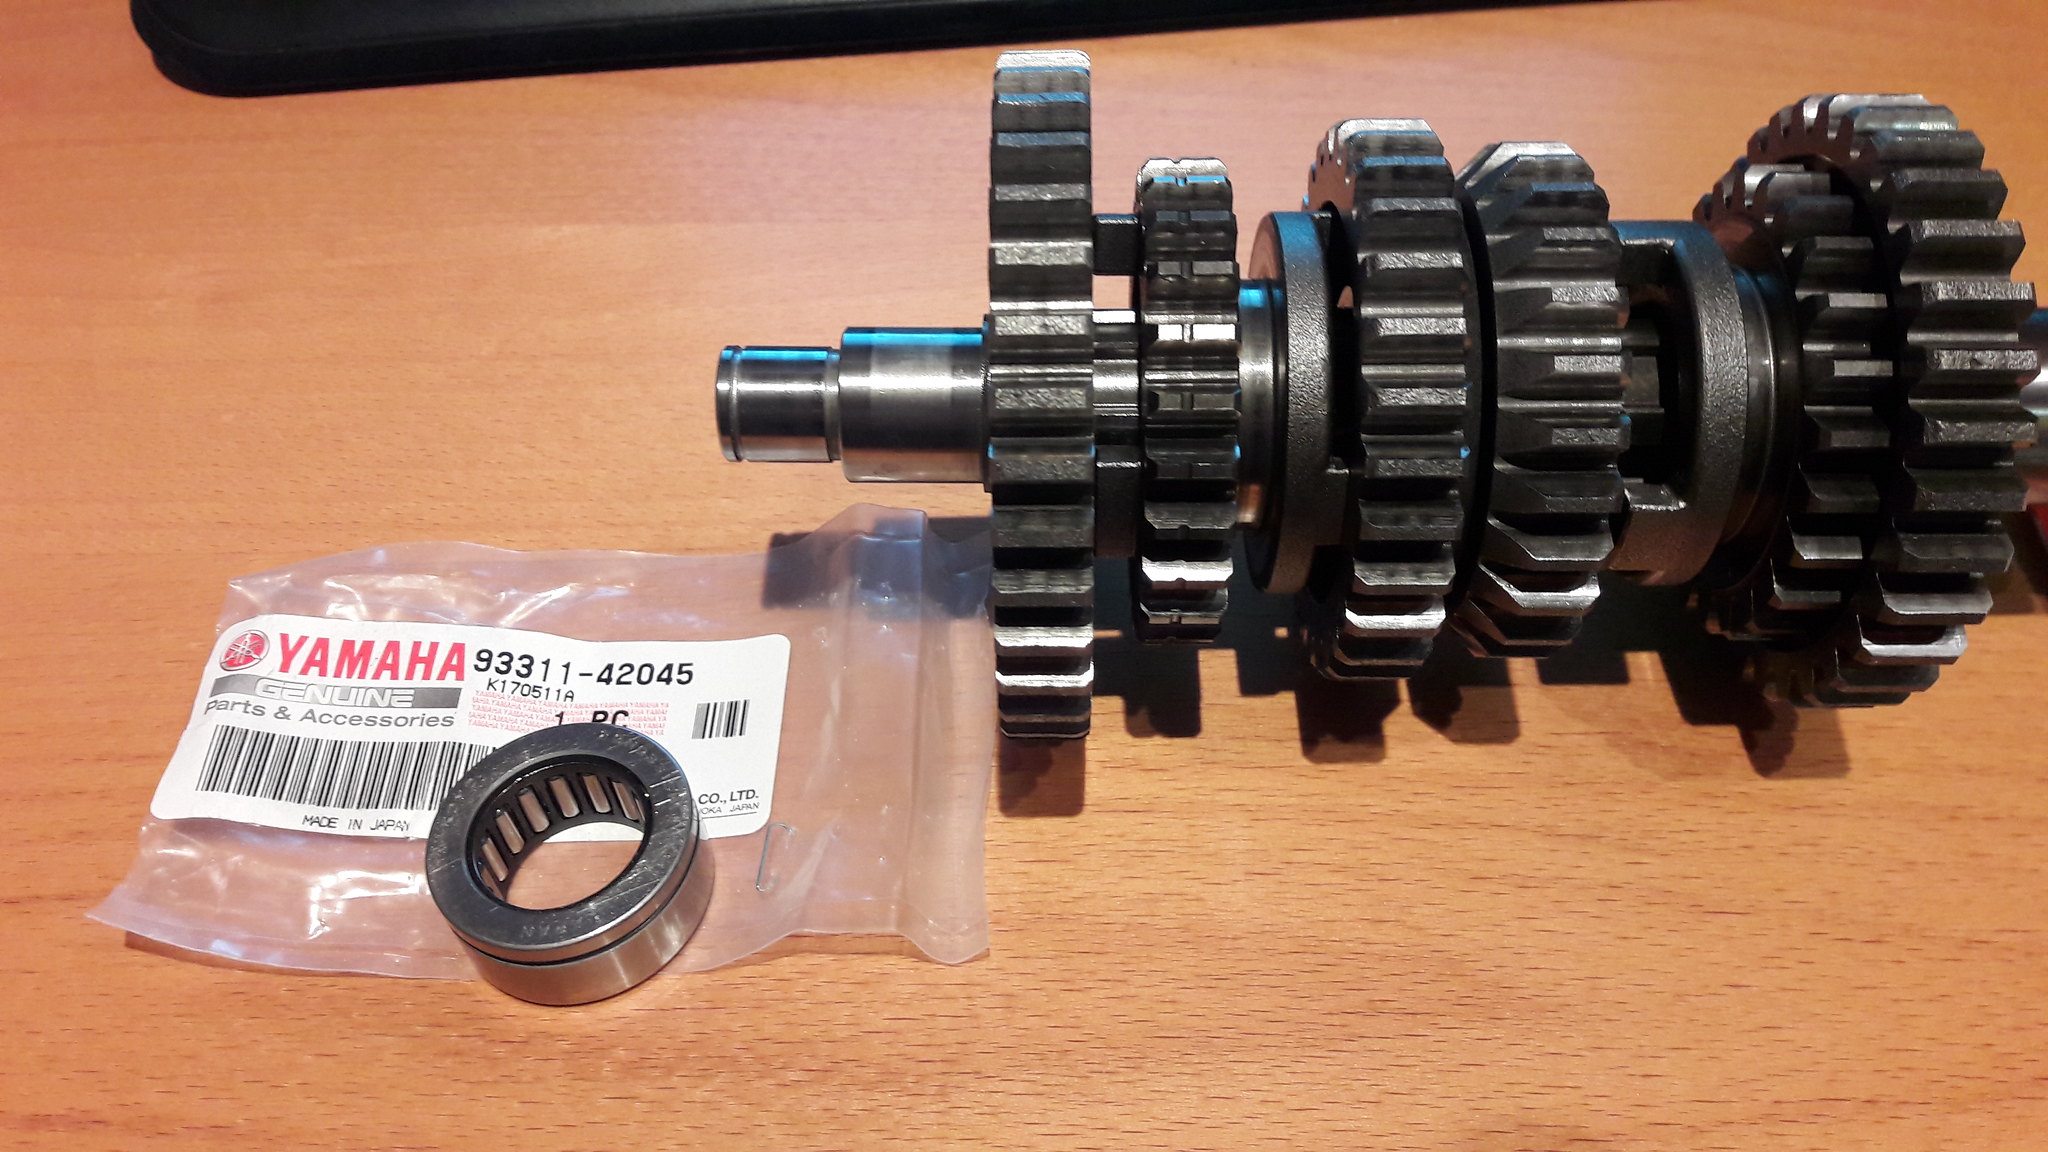 20181104_143306 20181104_143306 by David Miller, on Flickr 93306 30504 is £22.40 93311 42045 is £17.87 A new circlip for the large main shaft bearing; 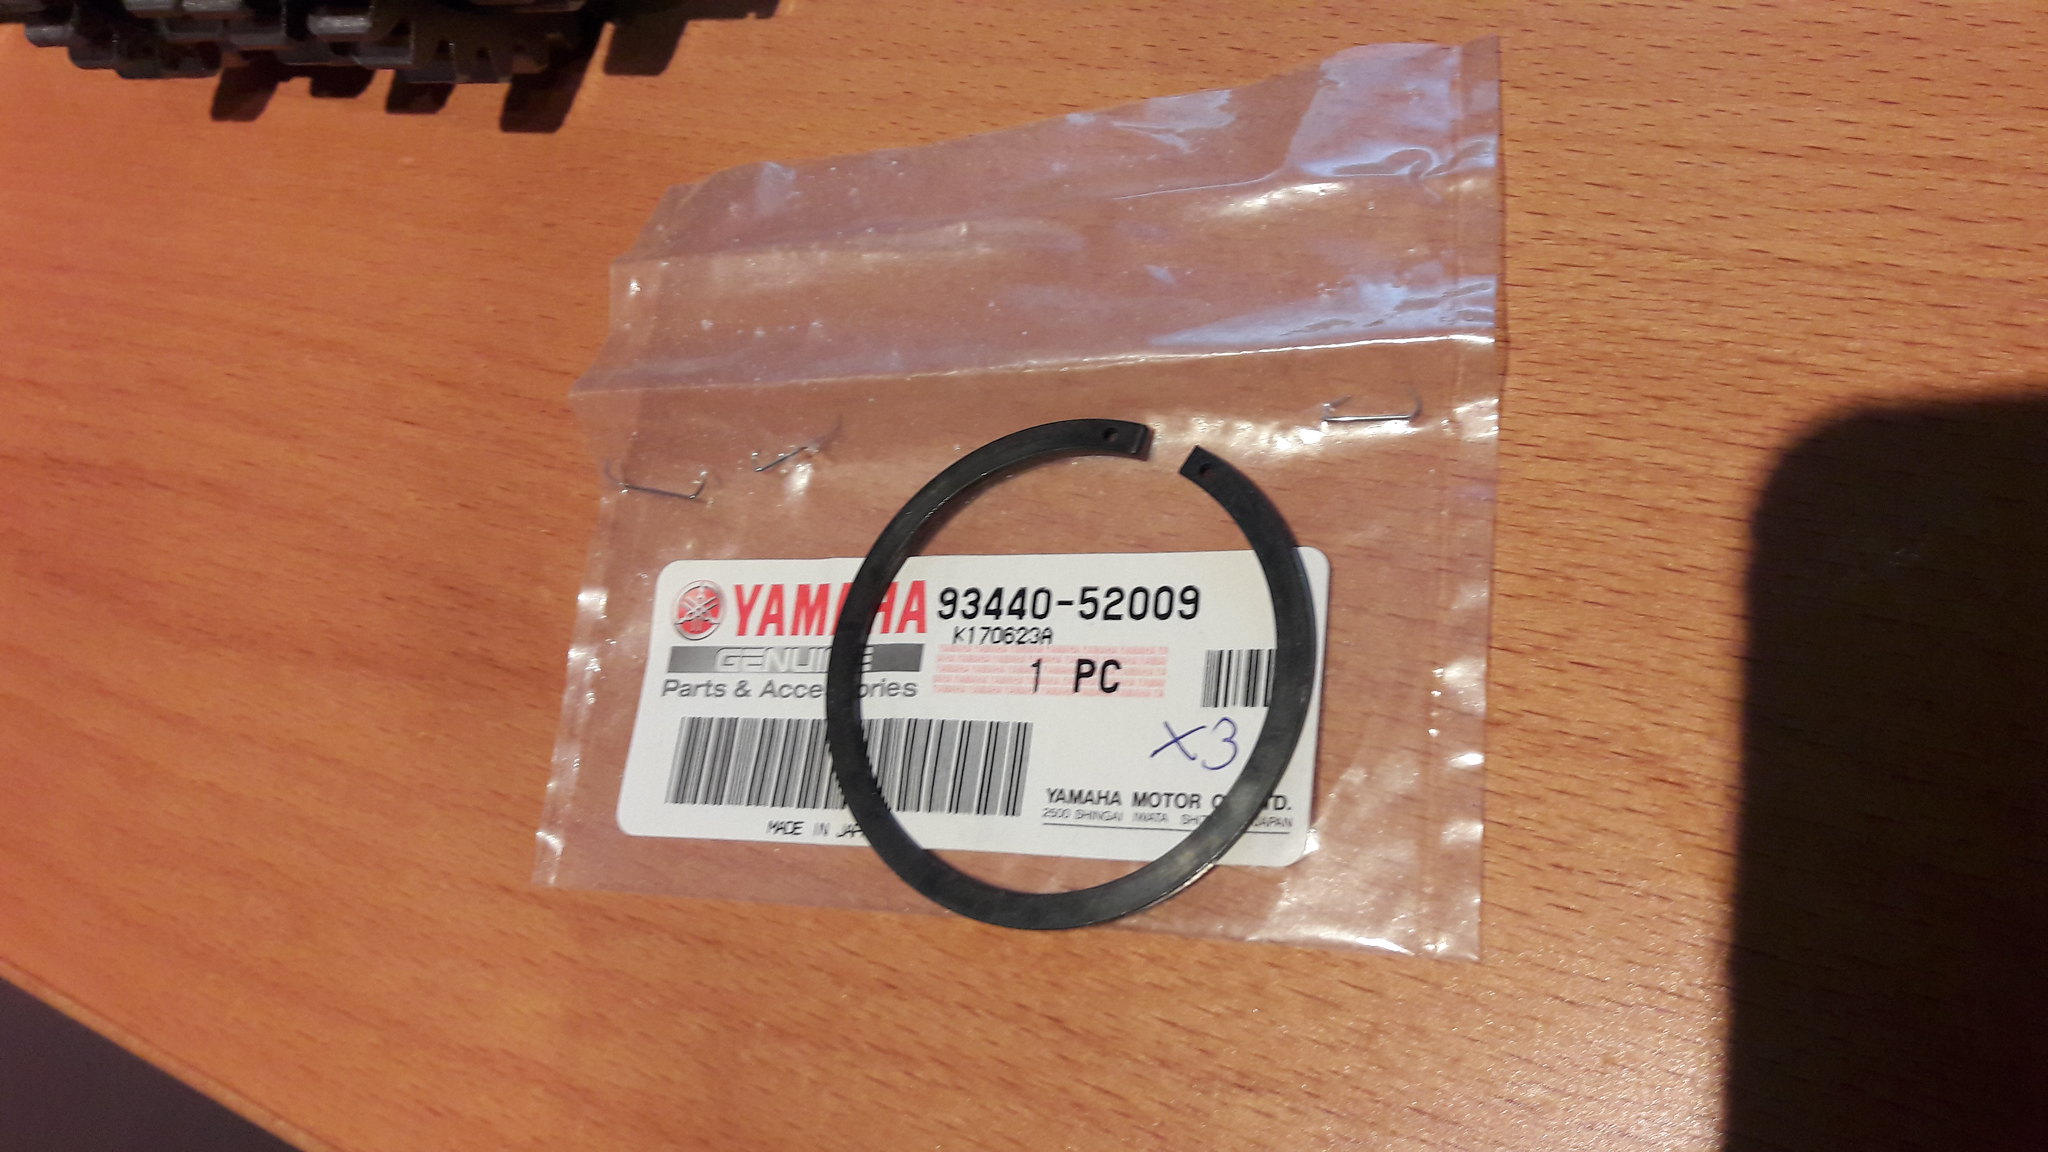 20181104_143905 20181104_143905 by David Miller, on Flickr That's £3.84. All the bearings get a bath in fresh gear oil before fitting; 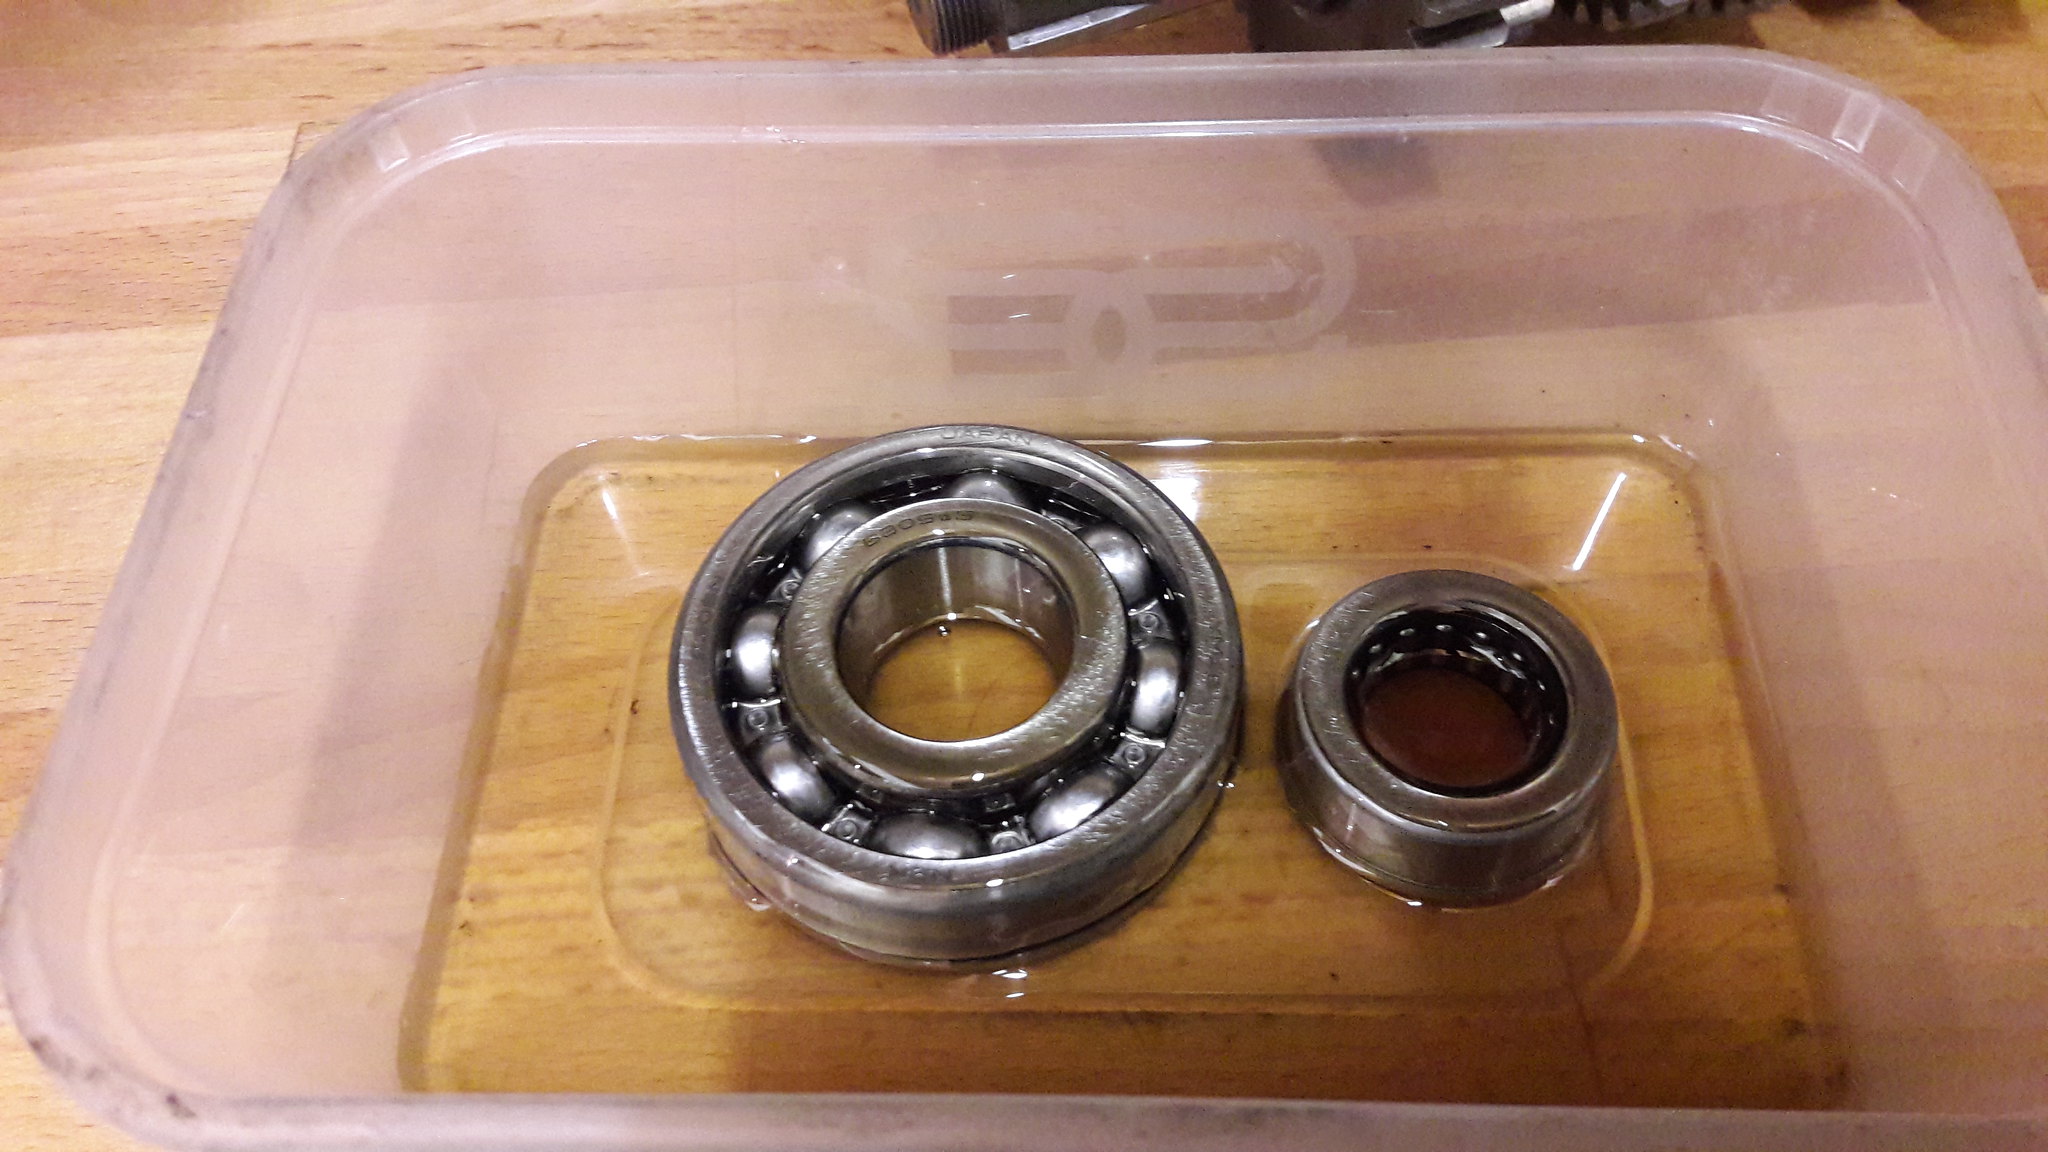 20181104_145626 20181104_145626 by David Miller, on Flickr Then slide the bearings onto their shafts and fit the clusters - literally just placing them into the case. The drive shaft has 2 half rings that locate in the case and a corresponding groove in the bearings; 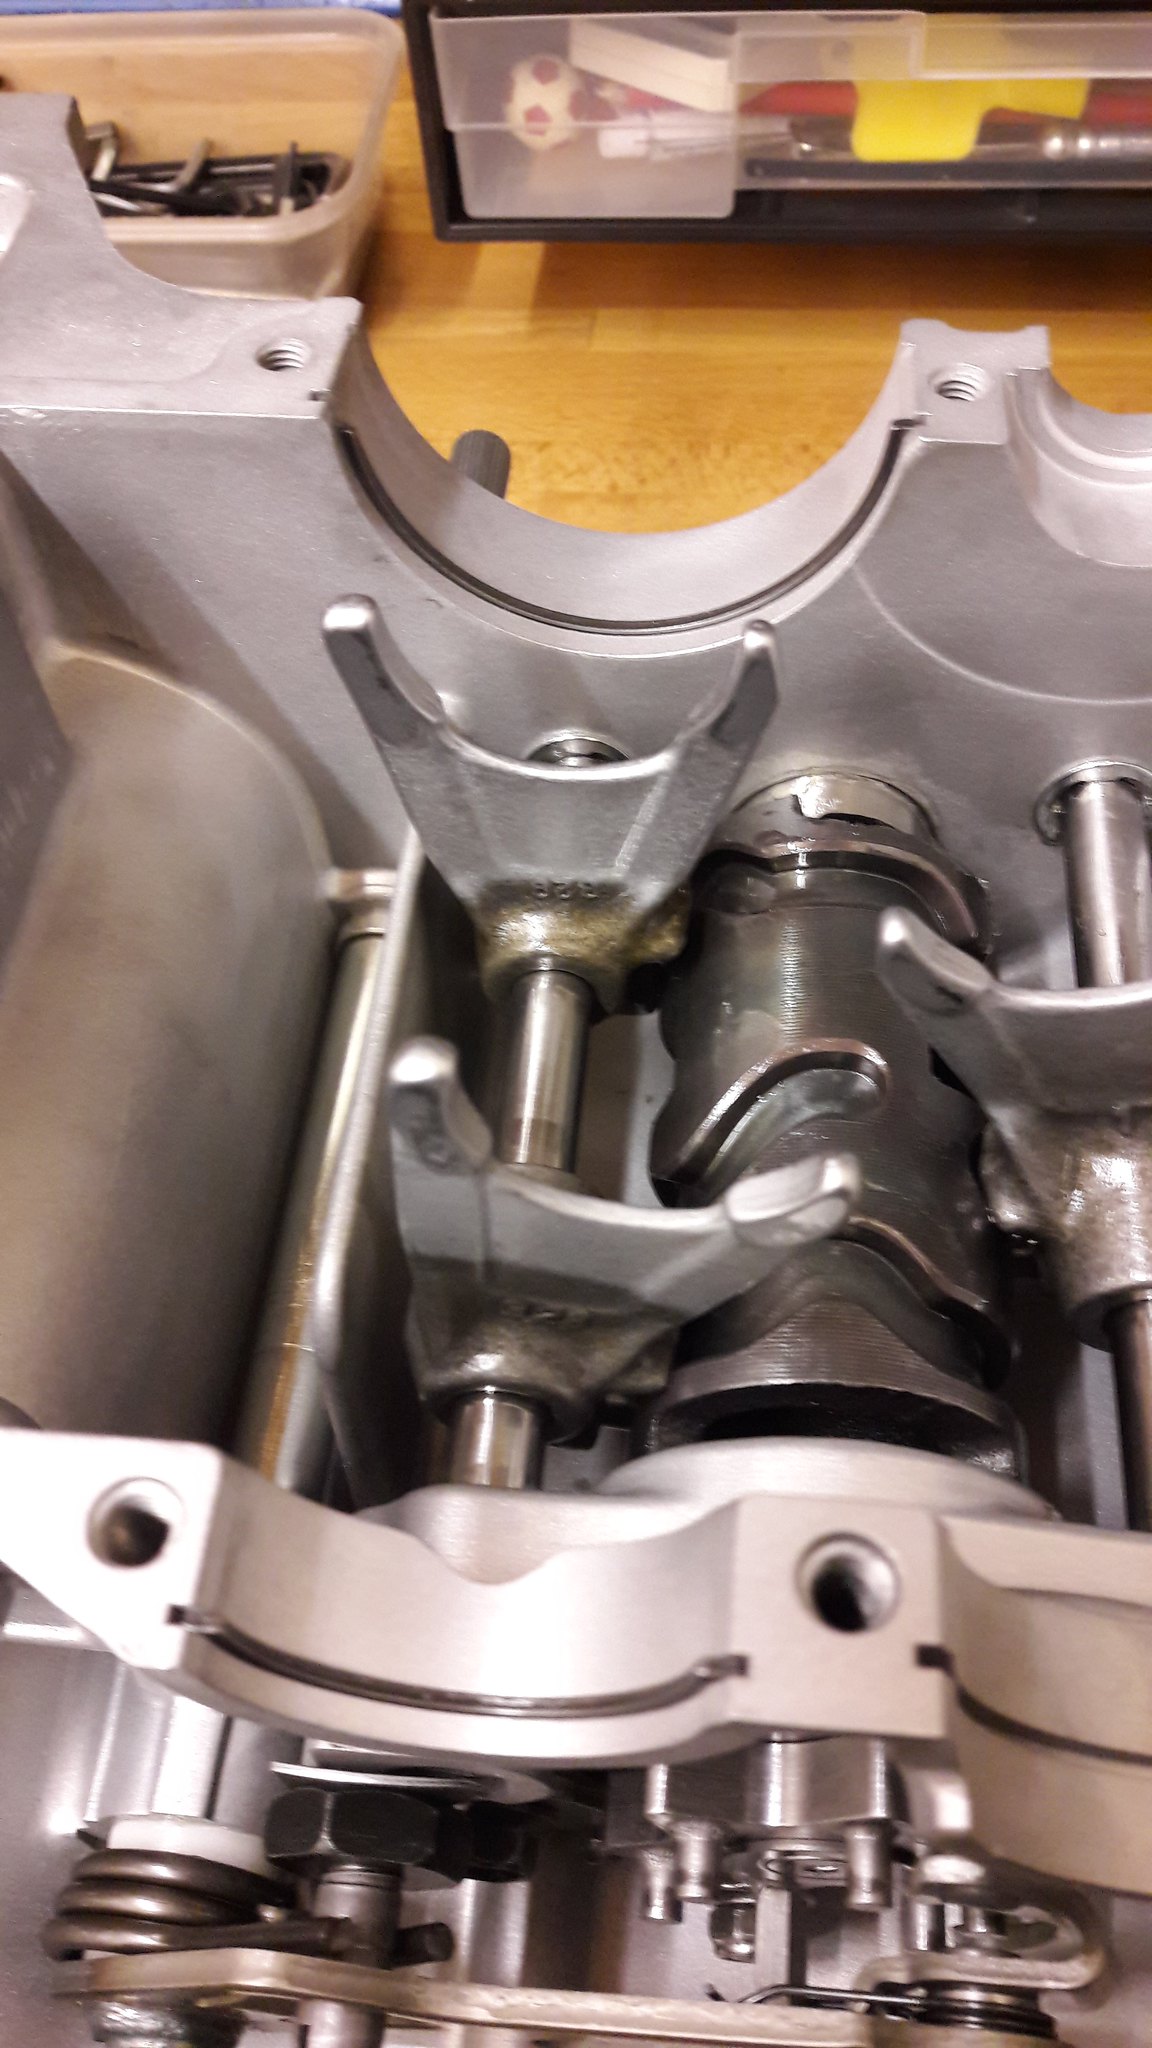 20181104_144653 20181104_144653 by David Miller, on Flickr The only bearing that doesn't have a half ring or a circlip is the main shaft bearing on the generator side' although the bearing shell has a groove for one. You can see in this pic the gear cluster sat in position with the selector fork located in the middle; 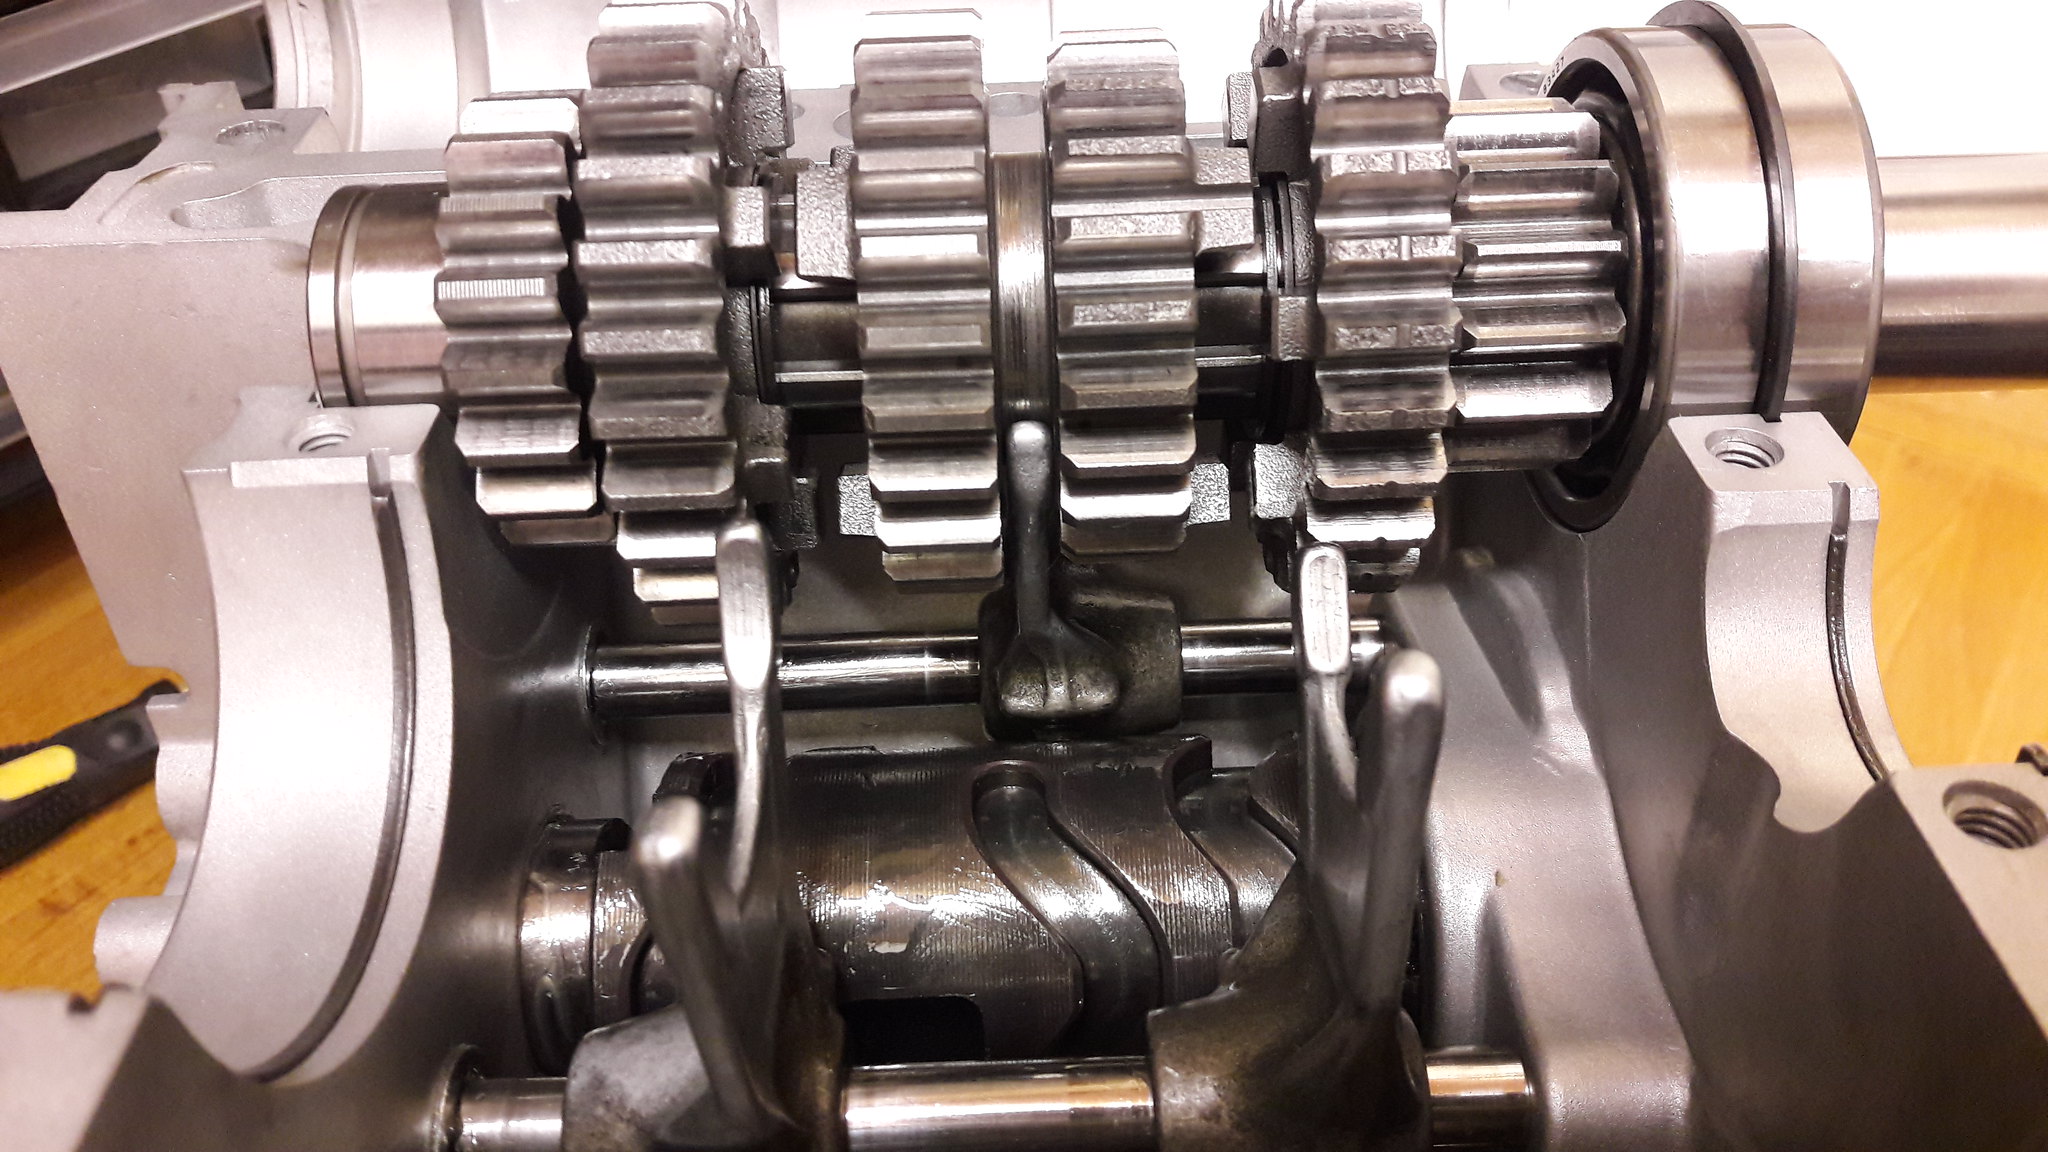 20181104_145713 20181104_145713 by David Miller, on Flickr Dusty |
|
|
|
Post by donkeychomp on Nov 4, 2018 23:39:08 GMT 1
This ain't gonna be cheap is it matey? Taking my engine out and apart tomorrow ready to rebuild (some) of it...this write up is the LC version of Genesis chapter 1.  Alex |
|
|
|
Post by dusty350 on Nov 5, 2018 8:21:35 GMT 1
Hi Alex Great to hear you are gonna make a start on yours  Cheap and engine rebuild aren't words that go together I'm afraid. Having said that, I change certain parts that could be re used if in good condition so I could possibly do it a bit cheaper, but crank rebuild, rebore, genuine seals and gaskets are essential in my book, and this build needed those bits for sure. Gearbox bearings ? - You may be fine with what you have - I've not found an obviously knackered bearing in the gearbox on any of the Lc engines I've done, but my thinking is to do them whilst apart and know they are done ! Trouble is 4 bearings are gonna cost you over £100 !  Likewise the clutch - I always fit a Mitaka and new dampers but if the basket is in good condition, you don't have to do that. I have noticed Yamaha parts prices continue to creep up - the 4 gear bearings used to be less than the £105 they are now - I will have to see if I have the costs for the last one I did and compare. There are some pattern parts that can be substituted for genuine - Athena gaskets for example, but for me all the critical parts need to be Yamaha. Good luck mate, and if you get stuck...  Dusty  |
|
|
|
Post by oldbritguy on Nov 5, 2018 10:21:05 GMT 1
Brilliant job Dusty.
Been away for a few weeks and catching up on the forum and once again been blown away with your attention to detail and kindness for sharing this with the members.
Lc is away for the winter now and the motor will be out soon for for a serious going over.
Will be following this thread with great interest
Keep up the great work
John
|
|
|
|
Post by donkeychomp on Nov 5, 2018 23:24:44 GMT 1
Oh trust me Dusty, I'll get stuck. Most mechanical things I can do but oddly enough I have never rebuilt a bottom end of any bike. Expect a phone call or two or a visit with a sorry looking engine and me wondering where I've gone wrong...  Alex |
|
|
|
Post by panzermatt on Nov 10, 2018 19:11:06 GMT 1
dusty, i took my lc2 engine doen to the bones to clean paint etc, and stupidly mixed up those half rings.....how many is there? and does the gearbox one fit the crank and vice versa?
|
|
|
|
Post by dusty350 on Nov 10, 2018 20:38:30 GMT 1
Hi Panzermatt Yea, the gearbox and crank half rings are the same part - they actually date back to the aircooled bikes going by the part number, so 2 large and 1 small, plus the large circlip style one that fits around the clutch bearing. Dusty  |
|
|
|
Post by panzermatt on Nov 10, 2018 20:46:45 GMT 1
phew....i have them all so. thanks man
|
|
|
|
Post by dusty350 on Nov 10, 2018 20:54:49 GMT 1
|
|
|
|
Post by yamark on Nov 11, 2018 20:59:11 GMT 1
Brilliant images and text Dusty - great work. A few guys at Haynes manuals must be worried about their jobs 
|
|
|
|
Post by dusty350 on Nov 13, 2018 21:36:04 GMT 1
Haha, cheers Mark  So, with both gear clusters fitted, it should look something like this; 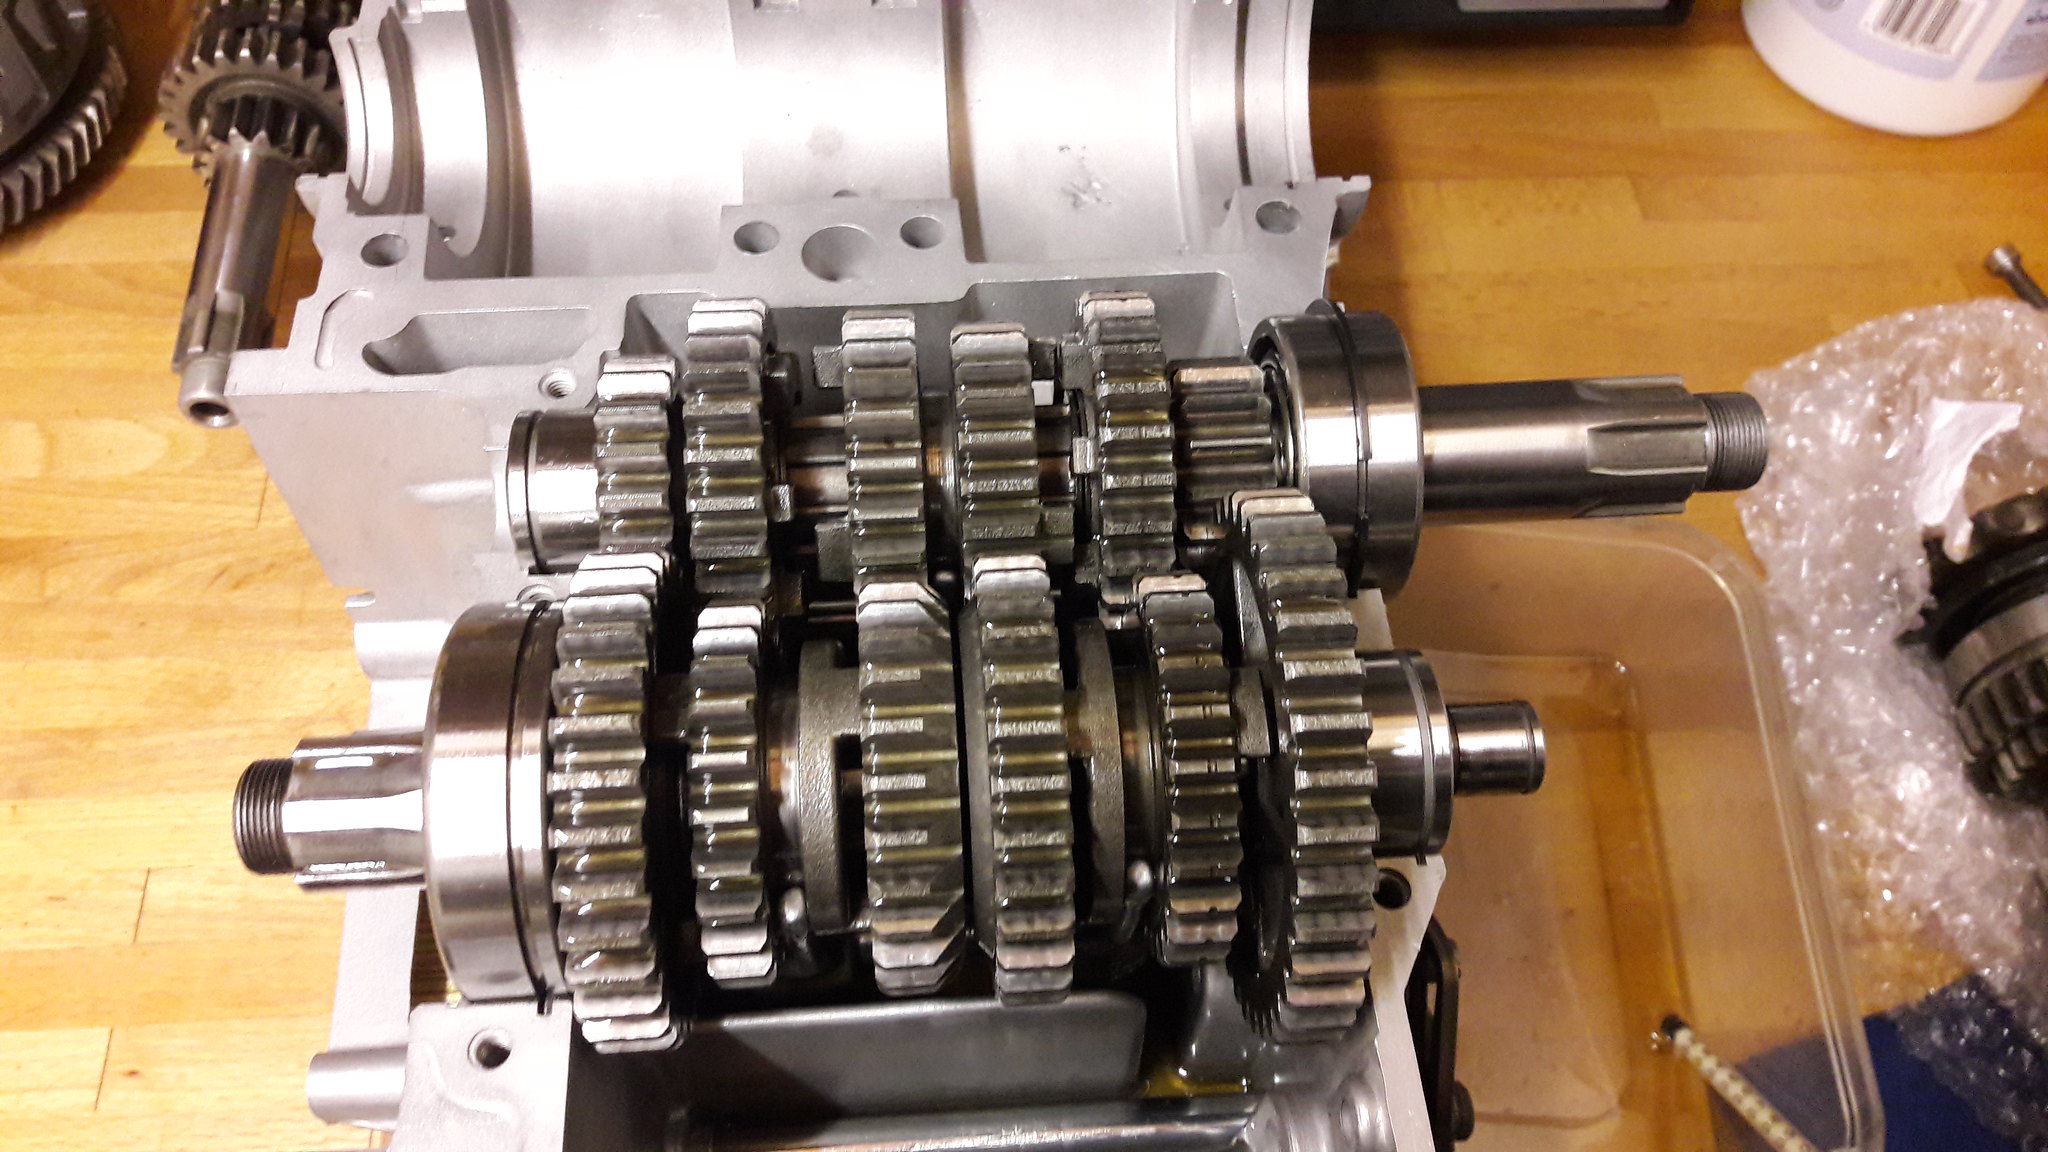 20181112_203721 20181112_203721 by David Miller, on Flickr The clusters simply lift in and out. You just need to move the shift forks slightly more upright when putting the clusters in, but they will sit in the case easily enough. The bottom end is moving on a bit now, so I turn my attention to the upper case and fit the tacho drive. The cable drive on the top of the case is pretty simple; 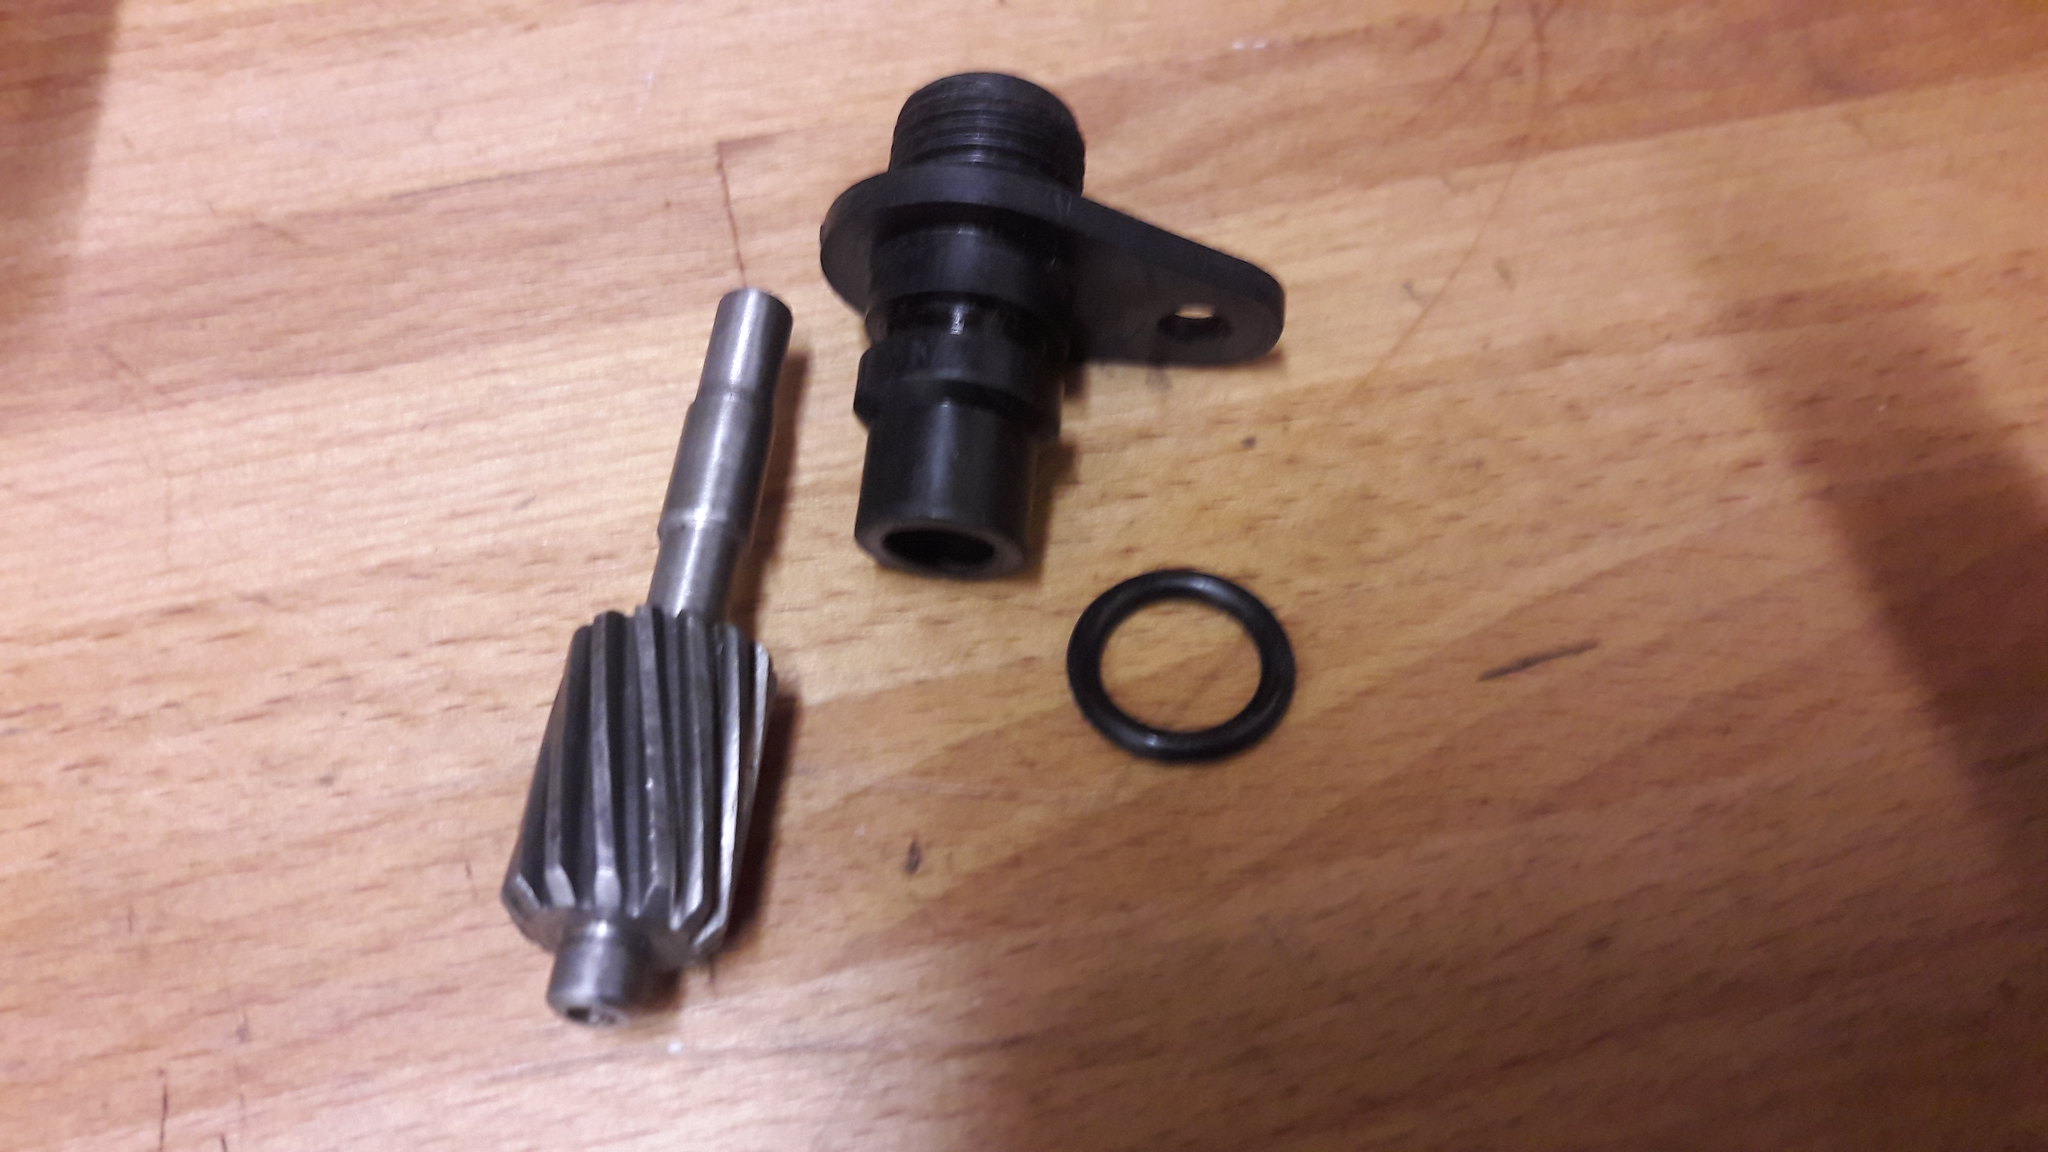 20181110_163349 20181110_163349 by David Miller, on Flickr I fit a new "O" ring to combat any leaks; 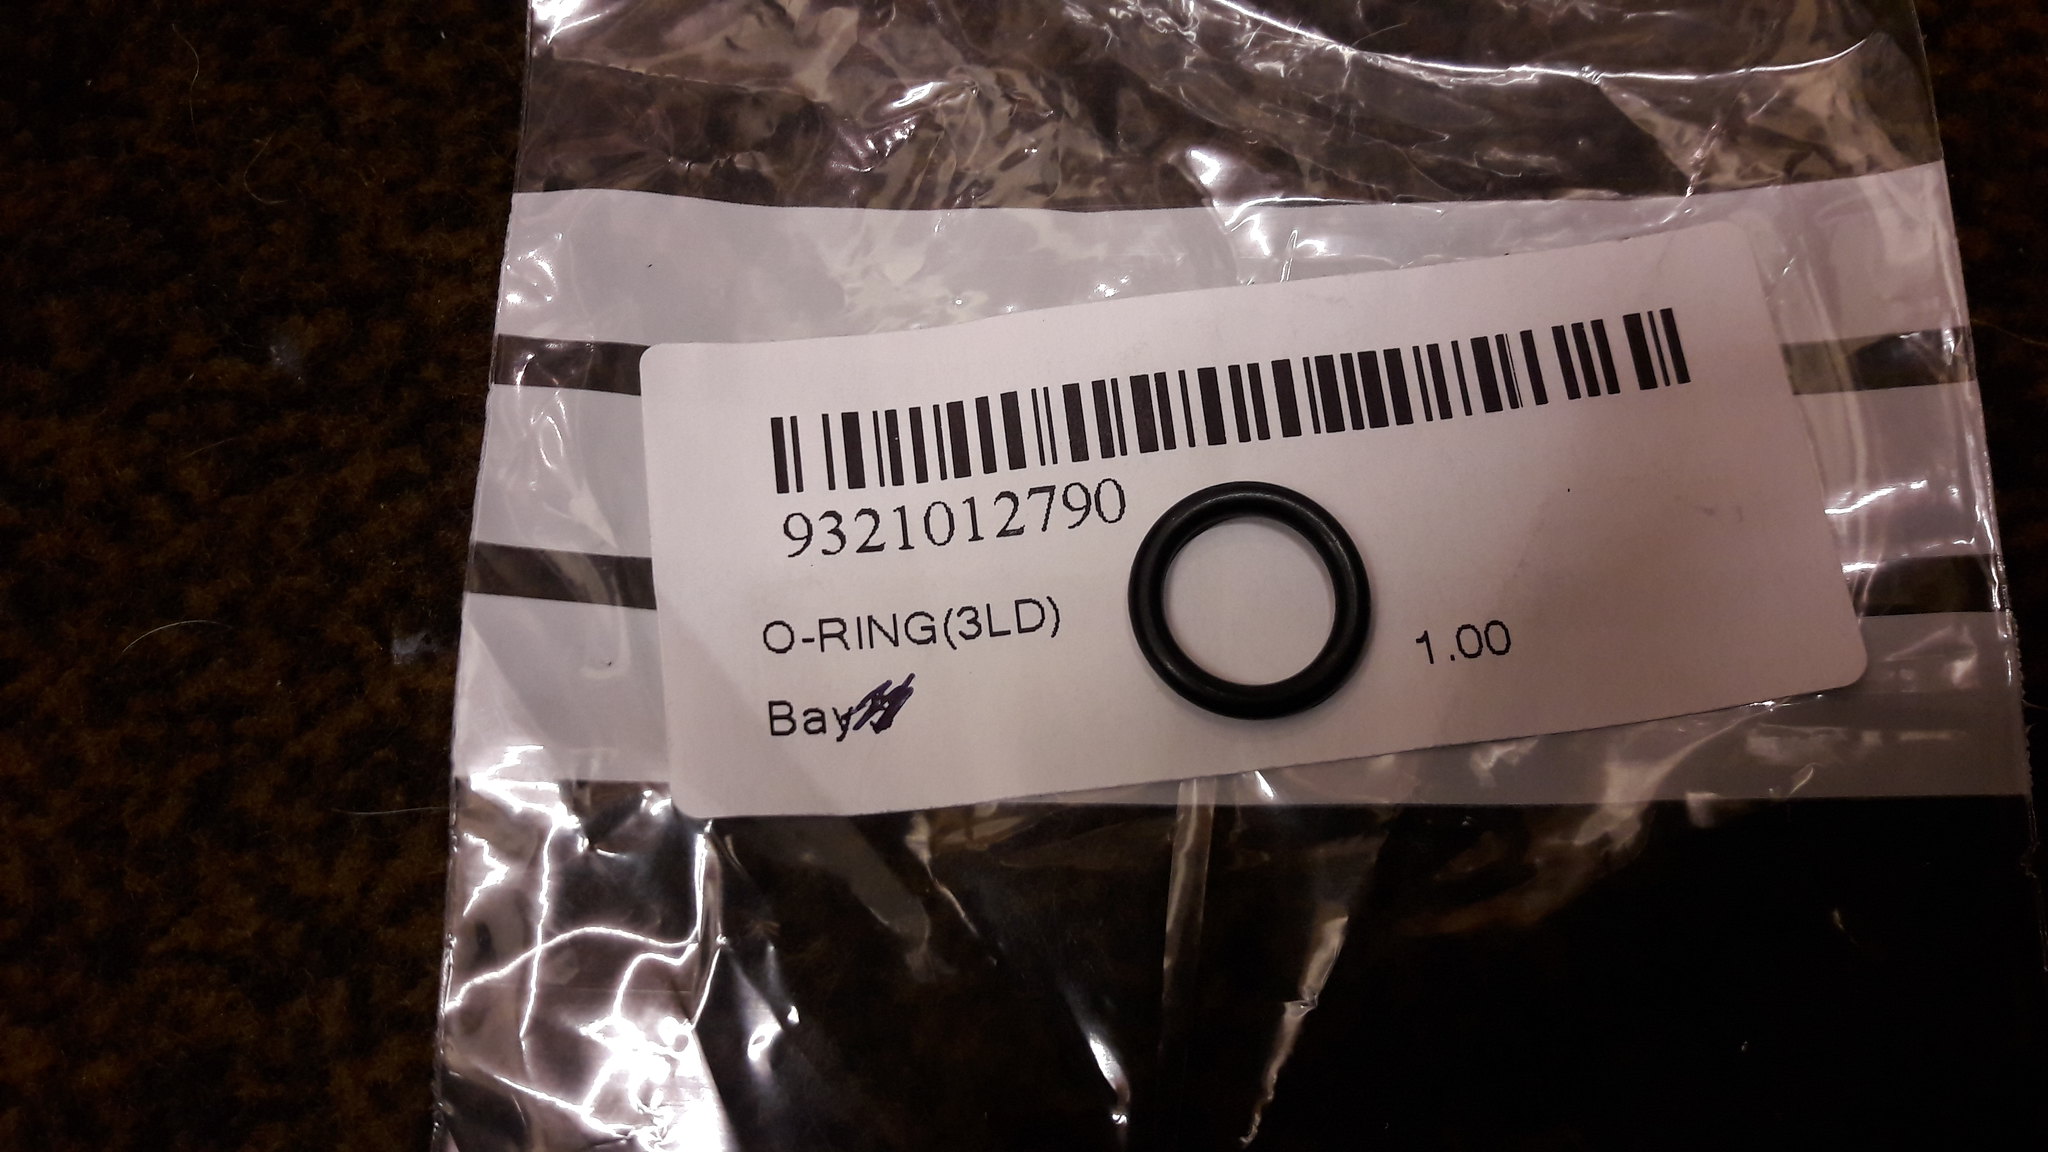 20181112_203903 20181112_203903 by David Miller, on Flickr 67p from Fowlers. Some red rubber grease easies it onto the plastic housing, and I coat the shaft of the actually drive with normal grease before fitting; 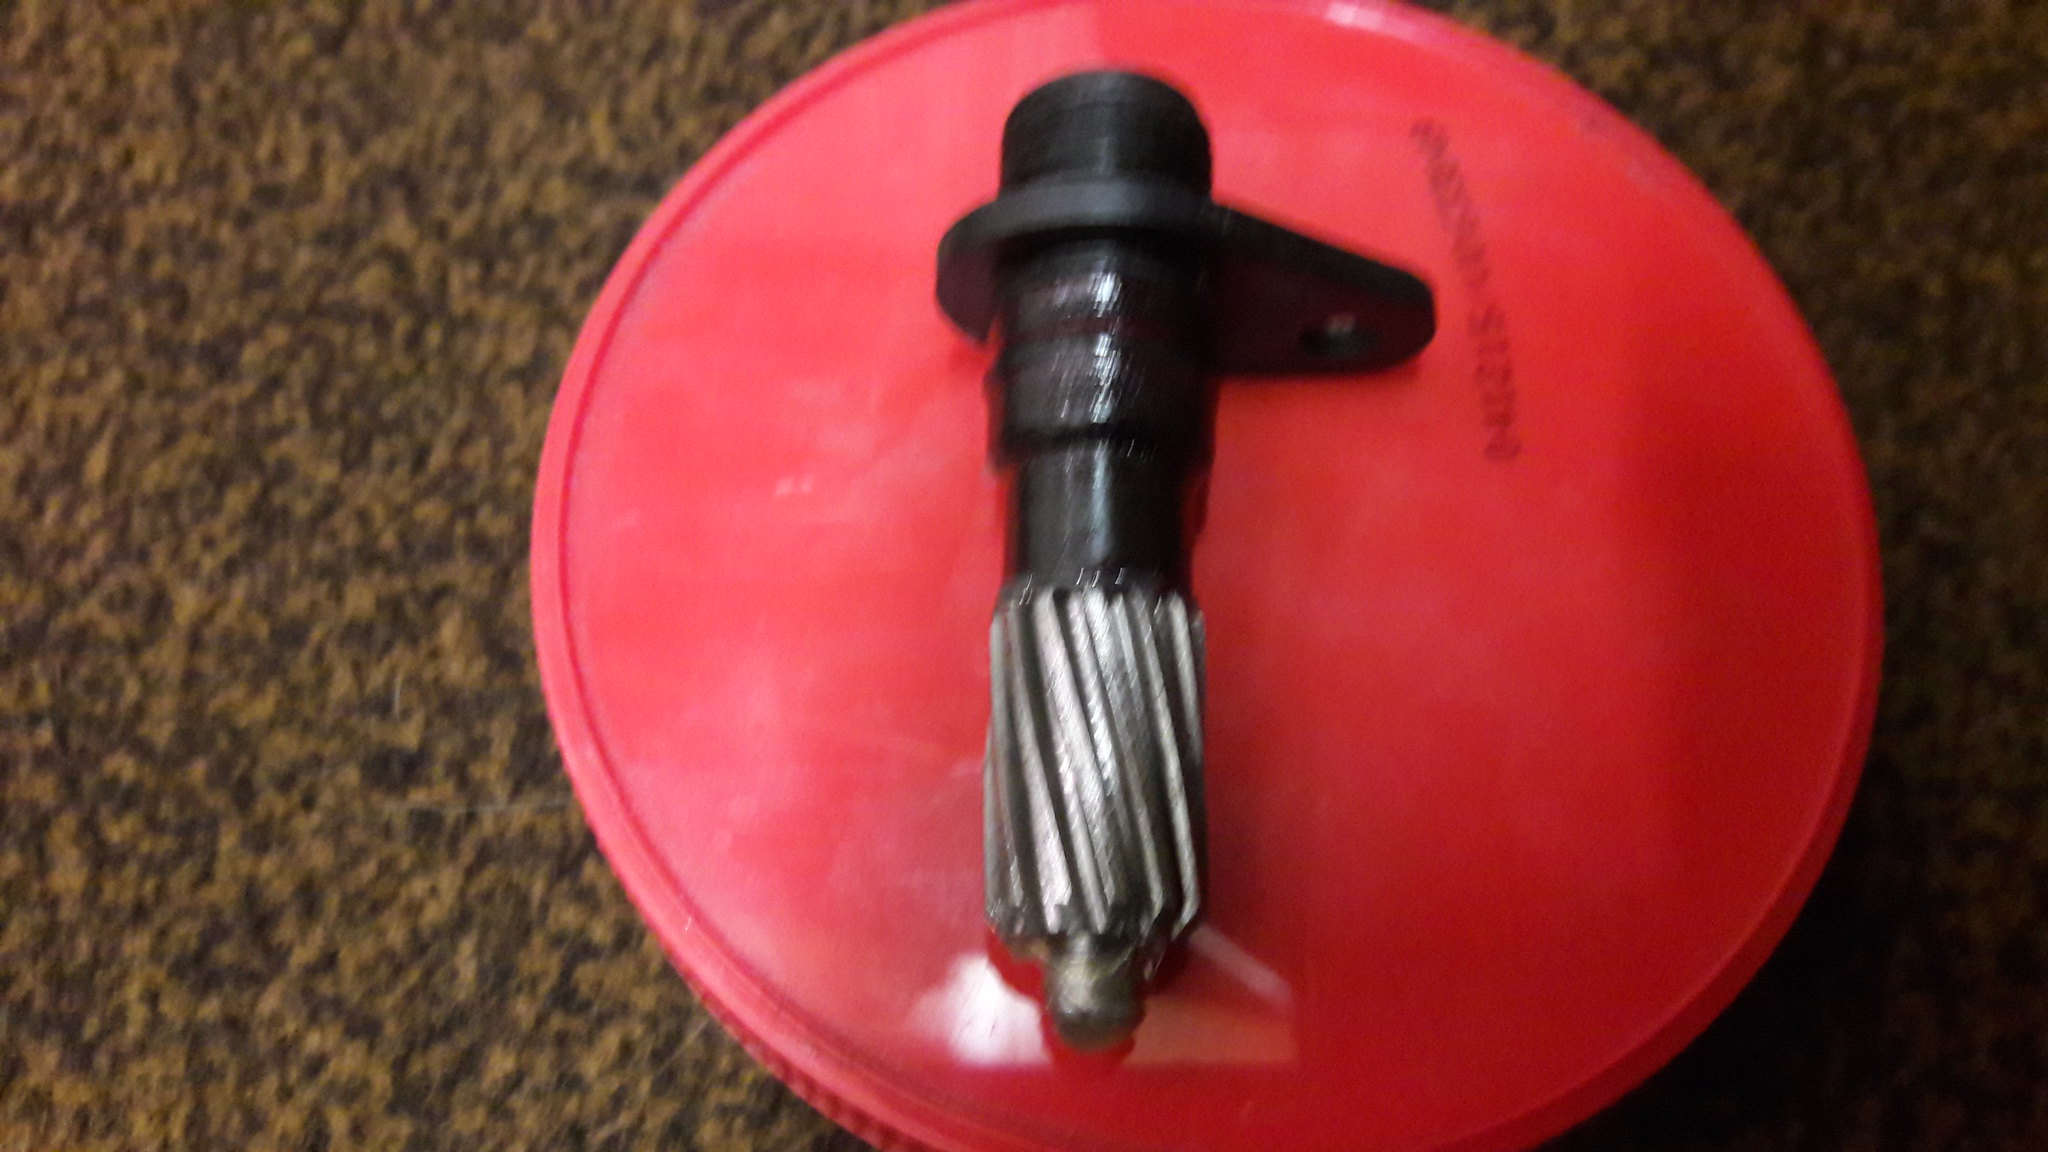 20181112_204122 20181112_204122 by David Miller, on Flickr Then you can fit to the top case; 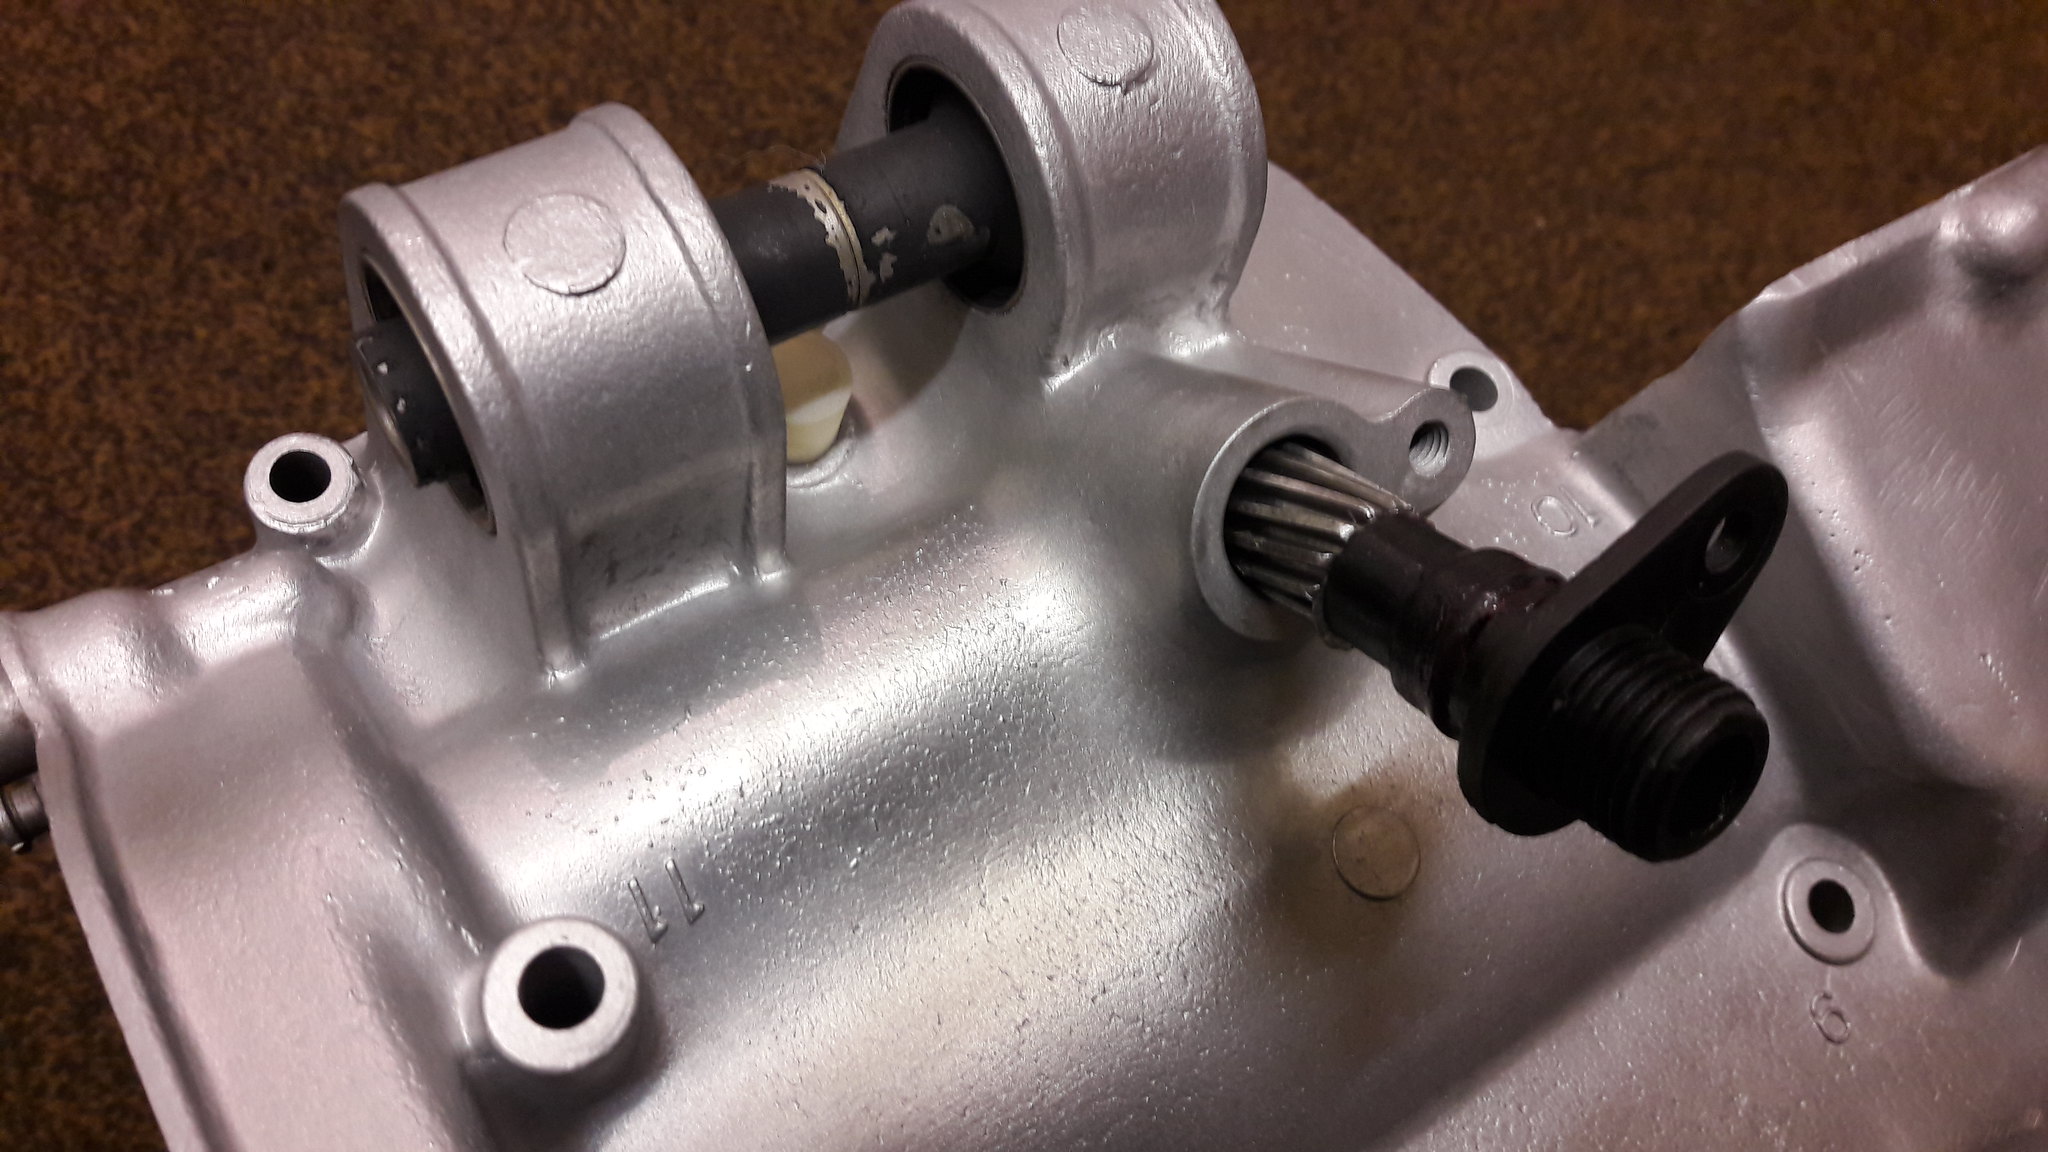 20181112_204209 20181112_204209 by David Miller, on Flickr 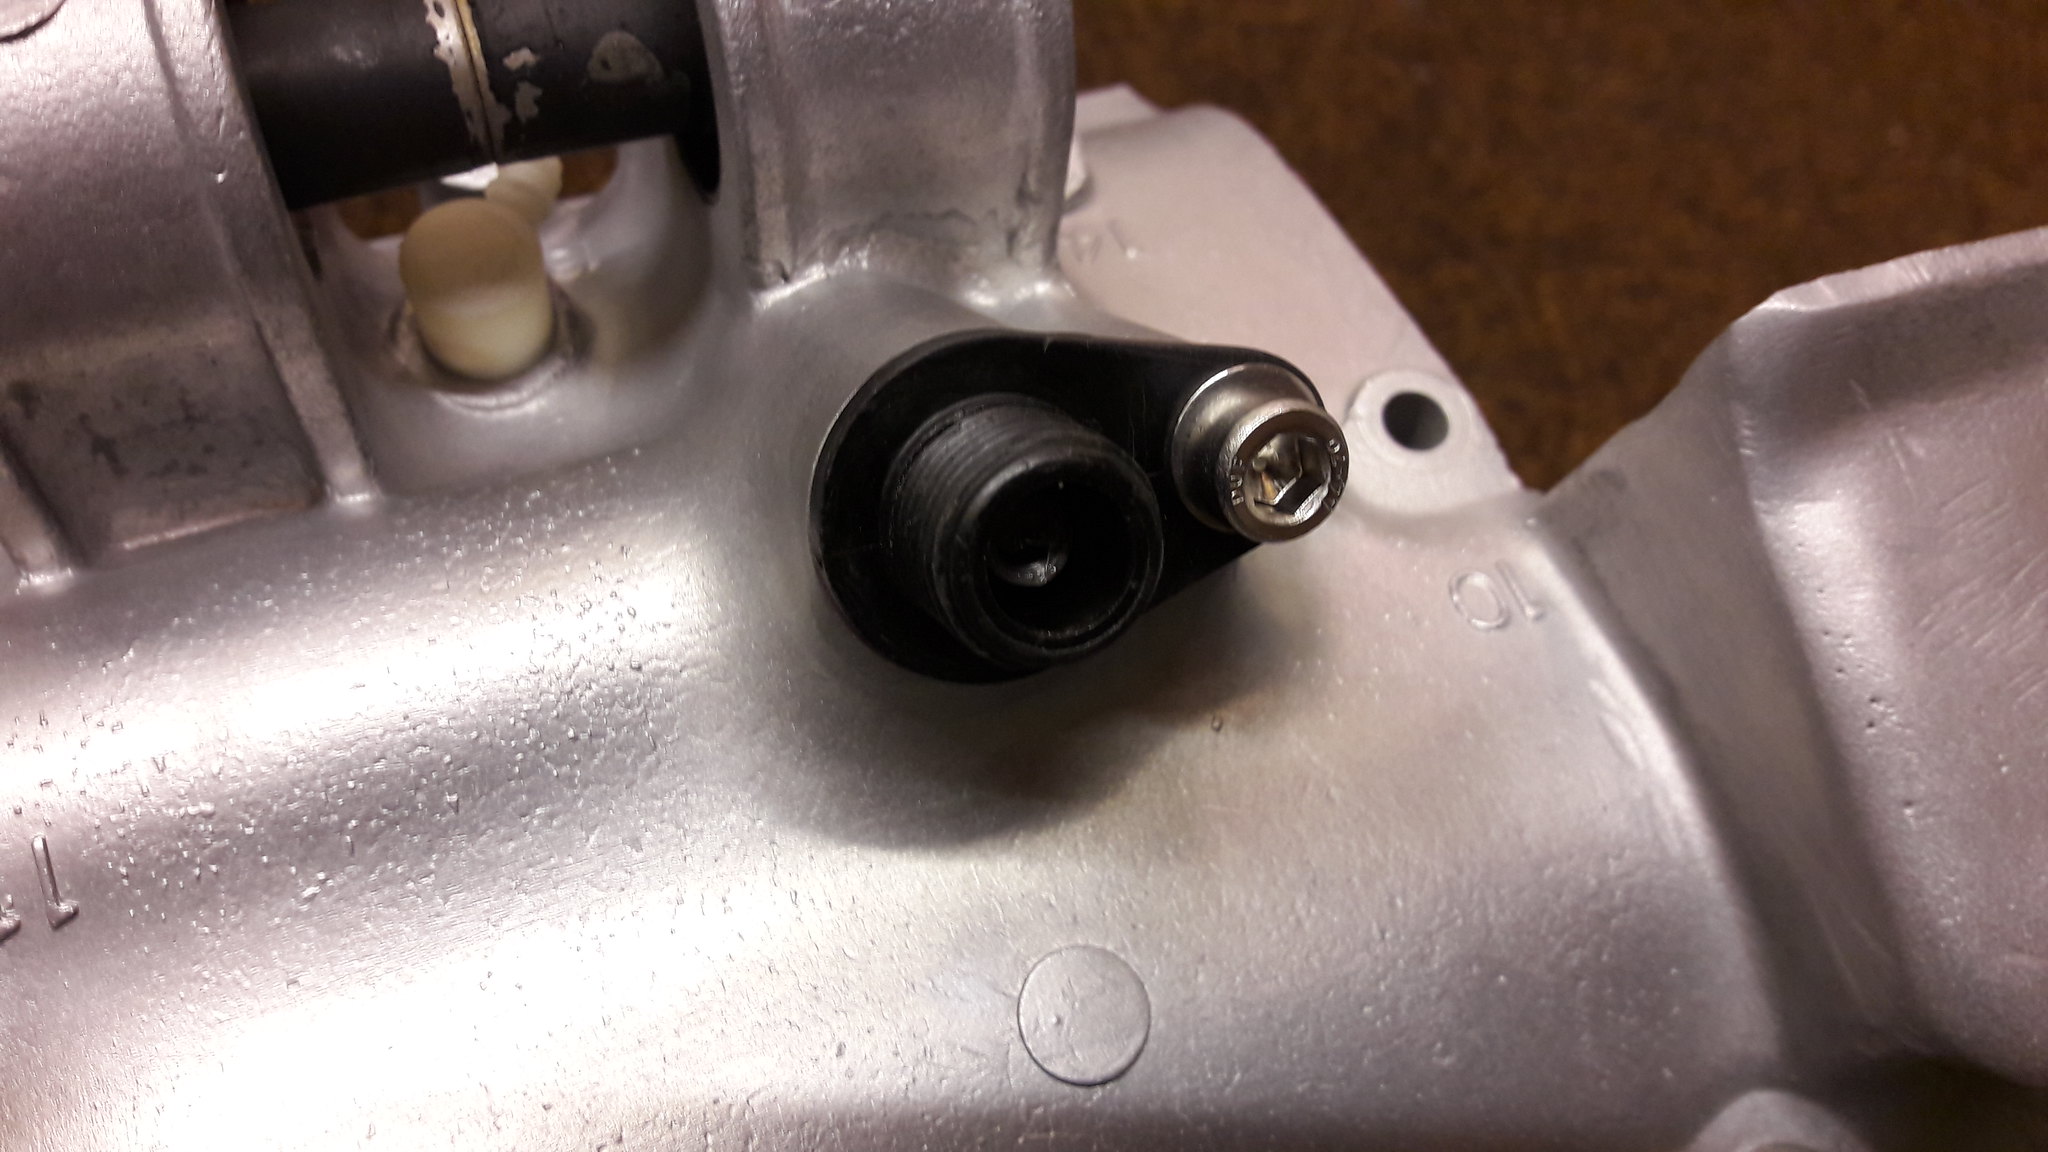 20181112_204411 20181112_204411 by David Miller, on Flickr And the underside will look like this; 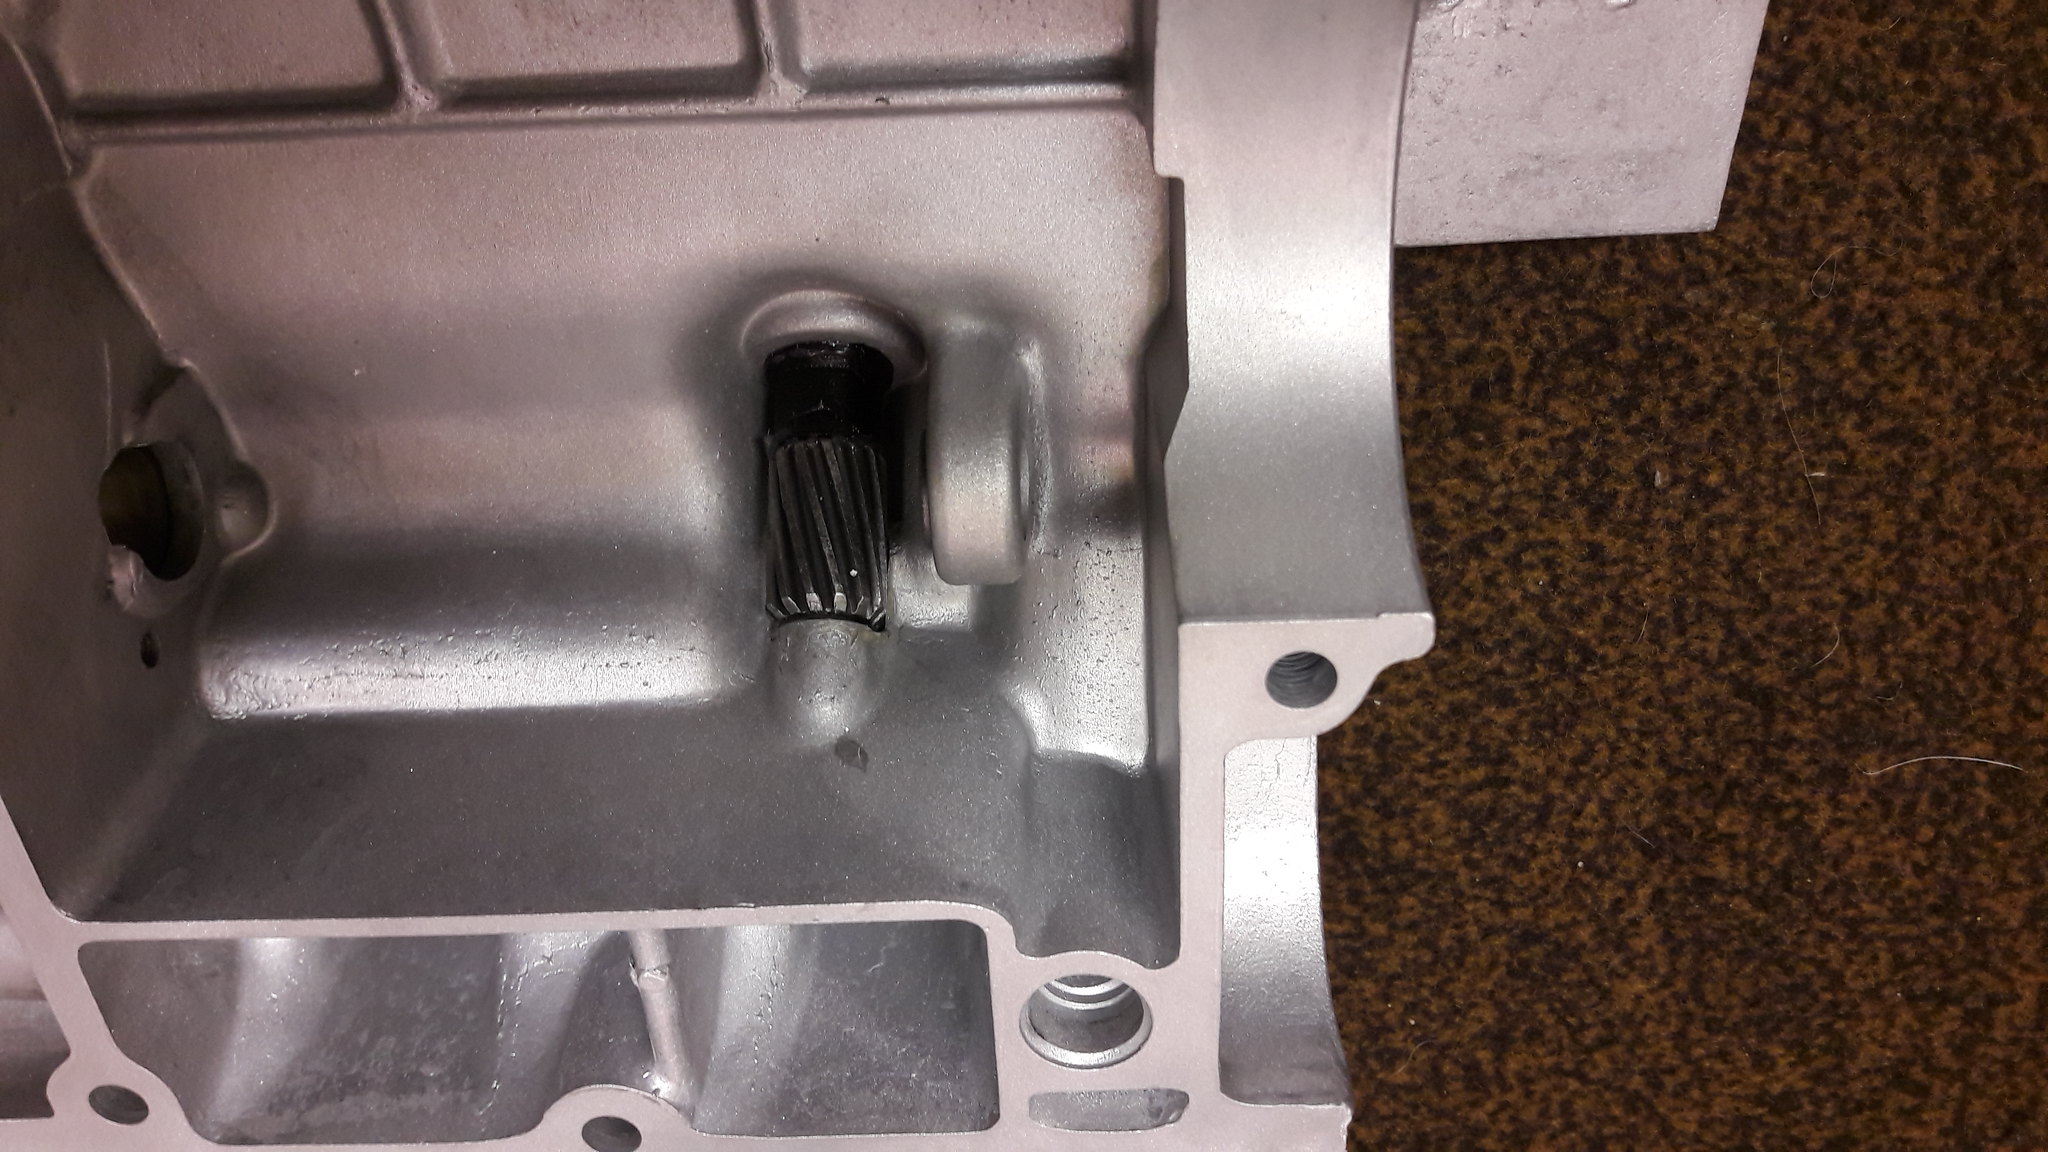 20181112_204422 20181112_204422 by David Miller, on Flickr Next fit the lightly greased tacho drive shaft; 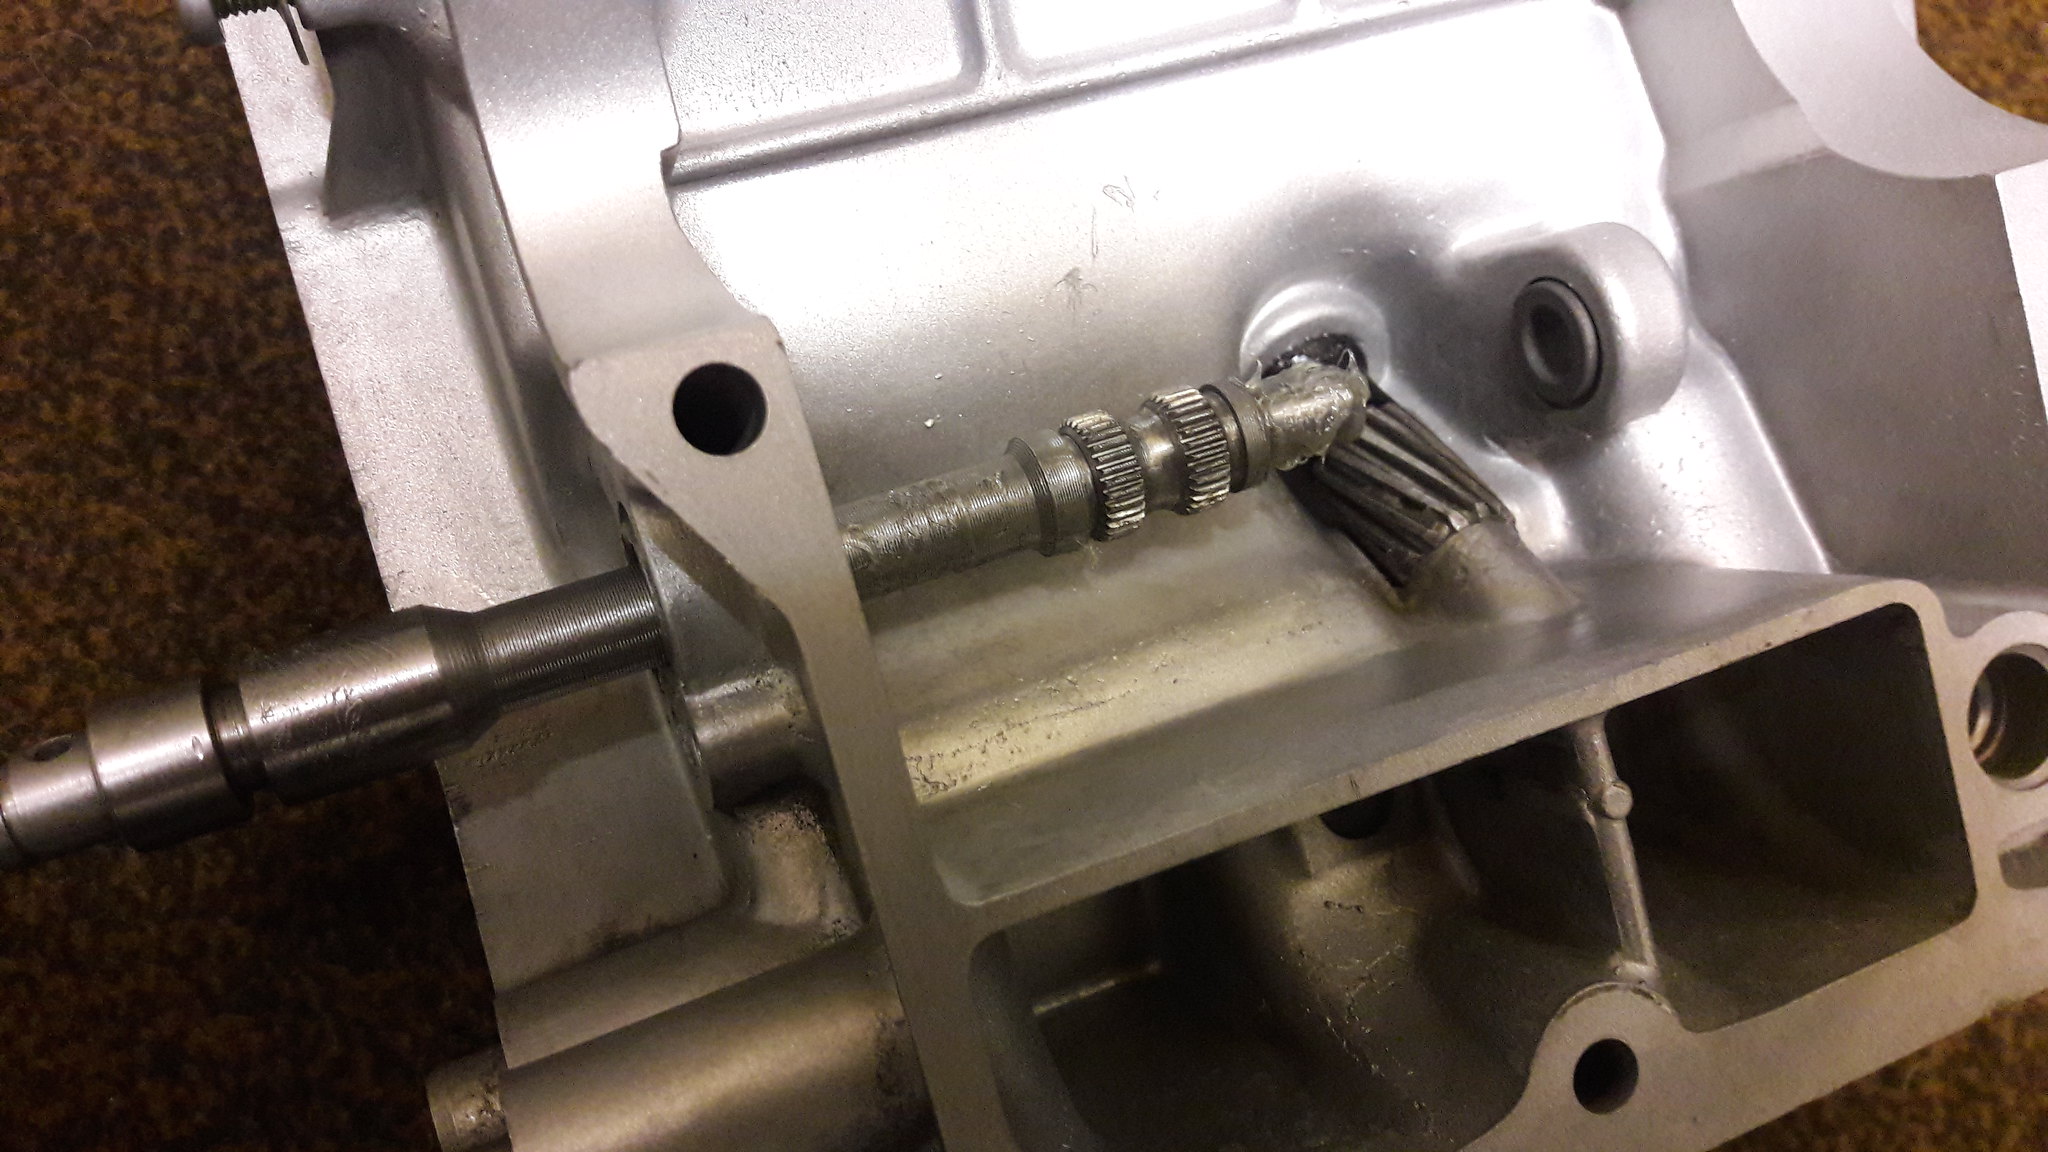 20181113_170537 20181113_170537 by David Miller, on Flickr Fit the worm drive gear; 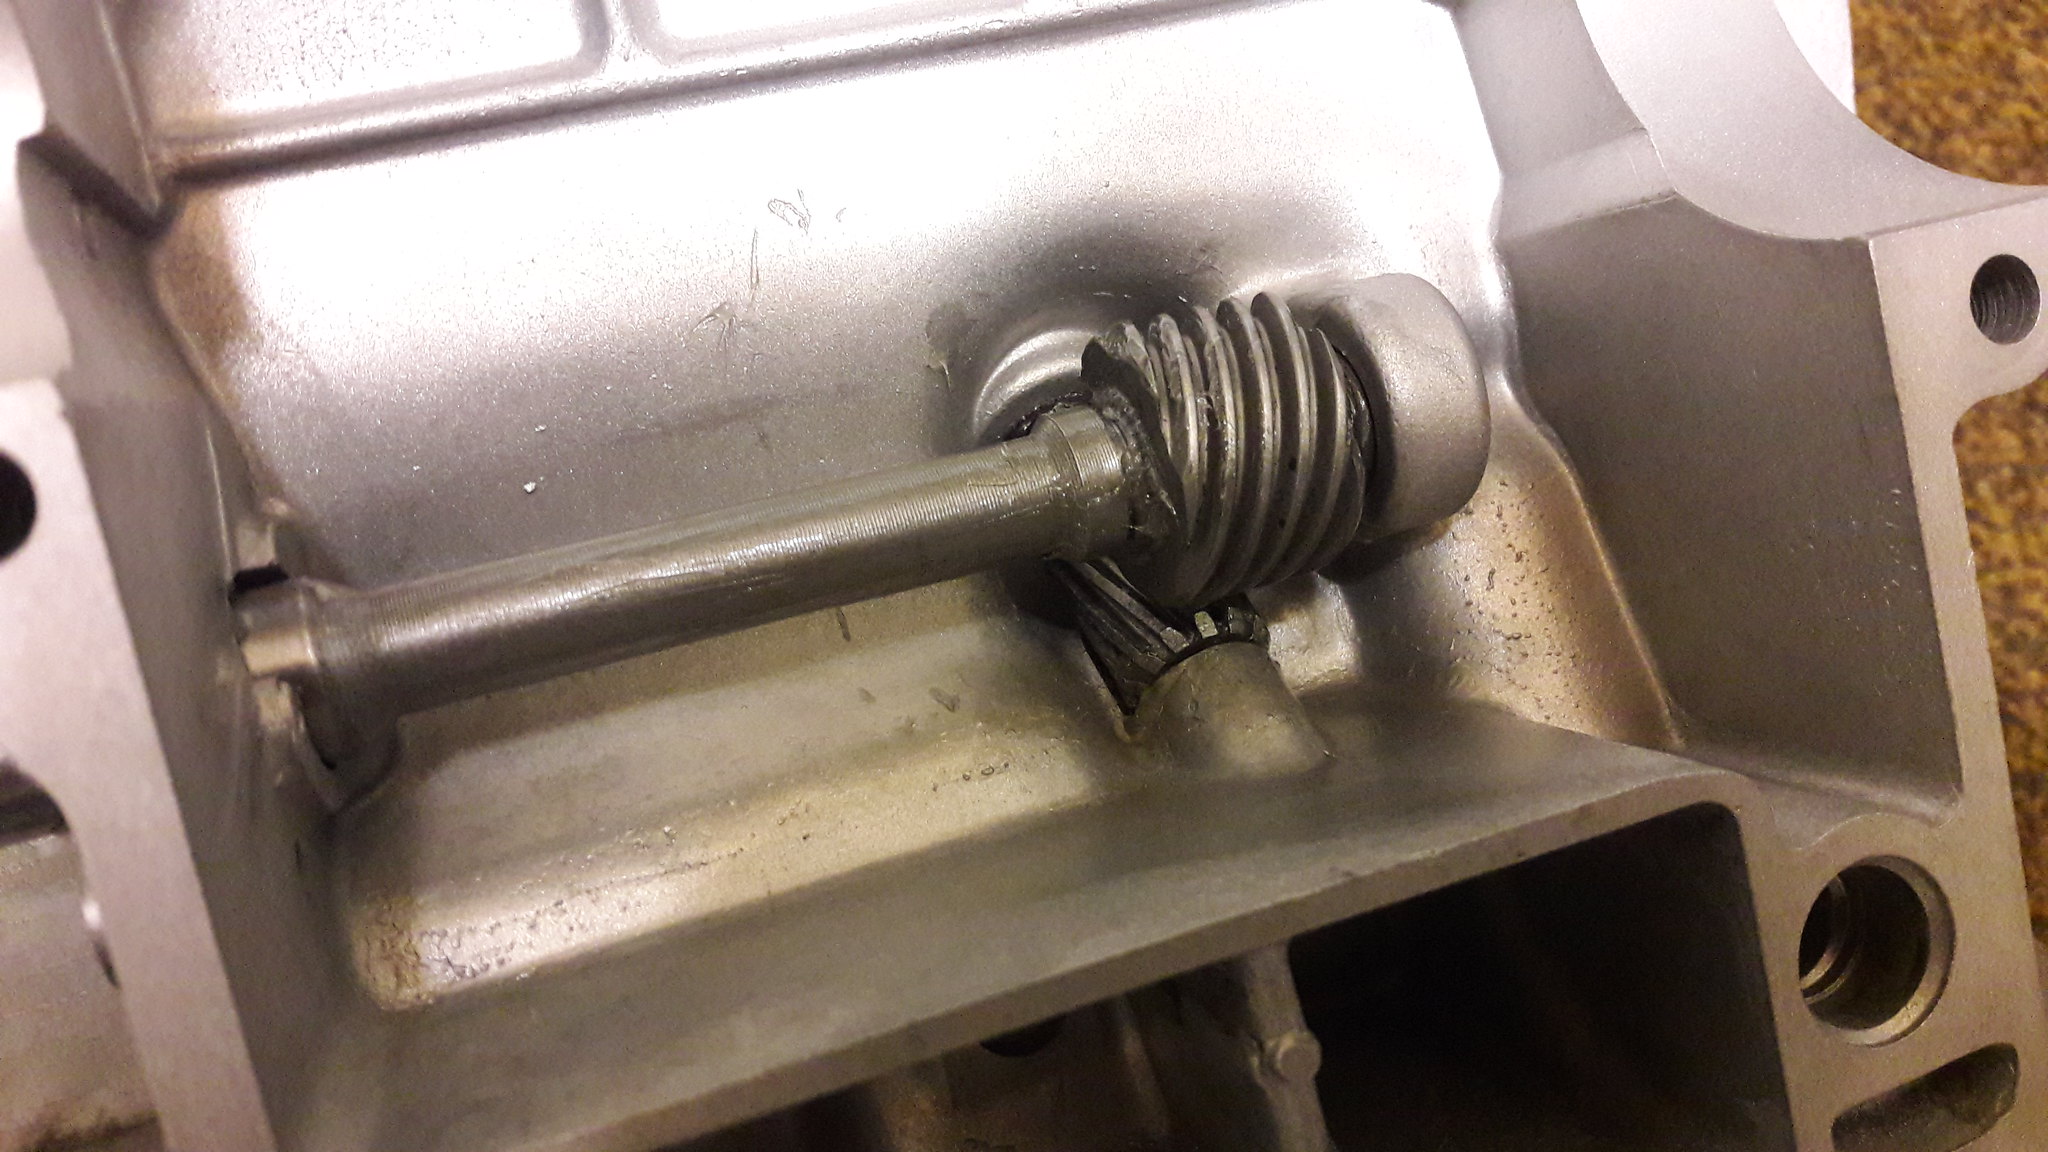 20181113_170700 20181113_170700 by David Miller, on Flickr And add 2 new circlips to hold the gear in place; 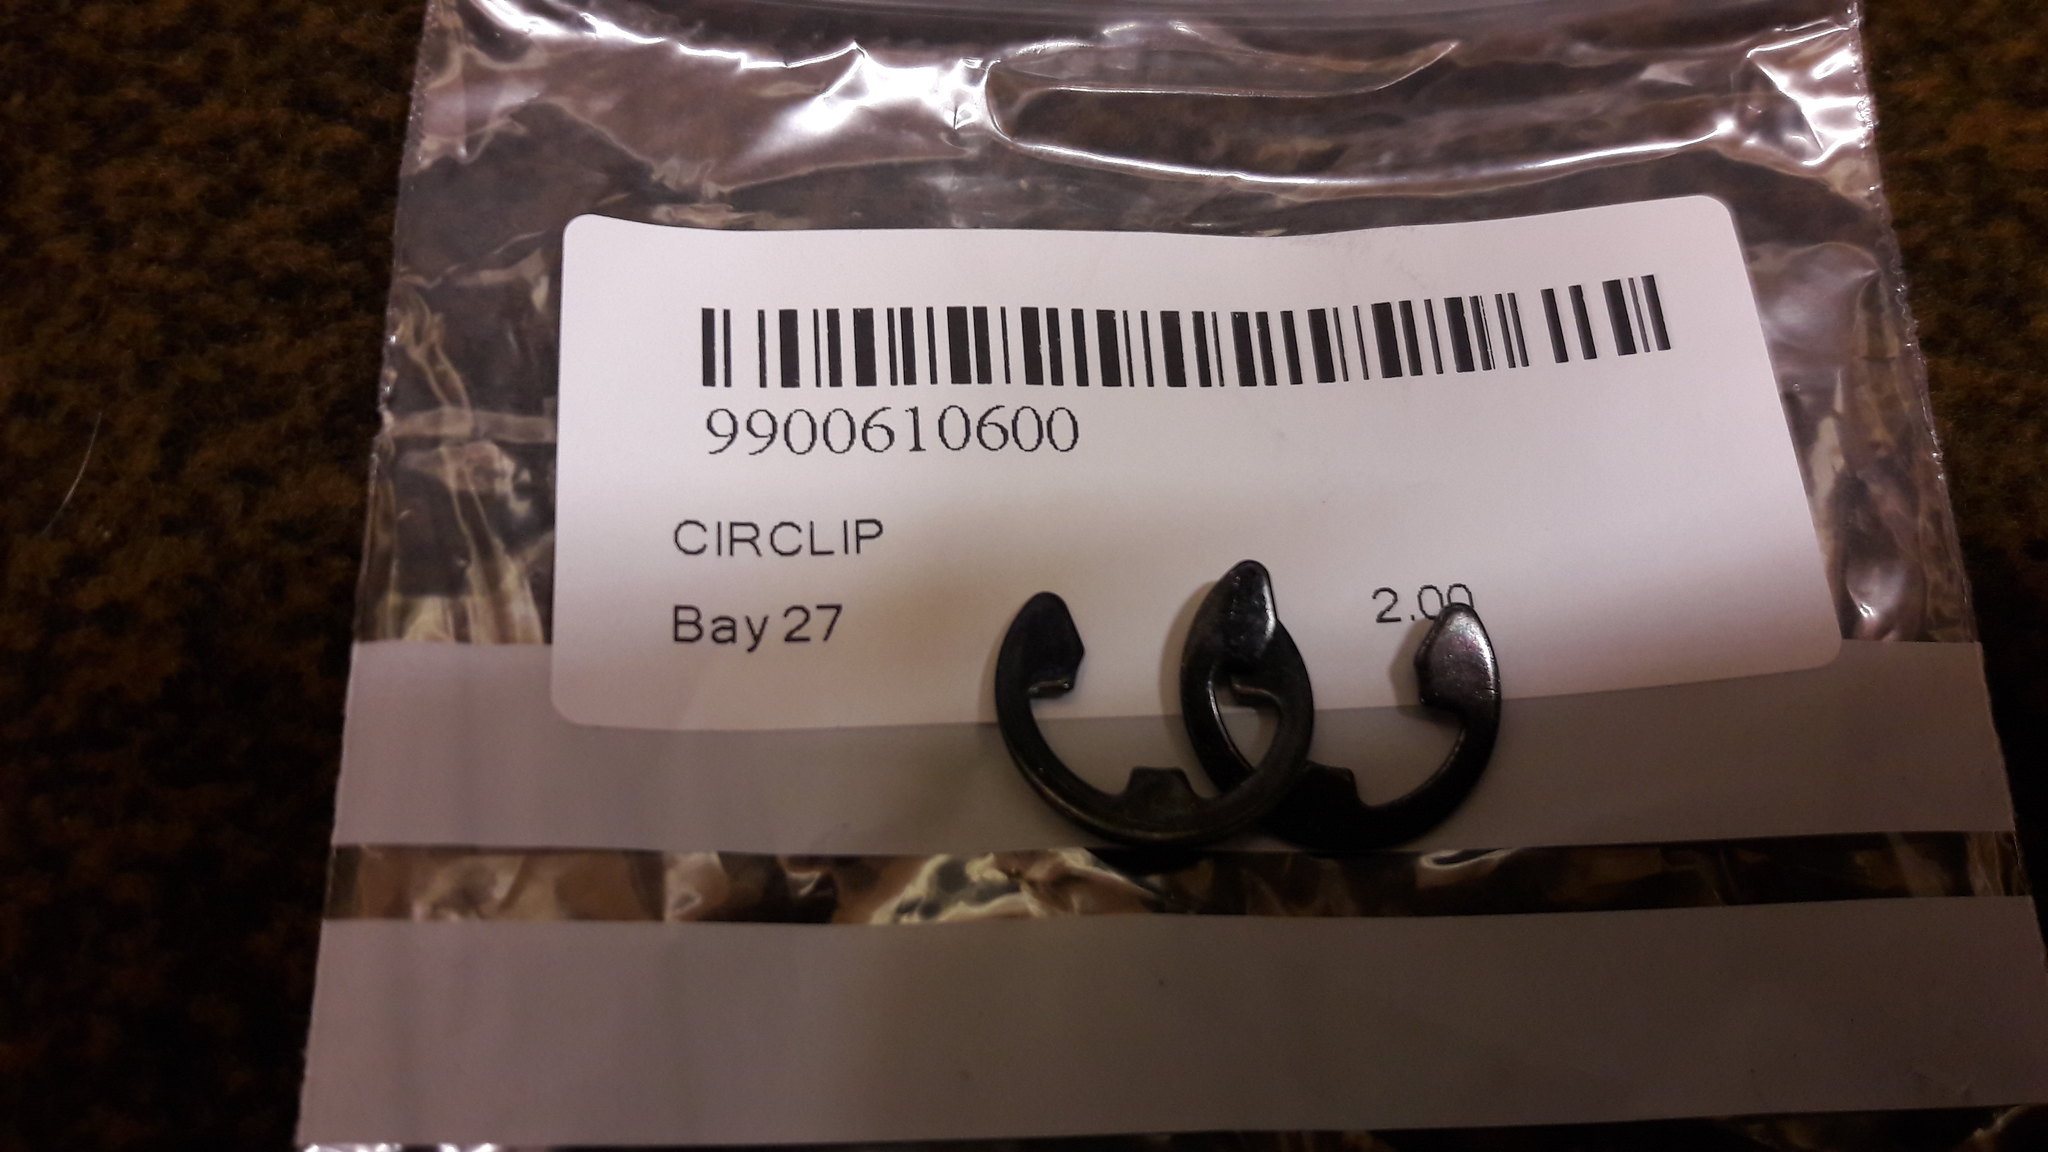 20181113_170727 20181113_170727 by David Miller, on Flickr 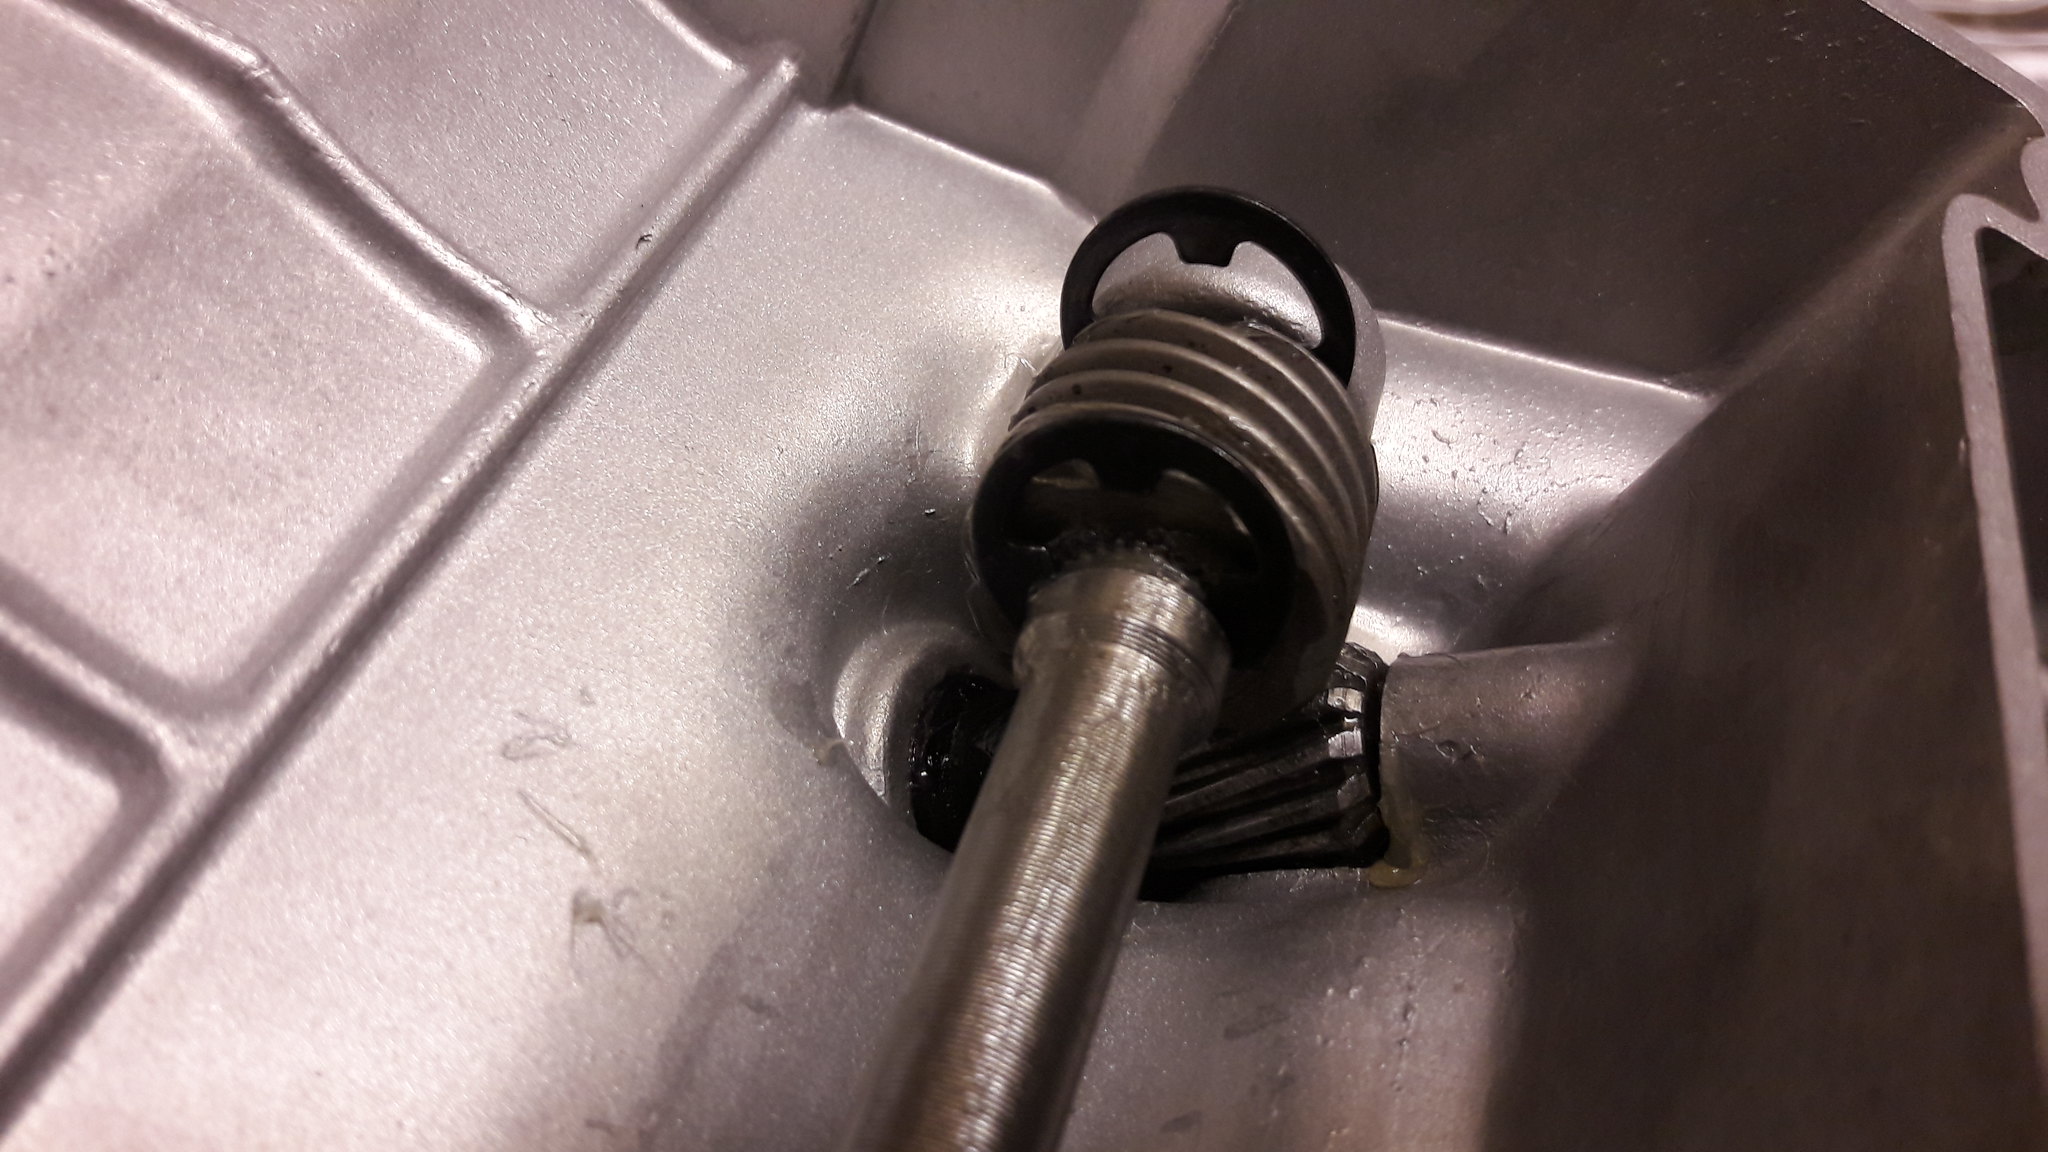 20181113_170909 20181113_170909 by David Miller, on Flickr Circlips are 90p each. You can now fit the plate that holds the shaft secure and tighten the 2 bolts. Just make sure the shaft still spins without binding; 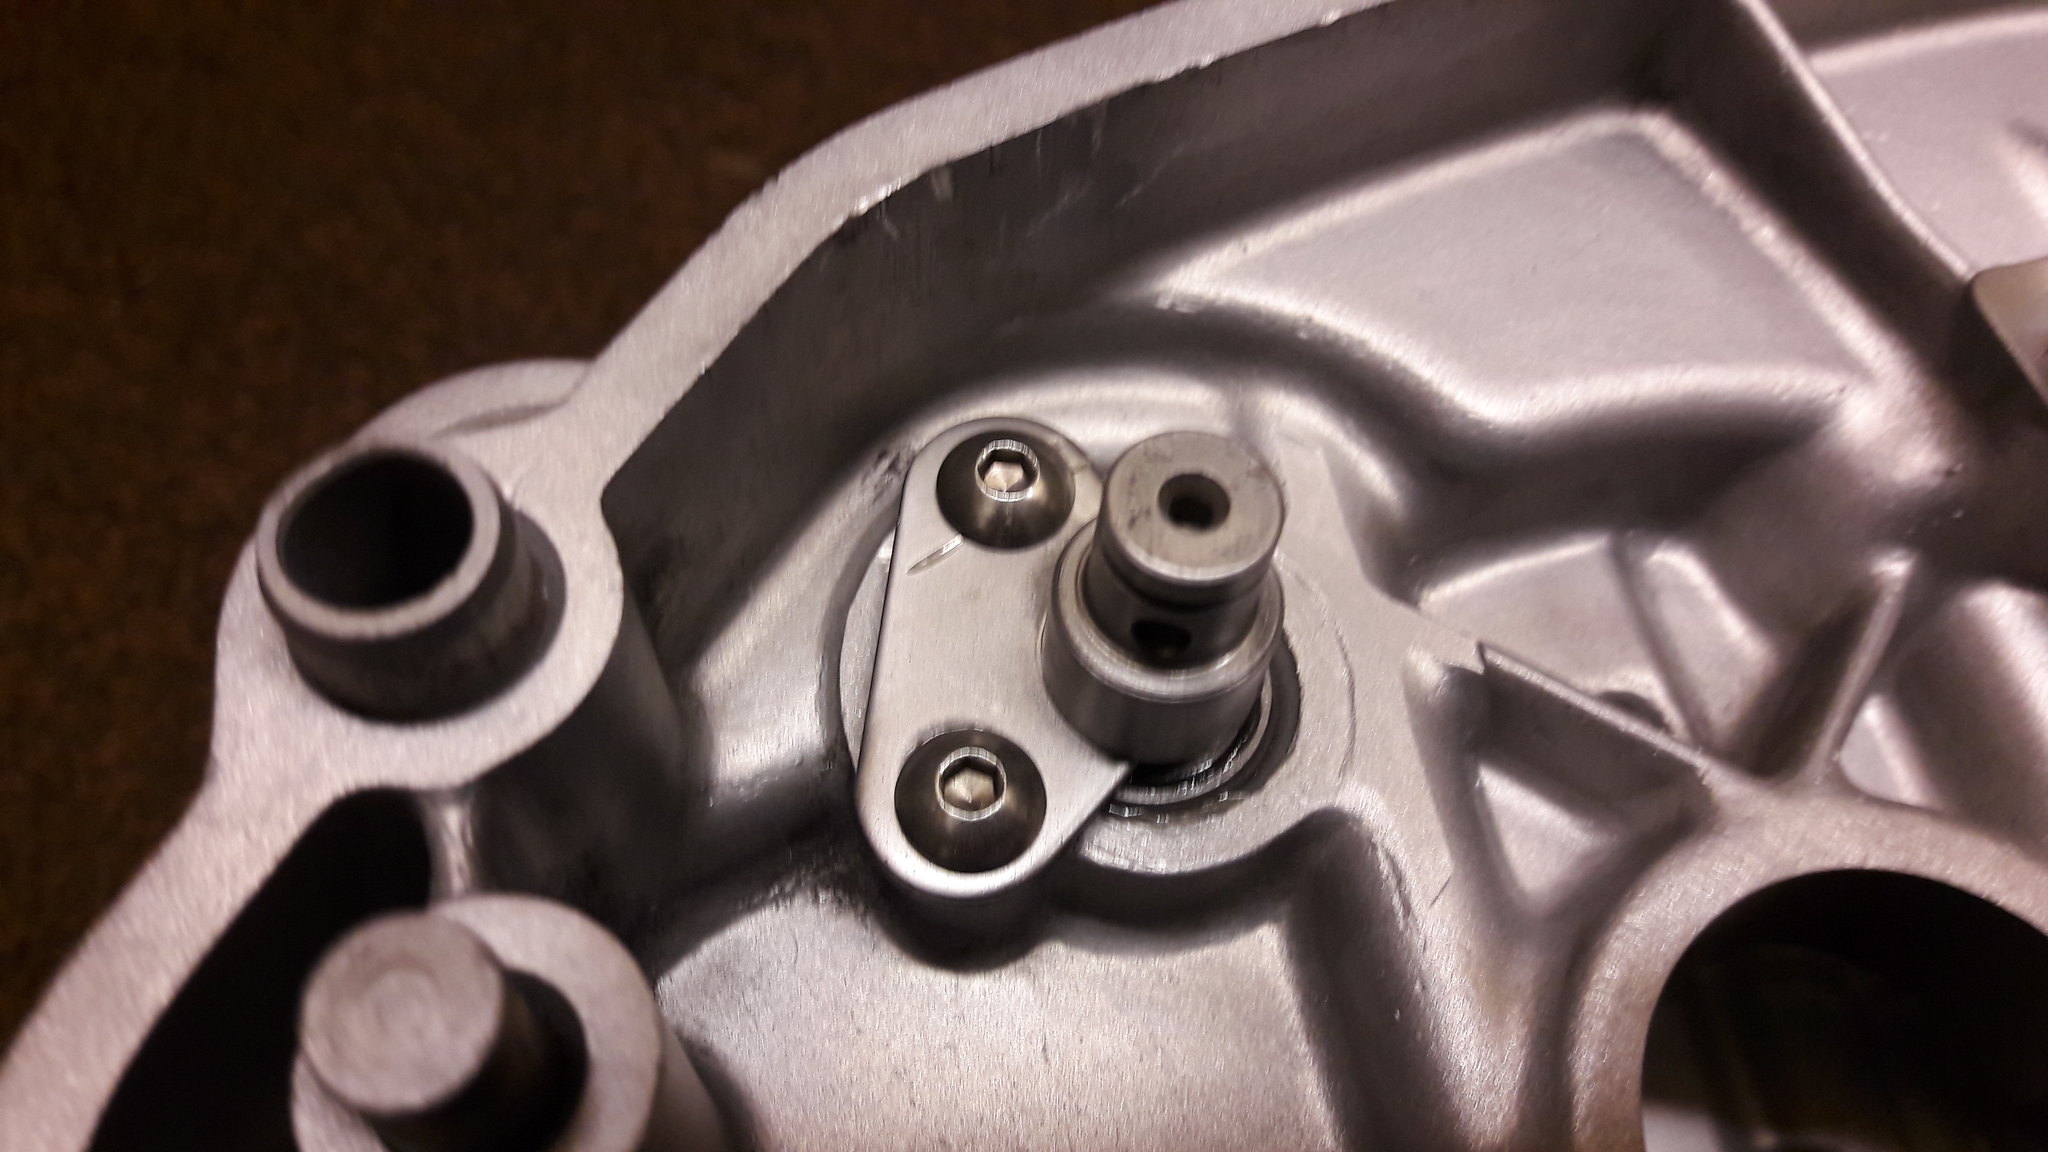 20181113_171630 20181113_171630 by David Miller, on Flickr Then fit the little pin; 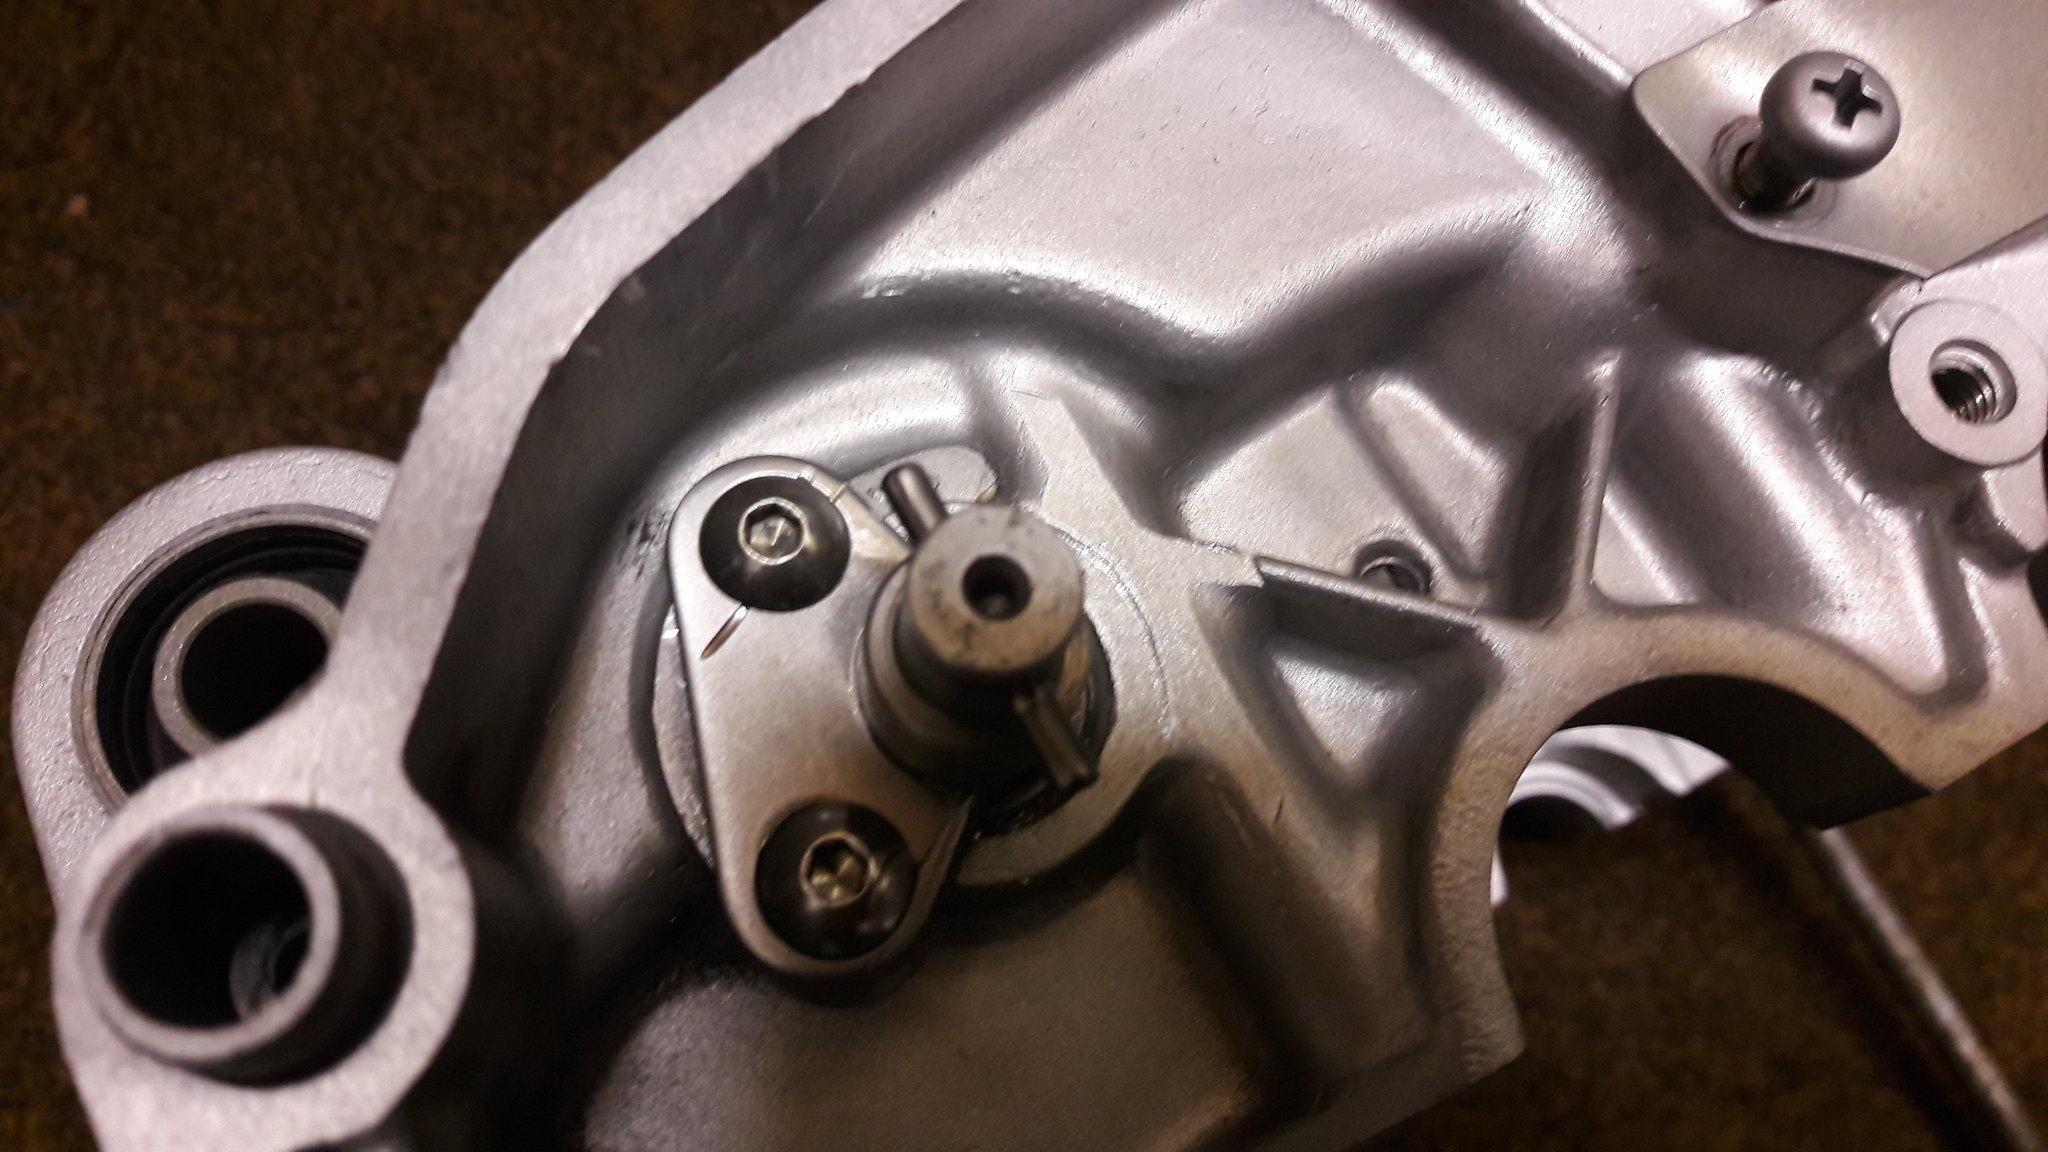 20181113_172213 20181113_172213 by David Miller, on Flickr Then the drive cog fits over the top; 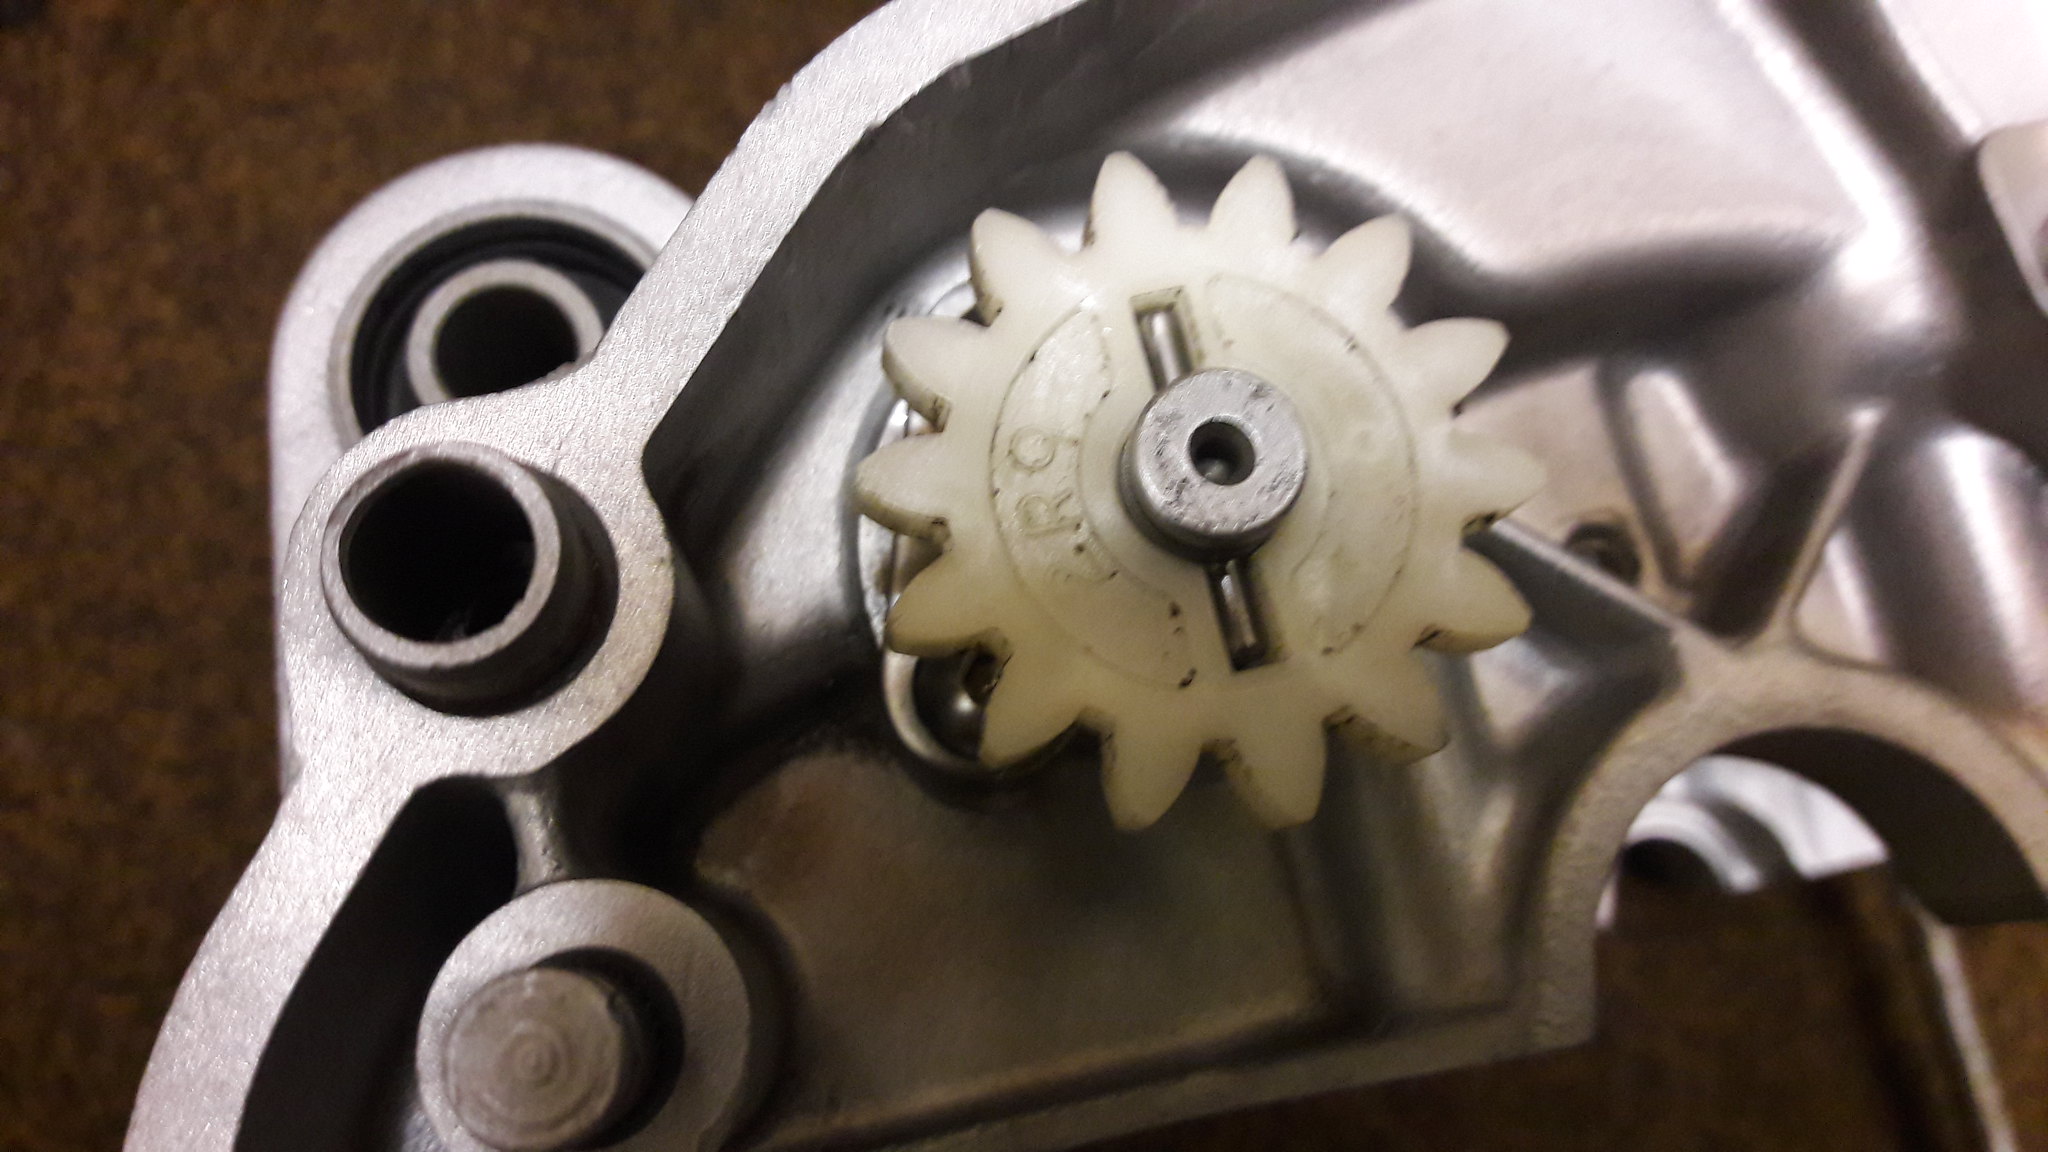 20181113_172224 20181113_172224 by David Miller, on Flickr Then a washer - I had to buy a new one as couldn't find the original; 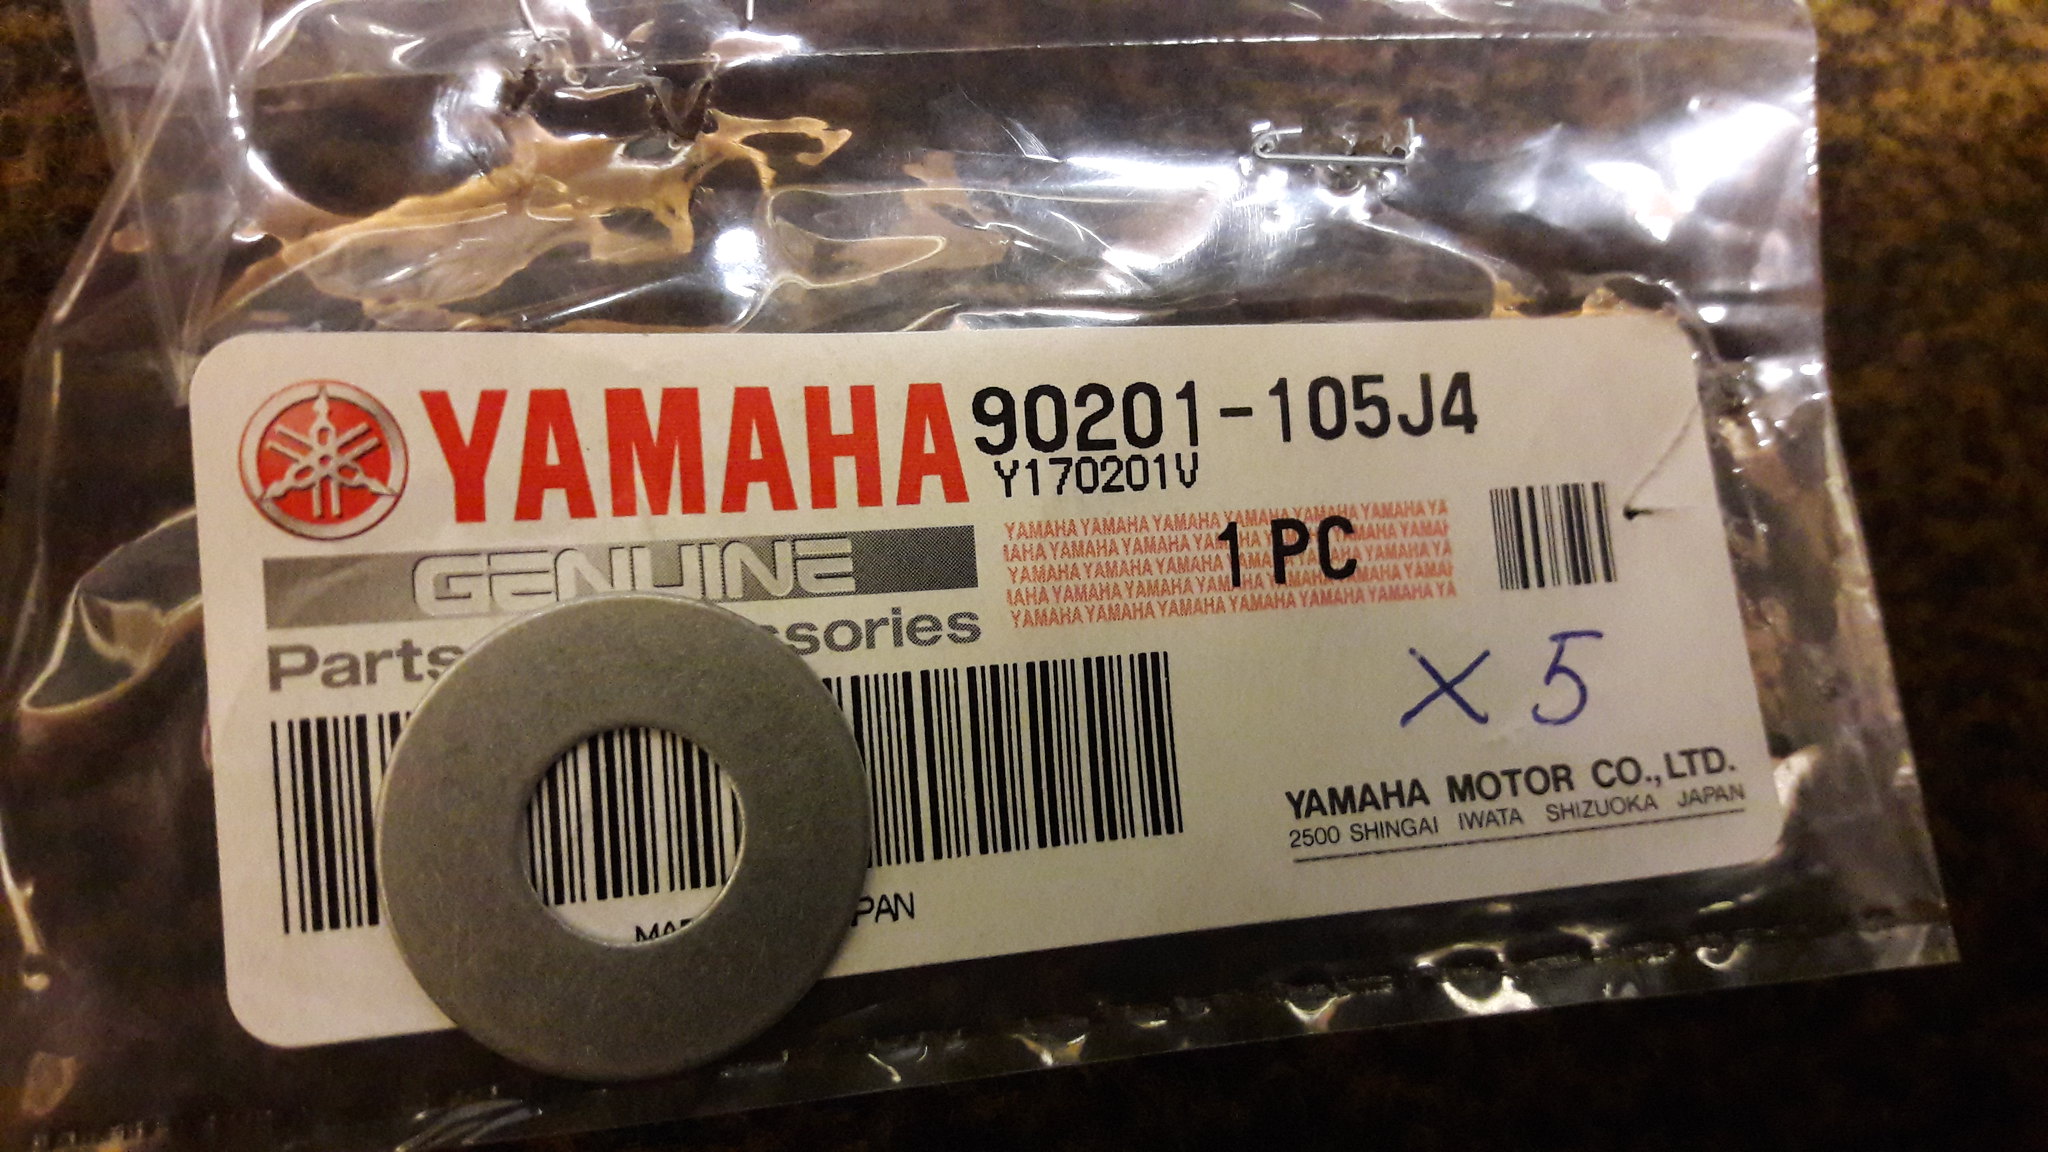 20181113_170755 20181113_170755 by David Miller, on Flickr 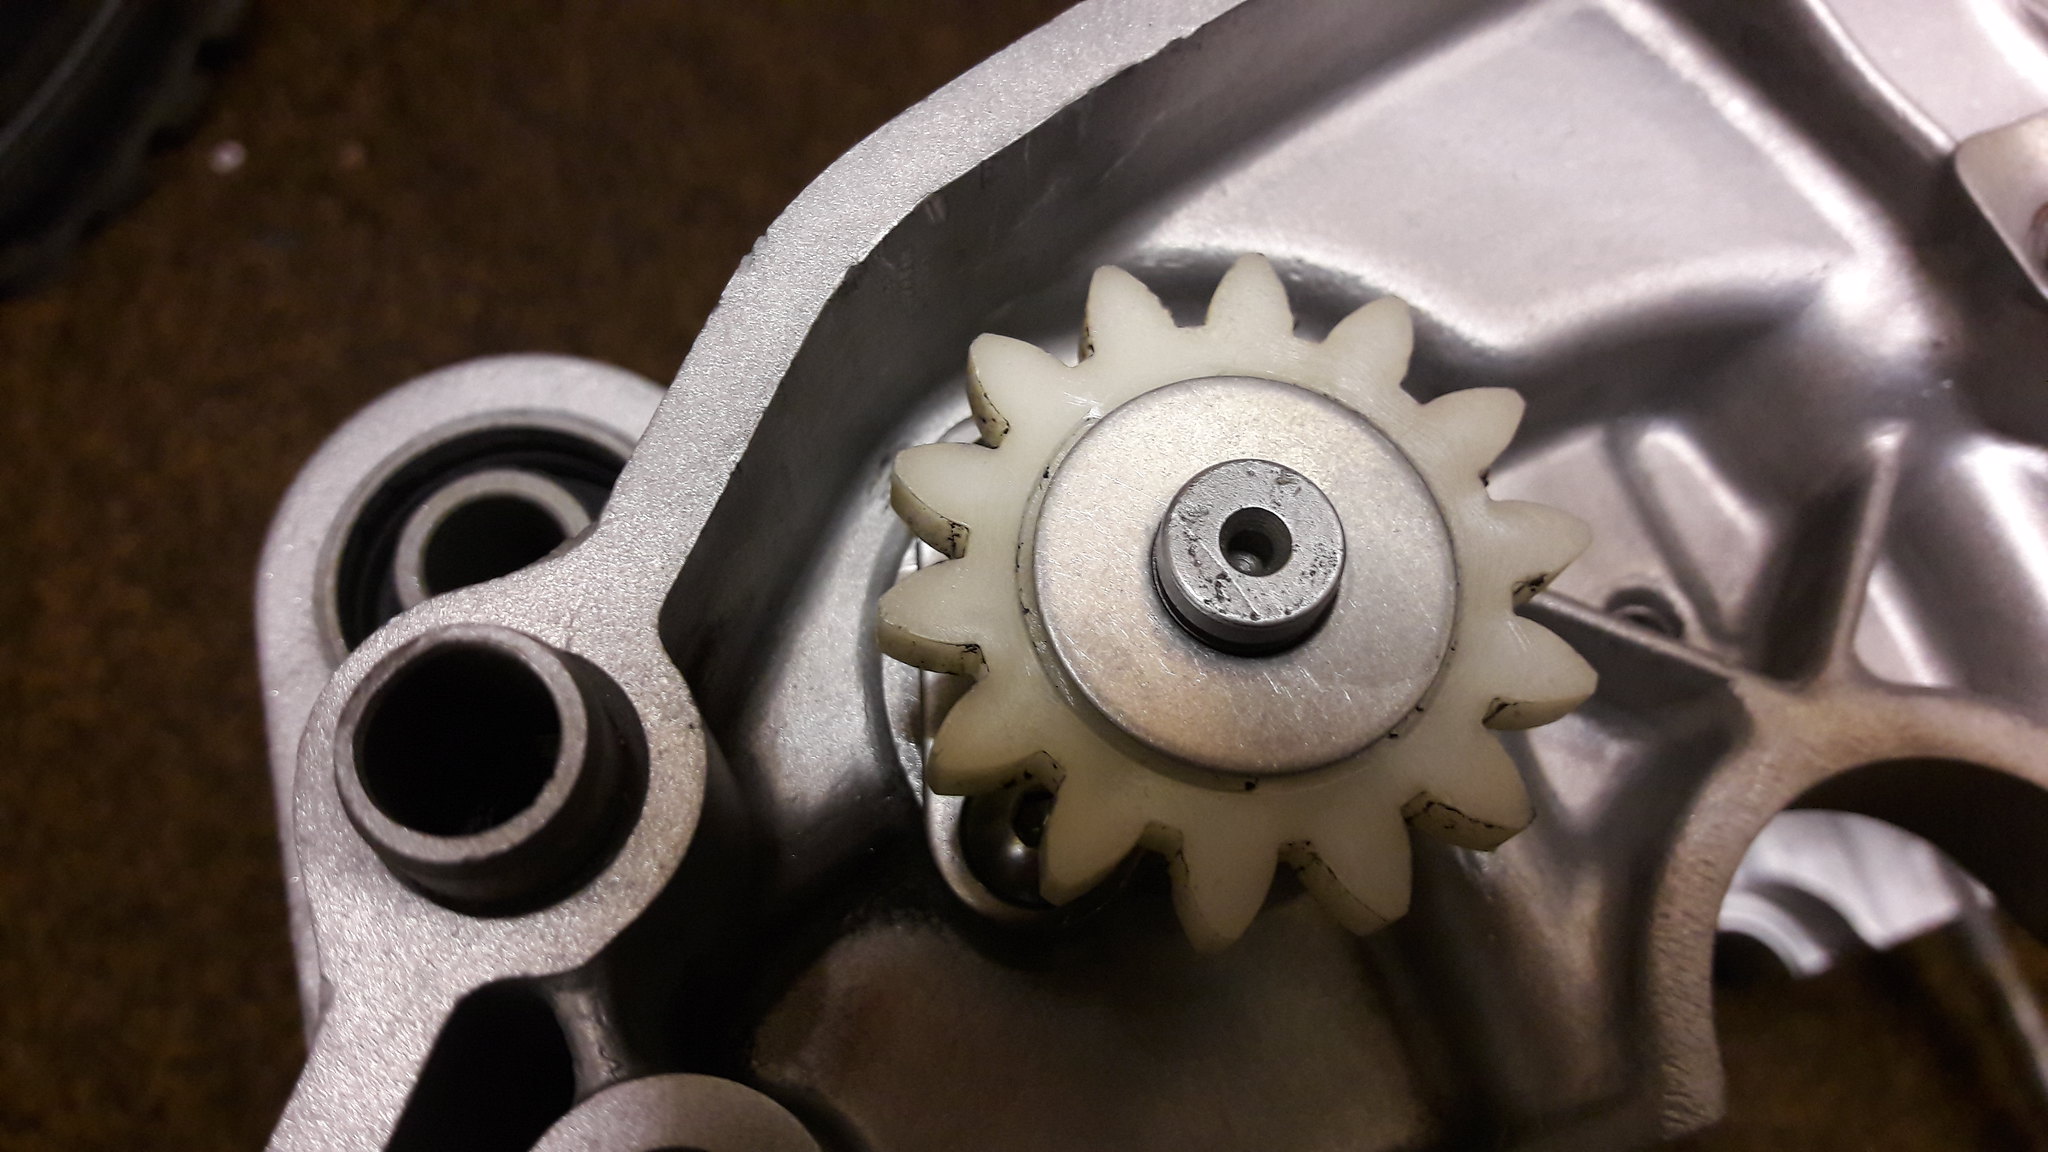 20181113_172233 20181113_172233 by David Miller, on Flickr £1.34 for the washer, and £1.16 for the circlip that finishes it all off; 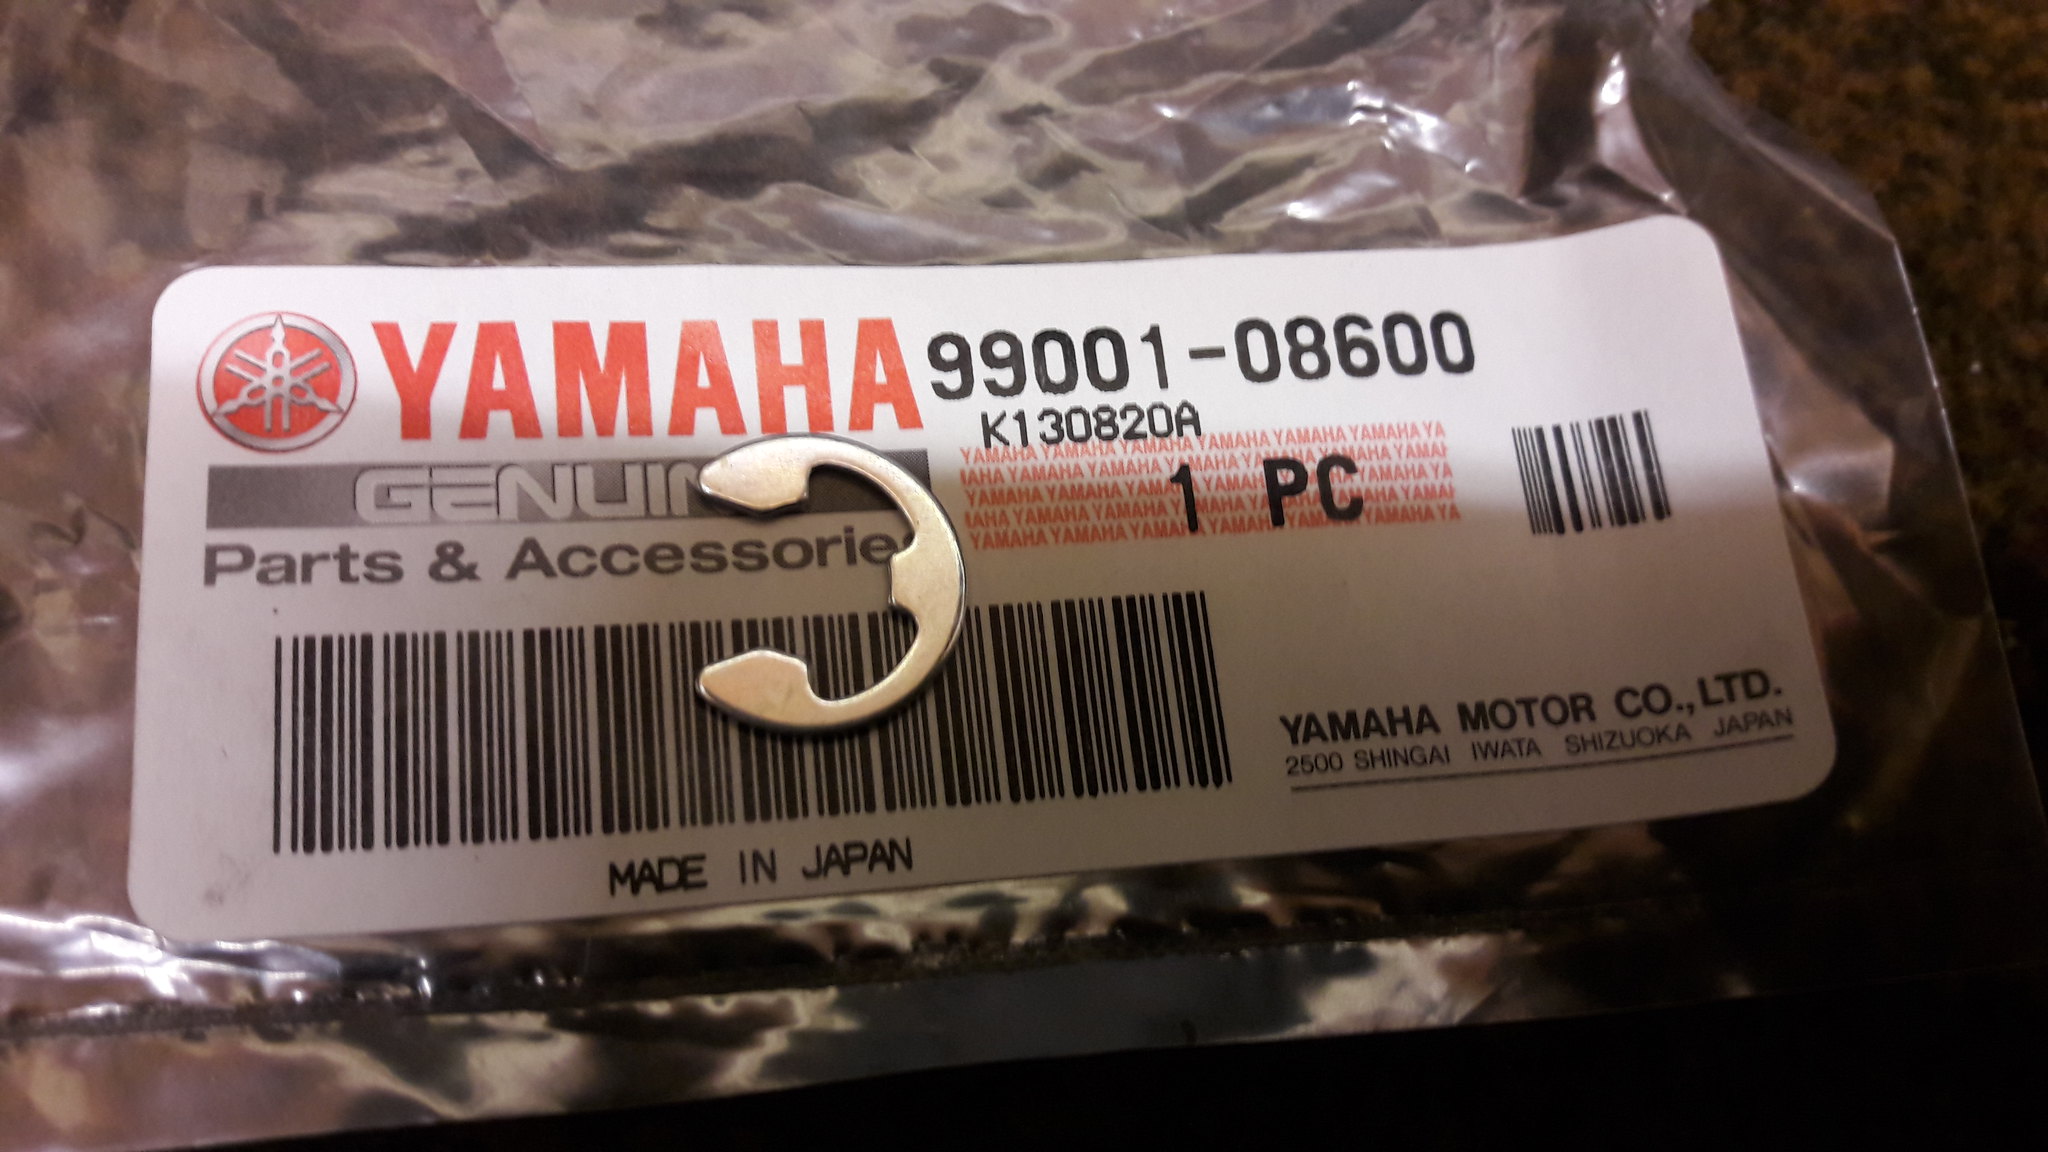 20181113_175141 20181113_175141 by David Miller, on Flickr And that's the tacho drive done  Dusty |
|
|
|
Post by Tobyjugs on Nov 13, 2018 22:28:52 GMT 1
Hi Dusty do you check the plain and splined thrust washers on the gear clusters? I have noticed that they can be very worn on non existent on occasions.
|
|
|
|
Post by dusty350 on Nov 14, 2018 21:32:35 GMT 1
Hi mate I've not taken the gear clusters apart. Is that the only way of checking ? And what symptoms do you get if those parts are worn ? I see Fowlers list all the parts which is good, but a few washers and circlips will run to £30 odd !! Yamaha certainly know how to make money !! Dusty  |
|
|
|
Post by Tobyjugs on Nov 14, 2018 22:56:09 GMT 1
Hi Dusty to check the thrust washers the only way I know of is to take the clusters apart. If they are worn you will have more lateral movement on the gear wheels affecting their operation.
I don't know what the symptoms would be.
It's good to know we can still get new ones as I need to replace washers I have stolen from other clusters.
|
|