|
|
Post by dusty350 on Feb 18, 2017 9:27:42 GMT 1
Hi I'm trying to do a thread I would want to read if I was attempting an engine build for the first time. Lots of colour pics are always helpful - Haynes manuals are invaluable but sometimes the pics are hard to follow imo. I am no expert, but I have built a few now so that helps from a confidence point of view. The availability of parts is a real bonus - I ordered 10 items from Fowlers on Thursday, all in stock and some of it a bit obscure, and it arrived Friday. Having part numbers makes life a bit easier so I try and include those as I buy the parts. I am replacing parts that don't necessarily look like they need changing - it's up to us what we regard as serviceable or not, but I don't want to strip it down again for the sake of a seal or bearing which I can change at this stage. They are simple engines to build, and you can build one back up quite quickly really. I will still ask questions as I do it as I know there are guys on here that have more knowledge than me, so I hope it's a thread that people can interact with rather than just read. If there is a better way of doing something or I take a wrong turn I would hope that members offer their experience and advice - that then benefits all of us. I never rush anything so this has been a long time in the updating. I've had the crank over a week now and it's still in the box !! I do have everything now to close the cases permanently so this weekend will see some more progress. Dusty  |
|
|
|
Post by mouse on Feb 18, 2017 16:05:49 GMT 1
Beautiful job as ever Dusty
Mouse
|
|
|
|
Post by dusty350 on Feb 18, 2017 19:03:54 GMT 1
Cheers Andrew  So, tacho drive next. These are the component parts; 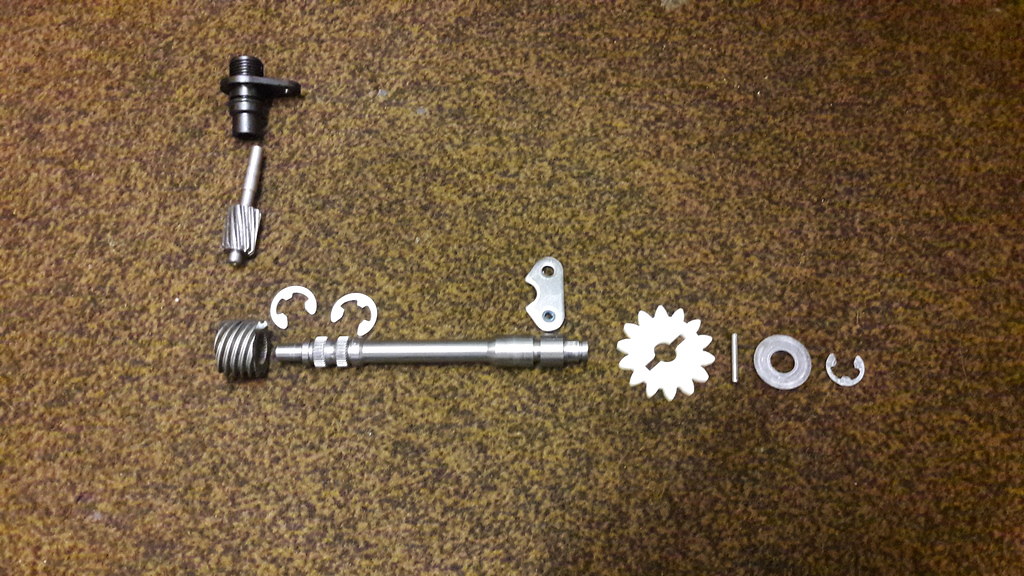 20170218_101221_zpssjckjamu 20170218_101221_zpssjckjamu by David Miller, on Flickr The plastic housing for the cable drive has an O ring fitted to stop oil getting past it where it fits in crankcase. The O ring looked ok but I bought a new one anyway - it was only 51p ! I lightly greased it and slid it back in; 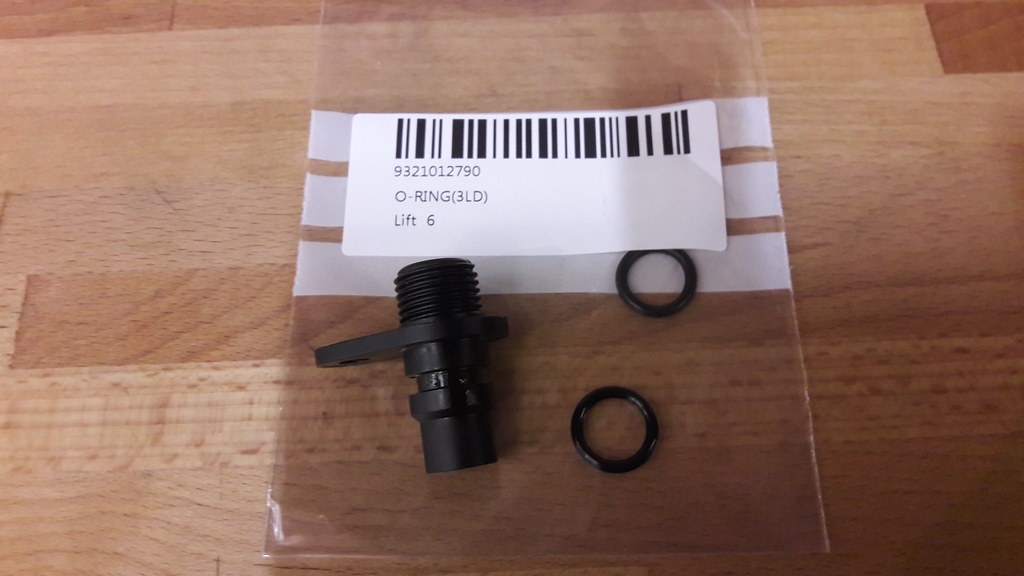 20170218_101444_zpsabpxguei 20170218_101444_zpsabpxguei by David Miller, on Flickr 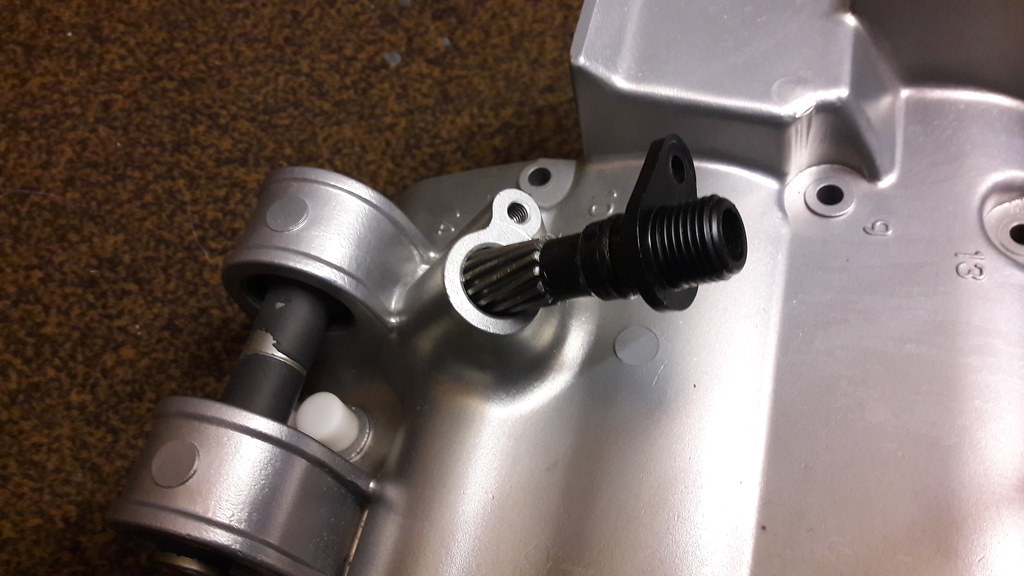 20170218_101837_zpsqxpptnng 20170218_101837_zpsqxpptnng by David Miller, on Flickr 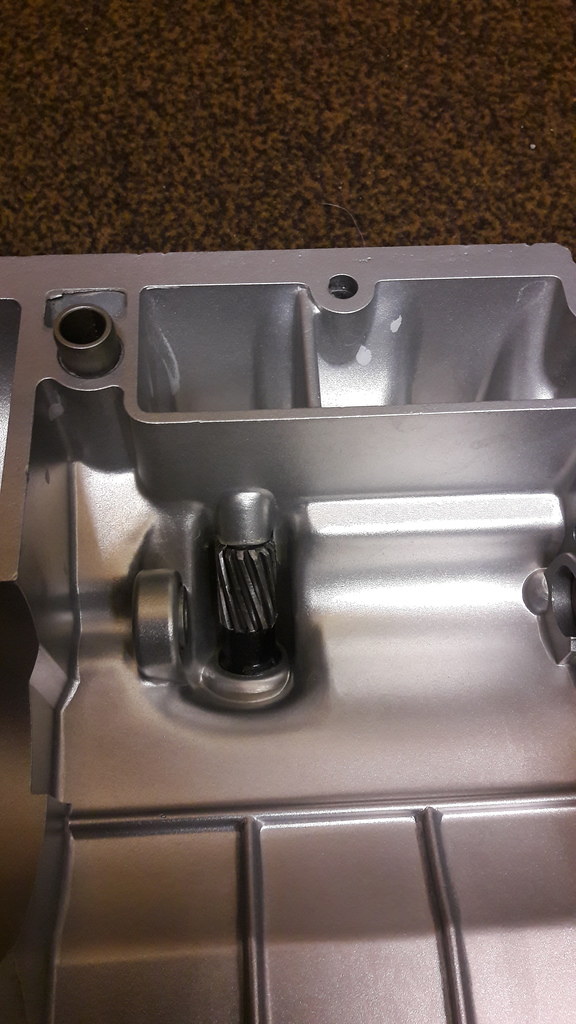 20170218_102002_zpslp2caepd 20170218_102002_zpslp2caepd by David Miller, on Flickr Now the drive shaft can go back in. You need to slide the drive shaft into the case before you can fit the worm gear; 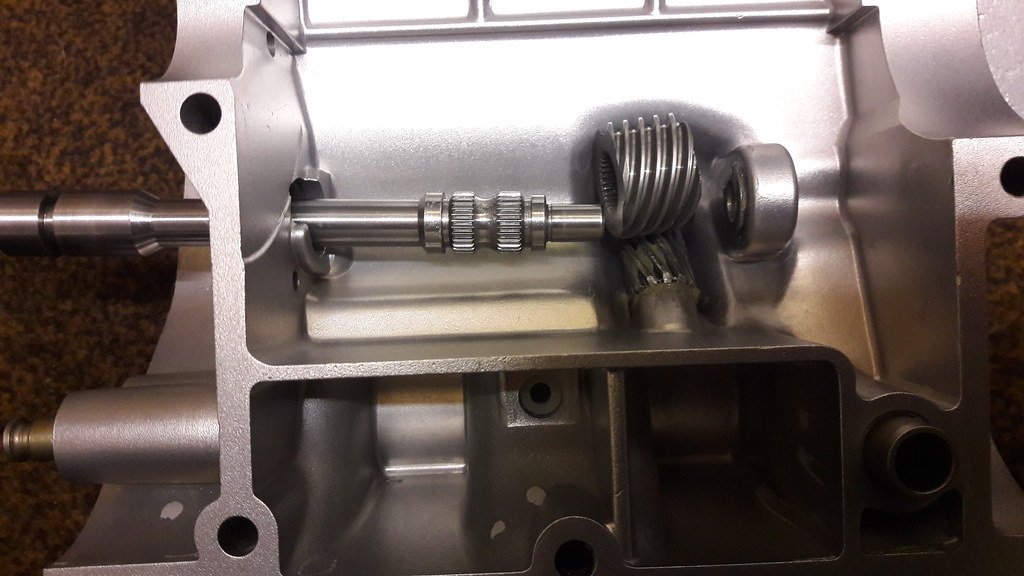 20170218_102509_zpswe3wlknm 20170218_102509_zpswe3wlknm by David Miller, on Flickr 2 new "e" clips can now be fitted; 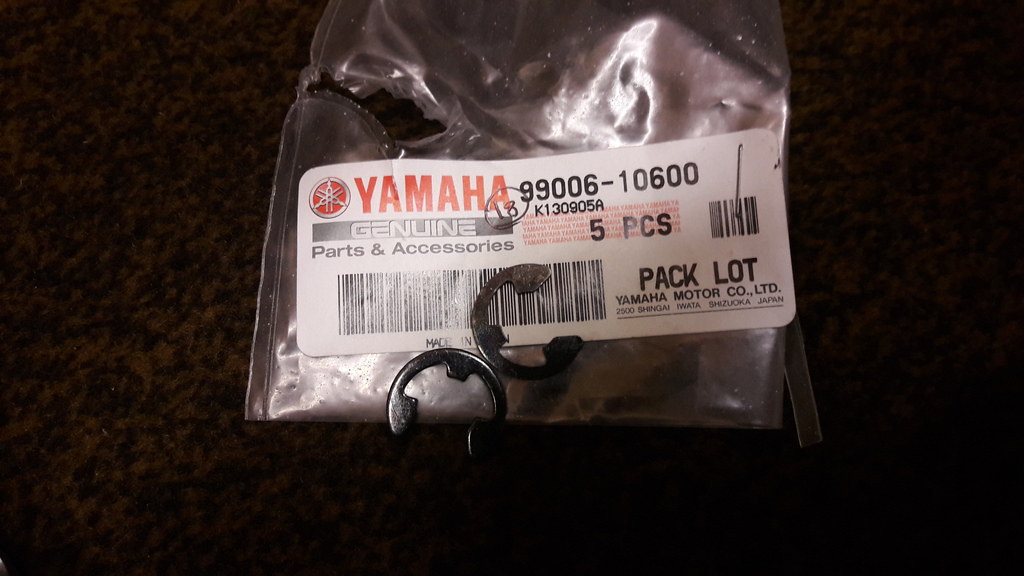 20170218_102743_zps982feebh 20170218_102743_zps982feebh by David Miller, on Flickr 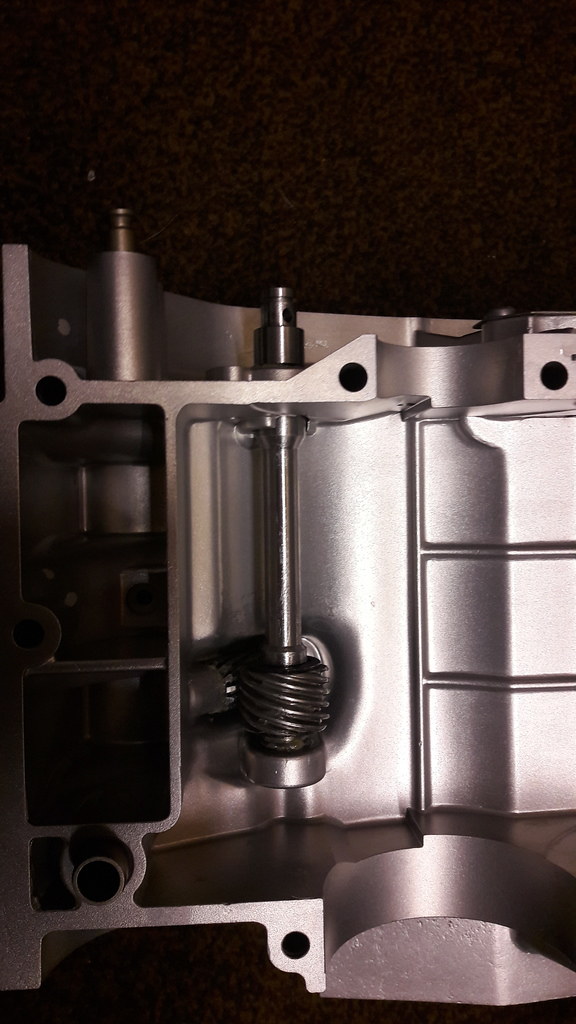 20170218_103840_zpsnh6dhrom 20170218_103840_zpsnh6dhrom by David Miller, on Flickr A blob of grease where the shaft passes through the case, and at the other end, and it's in. Now you can fit the retaining plate; 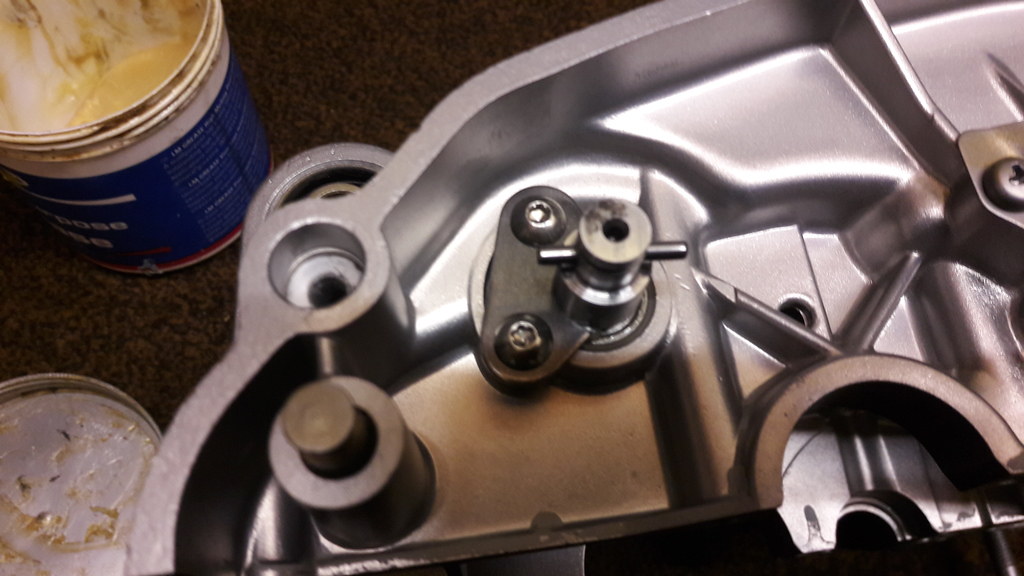 20170218_105018_zpsfpyk0hhi 20170218_105018_zpsfpyk0hhi by David Miller, on Flickr Pin pushes through the hole in the shaft and the plastic sprocket can be fitted; 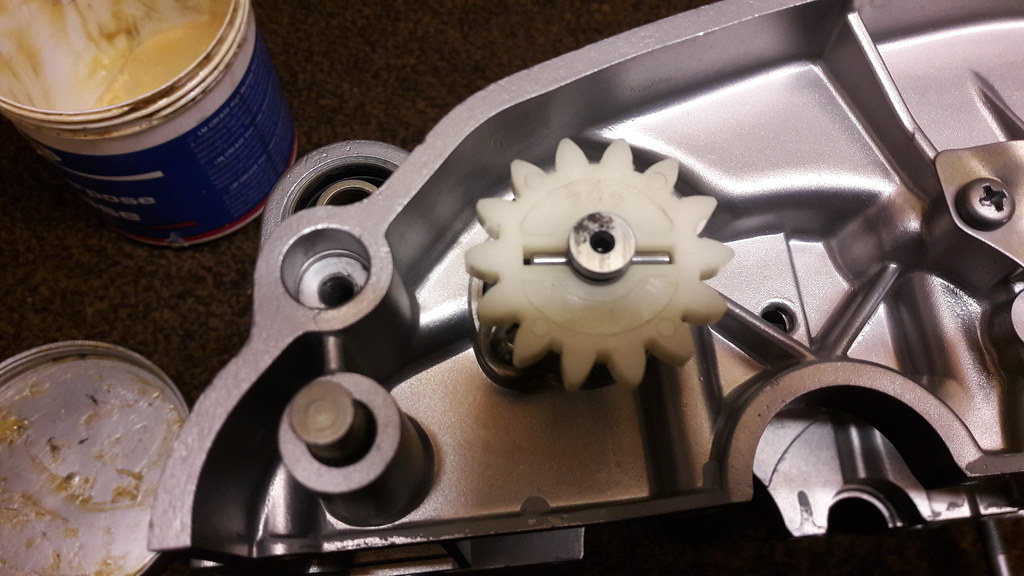 20170218_105030_zps01nwkhtj 20170218_105030_zps01nwkhtj by David Miller, on Flickr The sprocket is marked 2r9 which is an Rd400 part number. If you retro fit this drive to an F2 ypvs for cable drive tach, make sure you get the 2r9 sprocket. a 2r8 sprocket will read incorrectly. Next is washer and then new circlip; 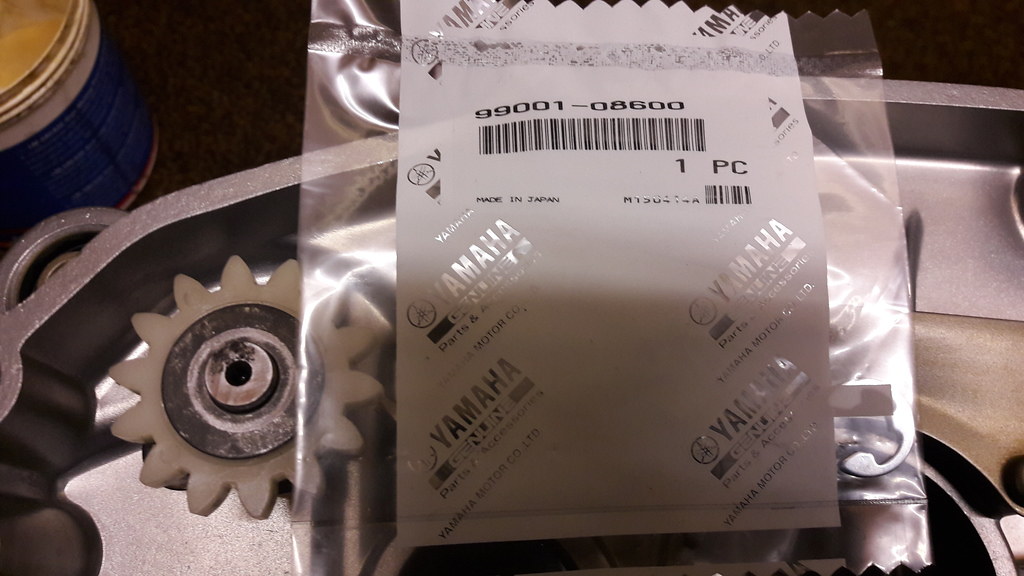 20170218_105101_zpszay7z1rr 20170218_105101_zpszay7z1rr by David Miller, on Flickr And that's the tacho drive complete; 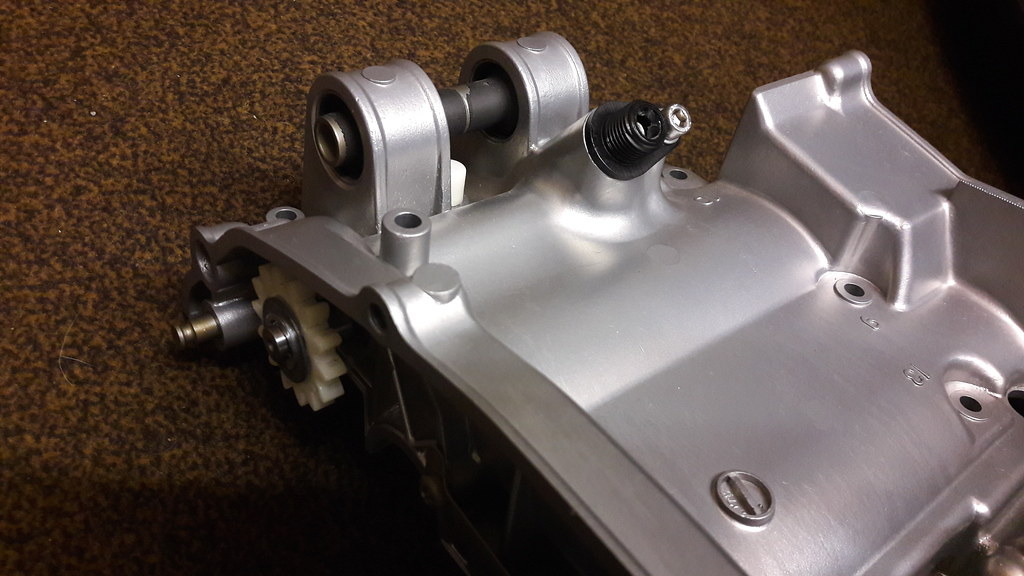 20170218_105310_zpsbhou13tp 20170218_105310_zpsbhou13tp by David Miller, on Flickr Dusty  |
|
|
|
Post by Tobyjugs on Feb 19, 2017 11:47:27 GMT 1
I love the colour and new-ness of those engine cases Dusty
|
|
|
|
Post by dusty350 on Feb 19, 2017 12:02:27 GMT 1
Hi Yea, so do I. I always start an engine build with vapour blasted cases. The amount of shine the finish leaves can be adjusted by the guys doing the blasting apparently, but I never go too shiny - just a nice and clean, bright satin finish makes it look nice I think. Dusty  |
|
|
|
Post by dusty350 on Feb 19, 2017 20:20:31 GMT 1
|
|
|
|
Post by Topman350 on Feb 19, 2017 20:53:10 GMT 1
Looking lovely mate fair play will keep an eye on your progress.....I'm starting my 3rd build soon :-)
Topman
|
|
|
|
Post by dusty350 on Feb 19, 2017 21:50:02 GMT 1
Hi Topman I will look forward to seeing your new build start. You do build a lovely bike ! Crank went in today. Before I did, I removed the gear clusters just to check everything was in order - it's some time since I did the gearbox !! Everything was good so on to the crank. Started off by fitting the half ring; 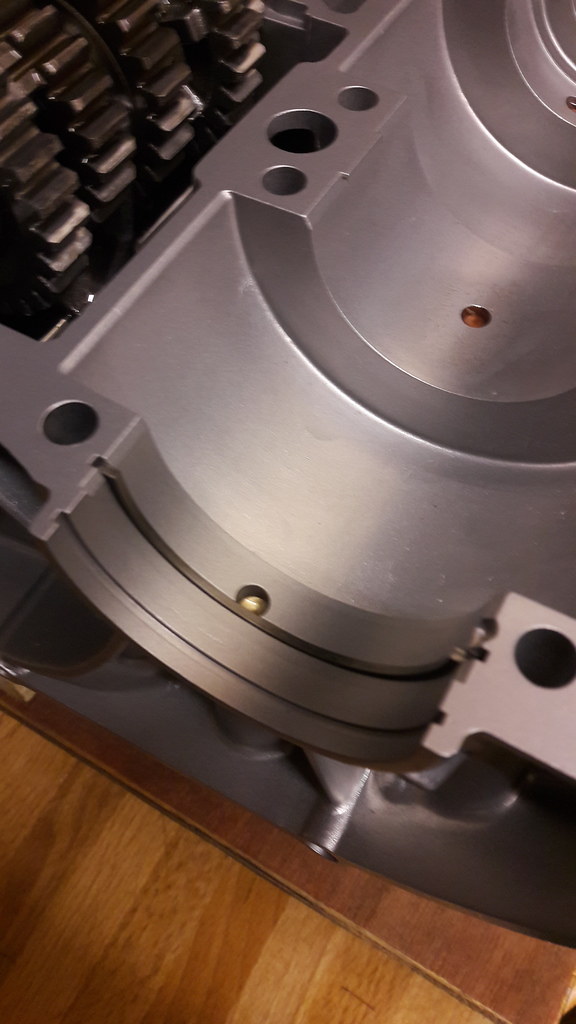 20170219_145814_zps91oqws0j 20170219_145814_zps91oqws0j by David Miller, on Flickr Then lifted the crank in. Note the 4 pins in the bearings sit into the recesses in the bottom case; 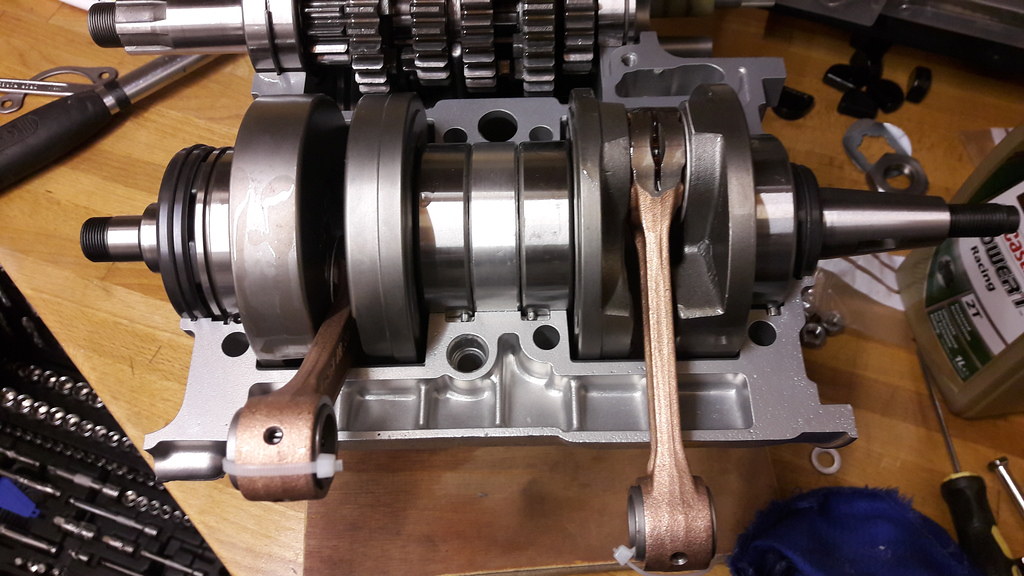 20170219_152709_zps2ukds1hb 20170219_152709_zps2ukds1hb by David Miller, on Flickr The crank can rock a little at this stage. That's because the centre lab seal needs to bed down in the case as it's a tight fit. A gentle tap with a hammer and wooden drift will seat it. The rotor side crank seal should be fitted before you do this as it's on there to stay now. It's worth packing the seal with grease so it's got some lubricant from the start. At this point I fit the top case and bolt it all together. This helps to seat the crank fully and will also show up any problems. The crank should spin freely as should the gears. Once I am happy, I undo the bolts and nuts and remove the top case, fit the clutch side crank seal - castellations face toward the crank web, give it the grease treatment to the inner seal, then apply the case sealant. I bought a new tube of Threebond 1104 off ebay. It's grey in colour which is handy for silver cases. Once applied I leave it for a few minutes before bolting it all together again. The 8 nuts underneath are the first to get tightened. There are numbers embossed on the case so they are done up in order. I used new stainless nuts and plain washers; 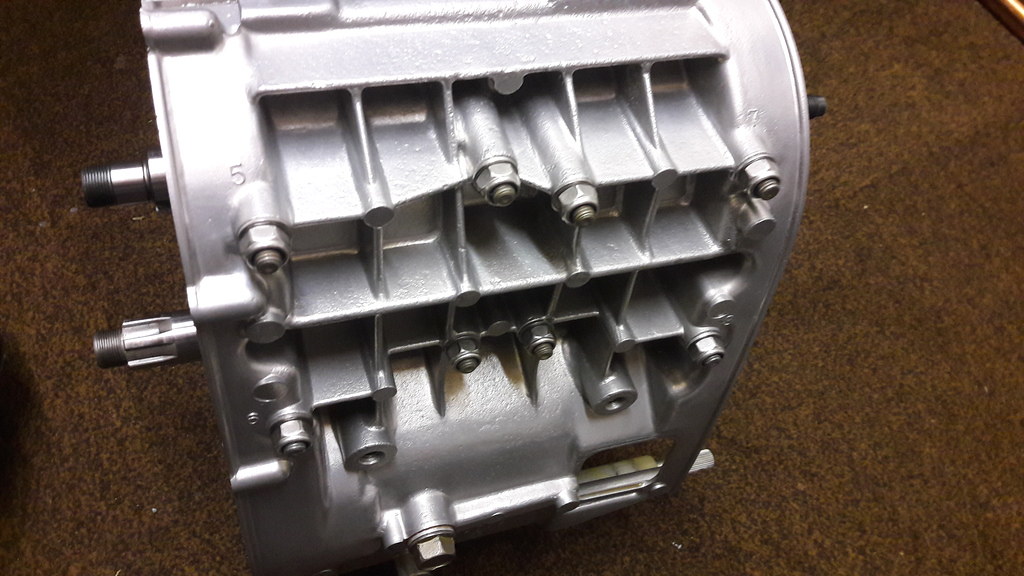 20170219_162342_zpsz3vm7g0a 20170219_162342_zpsz3vm7g0a by David Miller, on Flickr The top bolts are number sequenced too, 9-16. Again I used stainless bolts and washers but I did give them a little polish ! 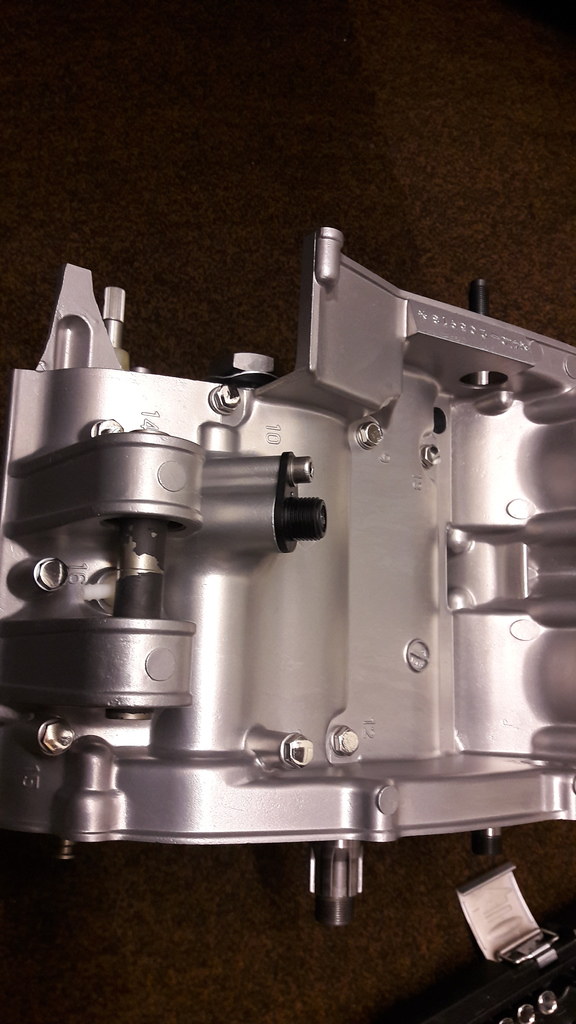 20170219_162356_zpsrbvwybv8 20170219_162356_zpsrbvwybv8 by David Miller, on Flickr I fit the sprocket seal and clutch pushrod seal before I fully tighten the cases although they can be fitted afterwards if need be. Dusty  |
|
|
|
Post by dusty350 on Feb 19, 2017 22:09:46 GMT 1
Forgot to add, I applied engine oil to the crank bearings before I sealed the cases. This make sure they are lubed before start up. The first few minutes of running are sure gonna be smokey !! Now the cases are closed for good, you can fit the primary drive gear. I grease it up - the seal is packed with grease too, and gently push it home. I fitted a new keyway; 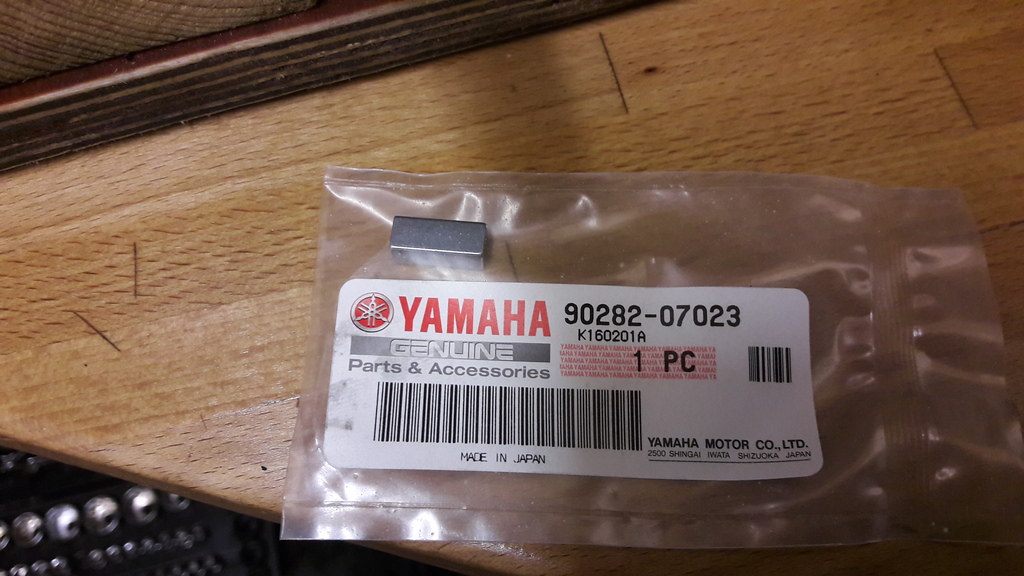 20170219_163837_zpsctvbgsqi 20170219_163837_zpsctvbgsqi by David Miller, on Flickr Then the water pump drive gear slides on, and a new Belville washer;  20170219_164641_zpsej3rdn4v 20170219_164641_zpsej3rdn4v by David Miller, on Flickr 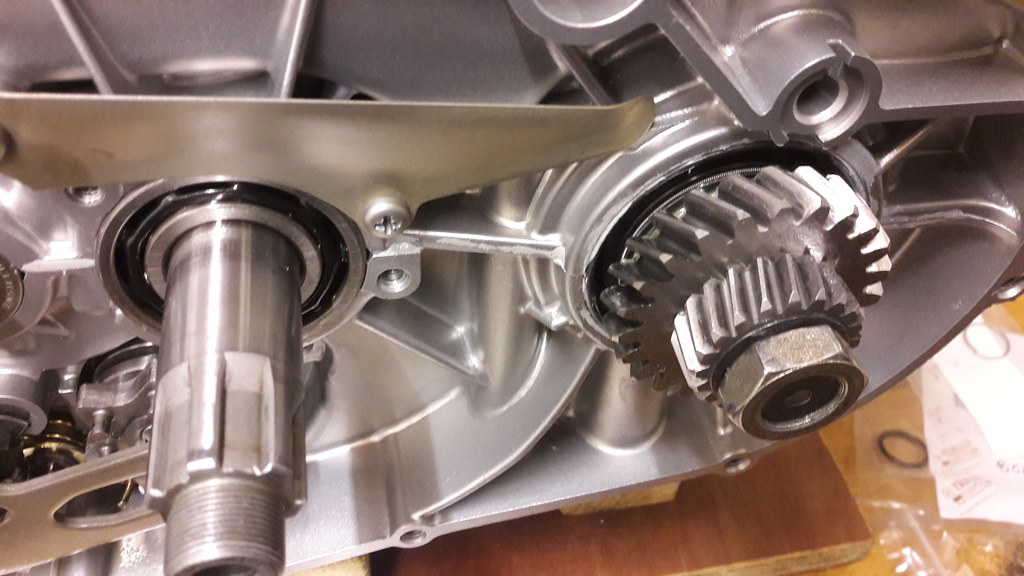 20170219_181905_zps9wlzt43i 20170219_181905_zps9wlzt43i by David Miller, on Flickr And then the nut. Cant fully tighten it yet but it's finger tight for the mo. Dusty  |
|
|
|
Post by yamark on Feb 19, 2017 22:25:41 GMT 1
Brilliant work Dusty. I think this is the most useful, informative thread for everybody on the Forum. Great idea mate  |
|
|
|
Post by dave1w on Feb 20, 2017 0:40:30 GMT 1
A quick question, I seem to remember the plate behind the clutch that bolts onto both halves of the crankcase and means you have to get the clutch off to split the cases. That's only from memory, but your pic here looks a bit different. Often thought of leaving it off.
|
|
|
|
Post by dusty350 on Feb 20, 2017 8:29:40 GMT 1
Hi There is a plate that fits behind the clutch and connects the two halves of the case. I will be refitting it as soon as I get some low strength Loctite. Hopefully today. There are enough bolts and studs holding the cases together, but general conscensus is that it is a bearing retaining plate to help combat the sideways play on the gear shaft. Cheers Mark, hope you are ok bud  Dusty  |
|
|
|
Post by stusco on Feb 20, 2017 8:41:16 GMT 1
I think that plate helps secure the bearing aswell
|
|
|
|
Post by dusty350 on Feb 20, 2017 8:50:43 GMT 1
Hi Stusco If I remember correctly, I think it's listed as a bearing retainer plate in the microfiche. Remember that the bearing it retains has a large circlip that fits almost all the way around it. I suppose it's due to the clutch loading (sideways movement) that it's there. I will refit it as Yamaha think it's necessary and I wont argue with that !  Dusty  |
|
|
|
Post by KevtheRev on Feb 20, 2017 10:58:56 GMT 1
Hi Stusco If I remember correctly, I think it's listed as a bearing retainer plate in the microfiche. Remember that the bearing it retains has a large circlip that fits almost all the way around it. I suppose it's due to the clutch loading (sideways movement) that it's there. I will refit it as Yamaha think it's necessary and I wont argue with that !  Dusty  I broke that little fecker due to cackhandedness when I was stripping my engine ! I've put it on the list . Great thread Dusty , thanks !! |
|
|
|
Post by yamark on Feb 20, 2017 18:36:51 GMT 1
The bearing retainer stops the bearing moving outwards. When you tighten the clutch centre nut, the gearbox input shaft is drawn against the bearing, so the shaft has minimal end float. The retainer stops the whole assembly moving. On the output shaft, the spacer behind the sprocket does sort of the same thing.
Hope that explains it  |
|
|
|
Post by 4l04ever on Feb 21, 2017 11:59:53 GMT 1
I don't think the bearing behind the clutch can move sideways anyway due to the circlip around it fitting into a groove in the engine casings, unless Mr Yamaha thinks it needs more then just the circlip to stop any sideways movement. It does like a bit like belt and braces approach....
|
|
|
|
Post by dusty350 on Feb 25, 2017 9:20:15 GMT 1
Hi This is moving on a bit now (finally !!) Idler gear next. First, the shim;  20170221_183933_zpsqrulsazi 20170221_183933_zpsqrulsazi by David Miller, on Flickr Then the gear, followed by the washer; 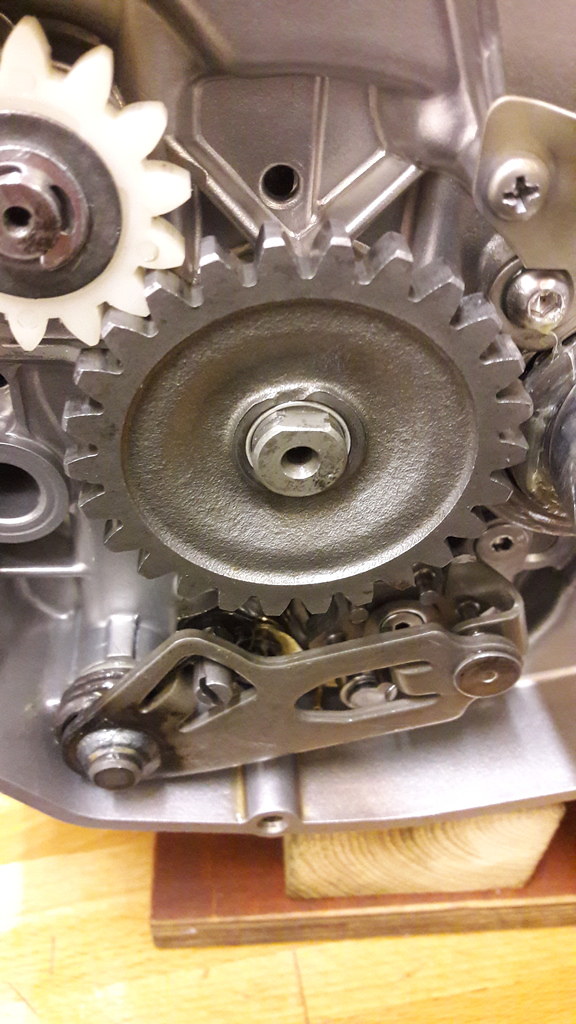 20170221_183955_zpsu023zx9c 20170221_183955_zpsu023zx9c by David Miller, on Flickr 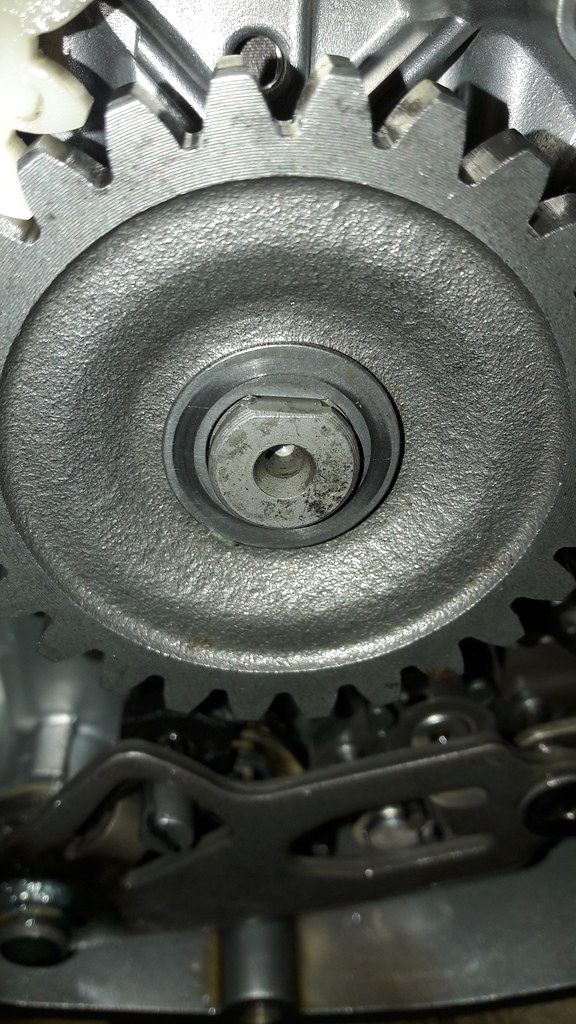 20170221_184014_zpszgqje5gy 20170221_184014_zpszgqje5gy by David Miller, on Flickr And then a new circlip; 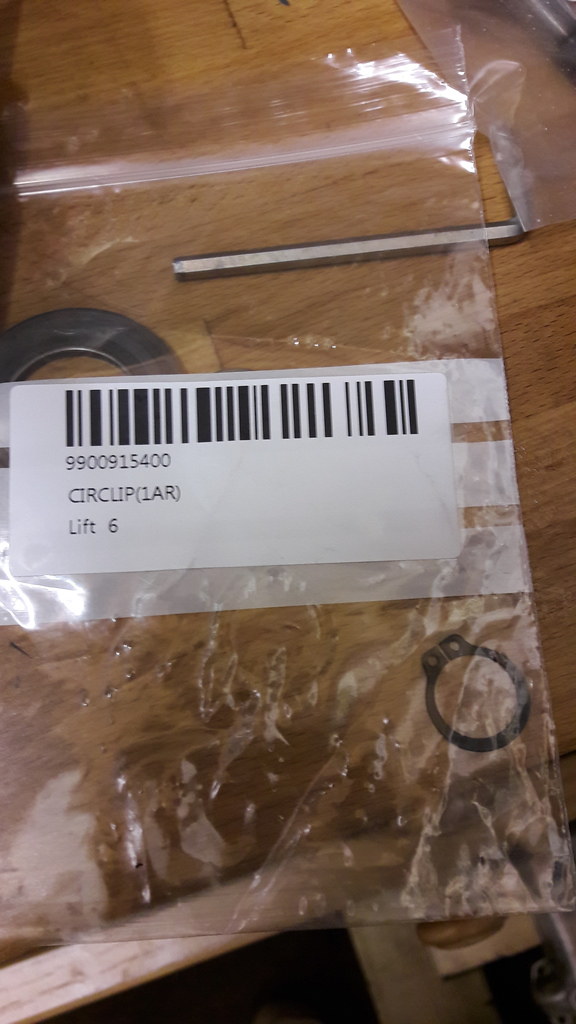 20170221_184026_zpsgitsaoi0 20170221_184026_zpsgitsaoi0 by David Miller, on Flickr The bearing retainer is fitted. I used a medium strength Loctite on the screws for this one as they can be removed with hand tools. The first of the large clutch washers slides on, followed by the spacer; 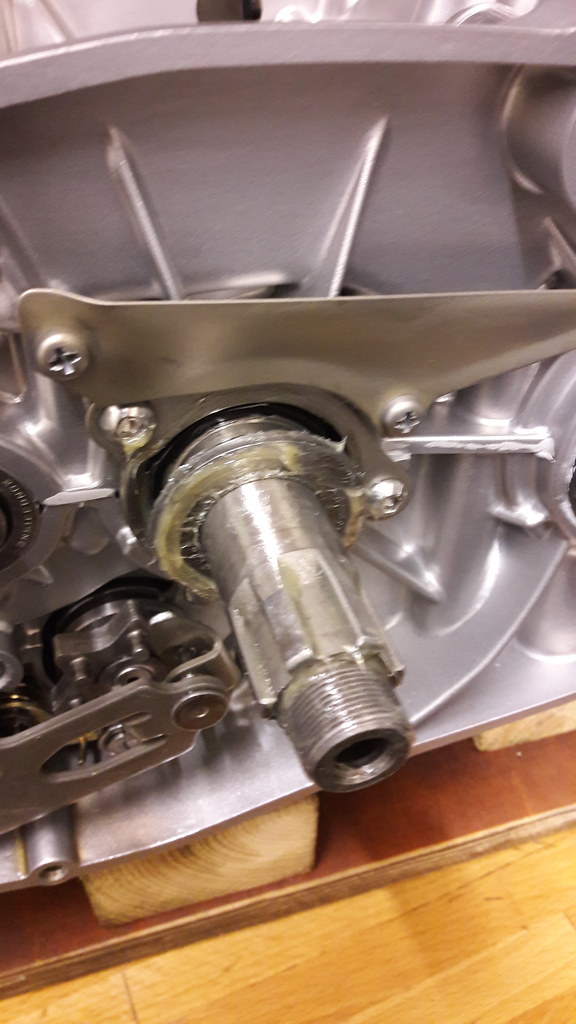 20170221_183753_zpsncqzxd5z 20170221_183753_zpsncqzxd5z by David Miller, on Flickr 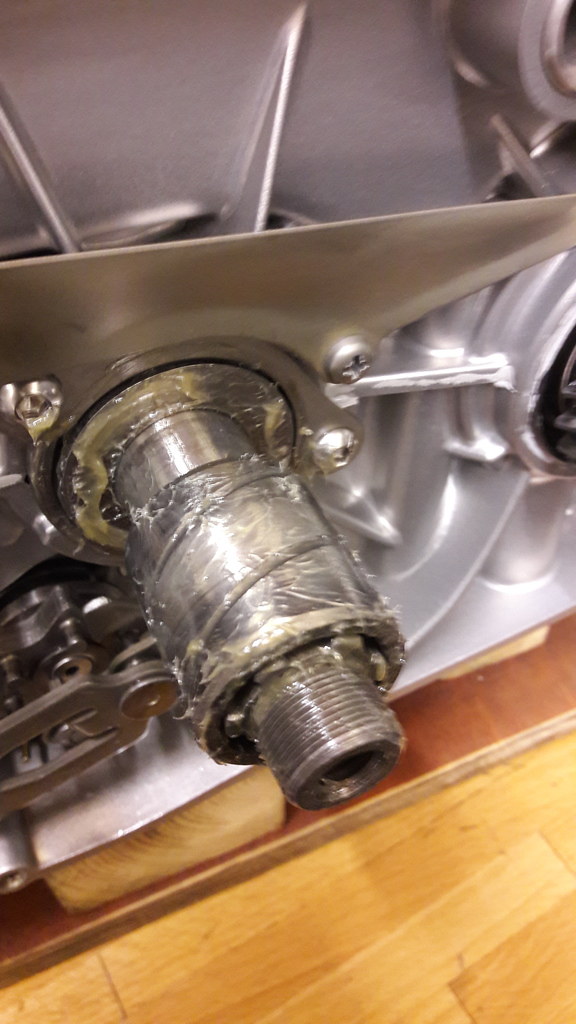 20170221_183810_zps0shwtzbj 20170221_183810_zps0shwtzbj by David Miller, on Flickr Then the clutch basket itself can slide over the top; 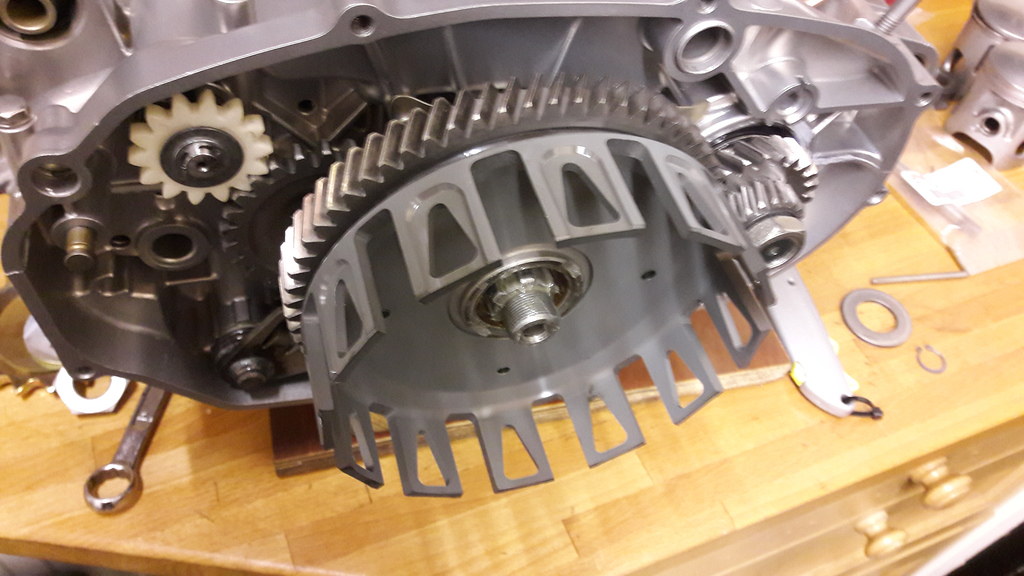 20170221_184903_zpsznldgsex 20170221_184903_zpsznldgsex by David Miller, on Flickr With the second large washer next; 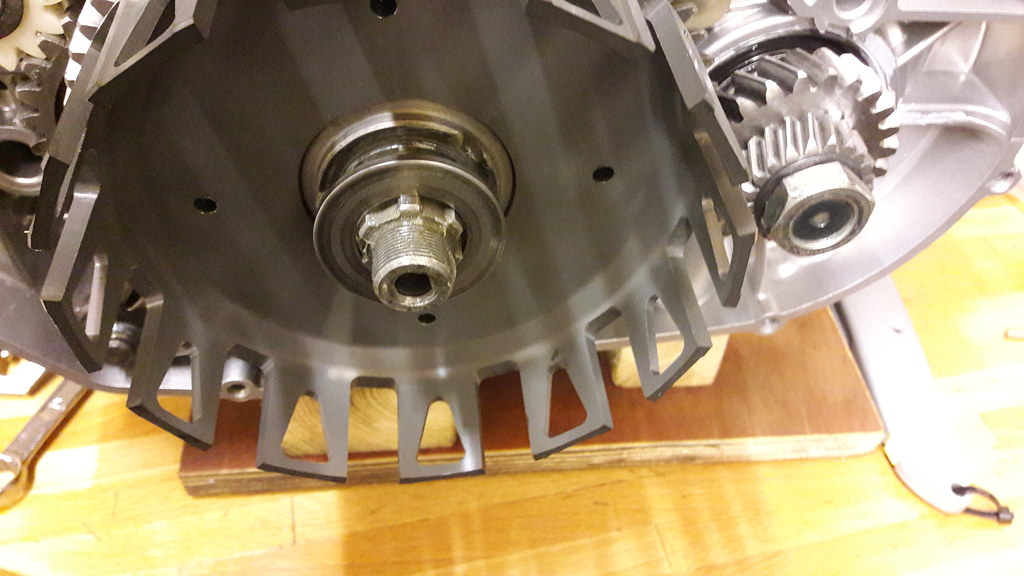 20170221_185002_zps5x3jng0f 20170221_185002_zps5x3jng0f by David Miller, on Flickr My clutch hub looked worst for wear with some deep grooves and some gouges where a previous owner was a bit "agricultural" with the lock washer !! Martin Brown at Mad Biker Designs had a new Yam hub on the shelf, and he also supplied a complete new Ebc clutch kit with new steels, 10% stiffer springs and new friction plates; 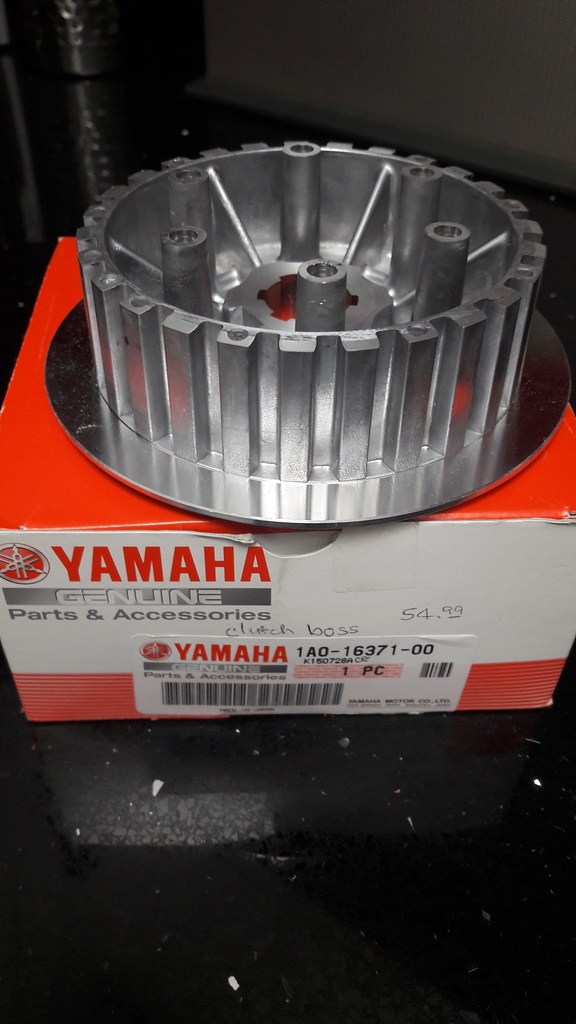 20170223_121930_zpsol2rgxbz 20170223_121930_zpsol2rgxbz by David Miller, on Flickr 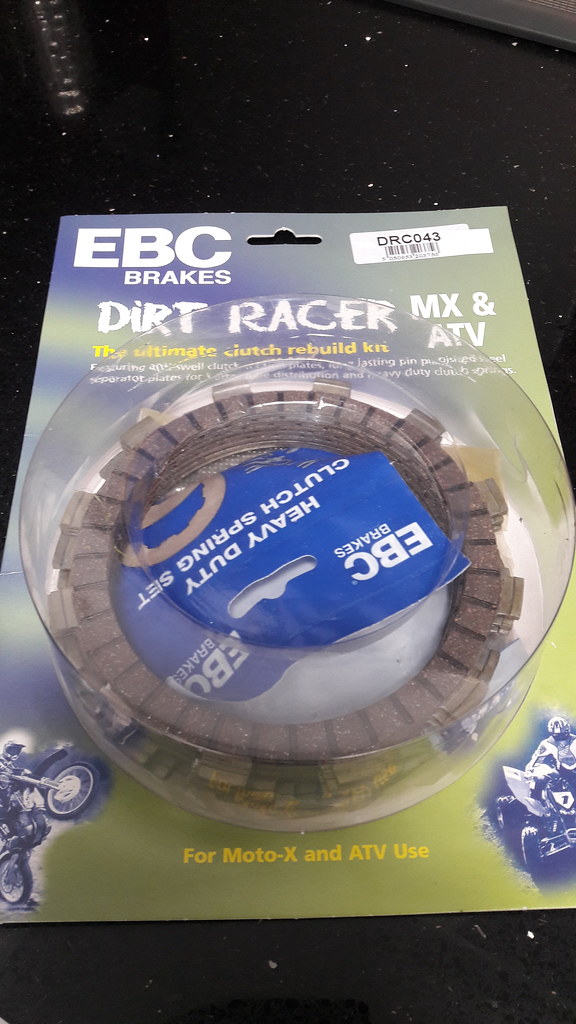 20170223_121941_zpsbjokin1b 20170223_121941_zpsbjokin1b by David Miller, on Flickr 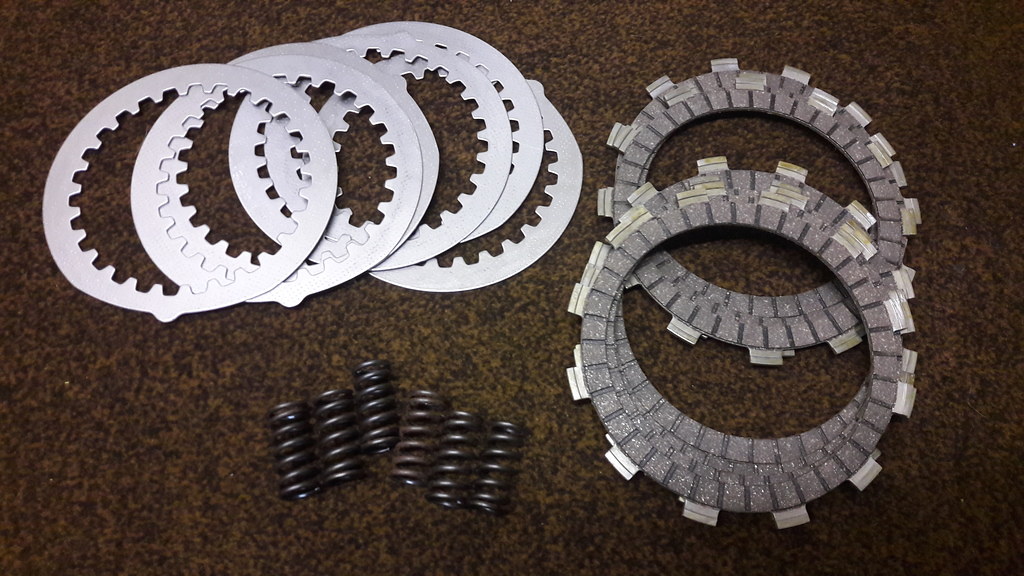 20170223_125452_zpsegdpsdtv 20170223_125452_zpsegdpsdtv by David Miller, on Flickr Dusty  |
|
|
|
Post by richclare on Feb 25, 2017 10:41:24 GMT 1
Hi Dusty,
I'm looking forward to seeing your method for locking the crank to tighten the nut. I used the Haynes manual method which I think bent my crank when undoing it😠
I'm sure you may have a tried and tested method....
Looking forward to your weekend progress.
Rich
|
|
|
|
Post by dusty350 on Feb 25, 2017 10:54:58 GMT 1
Hi
Funny you mention locking the crank. I made a very specialised tool for doing it last night. Many use an old penny or two pence piece but it should be pre 1972 as newer coins have less copper in them so are harder apparantly ! My super special item solves that problem. Will post a pic tonight as im on the train to london for the day.
Dusty
|
|
|
|
Post by oldelsieboy on Feb 25, 2017 11:16:11 GMT 1
Hi Funny you mention locking the crank. I made a very specialised tool for doing it last night. Many use an old penny or two pence piece but it should be pre 1972 as newer coins have less copper in them so are harder apparantly ! My super special item solves that problem. Will post a pic tonight as im on the train to london for the day. Dusty That should be pre 1992 2p coin. OEB |
|
|
|
Post by dusty350 on Feb 25, 2017 12:27:24 GMT 1
Ah ok cheers Nigel
|
|
|
|
Post by richclare on Feb 25, 2017 13:36:07 GMT 1
Hi Funny you mention locking the crank. I made a very specialised tool for doing it last night. Many use an old penny or two pence piece but it should be pre 1972 as newer coins have less copper in them so are harder apparantly ! My super special item solves that problem. Will post a pic tonight as im on the train to london for the day. Dusty Can't wait to see your special tool😉 Sorry couldn't resist. |
|
|
|
Post by stusco on Feb 25, 2017 17:27:54 GMT 1
I've got a very bent coin on a shelf in the garage just for that it's got maybe one more engine in it before i need a new coin
|
|
|
|
Post by dusty350 on Feb 25, 2017 20:38:15 GMT 1
Hi Right, disclaimer first ! I haven't tried this yet - it may end up being too soft - not sure till I try. Basically an offcut of copper pipe, hammered flat at one end; 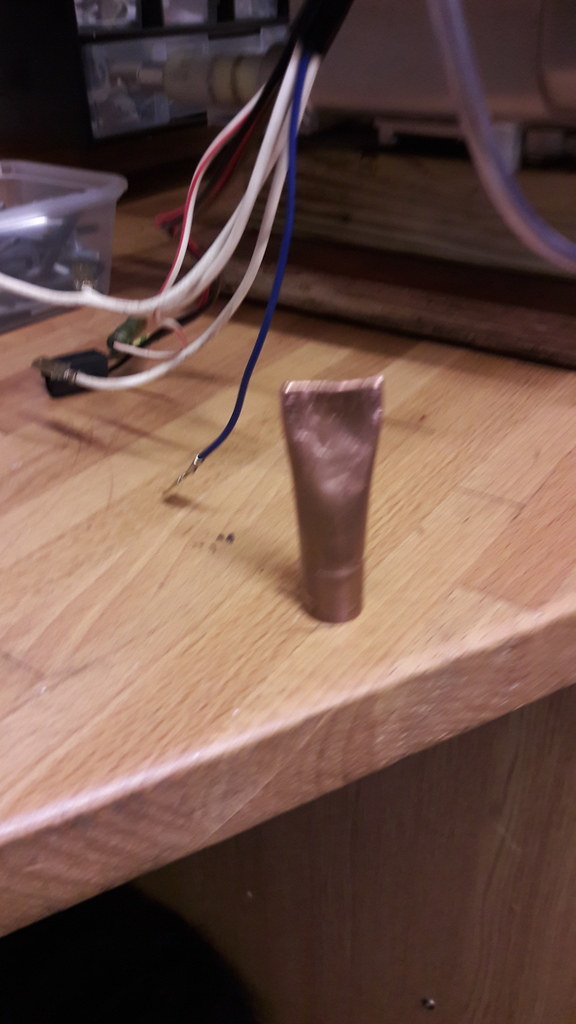 20170225_185829_zpsj12xs0tp 20170225_185829_zpsj12xs0tp by David Miller, on Flickr I thought a longer piece of metal would be easier to use than a coin. Plus I'm trying to keep rebuild costs down  I will try it tomorrow and let you know how good/bad it is. Dusty  |
|
|
|
Post by richclare on Feb 25, 2017 20:40:38 GMT 1
Hi Right, disclaimer first ! I haven't tried this yet - it may end up being too soft - not sure till I try. Basically an offcut of copper pipe, hammered flat at one end; 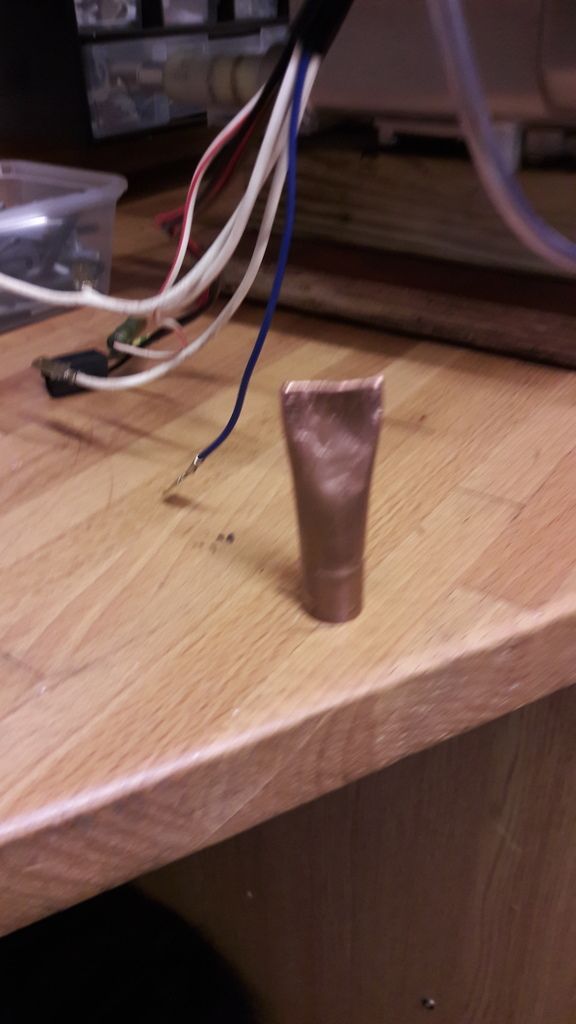 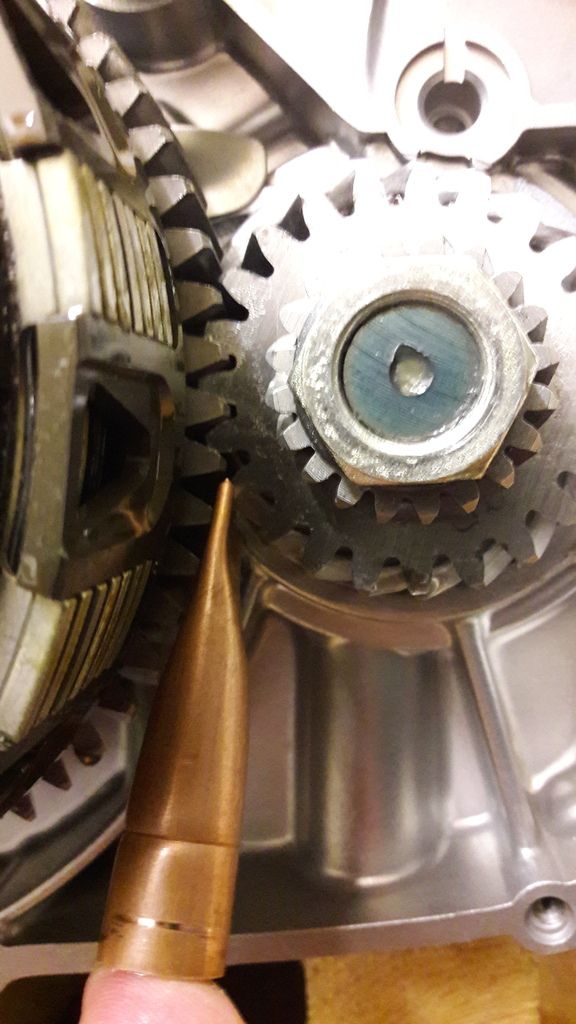 I thought a longer piece of metal would be easier to use than a coin. Plus I'm trying to keep rebuild costs down  I will try it tomorrow and let you know how good/bad it is. Dusty  Looks good to me Dusty. At least you know it's all copper! Good luck with the tightening. Rich |
|
|
|
Post by bazzer5115 on Feb 25, 2017 21:35:33 GMT 1
I've always used rag shoved in between the gears to tighten mine,moves a little to start then locks the gears.
Just turn basket backwards after tightening and remove the tag.
Hey presto
Baz
|
|
|
|
Post by dusty350 on Feb 25, 2017 22:43:24 GMT 1
Hi I have used rag in the past with good results. I had a bit of copper pipe in the garage so thought I would see how it did compared to a coin. It's interesting that the Haynes manual shows a bar through both the small end eyes of the conrods. That must put a fair bit of strain through that part of the rod I would have thought. Be interesting to know if there is a proper Yamaha tool for this job - cant imagine them using rag or a 10 yen coin in the factory !! Dusty  |
|
|
|
Post by jon on Feb 26, 2017 10:14:16 GMT 1
Dusty, your almost right on the coin. However in reality the pre 1992 2p was made of bronze which has a high copper content. Due to increases in metal prices, by 1992 the 2p coin was actually worth 3p in copper value so it was substituted for a steel coin that is copper coated. Use a magnet on both and see.
While I don't like the Haynes method at all in case of twisted cranks. I'm not overly keen on locking the gears, although I understand it's OK.
I just torque this up before putting the clutch plates in. The way I see it is if you are using a clutch tool to hold the basket whilst torquing the clutch nut, why not do the primary drive nut at the same time?
Just my 2p worth (sic)
Jon
|
|
|
|
Post by wallcraft on Feb 26, 2017 10:29:32 GMT 1
Dusty, used the copper pipe trick myself, and it works spot on, felt chuffed when I discovered that one!
Simply things please .........
|
|