|
|
Post by Tobyjugs on Dec 24, 2014 0:19:49 GMT 1
Hello chaps. I thought i would post in this section as it seems more appropriate. If you can remember the old thread it is a story about an YPVS block that was built up using a mixture of different engine components roughly 20 years ago. last October it was started up for the first time. At first i was very excited and enthusiastic as it all went so well. After riding it, it was not so well. It felt very flat and was like riding a GS550. Thinking it was the carbueration i took it to a dyno bank to see what the problem was. After doing a couple of runs it was found to be too lean and the dyno operator could hear a strange noise at high rpm. I eventually found the crank on the clutch side of the engine had slipped or moved out of tdc. The crank has now been put right so here we go again. The pistons in the engine are of a motor cross type with no holes in the skirt. I am now busy modifying the pistons 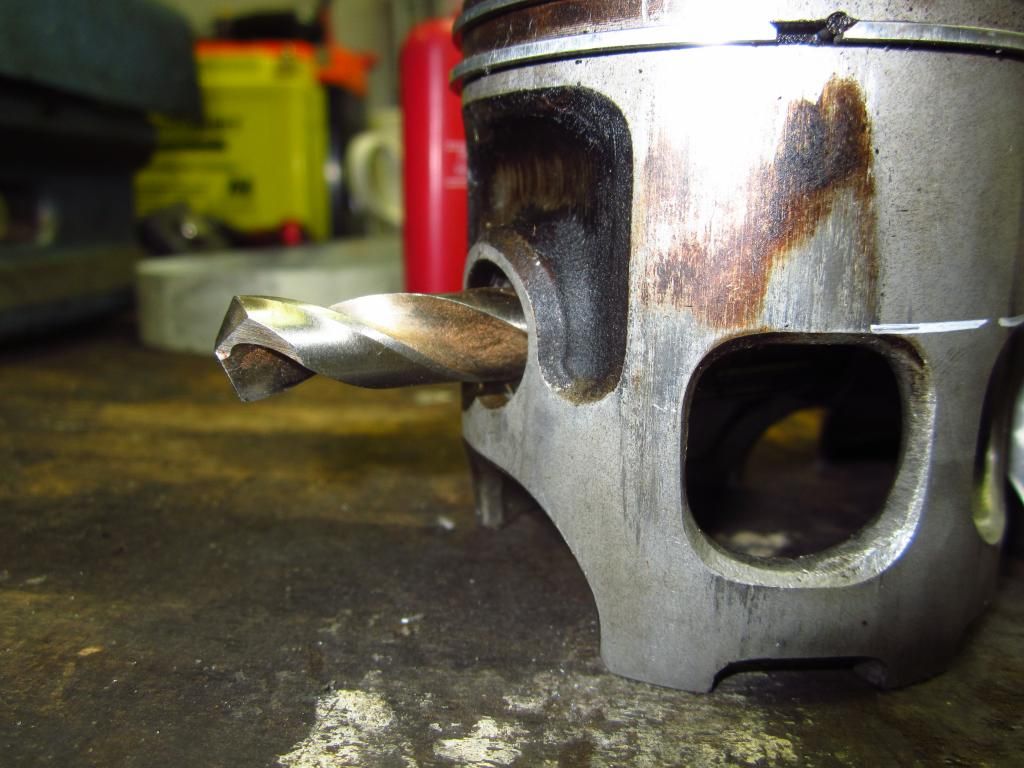 I used a drill bit which was a goof fit in the gudgeon pin to hold the two piston together. 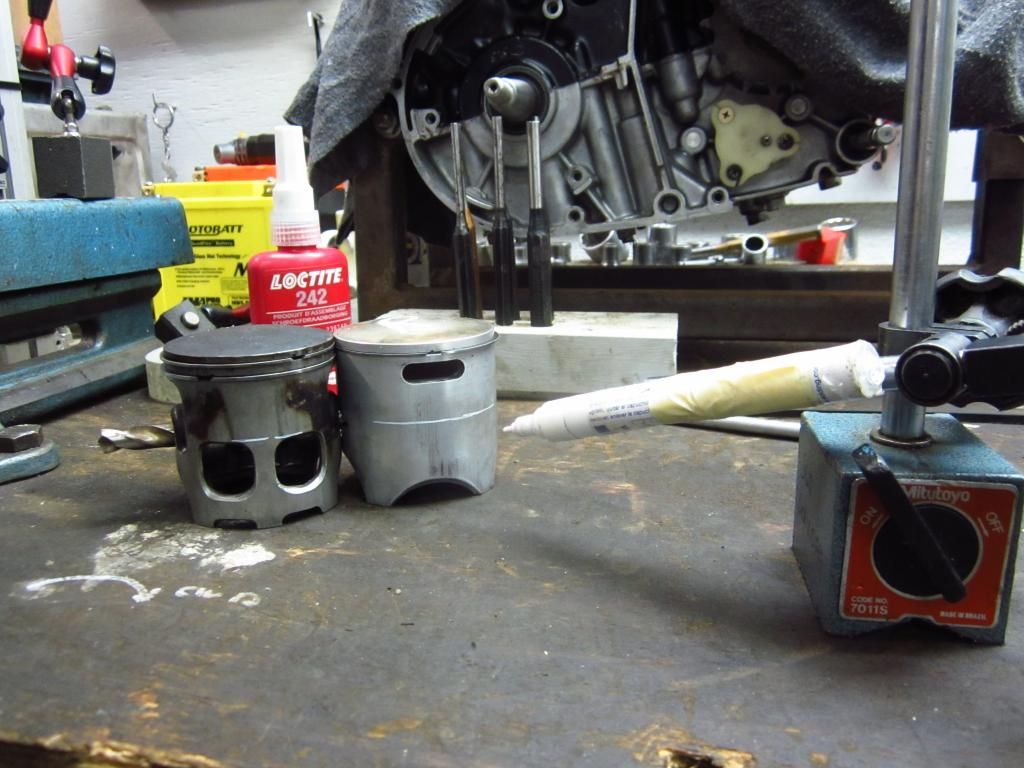 I then used this method to transfer the hieghts of the port. 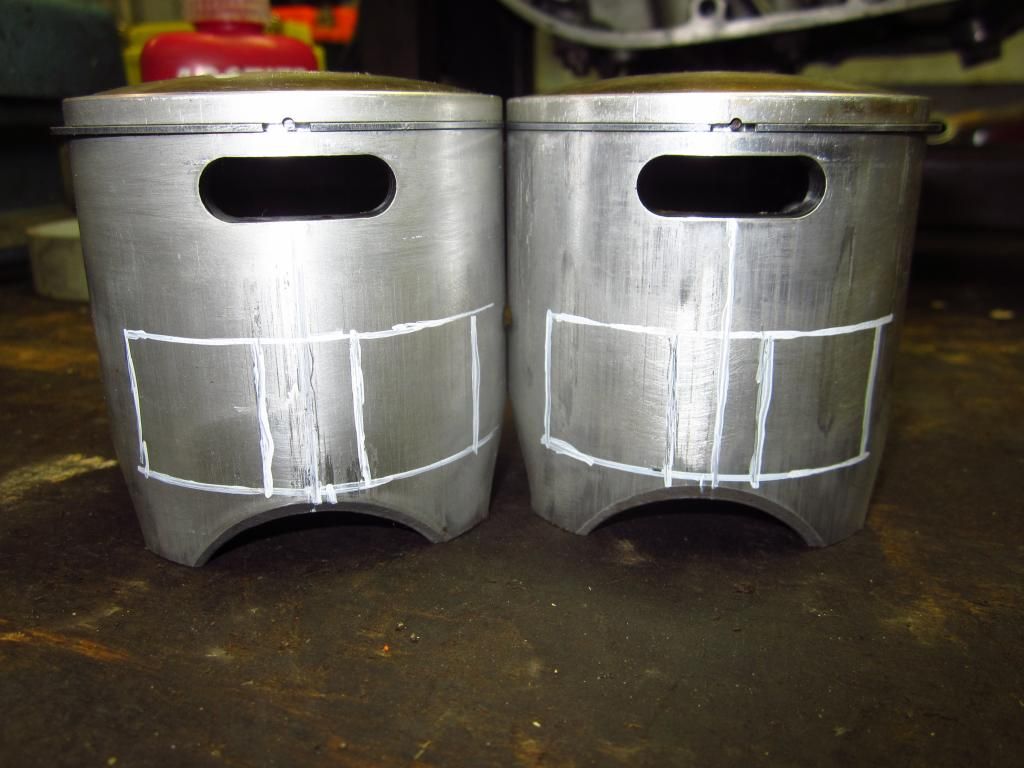 Marked out ready for the butcher Ha Ha 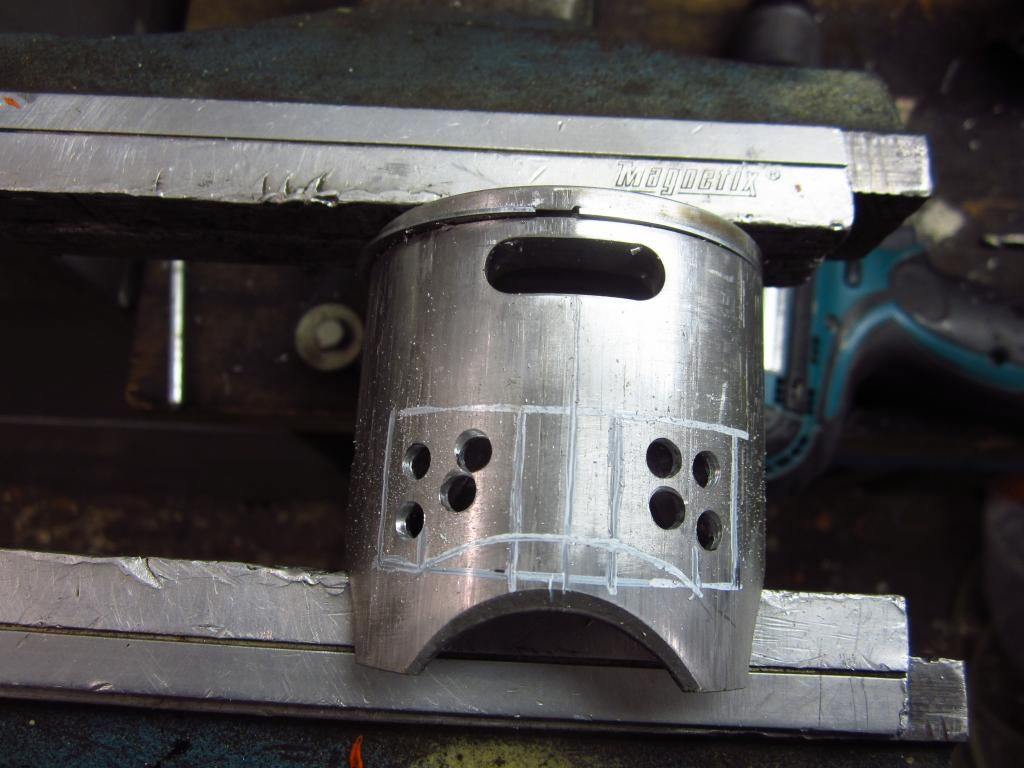 My favourite bit, i could not believe how soft the material is, it was like filing cheese  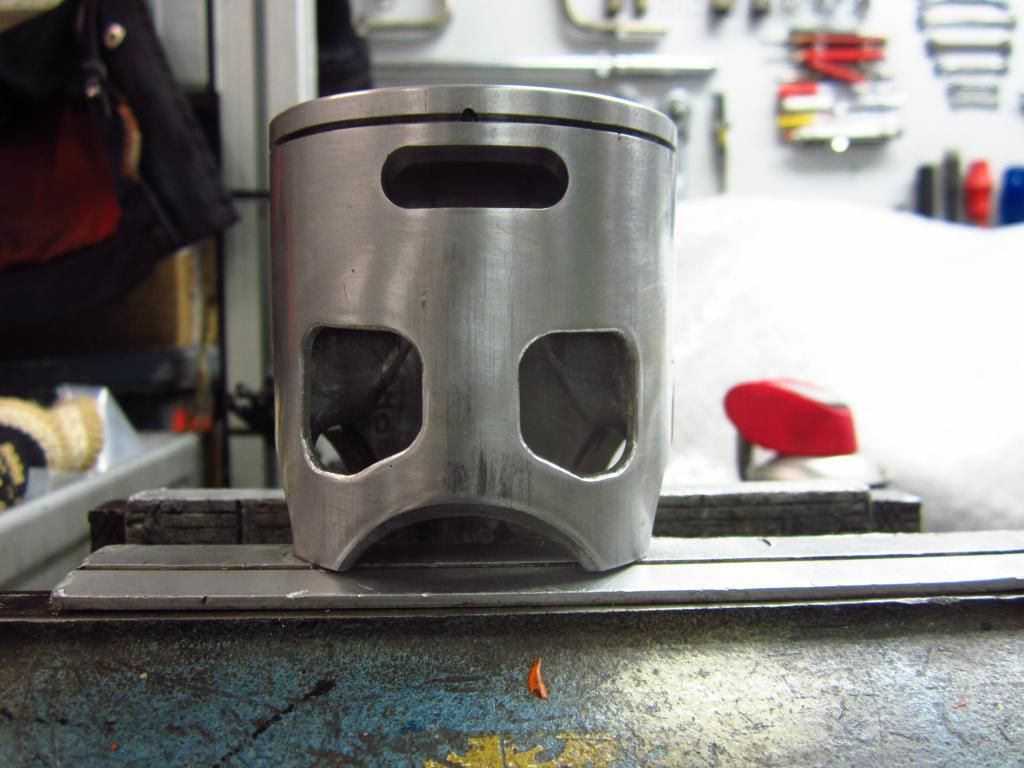 The first piston is roughly done still need to clean them up a little but will wait until the other one is made and then weigh them both and adjust to same weight. I have a feeling that this engine will not come good with the way the barrels are modified but i want to have a little play to see what can be done. If it turns out reasonable then i will put some decent pistons in and use it |
|
|
|
Post by steeley on Dec 24, 2014 6:59:19 GMT 1
Tobyjugs hi, I wondered what had happened .so the cranks sorted now and you have got the pistons modified ,nice job by the way.when do you think you will be up and running.
|
|
|
|
Post by markhoopy on Dec 24, 2014 11:46:02 GMT 1
Lovely job on the piston!
|
|
|
|
Post by Tobyjugs on Dec 24, 2014 21:55:10 GMT 1
Tobyjugs hi, I wondered what had happened .so the cranks sorted now and you have got the pistons modified ,nice job by the way.when do you think you will be up and running. Not sure, as soon as possible work depending. I still want to make some more checks and at the moment I am waiting for a timing disc so i can measure the timing of all the ports etc |
|
|
|
Post by Tobyjugs on Jan 4, 2015 16:09:30 GMT 1
Happy new year chaps, i finally got my timing disc.(bloody hell it's big) 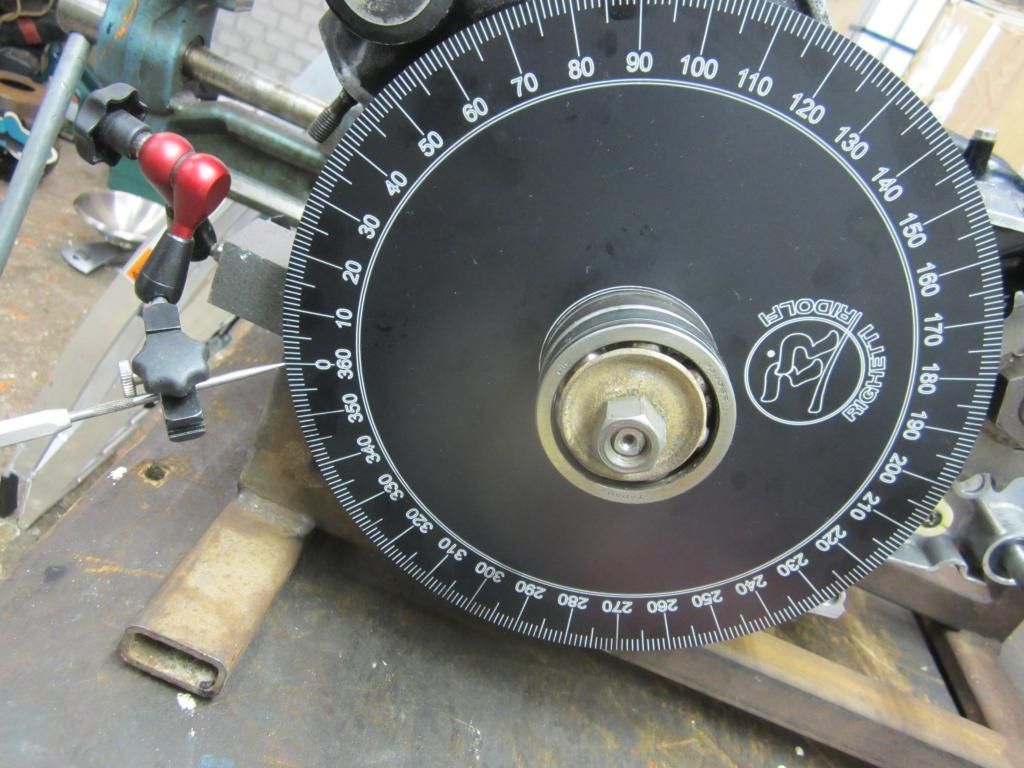 The first thing i did was measure the base gaskets that were used and and refit them as they are from some sort of alloy, then i built up the pistons and barrels and placed two small snippets of solder with grease on top of the piston crown from left to right. They were placed at the outer edges by the liner wall. The cylinder head was fitted and then all the bolts were tightened. The engine was then turned over a few times to squash the solder. The cylinder head was removed. 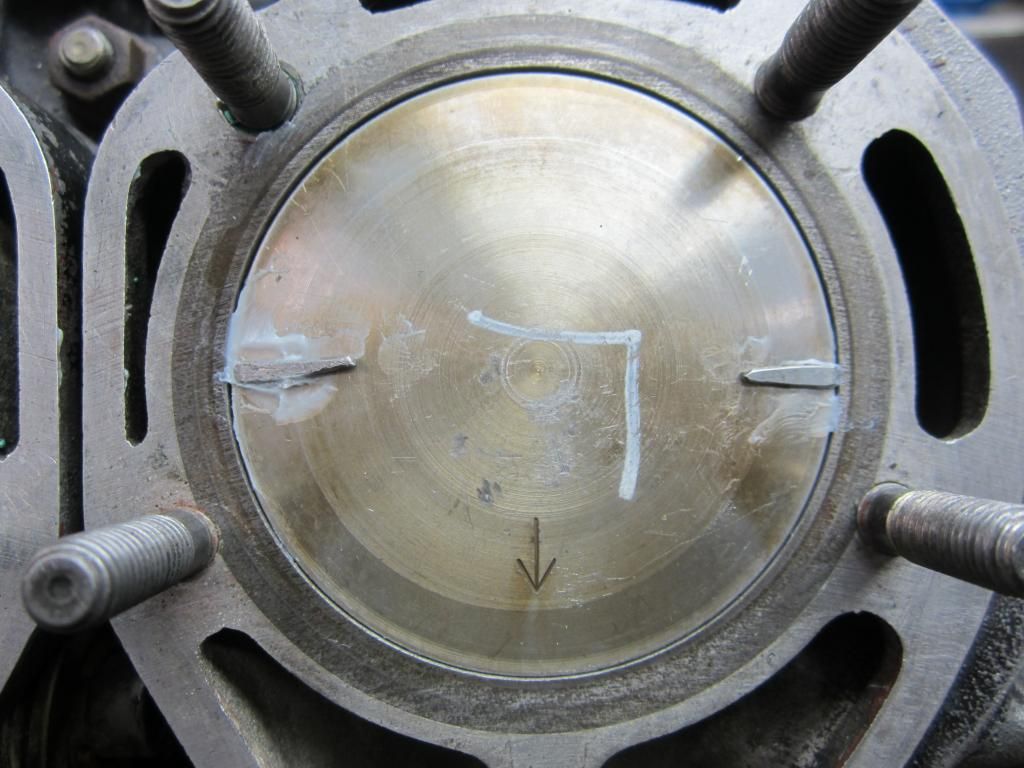 The thickness of the solder was then measured and Bummer it is too small.  It is 0.78 mm tapering up to 0.85mm. This to my surprise was the same on the other piston, so everything nice and straight. The base gaskets are 0.6mm thick so i have to find some 0.8mm gasket material and make my own, or can i source them from somewhere? 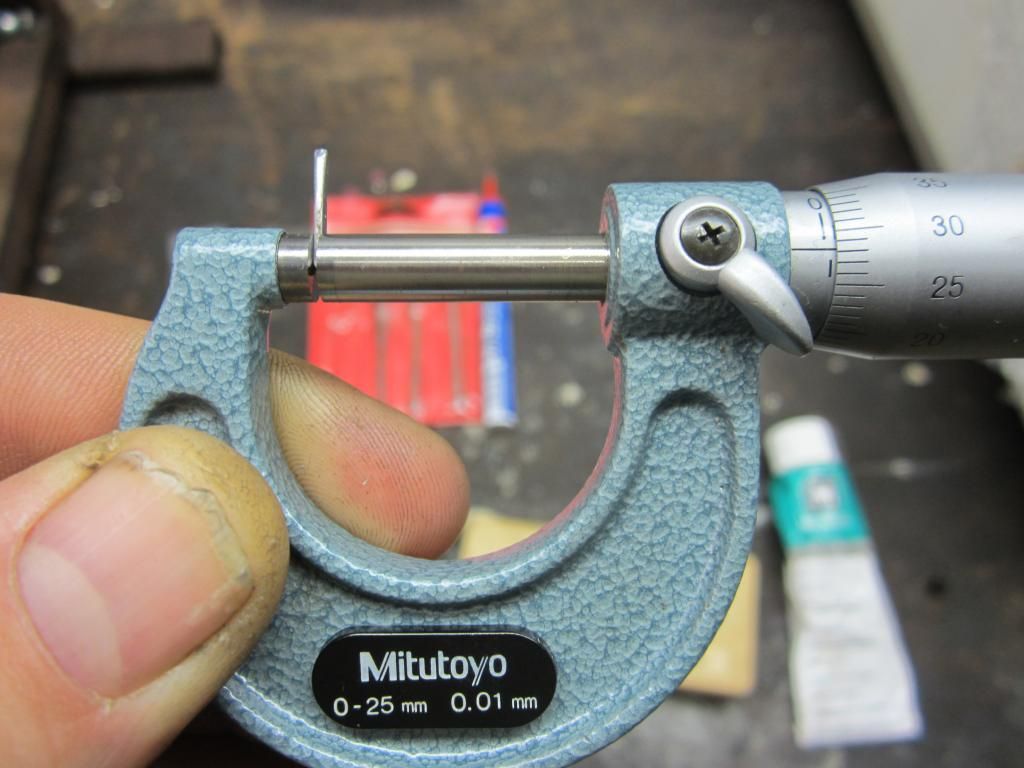 Now with the cylinder head off i removed the right barrel removed the gasket and retightened it so that there was a difference of 0.6mm height between the two barrels. Now i fitted my timing disc and dialled it in at 0 TDC left hand cylinder. This is how i find TDC 1) Put clock on top of the center of your piston and turn piston up until the needle in the clock stops moving. (make sure your clock has not run out of travel) Now fit your disc and pointer 2) Set clock to 0, this is not tdc unless you are lucky but it is not far out. 3) Now turn your engine back so the needle moves half a revolution on the clock gauge face. 4) Slowly turn your engine towards the 0 on the clock which is roughly set at TDC. Stop exactly on the 10 mark before TDC and mark the position of the pointer on your disc-flywheel. Still turning in the same direction and watching the needle, turn until the needle comes back to 10. Stop at 10 and mark your disc-fly wheel again. 5) Now look at your two marks, the middle point between the two marks is TDC. Mark this point and turn your engine so that the pointer is on this mark. You are now at TDC on your engine. 6) Now you are on TDC you can put your clock to zero or adjust you disc to zero. It may seem a bit long winded but thats how i do it. This next bit is all new to me so i could be speaking out my ass, if i am please put me right. I now want to measure what i think is port duration. This is what the timing disk is for. This is done by turning the piston up until it just closes the port (you want to measure) with the top of the piston crown stop at this position and mark down the number on your disc eg 43. Then turn the piston back down and carry on turning in this direction until it comes back up and closes the top of the port again the number on the disc is 167, you then subtract the 43 from the 167 to give you the duration that the port stays open in this case 124 degrees (Be carefull if you go past the 0 on you disc as you will have to do a little more maths) I repeated the measurements several time to get an average as i not so confident with this. I was surprised with the results; The port duration for the left side with a 0,6 mm gasket under the barrel was; Exhaust = 185 degrees Transfer Ports = 124 degrees Boost Ports = 96 degrees The port duration for the right side with no gasket was; Exhaust = 181 degrees Transfer Ports = 120 degrees Boost Ports = 92 degrees I then measured the same on what i believe is a standard power valve engine; Exhaust = 197 degrees Transfer Ports = 119 degrees Boost Port = 119 degrees I do not know the correct terminology for the boost port but this is the little port above the two large inlet ports. Or in my case the two small ports which you can see in this photo 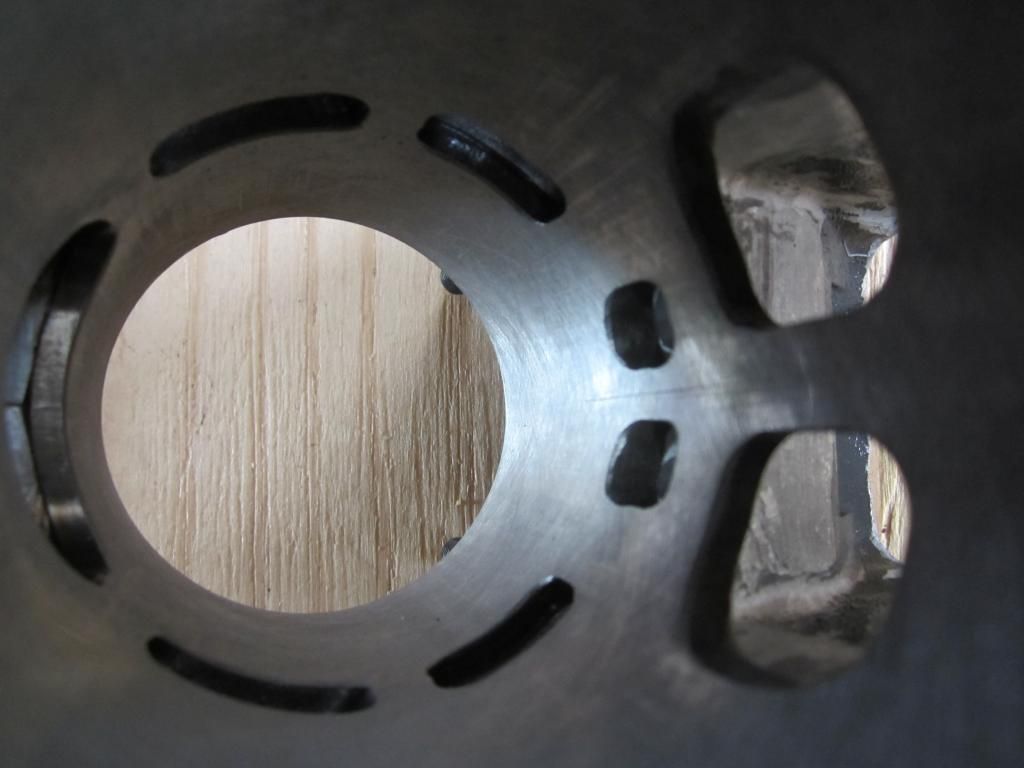 Any comments on the above findings will be greatly received. My next project will to make some base gaskets as i want a squish band of 1mm and measure the final port duration. (not quite sure how i am going to do it) |
|
|
|
Post by 4l04ever on Jan 4, 2015 18:16:05 GMT 1
I might be able to help on the base gaskets. I have done 4L0 ones, but not YPVS ones yet. Will need to get one to copy the design from.
|
|
|
|
Post by nikfubar on Jan 4, 2015 19:06:50 GMT 1
I approached the problem from a different angle, this is how I measured my squish at 10,000 RPM which was 0.8mm   |
|
|
|
Post by Tobyjugs on Jan 4, 2015 19:44:07 GMT 1
I might be able to help on the base gaskets. I have done 4L0 ones, but not YPVS ones yet. Will need to get one to copy the design from. Hi 4l04ever, How might you be able to help? |
|
|
|
Post by Tobyjugs on Jan 4, 2015 19:46:22 GMT 1
Hi Nick,
I am more worried that my piston skirt will break where i have been faffing around making holes in them. When the time comes we shall see.
|
|
|
|
Post by steeley on Jan 4, 2015 20:07:06 GMT 1
hello ,you could make your own gaskets easy enough.see if you can get in touch with slinger on here he is very clued up on this sort of thing.me I can pull em apart and put them together again that's about it.
|
|
|
|
Post by 4l04ever on Jan 4, 2015 20:22:00 GMT 1
I have a cutting machine that can cut nice gaskets :-)
Have done a few so far. 4L0 Base Gaskets, 4L0 Reed Block gaskets, 4L0 Water Inlet gasket, YPVS Reed Block Gaskets, 3XV Reed Block Gaskets. Got a few more in the pipeline, including NS400R Base Gaskets and KR1 Base Gaskets. Can cut in various thickness and materials upto about 0.8mm with current kit.
|
|
|
|
Post by steeley on Jan 5, 2015 9:45:43 GMT 1
what a handy piece of kit.
|
|
|
|
Post by tsa on Jan 5, 2015 13:04:31 GMT 1
No wonder a tuner said its interesting porting just go and try it. Transfers to high for the exhaust port and the boost port is way to low lol. Should be very drivable with the PV working but lack power at 8000+ rpm.
|
|
|
|
Post by Tobyjugs on Jan 5, 2015 13:14:15 GMT 1
what a handy piece of kit. Well Steely you did say you found it theraputic  |
|
|
|
Post by Tobyjugs on Jan 5, 2015 14:13:59 GMT 1
No wonder a tuner said its interesting porting just go and try it. Transfers to high for the exhaust port and the boost port is way to low lol. Should be very drivable with the PV working but lack power at 8000+ rpm. Thanks for your reply, The sort of comments you have made have been very true thanks, it is very drivable, very boring indeed! and thats without a powervalve So if i understand this correct because my cylinders have less duration than a standard ypvs cylinders. This means in theory i could increase the duration as there is still metal which could be taken away. By the time i correct the squish i am guessing i will add around another 2 degrees to the transfer ports. I had some doubts about the boost ports because if you look at a standard ypvs cylinder its the same height as the transfer ports and much bigger than the two holes i have. Do you think these cylinders are recoverable just going on the information you have read? |
|
|
|
Post by tsa on Jan 5, 2015 17:37:43 GMT 1
I would have to look at the timings more to see if they can do better without loosing to much bottom end. Do you still have the PV in there (looks ike you have)? If so this would need to come back into play or it will drive like an LC and not a YPVS.
|
|
|
|
Post by Tobyjugs on Jan 5, 2015 21:20:37 GMT 1
Hi Kenny what kind of timing info do you need before and after tdc readings on ports opening and closing or heights measured from the top or bottom of the cylinders?
|
|
|
|
Post by tsa on Jan 5, 2015 21:47:54 GMT 1
The timings I prefer are the open/close or duration timings as this is far more precise.
|
|
|
|
Post by Tobyjugs on Feb 20, 2015 19:58:00 GMT 1
Well i finally got around to doing the job i most hate, making gaskets/shims. 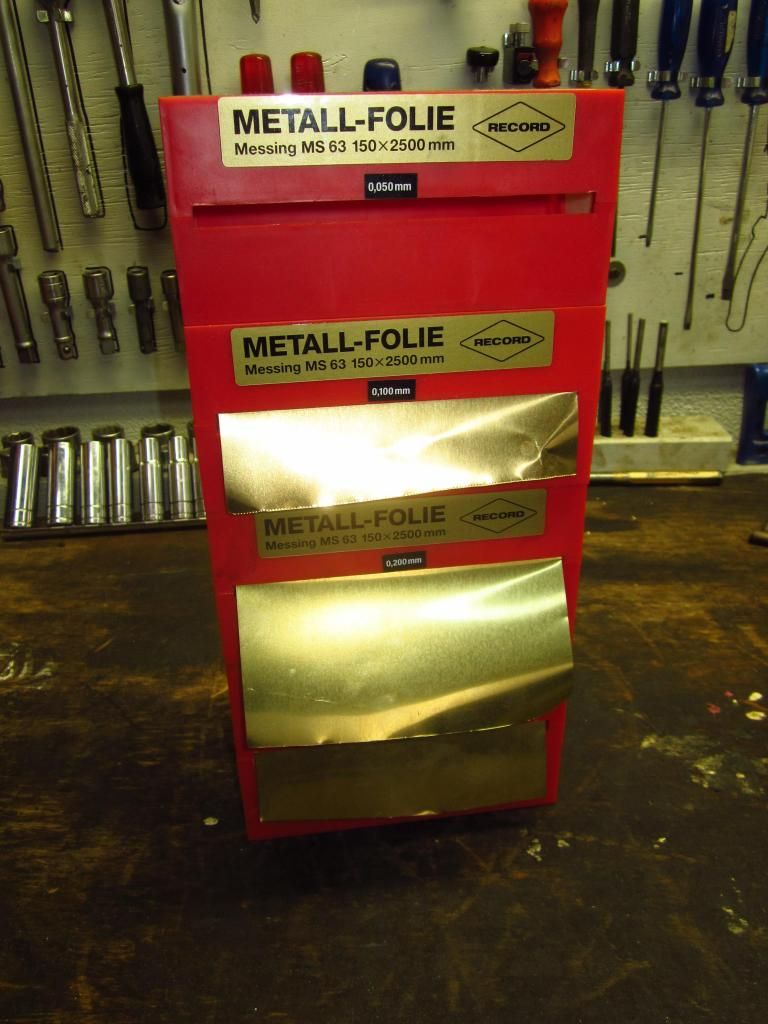 Got this from work as they were throwing it away 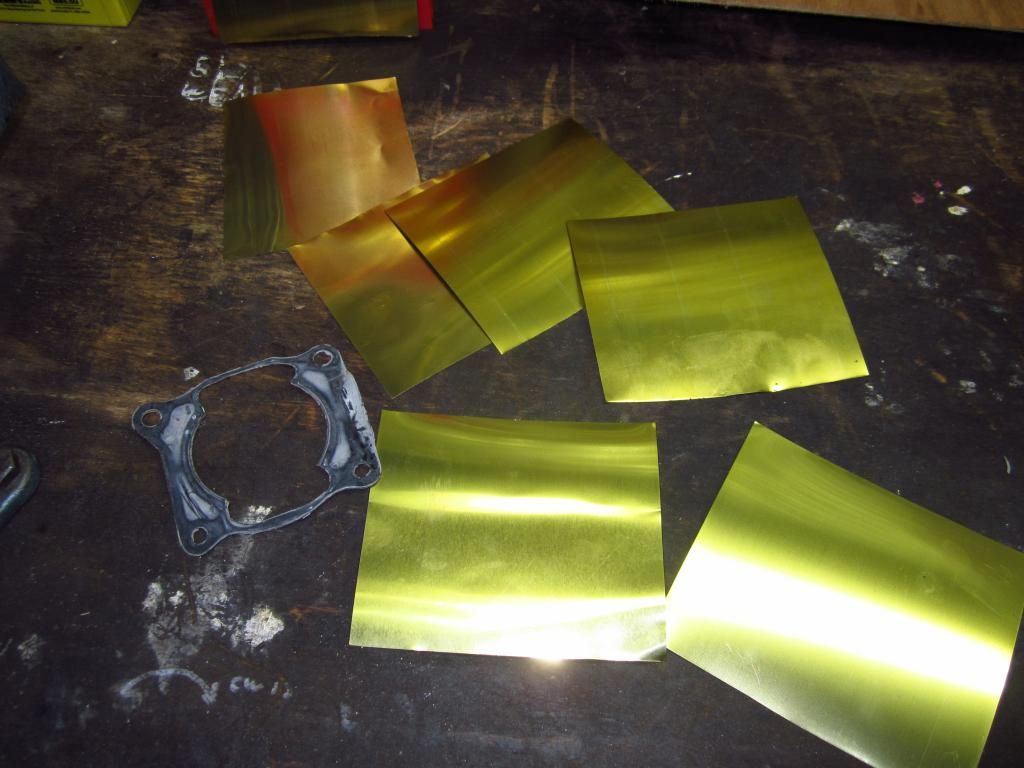 Here is my base gasket example and some material of different thickness. 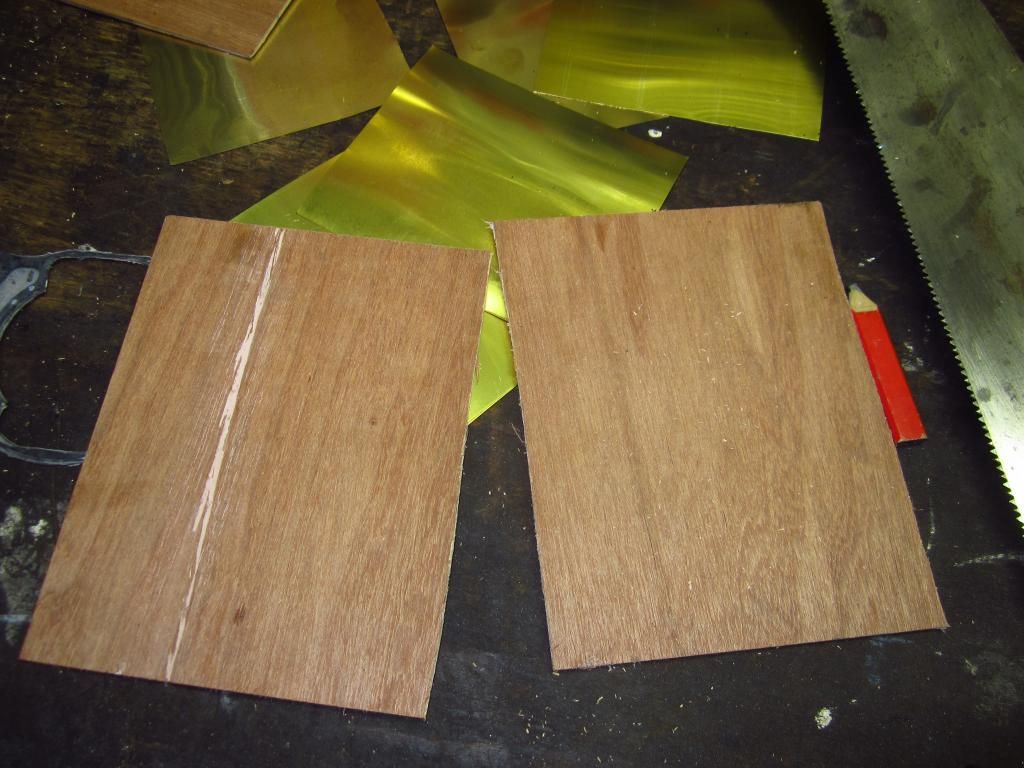 I decided to make them in one go and use some thin ply wood to keep them a bit stiff. 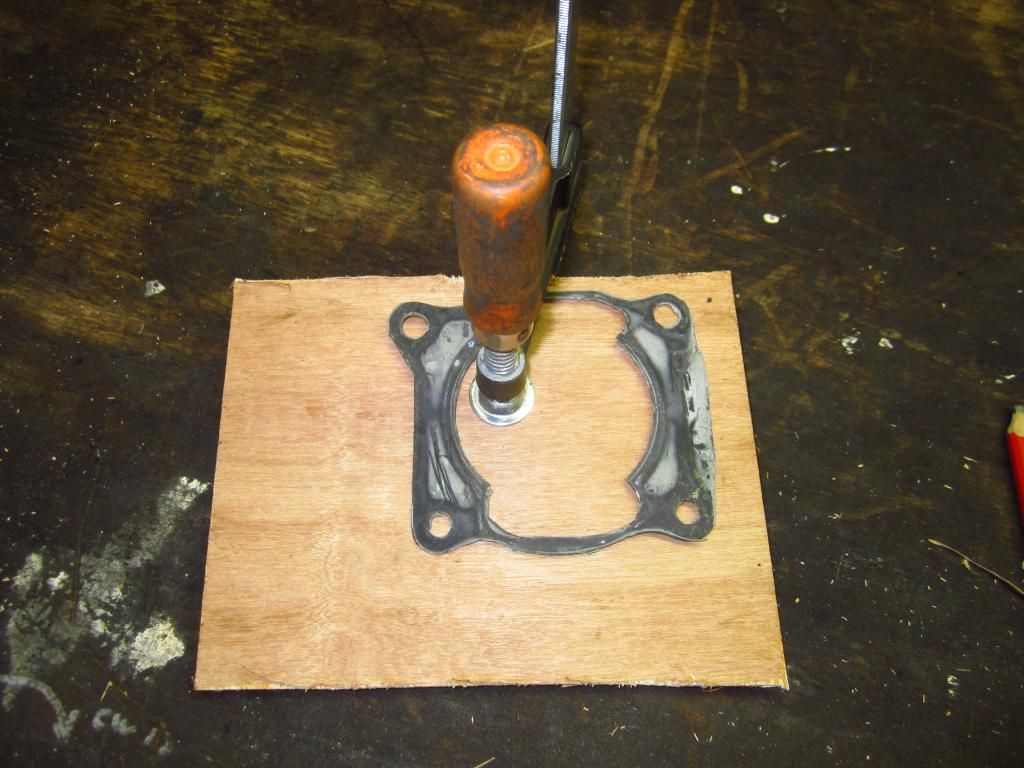 Time to clamp it all together and mark where the first hole will be. 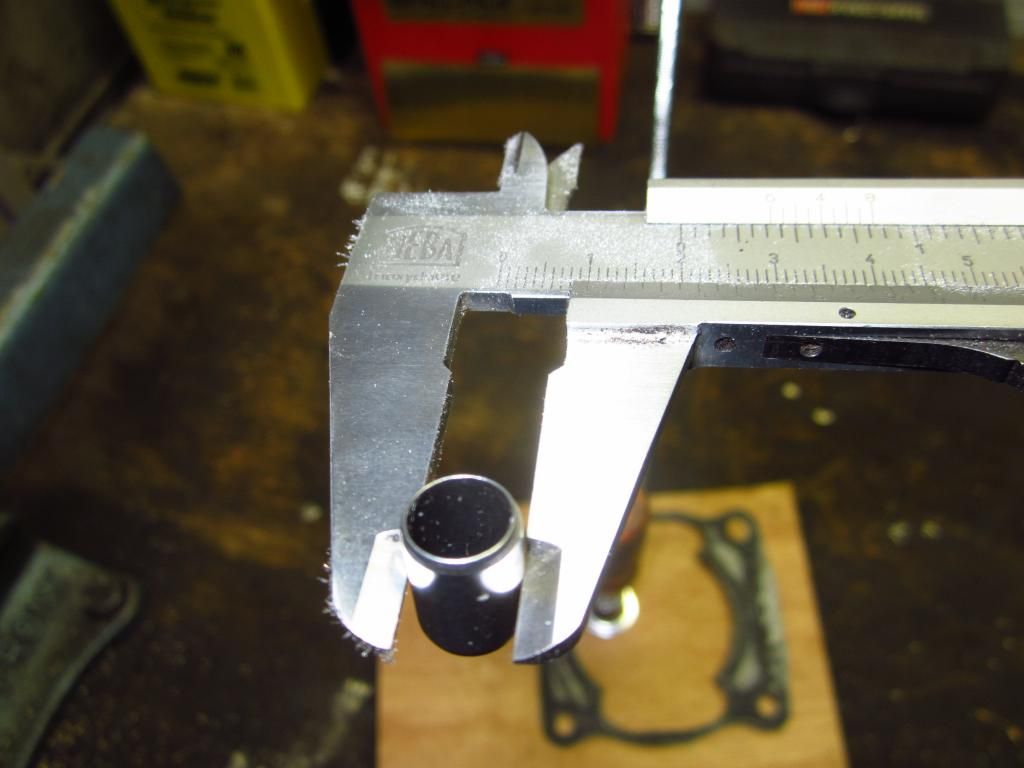 Now i measured the outside diameter of my new locating bushes (Thanks Norbo) 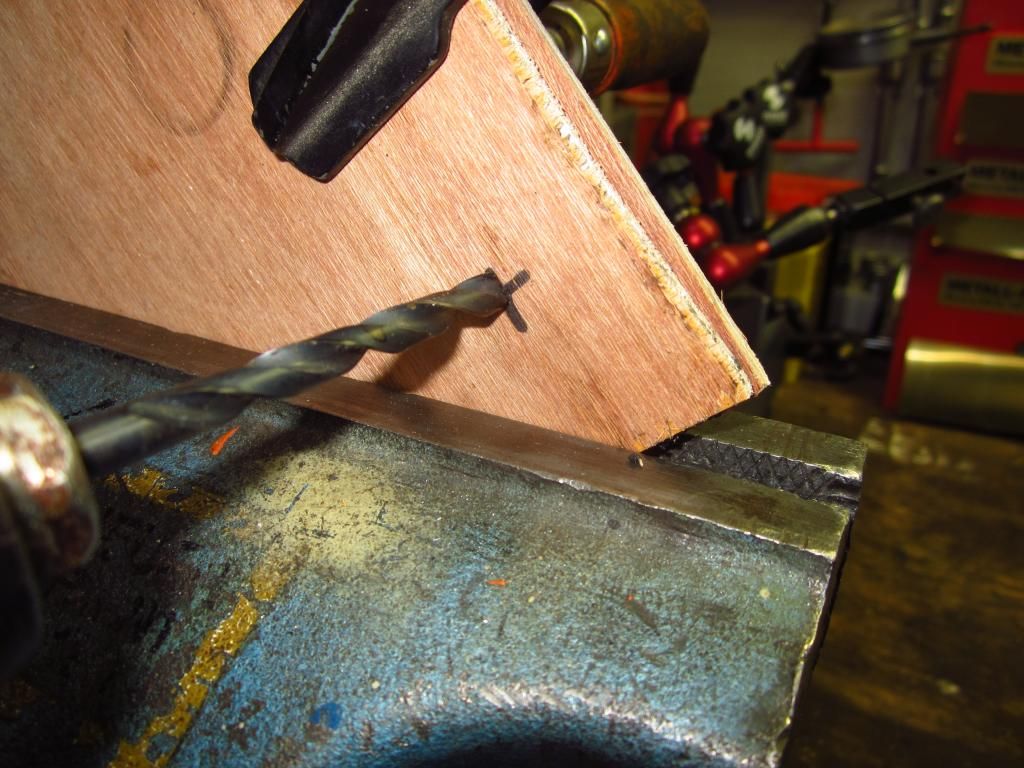 Time to get drilling  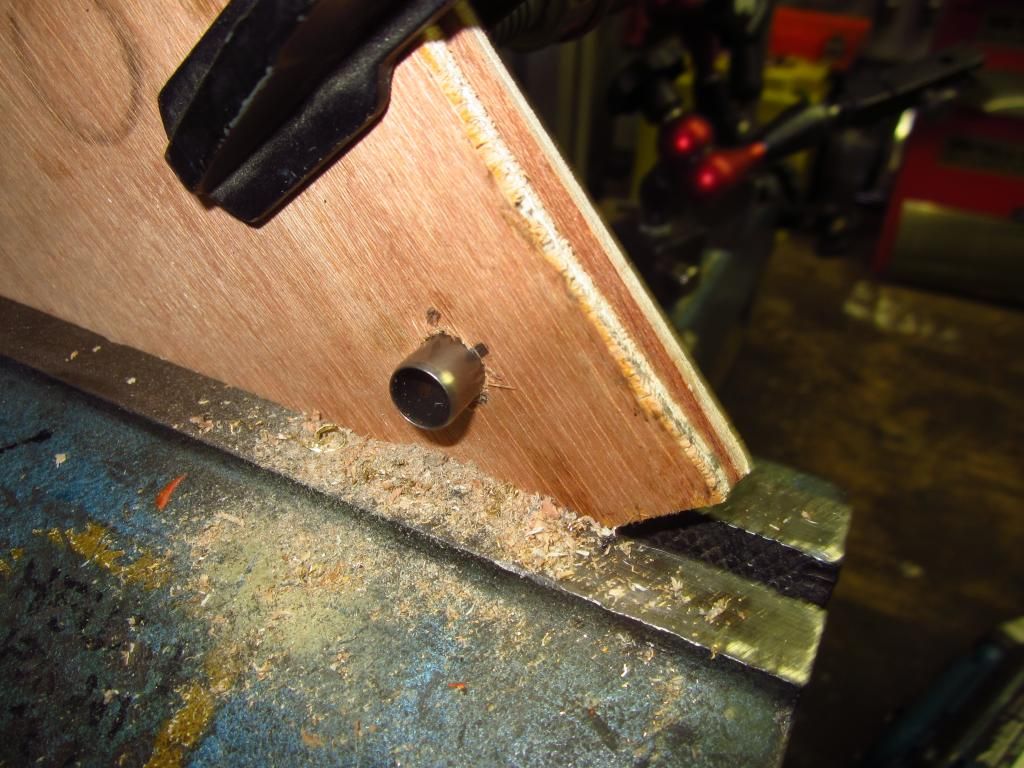 After the hole was made the locating bus was fitted, at first it would not fit but with a small lick of the file it was a nice snug fit. 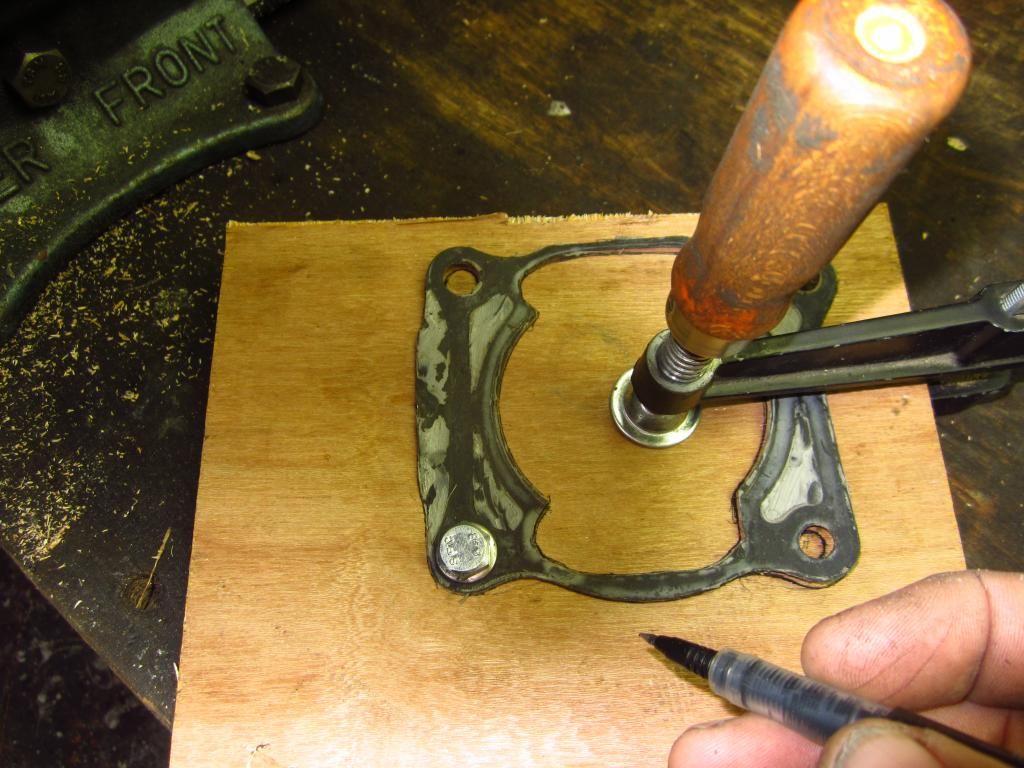 With the locating bush holding the gasket in place another hole was drilled and clamped with a bolt. The plywood was then marked out using the old gasket and a fine marker pen. All holes were drilled and bolts were used to clamp the wood. 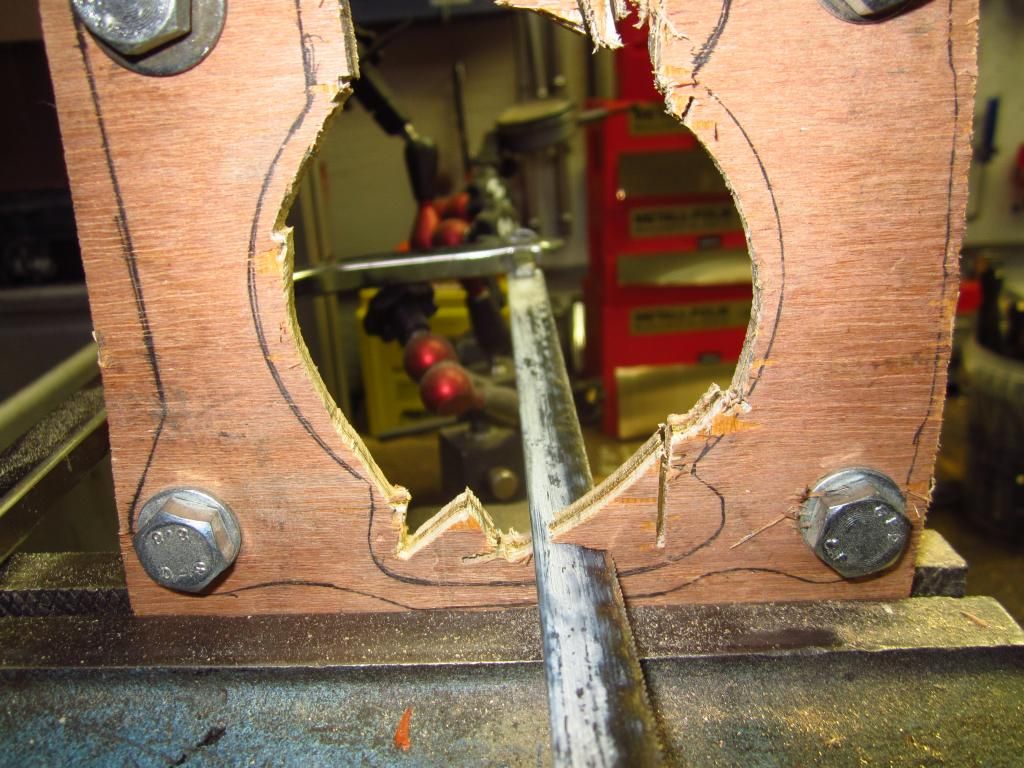 Now the work begins, First the center is removed roughly with a hack saw. 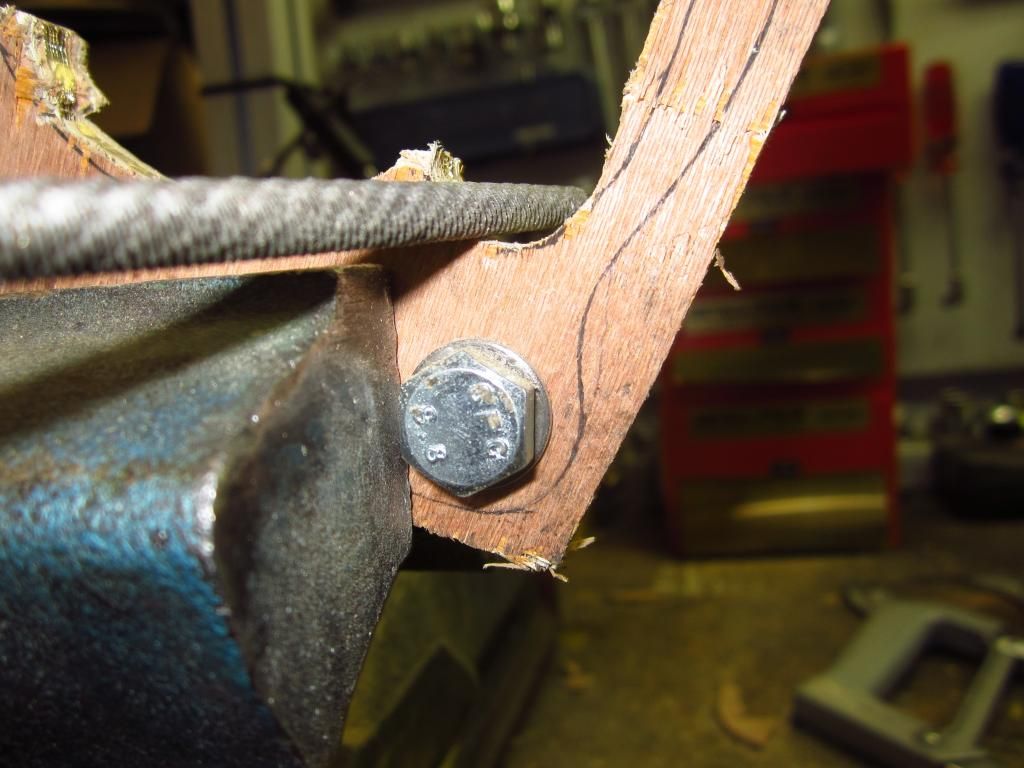 Then filed to size. I do not like this bit, it's labour intensive and makes a mess 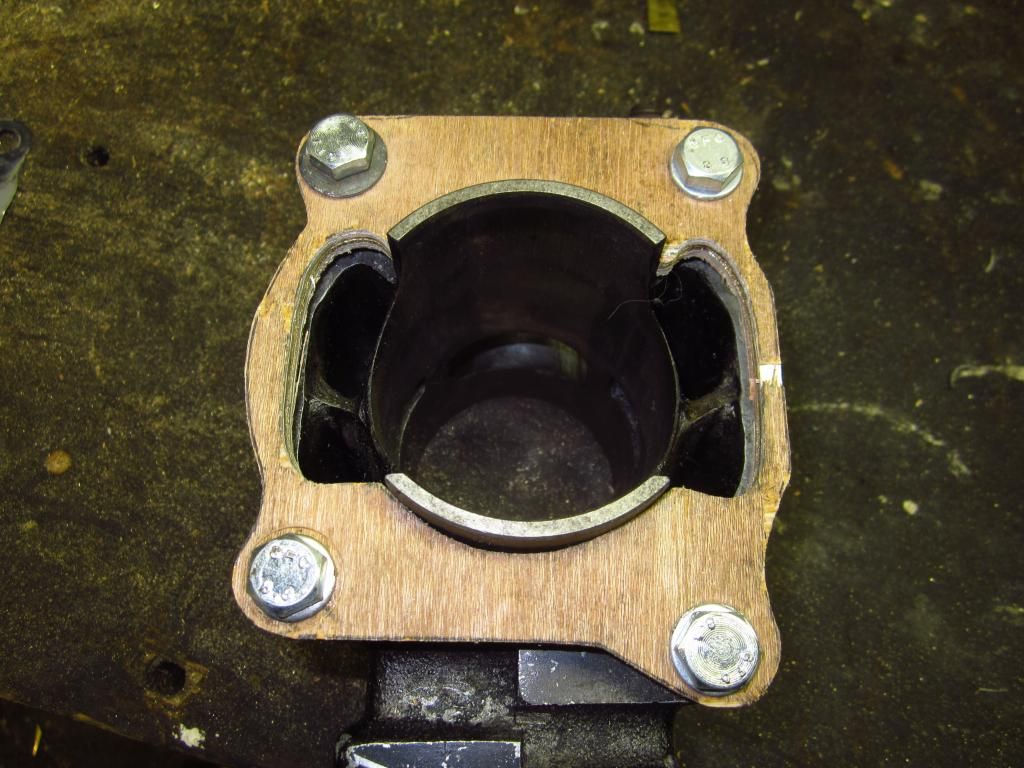 Check to see if it fits 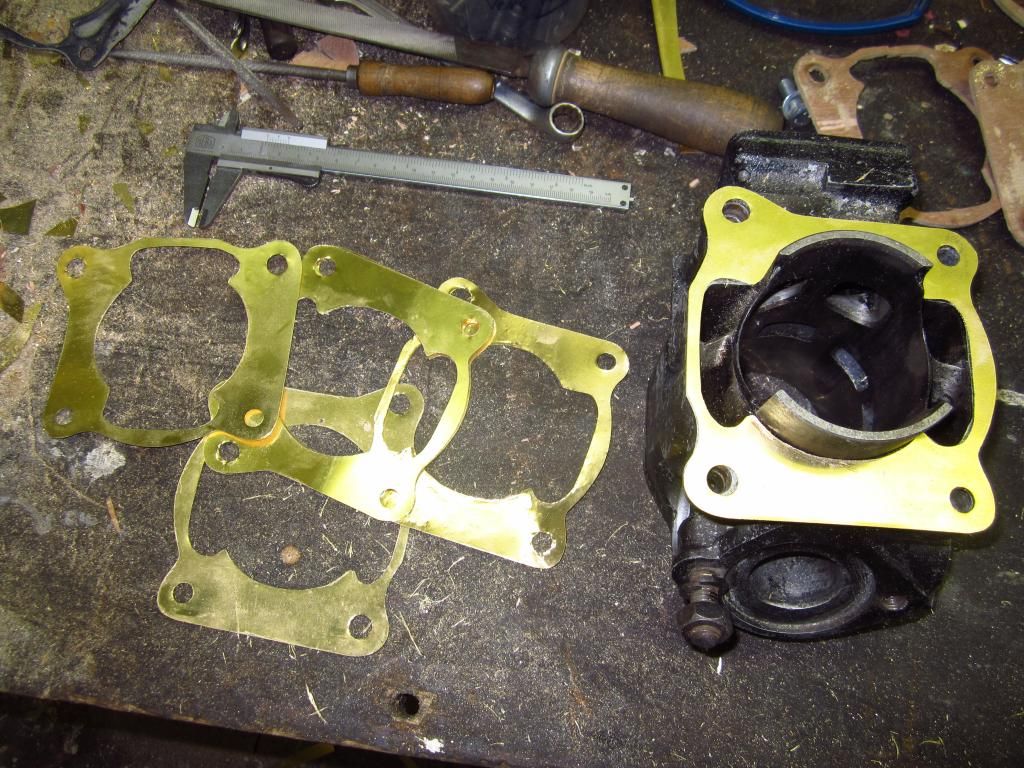 One hole is lightly out. Easily rectified, Right where's me spanner time to build the engine  |
|
|
|
Post by Tobyjugs on Mar 28, 2015 22:09:17 GMT 1
Finally got some time to start on my engine again. I contacted 4l04ever a while ago about making me some gaskets, but in the end i made my own and then two days later his gaskets arrived. They were two different thicknesses so i could achieve the correct squish of 1mm. They are very well made and much much better than the other pattern gaskets i have. Thanks 4l04ever  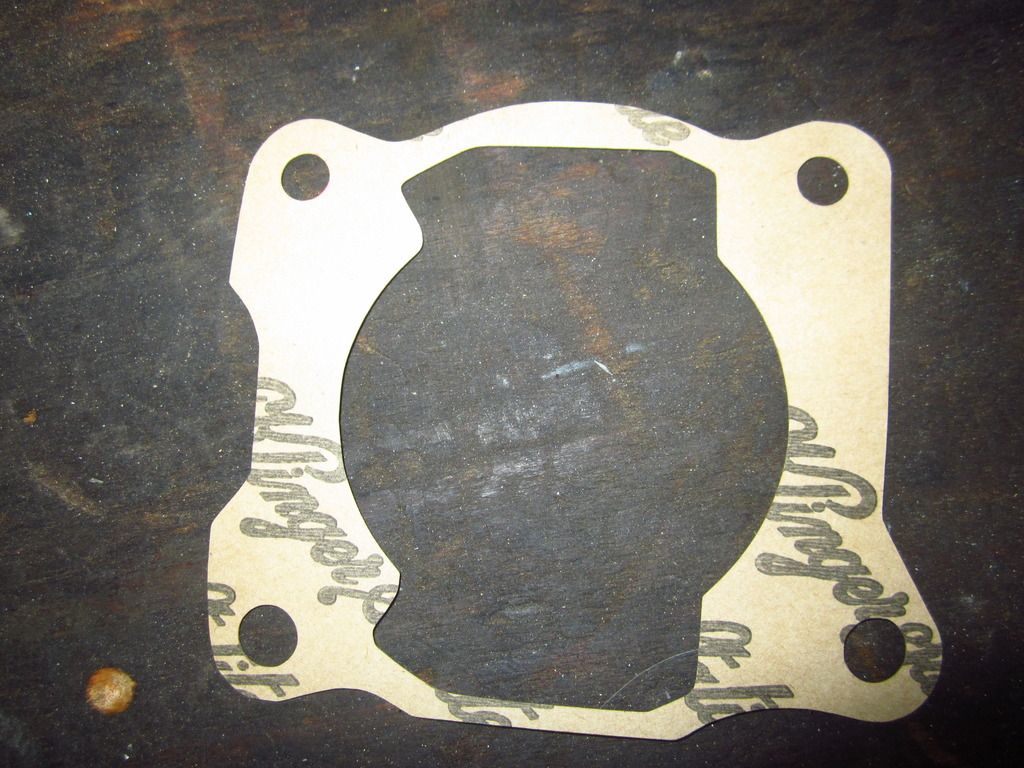 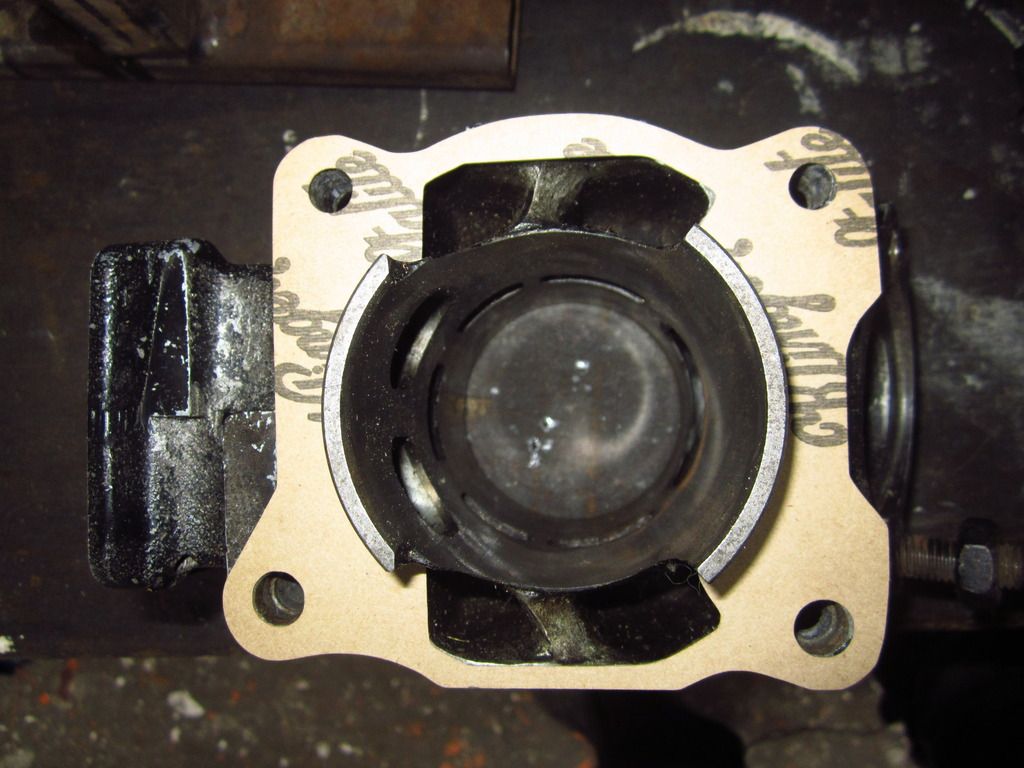 With the barrels set at the correct height i measured the port duration again. The port duration for the barrels are; Exhaust = 184 degrees Transfer Ports = 124 degrees Boost Ports = 96 degrees Not much difference really i added 0.3 mm to the original base gasket. In the time between bouts on my engine Slinger made a few posts about tunning barrels and gave reference to 80 degrees BTDC. Here is what mine looks like. 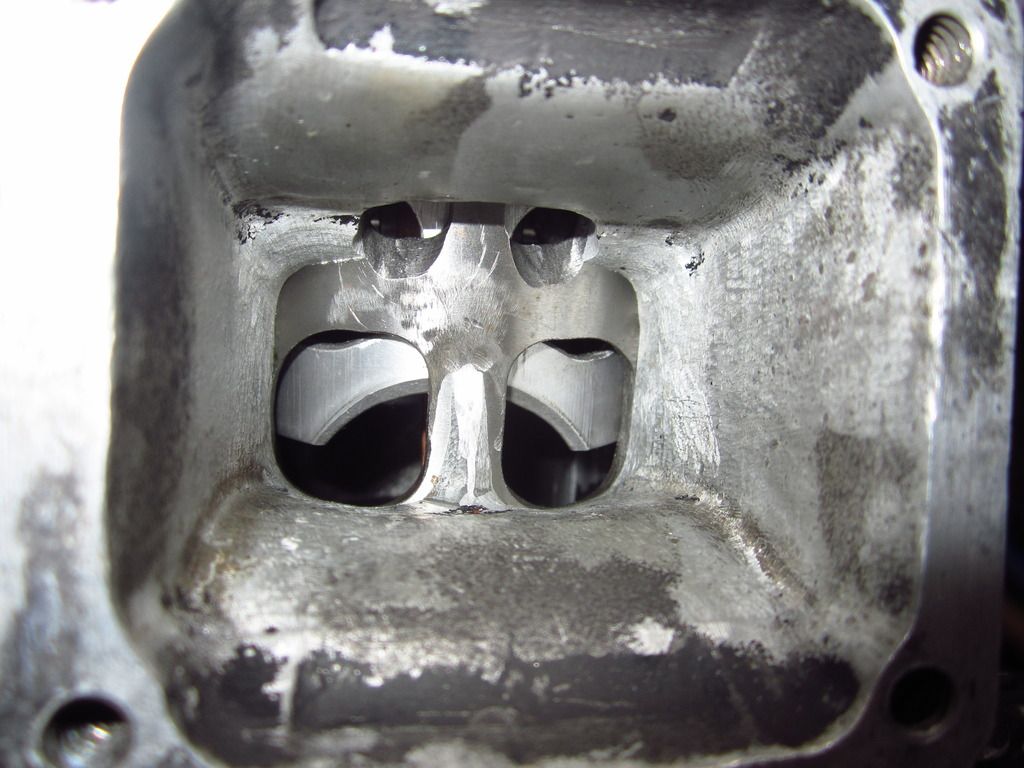 Oh dear all that filing and drilling, it hardly looks worth it! well at least it opens the boost port up a little, before they were closed The engine is now built up, i just need to fit some bear essentials to the chassis to get it running, or put it in my other lc which i also started repairing after some muppet knocked me off it end of last November. |
|
|
|
Post by Tobyjugs on Apr 5, 2015 23:33:52 GMT 1
The engine is now fitted into the frame, but because i have modded the frame i have to find a new place for the battery and extend the wiring to suit without damaging it. 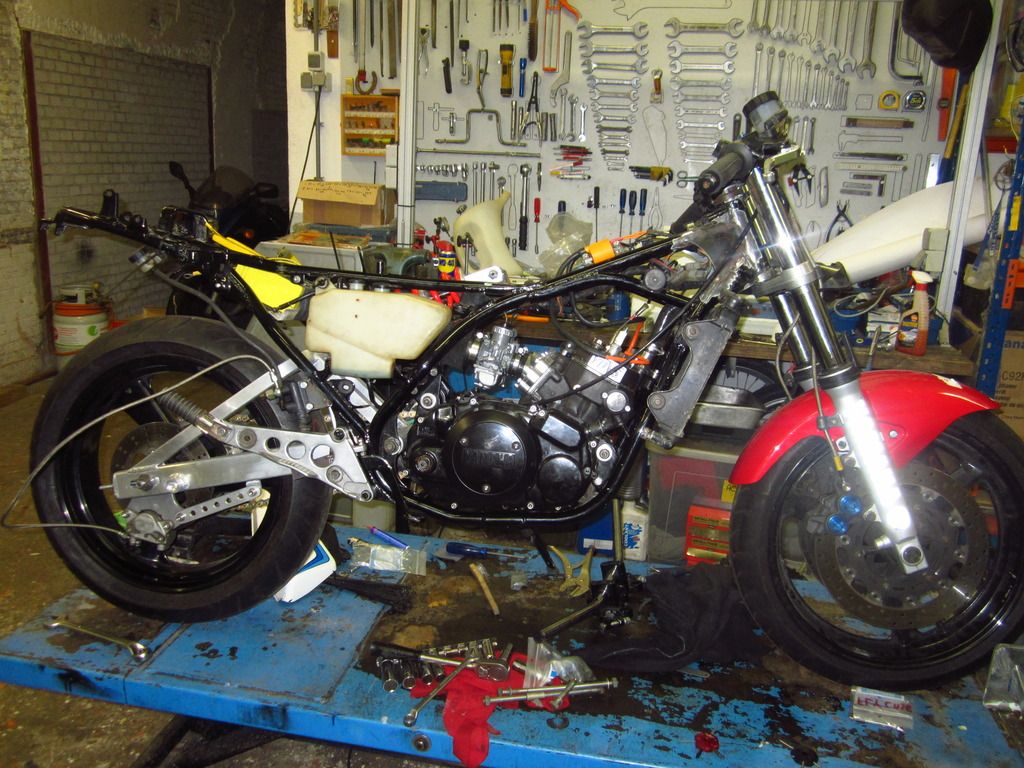 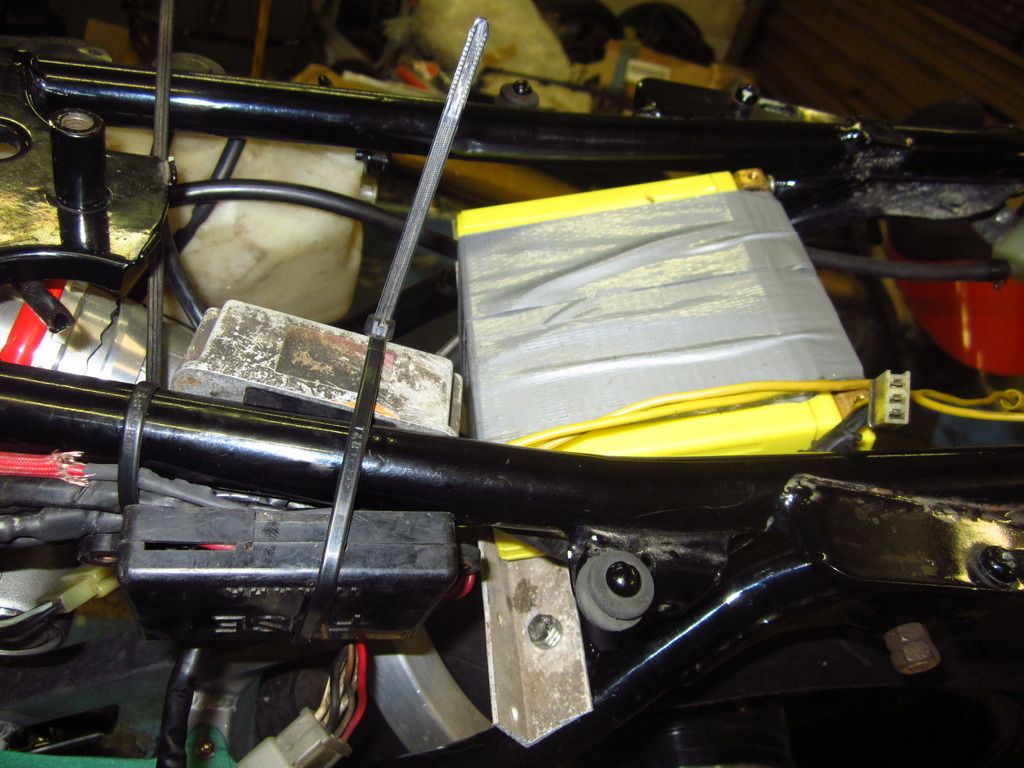 I have strapped the battery to the back of the frame under the seat and modified the inside of the oil tank slightly so that it does not foul the shock. I am still in two minds as to go with oil injection or pre-mix. Also waiting for bits and pieces to arrive so that i can make the correct length brake line for the back wheel. Hopefully i will have it moving under its own power by next weekend.  |
|
|
|
Post by Tobyjugs on Apr 14, 2015 11:49:14 GMT 1
I managed to get it back together (sort of) and started it up Friday evening. It was raining saturday so did not ride until Sunday. At first all went well but after about 30km i could change up gear and only change back down from 6 to 5. If the engine was stopped after a lot of faffing around you could get it back down to nuetral. You could then ride it again change up and down but after a few kilometers the same problem Hmm Very strange. Ater inspection you could see the clip would just not rise enough to engage the pins on the star. I tried to adjust it to no avail, i changed the spring also no change. I thought about filing the point down a tiny bit but the steel is hardened. In the end i changed it for another gear selector shaft and all my problems were solved. The only thing i could see wrong was a little wear on the shaft itself which i thought could not be the problem. The hole does not feel so worn either. Still both added together could just be enough. The bike still drives like an old gs550 in every gear but i have not give it a blast yet very curious to find out what effect putting holes in the piston skirt has made.(after slinger's explanation not a lot) It now looks like this. 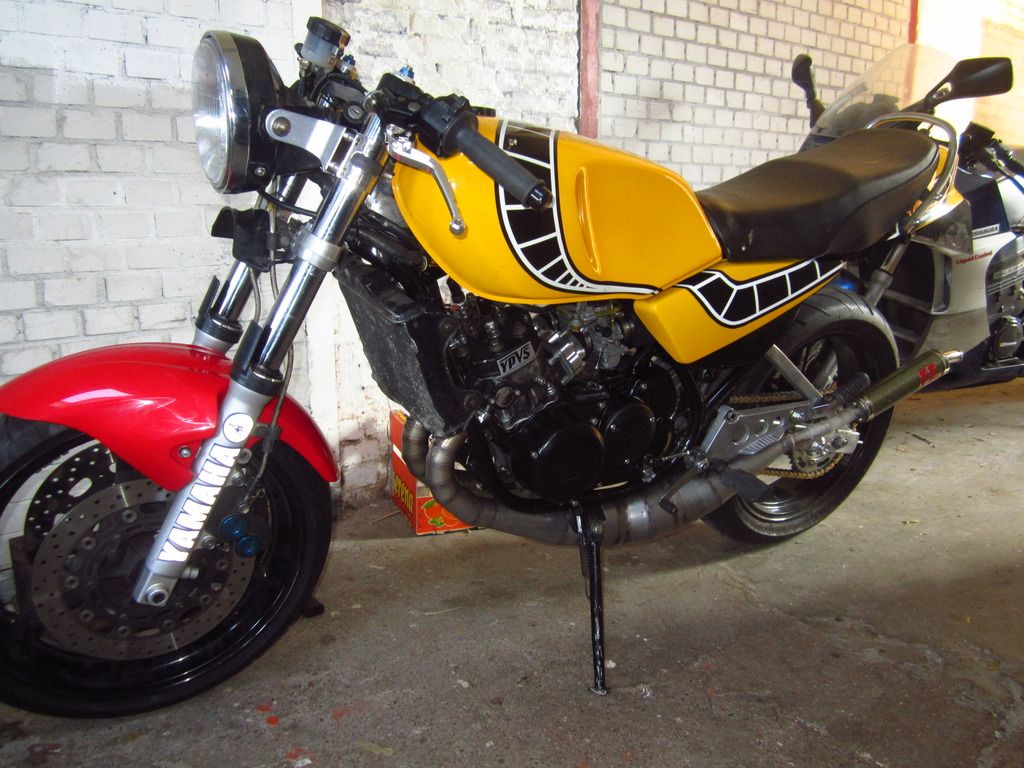 Still lots to be done but i can do that when i sort out the engine. |
|
maccas
Weekend rider
  
Posts: 94
|
Post by maccas on Apr 14, 2015 21:01:25 GMT 1
Very nice work!
Dan
|
|
|
|
Post by Tobyjugs on May 1, 2015 16:43:24 GMT 1
My jobs have been canceled so tomorrow i get the chance to put the bike back on the Dyno with the modified pistons. Now we shall see if the pistons will stay together. I do not expect much difference as i have driven it it feels the same but i haven't given it any beans. The next thing will be to see what can be done with those boost ports.
|
|
|
|
Post by Tobyjugs on May 2, 2015 18:24:09 GMT 1
Well been on the dyno and it survived!  Pieter the tuner saved my last run so we could compare the difference. Red was the first time with solid pistons and green the second time with holes in the pistons and crankshaft realigned. Until now Kenny and his crystal ball has been very accurate the windows in the pistons made about 5 hp more (just as predicted). What is more interesting is without the windows the power tails off very quickly around 9000 rpm and with the windows in the pistons it begins to tail off at around 11000 rpm. It is flat between 9000 and 11000 rpm so it is probably not getting enough charge (fuel/air mixture). The Tuner told me the exhaust ports need to be raised and the little boost ports need to be raised as well. Just the same as what Kenny commented. Has anyone any other thoughts or ideas? What would be good port durations? I have been toying with the idea of welding an aluminium piece into the intake to direct the flow better and increase only the small boost ports. Not particularly interested in making the power valves operational but if it is necessary i will do it. Kenny what does your crystal ball say? Ha Ha 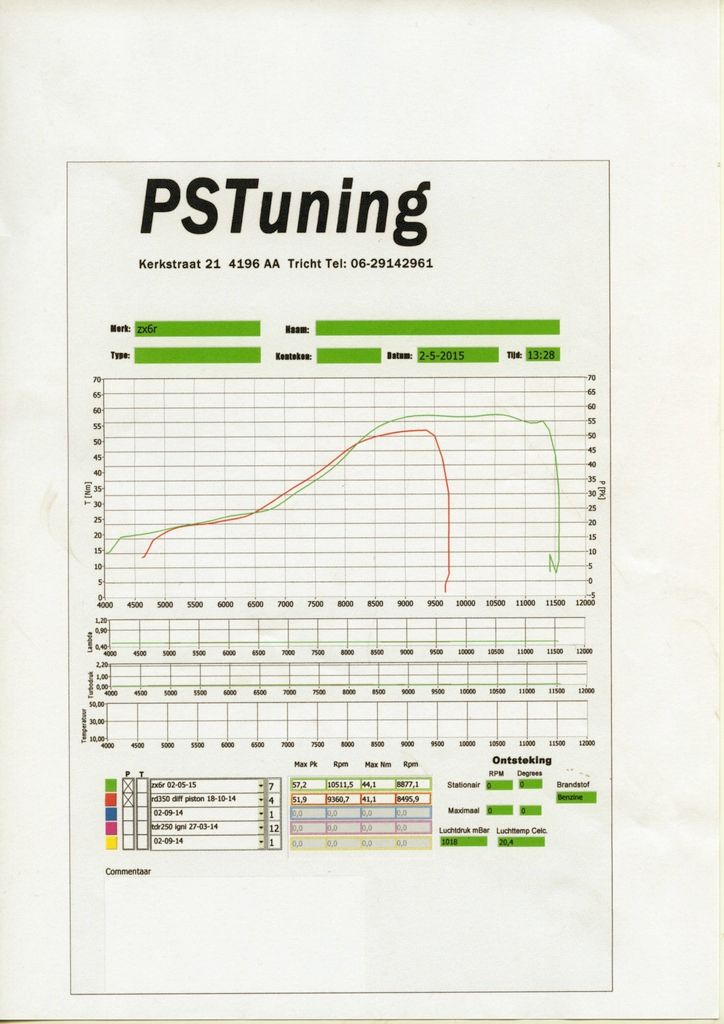 |
|
|
|
Post by arrow on May 2, 2015 22:50:55 GMT 1
Excellent work.
|
|
|
|
Post by tsa on May 2, 2015 23:59:10 GMT 1
More exhaust duration will give more top end and loose lower end drive. If it were me Id sell the Lomas pipes as these are trying to peak at between 10500 and 11000. If you ported for the pipes you would loose all the lowend power. The Lomas pipes are really race pipes for a high tune engine.
The reason its flat at the top is it has to little exhaust duration and the pipes are trying to drag the engine up there. If it were my bike Id try 88* ATDC exhaust, widen the exh port to 69% bore width, raise transfers to 121* ATDC, raise boost ports to 119* ATDC , raise the roof of the inlet ports to just below the lower chamfer of the boost ports. Then try it again on the dyno.
|
|
|
|
Post by Tobyjugs on May 3, 2015 12:40:52 GMT 1
Hi Kenny thanks for the info, Pieter said the same about the pipes. Time to make some choices.
Ideally i would like good midrange with the power to drop off at 10k, but i am limited to what can be done to the barrels
I missed my slot on the dyno thanks to a friendly policeman taking great interest in my trailer. So i had to wait for another slot. He was very busy with a couple bike's to do. After he had checked and measured a bike which was going to be sold depending on what the readings were it was my turn. He clapped his hands and with a big smile said right "now the real work"
I will have a serious chat with Pieter see what he say's carefully put your suggestions forward (although i don't think there will be to much difference in ideas) and see where we come out.
First thing on the list will be to source some decent 68 mm two ring pistons. I do not really trust what i have done although they did survive 11500 rpm
Thanks for the other comments chaps the more the merrier!
|
|
|
|
Post by tsa on May 3, 2015 13:58:13 GMT 1
Well not pushing my pipes but thats what mine do sign off at 10000rpm and give midrange punch. The info is free but the pipes arent lol.
|
|
|
|
Post by Tobyjugs on May 3, 2015 14:45:04 GMT 1
Well not pushing my pipes but thats what mine do sign off at 10000rpm and give midrange punch. The info is free but the pipes arent lol. You don't need to push your pipes they do that themselves Ha Ha I appreciate the info, people have spent years testing different theories to get where they are with their tuning reputations. Just out of curiosity how many sets have you sent to Holland? |
|