|
|
Post by jon on Oct 28, 2012 20:27:03 GMT 1
Part way through an RD/TZR Yamaha hybrid, and I thought you might like to see the progress. I had a 4 year old F2 20+ years ago and loved every minute of it. Now 20+ years later I'm building an RD350LC. I wanted to keep it classic but upgraded, like the LCs of the 90's. 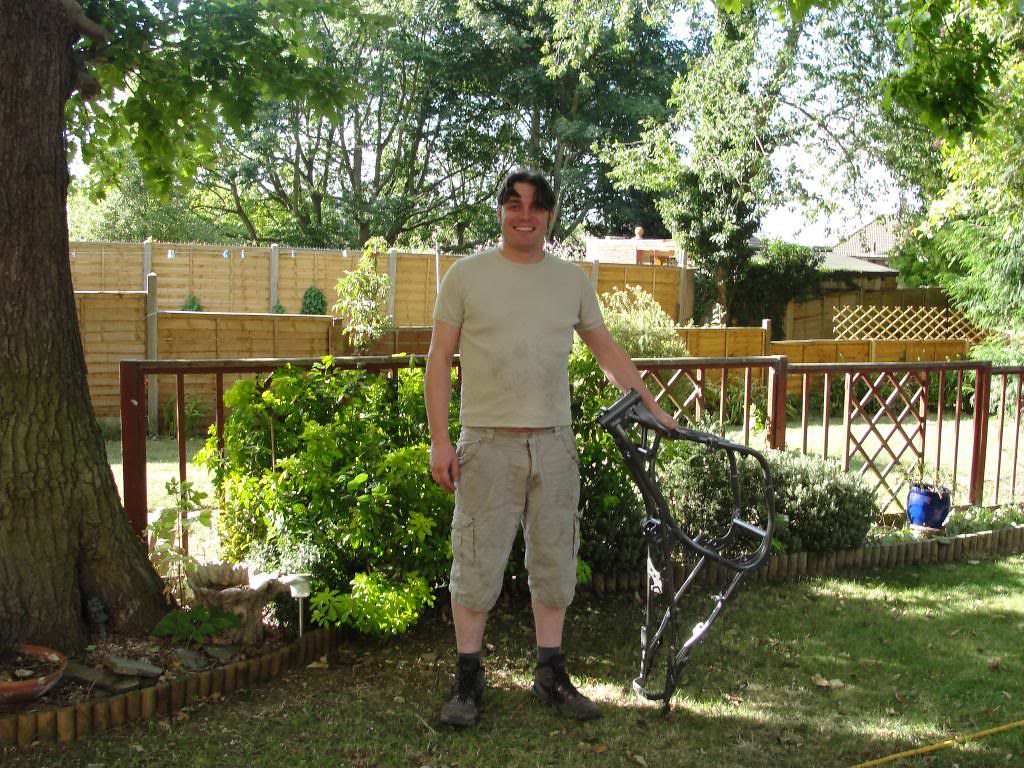 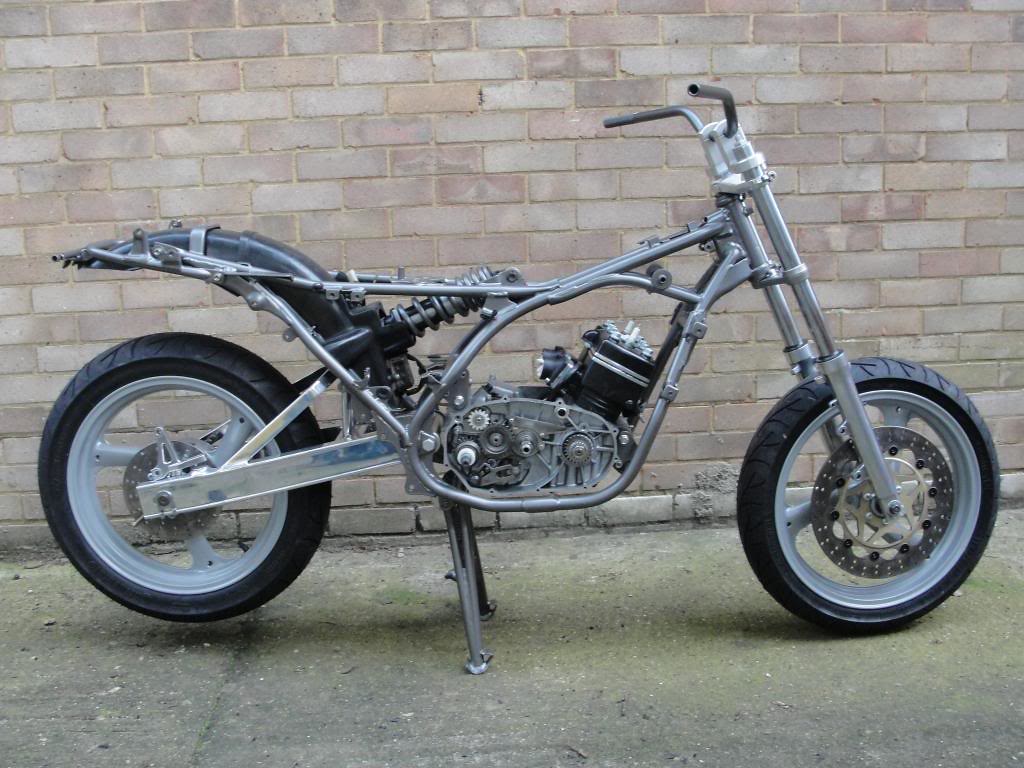 |
|
|
|
Post by scott on Oct 29, 2012 21:28:59 GMT 1
lookin good so far m8  |
|
|
|
Post by mikee on Oct 29, 2012 21:53:39 GMT 1
Get on with it then :-)
|
|
|
|
Post by jon on Oct 30, 2012 20:03:04 GMT 1
Seat cover was original (now shiney / hard / cracked plastic). Staples were so rusty they dissintergrated rather than pulled out. Lots of Cillit bang on the nylon, some replating on the catches, and a lot of spray glue under my fingernails and I was able to position and staple the cover down. Rather pleased with the result. 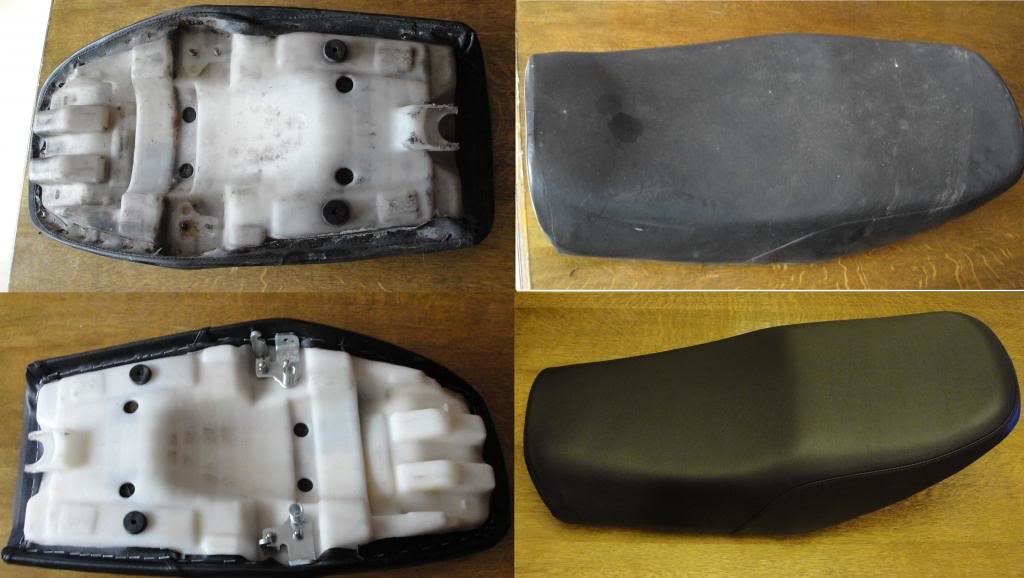 |
|
|
|
Post by nikfubar on Oct 30, 2012 20:24:13 GMT 1
Nice job  |
|
|
|
Post by kennyroberts on Oct 30, 2012 20:41:49 GMT 1
Nice one john....did the same on my seatwill be watvhing with interest
|
|
|
|
Post by billy on Oct 31, 2012 23:10:13 GMT 1
Lol, are you that guy from the mummy movie? ;D  |
|
|
|
Post by Norbo on Nov 1, 2012 9:24:11 GMT 1
LOL Billy i was just thinking the same thing .
Nice bike by the way looks like you will have a cool bike after the build .
My bike for this year has the same front and baclk end on so i can tell you that it will handle very well indeed .
|
|
|
|
Post by mikee on Nov 1, 2012 22:04:44 GMT 1
Cracking job on the seat
|
|
|
|
Post by jon on Nov 1, 2012 23:39:11 GMT 1
Okay guys, you've sussed me out. Let me show you the RDfacts and reLiCs I found in a tomb of a lesser known Pharoh called TutanBikeMan. I think the blue items are more like mid to late 20th century Japanese items? 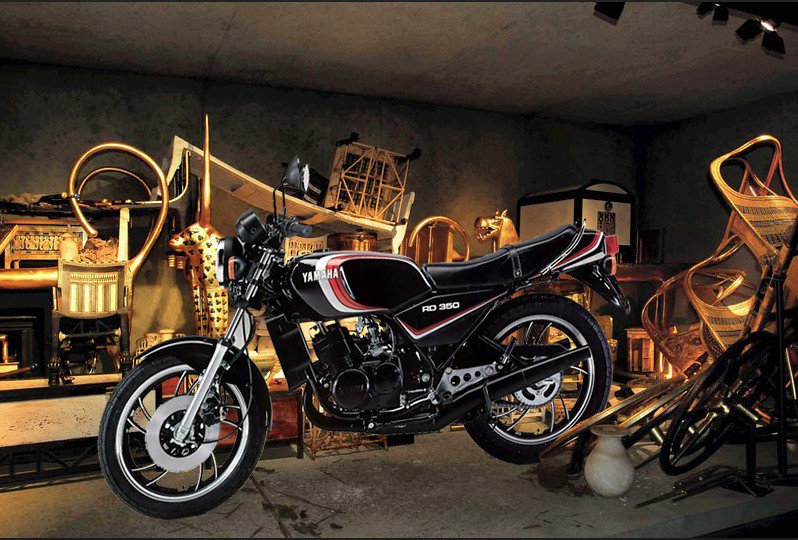 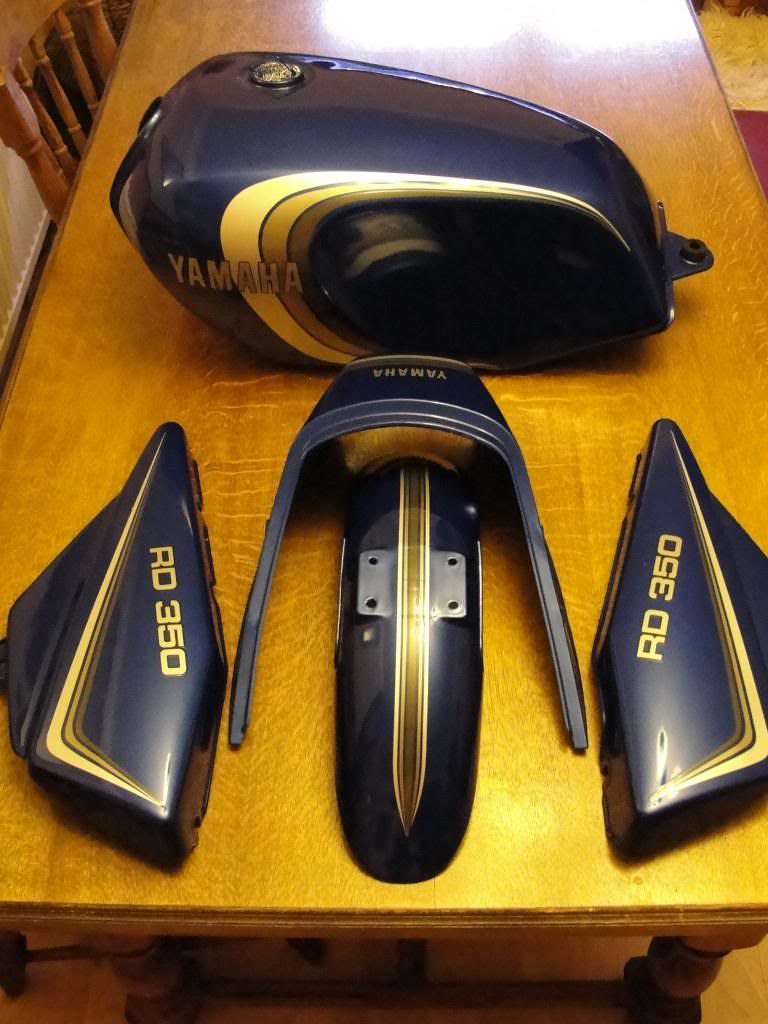 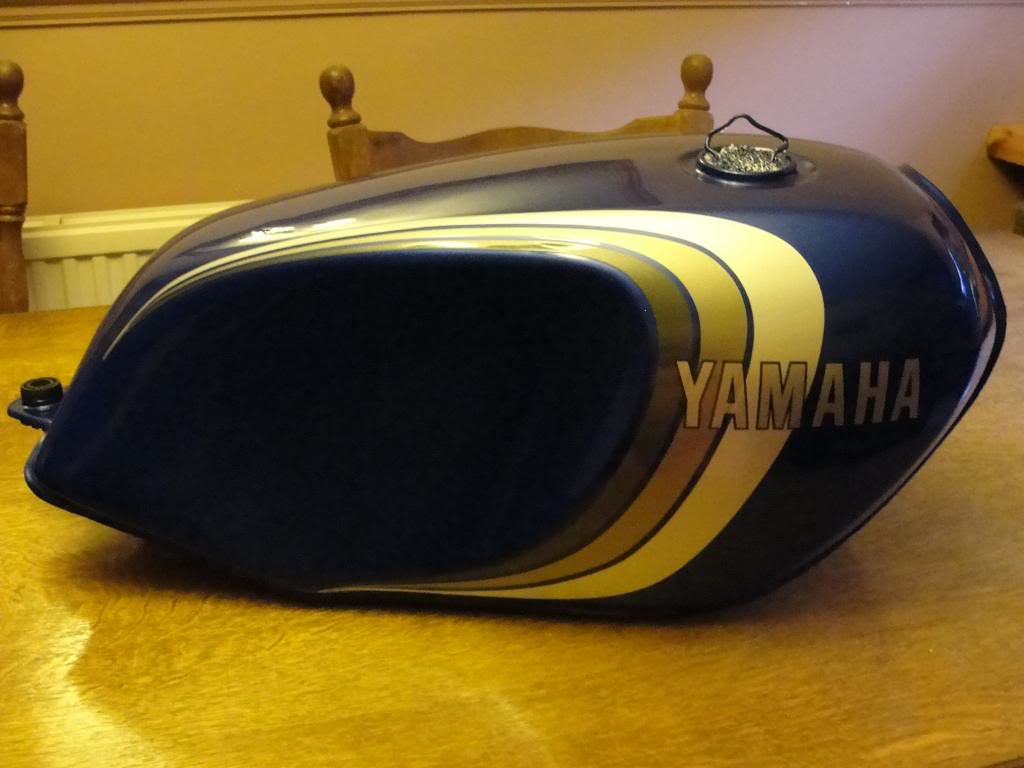 |
|
|
|
Post by jon on Nov 5, 2012 22:37:28 GMT 1
Cleaned up both side cases by repeated cycles of paint stripper then jetwash. After they were bare aluminium I scothbrighted them all over to give a good surface. After warming the cases, I applied several layers of satin black. Now PJ1 cannot be got hold of in Europe (their loss) I went for what my local bike dealer recommended which was Simoniz satin black. 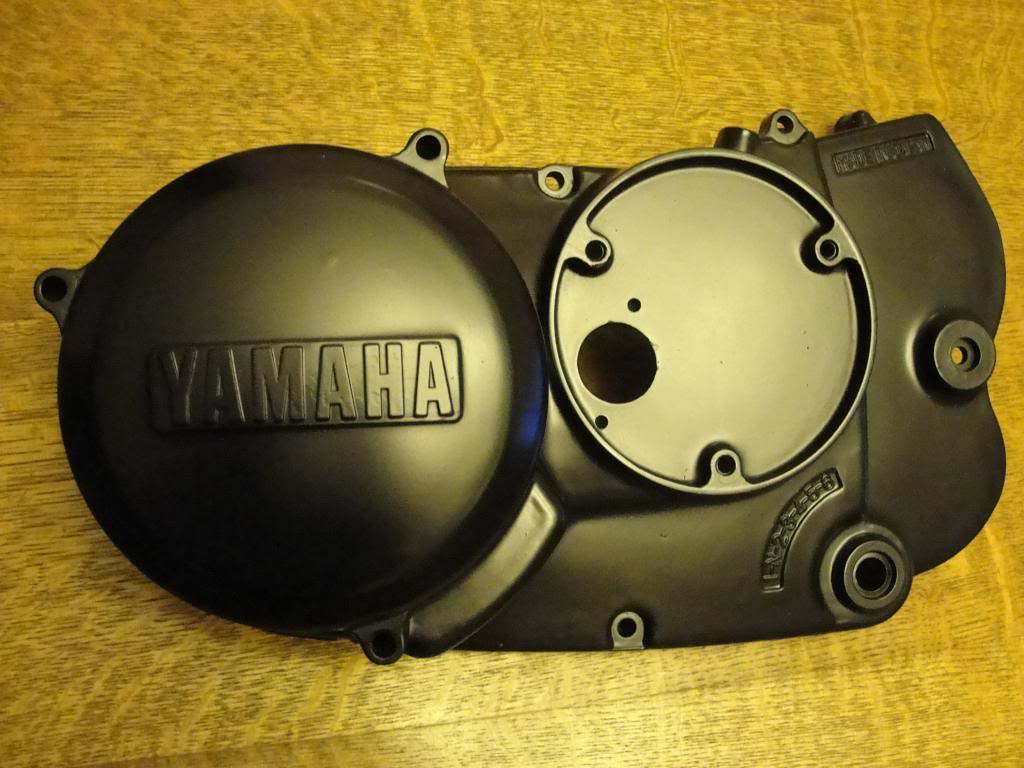 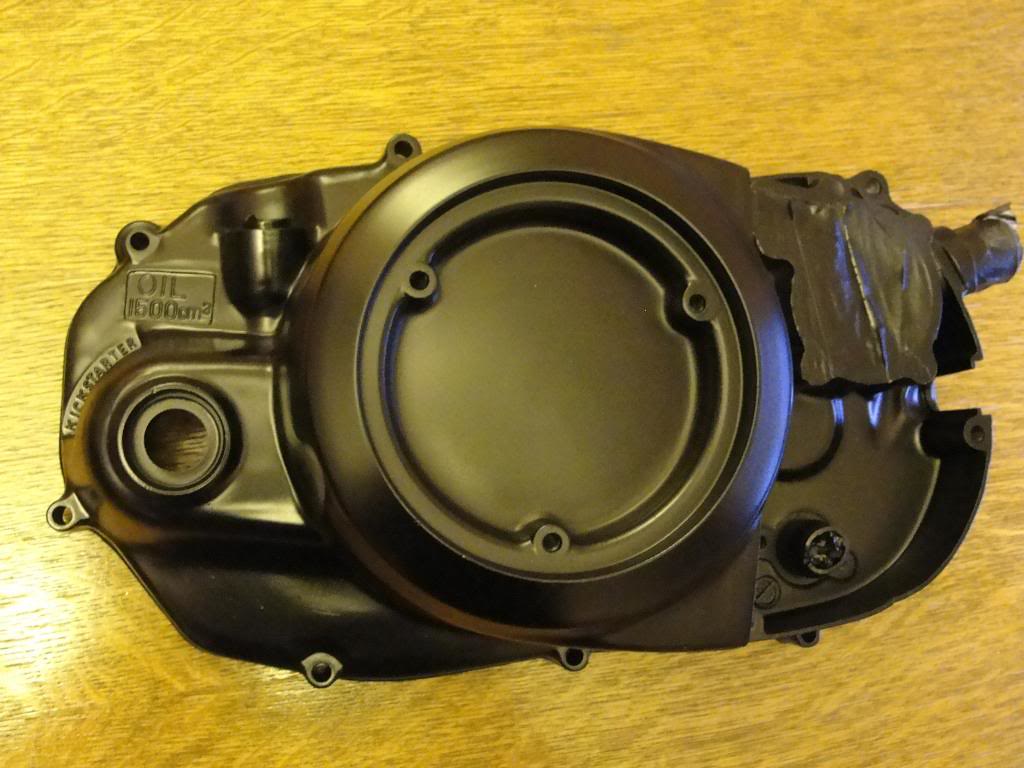 |
|
|
|
Post by leaky on Nov 7, 2012 1:52:04 GMT 1
Nice work! Looking forward to seeing the fruits of your labour, so far so good  . |
|
|
|
Post by Norbo on Nov 7, 2012 9:09:36 GMT 1
LOl we will have to call this the toom rader bike . love the gold on the tank
|
|
|
|
Post by jon on Nov 8, 2012 19:55:23 GMT 1
Finally plucked up the courage to start on my clutch basket. After rebuilt crank, new gearbox bearings and seals, new pistons and rebores, skimmed head etc the clutch basket looked very tired, so it stopped me finishing the engine. I decided to fully overhaul it with new billet basket, new bronze bush and new chrome bush. I've been torn between using the supplied screws from a Makita basket, or using some longer (16mm) countersunk 10.9 screws and countersinking the back plate (thanks for the advice 'headcoats'). I think I'll decide when I get to that point. Anyway I pressed out the old bronze bush ... 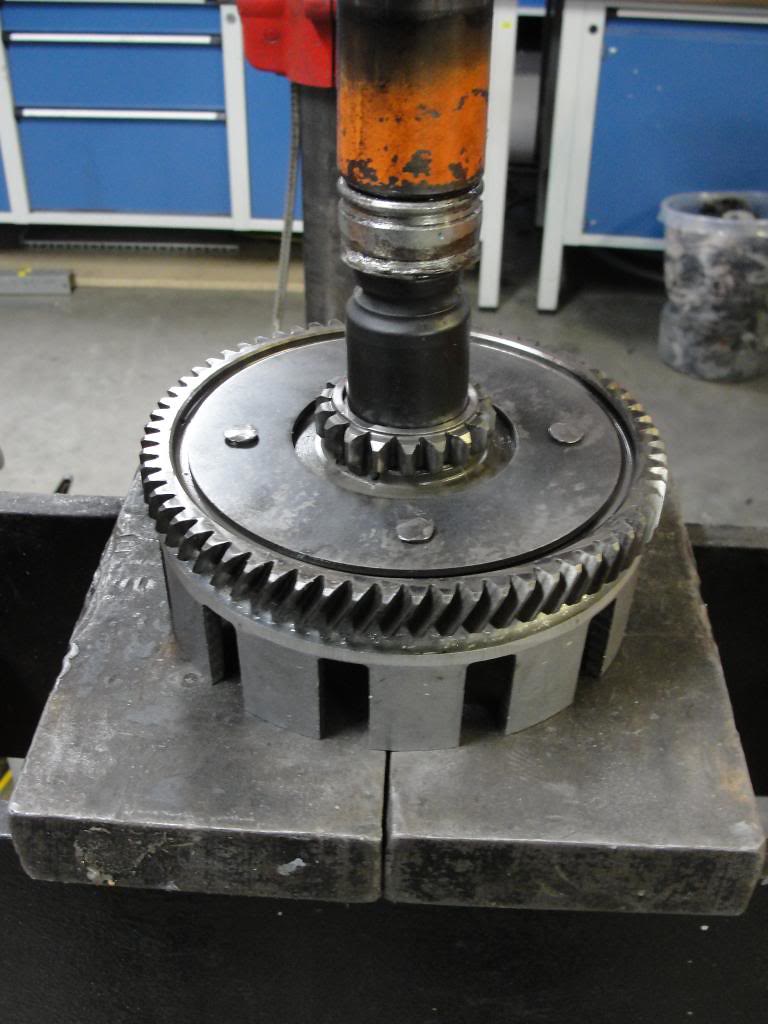 and nearly s..t myself as the tacho gear fell off ! 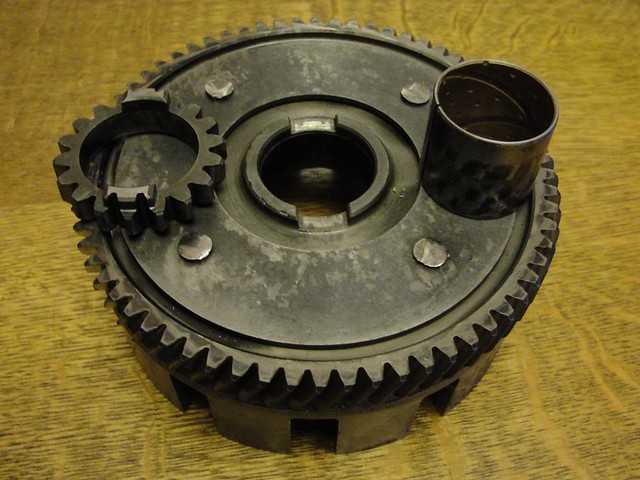 Then I realised it was designed this way. 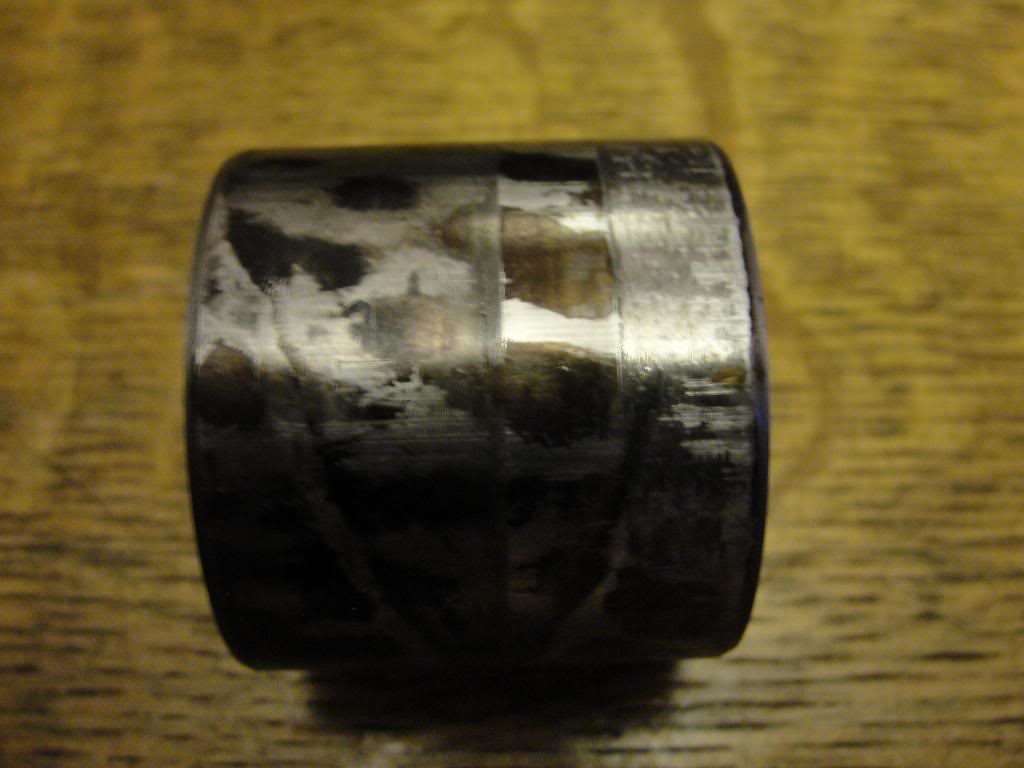 The basket wobbled slightly, so I knew the inside was worn, but not the outside also! Hopefully going to get on with a load of small bits this weekend, so I'll post photos next week. 'Norbo' I wanted a transistion from silver to charcoal with my RD stripes (no white). Although the photo of my tank/panels is not a good one (not outside) I was surprised to read you refer to it as gold? Anyway after looking again I realise I can't really describe the colour at all??? |
|
|
|
Post by hardhatharry on Nov 8, 2012 22:53:33 GMT 1
Wow where did you get the gold decals?
|
|
|
|
Post by billy on Nov 9, 2012 18:26:41 GMT 1
Okay guys, you've sussed me out. Let me show you the RDfacts and reLiCs I found in a tomb of a lesser known Pharoh called TutanBikeMan. I think the blue items are more like mid to late 20th century Japanese items?  Lmao, you're funny.  TutanBikeMan's shed is full of s**t lol, but why would he sell the LC and not the other junk? Very strange man!  Oh well, the bike seems to be in better hands now. I've seen a few similar builds and they've turned out awesome.  |
|
|
|
Post by jon on Nov 14, 2012 20:40:33 GMT 1
The old bush looks very tired next to the new one. 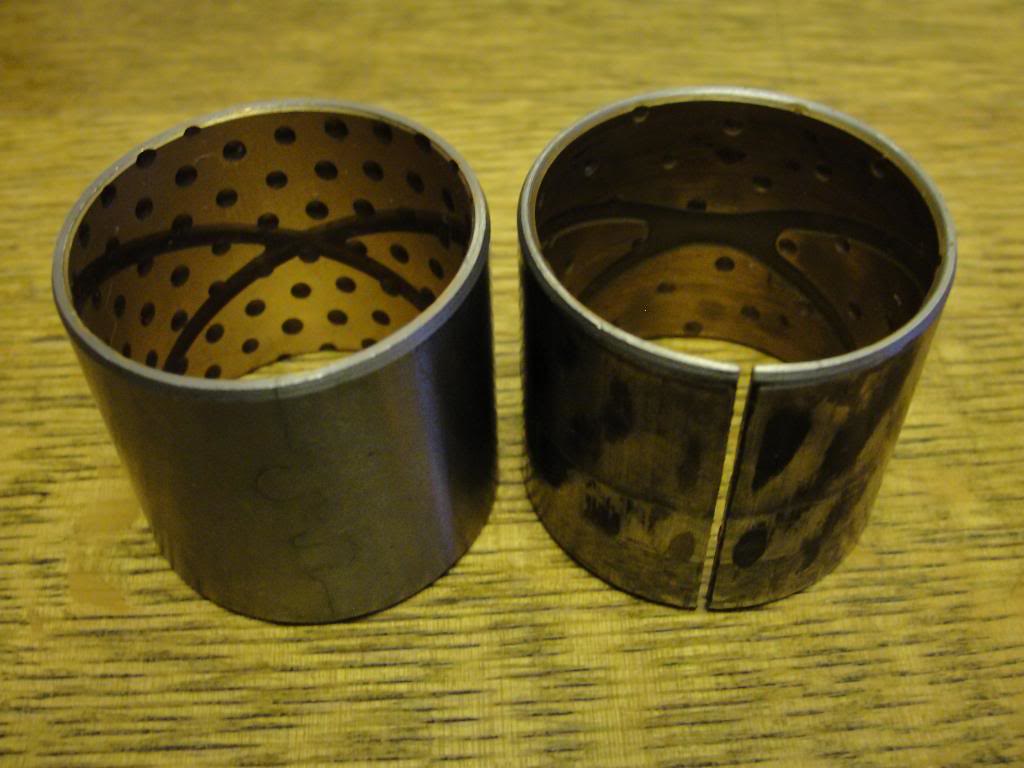 12 Old and New Bushes 12 Old and New Bushes by Jon Leech, on Flickr All back together with nice new bush: 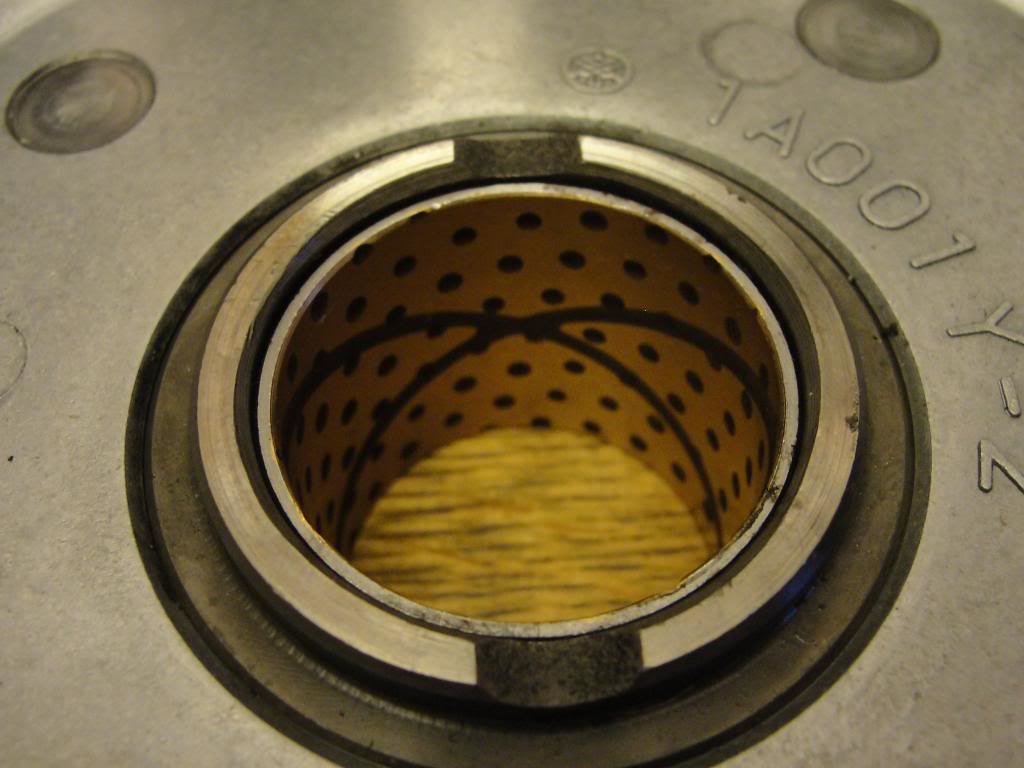 I thought I'd do the same with the idler gear: 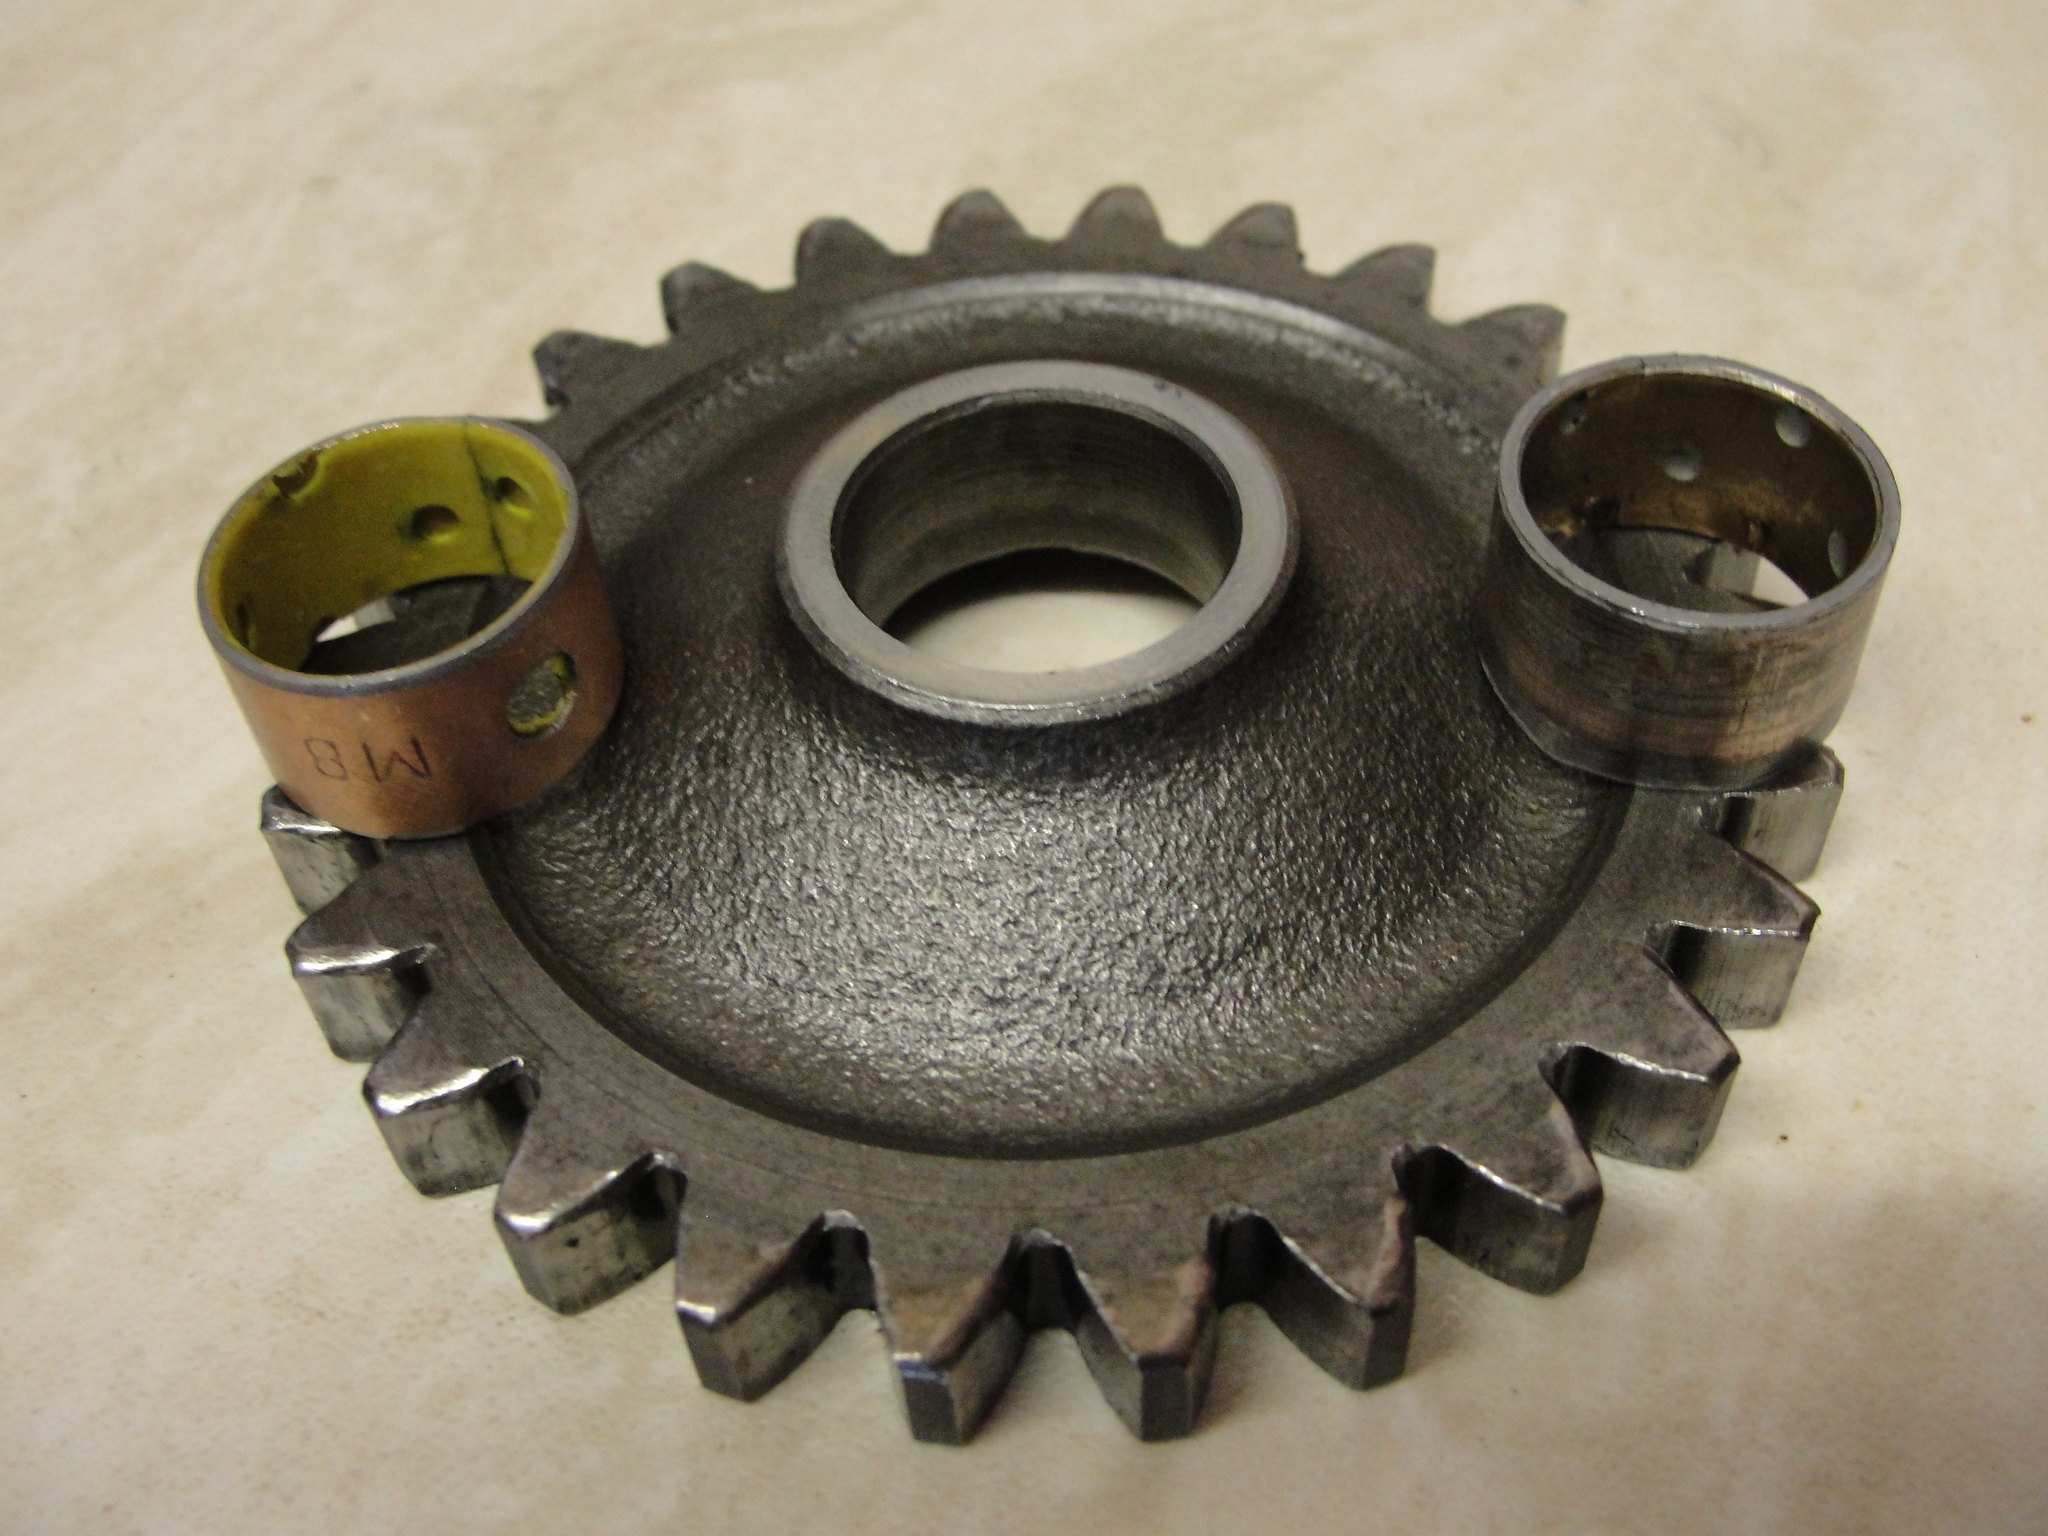 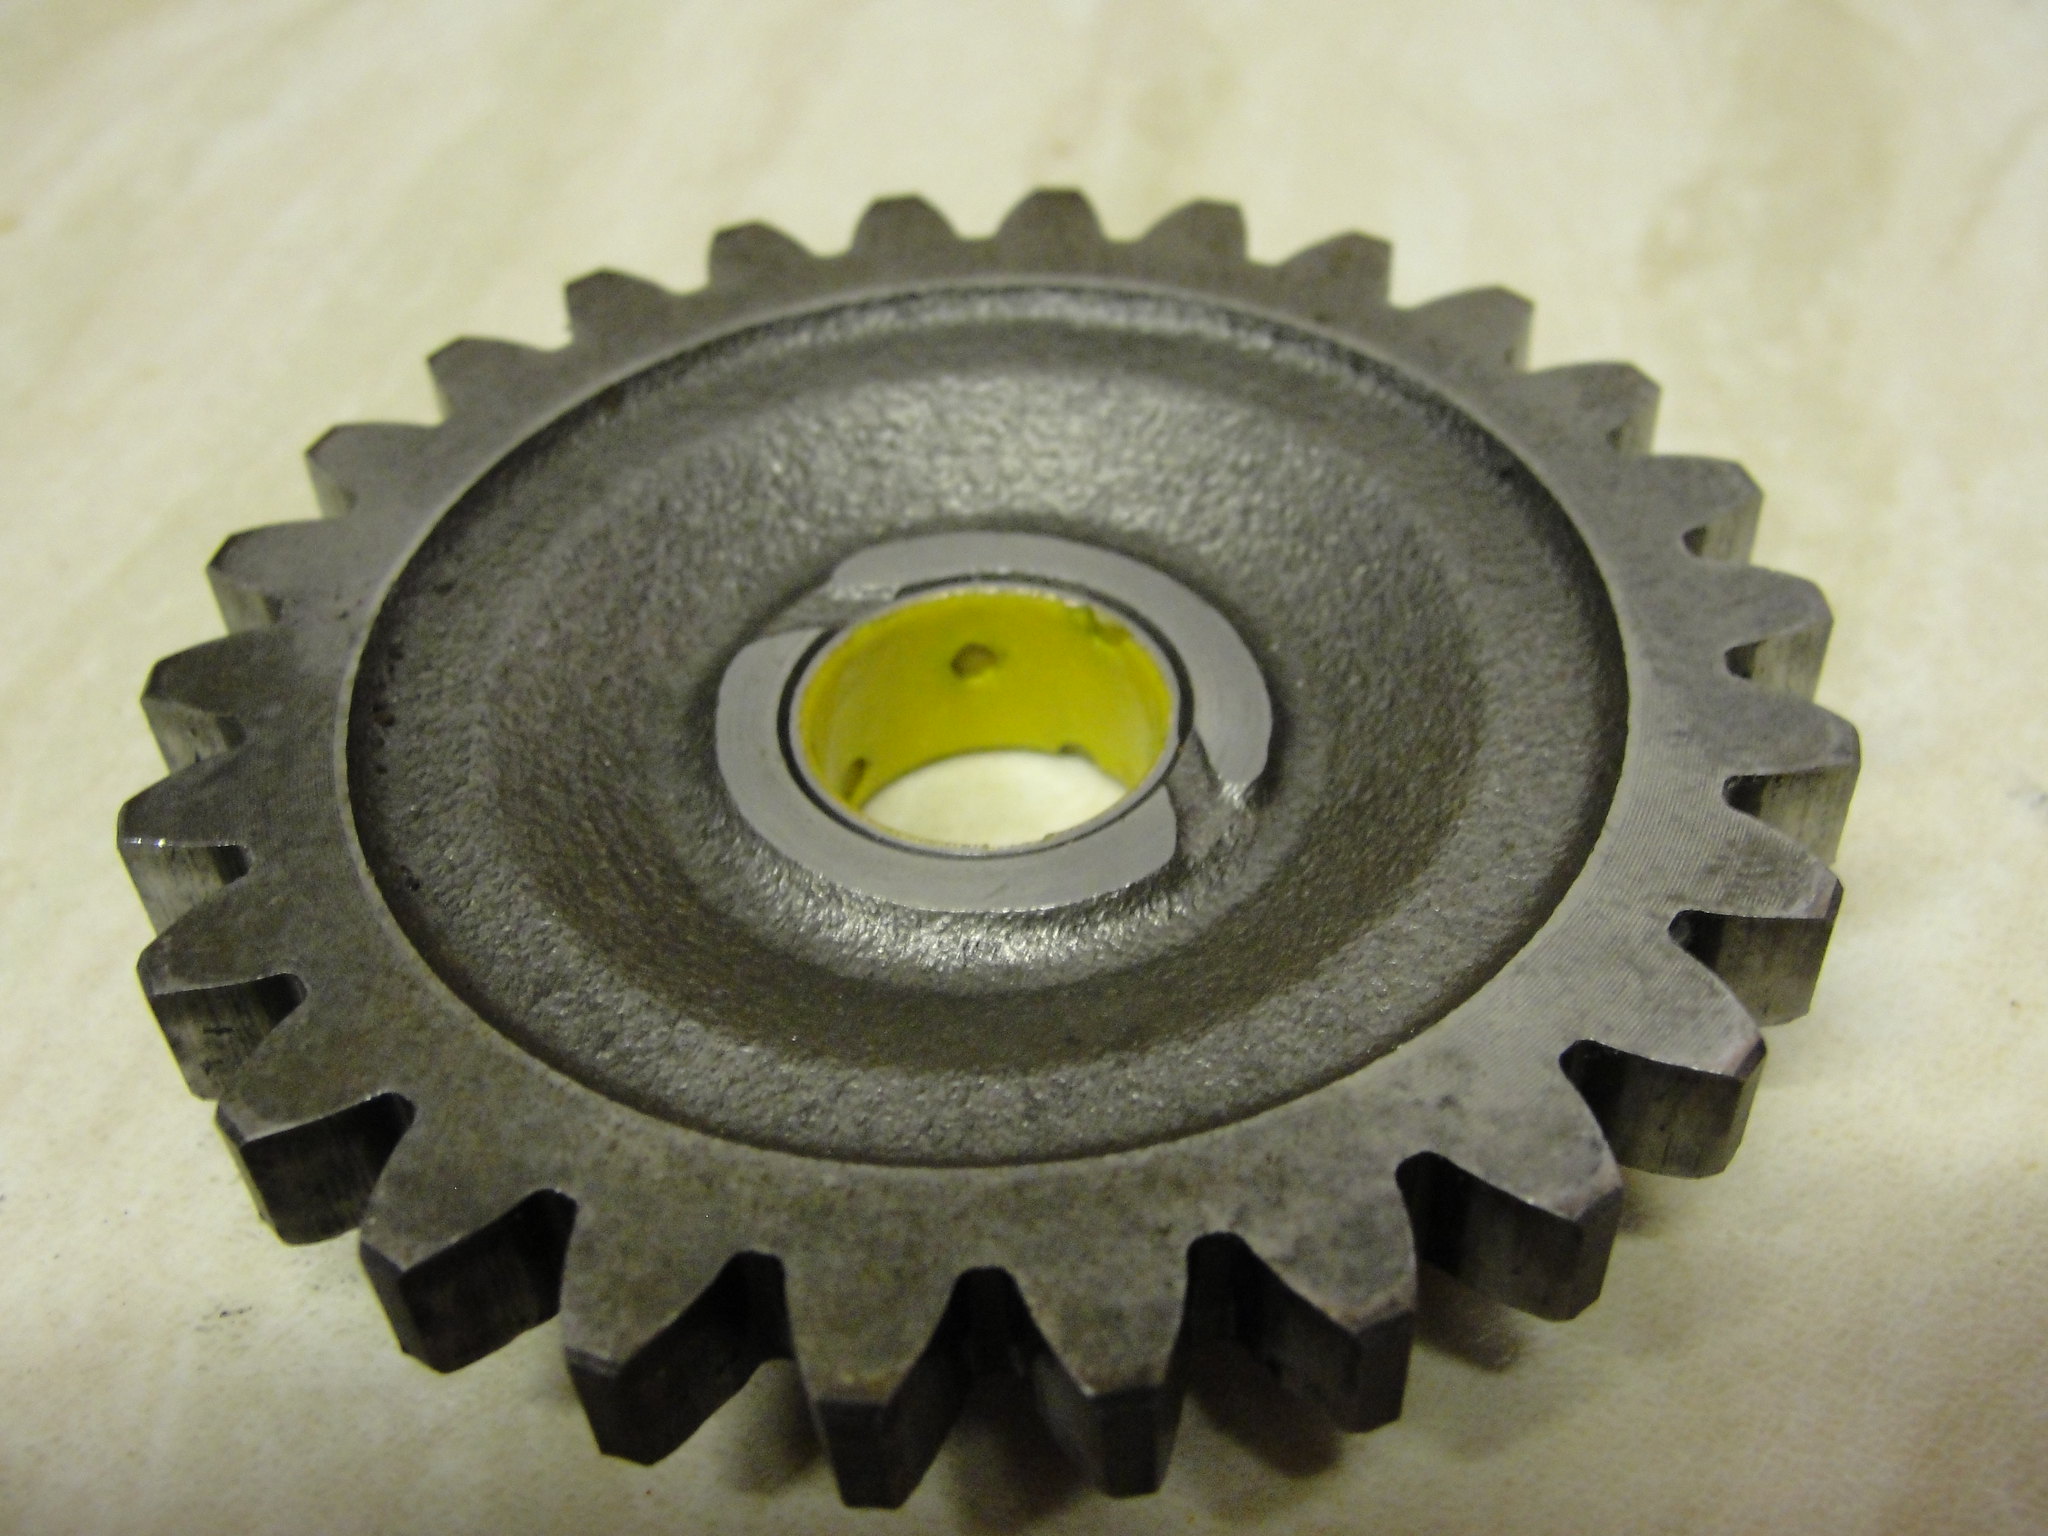 I'm pleased it's now pressed in and the clutch will not wobble about under the engine side case. I've been designing a fork brace/mudguard bracket as I didn't want a TZR 250 mudguard (too square), and so opted for a TZR 125 mudguard. I designed it as a 20mm plate with 13mm spacers to hold it off the tyre, but my local machinist siad why not make it from solid billet? After designing it in CAD, I can't wait to see it in the bare aliuminium. 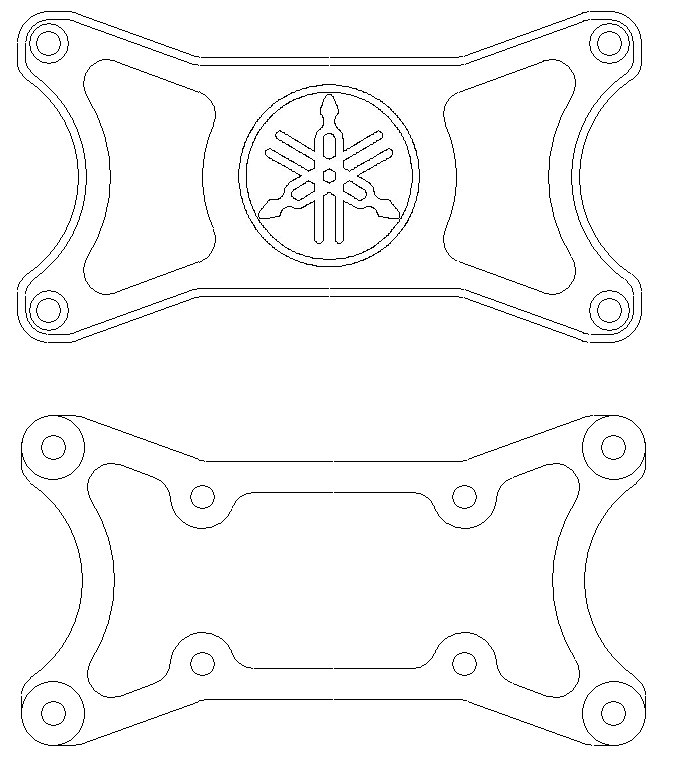 On a seperate noted I had my carbs ultrasonically cleaned over the weekend. They came back extremely clean, but a sort of elephant grey colour. I might try polishing with Autosol, to give a slightly more metal look? Anyone had the same? |
|
|
|
Post by jon on Nov 21, 2012 20:48:39 GMT 1
Like buses, you wait too long then two come along at once. Today I picked up my mudguard bracket/brace from my local machinist, and finally I recieved my elusive screws. They couldn't be more different, one is a nice shiney thing to look at (with limited use) ooh arrh, and the other small black and unseen in the engine (that potentially will stop catascophic engine failure). Anyway shiney bits first ...  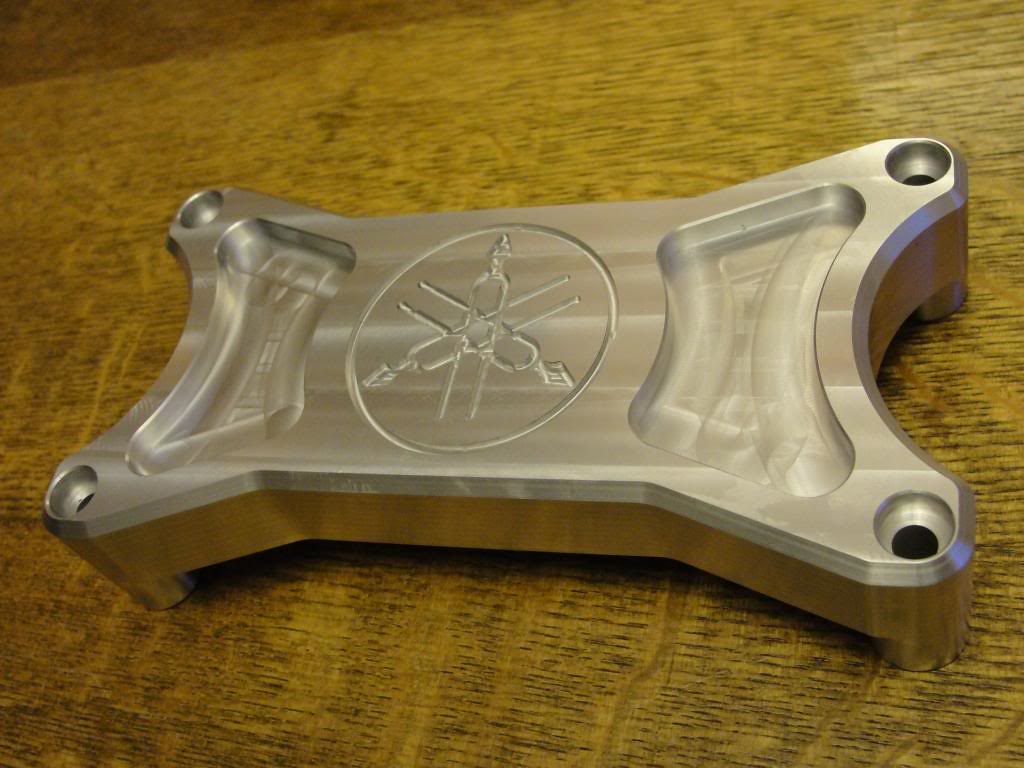 and fitted ... 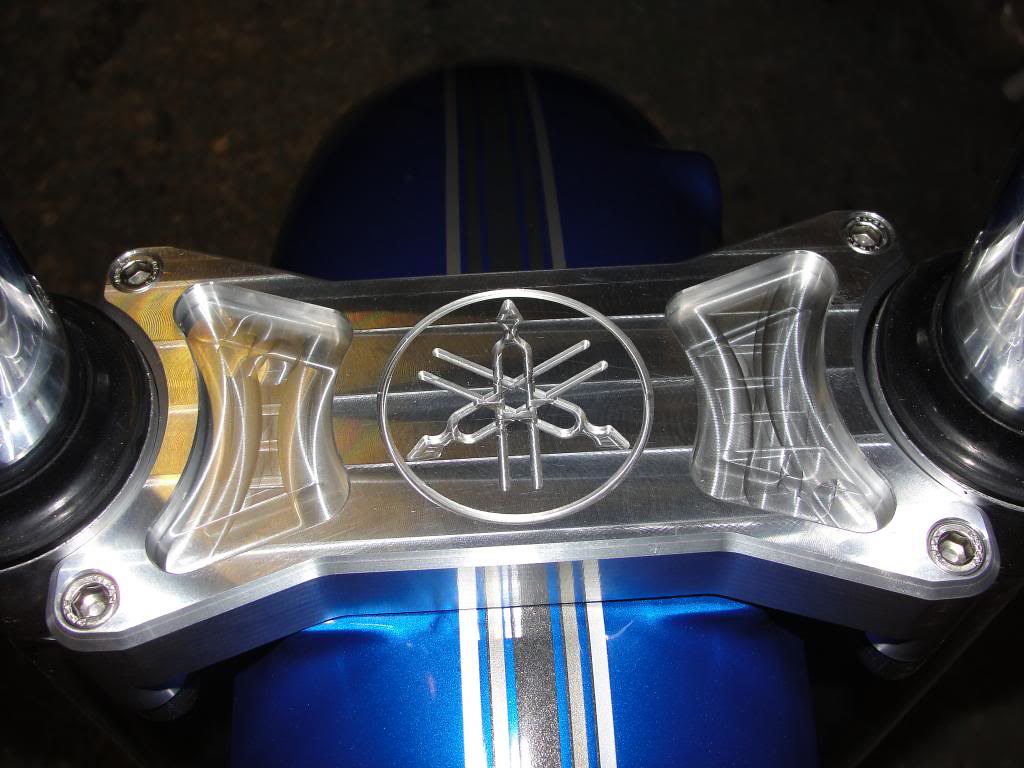 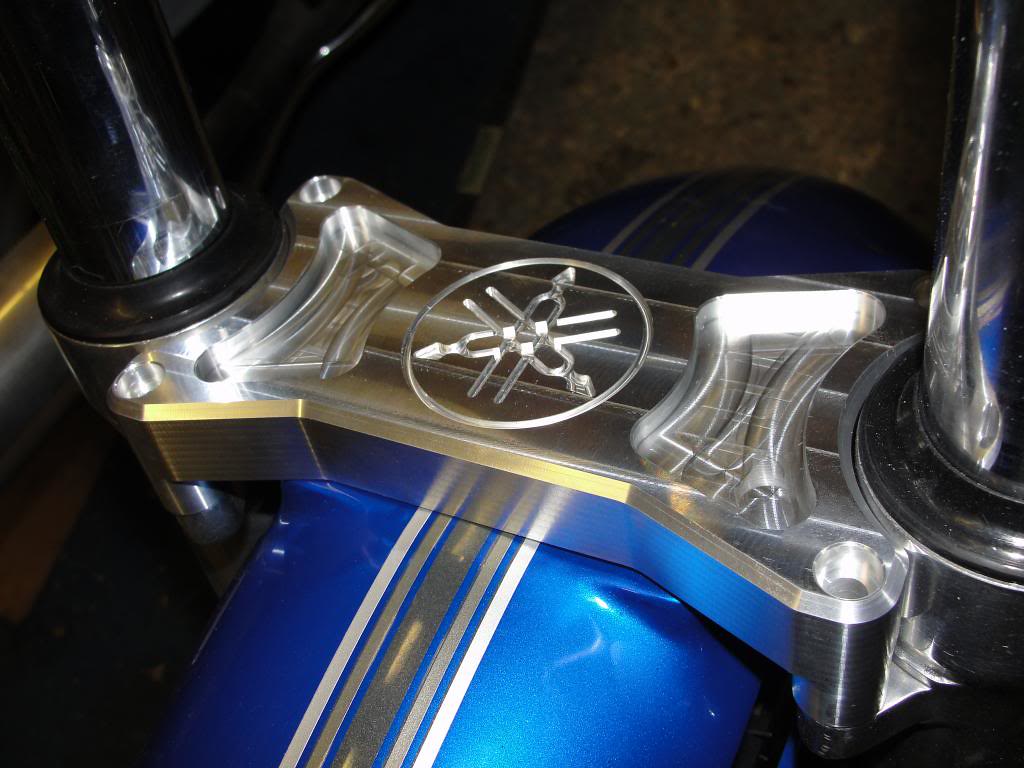 Now for the practicle bits. You would not beleive how difficult it has been to get 12.9 CSK screws. Only one manufacturer make them. I've spoke with 3 people who advertised 12.9 CSK who thought I was a bit odd when I asked to 'visually check the stamping in the top of the screw'. They all came back surprised I was right. Anyway I have them ... 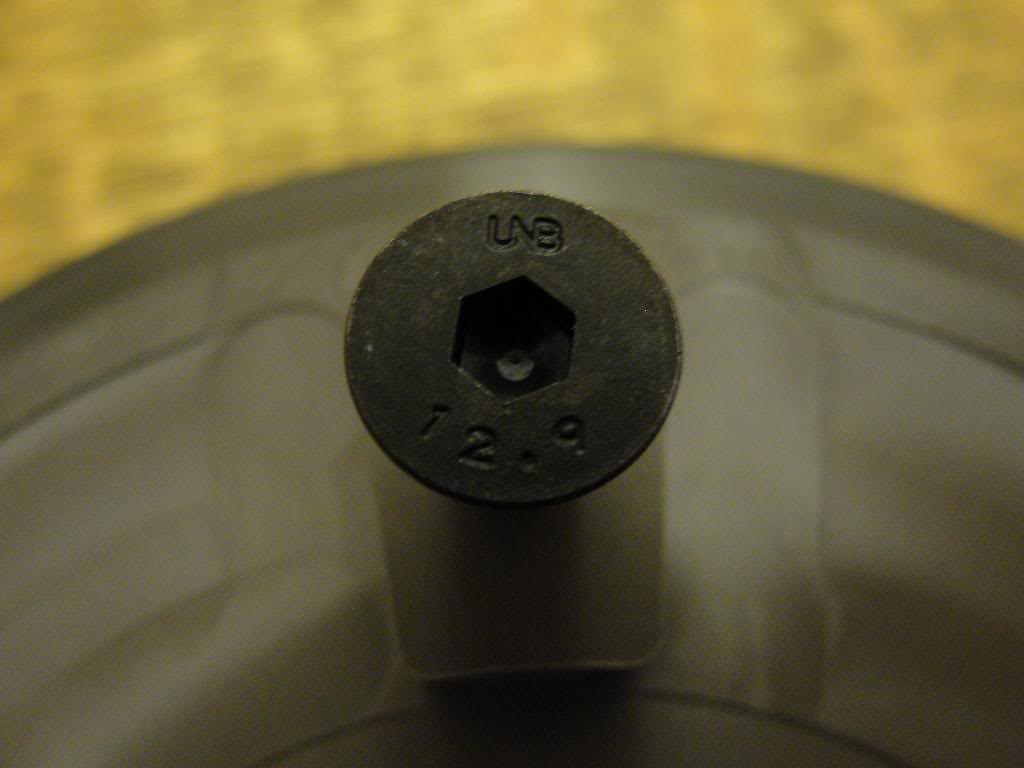 I know many people have fitted the standard Mataka screws to the basket, but I'm a bit paranoid (read engineer) along with some others. The standard Mataka screw has only 12mm thread to go through about 18mm+. The head itself looks very weak (sorry Mitaka I always over engineer ... as I said I'm paranoid). By releiving the stress raiser with a CSK head (with the added advantage of more surface area for the Loctite (or any other suitable less expesive, but just a good thread lock), and utilising full thread depth/penitration (ooh/err) I hope the screws are more likely to stay in. I honestly think this paranoia is a result of Mitaka's total disclaimer about their products in the blurb. Screw height ... 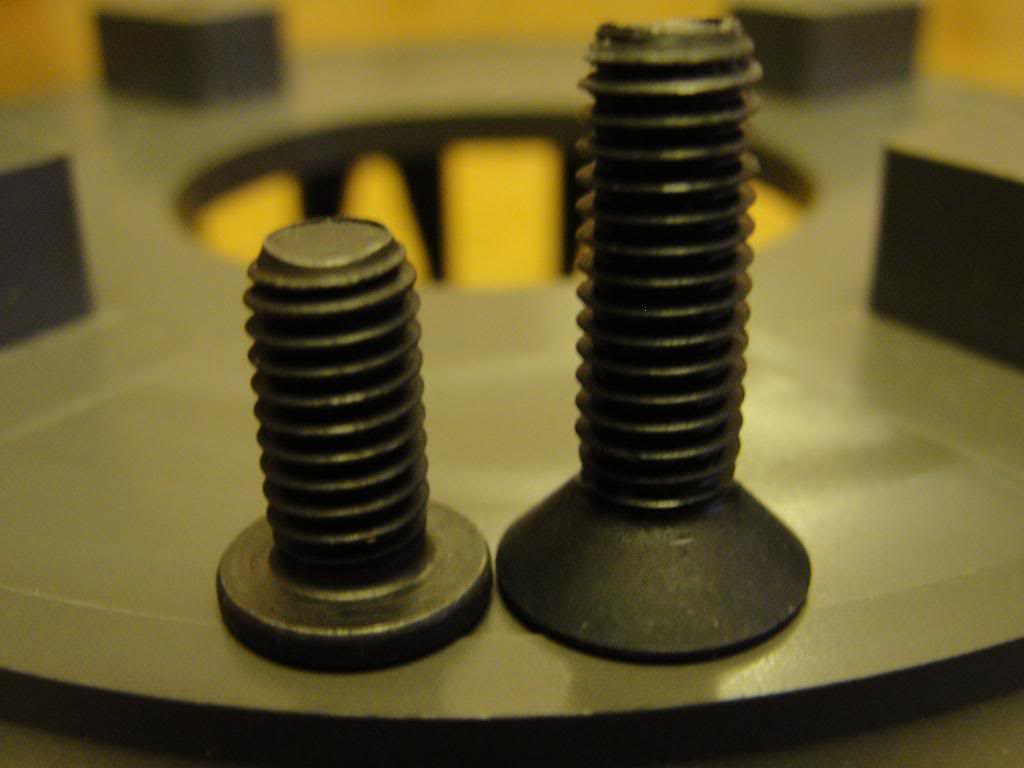 shown against the thread depth 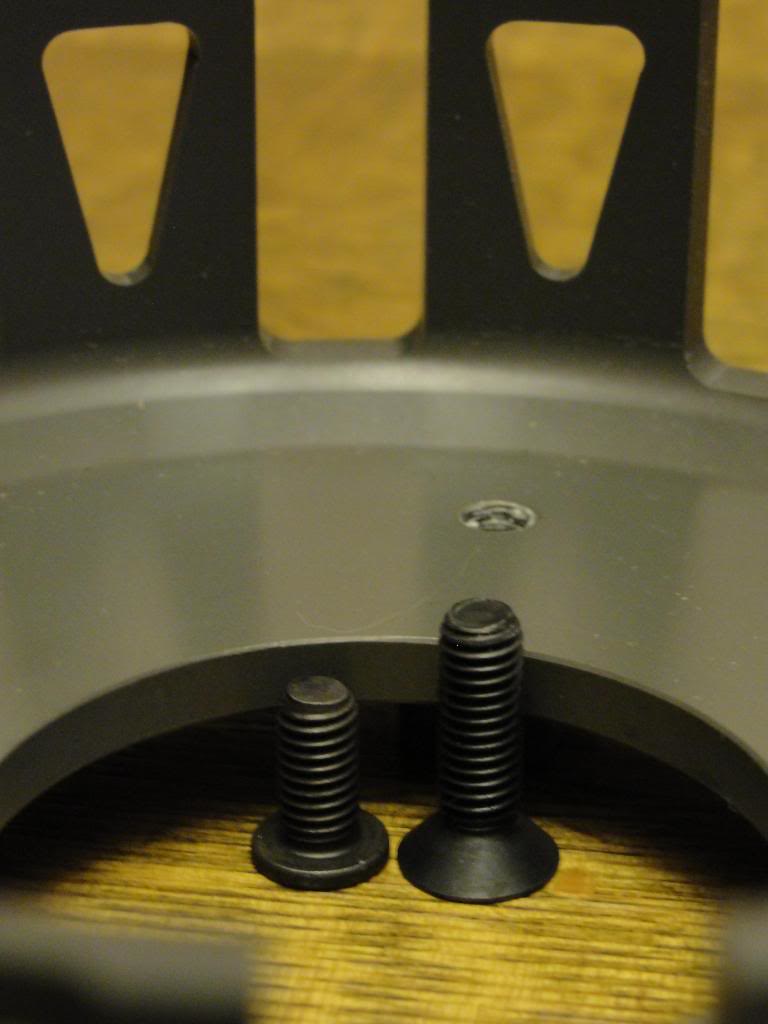 |
|
|
|
Post by scott on Nov 21, 2012 21:52:50 GMT 1
very nice brace m8  |
|
|
|
Post by bigal1 on Nov 22, 2012 9:04:42 GMT 1
love it and like the colour
|
|
|
|
Post by rallykay on Nov 22, 2012 19:51:19 GMT 1
Lovely screws ;D
|
|
|
|
Post by jon on Dec 2, 2012 21:17:04 GMT 1
Havn't had too much time to spend on the bike recently, but did manage to polish the footrest hangers today. I will fit them next week and hang the expansions on to see what the bike is going to look like. 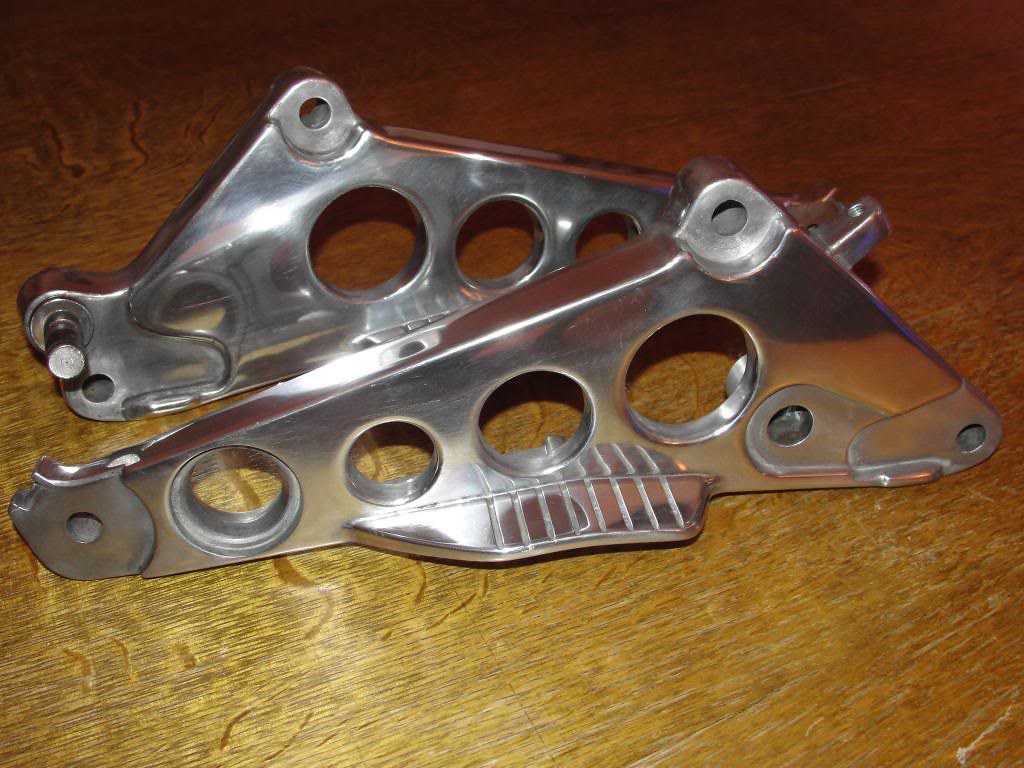 |
|
|
|
Post by jon on Jan 20, 2013 21:06:31 GMT 1
At last I can get on with the bike again. I have been leveling the floor in my workshop. I got a bit side-tracked, and got a new toy. 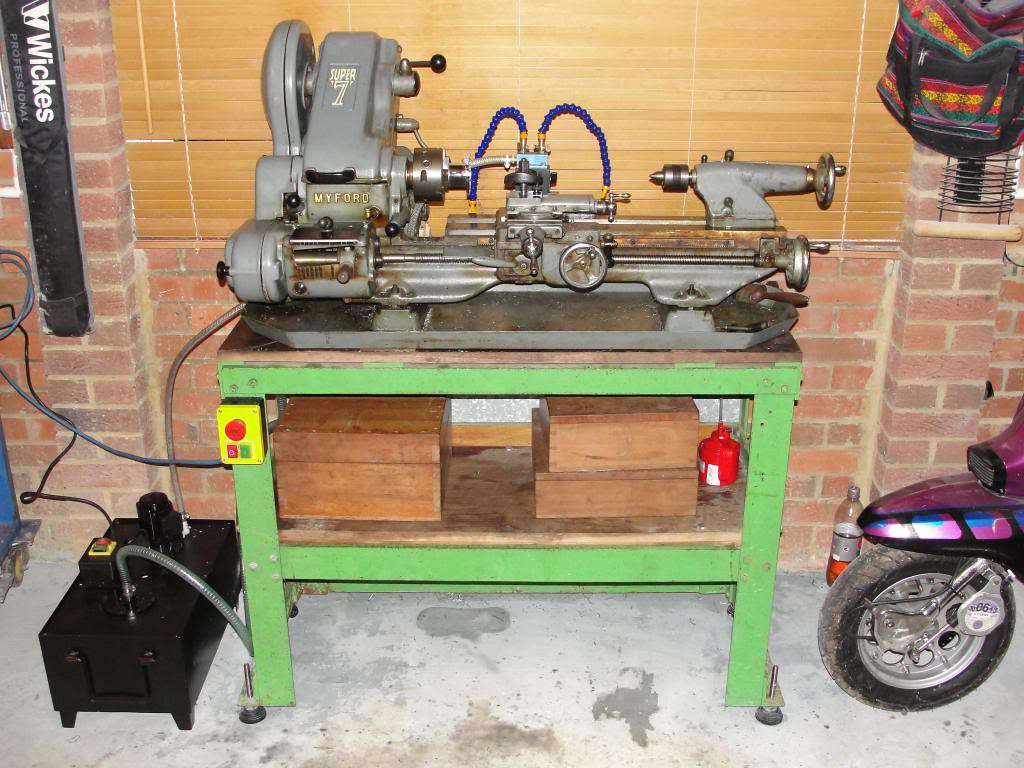 However now I can get on. Today I finally managed in a month or so to work on the bike. At first I wanted to make some early exhaust packing pieces, but realised the Allspeeds I got built were a larger bore than standard. There were two options: 1) Open the exhaust port up to match. 2) Make an adapter. I'm a bit weird in the fact that the RD350LC engine I've built to get the bike on the road it totally standard, and I wanted to leave it that way. Therefore I made adapters ... the aluminium adpaters in the foreground. 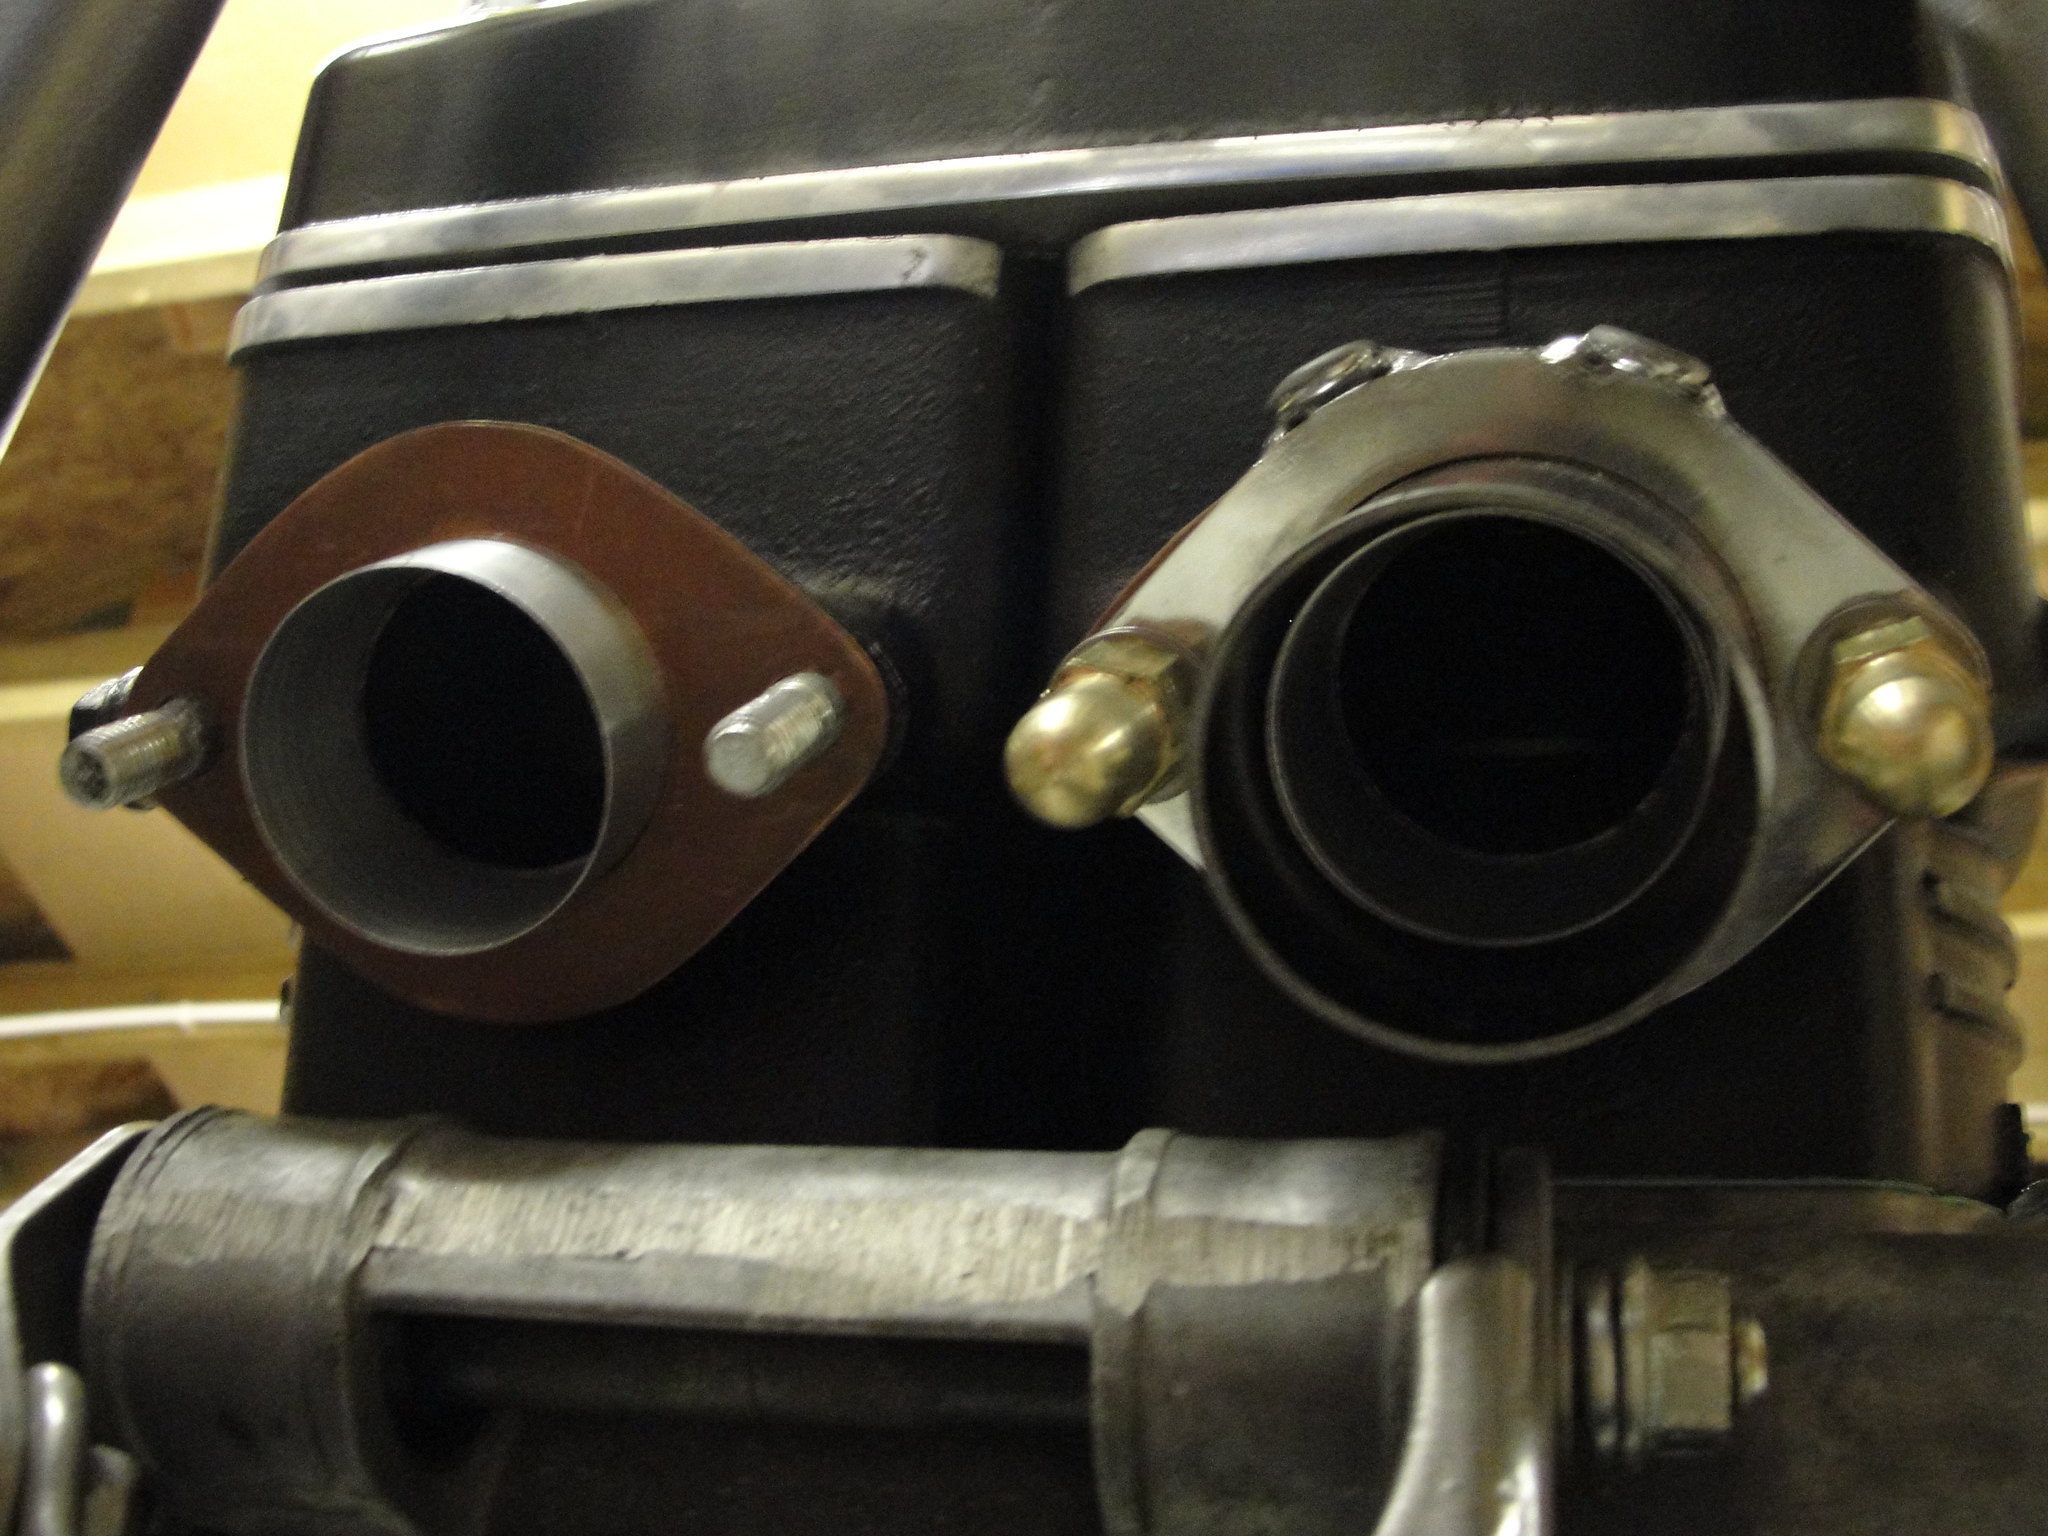 They are cool, they have a 4 degree internal taper, an bridge the gap between standard LC barrels and Allspeeds. I also made some copper gaskets, and faced off the Allspeed flanges to seal properly. |
|
|
|
Post by jon on Jan 20, 2013 21:17:28 GMT 1
Just to be on the safe side I also faced off the Allspeed flanges so they are totally flat, as they had the tinyiest little high spots of TIG weld on them. 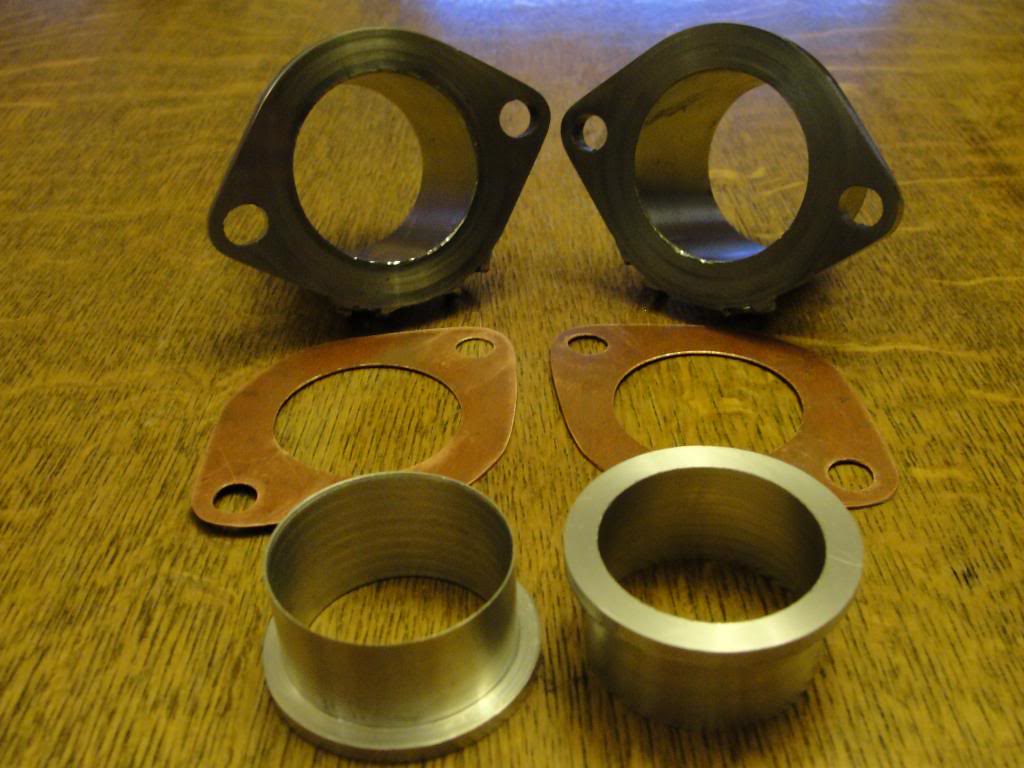 |
|
|
|
Post by jon on Jan 29, 2013 22:22:36 GMT 1
Got to do my footrest pins at the weekend. I can't believe how much effort it took. When I got my LC years ago one of the first things I really didn't like visually was the industrial M8 bolts (that were way too long), and a massive washer and nylock nut holding them on. I know the footrest rubbers are far from slick (ugly?) compared to modern bikes, but somehow the bolts made it worse. I'm a bit weird? in the fact I want to keep the LC styling. Therefore I decided to upgrade the pins (modern) rather than the style. I could have just turned the SS threaded pins, but looked on the Probolt website for the CSK washers and realised they would not fit. They are 19mm OD, and you need around 15mm OD to clear the weld for the external spring. Therefore I had to make specific CSK washers. 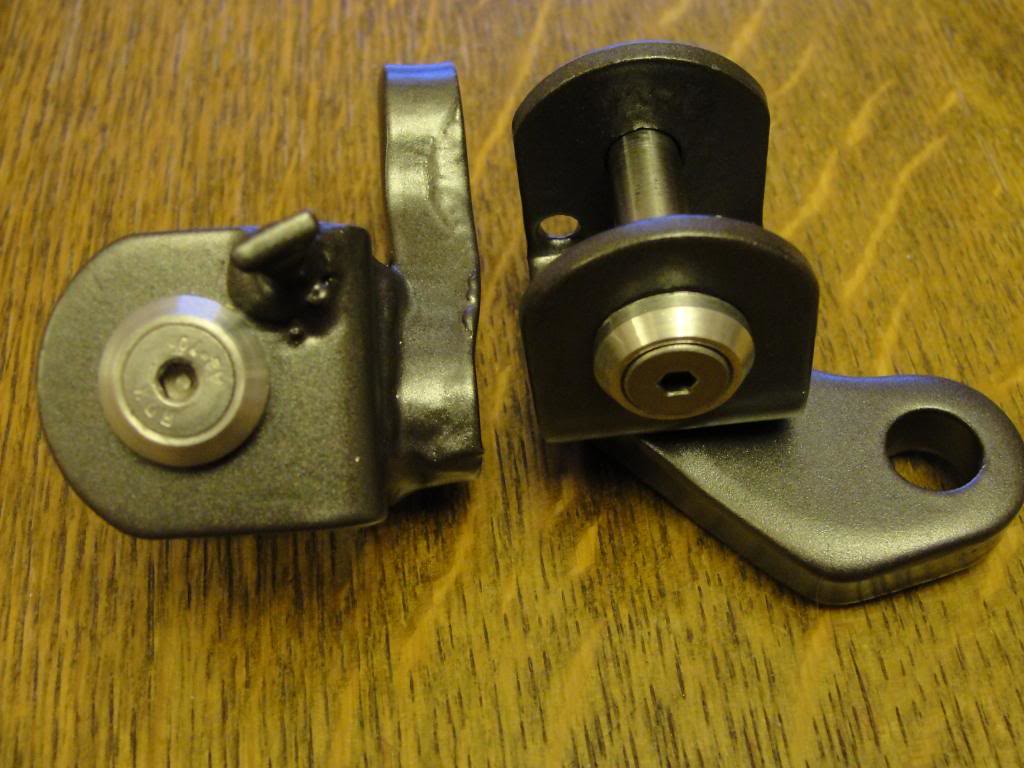 |
|
|
|
Post by phil916 on Jan 30, 2013 7:23:32 GMT 1
Neat! Nice touch!  |
|
|
|
Post by copper99 on Jan 30, 2013 21:35:13 GMT 1
Fantastic work...i really am lost for words with the quality of these rebuilds..
|
|
|
|
Post by bare on Jan 31, 2013 19:40:09 GMT 1
Astounding ain't it ?
True labour of love.
But do note that almost always, the adventure is far more rewarding than the finished product.
Often it seems as anticlimatic.. once completed.
|
|
|
|
Post by jon on Feb 17, 2013 22:51:40 GMT 1
Got to machine up a few more bits for the LC. I wanted brass exhaust nuts, as they have worked well for me over the years. I really don't know why they are not that common these days? I also made some rear exhaust mount washers, as I seem to have lost one during the rebuild. Anyway they look far better than scratched chrome washers. 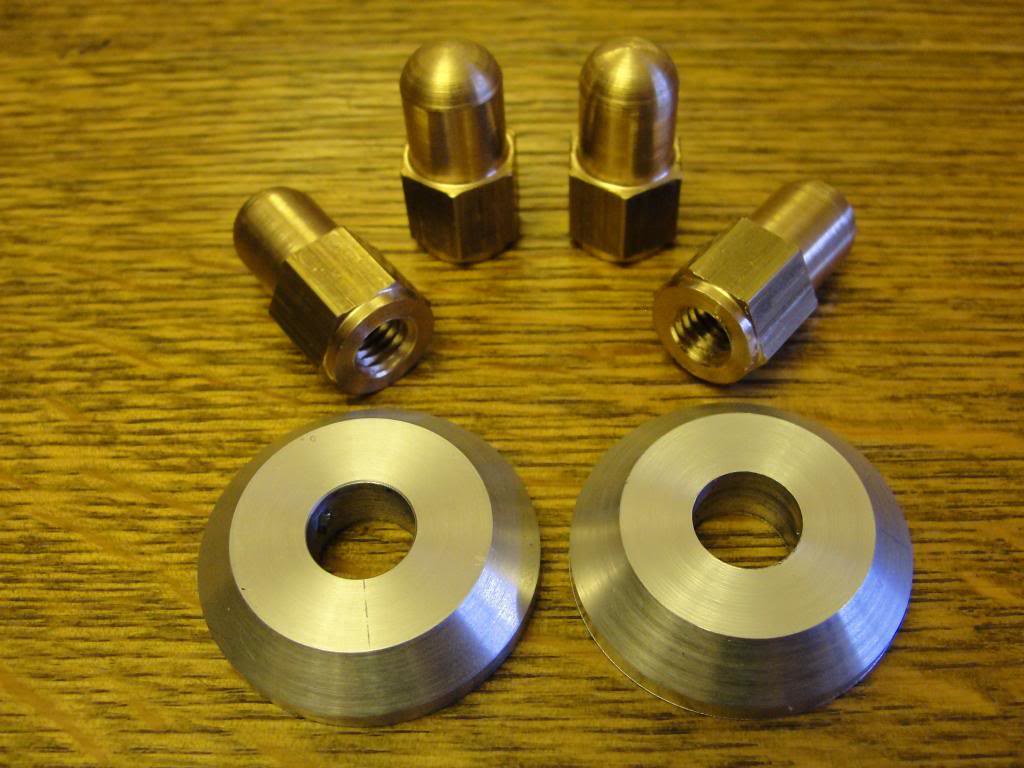 Also fitted new rubber to footpegs ... 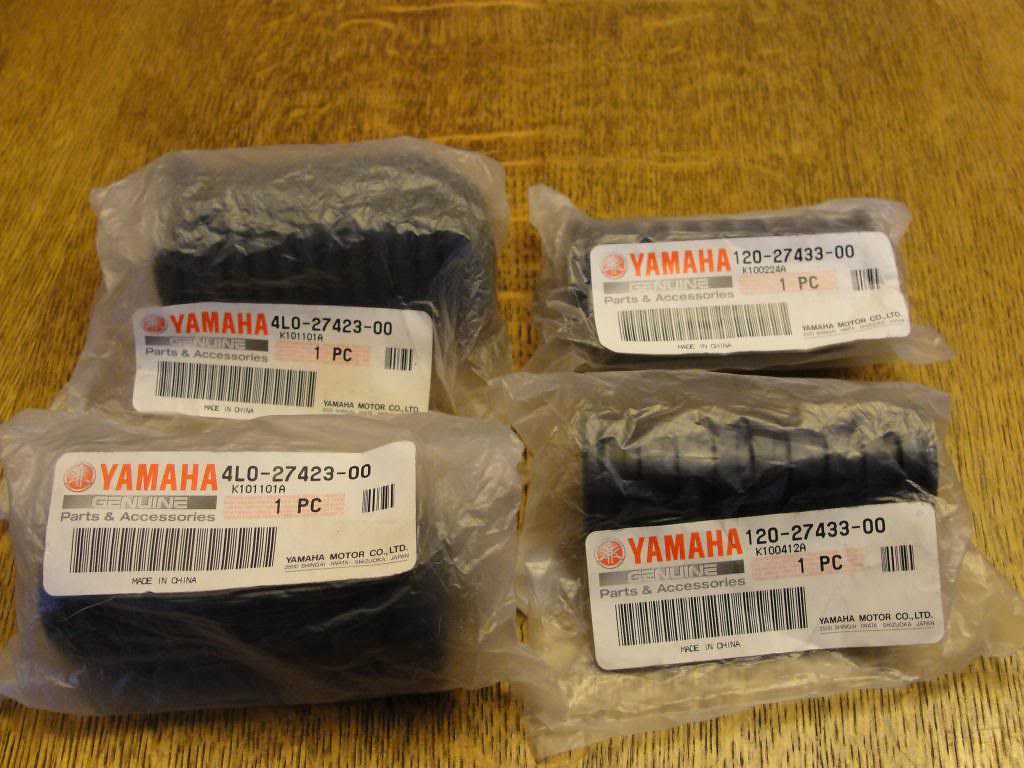 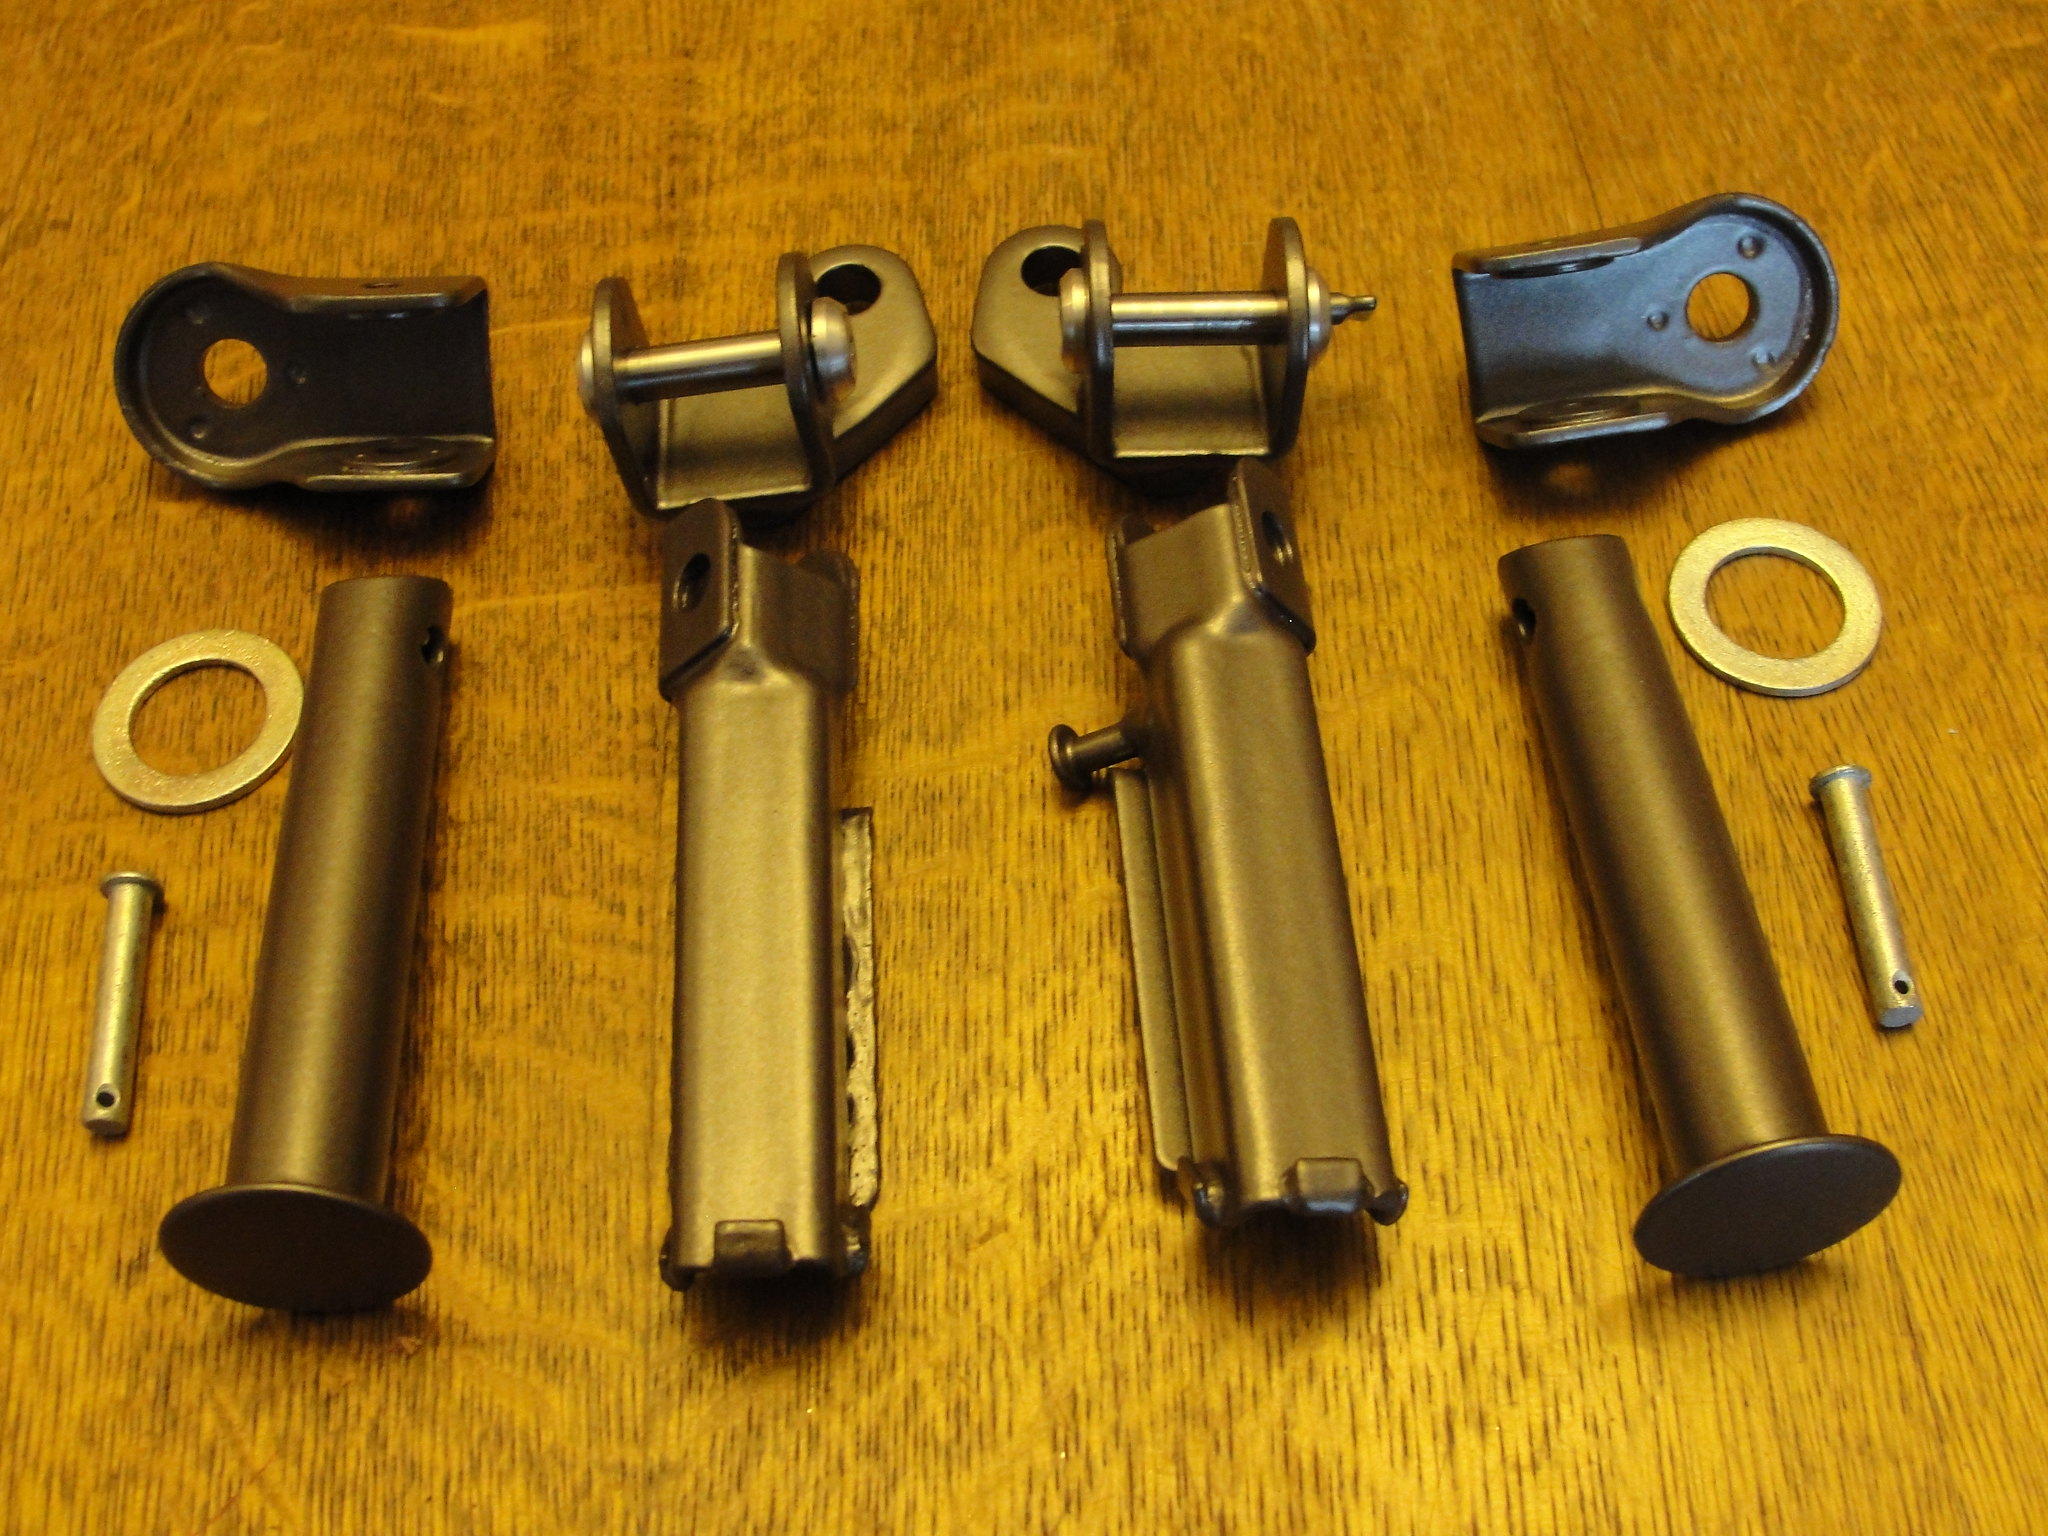 |
|
|
|
Post by jon on Feb 17, 2013 23:02:04 GMT 1
Also got to put my sprockets on this weekend. The wide TZR wheel was 9mm off true with the front sprocket. Nigel at NK racing machined 4.5mm off the sproket carrier and supplied a 4.5mm offset sprocket as he said trying to correct it all with an offset sprocket would risk the chain rubbing on the frame. After this was done I checked the alignment with a straight edge clamped to the rear sprocket. Thankfully it was spot on. 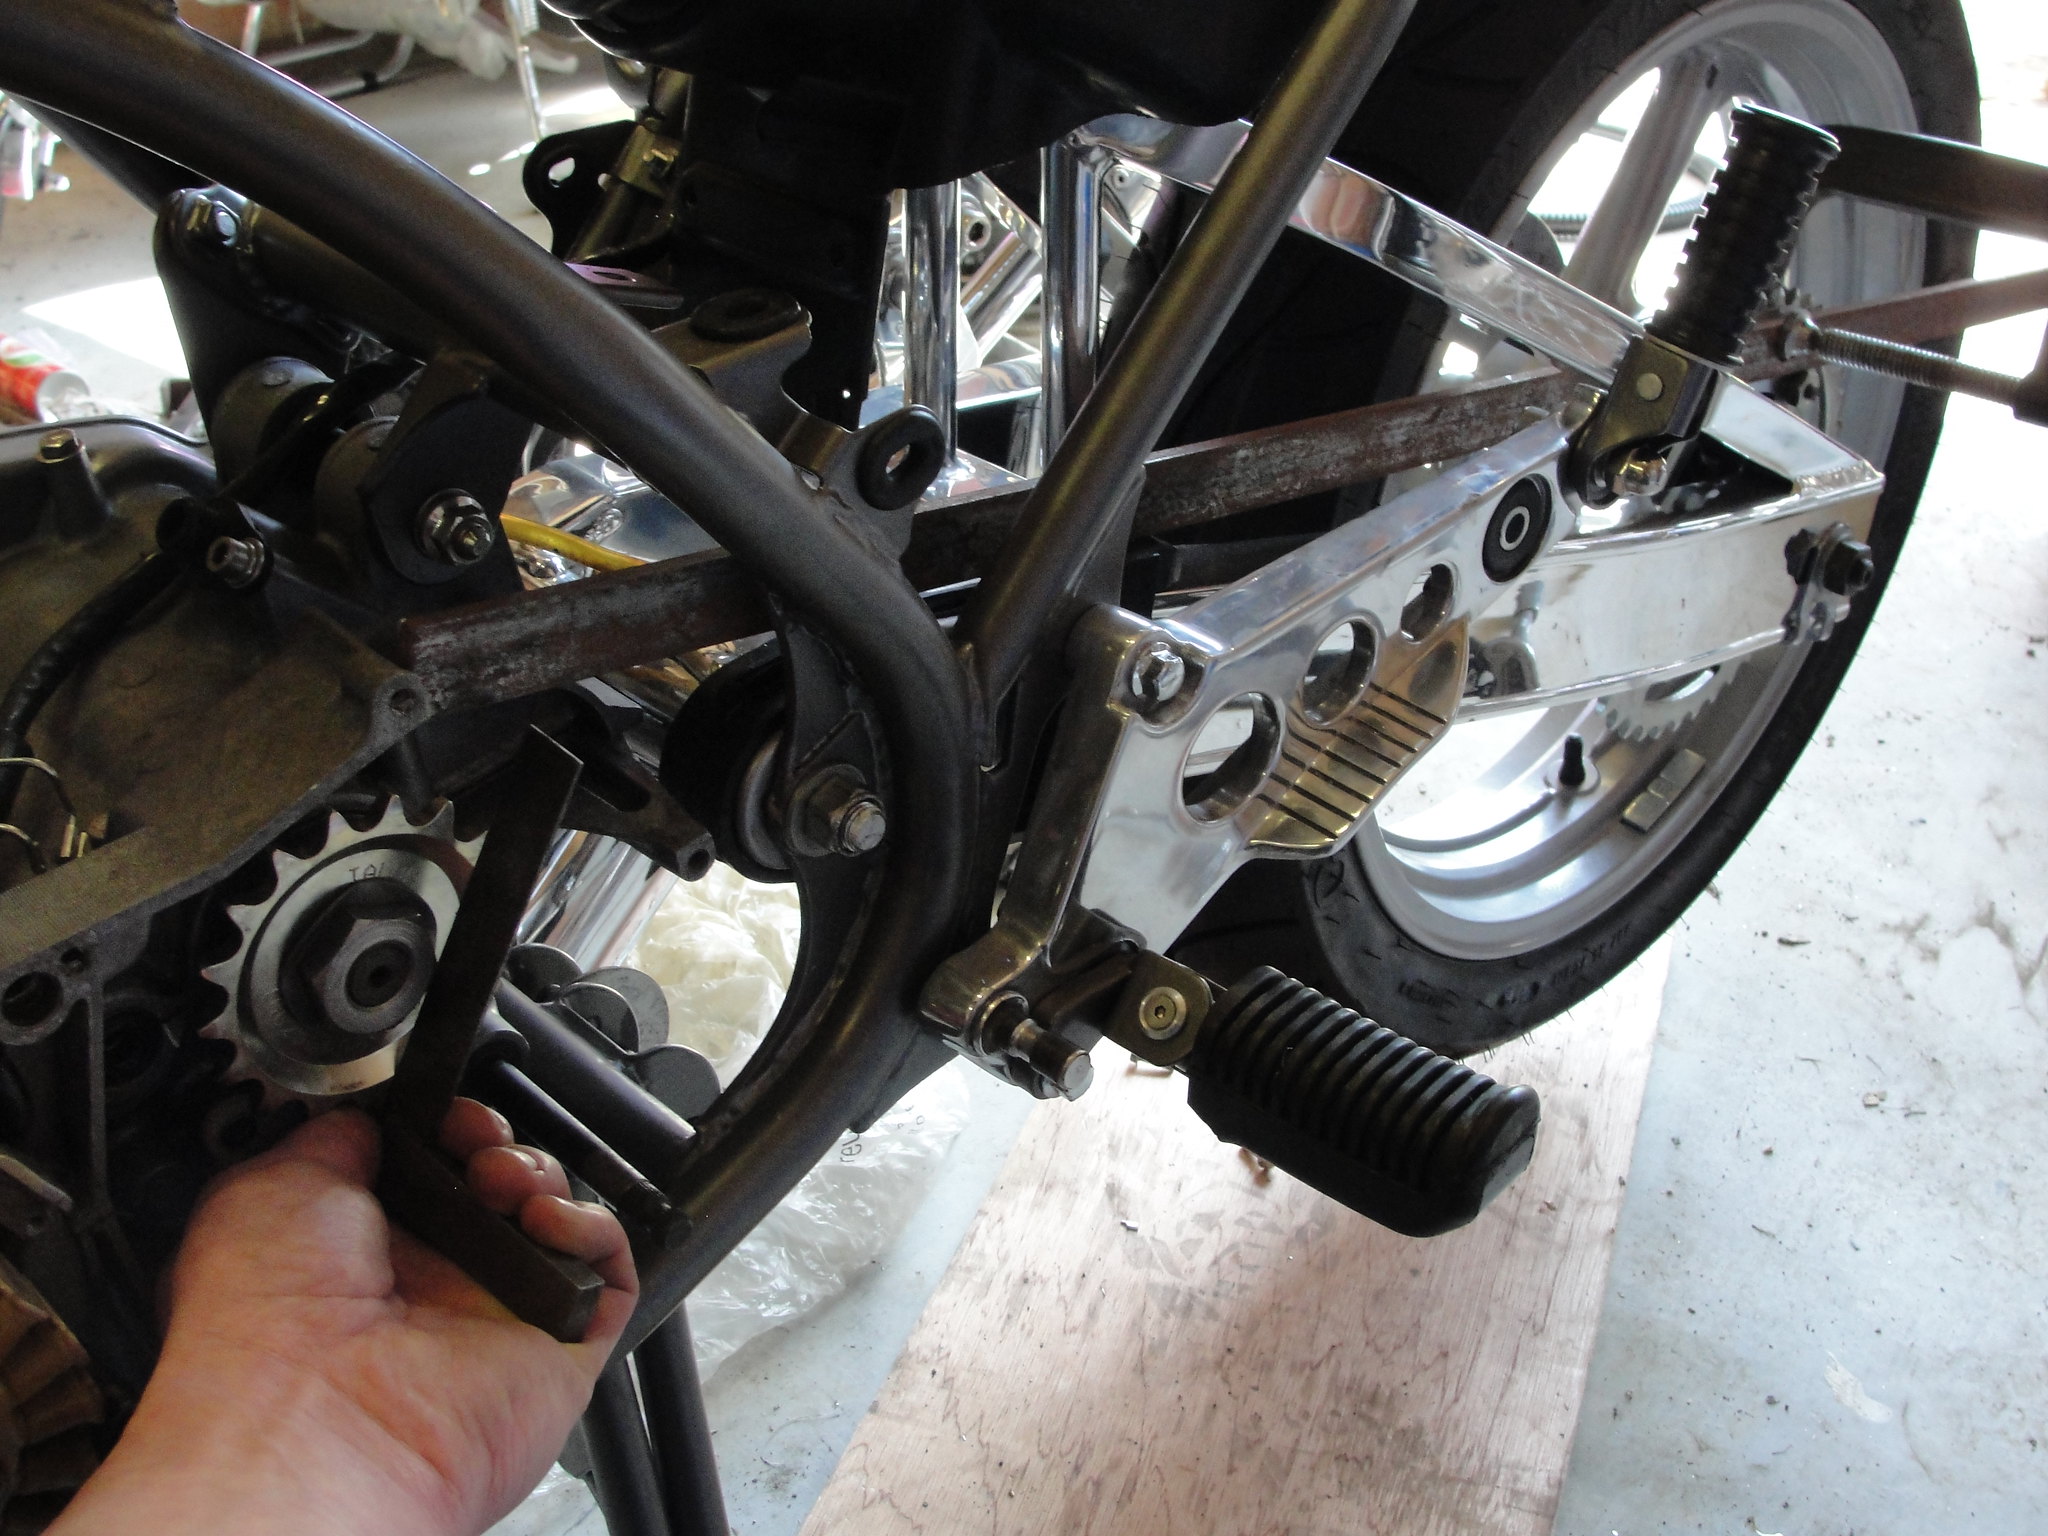 Chain and Sprockets: 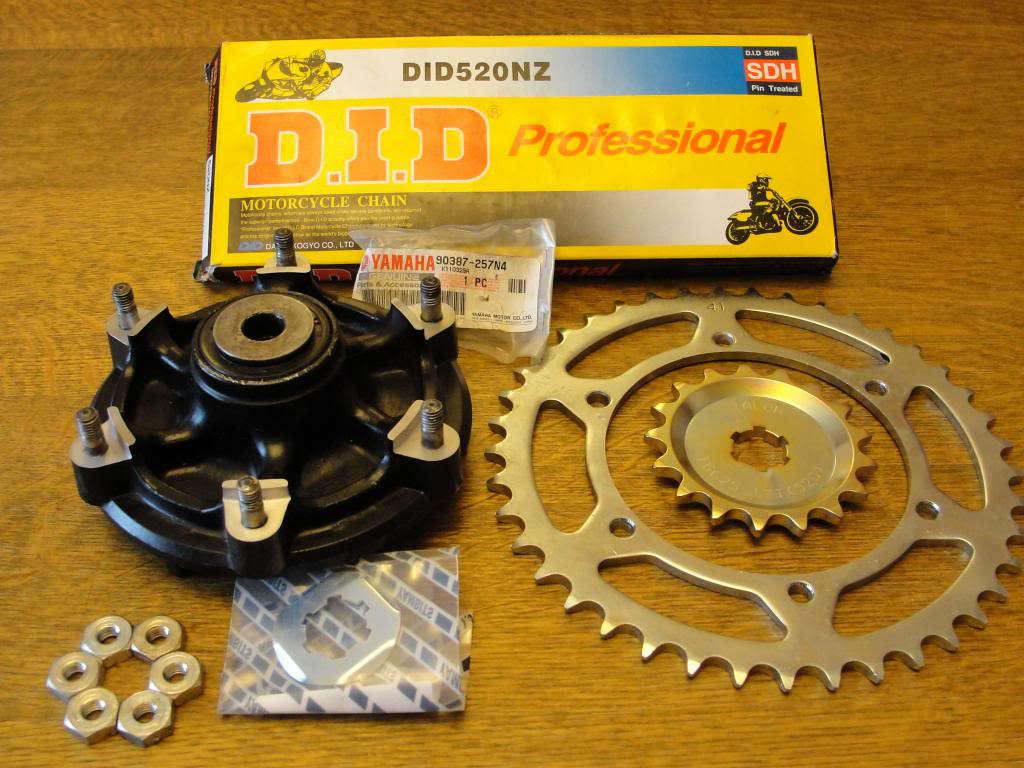 Billet swingarm pull plates as the originals are weak. 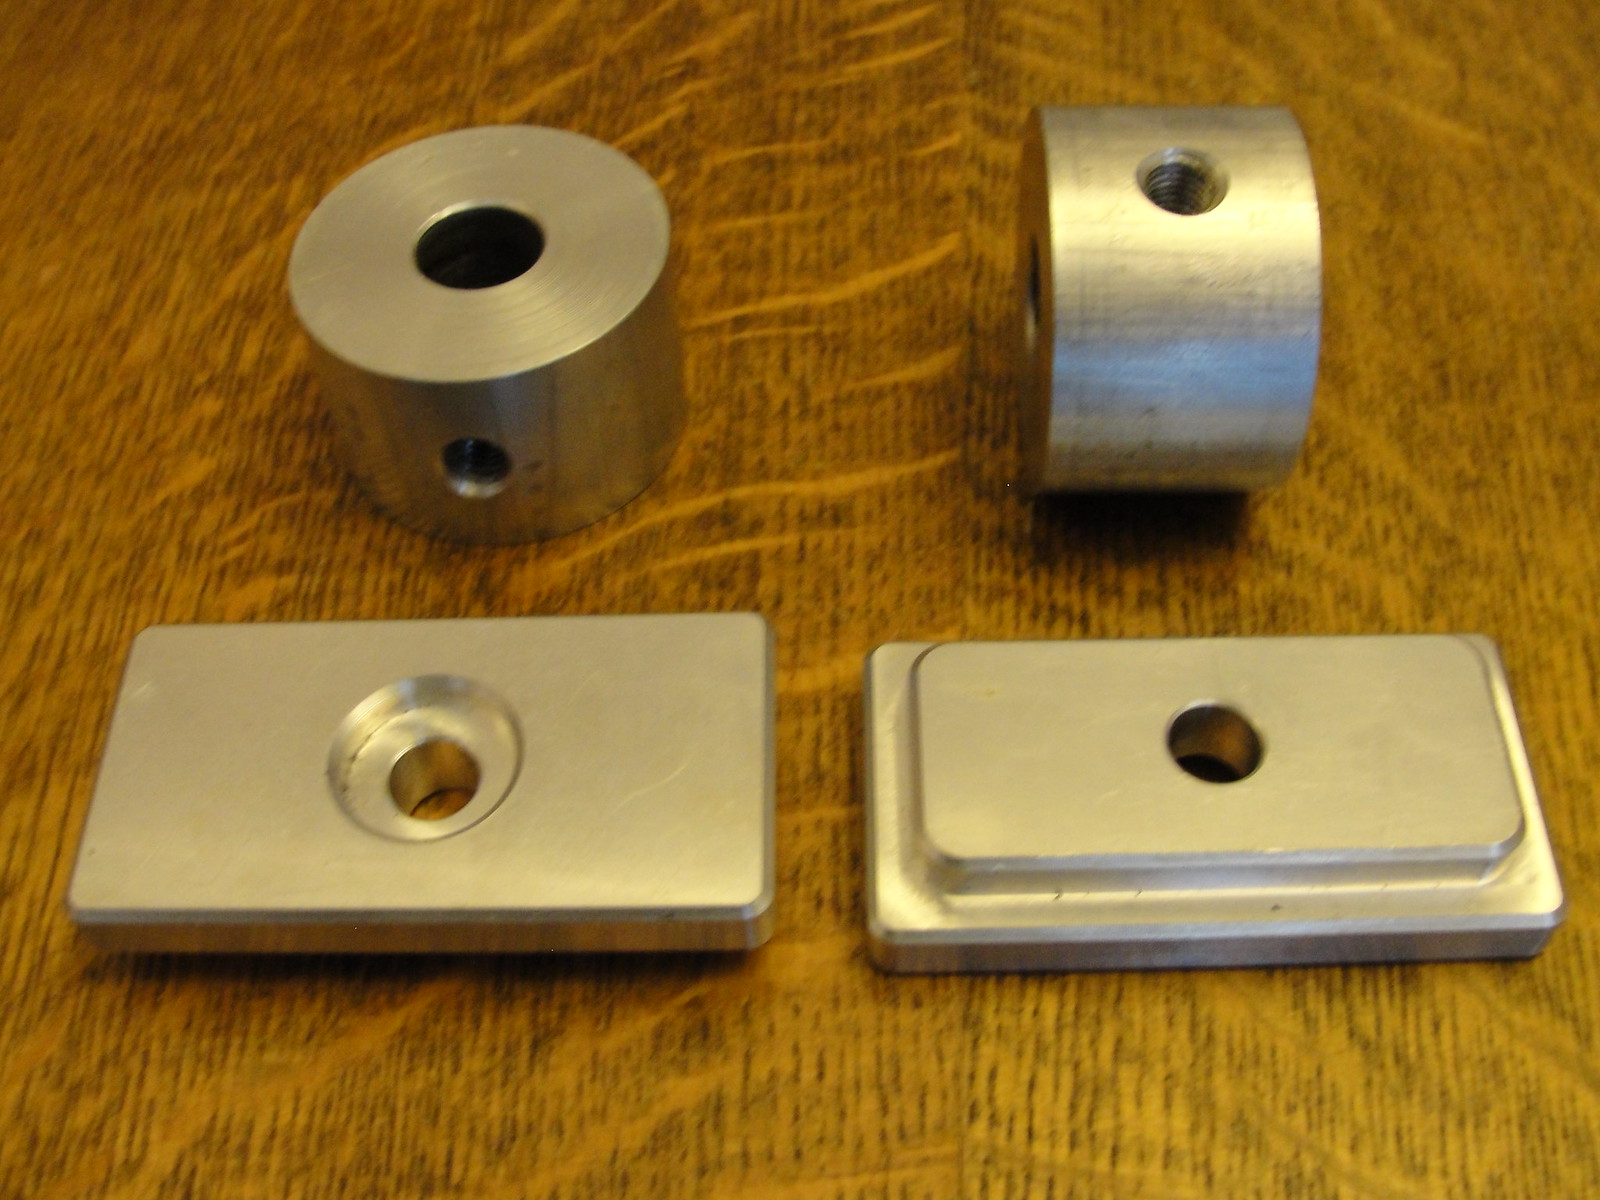 |
|