|
|
Post by sidney81 on Apr 25, 2021 15:12:20 GMT 1
Brilliant dusty ,seen the vid sounds lovely!! 😎😎😎
|
|
|
|
Post by oldbritguy on Apr 25, 2021 19:11:20 GMT 1
3kicks and sweet as !!!!!!
Sounds lovely Dusty. I can just picture the grin 😁
Always a huge lift when you get that first fire up after a rebuild.
Well done mate 😉
John
|
|
|
|
Post by dusty350 on Apr 25, 2021 19:49:44 GMT 1
Thanks guys  Even though a lot of parts are new, it's still a bit of a worry that something may not work as it should, and then trying to trace which part that may be ! Luckily it fired up really easily and ticked over nicely, although I fully expect to have to tweak carb settings at some point. I want to finish a couple of little jobs before the bodywork comes back, but that's 5-6 weeks away, so should be done by then. It's the hardest and probably the most expensive way of building a bike - from parts sourced from here, there and everywhere, but probably the most rewarding when it's finished. I wouldn't want to do it that way again to be honest though. Some of the aircooled stuff is getting really hard to find in good nic, and therefore expensive. First thing Mark did when I took the bodywork up to him was get his torch inside the petrol and oil tanks to check for corrosion - so many tanks rot out and finding a good one is nigh on impossible now. I enjoy the build but I dont enjoy the chase for good parts !! I haven't added up the cost of the build yet, and I haven't got a clue if I would recoup what I've spent, but it's been nice creating a bike from nothing and giving it a new identity. One part that has eluded me so far is a seat lock. It's different to an Lc so cant use that, and the last one on ebay a few weeks back went for £80 !! Wont stop the bike being ridden, but will need one at some point. I wont pay that sort of money for one though. Just goes to show that buying as complete bike as possible, even if it's rough, is your best bet as it's amazing how skanky parts can be reclaimed. Dusty |
|
|
|
Post by donkeychomp on Apr 25, 2021 21:50:49 GMT 1
She lives! Superb work mate.
Alex
|
|
|
|
Post by shaunthe2nd on Apr 25, 2021 21:59:42 GMT 1
Fantastic Dusty, cracking build as always.
|
|
|
|
Post by arrdy350 on Apr 25, 2021 22:32:20 GMT 1
Great job, sounds very nice 👍😃
|
|
|
|
Post by dusty350 on May 1, 2021 20:57:26 GMT 1
Started messing around with carb settings now. Bike starts easily and runs nice and crisp on choke, but once you flick the chokes off it wont tick over and just dies. Pilot jets are a 38, so I got onto Allens and ordered some 52's. I also ordered a pair of N68A needles as the general consensus is they are a better needle if running pod filters. So the parts arrived today, and I fitted them this afternoon. Bike still starts 2nd kick and idles on choke easily. Once warm, flick choke off and it still wants to die, but not as readily as before. I've got the airscrews turned out half a turn from fully closed - they came set at 1.5 turns out. Got to mess about some more yet !  20210501_143834 20210501_143834 by dusty miller, on Flickr  20210501_143826 20210501_143826 by dusty miller, on Flickr Paintwork will be ready at the end of the month. I've got a few days in Northumberland at the end of May, and Mark says I can pick the paint up on the way back down south, saving me a separate trip to collect Dusty |
|
|
|
Post by donkeychomp on May 1, 2021 21:28:19 GMT 1
Electrics and now carbs! Two of my least favourite subjects. Hopefully some more tweaks will sort them out mate.
Alex
|
|
|
|
Post by dusty350 on May 3, 2021 18:51:27 GMT 1
Hi Alex I will get there mate  Now I am moving the bike around a bit more I have noticed a fair oil weep on one of the fork legs  Pretty annoyed as they were dry when I was polishing them at the beginning of the build, but I guess that now they are supporting the weight of the bike, the seals are under more pressure. So I am going to order some genuine Suzuki seals from Fowlers, and maybe change the oil for a heavier weight - 7.5 is standard I believe, and I will go for 10 to help stiffen up the front a bit. I ordered a fork seal driver today - I've always thought it would be a worthwhile investment, even though it wont get used too often, but will make life easier, and less risk of damaging a seal. I need to do a final seal of the pipes, so I will take them off, do one fork leg at a time, and then refit the pipes after I silicon the exhaust flanges. I will document the fork strip down on here Dusty |
|
|
|
Post by dusty350 on May 6, 2021 21:47:55 GMT 1
Only a few parts left to buy now, thank goodness !! The list of new parts far outweighs the original parts, so it seems, and I will be glad when the spending stops !! I have a local place near me that does braided lines, and their trade counter is now open again, so I went in with dimensions for the rear brake line. Not a straightforward fit, as I wanted to hide the line behind the master cylinder, and made a bit more difficult by the positioning of the master cylinder on the footrest plate. These lines have a non adjustable swaged end, so you have to get it right as there is no "tweaking" once fitted. Thankfully, it fits and I modified the top of the master cylinder by cutting back the cast post that the hose end sits against when you tighten the banjo bolt, thus allowing the hose line to tuck in a bit more;  20210506_141851 20210506_141851 by dusty miller, on Flickr I will pop back next week and get the 2 front lines made up. The fork seal driver turned up, and new oil - 15 wt;  20210506_141957 20210506_141957 by dusty miller, on Flickr I've been researching the forks on the Rgv forum. 10wt is standard for the oil, with 429ml per leg. General consensus is that you can increase the oil capacity to 445/450ml, and use a heavier oil to increase damping. I dont want to go to the expense of stiffer springs, plus they didn't feel too soft before I found the leaky seals, so I will increase the capacity to 445ml with 15wt Silkolene. I took the Allspeeds off today, and jacked the bike up to remove the front wheel. I removed the right leg, after loosening off the top fork nut, and will rebuild that and fit it back in the yokes before doing the other leg;  20210506_164951 20210506_164951 by dusty miller, on Flickr The new fork seals arrived from Fowlers too; 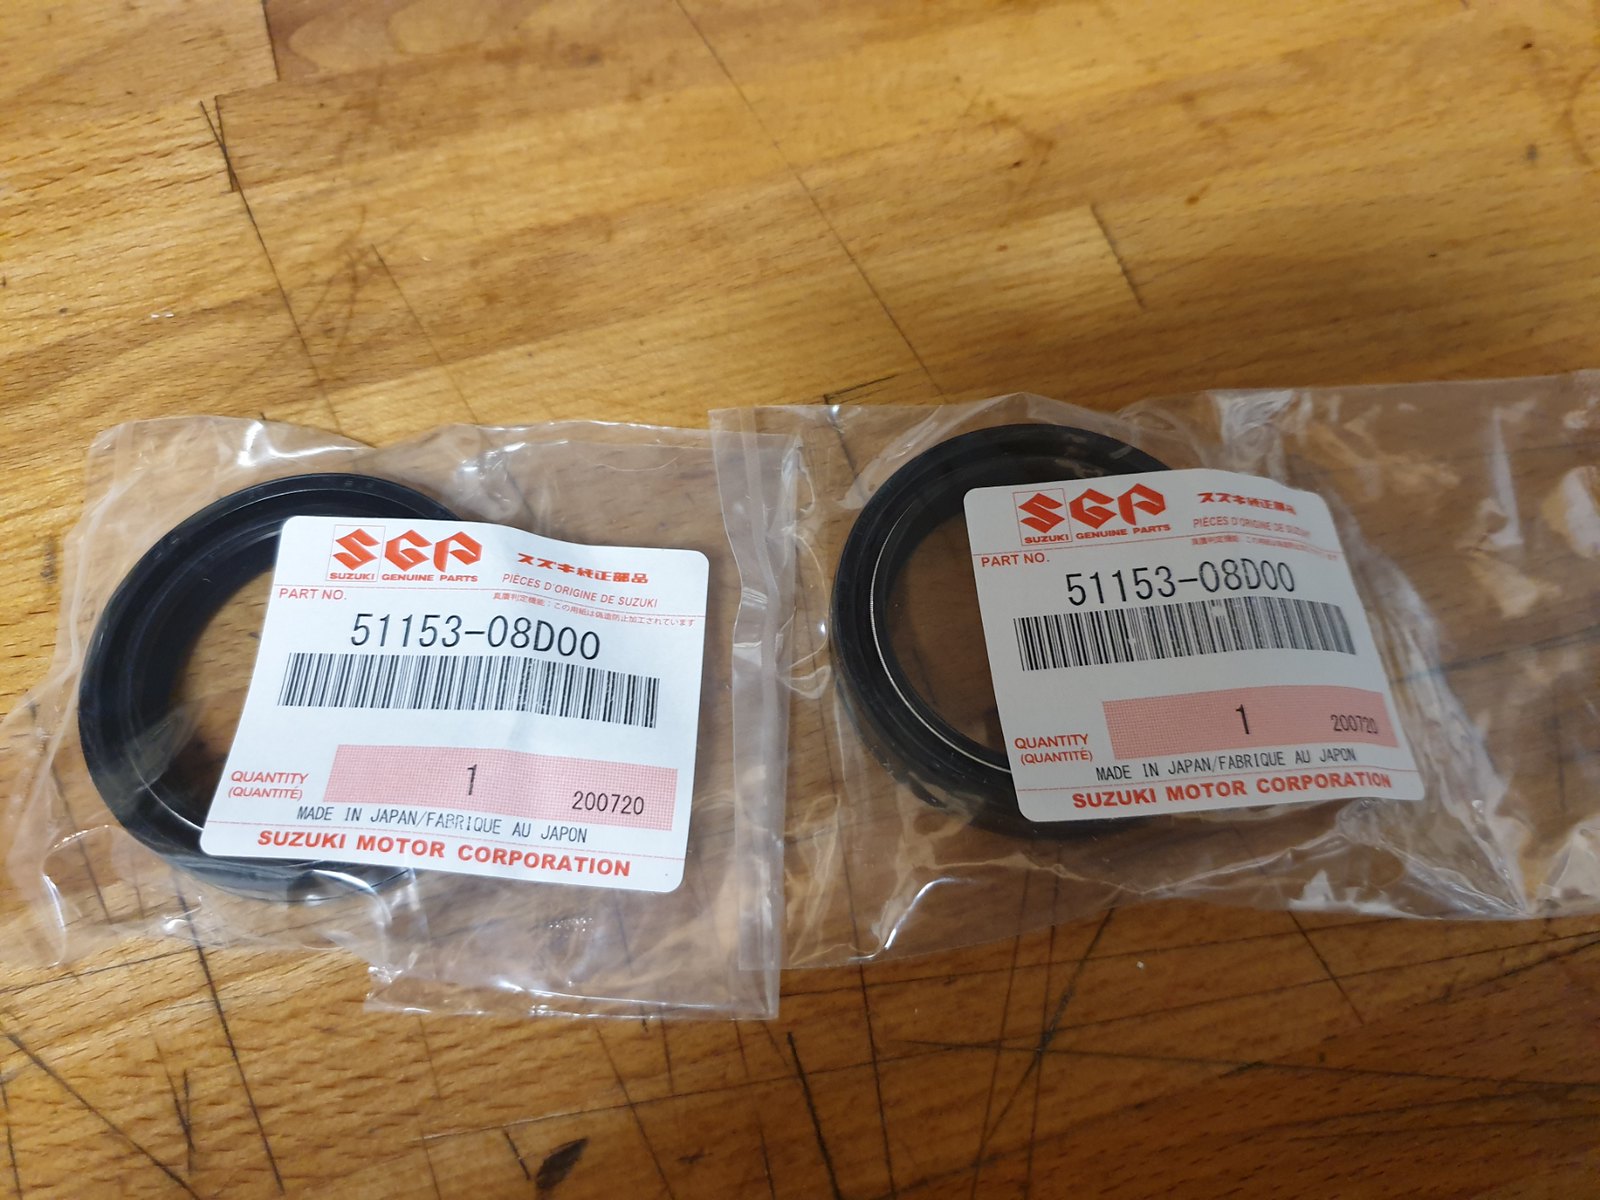 20210506_141908 20210506_141908 by dusty miller, on Flickr With the fork leg out, I unscrewed the top , having backed off the preload first. It's not under tension like conventional forks would be, and once free of the main body, you can pour the old oil out;  20210506_174551 20210506_174551 by dusty miller, on Flickr To remove the top assembly from the damper rod, you need to retract the spacer tube. There are 2 holes, that you can insert bolts into if you dont have a fork spring compressing tool (which I dont), and then pull the tube away from the top assembly. You need another person for this ideally, otherwise it's difficult - that spacer tube is acting against the spring, so takes some force to pull back enough to expose a nut that you need to get a spanner on. So I put two long bolts in the holes, and pulled the spacer tube back whilst my lad located the lock nut with the spanner. Once the spanner is on the lock nut, you can loosen the top assembly off with a 22mm spanner on the top most hex nut. Once loosened off, the assembly simply unscrews, allowing the spacer tube to come free;  20210506_184639 20210506_184639 by dusty miller, on Flickr The spring will now slide out if you tip the fork up;  20210506_184810 20210506_184810 by dusty miller, on Flickr The damper rod is still connected inside the fork - there is no need to disturb it to change fork seals. The two main tubes can now be parted. Using a small screwdriver, you can prise the dust seal out of it's housing, exposing a spring clip which is easily removed from its groove; 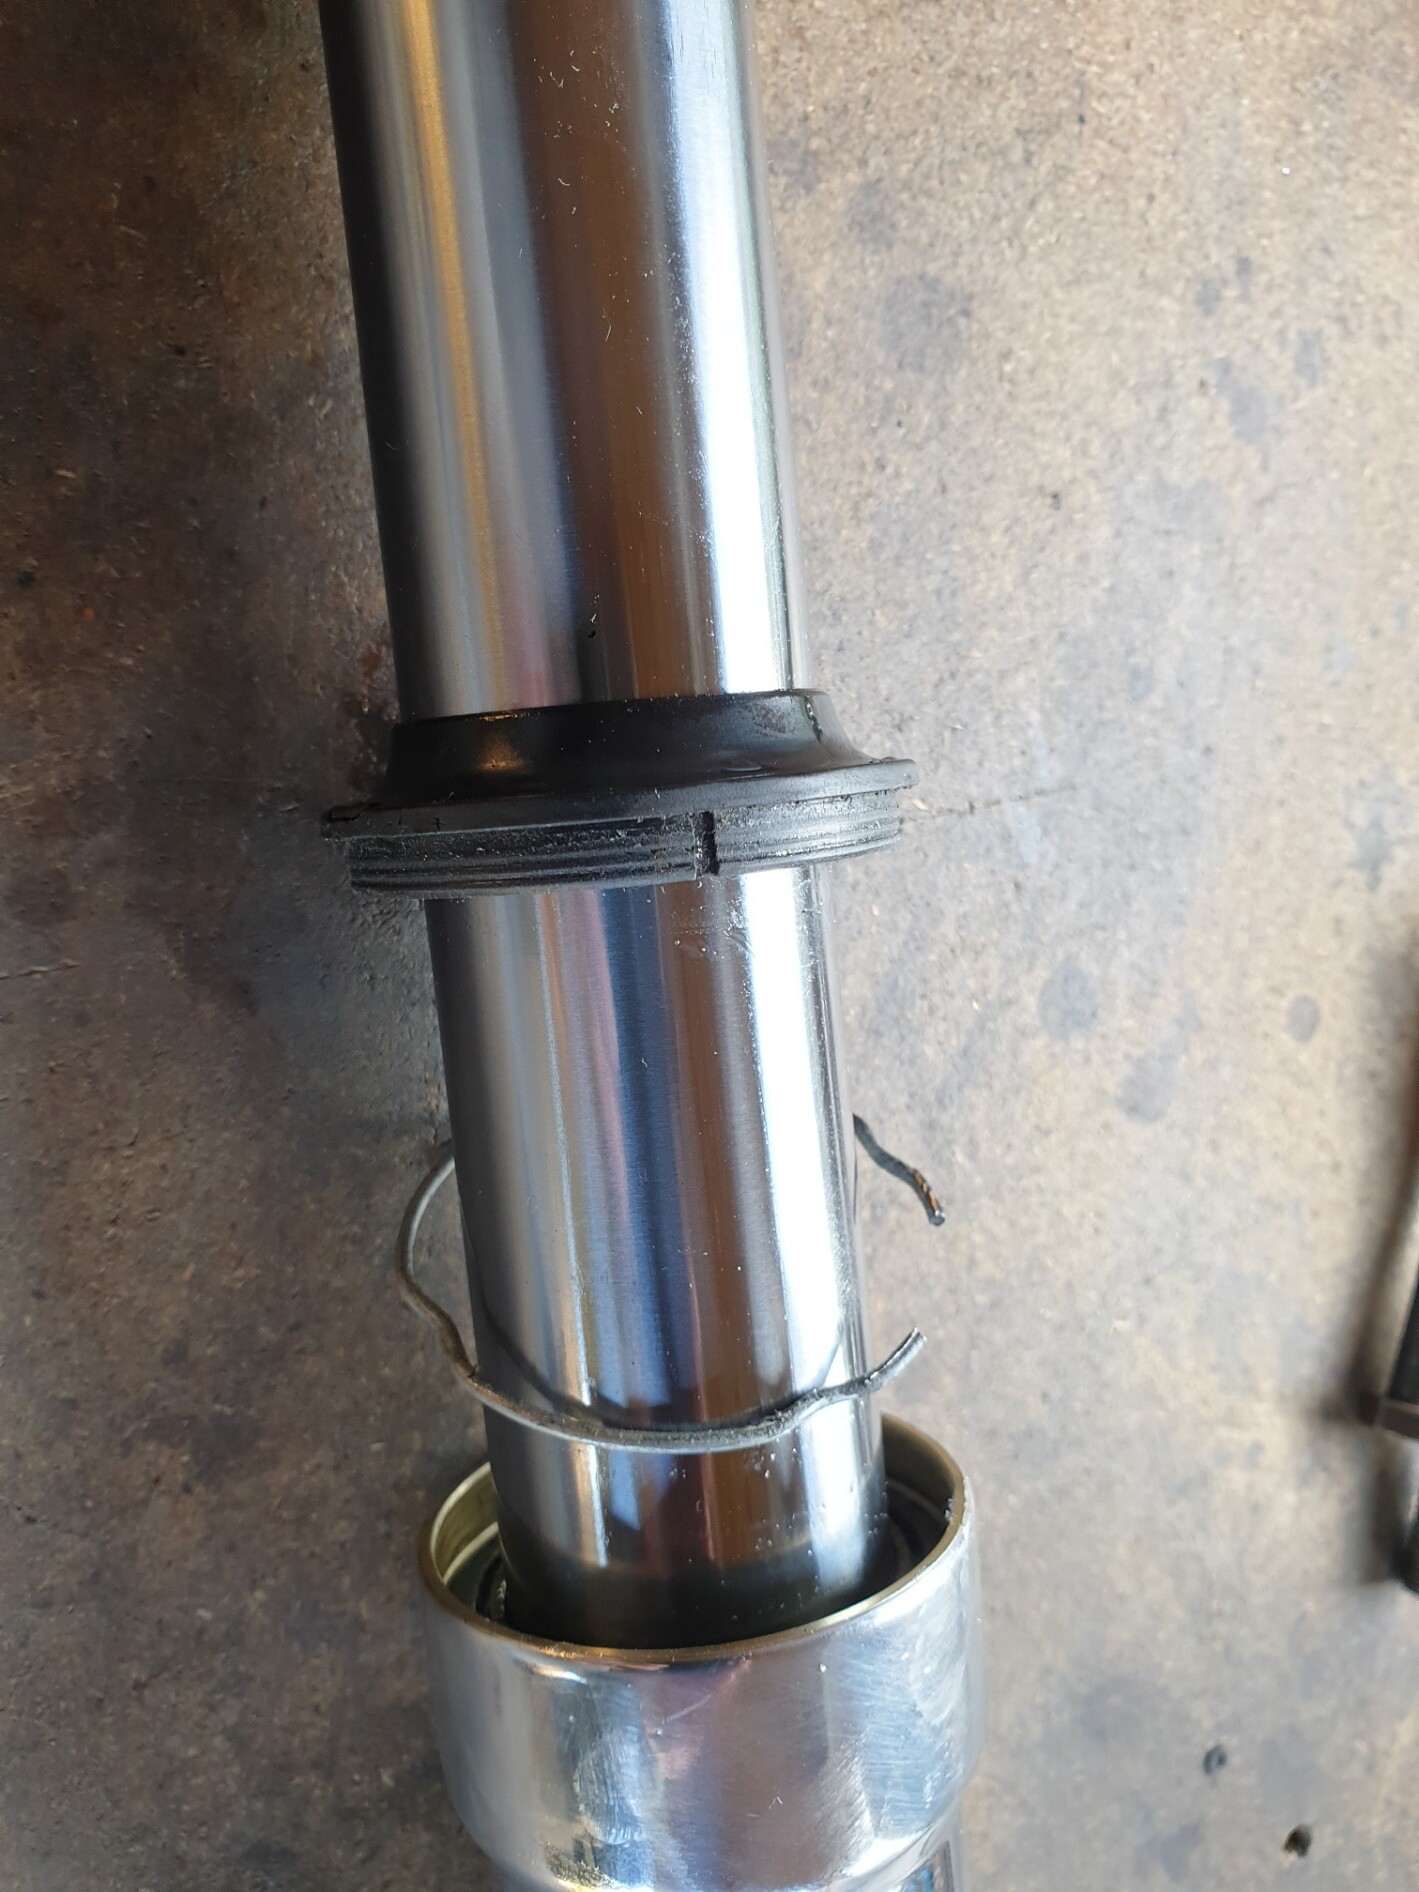 20210506_185132 20210506_185132 by dusty miller, on Flickr You can now part the tubes by sharply pulling one against the other - like a slide hammer action, and 4 or 5 sharp pulls will see the tubes separated. The parts of the fork leg will now be visible;  20210506_190818 20210506_190818 by dusty miller, on Flickr Dusty |
|
|
|
Post by donkeychomp on May 6, 2021 22:21:52 GMT 1
Did you get the hose from the place near Jack Lilleys Dusty? If so good news that they are open again.
And for sure USD forks are a two man job! I remember having to do my ZXR400 ones. Not a lot of fun!
Alex
|
|
|
|
Post by headcoats on May 6, 2021 22:42:01 GMT 1
Dusty what is the black ring that is just to the left of the bush guide or is it a trick of the light ?
|
|
|
|
Post by dusty350 on May 7, 2021 7:44:04 GMT 1
Hi Alex Yea, "Think Automotive", just down from Jack Lilley's, which by the way has closed down  Dont know if Lilley's have moved elsewhere ? Anyway, "Think" are awesome, made the line whilst I waited, and the line with a PVC clear cover, a new banjo bolt and some copper washers was £23. Hi Martin - the black ring is just a mark on the lower bush. That part doesn't sit tight in a recess like the rest of the bush, so the oil has stained it. Dusty |
|
|
|
Post by headcoats on May 7, 2021 8:08:53 GMT 1
Jack Lilley was sold to the Lind group and shut their business which I think had been there since the 50's  I had a lot of stuff off Jack Lilley for my Triumph and they were top people, so a real shame |
|
|
|
Post by dusty350 on May 7, 2021 20:33:07 GMT 1
Shame about Lilley's. They've had a shop in this area for as long as I can remember  So there are 6 parts on the fork tube - a split bush on the extreme right in the last pic, that sits in a groove, then a second bush, a large washer, fork seal, retaining clip and lastly the dust cover. You can gently prise off the split bush, and then the bush, washer and seal can all be slid off. Reassembly is a reverse of the strip down. I wrapped some tape around the top of the tube where the split bush will sit as the edges are quite sharp and could damage the new seal. A decent coating of either red rubber grease or fresh oil will help the seal slip down the tube, then the washer, bush and the split bush last. The tube can now be fitted inside the ali fork leg, and you need to seat the bush - I use a thin drift, gently tapping the bush down into it's recess in the top of the fork leg. Once fully seated, the washer sits on top of it, and then the seal on top of that. The seal driver makes an easy job of seating the seal, and the wire clip is fitted to the groove to lock everything in place, and finally the dust cover pushes back in place. The rest of assembly is, again a reverse of strip down, and quite straight forward. The fiddly part is pulling the spacer tube back to expose the lock nut on top of the damper rod and getting a spanner on it so you can then wind on the top adjuster. I employed the missus for that bit !! I went with 445ml of oil in each leg before tightening up the top nut. Last job was to run the fork legs over the polishing wheel just to spruce them up a bit, and they are now back in the bike;  20210507_171636 20210507_171636 by dusty miller, on Flickr Quite a straightforward job really. You dont have to disturb the damper rod, which is a bonus, and the seal driver seats the seal in seconds, without risking any damage to the seal itself. Dusty |
|
|
|
Post by donkeychomp on May 7, 2021 21:32:55 GMT 1
Another 'straightforward' job ticked off the list . Forks look superb mate. Alex |
|
|
|
Post by oldbritguy on May 8, 2021 8:01:32 GMT 1
The thought of stripping USD forks has always put the fear in me. I had heard it was not possible without the “correct” tools.
Once again Dusty you have stepped up and made it look relatively straightforward for anyone confident enough to try themselves. Well done and thank you for sharing.
Top job on the brake lines too. The little things which make a big difference in the final product
👍
John
|
|
|
|
Post by dusty350 on May 8, 2021 8:53:34 GMT 1
Hi John, Yea, I'd never done fork seals on USD forks before. Loads of us have them on our hybrids now though. There is a good tutorial on Youtube; Applies to the Rgv forks very closely, with the exception of the inner rod he removes from the damping rod, but otherwise it's virtually the same strip down and build back up. They are actually really simple to do, and take no time at all, easily as straightforward as RWU forks. The seal driver is a worthwhile purchase - ebay have them between 24- 30 quid, but makes seating the seals quick and effortless. It wouldn't be hard to make a compressing tool for the spacer tube either which would then make it a one man job, You certainly cant slip the spacer tube down to fit the spanner on the nut like Del does in the video - you do need another pair of hands or a compressing tool, but exposing that nut is the trickiest part of all of it to be honest. Dusty |
|
|
|
Post by headcoats on May 8, 2021 9:01:58 GMT 1
There is another way a mate shown me and done 2 sets this way
You attach the damper rod to the top adjuster first , so the bottom of the damper is still loose , make sure the cup washer (goes on bottom of damper) stays on (slightly distort it so holds firm)
The fork will be all assembled and now you need to tighten the fork bolt on the bottom of the fork and to do this push the fork against a garage roof joist or something and it doesn't need much compressing to find the thread and tighten it
If that makes sense !
|
|
|
|
Post by dusty350 on May 10, 2021 20:51:02 GMT 1
Got the first of my front brake lines made up today by Think Auto. I had a spare line from a Chinese caliper I bought at a car boot last year, and the ends suited my set up perfectly. The line itself isn't long enough, plus it seemed cheaply made so I thought I would sacrifice it to get an exact length and orientation of the hose ends for the new lines, so I cut it in half and added a length of old oil feed hose to get the overall length correct. Plus I could rotate the hose easily to make sure the hose ends lined up with the caliper and master cylinder. Took that in today and they made up a copy line;  20210510_203339 20210510_203339 by dusty miller, on Flickr Will get them to do another braided line tomorrow, 2 inches longer than this one for the left side caliper. Then I can bleed the brakes up finally !! Dusty |
|
|
|
Post by donkeychomp on May 10, 2021 21:46:11 GMT 1
JL has gone? Oh bugger. I remember the shop they had in Shepperton, a really friendly lot and very helpful. One day coming back from college my split link in the chain decided to break, they found one, fitted it and charged me nothing. That was also the place I bought my only ever new vehicle...the RS250.
Alex
|
|
|
|
Post by dusty350 on May 15, 2021 11:55:23 GMT 1
Not much doin at the moment. Hopefully I can pick up the paintwork in a couple of weeks time from Mark in Derby. Have been doing a couple of small "detail" jobs to keep me busy. The master cylinder lid for the rear brake was a dull grey colour, so I thought I would brighten it up a bit;  20210515_102426 20210515_102426 by dusty miller, on Flickr  20210515_105115 20210515_105115 by dusty miller, on Flickr I now have both brake lines made up for the front brakes and will secure them to the bottom yoke. Andy - Spondon440, drilled and tapped the bottom yoke for me so it could take an Lc horn bracket, but I've repainted 2 separate brackets that the hoses will pass through;  20210515_102508 20210515_102508 by dusty miller, on Flickr Another totally pointless mod I am considering relates to the Allspeeds. On my old 430 Rd, I had lengthened the outlet pipe from the end can with plumbing 28-22mm reducers. I had planned to get them chromed to match the pipes but that never happened   20200814_133907 20200814_133907 by dusty miller, on Flickr I still think the outlet pipe could look a bit better slightly longer, so I mocked up something a bit longer with some chrome effect vinyl;  20210515_105129 20210515_105129 by dusty miller, on Flickr  20210515_105124 20210515_105124 by dusty miller, on Flickr I think they look better like this, plus a bit different. If I can find some 26mm id stainless tube that will fit tight over the current stub, I may get it welded on and polished up. Can you tell I'm bored !! Dusty |
|
|
|
Post by midlifecrisisrd on May 15, 2021 13:17:40 GMT 1
NK does stainless outlets 😁 Steve  |
|
|
|
Post by dusty350 on May 15, 2021 14:21:14 GMT 1
Hi mate,
Yea, I had a pair of those on the 400 I built about 10 years ago. They are an option if my local guy doesn't have the correct id tubing.
Dusty🙂
|
|
|
|
Post by flames on May 15, 2021 16:58:22 GMT 1
Amazing how the little things I wouldn't think of in a million years, make such a massive impact. Another fantastic build Dusty.....as always. I still have a soft spot for the 430.😁
|
|
|
|
Post by sidney81 on May 15, 2021 18:08:09 GMT 1
Looking lovley dusty 😎
|
|
|
|
Post by dusty350 on May 15, 2021 21:05:31 GMT 1
Cheers guys. I always think it's the small details that end up making a big difference. I wont do too much more till I get the paint back - then I will bleed the oil pump with the oil tank fitted, and final fit the brake lines once the front muddie is on. Not sure if I will do something with the Allspeed end caps yet, but I do like the "look" of a slightly longer exit pipe. All depends on pipe stock at my local engineering place. I will call them in the week. Dusty |
|
|
|
Post by sidney81 on May 16, 2021 0:03:54 GMT 1
Dusty I will have a look in the steel rack at work to for you ,we may have some tube of that Id 👍
|
|
|
|
Post by dusty350 on May 16, 2021 11:24:29 GMT 1
Hi Chris, That's very kind of you mate I'm not sure if Allspeed have changed the dimensions of the outlet pipe, but it's a bit bigger than I remember;  20210516_104902 20210516_104902 by dusty miller, on Flickr So a 26mm id may be a bit big ? Dusty |
|
|
|
Post by sidney81 on May 16, 2021 13:45:47 GMT 1
Your welcome 😊 it maybe ,I will have a look see what we have ,there's lots of different bits 😊👍
|
|


 Dont know if Lilley's have moved elsewhere ? Anyway, "Think" are awesome, made the line whilst I waited, and the line with a PVC clear cover, a new banjo bolt and some copper washers was £23.


