|
|
Post by wolfboy1 on Nov 8, 2015 22:56:05 GMT 1
very impressed !
|
|
|
|
Post by gazsellars on Nov 9, 2015 0:19:56 GMT 1
Excellent fabrication work there Jon you've given me some ideas especially with the side stand thanks for that!
|
|
|
|
Post by jon on Nov 9, 2015 9:22:20 GMT 1
Thanks for the positive comments lads.
Glad to see my work is giving others ideas, although the concept of mounting the spring outside was from others who have done it on this forum. Just put my twist on it.
In fact it was Nikfubar's blue hybrid which gave me the inspiration for the double brace.
Jon
|
|
|
|
Post by jon on Dec 13, 2015 21:14:50 GMT 1
I have been making a centre stand for the last 4 weekends. it might seem a bit of an extravagance, but I really like a centre stand. The standard one did not fit with the RGV arm conversion, so I welded a bracket to allow me to have the original holes free. It's nearly done, just needs a return spring lug making and then welding on. It's been a bit of a task, but I'm well pleased with it. Didn't have a design concept in mind when I started, but it looks very 'organic' if you me. First I made a jig, and fitted an original centre stand to get the dimensions right. Then I fabricated this: 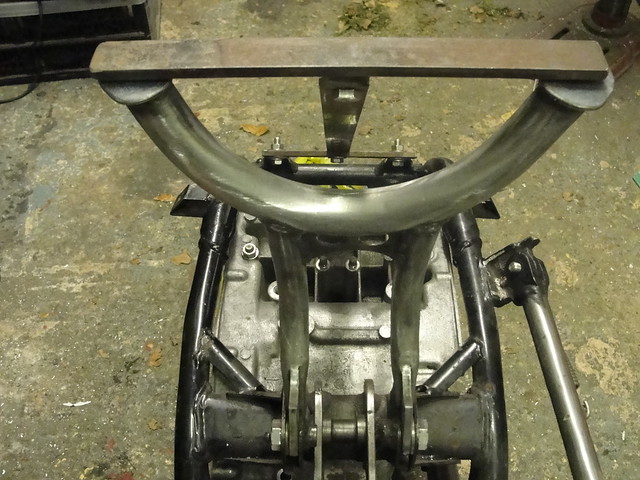 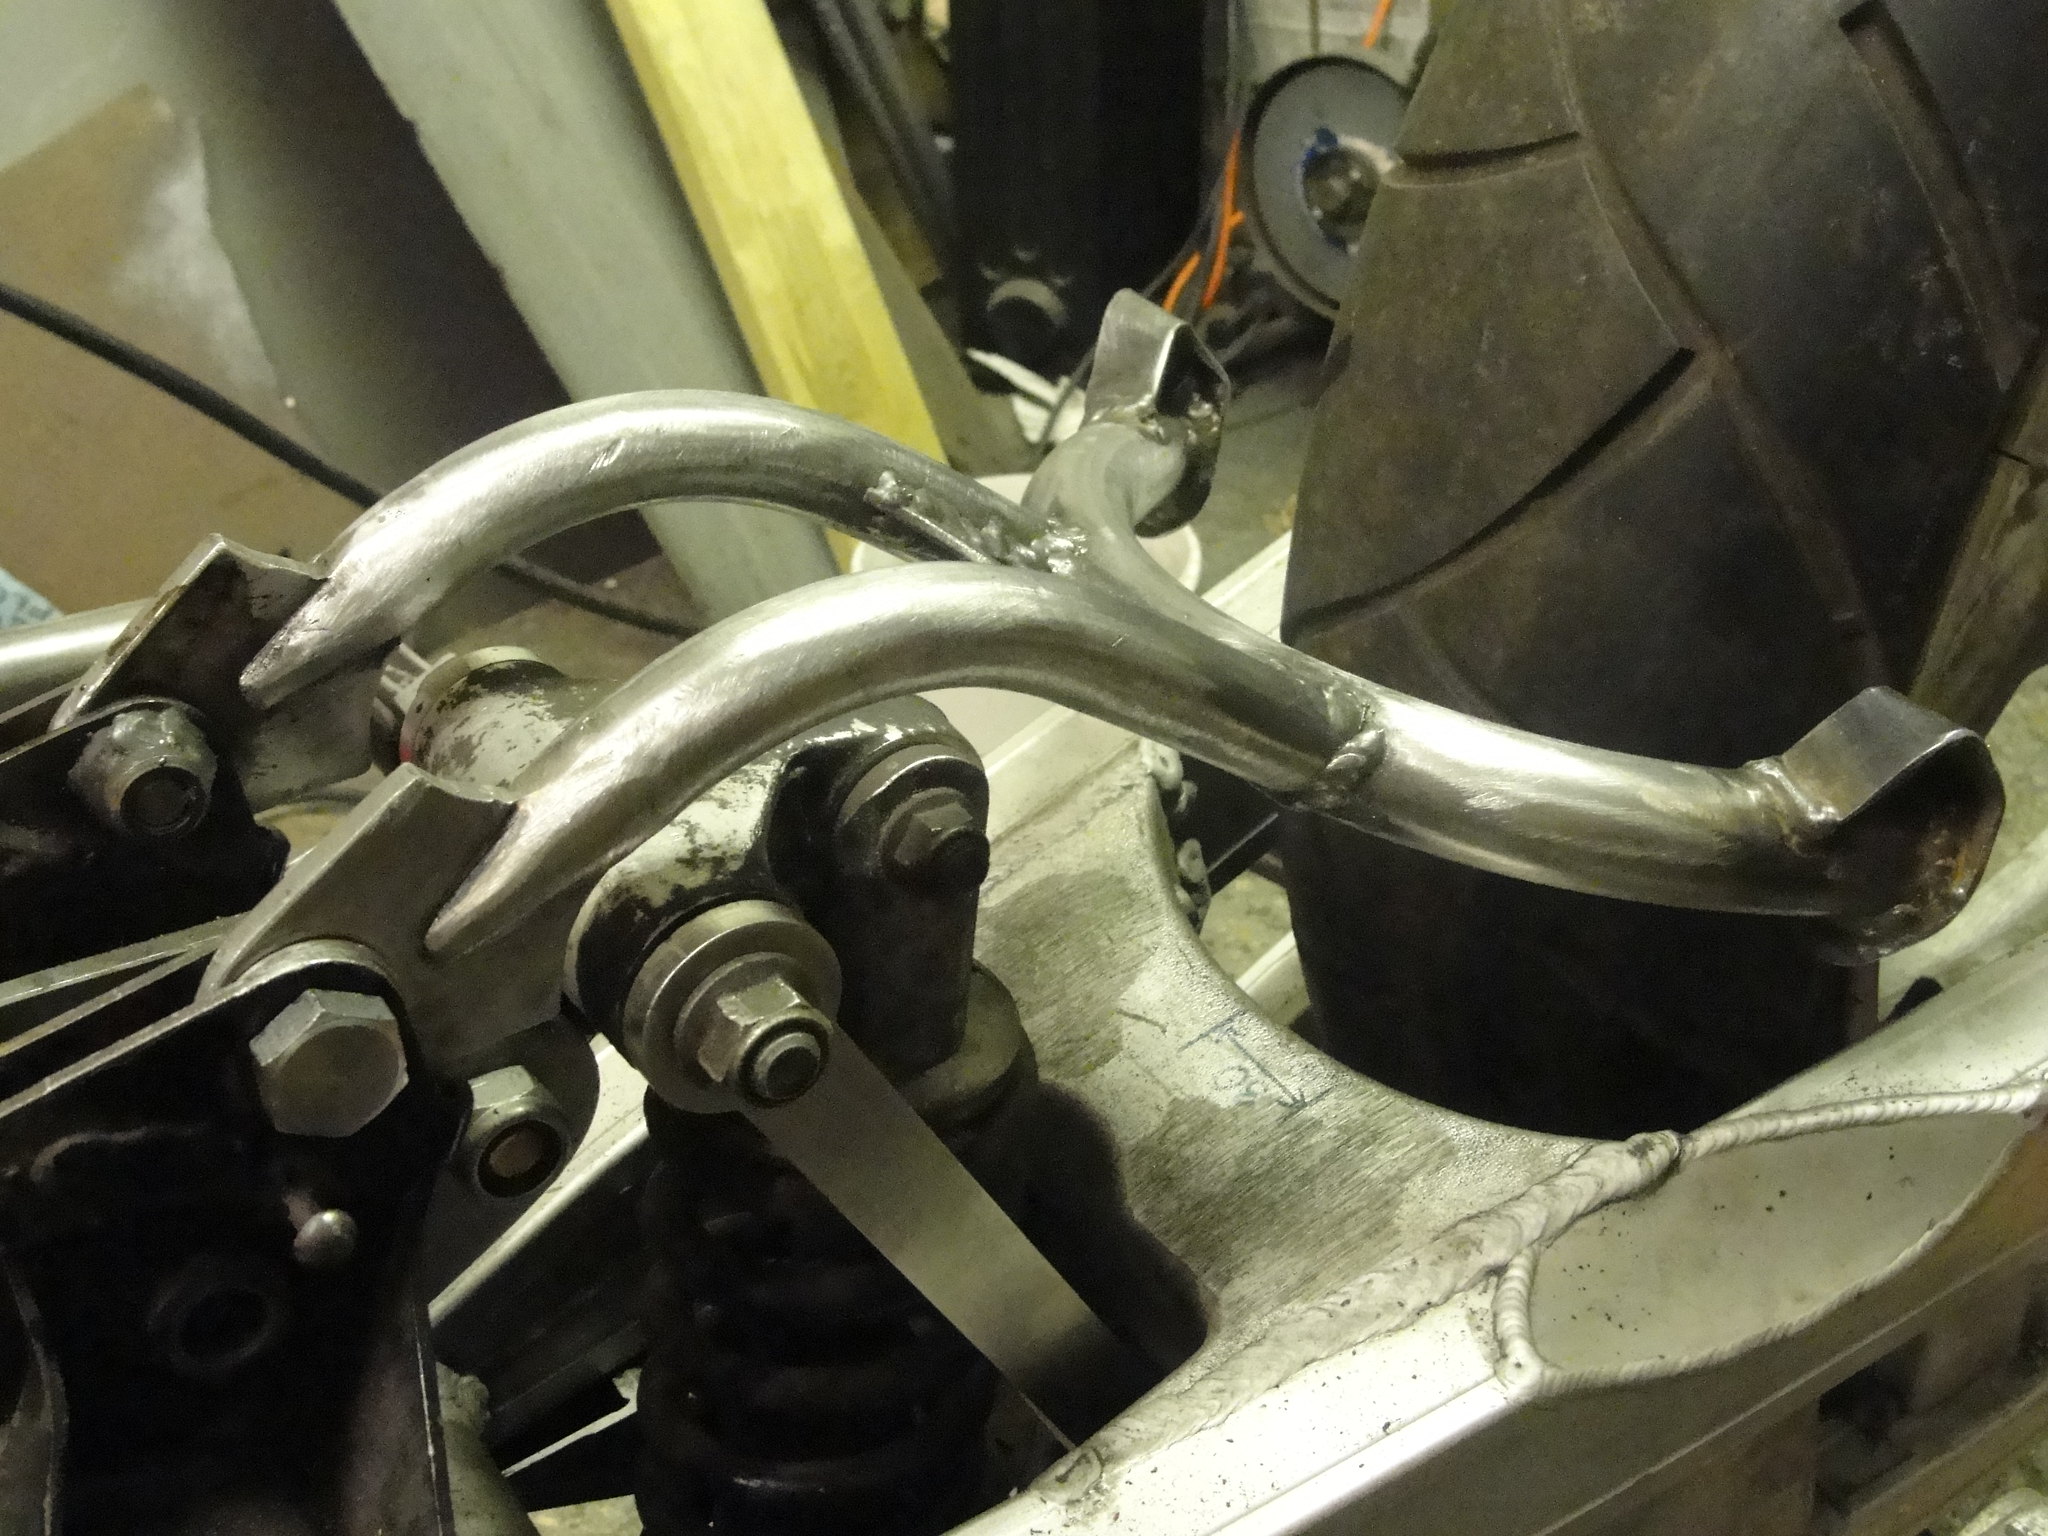 |
|
|
|
Post by 0h5h1t on Dec 13, 2015 21:31:36 GMT 1
very nice solution, love it!
|
|
|
|
Post by jon on Dec 13, 2015 21:50:51 GMT 1
Thanks 0h5h1t for the comment.
I really wanted to find a solution to the RGV arm - no centre stand issue.
That's why I made the effort. Only a month of spare time work, but time well spent in my opinion.
Jon
|
|
|
|
Post by yazza54 on Dec 13, 2015 23:09:07 GMT 1
Smart
|
|
|
|
Post by JonW on Dec 14, 2015 7:24:26 GMT 1
very nice Jon!
|
|
|
|
Post by markhoopy on Dec 14, 2015 11:47:51 GMT 1
Some effort gone into that! Best looking centre stand I've seen  |
|
|
|
Post by fifty50 on Dec 15, 2015 0:04:10 GMT 1
+1 awesome.
|
|
|
|
Post by Topman350 on Dec 16, 2015 22:50:35 GMT 1
Keep up the great work awesome :-)
|
|
|
|
Post by rostrumorhospital on Dec 17, 2015 9:34:09 GMT 1
Once I found the original center stand wouldn't fit my hybrid I just gave up on the idea, never even considered making my own.
This is definitely a well engineered and original solution.
Super job.
|
|
|
|
Post by jon on Dec 18, 2015 19:53:47 GMT 1
Thanks guys for the comments.
I thought I'd finish the stand off today, but realised it needed a bit more work on the frame. I want to put in stops in the frame where the stand is in the retracted, similar to those when the stand is in use. Have to take the shock off for that.
My intention was to chop those horrible frame tube strengtheners out this weekend, but it may have to wait for the Christmass holidays. The frame tubes under the engine are different diameters and a joined by a ugly reducer which is welded on the outside. Fine for a bike with a fairing, but I want a naked bike for this project.
I intend to turn a tapered bung down and weld it between the different diameters to make it more seamless.
Jon
|
|
|
|
Post by jon on Jan 9, 2016 21:31:49 GMT 1
|
|
|
|
Post by marsbar350 on Jan 9, 2016 22:16:07 GMT 1
too much talent jon
|
|
|
|
Post by jon on Jan 10, 2016 20:53:57 GMT 1
Thanks Marsbar350, but it is as much about shear determination as talent. I will really enjoy riding this one (I hope) but will it really top what my LC can bring on a summers day? I guess that's why we all do it, to chase a dream. Anyway I have welded in the tapered inserts, and they look a lot cleaner than the original external joints. Really quite pleased with them. 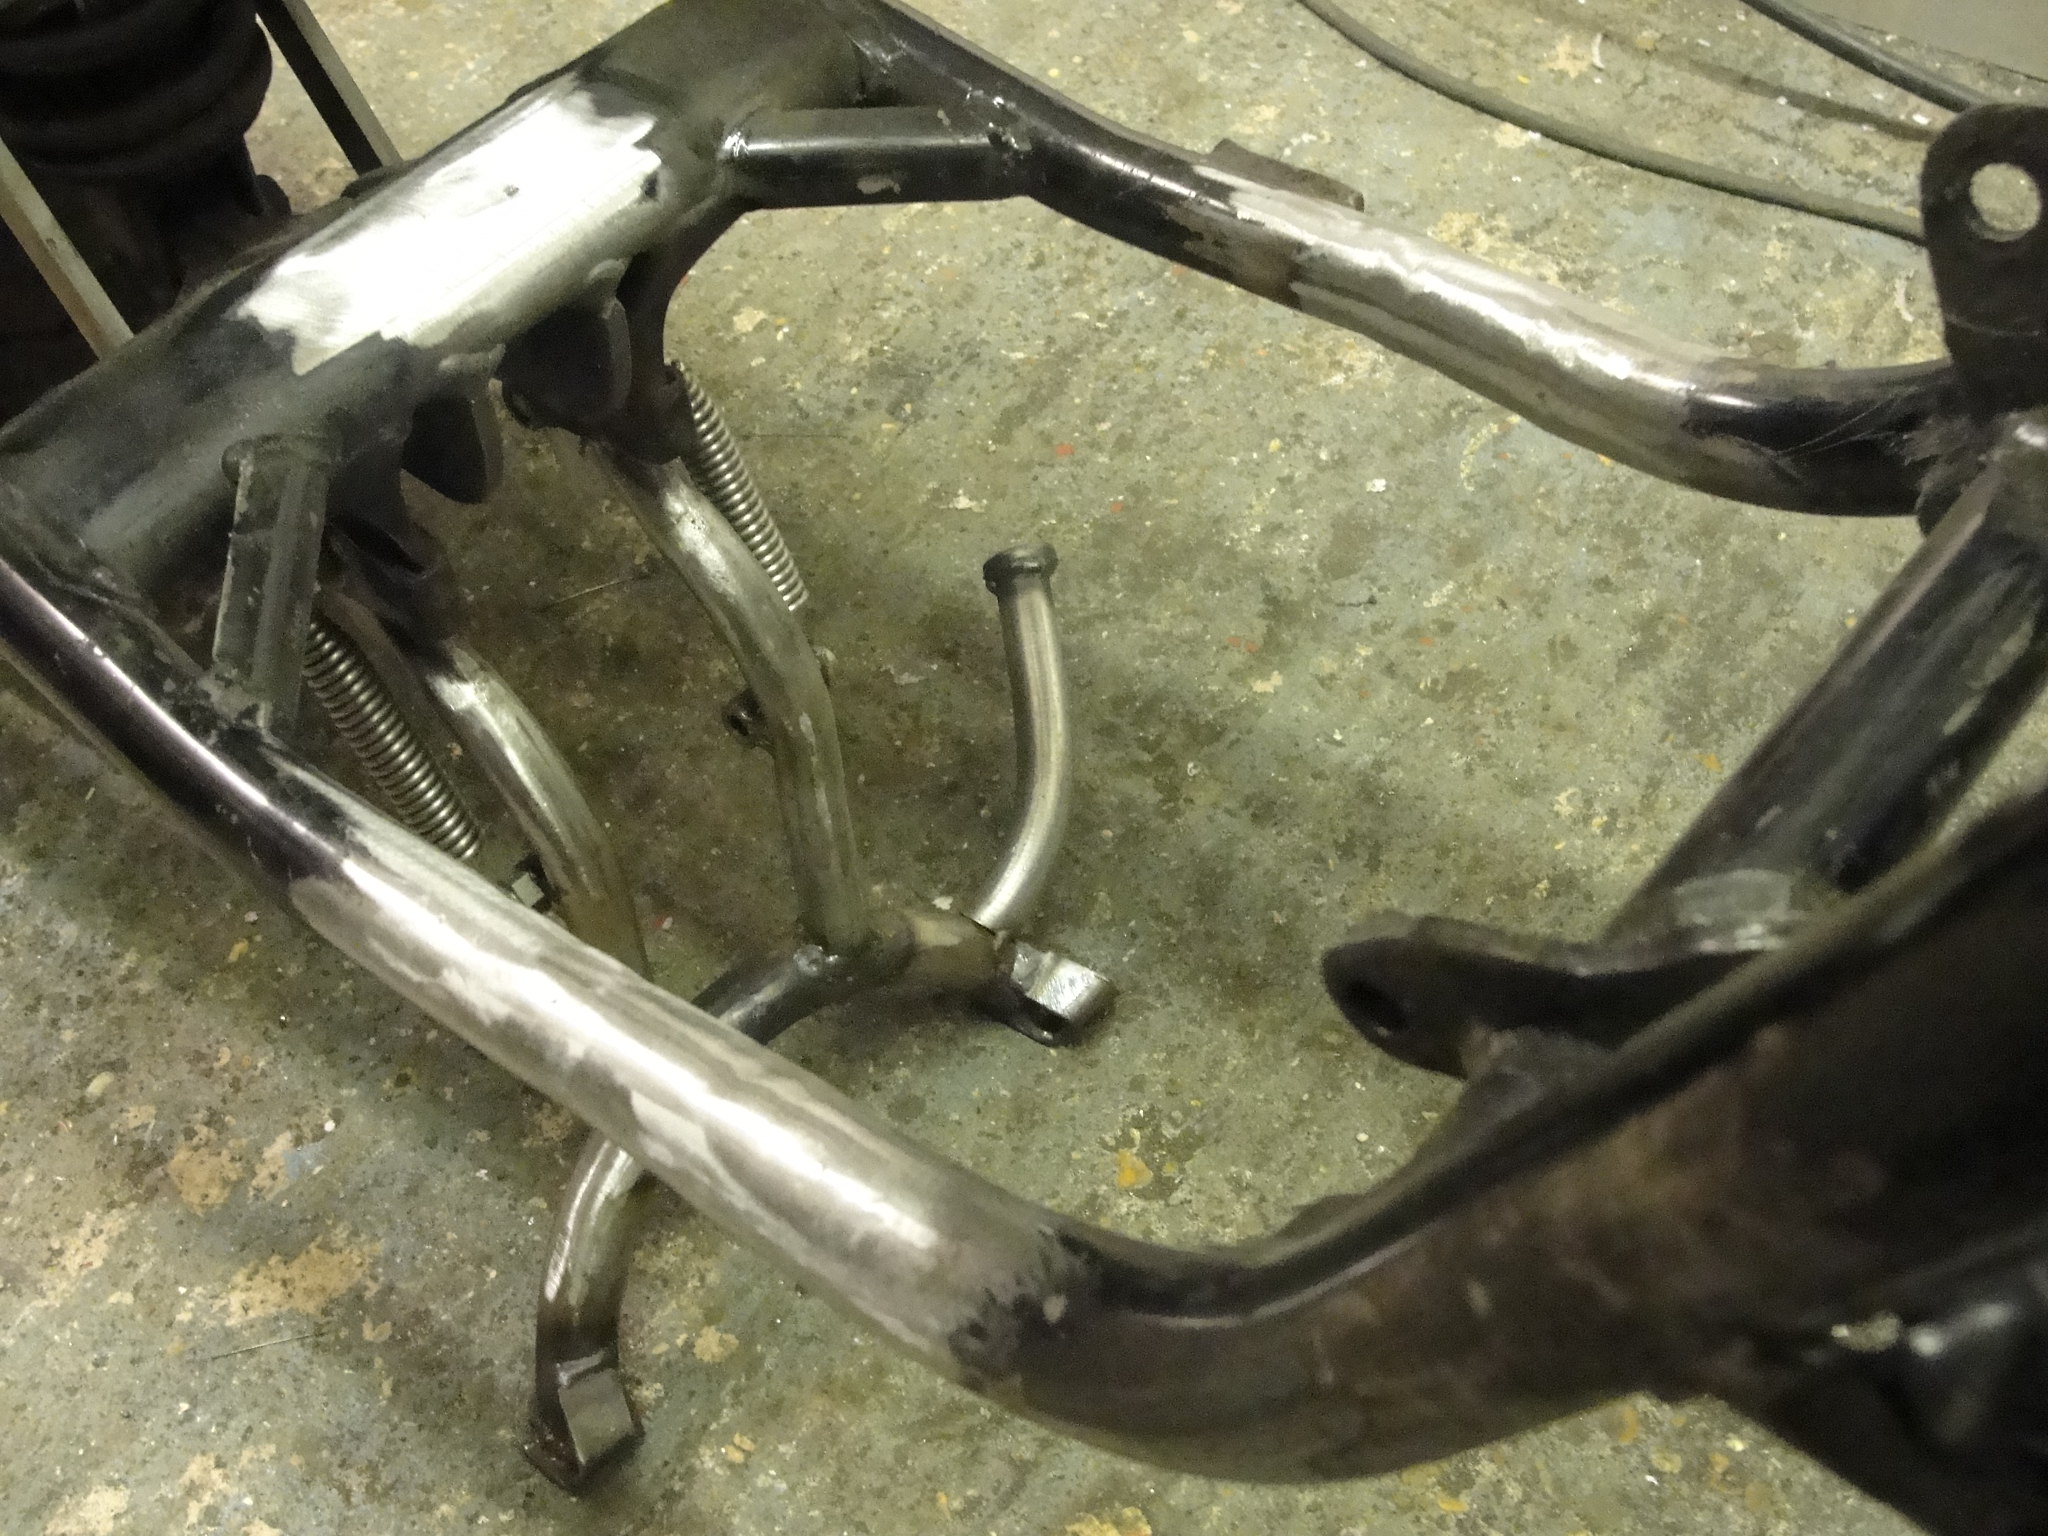 |
|
|
|
Post by jon on Jan 30, 2016 20:13:50 GMT 1
Progress on this project is slow and steady at the moment. I've been amassing lots of expensive parts for this build, but posting pictures of the parts should really wait till they are fitted. One thing I have got done which was a concern, is sorting out the steering stops so they clear everything. I cut the old ones off, and relocated them further round to give the correct turning circle. I welded the underneath of the yoke to make it thicker, then tapped an M8 thread in. I then turned up some stainless stops to bolt into then yokes.  Next thing is the single seat. |
|
|
|
Post by dusty350 on Jan 30, 2016 20:24:09 GMT 1
Wow, awesome work as usual Jon  . Wish I'd taken more interest in metalwork at school !!  Look forward to your progress Dusty  |
|
|
|
Post by Topman350 on Jan 30, 2016 21:41:56 GMT 1
Really nice work mate taking your time will show the best results :-)
|
|
|
|
Post by rich on Jan 30, 2016 23:12:08 GMT 1
How have I missed this thread??? You really are talented and your fabrication skills and welding are great! Now following this thread with much interest  |
|
|
|
Post by iwantalc on Jan 31, 2016 11:18:37 GMT 1
some very nice metalwork going on there.. top job
|
|
|
|
Post by jon on Feb 1, 2016 9:04:00 GMT 1
Thanks for the comments guys.
Dusty, while I did do metalwork at school, it was very basic stuff. I think we made a soap dish, and a toy car bonnet (rest of the car in woodwork).
I can't really remember the first welding job I did after getting my first welder, but it might have been my first car (Mk 1 fiesta)..
|
|
|
|
Post by knackerdan66 on Feb 20, 2016 8:47:28 GMT 1
top build well done keep up the good work
|
|
|
|
Post by fatty on Feb 20, 2016 12:09:32 GMT 1
Cracking work that man  |
|
|
|
Post by sparton on Feb 20, 2016 19:18:18 GMT 1
Very nice...
|
|
|
|
Post by jon on Mar 14, 2016 9:18:46 GMT 1
Each part of this build seems to take much longer than I expect. I thought about doing the usual (these days) of cutting off the standard subframe, and fitting a more modern single seat unit. However I decided I'd try and alter the standard bodywork so it still had the flavour of the original. That way I could also go back to standard if I didn't like it or ever wanted to take a pillion. First I went about shortening a seat base to single length. Then mocked up an aluminium frame for the tail unit to mould the fibreglass over. 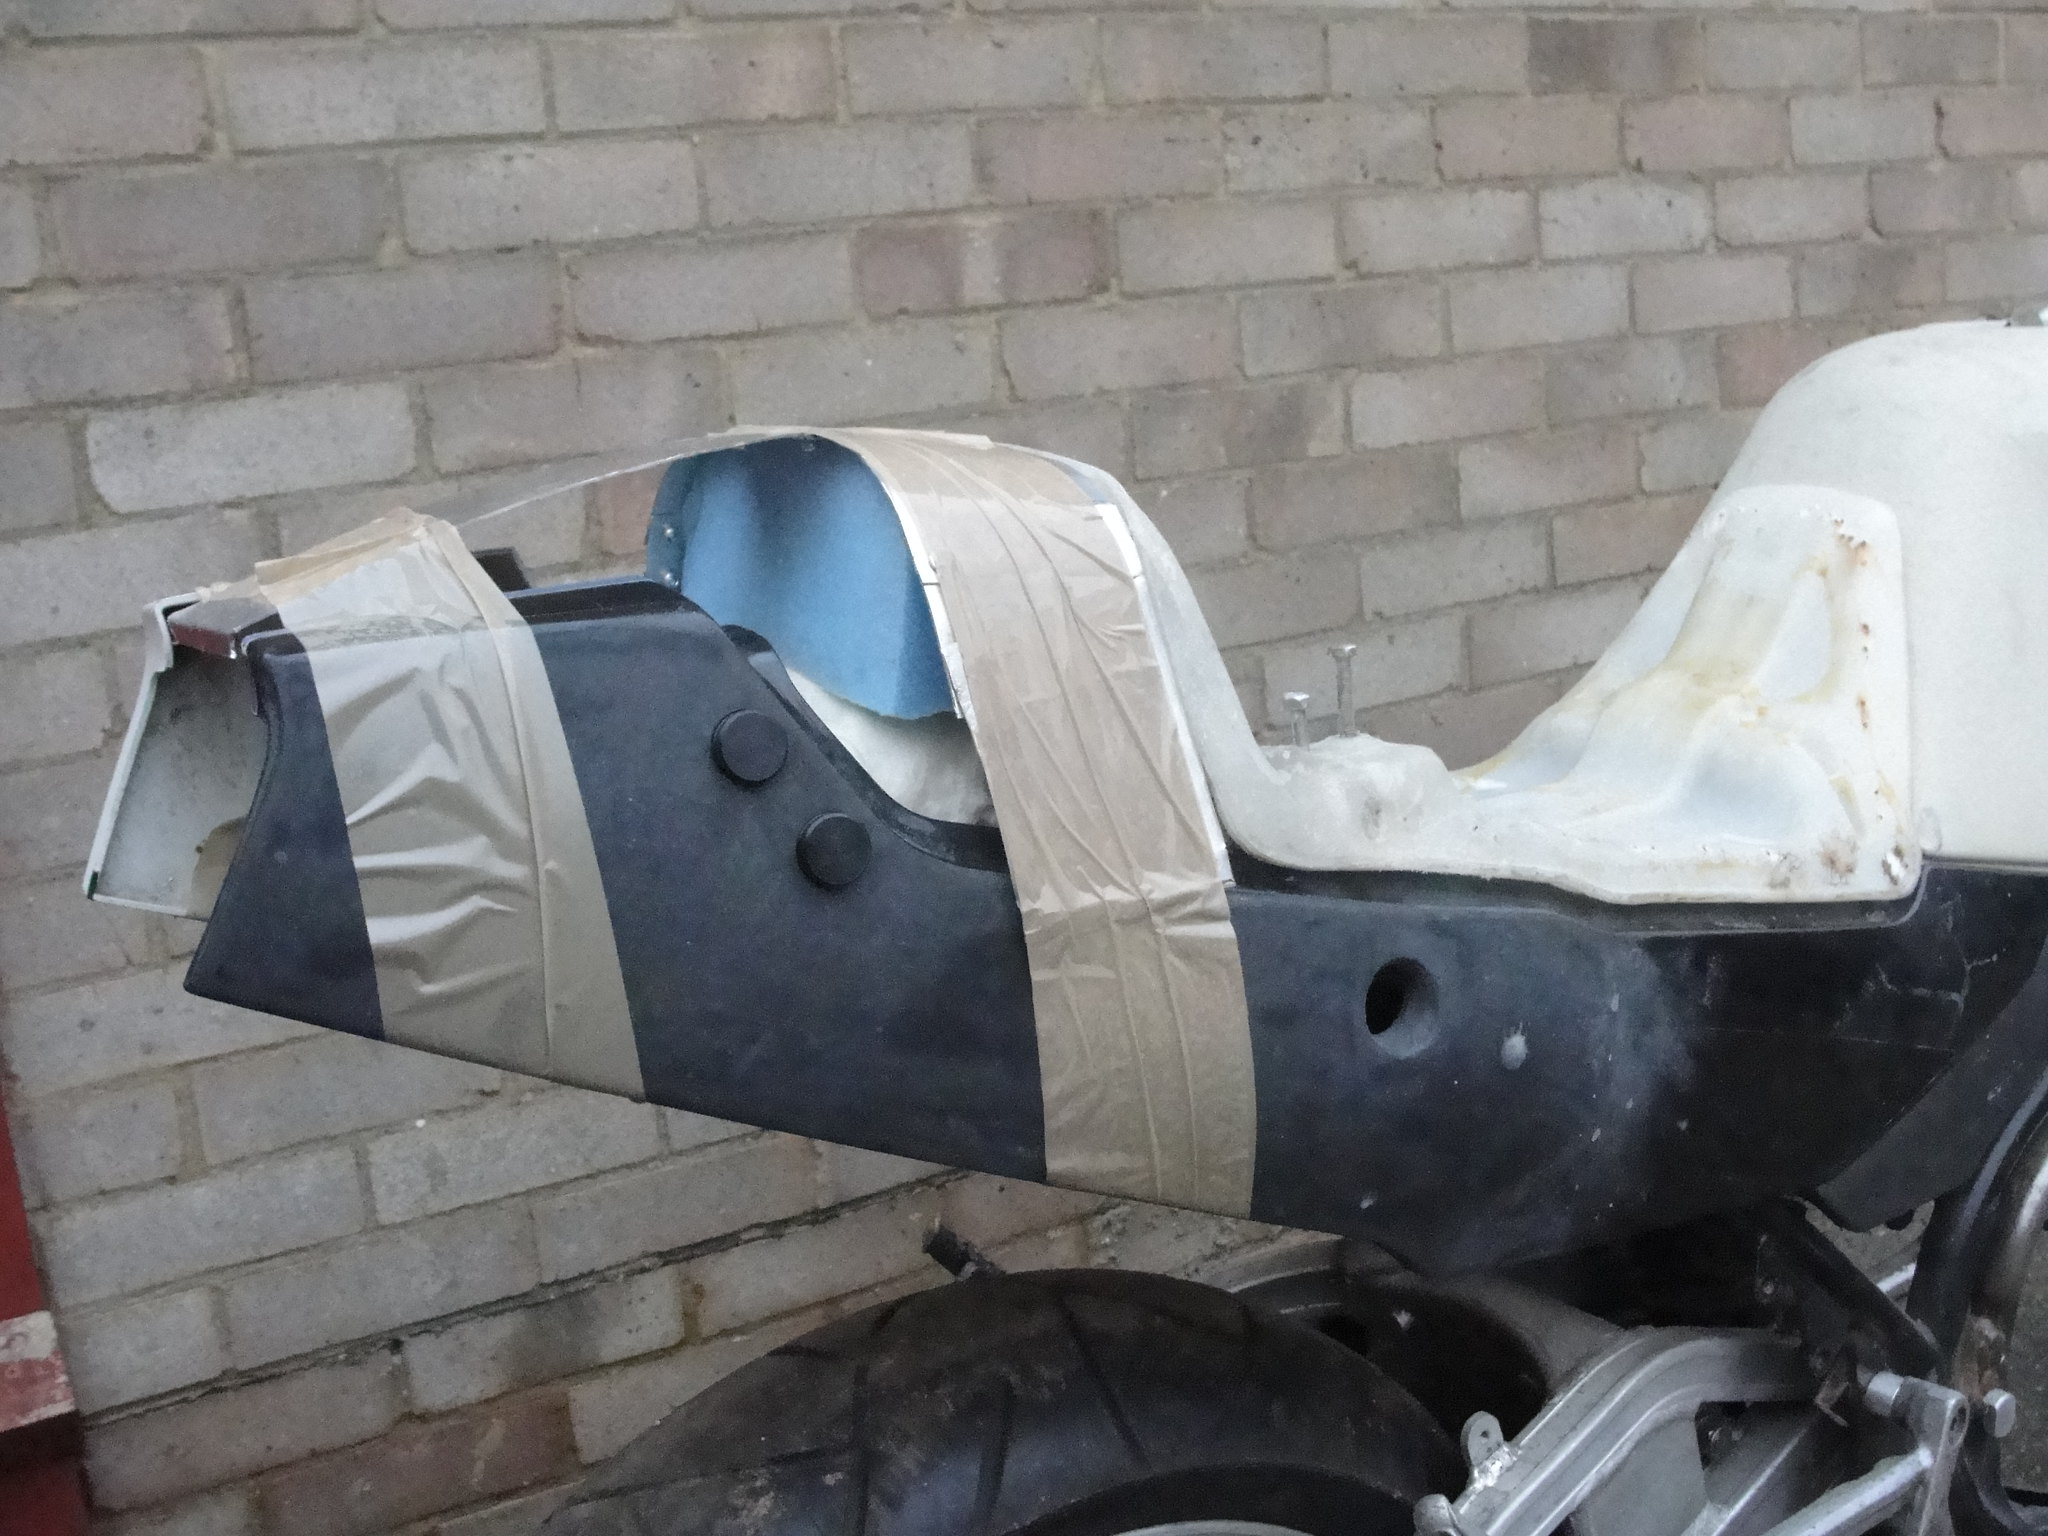 Next I used expanding foam to fill the voids. This was trimmed to shape once set: 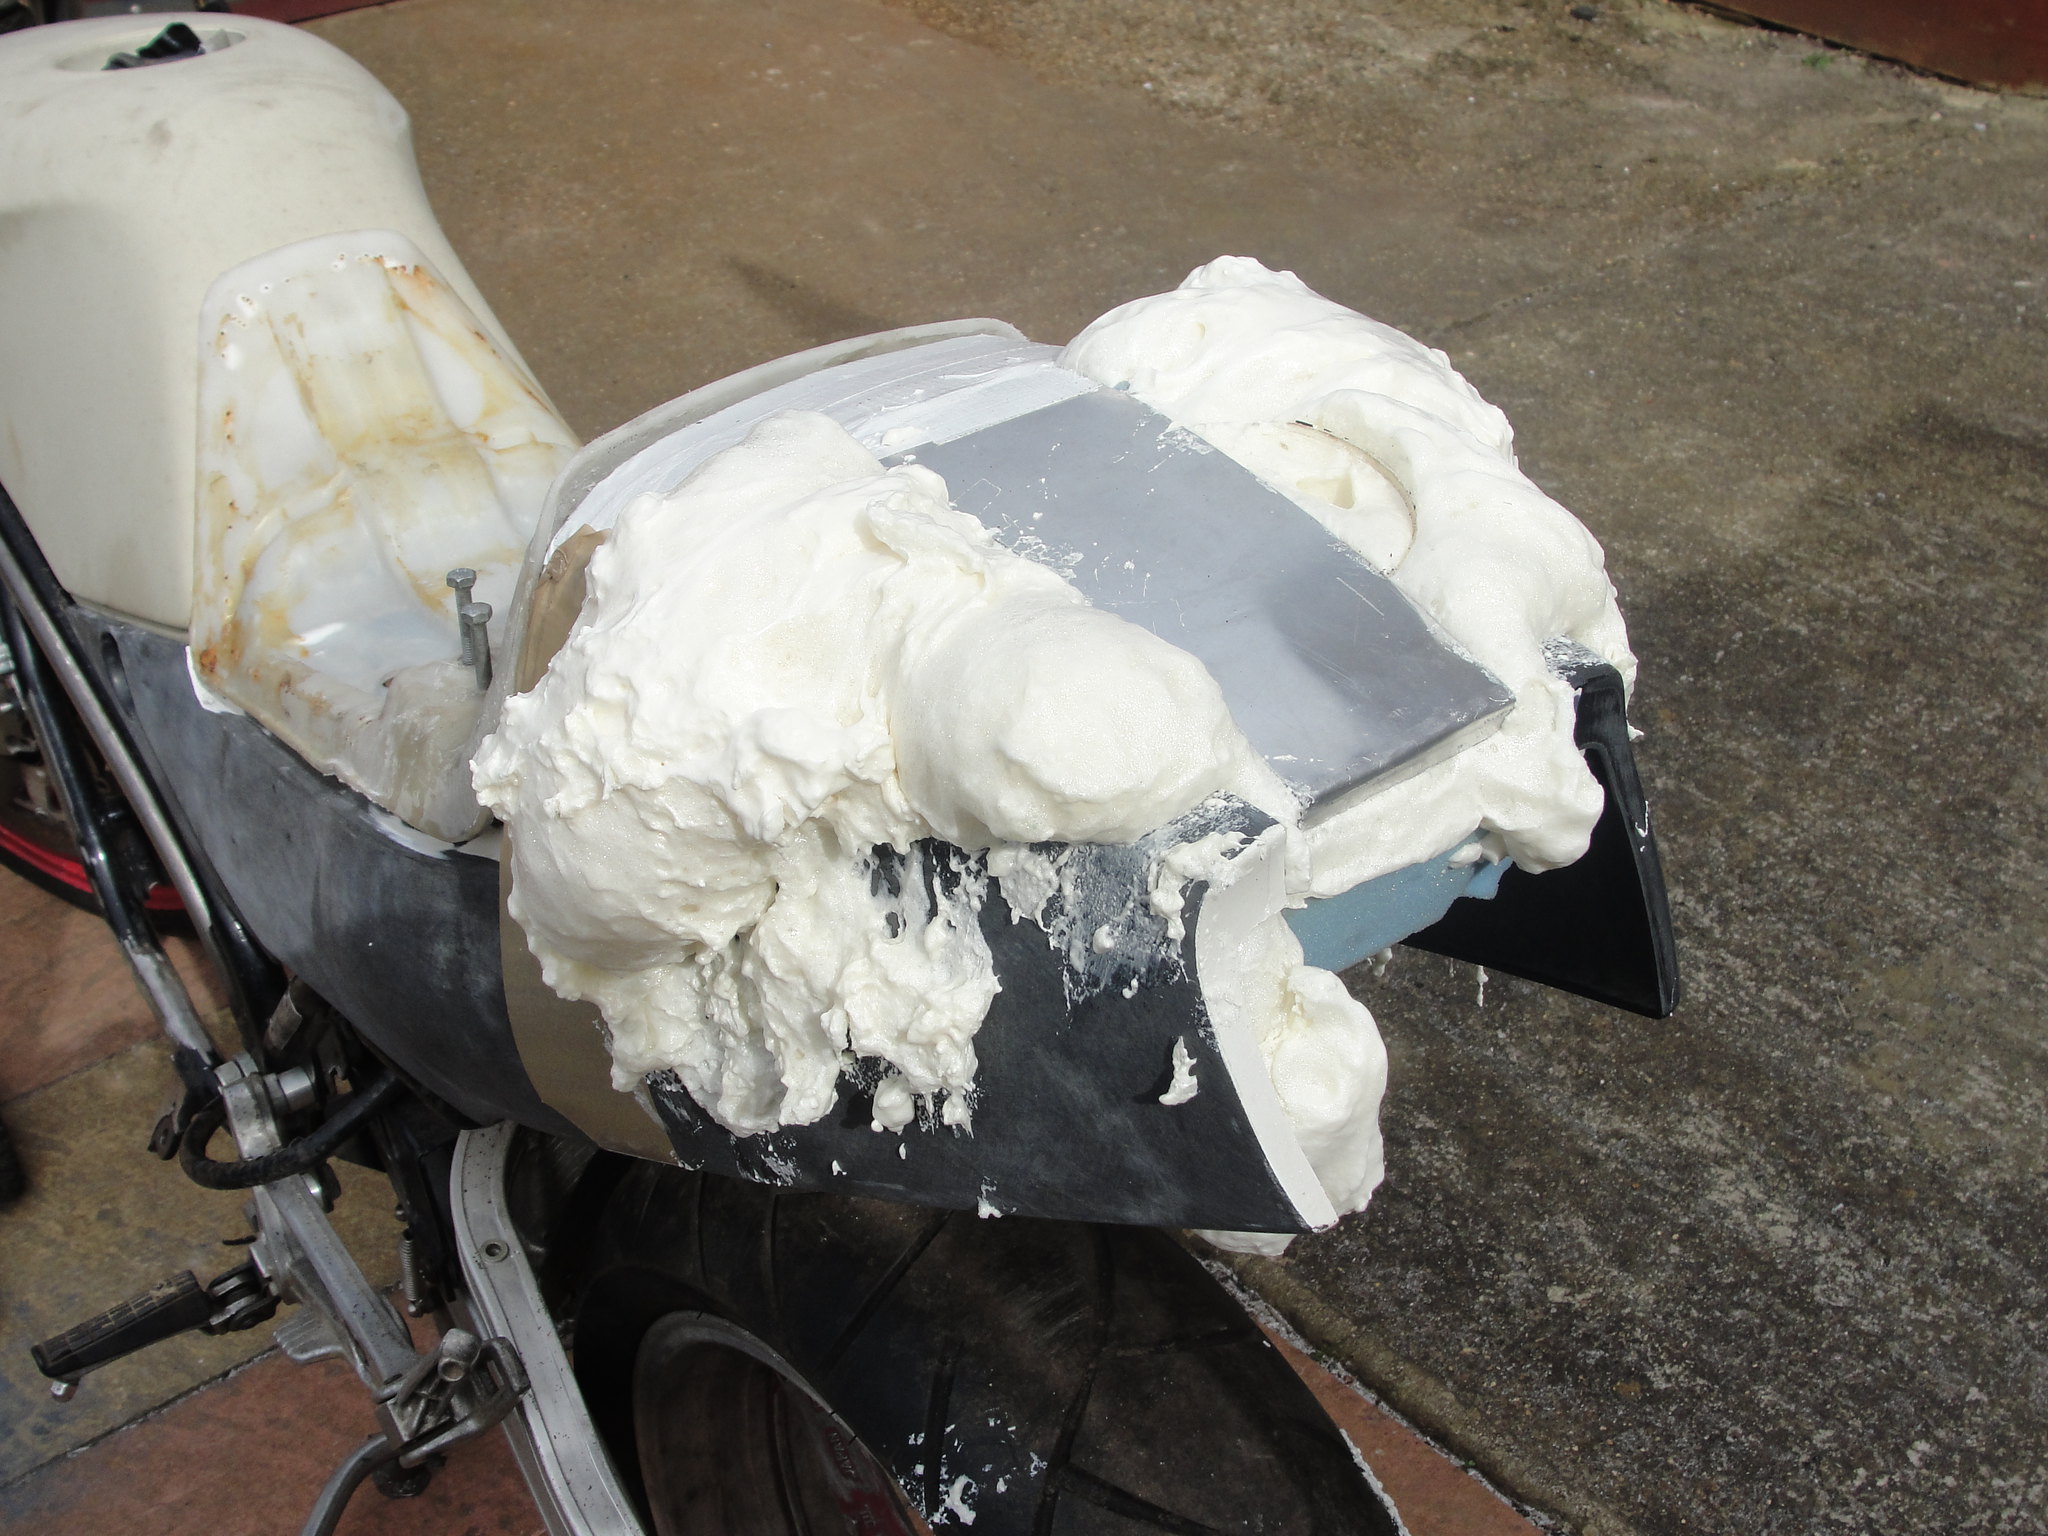 Then I laid fibreglass sheets over the 'buck'. Once set I just picked out the foam an sheet from underneath. |
|
|
|
Post by Tobyjugs on Mar 14, 2016 15:08:23 GMT 1
Looking forward to seeing the outcome of this.
|
|
|
|
Post by jon on Mar 31, 2016 19:35:17 GMT 1
The shape of the single seat unit has now been done, and it just needs a skim over to make it smooth. I had tapered the layers out a bit towards the bottom of the panel. However while the fibre stuck really well to one side, the other was not so good. Over to plan B, and I drilled a series of holes through the bottom of the panels, then threading fibreglass tape through them before bonding front and back with fibre mat. 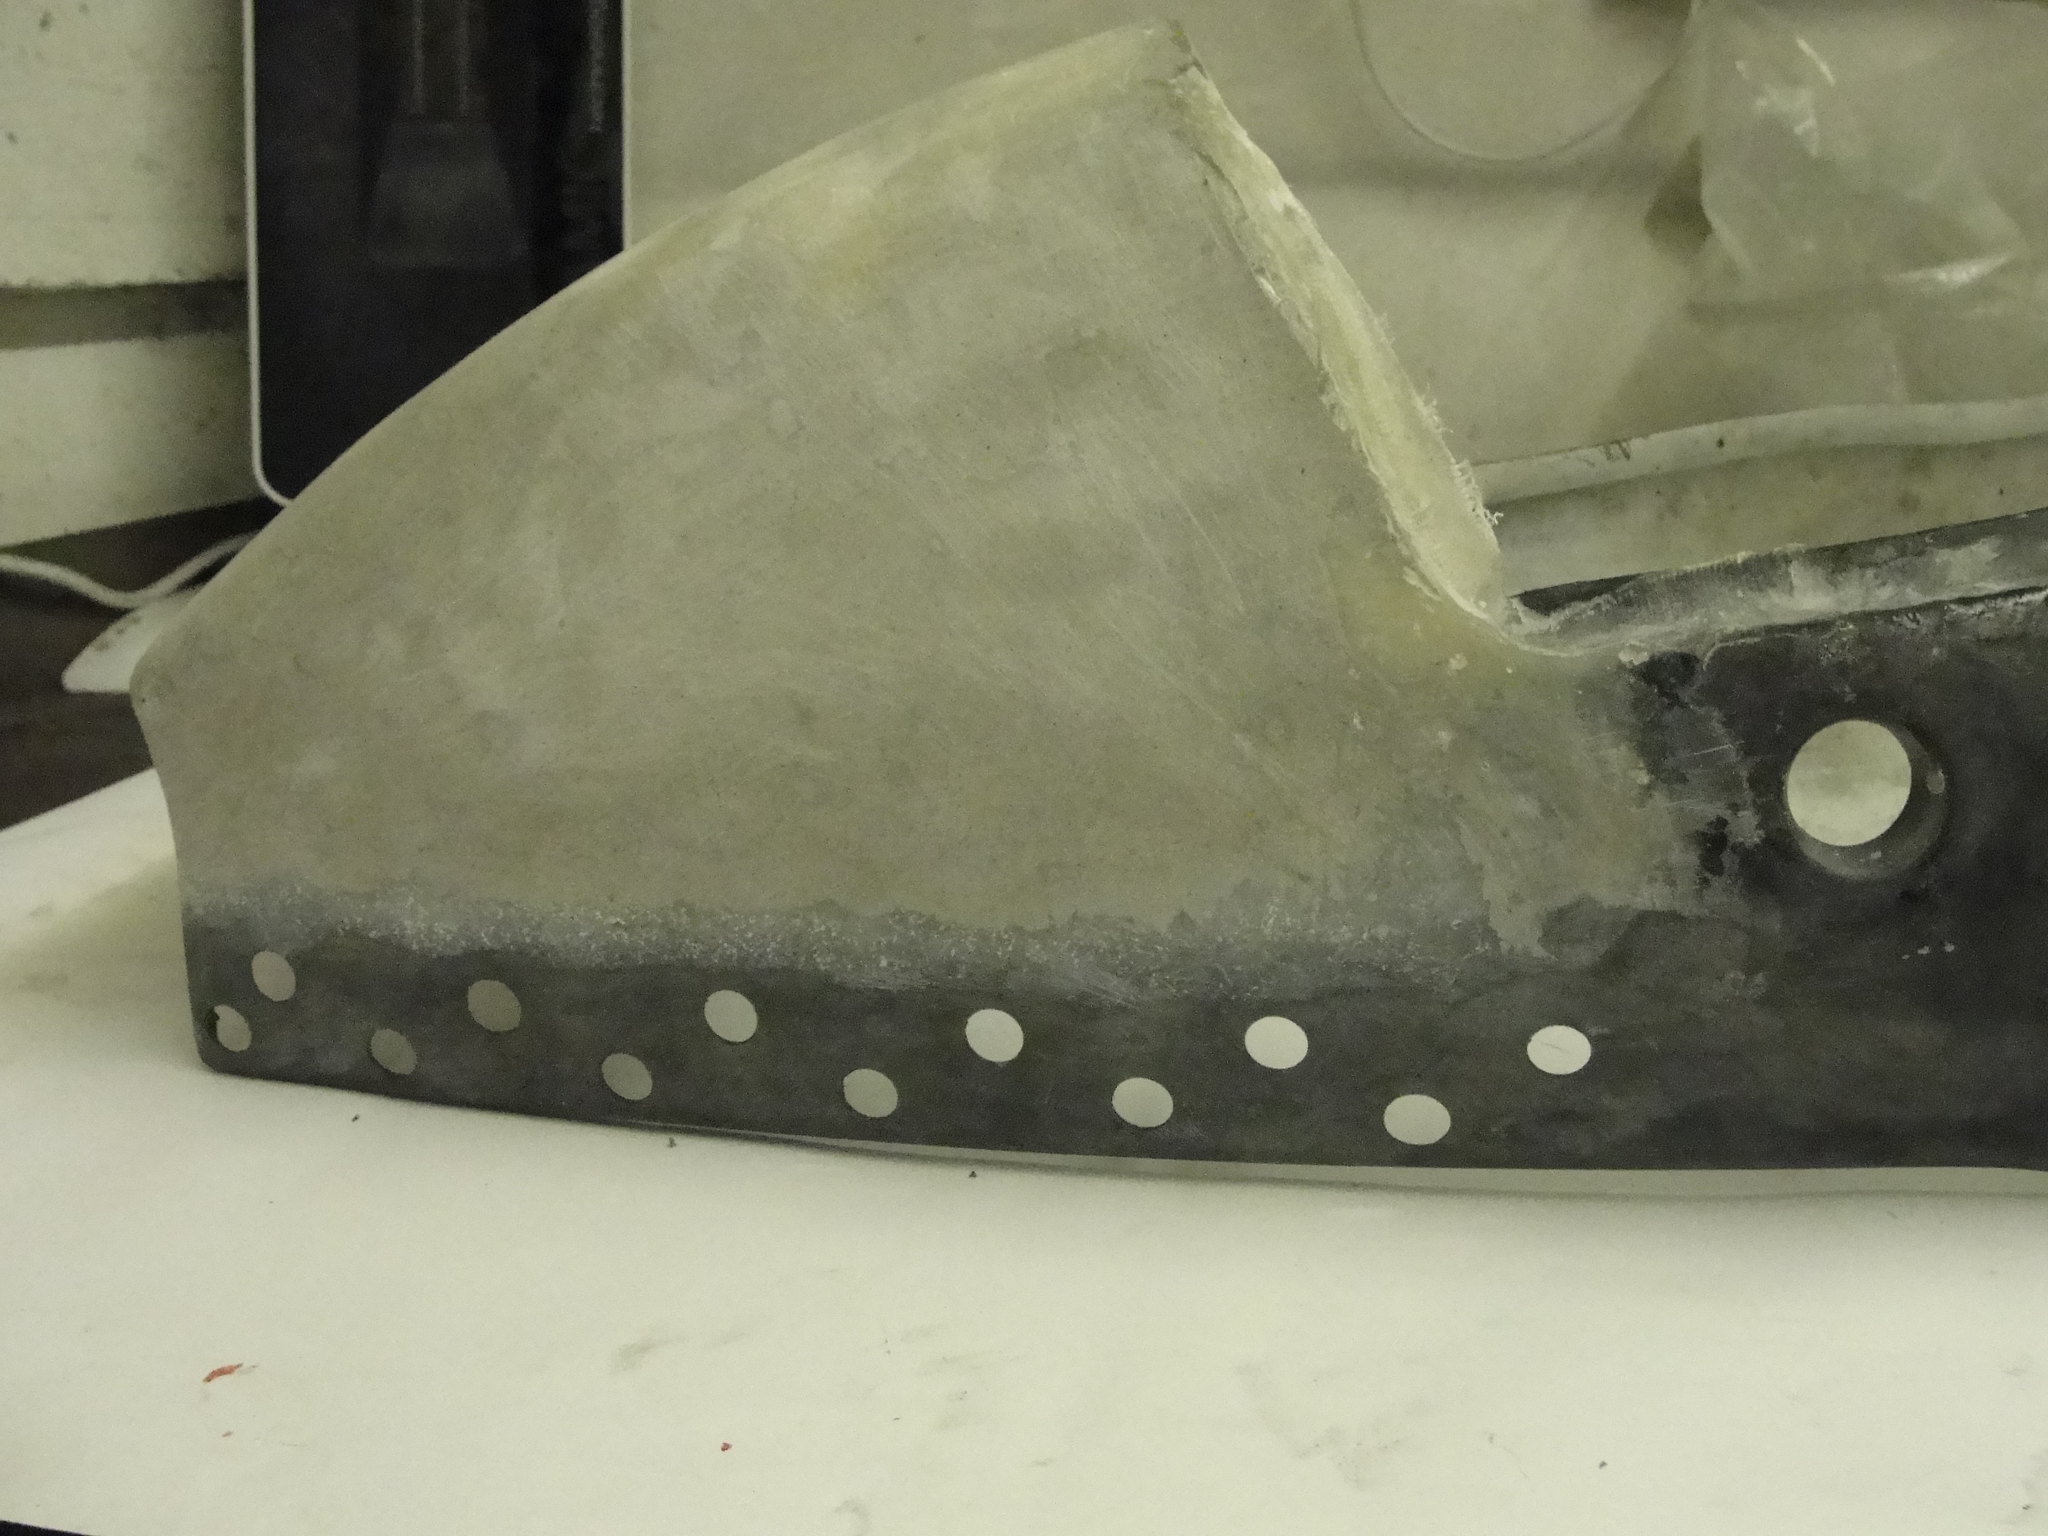 A final layer or 2 of mat in some places and this is what the profile will look like: 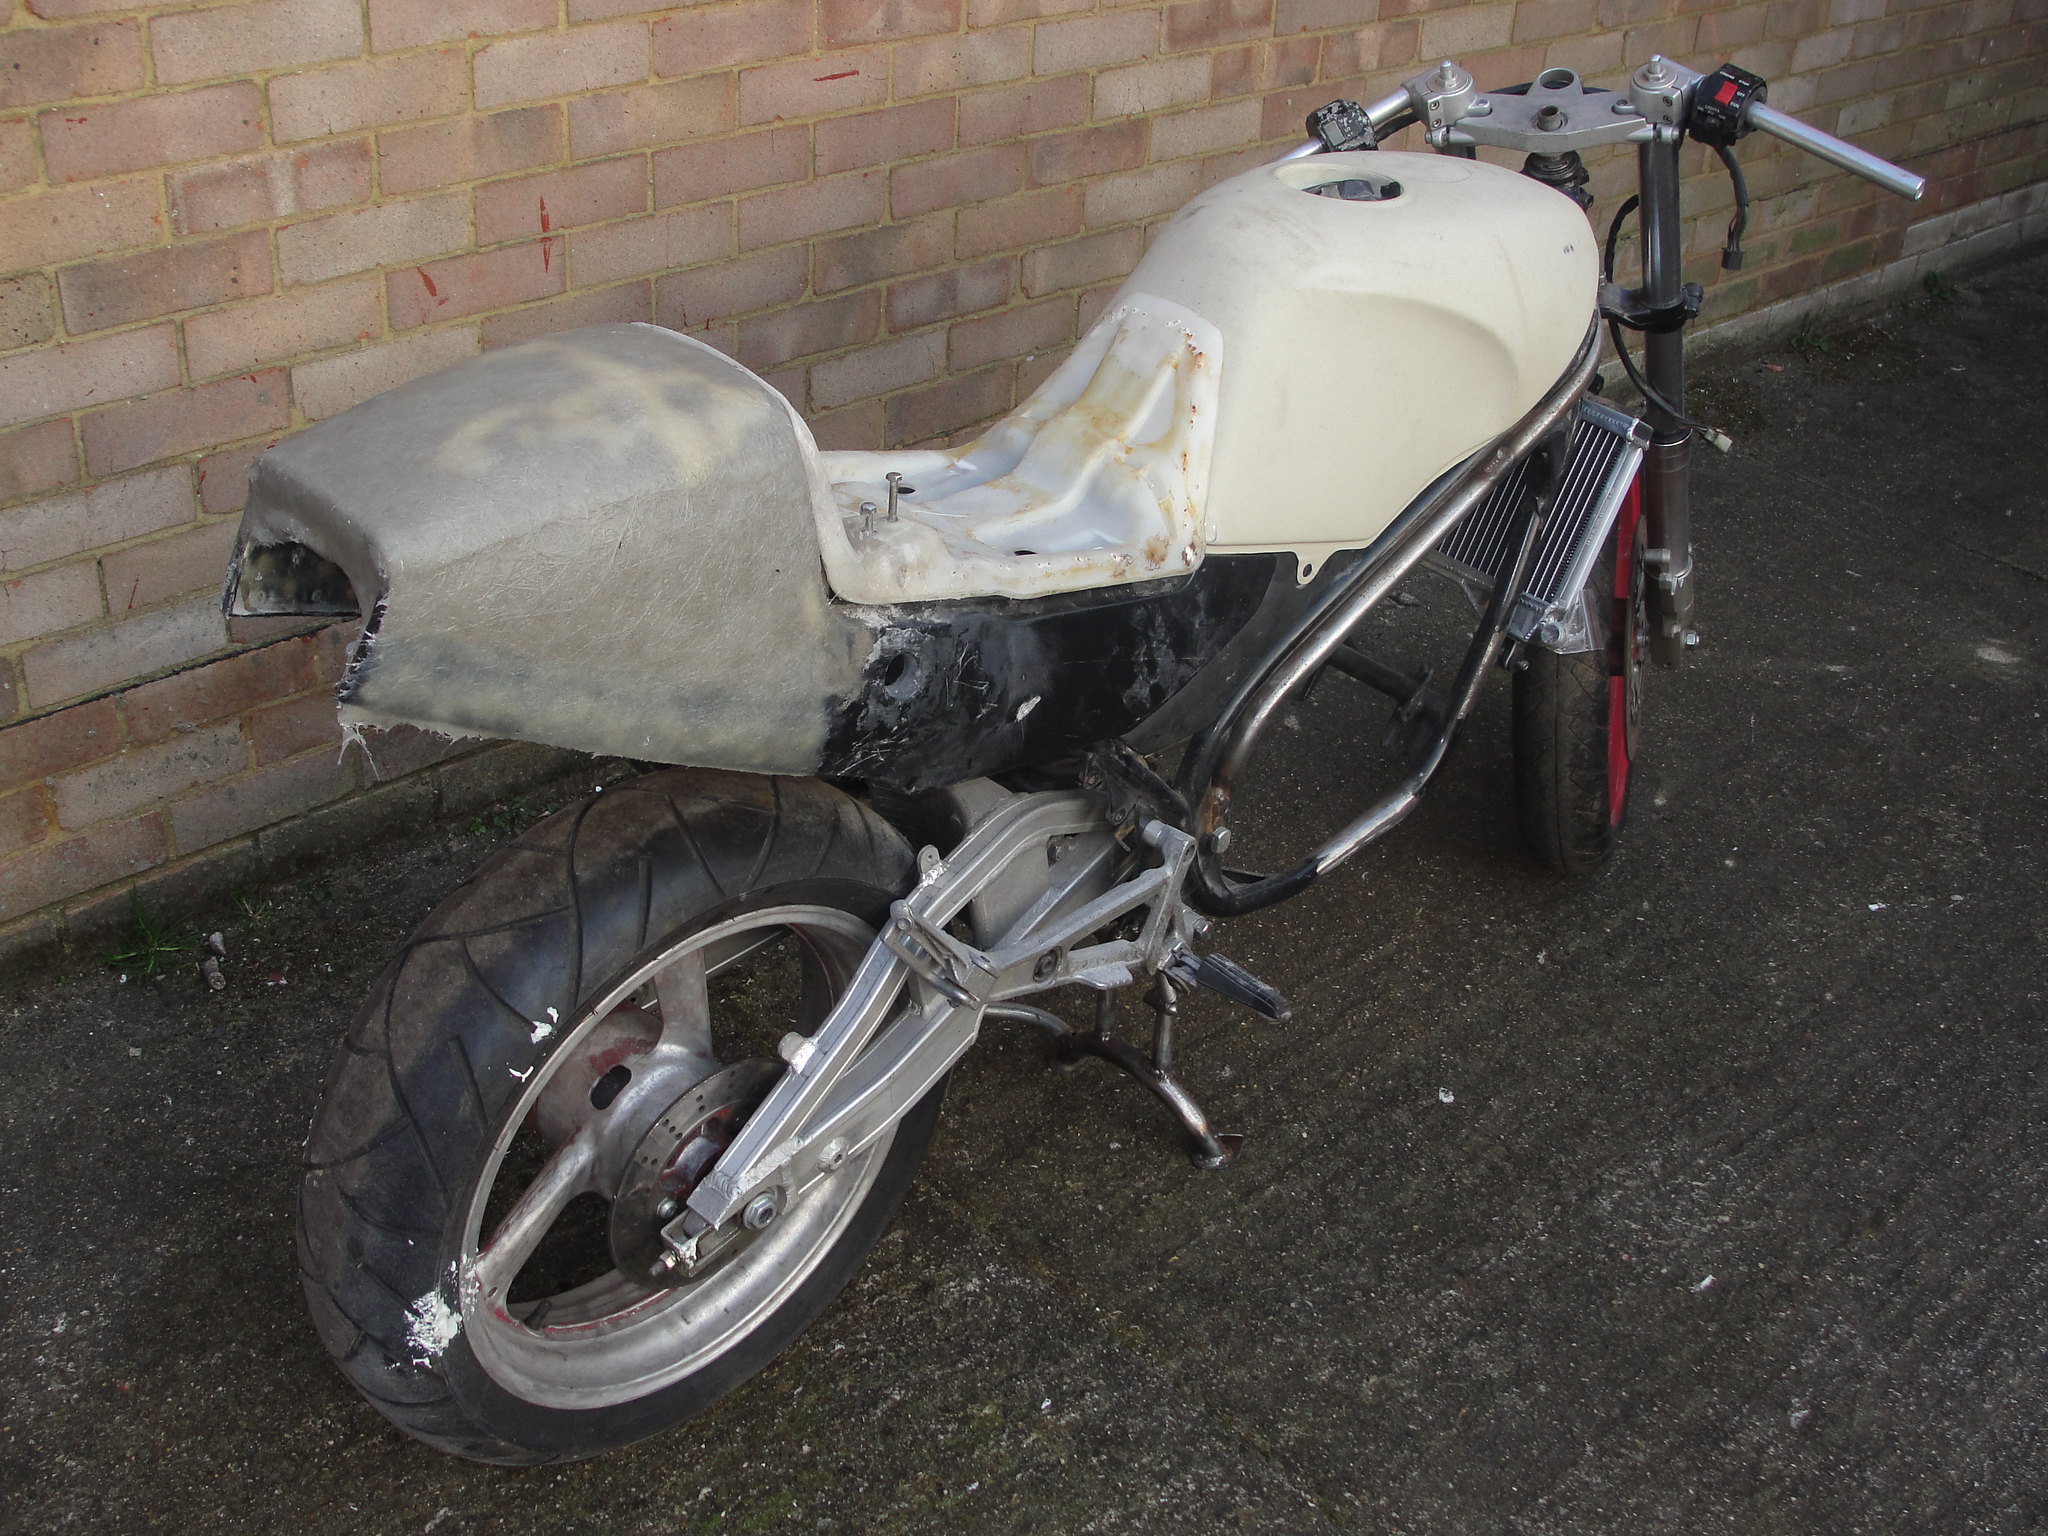 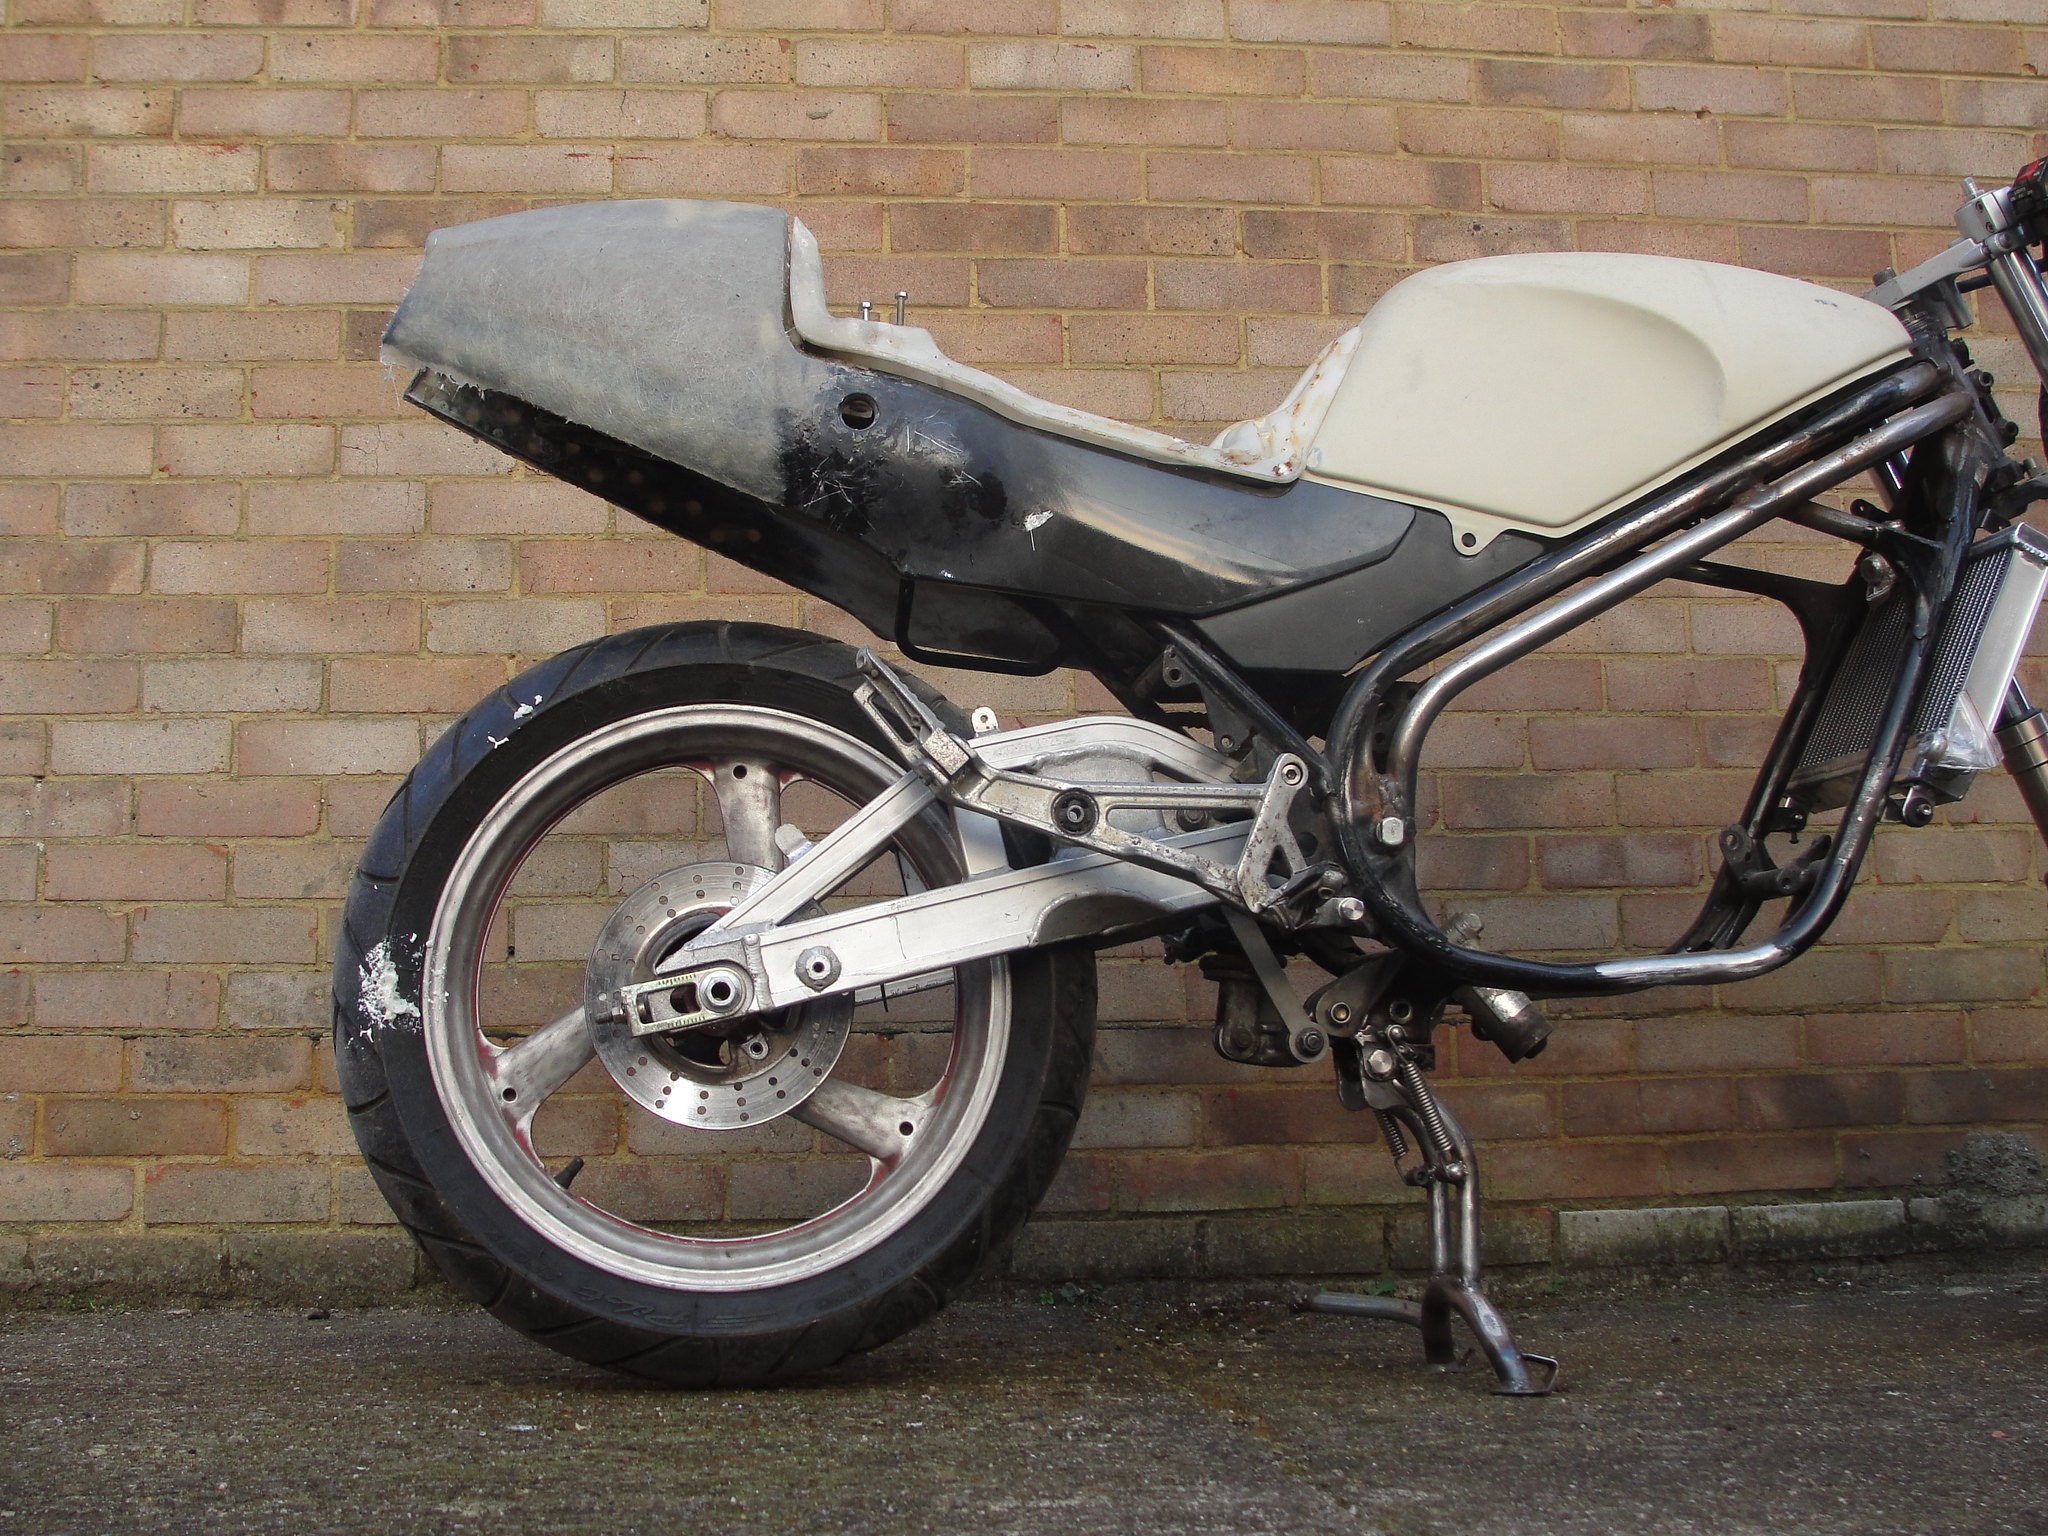 I'm really pleased with the lines. I think the curves match well with the tank. |
|
|
|
Post by Tobyjugs on Apr 1, 2016 21:07:52 GMT 1
Excellent work Jon
|
|
|
|
Post by jon on Jun 5, 2016 20:15:49 GMT 1
It's been about 2 months since I last posted on the progress of this bike. I haven't been being lazy, as much as distracted. I think I am going to have to admit I have taken on a bit more to do than focus on this bike alone. I had a rough YPVS I was going to tart up, but it's become a full rebuild in itself. I also couldn't resist buying another LC which has been stripped, and is crying out for the hybrid parts I'd been collecting for my first LC hybrid to 'improve' it. I guess I'll have to start build threads for both!  Anyway, I know its not the most necessary modification (although it is standard on nearly all modern bikes) but I really wanted a radiator fan on this special. I have only been stuck in traffic twice on my LC (1066 run and an accident on the way to Gibbon's dyno day). Both times my LC went near the red before I switched it off. I wanted a fan on this one. It will be controlled by an adjustable temperature switch. I had to move the bottom of the radiator out by 20mm, and the top by 5mm to fit an R6 fan. It is 5mm from the rad. Custom brakets were in order:  All bolted up 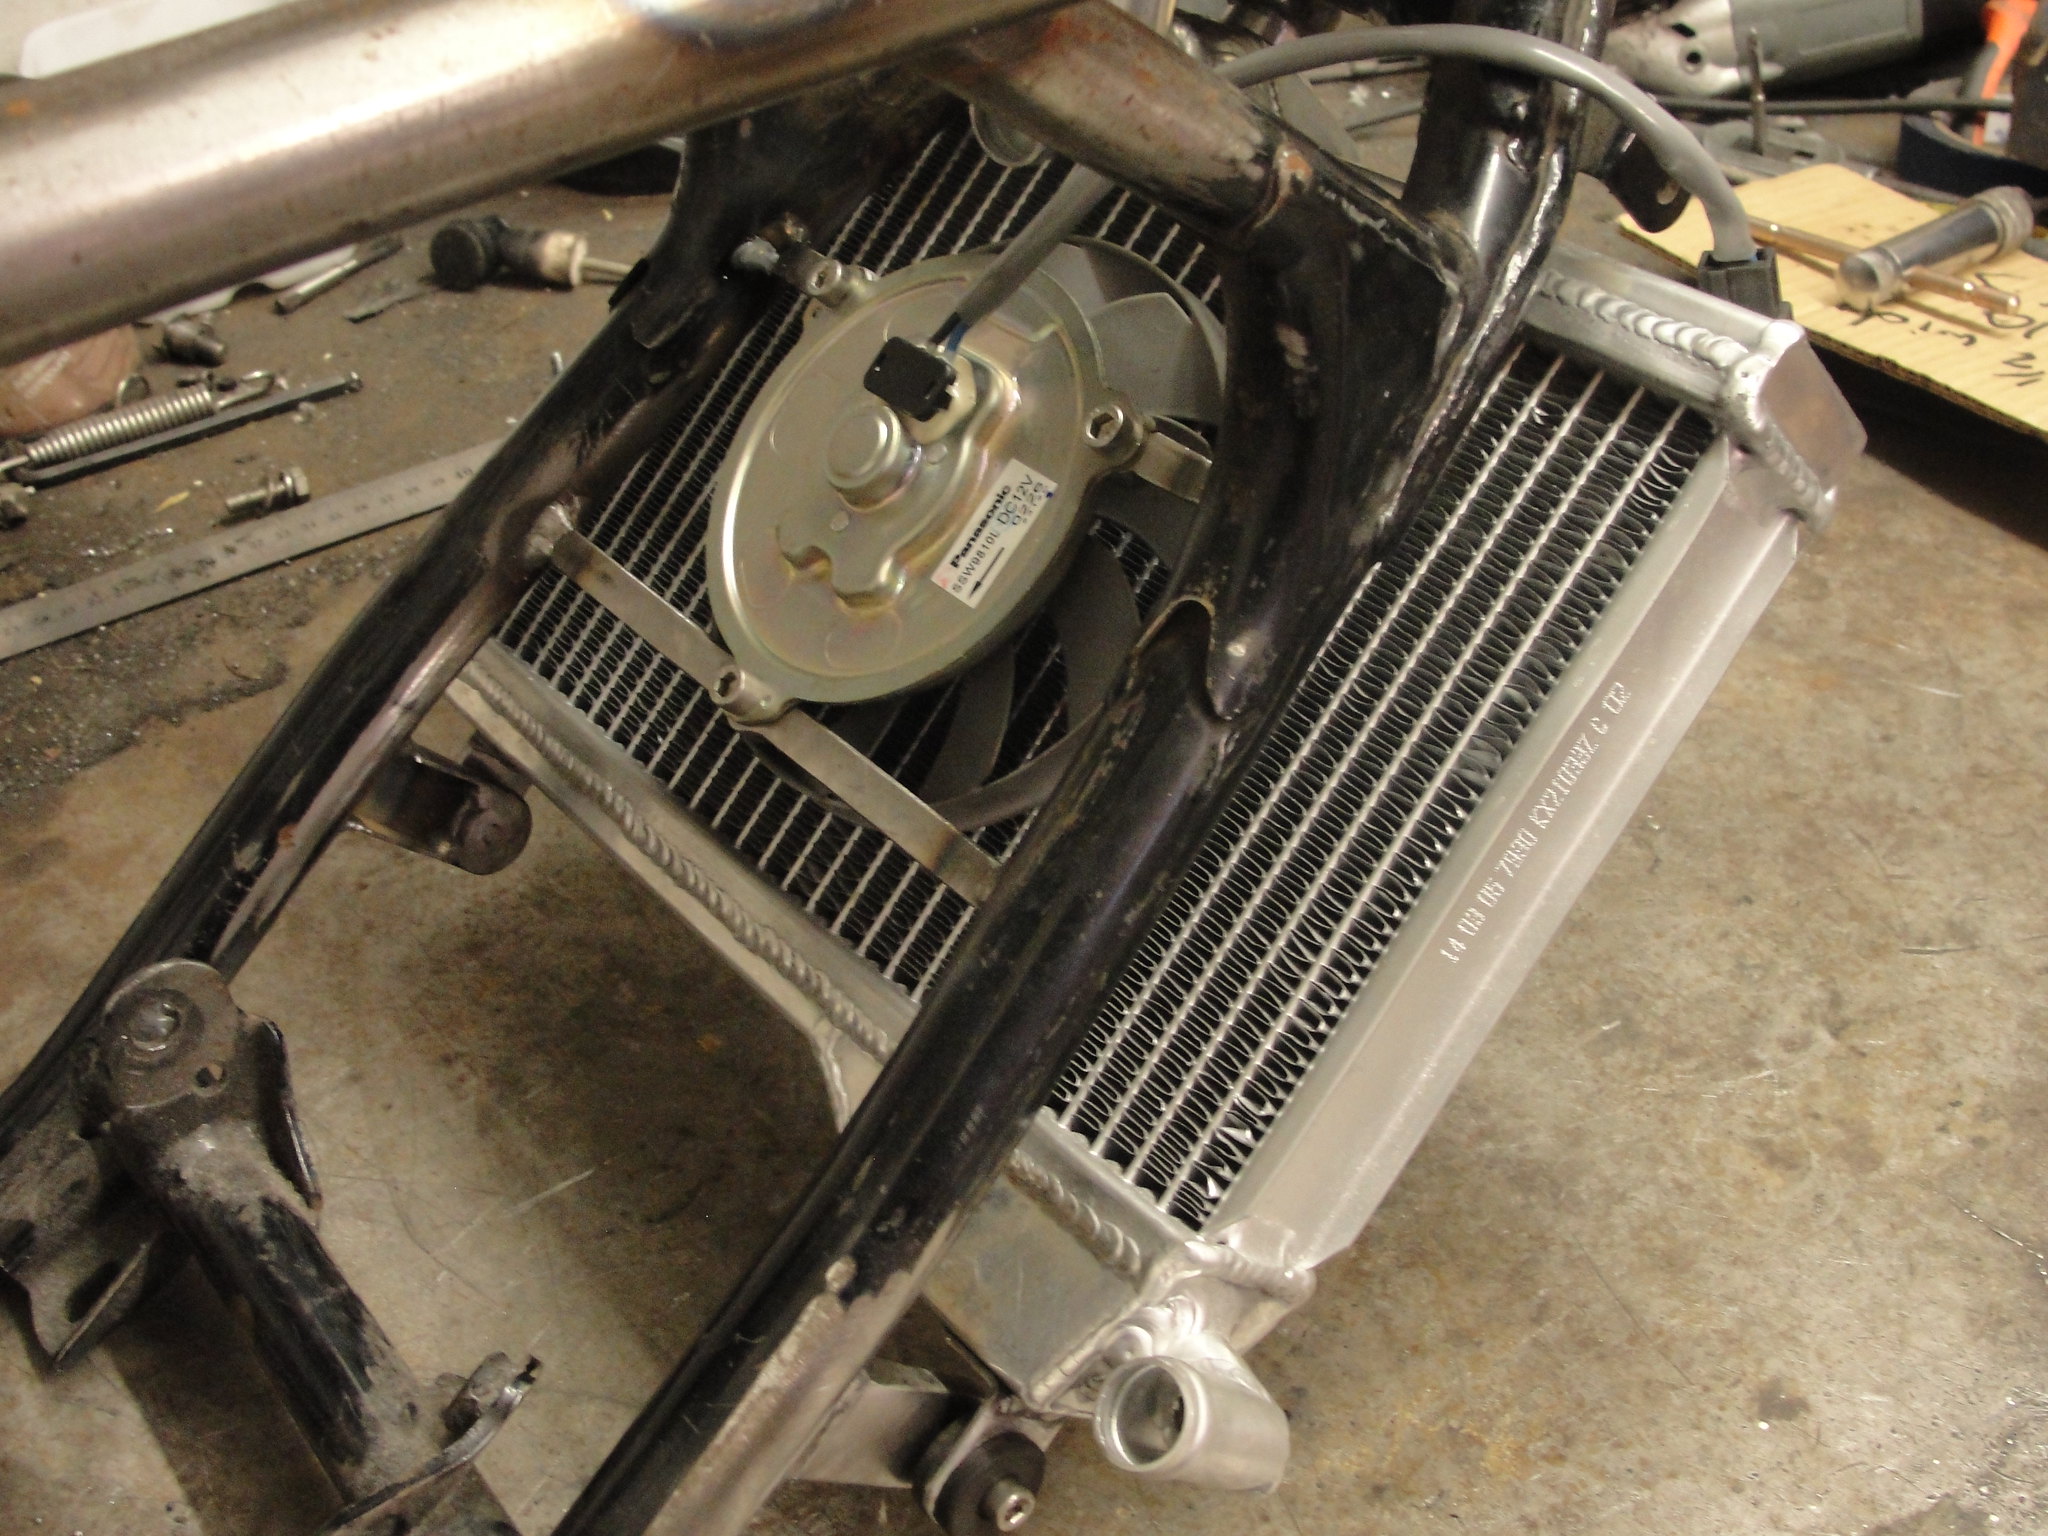 And a nice amount of clearane now between fan and thermostat housing: 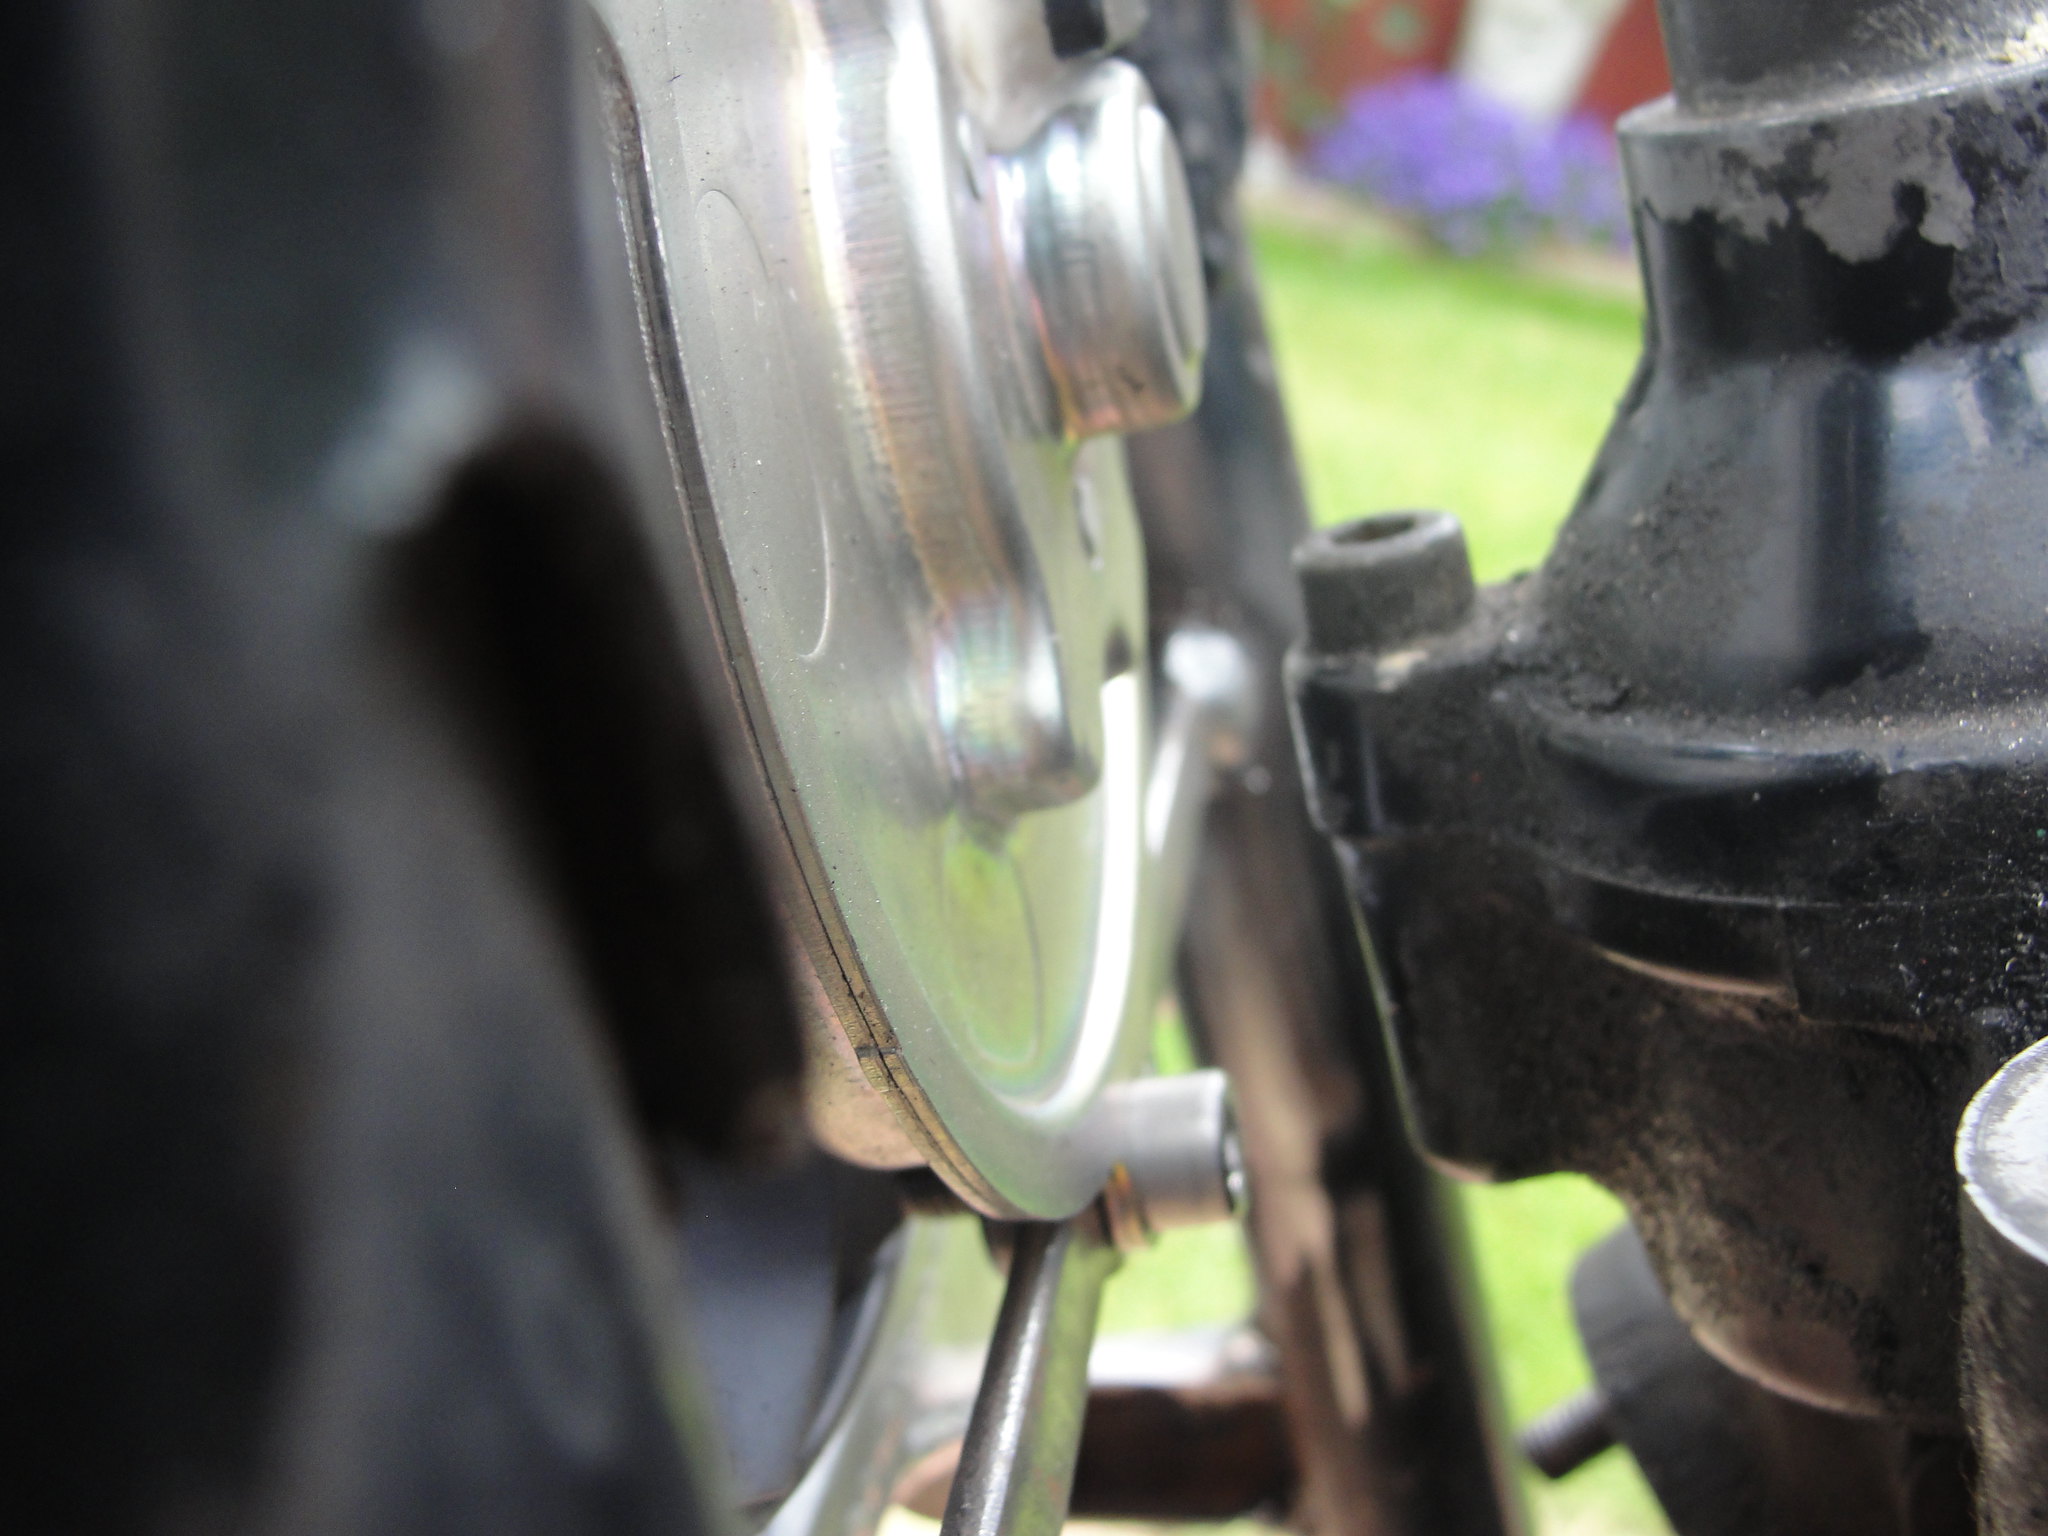 |
|