|
|
Post by jon on Dec 1, 2020 22:25:18 GMT 1
I chose chrome ‘Allspeeds’ (Gibson’s) for the same reasons on my hybrid LC/TZR. Remember them back in the day.
Loved the nostalgia, rather than a performance gain.
Albeit, mine we’re the younger brother version, with TZ style cans.
Jon
|
|
|
|
Post by donkeychomp on Dec 1, 2020 22:43:29 GMT 1
I see the side stand spring is holding up!
Alex
|
|
|
|
Post by lc350pete on Dec 2, 2020 9:44:30 GMT 1
Looking amazing
I’ve got allspeeds on my bike nice sound and look great
|
|
|
|
Post by dusty350 on Dec 2, 2020 19:33:26 GMT 1
Got the second bracket sorted today;  20201202_152950 20201202_152950 by dusty miller, on Flickr Took quite a lot of massing about to get both pipes an equal height from the ground - certainly not a case of copying the bracket dimensions from one side to the other. I remember on my 430, the Allspeed on the right side would stick out further from the frame than the left side ! Frame was proven straight on a Motorliner, so not crash damage. Never could work out why. Anyway, I wanted these to look equal for both height and distance from the frame, so took a bit of time;  20201202_153019 20201202_153019 by dusty miller, on Flickr Still not sure whether to make new rearset plates. These will do for the time being, but I may rethink the design. The next job will be to work out how I'm going to fit the rear master cylinder and get that working. It's going to need a bracket making that will need to bolt to the rearset plate. More CAD needed ! Dusty  |
|
2taol
Thrash Merchant

Posts: 378
|
Post by 2taol on Dec 2, 2020 20:03:23 GMT 1
nice dusty, i like how they sweep up at a high angle at the back.
|
|
|
|
Post by yamark on Dec 2, 2020 20:46:38 GMT 1
Looking very smart Dusty .
I remember when my 400E had allspeeds fitted, they weren't symmetrical. 
|
|
|
|
Post by dusty350 on Dec 2, 2020 22:06:17 GMT 1
Symmetrical ! That's the word I was looking for !! I've managed to get them symmetrical, but have had to space the rearset plates slightly differently from the frame mounts on one side more than the other. You cant really tell when looking at the plates, but 1 side is a couple of mm further out than the other. Makes a big difference to where the tail pipe ends up. I'm pleased that there are no issues with the chain fouling the pipes on the left. I was sweating on that, as the chromed finish wouldn't have allowed any modification of the exhaust brackets. And they do kick up a fair bit at the back - much more than the Allspeeds on my 430. I think they look great Dusty |
|
|
|
Post by donkeychomp on Dec 2, 2020 22:36:26 GMT 1
Pipes look beautiful Dusty. Also just noticed how shiny that rear brake light mount is. Be a shame to cover it up!
Alex
|
|
|
|
Post by mouse on Dec 2, 2020 23:08:46 GMT 1
Hey Dusty, that was the right decision to go with the 'allspeeds', they look so right.
Can we see a 'square on' side on view, to show the length in relation to the bike, they look brill!
Mouse
|
|
|
|
Post by dusty350 on Dec 3, 2020 7:30:49 GMT 1
|
|
|
|
Post by sidney81 on Dec 3, 2020 11:27:07 GMT 1
Hi dusty just seen this ,wow love the pipes I can just hear it ticking over sounding sweet !! Look the t*"s to 😎
|
|
|
|
Post by donkeychomp on Dec 3, 2020 23:06:17 GMT 1
How come it's so fekkin dry there? Pissed down here lol.
Alex
|
|
|
|
Post by cbm on Dec 6, 2020 9:19:42 GMT 1
Pipes look even better on than I'd imagined they would, she's looking absolutely gorgeous mate
|
|
|
|
Post by Yogi on Dec 6, 2020 9:30:49 GMT 1
That is looking the dogs danglies mate 👌
|
|
|
|
Post by dusty350 on Dec 6, 2020 10:38:31 GMT 1
Cheers guys - fitting the pipes makes a huge leap forward in the build I'm going through a fair bit of card trying to find a good design for the bracket for the rear master cylinder. The cylinder needs to sit on the inside edge of the rearset plate, so the plate needs modifying as well as the rose joint needs to be extended from the brake lever. This is the master I bought from a forum member;  20201206_093013 20201206_093013 by dusty miller, on Flickr Fiddly little jobs like this take the time ! Dusty |
|
|
|
Post by dusty350 on Dec 6, 2020 23:10:43 GMT 1
Had a bit of time this evening and decided to fit the new handlebar clamp with the temp gauge fitted;  20201206_205315 20201206_205315 by dusty miller, on Flickr Been sat on the bench for ages, so it was time I did it ! This unit is able to measure the temp on 2 cylinders - you cycle between the 2 with the button on the left. On the aircooled engines, the pick up is from 2 special washers that fit under the spark plugs; 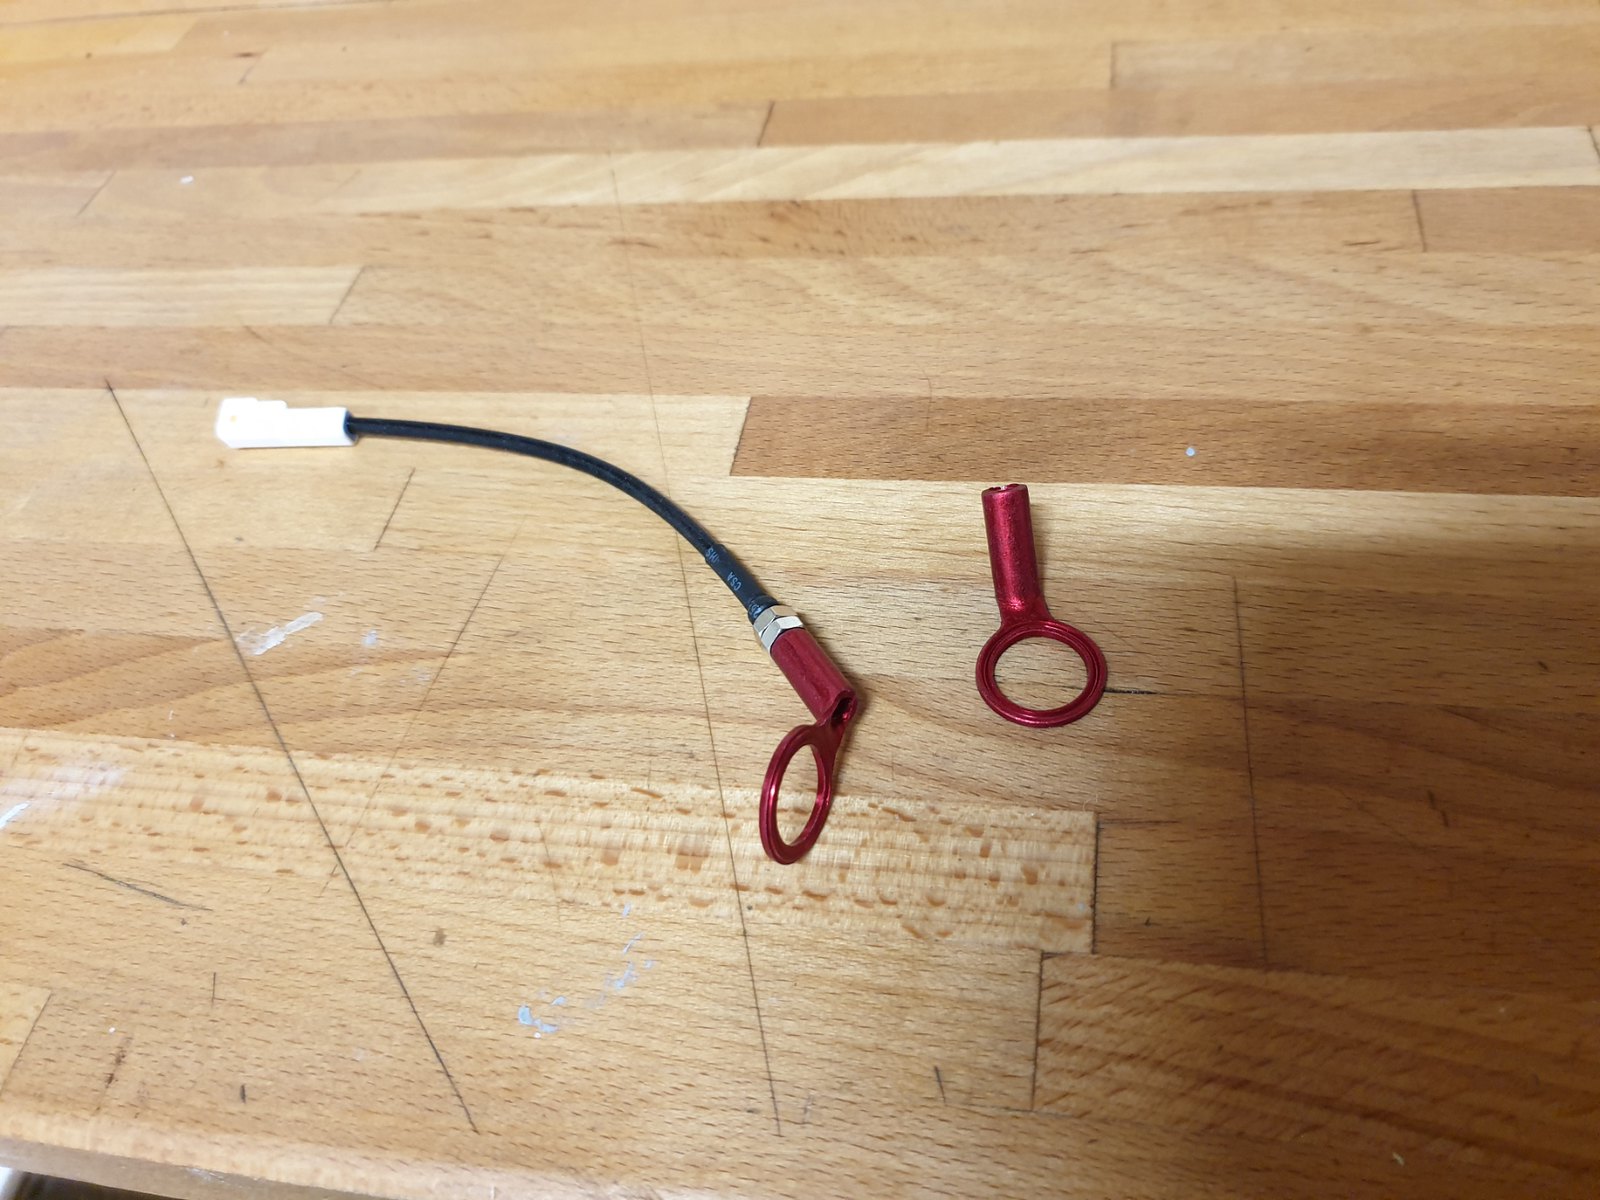 20201206_213021 20201206_213021 by dusty miller, on Flickr Should give some idea of even temps between cylinders, and overall running temperatures. Dusty |
|
|
|
Post by donkeychomp on Dec 6, 2020 23:52:42 GMT 1
That is a very good idea and fits perfectly.
Alex
|
|
|
|
Post by donkeychomp on Dec 6, 2020 23:53:48 GMT 1
ps did you get another ignition decal? |
|
|
|
Post by dusty350 on Dec 7, 2020 8:08:50 GMT 1
Hi mate, Yea, got another decal. Just waiting for me to stick it on !!  Hope you are well  Dusty |
|
|
|
Post by donkeychomp on Dec 7, 2020 22:49:35 GMT 1
I'm good. You stay safe mate.
Alex
|
|
|
|
Post by dusty350 on Dec 9, 2020 21:35:04 GMT 1
Today's job was to make the rear reservoir bracket. I've spent a few evenings with CAD, trying to find a way to mount the reservoir that both works well and looks good. If I mounted it upright it would have looked odd, plus the lever action wasn't the best, so I decided it would be mounted at an angle. I also didn't want to drill any more mounting holes in the footrest plate itself, so the bracket for the reservoir needed to pick up on the 2 main mounting holes for the plate. A few different versions were drawn up before I decided on this;  20201209_085955 20201209_085955 by dusty miller, on Flickr Looks a bit weird but it will make sense ! I had some 3mm ali plate from a failed idea from a long gone build, so transferred the design to the plate and started cutting it out;  20201209_092724 20201209_092724 by dusty miller, on Flickr And ended up with;  20201209_095721 20201209_095721 by dusty miller, on Flickr I also cut the rearset plates about a bit. These are the same plates as on the Cafe bike, but the mounting holes on this frame meant the plates didn't need to be the same shape. I also had to mount the reservoir on the inside edge of the plate, so I had to notch the back of the plate so an extended bolt and spacer tube could fit to the rose joint and not foul the plate itself. Took a good couple of hours to get it done. Just needs a final polish up, at some point;  20201209_125321 20201209_125321 by dusty miller, on Flickr  20201209_125401 20201209_125401 by dusty miller, on Flickr I also need to reduce the length of the knurled part of the brake lever as the kickstart will contact it when starting the bike. I will pop it in the lathe and machine some of the length off the part that fits against the lever arm. Dusty |
|
|
|
Post by donkeychomp on Dec 9, 2020 22:25:41 GMT 1
Wow. You did all that by hand? Nicely done Dusty.
Alex
|
|
|
|
Post by dusty350 on Dec 9, 2020 22:31:36 GMT 1
|
|
|
|
Post by stusco on Dec 9, 2020 22:37:34 GMT 1
Nice bit of fab there
|
|
|
|
Post by JonW on Dec 9, 2020 23:45:52 GMT 1
I love it Dusty! I fab quite a few things by hand even tho I have access to real machinery. I find it therapeutic. All it takes is a decent scrap bin and time. Its incredible what you can do with a bit of cardboard and a file. Nice work mate! The only issue i can see is filling it to the top but maybe you do it while you wheelie? Im joking as i believe there is more than enough fluid in there when its level even at that angle i reckon. Will the rubber twist round a bit and go back into shape? Its letting the side down at the mo... give it a talking to! |
|
|
|
Post by dusty350 on Dec 10, 2020 8:19:56 GMT 1
Cheers guys Still a few tweeks to do - final polish of all the parts, change the mounting bolts to button heads, make longer spacers behind the footplates as they are spaced out with extra washers at the mo, and swivel that rubber boot !! I kept the angle of the reservoir fairly shallow so there would be plenty of fluid in the reservoir, and the hose exit at the top is just high enough to clear the frame tube so it will route inside the frame and then downwards towards the caliper, keeping the hose run neat. And I agree, I like being able to make stuff myself. It's a shame that the autojumbles have been cancelled this year as they are my source for ali tube, plate etc, so I'm running low now. Having said that, this build doesn't really require anything else bespoke now the footrests are sorted, so hopefully 2021 will see autojumbles back on Dusty |
|
|
|
Post by midlifecrisisrd on Dec 10, 2020 9:54:08 GMT 1
|
|
|
|
Post by dusty350 on Dec 10, 2020 11:49:27 GMT 1
Thats who I buy from too Steve. If I had the ali bar handy I would make them now I have a lathe, but don't have a lot of spare time at the moment, so will probably order some spacers the correct length from them. Usually fast delivery too🙂
Dusty🙂
|
|
|
|
Post by gazzatt2 on Dec 10, 2020 22:01:04 GMT 1
fit a LC kick-start blade to the Rd400 knuckle it will clear the brake pedal
I did it on one with rask rear sets
|
|
|
|
Post by JonW on Dec 10, 2020 23:46:50 GMT 1
fit a LC kick-start blade to the Rd400 knuckle it will clear the brake pedal I did it on one with rask rear sets Thats a great bit of info. Just gotta find some unworn rd400 knuckles now or can yo still get them OEM? |
|


