|
|
Post by donkeychomp on May 1, 2020 22:15:07 GMT 1
Dusty where did you find those fuel taps? I need a set for my TZ tank!
Alex
|
|
|
|
Post by marrcel on May 2, 2020 7:15:43 GMT 1
Some nice welding with that plate on the tank👍
|
|
motty
L plate rider.

Posts: 41 
|
Post by motty on May 2, 2020 7:56:17 GMT 1
I have just caught up on this build, thank you for taking the time to document it.
I will certainly be looking out for any further updates
|
|
|
|
Post by sidney81 on May 2, 2020 8:12:35 GMT 1
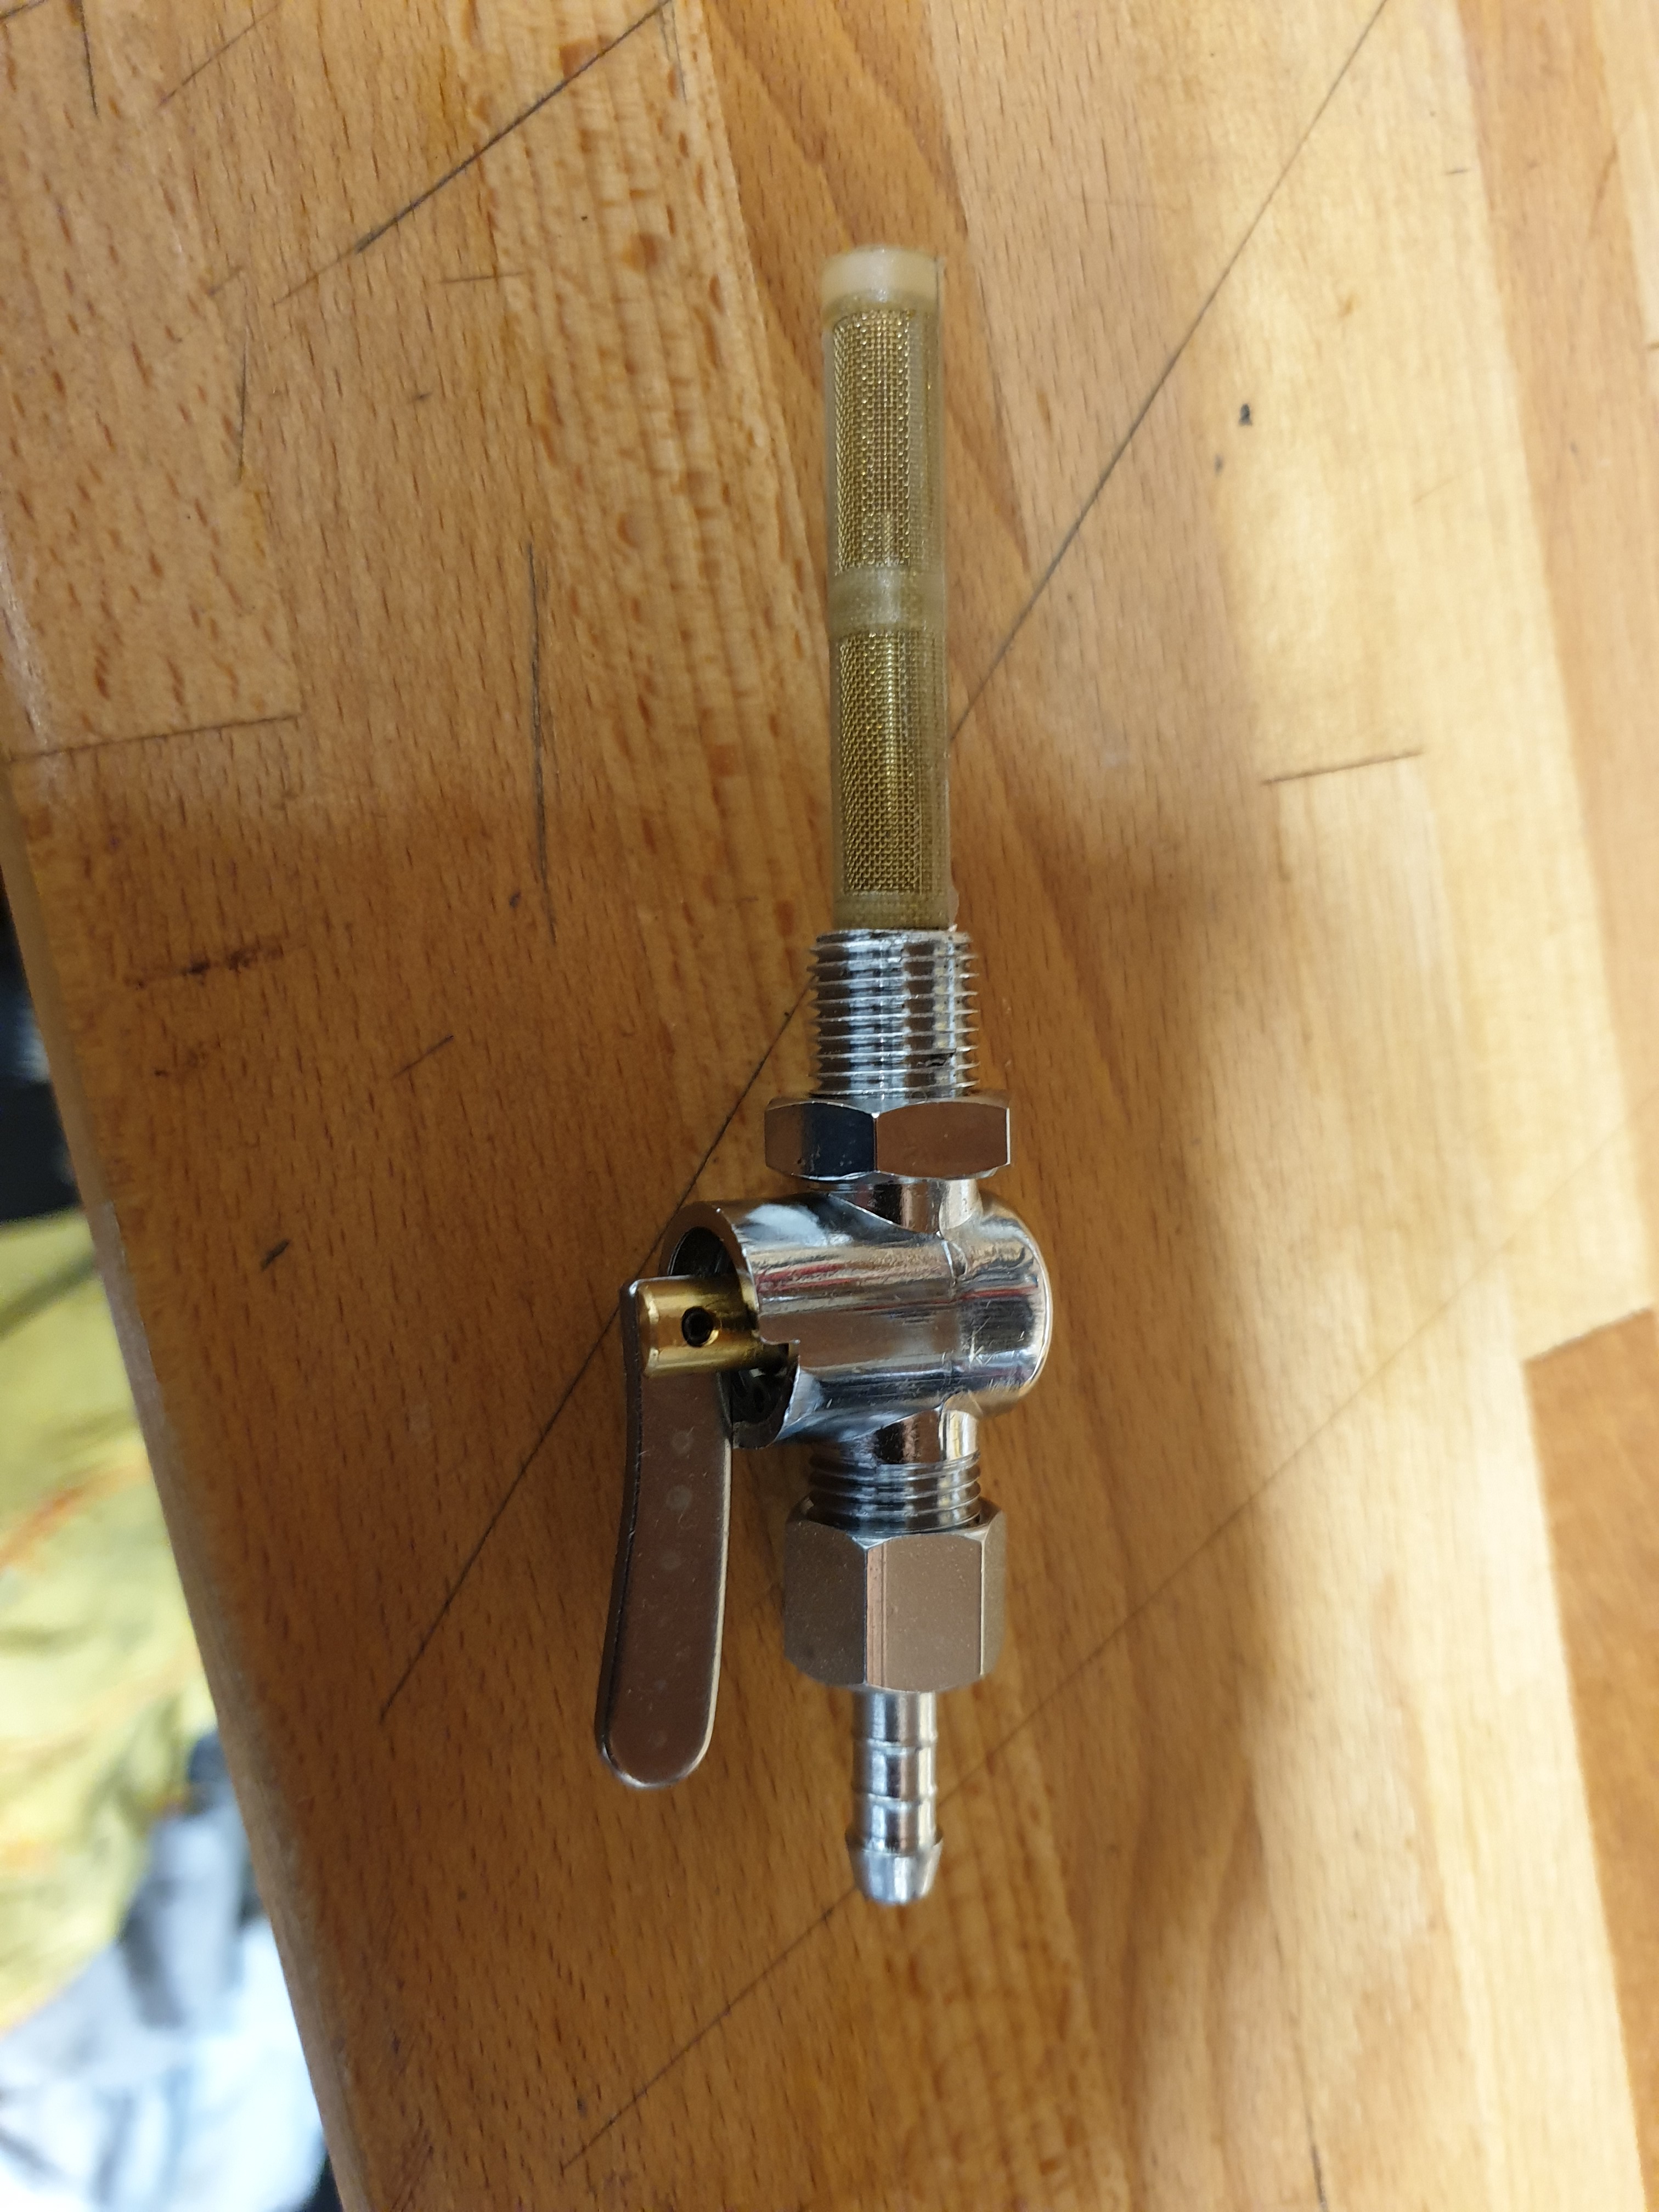
Hi dusty that twin tap Idea is great ,I might have to do the same (if you don't mind) ! What will you do with the out let as you have 4 supply's ?? Thanks Chris
|
|
|
|
Post by dusty350 on May 2, 2020 8:33:19 GMT 1
Hi Alex They are standard AC LC petrol taps mate. They wont fit your Tz tank I'm afraid. Next time Kempton autojumble is on, there is a fella there that sells the taps you need. I will get a pic of the ones you want - I will find them  Cheers Motty  Glad you like it. Hi Chris, go for it mate, I'm not the first to fit a second tap ! Yamark did it with his triple, and probably hundreds before that !! My Tz tank has twin taps, so it follows that principle. Most importantly for me is ease of removing a tank with fuel in it. I would strongly recommend you do the mod to save hassle in the future. Anything goes with a special build so unless you are building a period correct bike, adding a second tap is a win in my book ! I'm thinking of blanking off a feed on each tap - maybe leaving the one that exits at the back of the tap. Those brass outlets can usually be pulled out - not sure if you could weld up the hole ? Some may say Araldite, or something like it but if it failed at any point you will end up with a big problem ! Plus, the second tap is a bit different, and adds a little something to a build that wont stray too far from a standardish 400. Apart from front and rear ends and a couple of small parts, and paint which will be quite different, it will look like a lot of other 400's, so a few extras keep me interested !! Dusty |
|
|
|
Post by shandyboy on May 2, 2020 9:46:15 GMT 1
Looking good Dusty and it's always very enjoyable reading your build thread Buddy TOP Job again
Keep Safe
Alan
|
|
|
|
Post by dusty350 on May 2, 2020 11:11:28 GMT 1
Hi Alan
Thanks mate🙂 hope you are well mate, and not working too hard😉
Dusty🙂
|
|
|
|
Post by dusty350 on May 2, 2020 11:56:36 GMT 1
|
|
motty
L plate rider.
Posts: 41
|
Post by motty on May 2, 2020 12:58:05 GMT 1
Alex, this is what you need x 2 for your tank; Dusty Please excuse my ignorance, to fit these taps you would need to somehow get a captive nut welded onto the inside of the tank? I'm asking for a friend 😁 |
|
|
|
Post by dusty350 on May 2, 2020 14:13:58 GMT 1
There is a threaded boss welded to the underside of the ally tank, it sits proud of the underside. This tap screws into that boss with a fibre sealing washer.
Dusty😉
|
|
motty
L plate rider.
Posts: 41
|
Post by motty on May 2, 2020 14:54:47 GMT 1
There is a threaded boss welded to the underside of the ally tank, it sits proud of the underside. This tap screws into that boss with a fibre sealing washer. Dusty😉 Thanks for the clarification, that's perfect |
|
|
|
Post by dusty350 on May 2, 2020 21:46:21 GMT 1
Today was the start of the rolling chassis mock up. I have been collecting parts for some time now, and keen to start putting it all together ! Some time back I made a basic bike stand out of offcuts of CLS - makes building the bike up a lot easier;  20200502_131421 20200502_131421 by dusty miller, on Flickr The first job was to fit a new taper bearing to the bottom yoke. I put the yoke and bearing cups in the freezer for a couple of hours, and the bearing itself into a cooling oven, so it was hot but not too hot ! The bearing dropped straight into place on the frozen stem;  20200502_125440 20200502_125440 by dusty miller, on Flickr Whilst the yoke was in the freezer, I spent some time cleaning up the headstock on the frame. The frozen top cup slipped into place easily;  20200502_133354 20200502_133354 by dusty miller, on Flickr The bottom cup was tighter, but still went in with no dramas, thanks to being frozen;  20200502_133940 20200502_133940 by dusty miller, on Flickr  20200502_131955 20200502_131955 by dusty miller, on Flickr Lots of grease on the bottom cup and on the bearing itself, and the yoke slipped into place. I used an old race cover at the top but will get a stainless one from Norbo for the final build;  20200502_140620 20200502_140620 by dusty miller, on Flickr Top yoke sat in place, and I had a new Yamaha top bolt to fit; 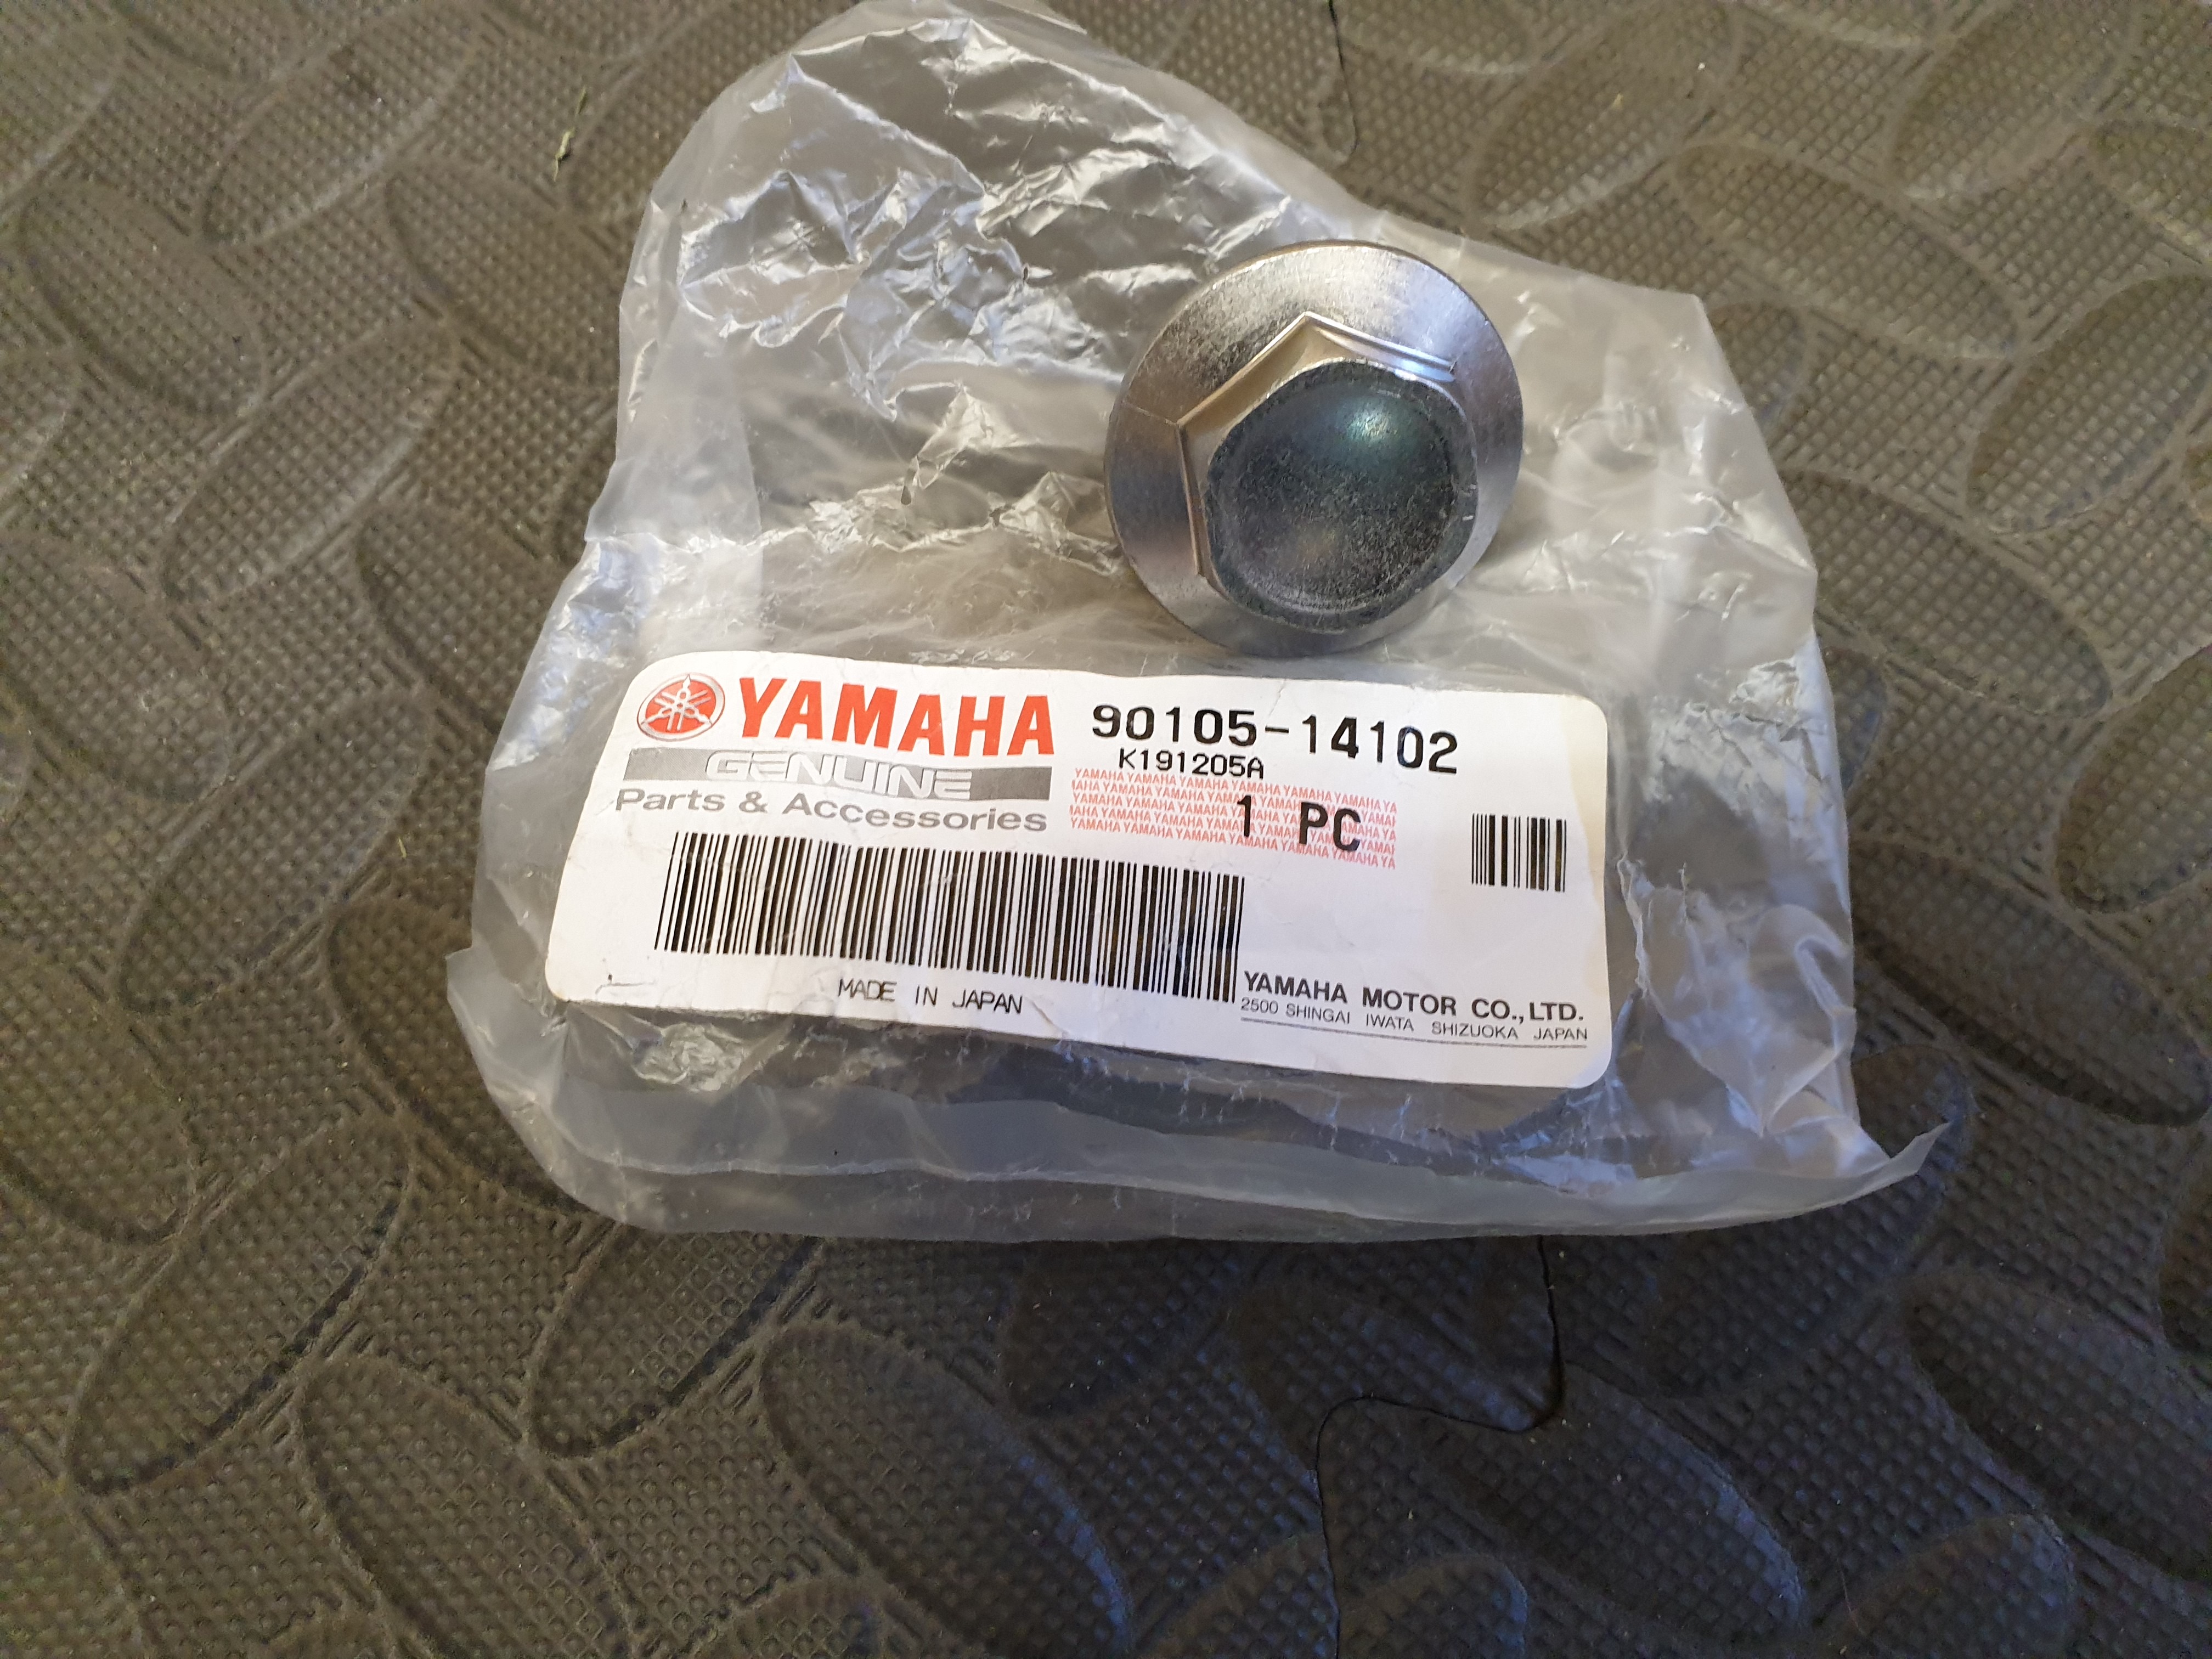 20200502_143226 20200502_143226 by dusty miller, on Flickr With the yokes fitted, I added the forks, clip ons and front wheel;  20200502_145900 20200502_145900 by dusty miller, on Flickr  20200502_145850 20200502_145850 by dusty miller, on Flickr I was going to leave it there, but decided to fit the petrol and oil tank to see how it looked; 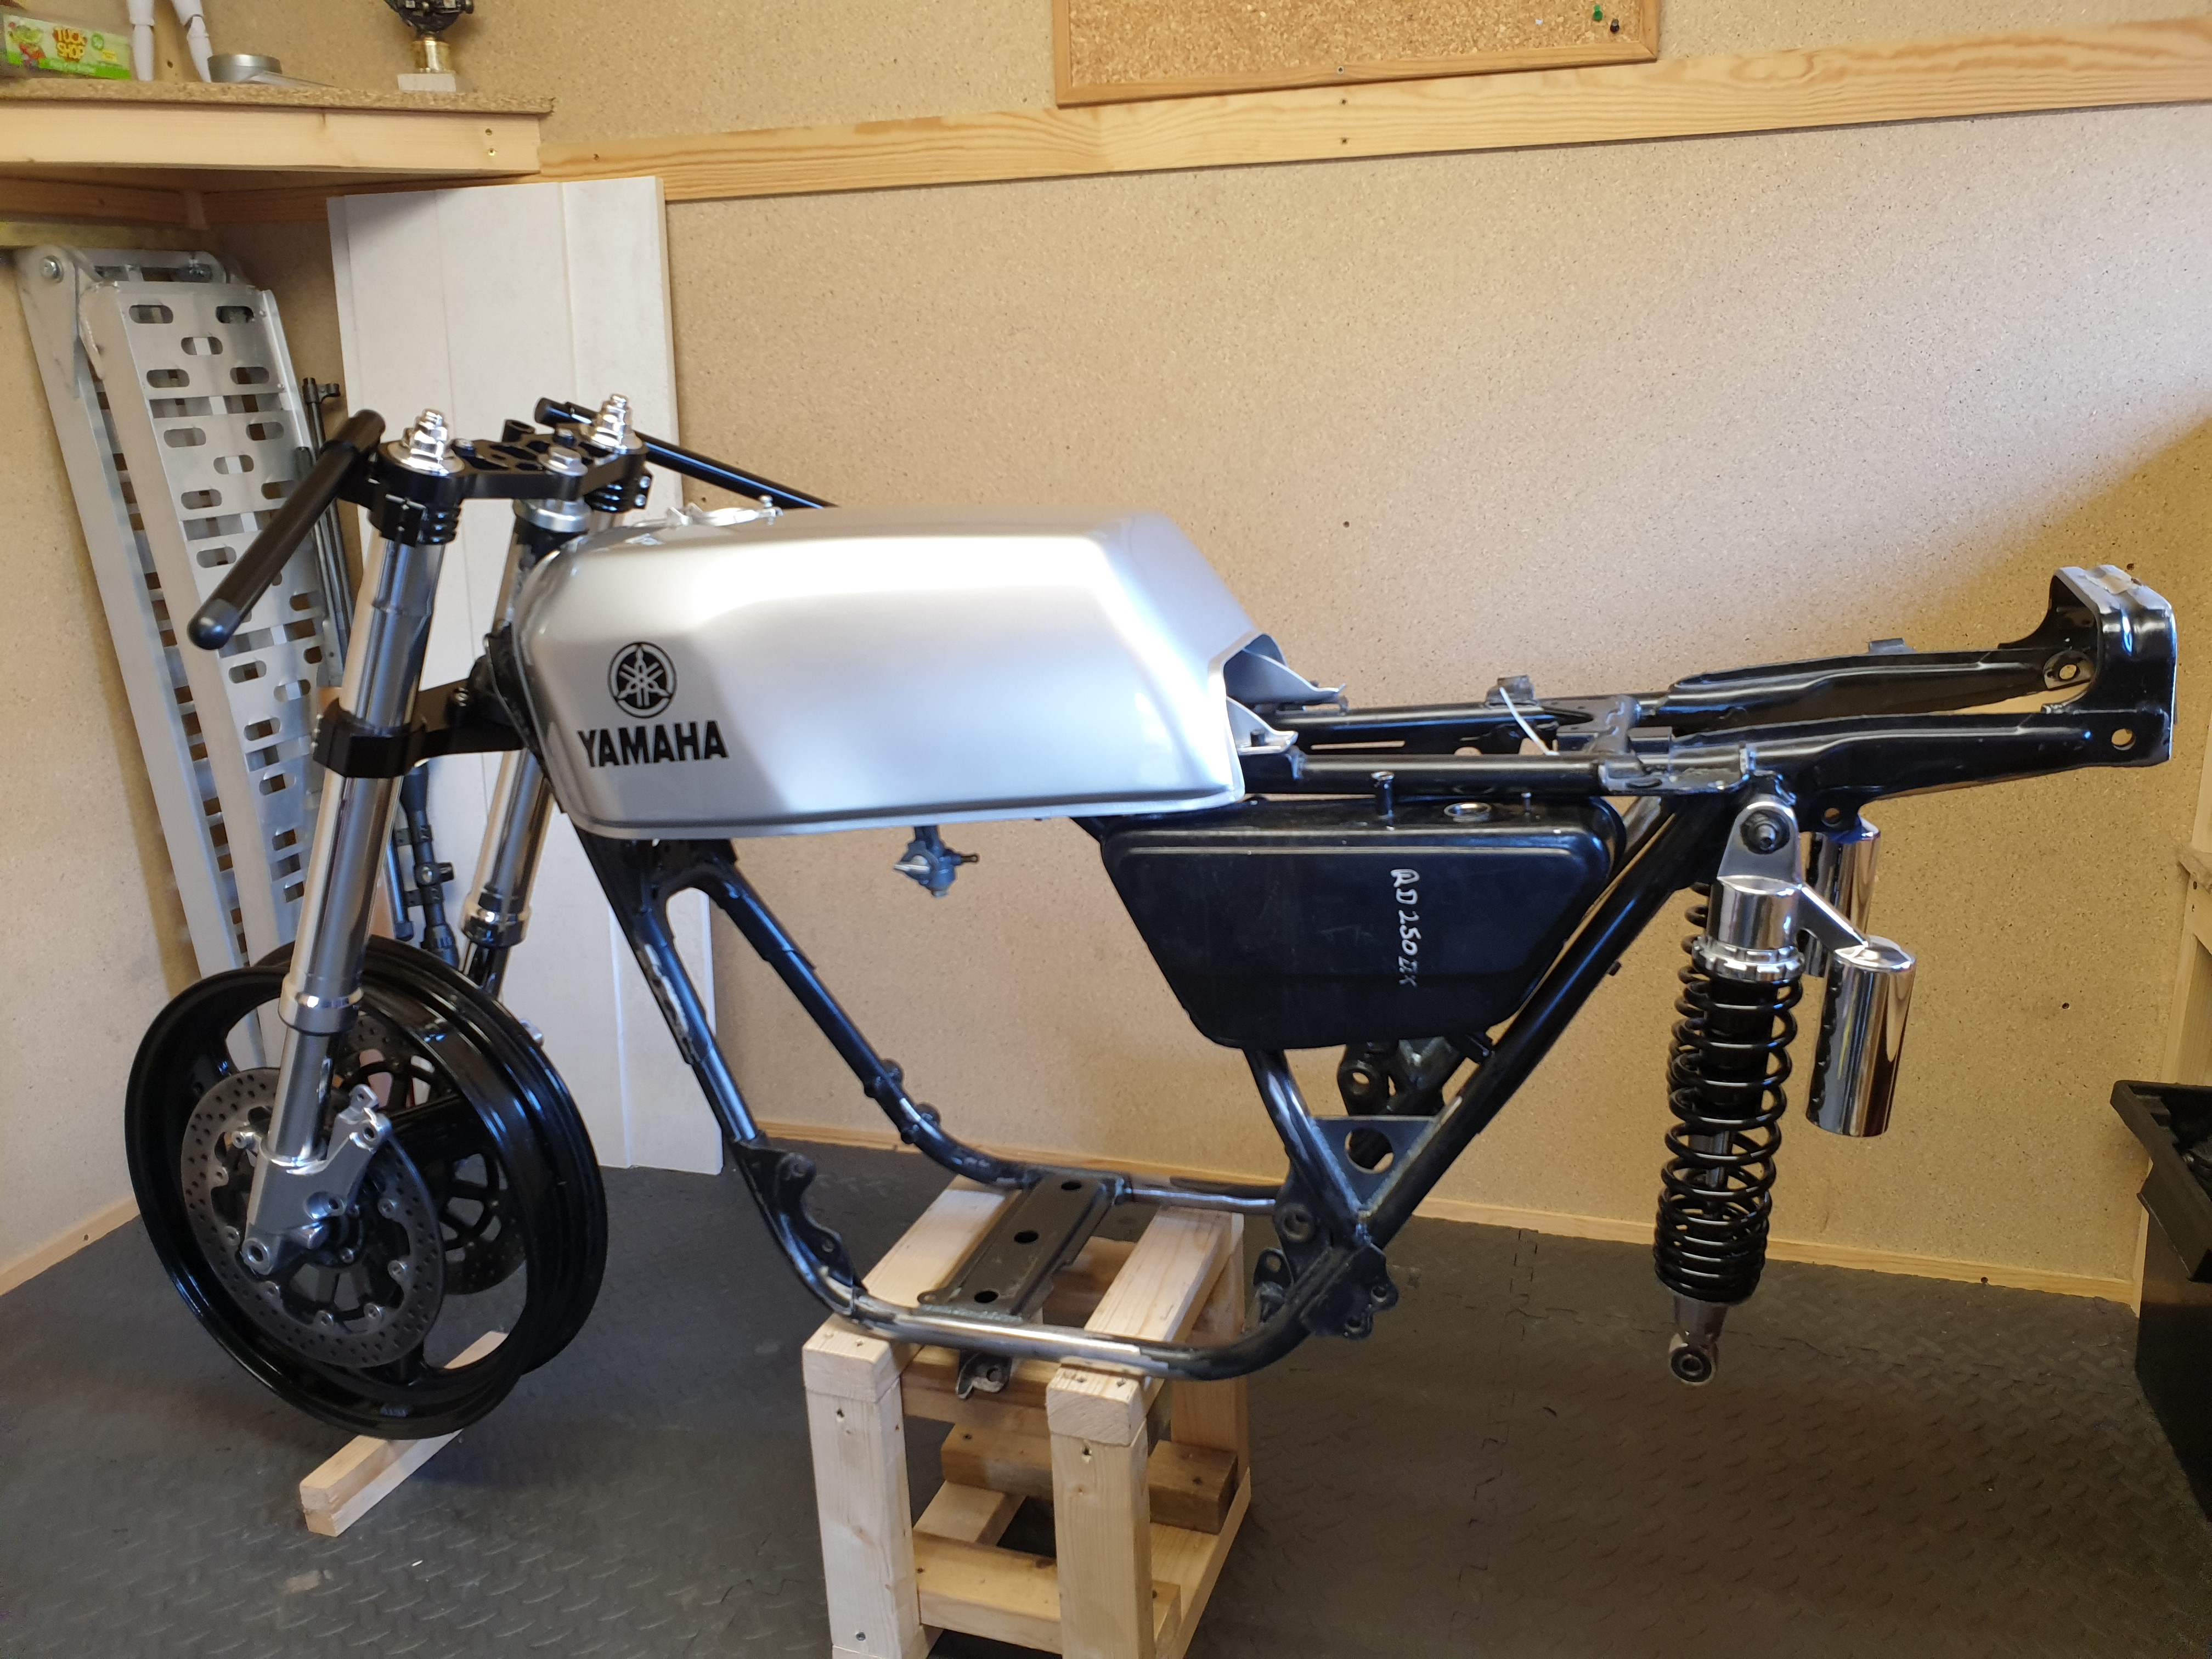 20200502_151012 20200502_151012 by dusty miller, on Flickr Buoyed by that, I fitted the old swingarm, and slotted the Vj22 rear wheel in for good measure. Note the wheel the wrong way round, and my improvised copper pipe spindle !!  20200502_152802 20200502_152802 by dusty miller, on Flickr  20200502_152504 20200502_152504 by dusty miller, on Flickr Dusty |
|
|
|
Post by donkeychomp on May 2, 2020 22:12:10 GMT 1
Thanks for the tank tap tip Dusty! Bike is really taking shape now and those forks suit it so well.
Alex
|
|
|
|
Post by dusty350 on May 7, 2020 20:32:46 GMT 1
|
|
|
|
Post by tony2stroke on May 7, 2020 20:35:33 GMT 1
That turned out great!
|
|
|
|
Post by oldbritguy on May 7, 2020 23:08:43 GMT 1
Don’t know how I have missed this Dusty. That “almost” rolling chassis is looking great. I was a little unsure of the usd with the lines of the 400 but not any more. Looking really sweet. 😉
You are charging on at a fair old pace too.
John 🙂
|
|
|
|
Post by sidney81 on May 8, 2020 7:23:34 GMT 1
Lovley work with the under tray dusty ,alloy definitely the way to go !!
|
|
|
|
Post by dusty350 on May 8, 2020 12:54:14 GMT 1
Yea, the undertray would have been steel if it needed welding in, but I went for the removable option this time, so the ali was the chosen metal. I built a Ypvs in the past and had an undertray welded on - looked great but not as practical as a removable item. It utilises 2 mounting points on the frame, plus 4 others have been added for a strong fix. I have ground the cross piece of the frame back a bit so the upright part of the tray doesn't look recessed on one side. Depending on what seat gets fitted, the number plate bracket and maybe a rear light could be fixed to the tray, plus it closes in that part of the frame. Really pleased with how it fits. Dusty |
|
|
|
Post by donkeychomp on May 8, 2020 22:03:34 GMT 1
Probably adds a bit of extra frame strength too. Looks factory Dusty.
Alex
|
|
|
|
Post by Yogi on May 11, 2020 19:30:09 GMT 1
I have to admit I never followed this much due to it being a coffin tank
Butt,,,that is now looking the dogs danglies, I’m loving the stance with the
old and new suspension combo 👌👏
Keep it going Dusty boy
Matt 🧸
|
|
|
|
Post by dusty350 on May 11, 2020 20:44:08 GMT 1
Cheers I think it will work out ok. I had the forks and wheels surplus, so thought I would use them. The Metmachex arm is on hold as they cant get any aluminium extrusions due to the lockdown situation. That may ease now, so hopefully. I think I will end up going with the risers and normal bars- they will look good with the Ac clocks and probably be more comfortable too. I'm hoping there will be no more trips to the engineers with the frame - I learnt what was needed for the wider rear end by doing the Café bike, so the undertray should be the last bit of fabrication, apart from, maybe a couple of small parts. I have another "different" idea for colour scheme too, so it should look a bit unique, but the silhouette will still be very much Rd400. I pushed my boundaries with all the fab work on the Café bike, so want something a lot less involved this time ! It's certainly more frustrating building a 400 than an Lc or Pv. Certain parts seem either rare as or stoopidly expensive, and the lack of bits is gonna hold me up I think  Dusty |
|
|
|
Post by Yogi on May 11, 2020 20:52:33 GMT 1
It’s the hold ups that piss me right off
Been getting a load of bull from my painter for ages now
So turned up there unannounced today to find the panels where I had left them
last October ,I picked them up,told him he was a w**ker and left 😡
On there way to Mr Cordwell now
Matt 🧸
|
|
|
|
Post by dusty350 on May 11, 2020 21:08:55 GMT 1
I thought you used Mark anyway ? Remember seeing one of your paint sets there once.
|
|
|
|
Post by Yogi on May 11, 2020 21:27:01 GMT 1
Only for original paint sets
The hybrid paint sets that I designed myself I used Boyztoyz so I could
go there and explain what I wanted
Anyway I’ve spoke to Mark,drawn on the panels and WhatsApp,d the design over
So hopefully they’ll be done in the next few months
|
|
|
|
Post by dusty350 on May 11, 2020 21:45:57 GMT 1
Ah, yea seem to remember you mentioning Boyztoyzs in the past. The Covid thing has slowed Mark a bit too, but the quality is still the same Dusty |
|
|
|
Post by Yogi on May 11, 2020 21:55:44 GMT 1
Ah, yea seem to remember you mentioning Boyztoyzs in the past. The Covid thing has slowed Mark a bit too, but the quality is still the same Dusty It’s the quality that counts 👍👌 |
|
|
|
Post by dusty350 on May 16, 2020 8:41:39 GMT 1
Not much doing at the mo, but I did decide to definitely go with the risers and normal bars as opposed to the clip ons. I bought some headlight bracket clamps some weeks back from Digital Speedos. They were out of stock of the 52mm clamps but had the 50's, so I bought 2 pairs. Think it will work out ok;  20200515_095822 20200515_095822 by dusty miller, on Flickr To make sure they don't sit the headlight too high up the forks, I fitted the clocks. The brackets for the clock mount that comes with the yokes are lovely, but I do like to sit my clocks tilted slightly more upright than stock, so that meant making 2 new brackets from some ali strip that I had. Managed to get the correct bend in the brackets to sit them just right for what I want;  20200515_132544 20200515_132544 by dusty miller, on Flickr  20200515_161644 20200515_161644 by dusty miller, on Flickr I had an old Lc headlamp shell in a spares box, so bolted that on to check for clearance between the shell and underside of the clocks, and it's fine;  20200515_134324 20200515_134324 by dusty miller, on Flickr Fitted twin Banshee coils under the tank too, but there is not much else I can do now until Metmachex get some material delivered for a swingarm. I think I have a lead on an original seat and cowl and a side panel so that will be good if it works out. I will then have all the bodywork. Dusty |
|
|
|
Post by donkeychomp on May 16, 2020 22:10:12 GMT 1
Looking very sweet indeed. How did you fix the speedo reset knob Dusty?
Alex
|
|
|
|
Post by dusty350 on May 16, 2020 22:29:52 GMT 1
Hi Alex I just wound the broken shaft out with a pair of long nose pliers. I will get a replacement reset knob from Norbo. Dusty |
|
|
|
Post by yamark on May 17, 2020 18:22:31 GMT 1
Progressing nicely mate. The clock angle and headlight clearance look top draw. Great attention to detail, as ever mate.
|
|


 Glad you like it.