Thanks Billy, rest assured that was just for the photo, agree with you always cover them up, not only for dropping something but also just the dust and crap floating around during the build
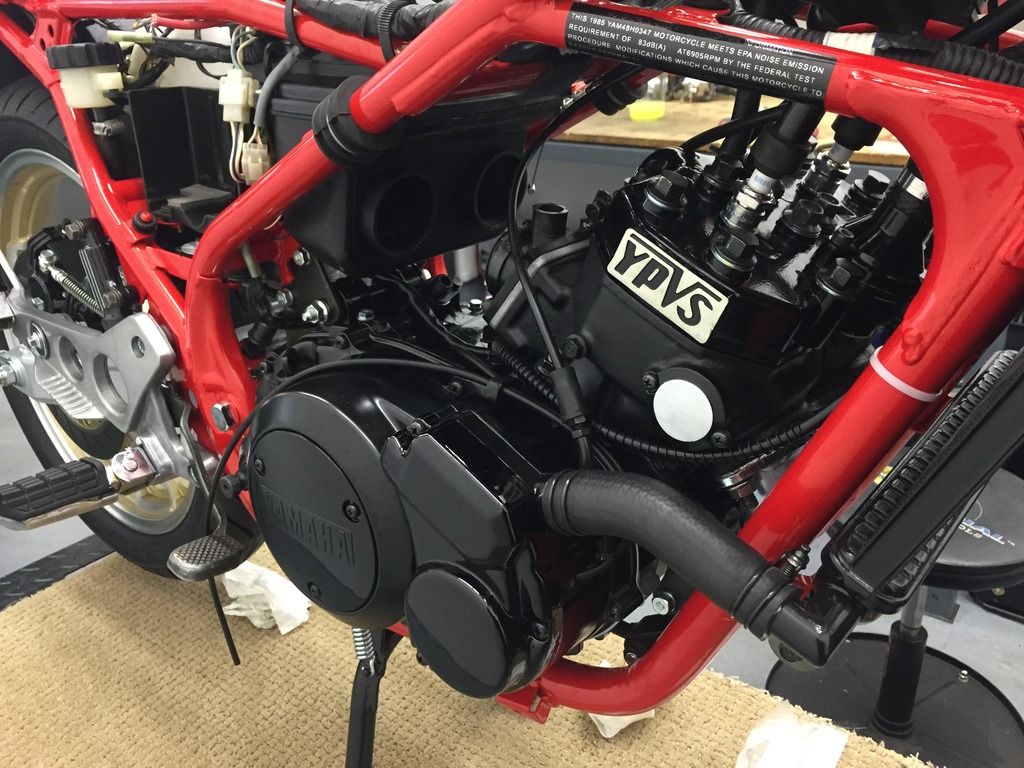
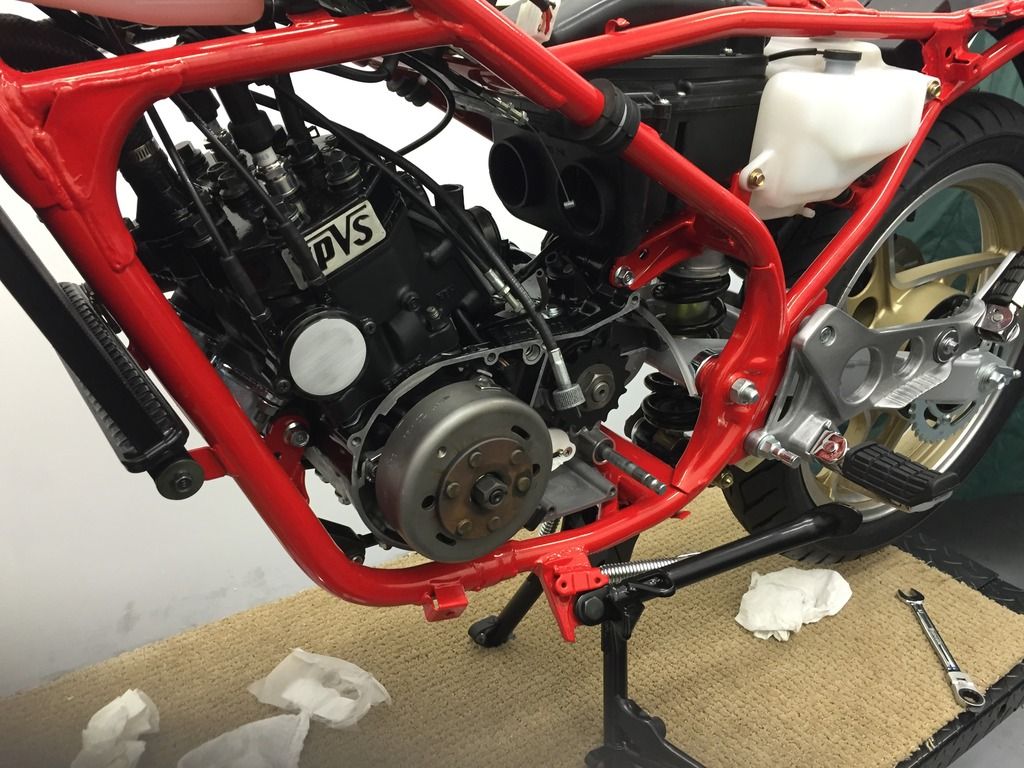
Been busy lately, but got some time on the bike over the last day or so, top end now put together as well as the clutch, oil pump etc. It looks like it is getting close but still quite a few jobs to do.
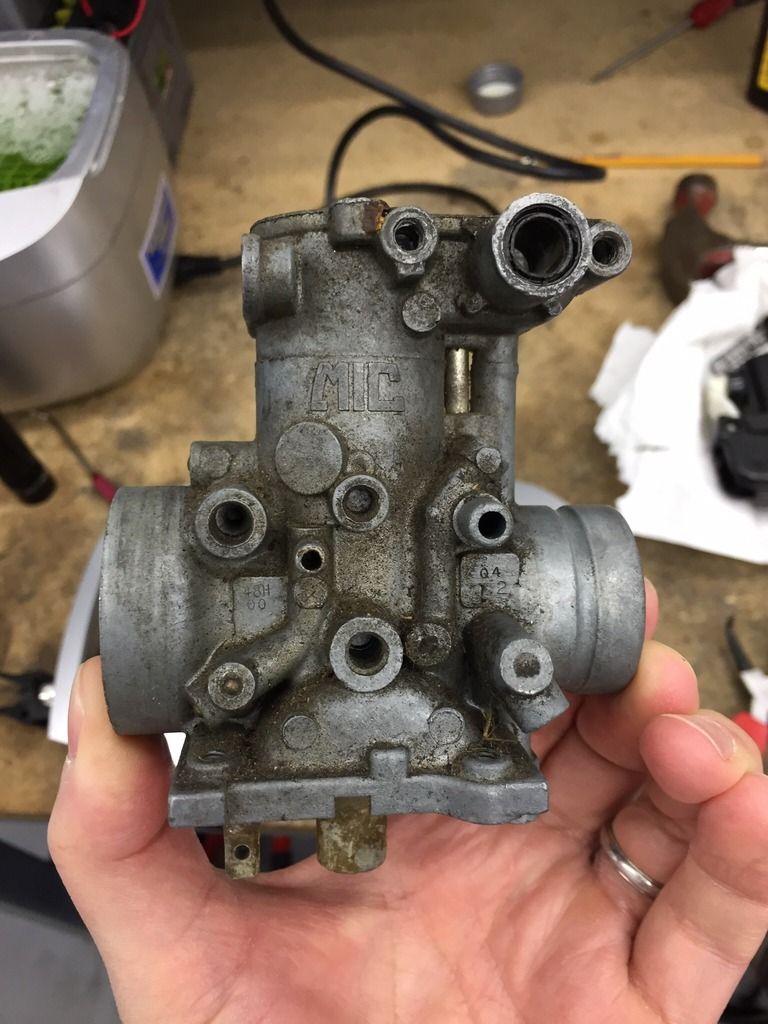
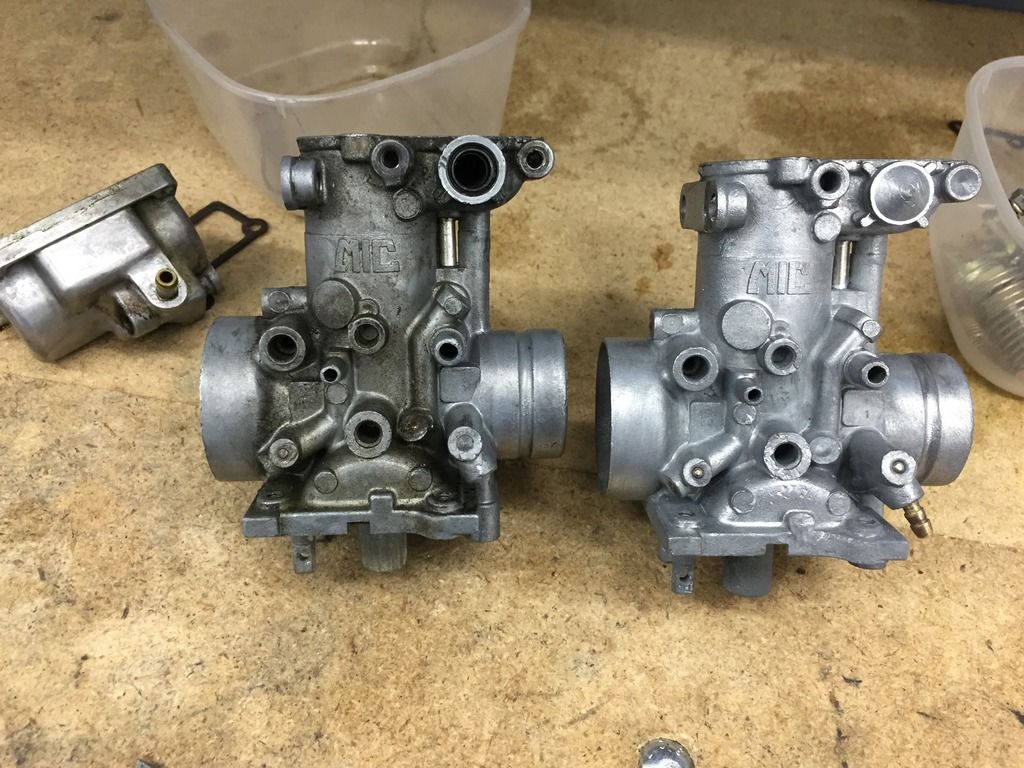
Stripper the carbs and ultrasonic cleaned them, with a 50/50 mix of Simple Green & water, then wire brushed the bodies. The LHS carb was really gunged up I ended up putting the emulsion tubes in 6 times to clear the dried on fuel from the inside. They will look clean from the outside but as a tip have a look at the inside with a torch you’ll be amazed at the crap in there that will make your bike run badly. I am amazed how this bike ran at all as the previous owner had all the sync springs in the wrong place. Yes I know an old overflow pipe fitted, for some reason I only ordered 1 so I fitted that to the RHS, new one on order.
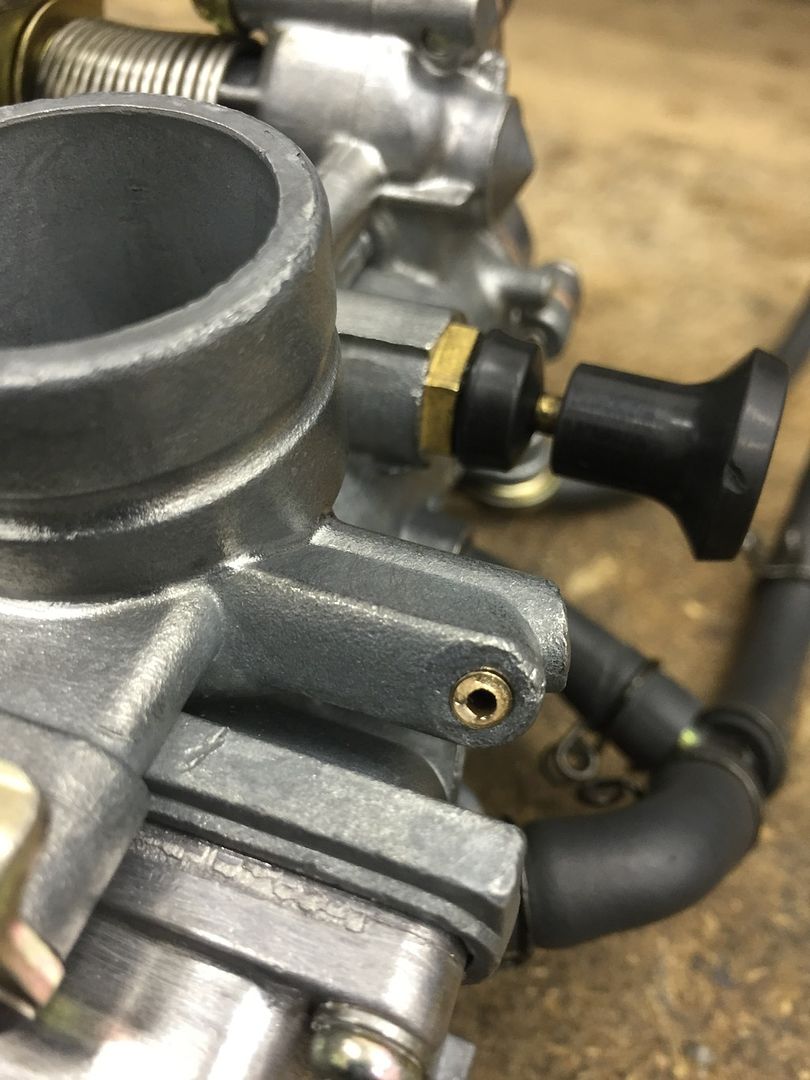
Finally after putting them all together I noticed the LHS carb’s oil feed was bent, on looking closer it was cracked , so after all that work I have to replace it, found a carb body on eBay, so more carb cleaning to come.
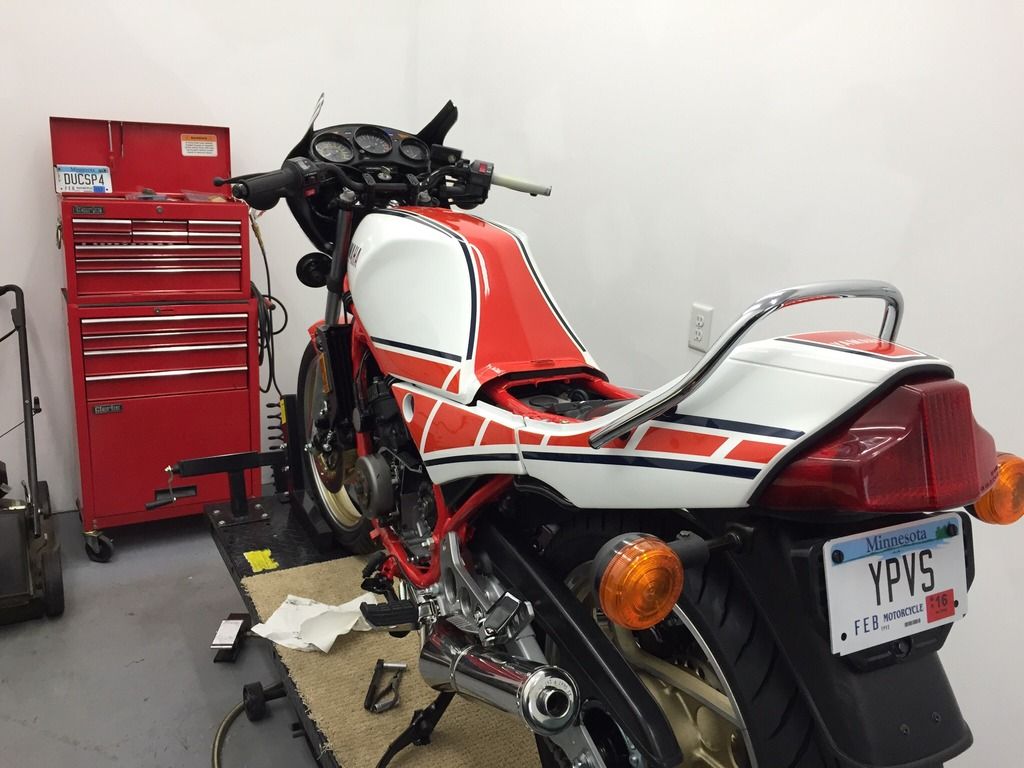
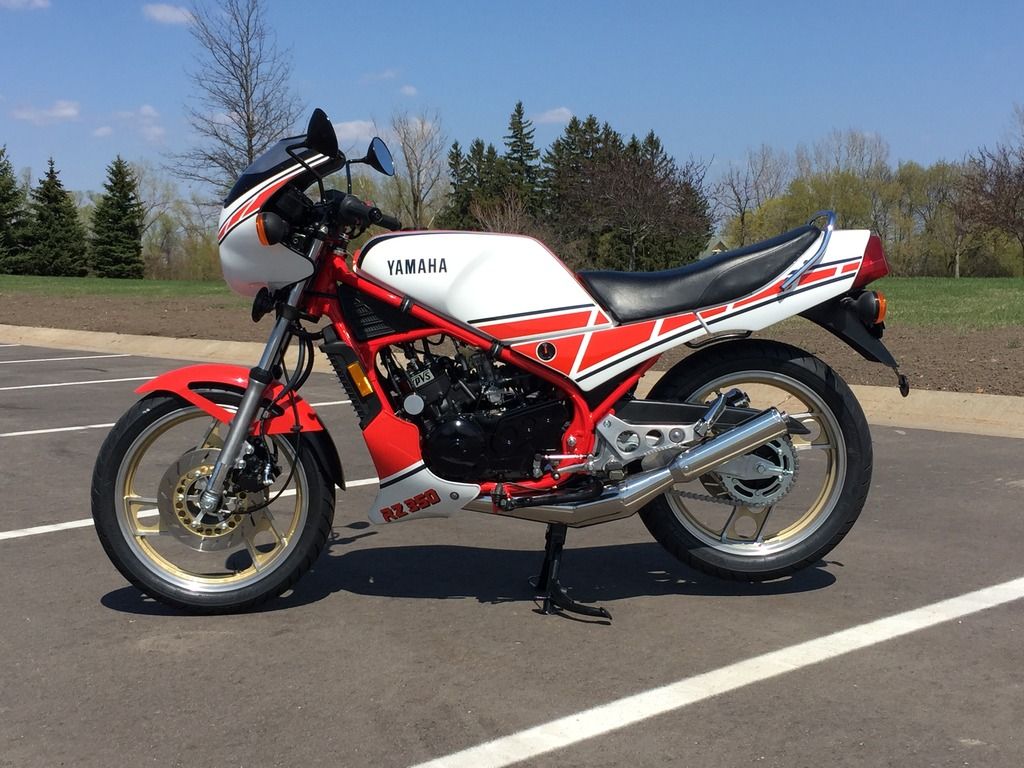
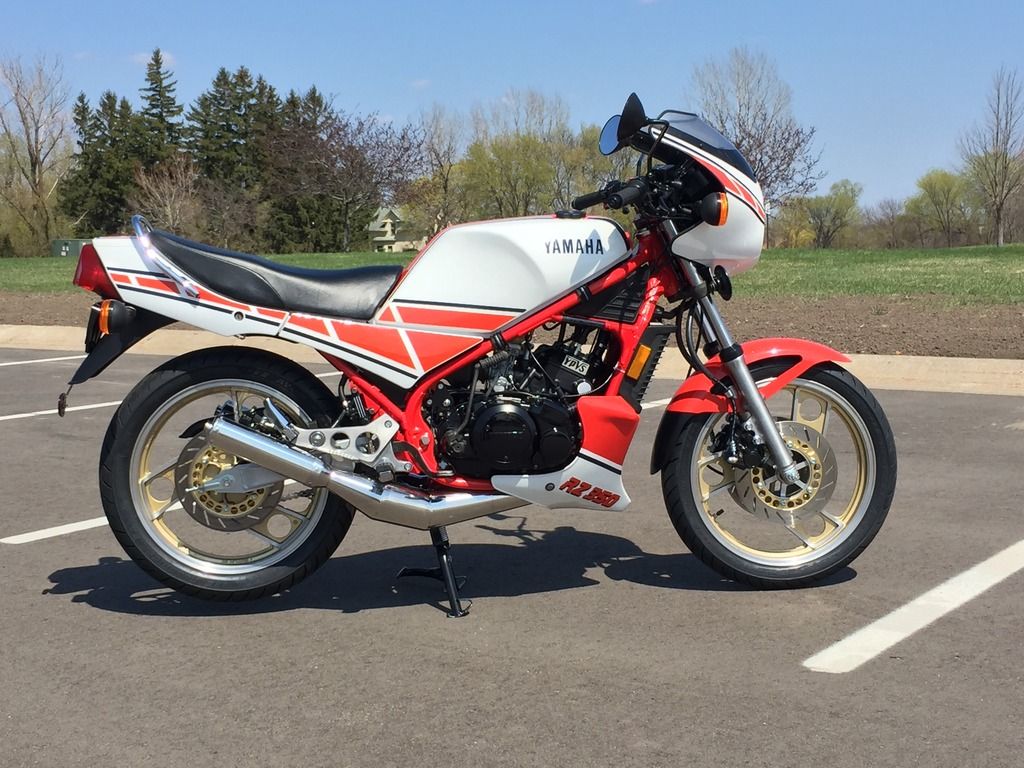
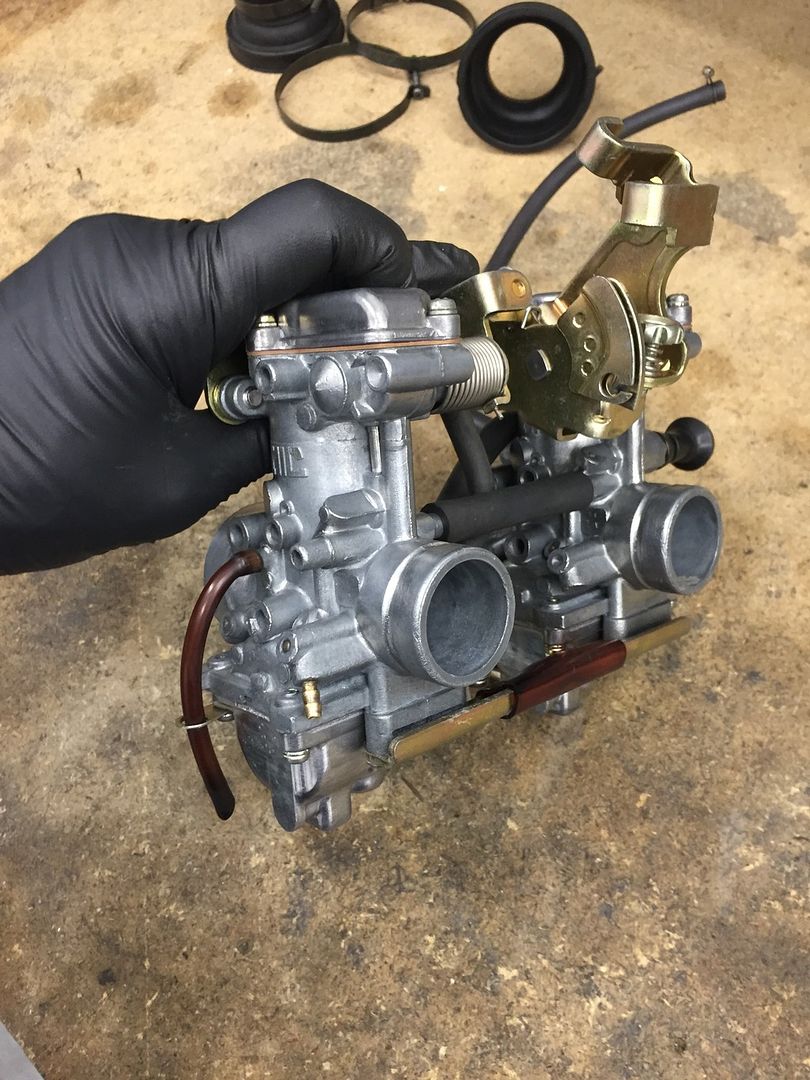
Getting there, its pretty much ready to go, I just need a few washer seals for the fuel tap. Once I have those, I should be able to fire it up for the first time!, couldn’t help but drop the bodywork on to see what it looks like.
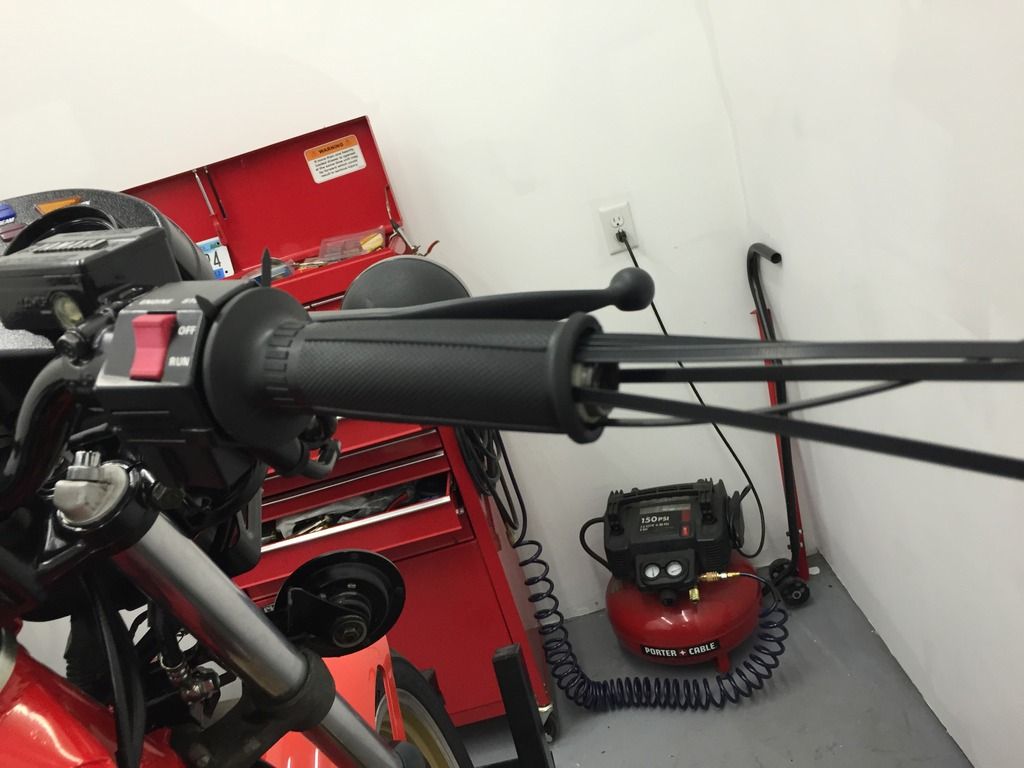
In the final stages of the rebuild, quick tip on fitting new grips, line the grip with cable ties, you can easily slide it on ¾ of the way, pull the cable ties our with pliers, then a little blast of an airline under the grip and its an easy push all the way on.
So ran the bike for the first time, it ran fine, ran it on premix so that I could bleed the oil lines, all went well, here’s a video of it running with my homemade axillary fuel tank, cheap and it worked perfectly.
So I am pretty much coming to the end of the rebuild, the bike is pretty much finished. I’ve really enjoyed the process but as every rebuild it has cost an absolute arm and a leg, way over my initial post purchase optimistic budget. Its gone from a tidy up, to a minor restoration to a full on nut and bolt restoration. I’m a bit of a perfectionist so in reality I have spent more than needed, but I wanted to bike to pe pretty much as it left the factory 30 years ago. All the parts fitted were Yamaha OEM unless they were no longer available, so I could have saved money by going to more pattern.
A summary of the rebuild is as follows: 1. Engine – New crank, pistons, rebore, replaced all seals, o rings and gaskets (every piece of rubber on eth engine was replaced and it needed it after 30 years they were all hard). Cleaned & repainted, all new fuel & oil lines, new thermostat & rad cap. Replaced clutch cover, re-plated all engine bolts, replaced all cover bolts, barrel & head nuts. Re-plated the radiator, new hose clamps. New throttle, YPVS & clutch cables. New JL retro pipes. 2. Chassis – Frame, swingarm, stands & subframes re-powder coated. Re-plated every nut, bolt & washer. Repainted every other part. New tires, grips. Re-chrome plated footrests, new footrest rubbers, refinished/laquered footrest hangers. Chrome plated grabrail, recovered seat. New rear mudguard, new turn signals (Yamaha lenses, pattern bodies) 3. Suspension – refinished front forks (didn’t replace seals as they were only 12 months old). Replaced all rear suspension link seals, replaced swingarm roller bearings & seals. 4. Brakes – completely stripped & repainted, new master cycling seals, new caliper pistons and seals, all new pads, new lines, re-plated banjo’s, new nipples & rubber covers. Repainted disc centers. 5. Bodywork – both side panels were repaired for splits, the belly pan lugs were damaged and had exhaust melting all repaired & repainted (Decided to leave the Kenny Roberts decals off, I have them, they are just not fitted. Wet sanded screed to 12,000 grade (took 4 hrs), and polished.
Now the painful part: Bike purchase & tax 1,543 Parts 2,040 JL Exhaust 494 Paint 1,747 Decals/stickers 55 Powder coating 258 Plating (Chrome & Zinc) 228 Rebore 101 Seat recovering (Labor) 57 Tires & fitting 143
So all in, the bike sits at 6,657 pounds (sorry don’t have the sign on my US laptop, I do miss the UK!)
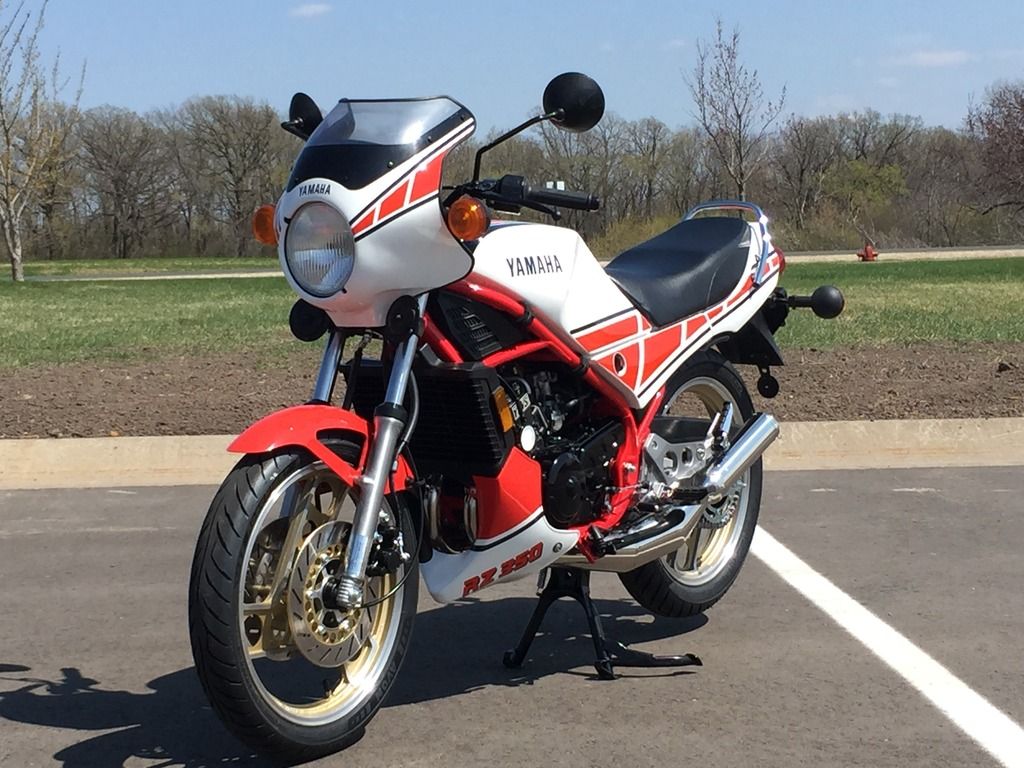
Just ridden the bike for the first time, first just 5 mile for the paranoia that something would either leak or fall off….nothing did, then 20 miles. I’ll give the bike a full going over tomorrow.
The bike feels great, only running it to 5k rpm on the fully rebuilt engine at the moment, feels tiny compared to the big bikes I have been riding more recently.
Nothing like the smell of 2 stroke, took me back 25yrs
Thanks for the comments gents, 40 miles on it now and nothing leaking or falling off
Seems to be a bit whooly just off throttle when pulling away, it clears up around 4,000rpm, so I think I need to do some work on the air screw/pilot jets.
From 4-6,000rpm it runs sweet, just need to get a few more miles on it to stretch its legs a bit more
what a great read , thanks for documenting that . I have an original 84 with 40,000 kms on the clock in reasonably good condition , was thinking about the whole strip and frame redo . Can you tell me where you found the best place to source parts from was and your technique for painting the black parts and the type of paint you found best to use ?? much appreciated .
Thanks for the comments, the bike just rolled over 100 miles this morning on the way to work
Partzilla.com for all the parts. I found they had good pricing, and most parts in stock.
For all the black parts, cleaned them, sanded then down to remove scratches & loose paint, then a black enamel rattle can form a local hardware store, nothing special really. Key to a decent finish really is down to time/prep


 , so after all that work I have to replace it, found a carb body on eBay, so more carb cleaning to come.