|
|
Post by loctite on Feb 1, 2020 8:28:40 GMT 1
 this is off my Rd400f it has a shorter straight key must be off an earlier model matches clutch gear |
|
|
|
Post by dusty350 on Feb 1, 2020 8:59:57 GMT 1
Yea, that's different to an E primary. Probably someone has matched the backlash numbers, and used an earlier gear to do it. I've got a couple of Lc primary gears that I thought I could use but they are a thinner gear than the 400  Dusty  |
|
|
|
Post by jon on Feb 1, 2020 12:07:40 GMT 1
url href="https://flic.kr/p/2insBcb"]  [/url] 83717138_546063049333131_1500039992670420992_o[1] by dusty miller, on Flick Just for reference that petrol tank in the background is an aftermarket long range fuel tank for a lambretta fitted with a TS1 cylinder. It could well be stainless steel powder coated black? Jon |
|
|
|
Post by dusty350 on Feb 7, 2020 20:06:14 GMT 1
I've been going through the parts fiche recently, and ordering parts from Fowlers, Norbo and Mutts nuts. As said, lots of parts still available, thankfully ! I picked up my vapour blasted cases from Jamie today; 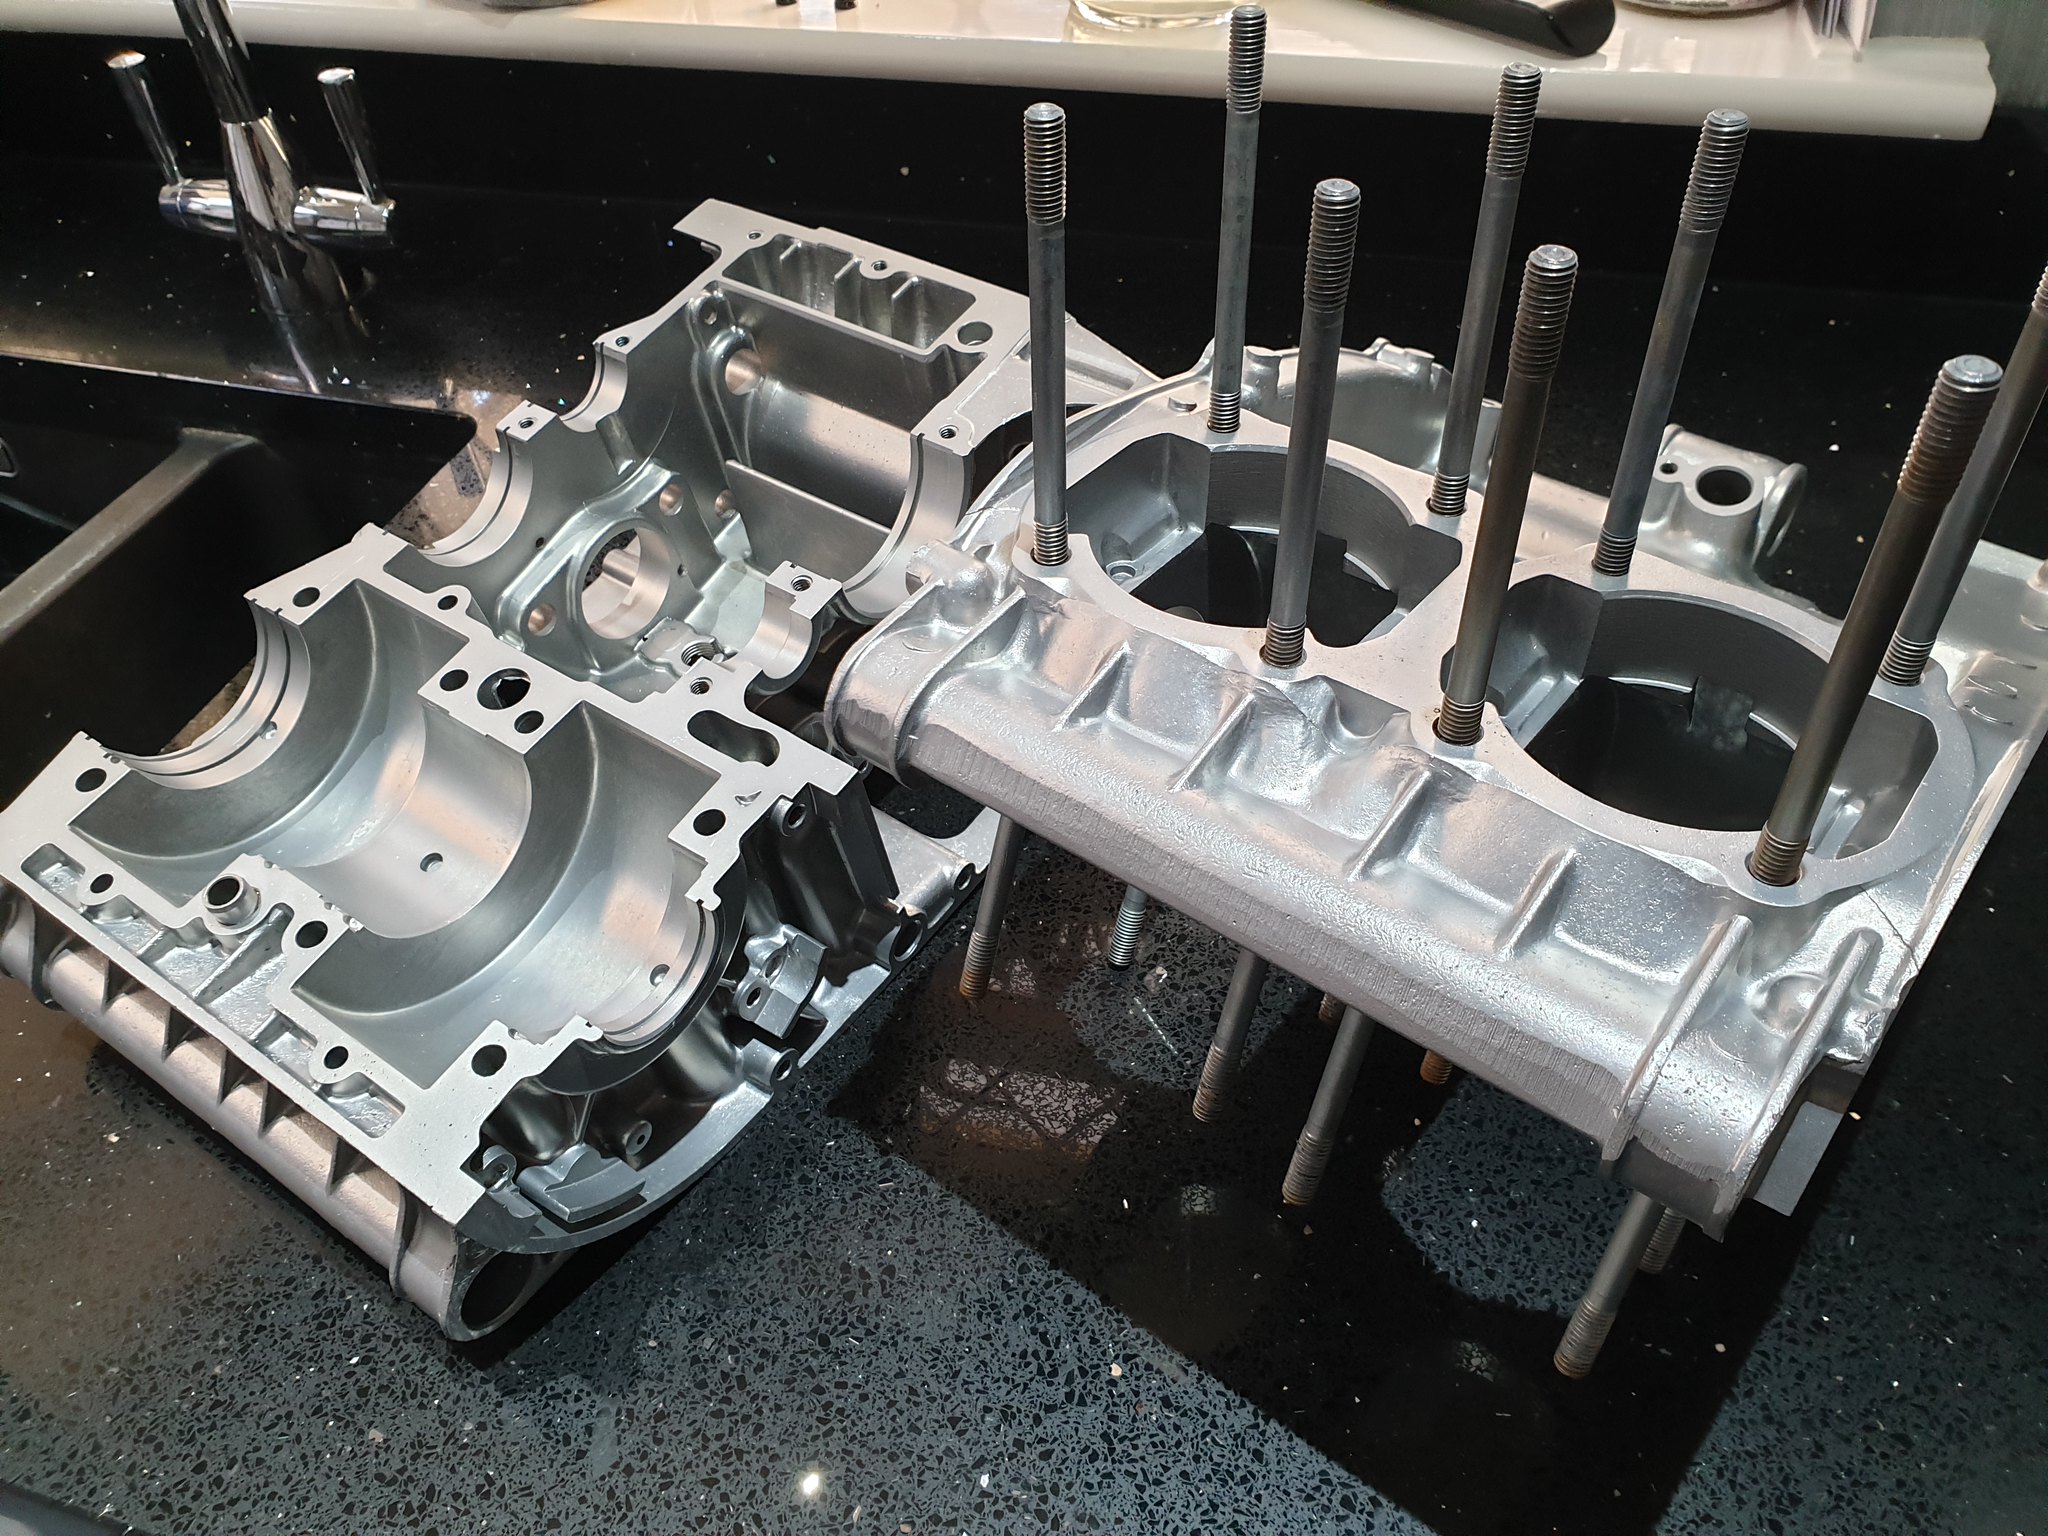 20200207_152145 20200207_152145 by dusty miller, on Flickr Really pleased with them. He loves bikes - if he had his way he would only do bike parts, and his unit is full of bike bits that he is doing for people. I gave him the 400 heads last week - the barrels needing checking over before I give them to Jamie, but the heads were ready for blasting and painting. We went with Cerakote Graphite black, and Jamie polished up the fin edges for me;  20200207_151939 20200207_151939 by dusty miller, on Flickr Not a great picture, but they look awesome. The barrels will be done the same when the time comes. So with the cases back and ready to start rebuilding the engine, I opened my first bag of parts originally stripped off the engine - 2 spacer tubes that fit between the damper blocks at the front mounting points - the bolts that mount the engine to the frame pass through these spacers. Due to their position at the front of the engine they get a lot of crud thrown their way, so subsequently look worst for wear; 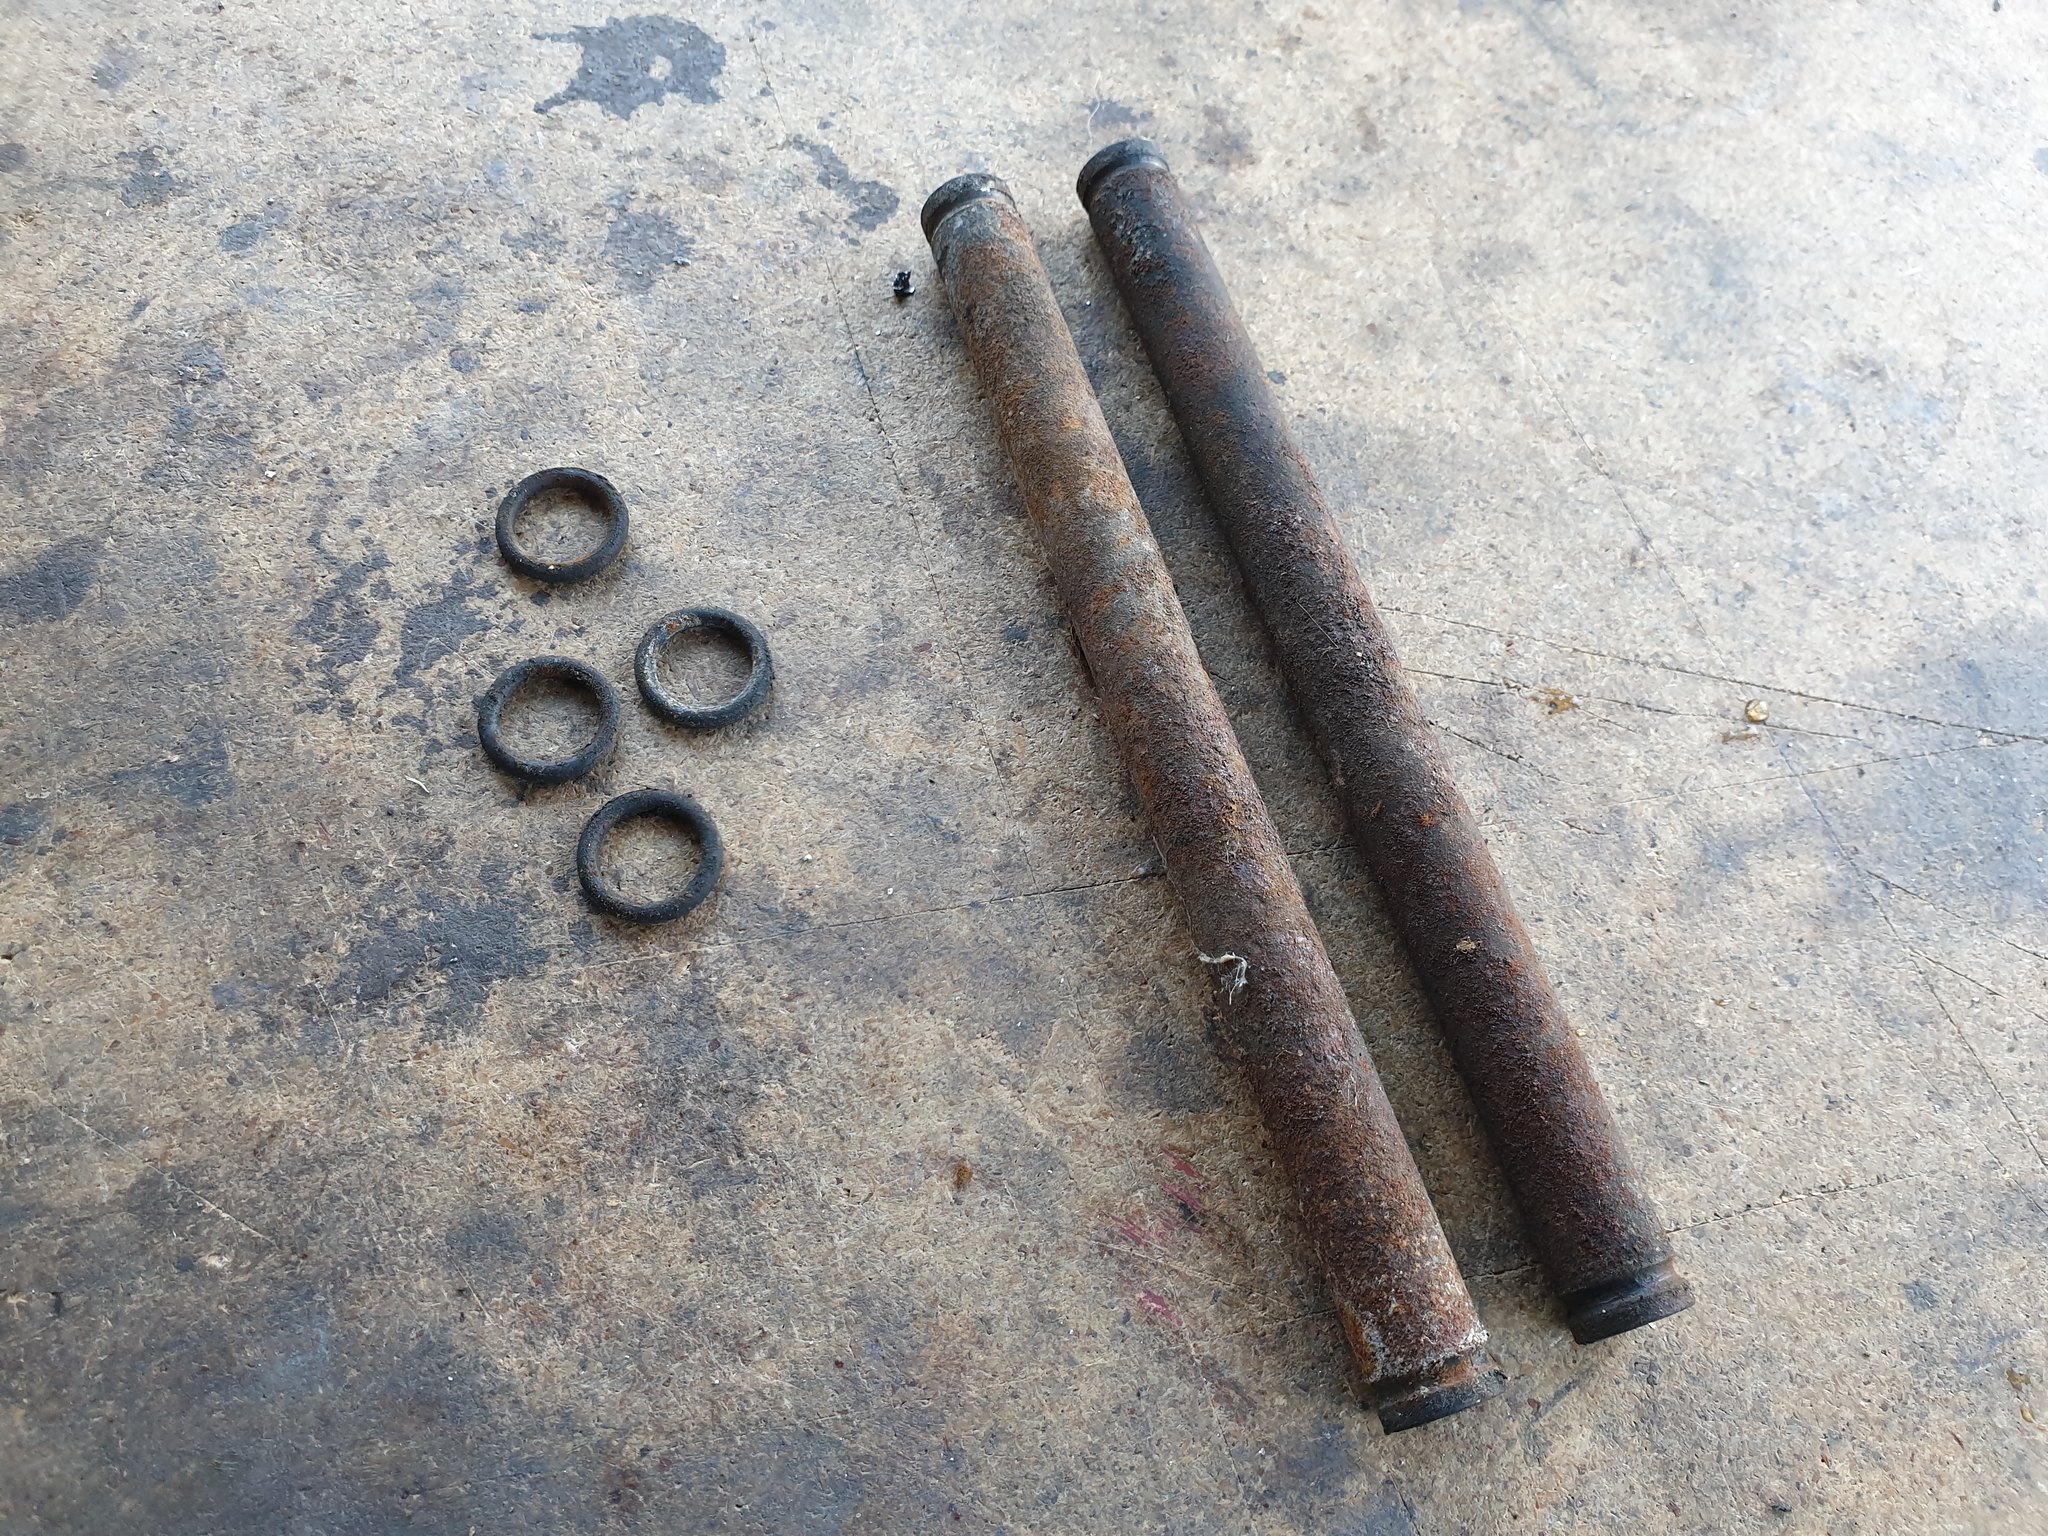 20200207_101516 20200207_101516 by dusty miller, on Flickr I got my angle grinder out with a brillo type pad fitted; 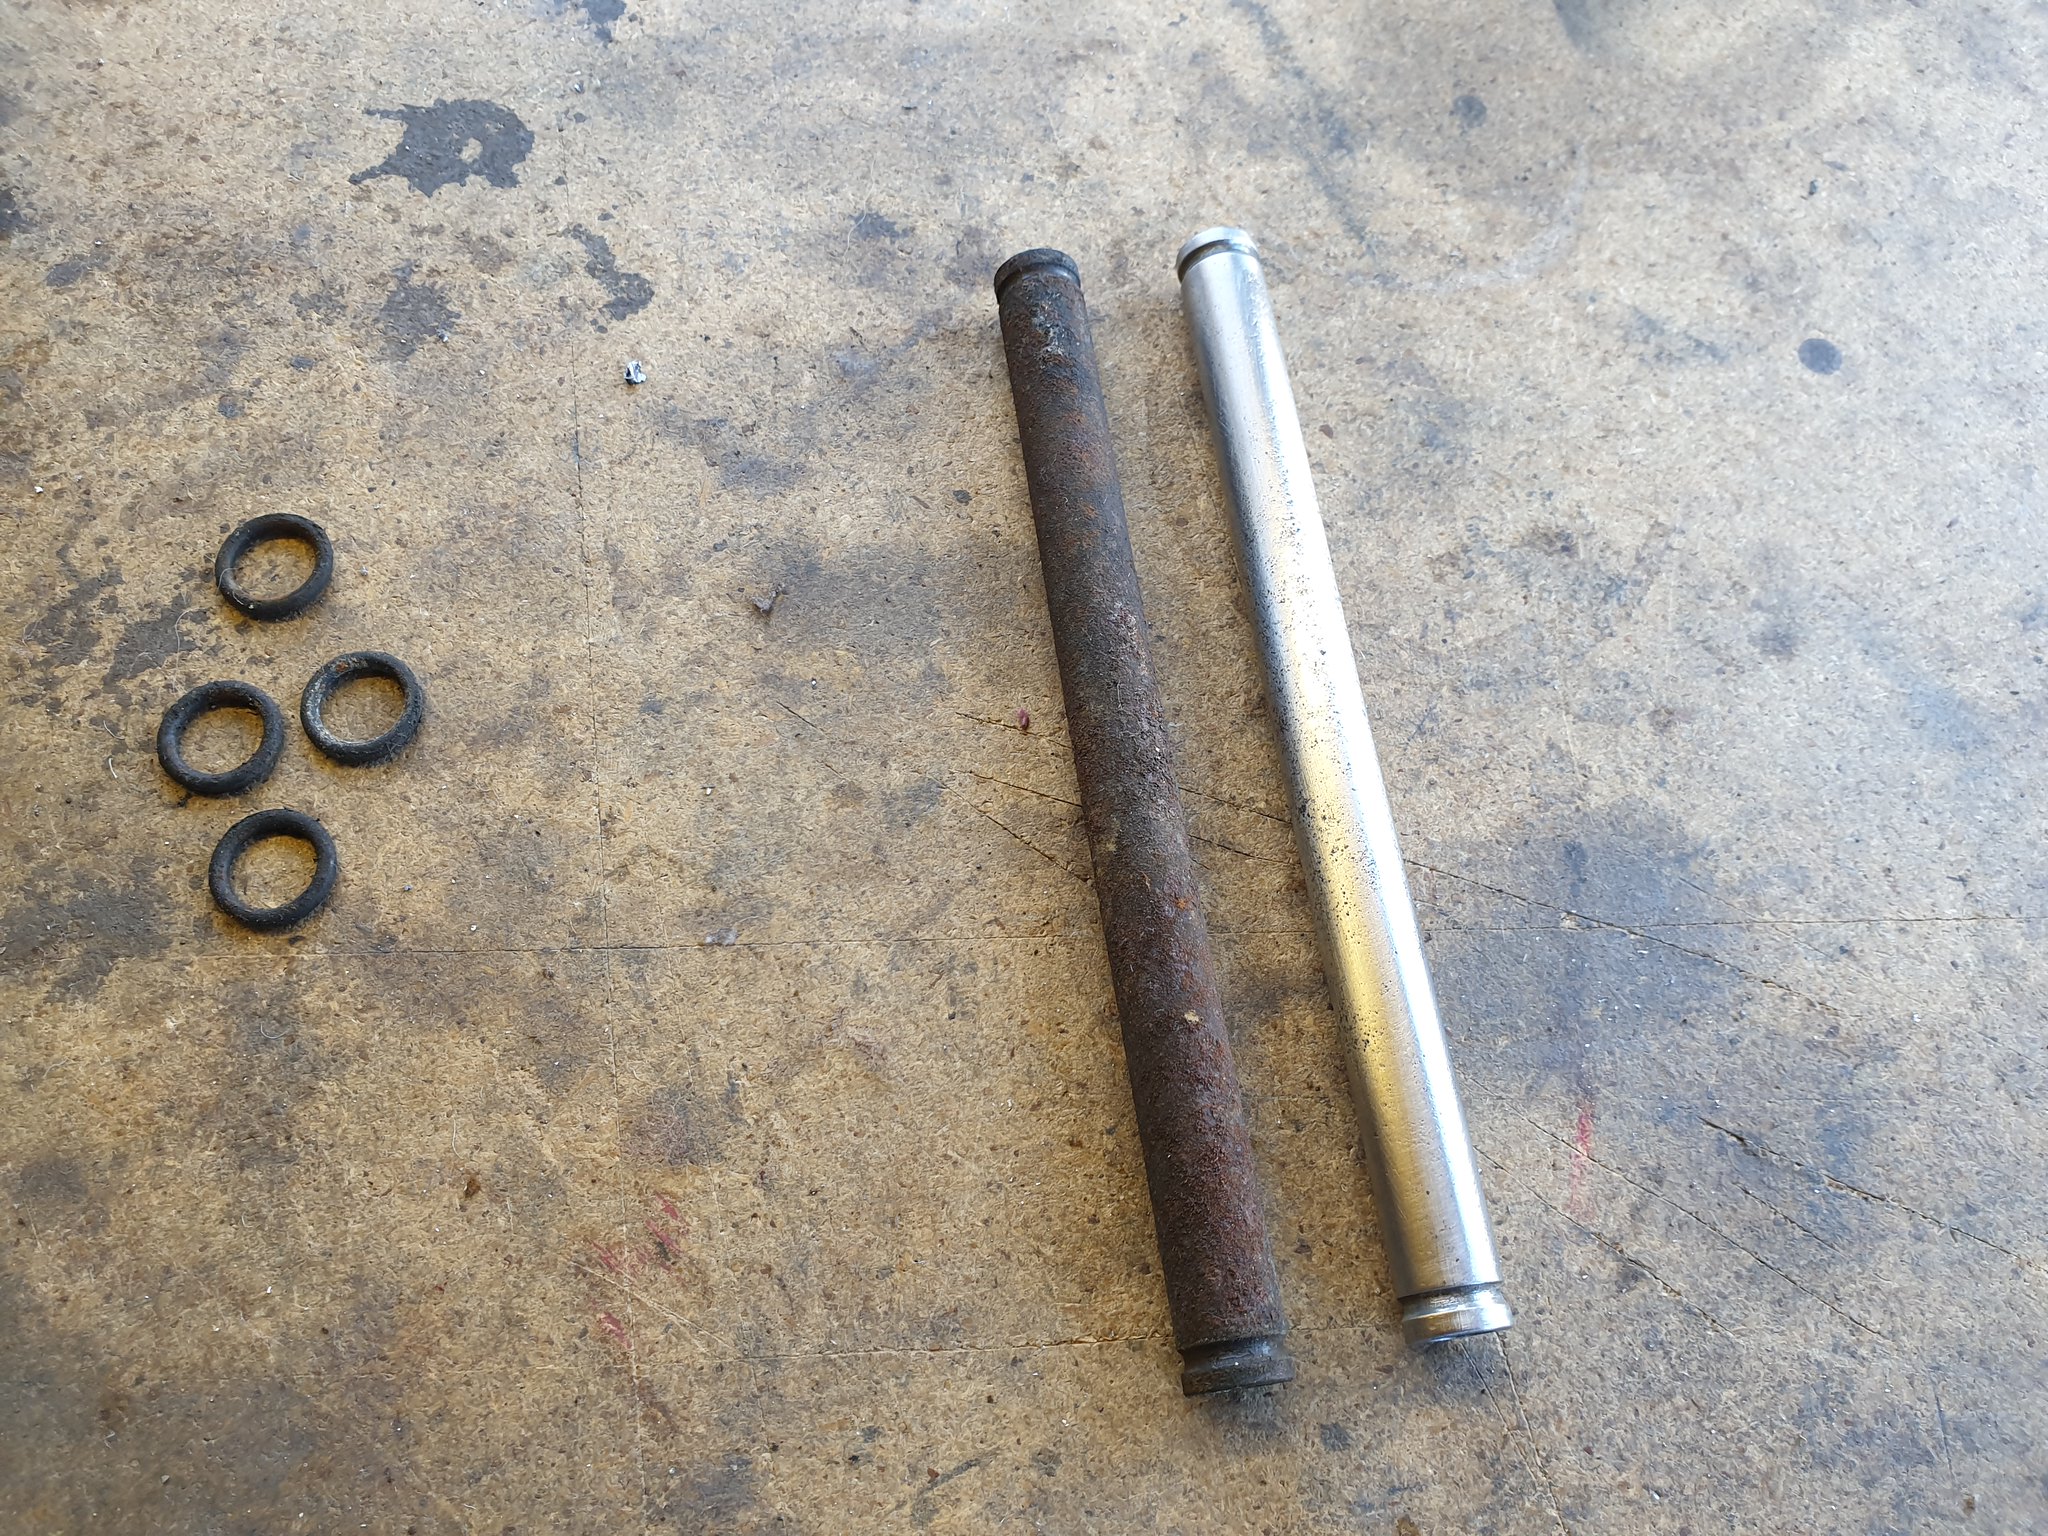 20200207_102438 20200207_102438 by dusty miller, on Flickr Once they were both done and totally clean, they got a coat of enamel;  20200207_152221 20200207_152221 by dusty miller, on Flickr They aren't even seen when the engine is fitted in the frame, but I wanted to clean them up never the less ! I've got 4 new O rings too - over 13 quid from Yamaha  It's gonna be an expensive build !! Dusty |
|
|
|
Post by oldbritguy on Feb 9, 2020 1:01:40 GMT 1
Another fantastic start to a top draw meticulous Dusty engine build. Hats off to you mate Reading through this, it just shows the various difference and parts compatibility issues between various models can be a bit tricky. Makes me appreciate LC and YPVS models where most things will fit irrespective of year or model. Again, really enjoying this one Dusty  John |
|
|
|
Post by mouse on Feb 9, 2020 8:18:35 GMT 1
This looks amazing Dusty, coming along really nicely, Jamie's work looks terrific too!
Mouse
|
|
|
|
Post by dusty350 on Feb 9, 2020 9:21:27 GMT 1
Hi I will list part numbers as I use new parts, and cross reference against Lc part numbers where possible. I think that's helpful for guys who don't have a fiche. I wont bother putting the prices of parts up as they seem to change very regularly, from Yamaha at least, and the Fowlers website has a really useful parts finder with availability and price list, and that's easily accessible. There is a lot of parts that cross over from 250 to 400, and from earlier a/c to later a/c, and then some a/c to Lc and even Pv ! I really enjoy building engines, and love doing all the little bits and bobs like those spacer tubes. And it's nice to do something a little bit different as it's been a long time since I did a 400 engine. This was the last one I did in 2009;  engine finished 006 engine finished 006 by dusty miller, on Flickr I used standard carbs in the end, and sold the TM28's on. I've ordered new carbs for this engine as I don't have any, and it made sense to buy new Pwk's rather than spend nearly the same money on 40 year old 2r9's ! The only part I think I might struggle with is the correct backlash primary drive, although I have some time before that is needed. And Jamie is great When I picked up my cases and heads from him on Friday, I dropped off a pair of Rgv forks that I asked him to blast - to remove the anodised finish as it was looking tired. Last time I did a pair of forks, I polished it off, and it took forever. Jamie dry blasted, then vapour blasted them Friday afternoon - I saw this pic on his Facebook page;  84859104_2543559182600119_9087184495118909440_o[1] 84859104_2543559182600119_9087184495118909440_o[1] by dusty miller, on Flickr He also does welding, so when he blasts parts he inspects them for damage, and if he finds cracks or broken welds, he rewelds them before coating He does a lot of Motorcross bikes - he used to race them - so the welder gets used fairly frequently ! Dusty |
|
|
|
Post by dusty350 on Feb 11, 2020 8:51:32 GMT 1
I've collected enough parts now to start building the gearbox up,but before I do that I fit 8 new engine damper rubbers. The old ones were tired and a bit loose in their housings. Yamaha have discontinued them, but Norbo does a complete set thankfully;  20200210_193821 20200210_193821 by dusty miller, on Flickr The 4 0 rings in the pic are for the 2 front spacer tubes, and came from Fowlers. As said, the tubes wont be seen when the engine is fitted, but they will be more corrosion resistant as they are quite exposed to spray from the front wheel/road;  20200210_194226 20200210_194226 by dusty miller, on Flickr And the dampers fitted; 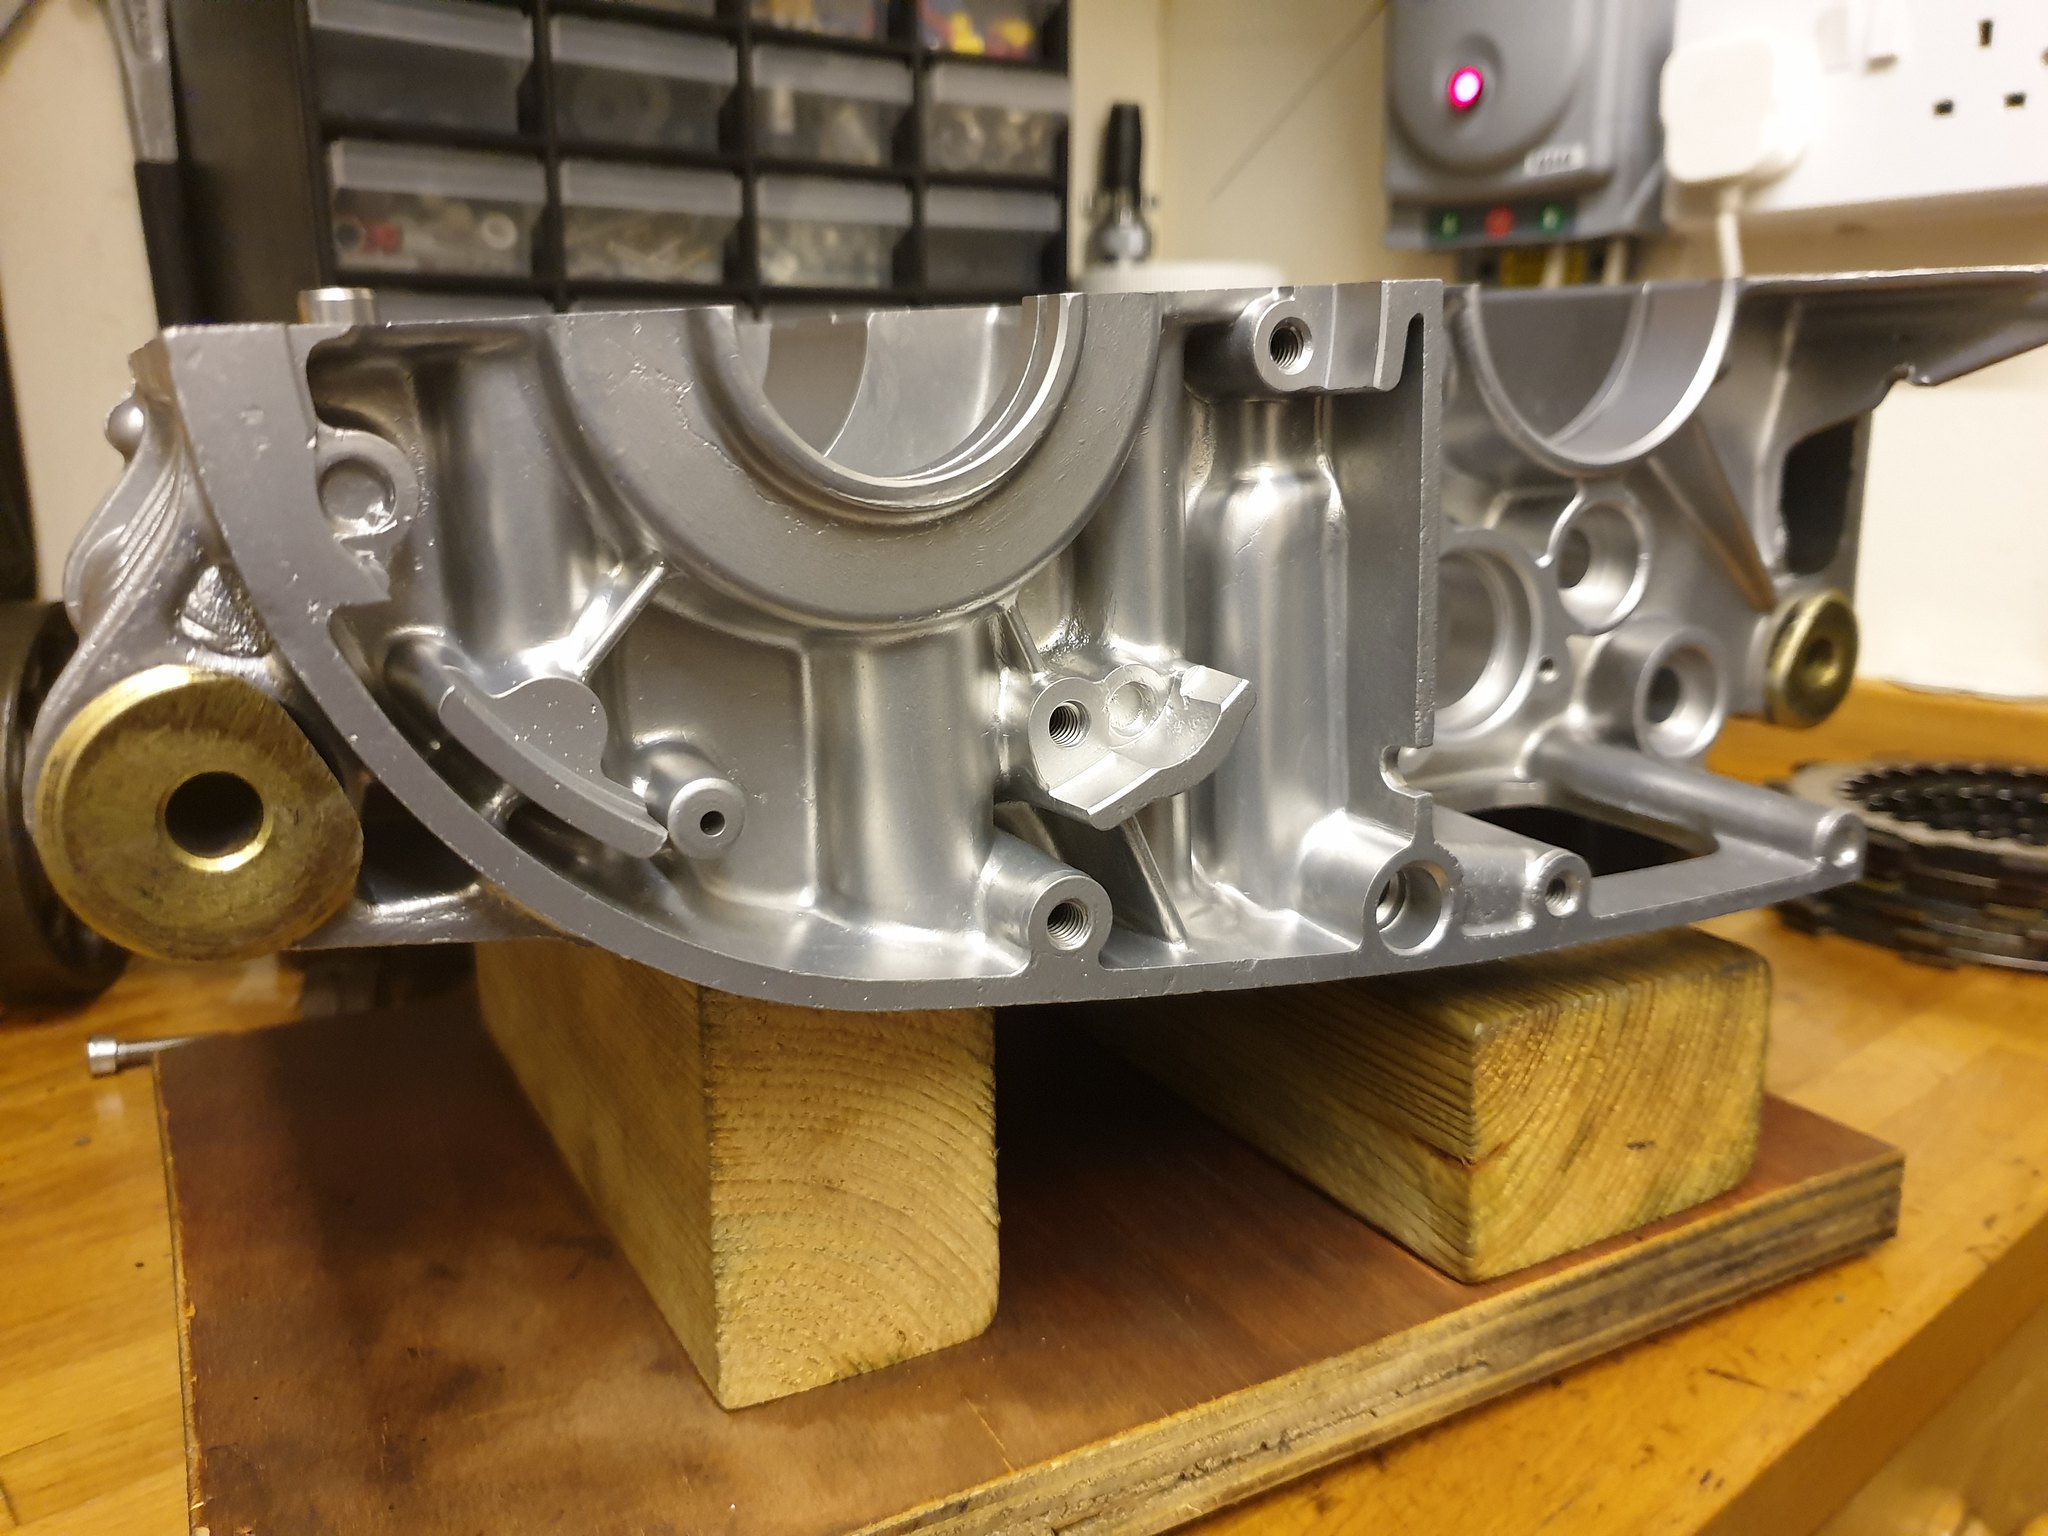 20200210_195123 20200210_195123 by dusty miller, on Flickr Dusty |
|
|
|
Post by sidney81 on Feb 11, 2020 10:01:43 GMT 1
Looks lovely dusty , strange the 250 dont seem to have any damper rubber's at all ?? Unless you know otherwise ?,
|
|
|
|
Post by dusty350 on Feb 11, 2020 12:34:20 GMT 1
Hi mate
The 250 didnt have them, only the 400. That will save you 50 quid !!😉
Dusty🙂
|
|
|
|
Post by sidney81 on Feb 11, 2020 15:36:54 GMT 1
Hi mate The 250 didnt have them, only the 400. That will save you 50 quid !!😉 Dusty🙂 I like that 😊 |
|
|
|
Post by dusty350 on Feb 14, 2020 9:07:51 GMT 1
Parts are starting to go back in now. First to fit is the sump bolt, with a new sealing ring gasket. I add oil to the gearbox parts as I refit them, and it would leak straight out the bottom of the engine if you don't fit the bolt first !! The selector drum was stripped down and washed in fresh, clean petrol. As you can see, this drum differs a lot from an Lc/Pv drum at the bearing end; 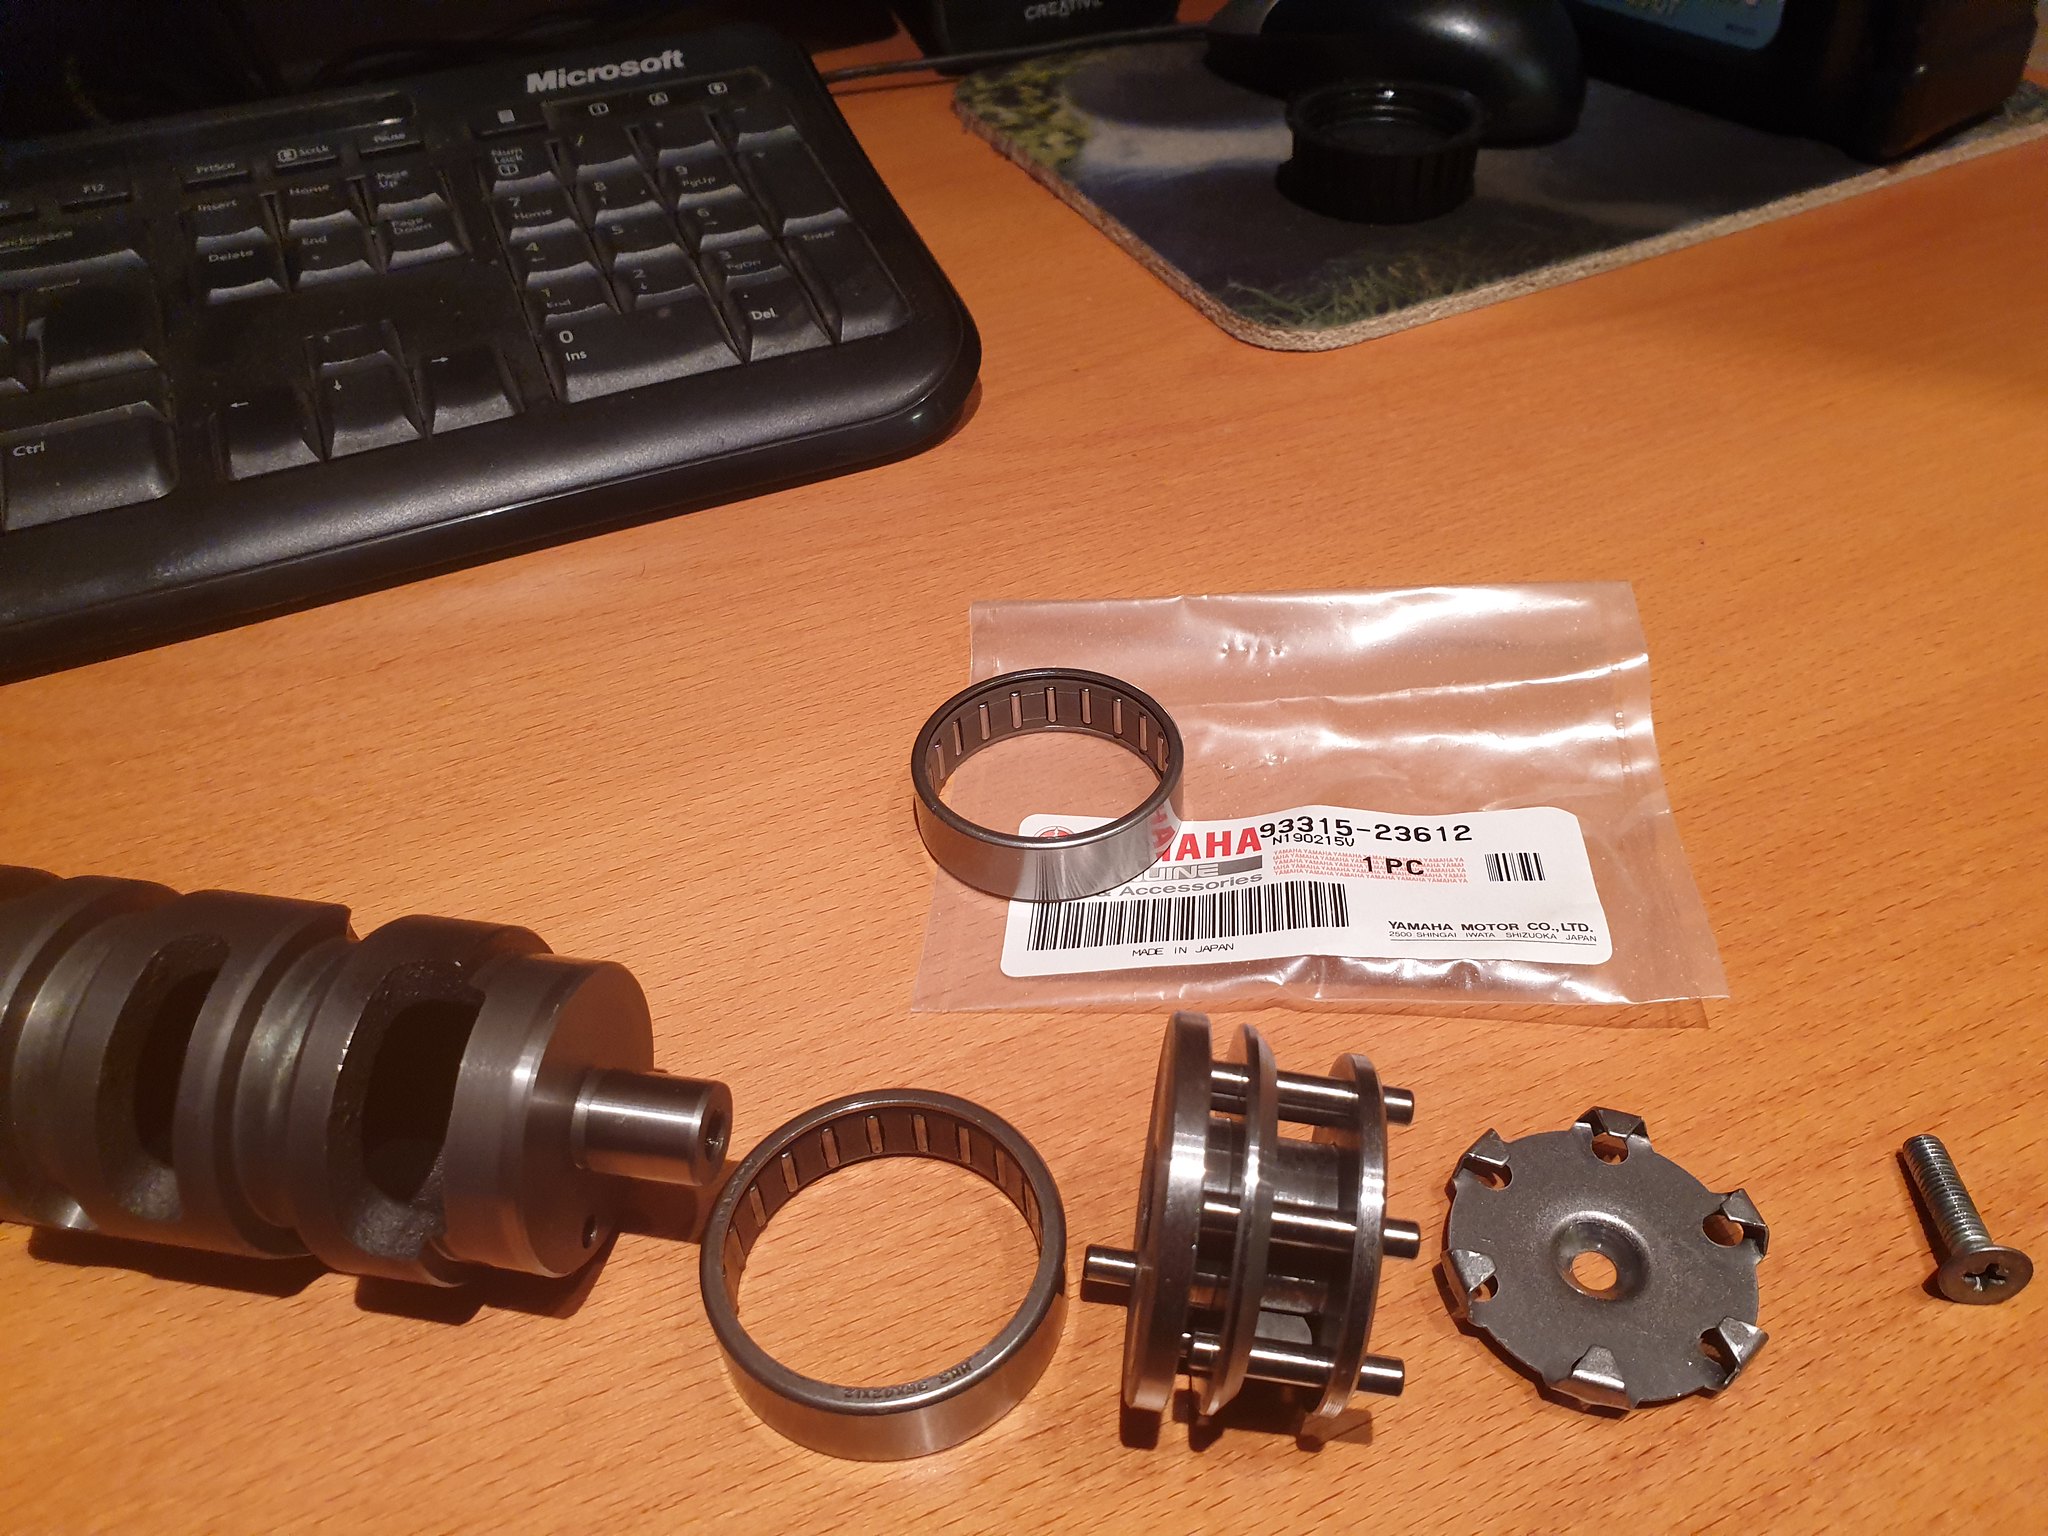 20200211_200920 20200211_200920 by dusty miller, on Flickr The bearing is the same as an Lc though. With fresh gear oil applied the new bearing is fitted and the drum reassembled. It can then slide back into the case;  20200211_202624 20200211_202624 by dusty miller, on Flickr When it's halfway in you can refit the selector star and fit the new circlip, and then it can push all the way through. Gear fork shafts are next. New circlips on the ends, and they push through from the left side. You fit the forks as the shafts slide through; 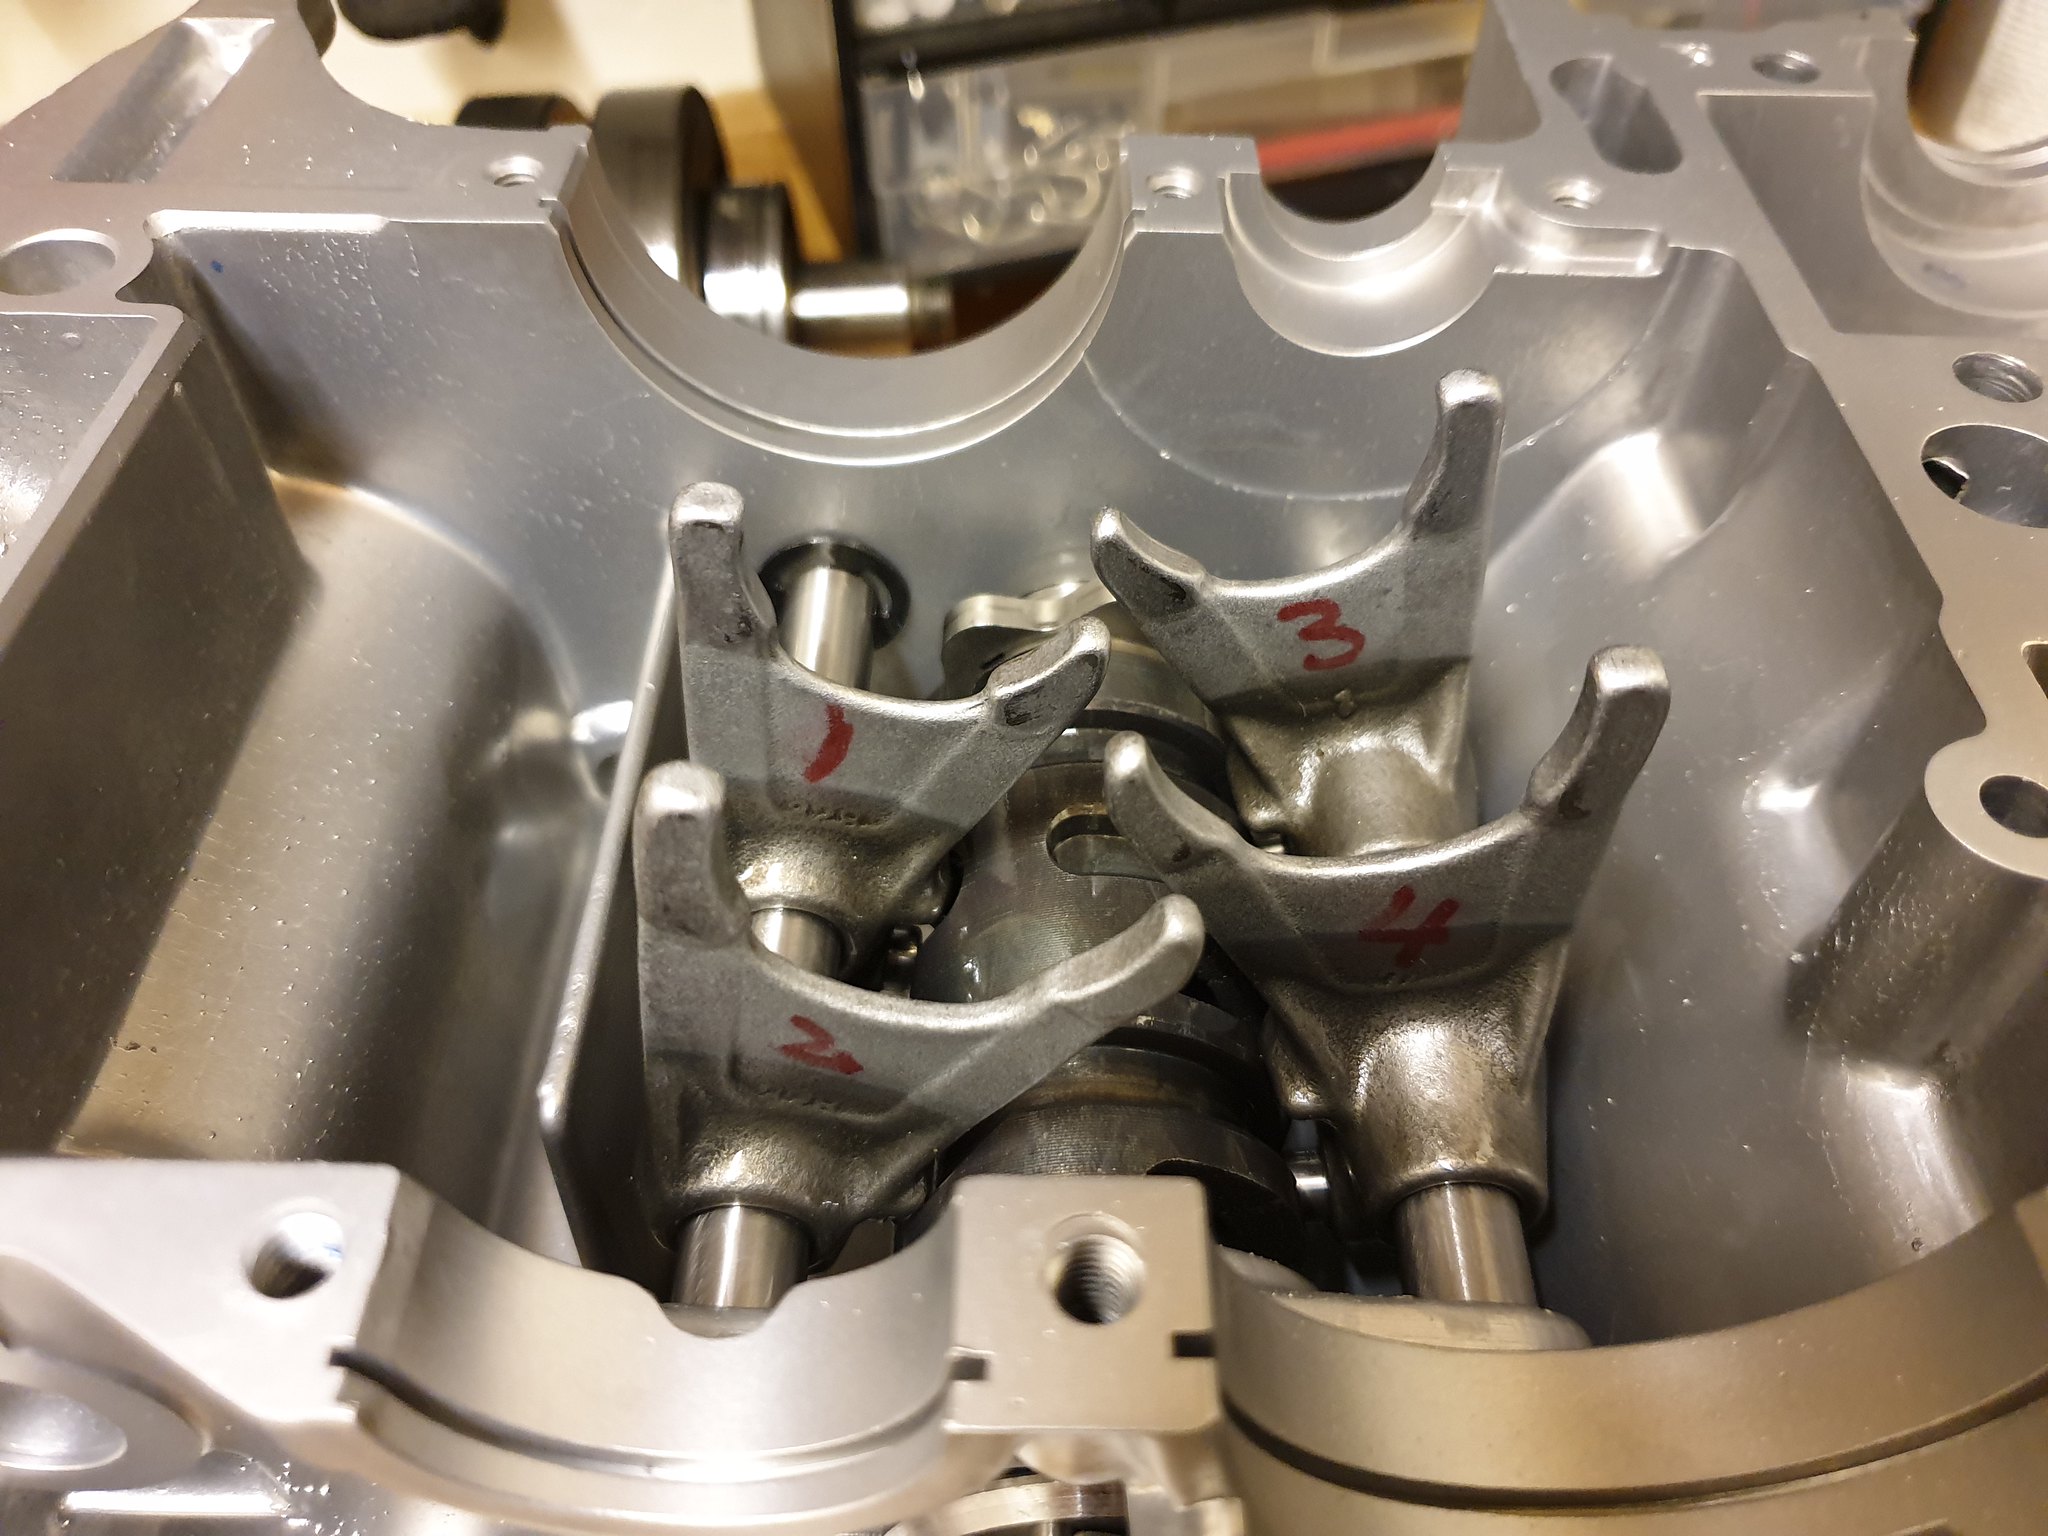 20200211_214719 20200211_214719 by dusty miller, on Flickr The rear shaft has a new circlip on the inside of the case, so it's now effectively "locked" in place. The left side of the engine now looks like this;  20200211_214638 20200211_214638 by dusty miller, on Flickr And on the right side, I can now fit the stopper plate, and the guide plate, and the selector drum is secure;  20200211_220701 20200211_220701 by dusty miller, on Flickr Dusty |
|
|
|
Post by oldbritguy on Feb 14, 2020 15:38:52 GMT 1
Fantastic as usual Dusty. I love a detailed engine build. 😉
Far better documented than any manual I have ever seen.
Looking forward to the next stage
John
|
|
|
|
Post by roach3 on Feb 16, 2020 1:33:26 GMT 1
hi dusty
what camera are you using for these pics? fantastic quality
charlie
|
|
|
|
Post by dusty350 on Feb 16, 2020 9:28:54 GMT 1
Hi Charlie I just use my Samsung S9 phone. Seems to take some pretty good pics wherever I go with it Dusty |
|
|
|
Post by tony1964 on Feb 16, 2020 14:14:53 GMT 1
Hi Dusty,
Was wondering if the gear shaft was the same diameter as an LC one would it be worth modifying the crank case to take a Bush
Tony
|
|
|
|
Post by dusty350 on Feb 16, 2020 17:32:48 GMT 1
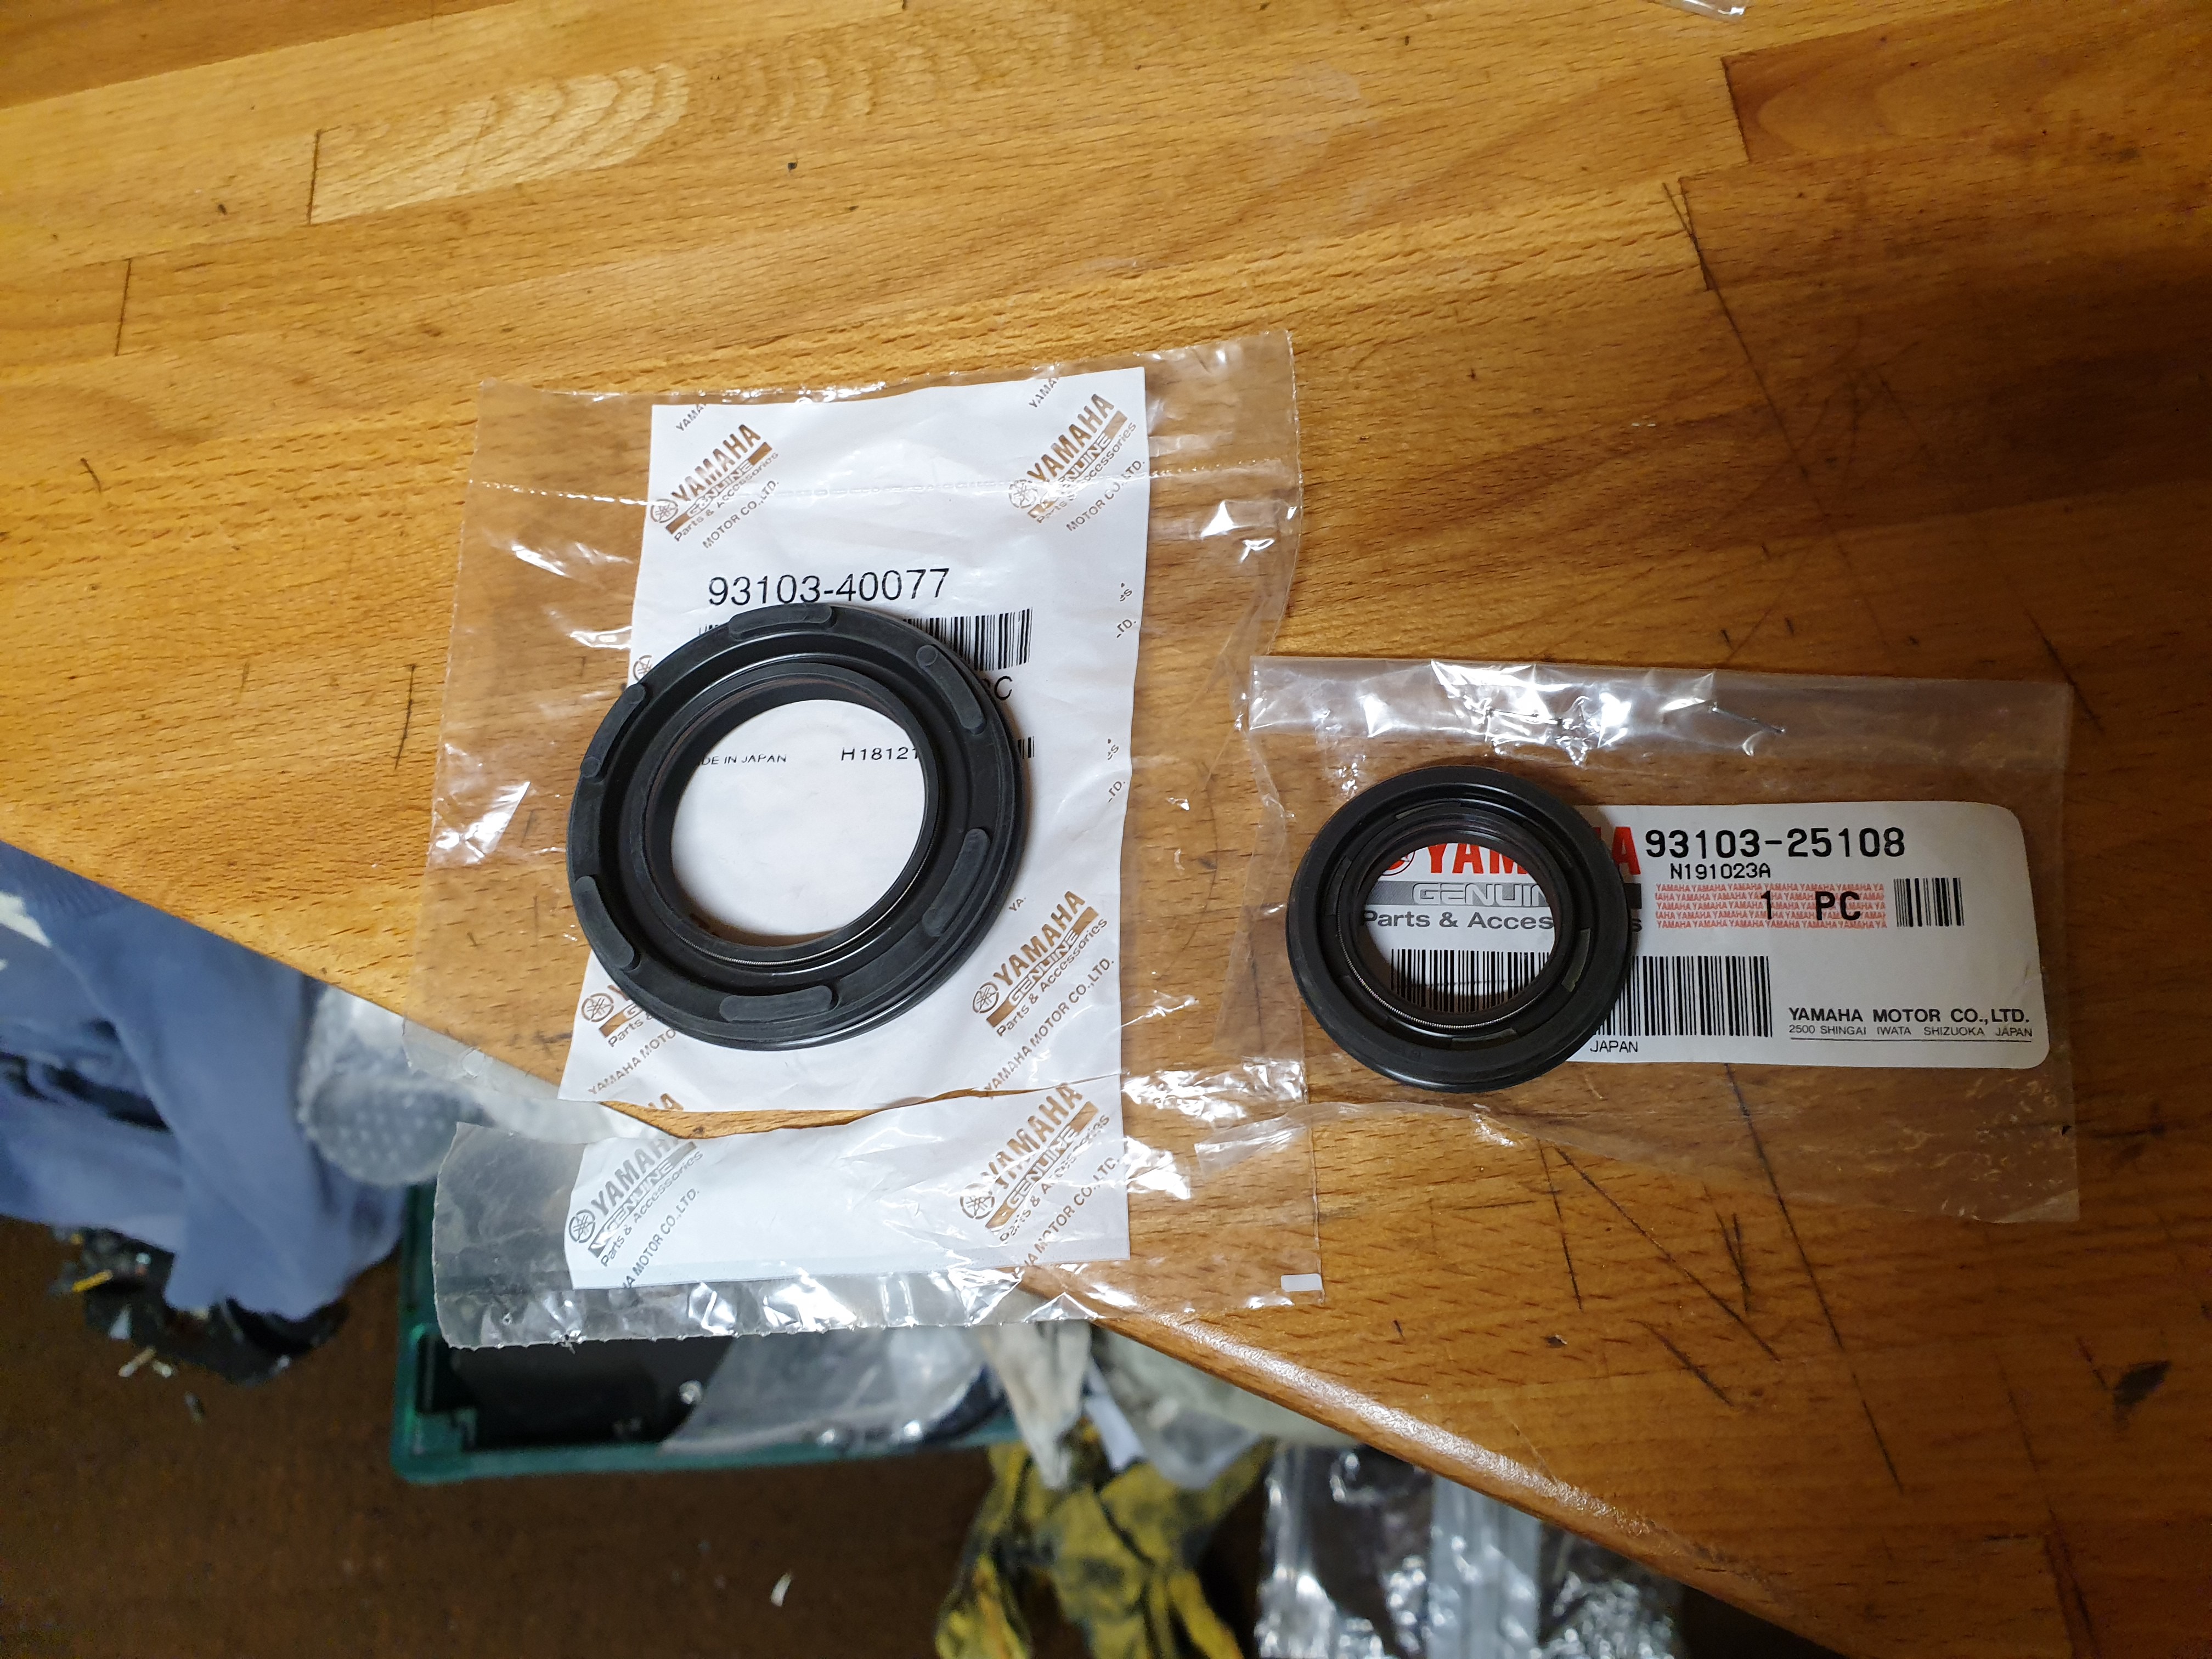
Hi Tony The aircooled gearshaft seal is the same part number as an Lc, so internal and external dimensions must be the same. I did consider getting a bush, and then getting the case machined to fit, but the hole doesn't seem too bad to start with. I did think of renewing the gearshaft, but it's NLA from Yamaha. Shambits do a pattern one for £45.00, but I've read they don't fit well, and need modding slightly  Where have we heard that before !! The gearshaft is in fairly good nic actually, and although you can see a witness mark where the shaft passes through the seal, it's not really felt with your fingernail. There is always the double lip seal option, or the extended housing option seen on here before. Although the aircooled shaft has a circlip on the sprocket side to hold it in place, I do wonder if it's overkill as the inside of the clutch casing has a post, the same as an Lc/pv that stops the shaft moving sideways. Dusty |
|
|
|
Post by dusty350 on Feb 16, 2020 20:56:39 GMT 1
The pawl arm is next to fit. I cleaned it up, and fitted the spring;  20200215_212840 20200215_212840 by dusty miller, on Flickr And then it slides over the front selector fork shaft that protrudes on the clutch side;  20200215_213237 20200215_213237 by dusty miller, on Flickr Another circlip holds it in place. All the circlips for the selector fork rods are the same part number;  20200215_213811 20200215_213811 by dusty miller, on Flickr A small roller fits on the post on the arm. I renewed it;  20200215_213519 20200215_213519 by dusty miller, on Flickr And with the gear change shaft in place it looks like this;  20200215_214019 20200215_214019 by dusty miller, on Flickr On the left side, you can now fit the gear shaft seal, 2 blanking plugs - kindly supplied by Arrow - cheers mate , and the neutral switch and "O" ring;  20200216_111319 20200216_111319 by dusty miller, on Flickr A bit of tape on the splines of the gearshaft protects the seal as it slides into place, aided with rubber grease. The blanking plugs push into place with some firm pressure, and some rubber grease on the O ring helps seat the neutral switch  20200216_111555 20200216_111555 by dusty miller, on Flickr 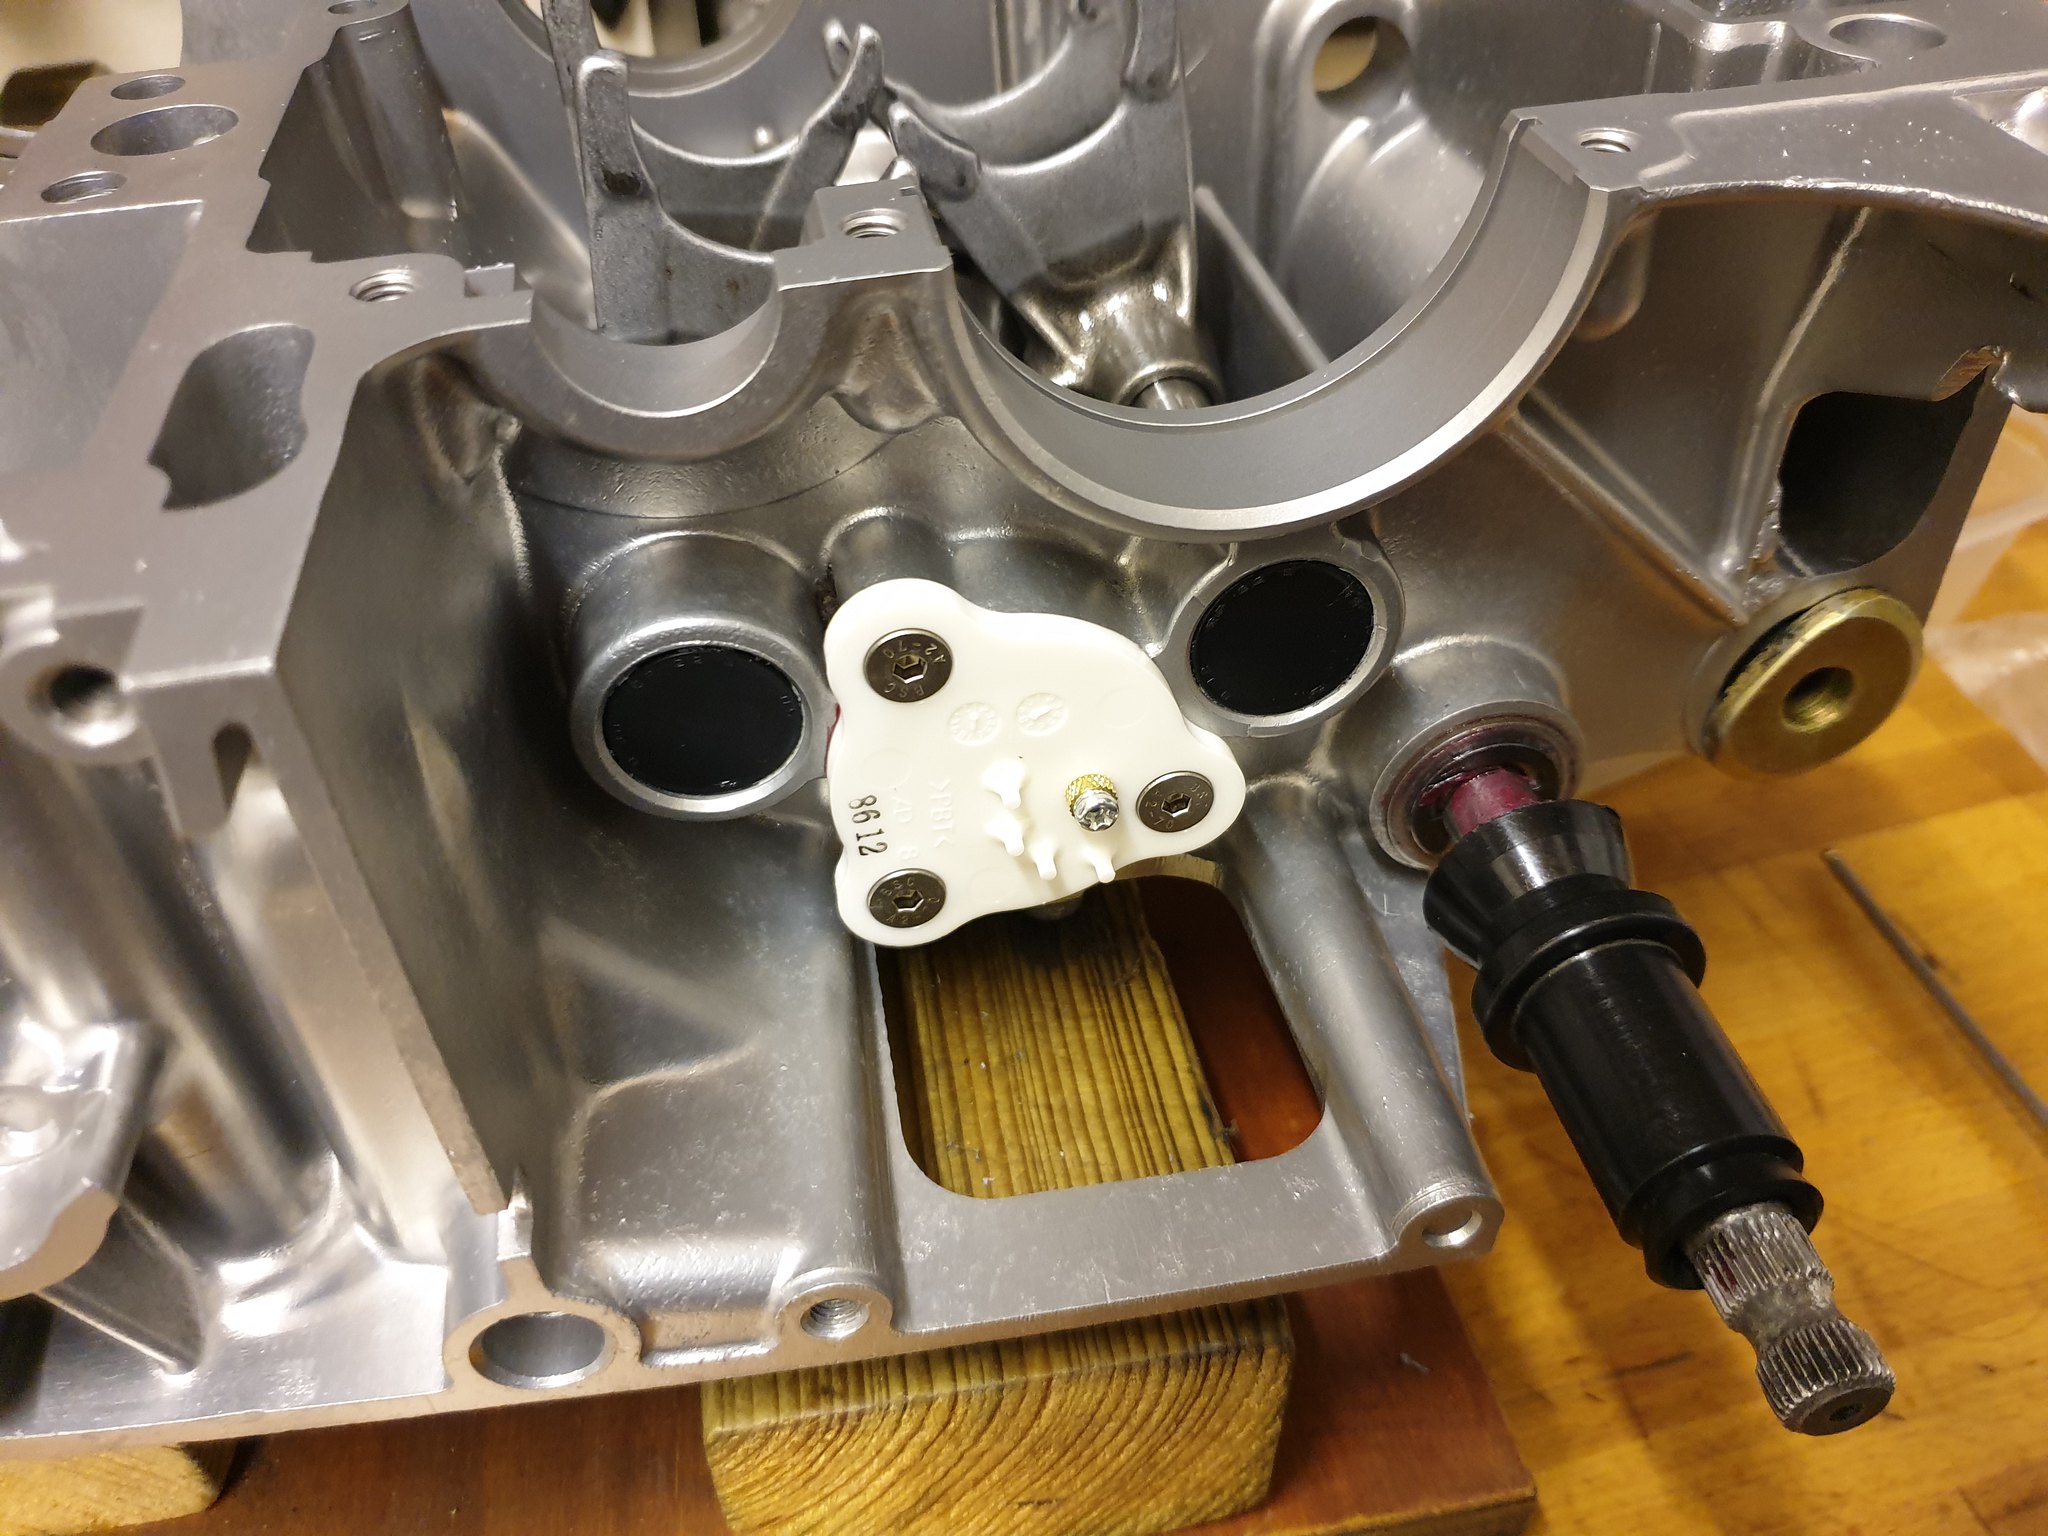 20200216_114600 20200216_114600 by dusty miller, on Flickr You can see the circlip that fits on the gearchange shaft, effectively locking it in place. Dusty |
|
|
|
Post by dusty350 on Feb 17, 2020 8:22:55 GMT 1
The detent plunger can screw into the underside of the casing now. I fitted a new spring - my thinking being it's been compressed to some extent for the best part of 40 years !! When I laid the new one against the old they looked the same, but the new one definitely felt firmer. The gasket is the same part number as the sump bolt gasket;  20200215_214729 20200215_214729 by dusty miller, on Flickr Once that is tightened up, that's the selector and gear change mechanism completed. As said before, Yamaha greatly simplified these components on the Lc and Pv engines, saving some weight in the process too. Next up is the gear clusters. When I stripped the engine I found some corrosion/surface rust on a couple of the gear wheels. I started searching ebay for replacement gear wheels, intending to strip and rebuild the clusters, but then found someone selling a complete, low miles 250e gearbox that was removed and stored in the early 80's apparently !;  20200216_164207 20200216_164207 by dusty miller, on Flickr  20200216_164157 20200216_164157 by dusty miller, on Flickr 250E and 400e gearboxes are identical, so I bought those, and they do appear really good. Before I found them for sale, I had bought some parts to rebuild the original gears - 4 gearbox bearings and a first gear bearing. I decided to use my new bearings anyway on the new gear set. There is a first gear bearing lurking in this gearbox that the Lc range don't have. It's easily changed by removing the "e" clip and sliding off the gear wheel;  20200216_181458 20200216_181458 by dusty miller, on Flickr 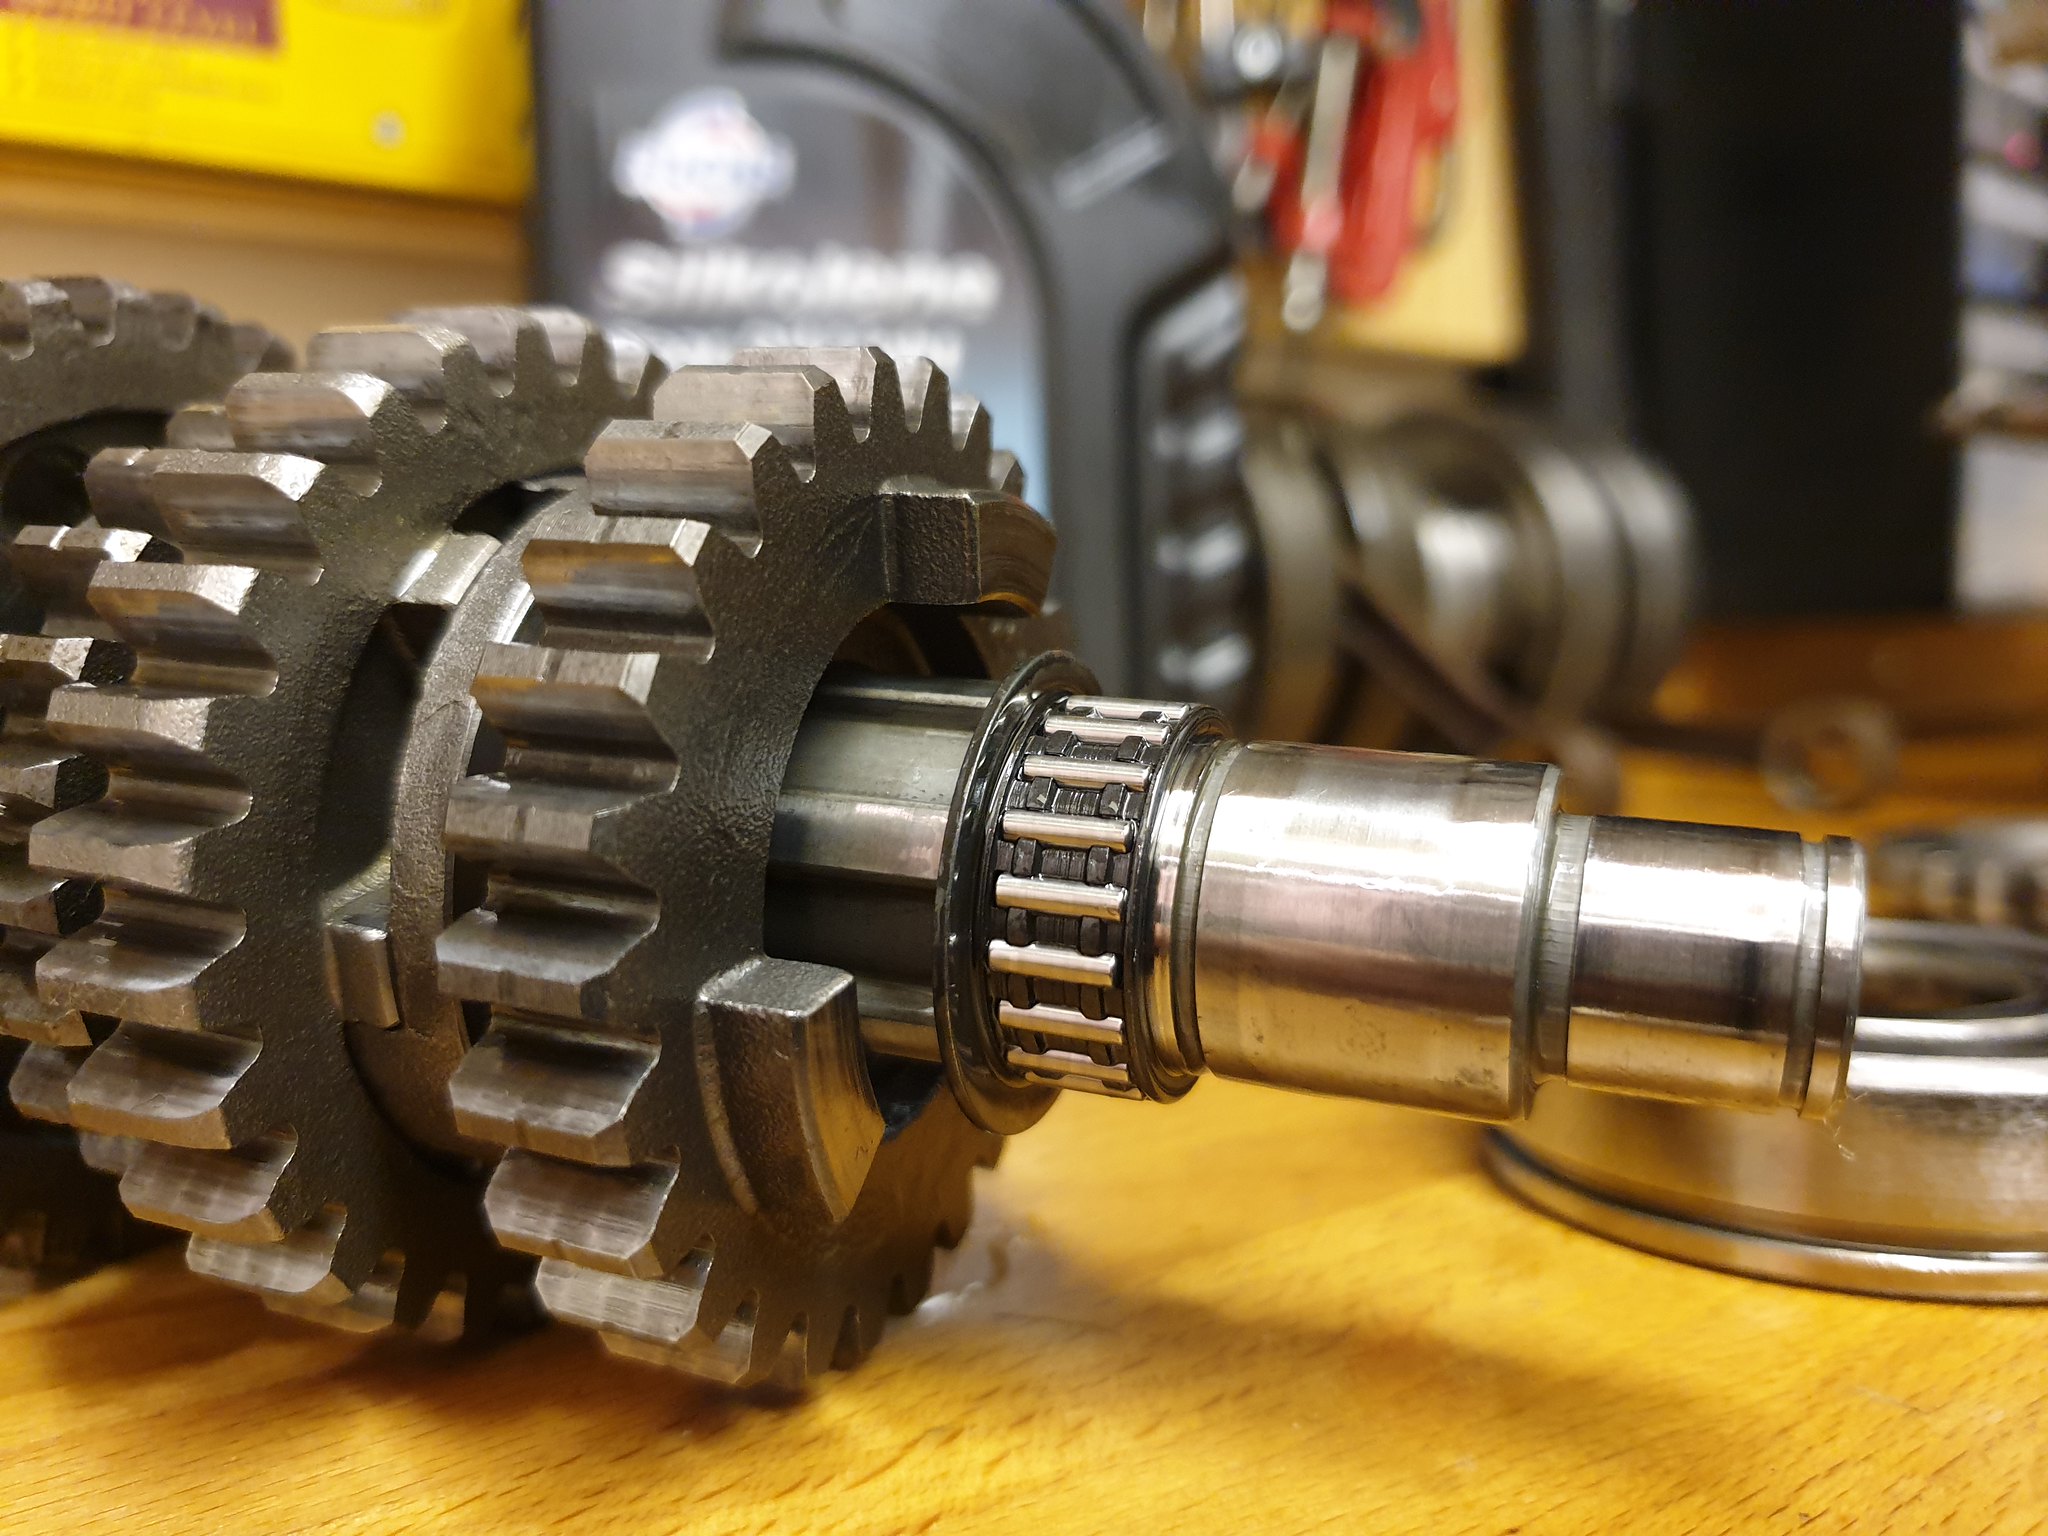 20200216_181712 20200216_181712 by dusty miller, on Flickr With first gear reffited with the new clip and washer, and the new bearings sat in fresh oil, the clusters can go back in the casing;  20200216_180418 20200216_180418 by dusty miller, on Flickr Don't forget the half clips that sit in the grooves for the output shaft;  20200216_184944 20200216_184944 by dusty miller, on Flickr And that's the gearbox back in. A bit of work on the top case next Dusty |
|
|
|
Post by mouse on Feb 17, 2020 14:44:00 GMT 1
This coming along nicely, at quite a pace too! Love the engine you built in '09 but i think/know this one will top it!!
Hurry up and get the 'TZ' bike sorted with pipes, i can't wait to see it finished!
Mouse
PS hoping to hear from Trevor, end of the week!
|
|
|
|
Post by dusty350 on Feb 19, 2020 20:20:35 GMT 1
Little job last night was the cable drive part of the tacho drive. I pulled it apart to give it a good clean. It's steel, so had some corrosion which I removed whilst I was at it;  20200218_203851 20200218_203851 by dusty miller, on Flickr I replaced the "O" ring to ensure no gearbox oil leaks past it, then refitted it. I gave the steel part a lick of satin enamel to help stop it corroding in the future;  20200218_212901 20200218_212901 by dusty miller, on Flickr I'm off to Pjme in the morning to drop the crank and barrels into Paul. The crank will be rebuilt, and I will ask Paul to check over the barrels to see if they need a rebore. They will definitely need pistons. Whilst the crank is away I will rebuild the clutch basket and revive a few other parts. Dusty |
|
|
|
Post by dusty350 on Feb 20, 2020 21:48:48 GMT 1
Dropped the crank and barrels off to Paul today, and had a long chat with him. The crank has been apart before, and he commented that the rods were a narrow profile running up to the small end bearings. The barrels are indeed on 1.00 over, but I think either a hone or rebore will get them "right". I'm really interested in the crank building process - I've had loads done over the years but never seen the actual process, So Paul will kindly take some pics as he does the strip and rebuild, and I will post them here, maybe as a separate thread, so we can all see what's involved. He is a busy guy, so I really appreciate him taking the time to do that. In the meantime, I will clean up some other parts from the engine strip, ready for the next stage. Dusty |
|
|
|
Post by Mr Kipling on Feb 23, 2020 20:17:51 GMT 1
I,m loving the Dusty engine build , great photos....
|
|
|
|
Post by dusty350 on Apr 4, 2020 10:16:30 GMT 1
|
|
|
|
Post by dusty350 on Apr 23, 2020 21:26:32 GMT 1
Took some time out this afternoon from the Covid lockdown DIY extravaganza that I have found myself caught up in over the last 5 weeks , to get the cases back together. One job left to do before the cases could be closed up was to fit the tacho drive shaft in the top case. Here are the component parts, along with 2 new circlips; 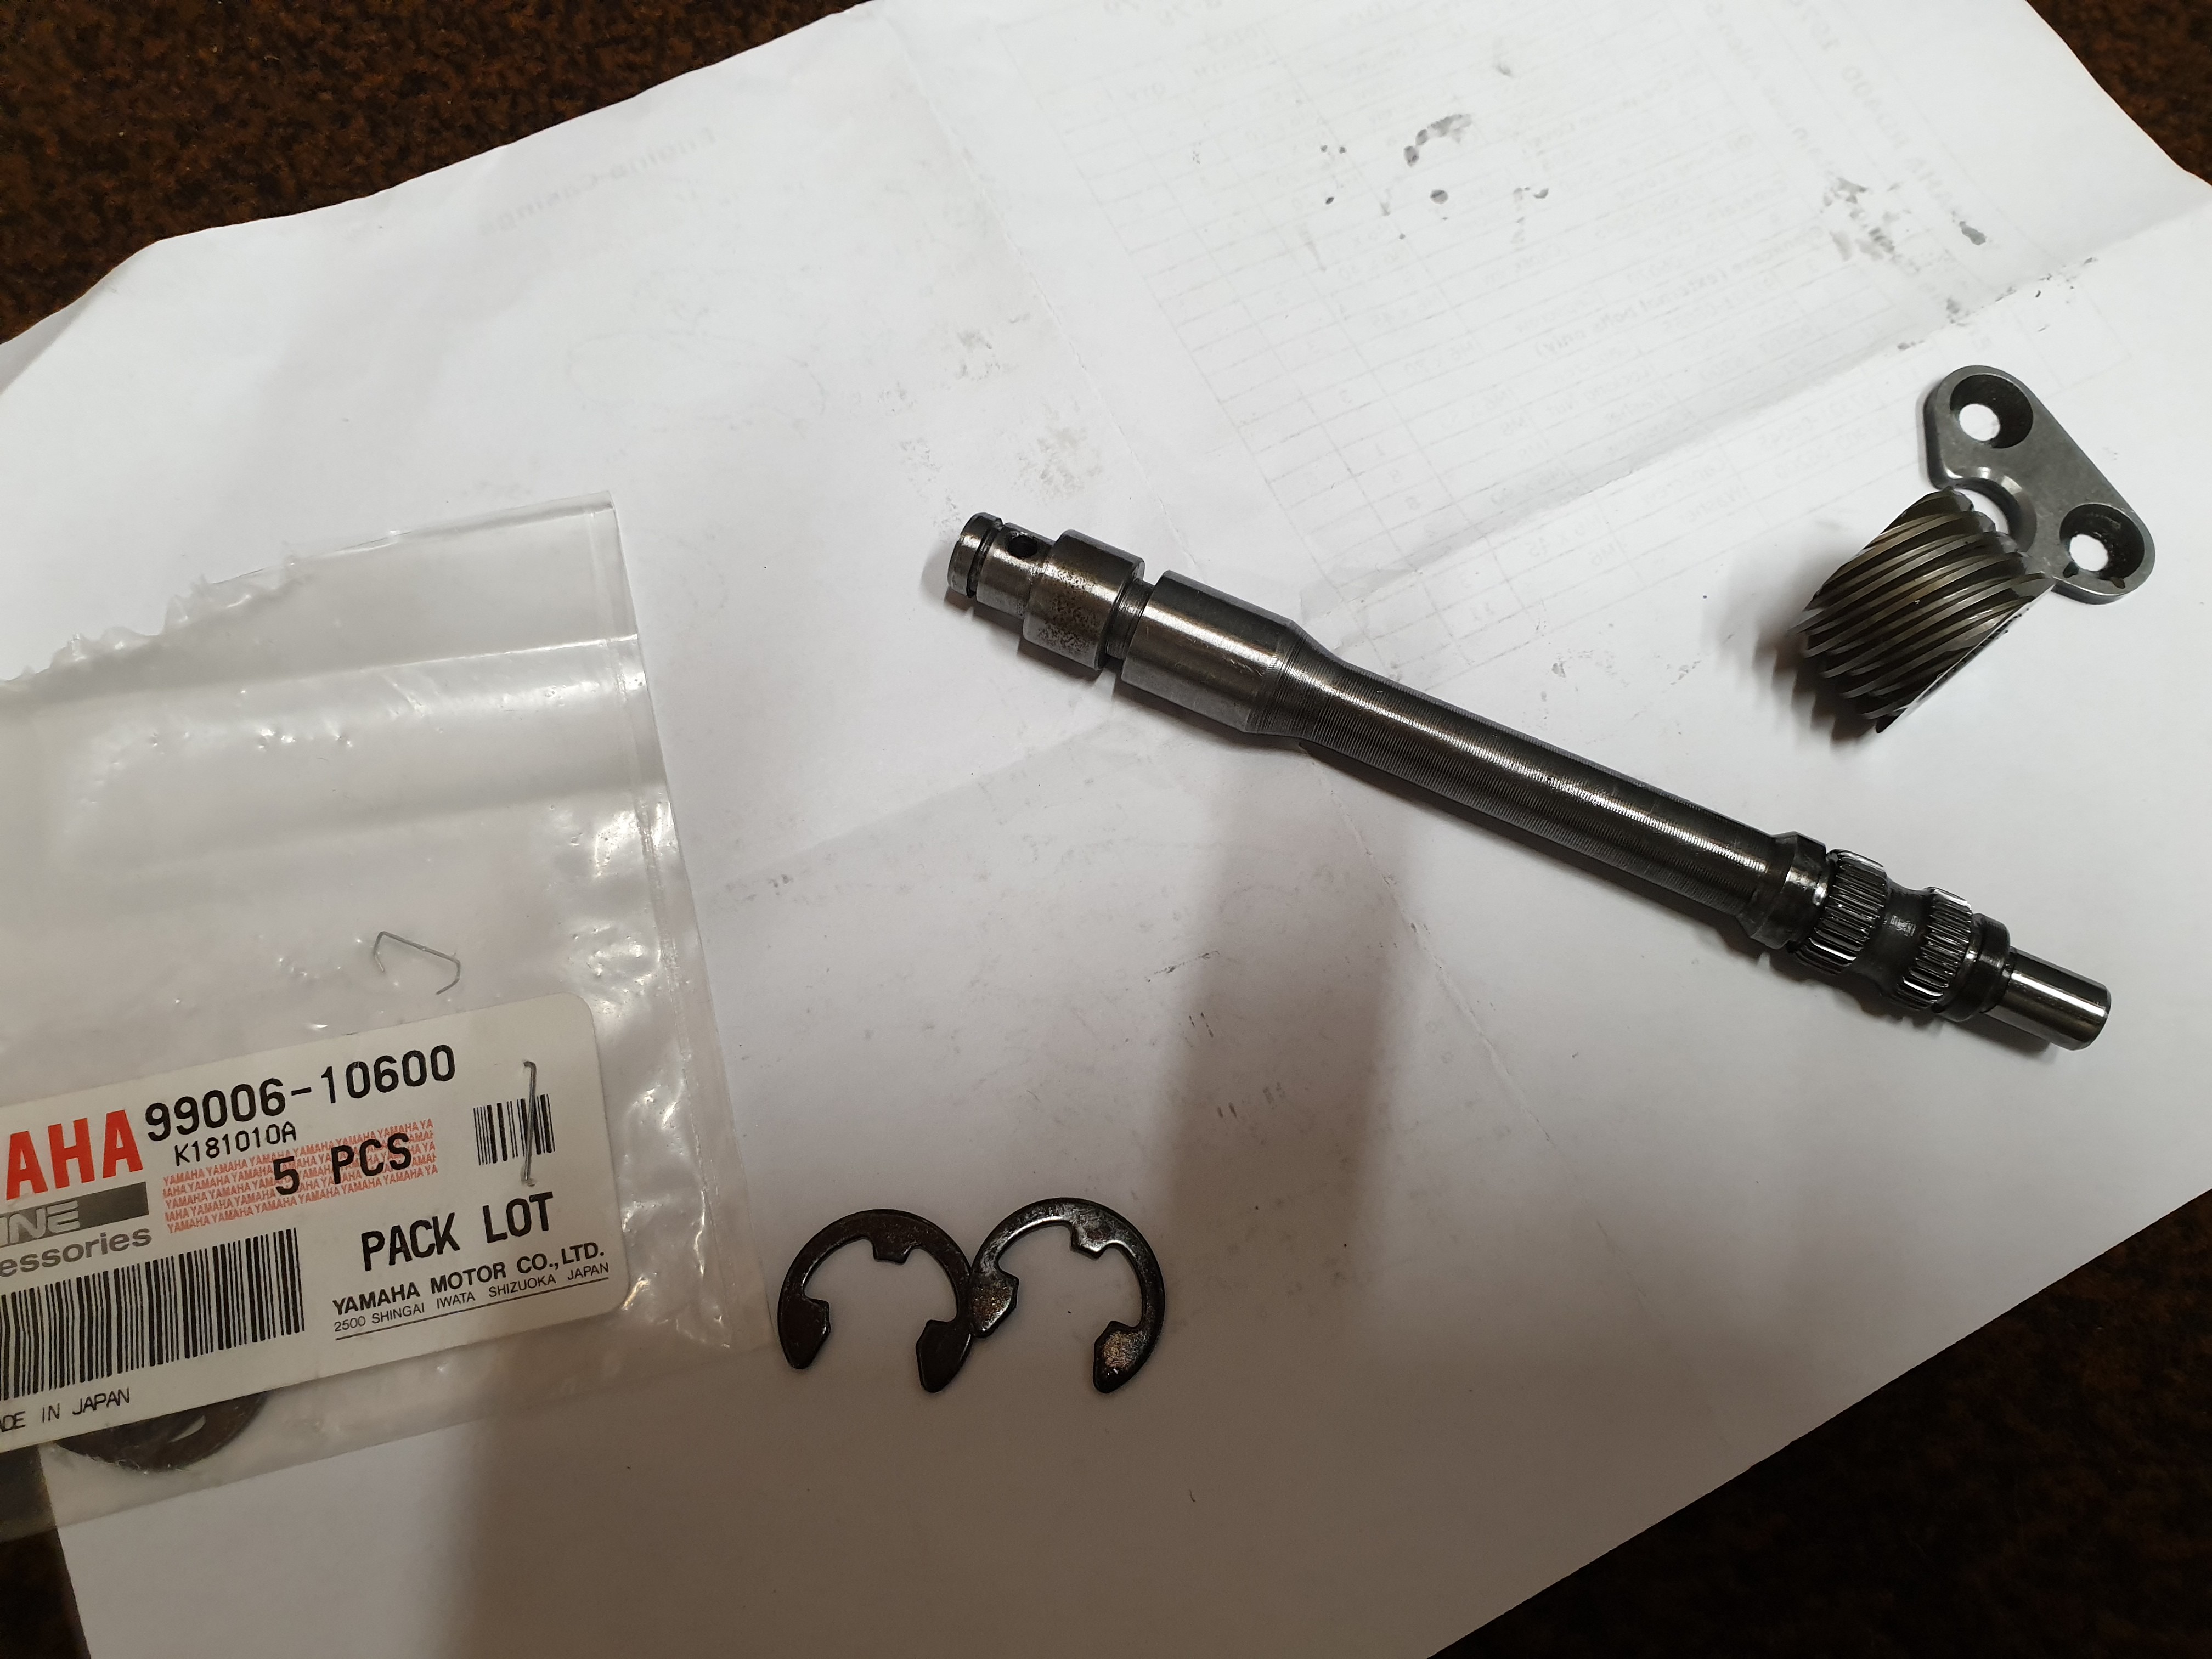 20200423_160330 20200423_160330 by dusty miller, on Flickr I put some LM grease on the shaft where it passes through the case, and also on the end where it is supported by the casting of the case;  20200423_160618 20200423_160618 by dusty miller, on Flickr With the drive part fitted, add the new circlips, and that part is done;  20200423_161158 20200423_161158 by dusty miller, on Flickr The shaft itself is held captive by a small plate;  20200423_161349 20200423_161349 by dusty miller, on Flickr When I stripped this engine, the only fasteners that caused me an issue were these 2. The remains of 1 of them is here, next to a new bolt replacing it;  20200423_161519 20200423_161519 by dusty miller, on Flickr I was now ready to fit the top case on. I always do a dry run - fit the top case without sealant between the 2 halves, and nip up the nuts underneath and the bolts on top. This is to check for smooth operation of the crank and gear clusters, and to make sure there are no tight spots. Once happy, the top case comes off again, and I apply 3bond to the bottom case mating surface, and leave it a couple of minutes to go tacky. I use this time to check (again) that the crank bearing pips are in their little grooves, and one last check over everything else. I already made sure the 2 dowels were in place - one at the front of the engine was in the bottom case, the rear one was in the top case;  20200423_163240 20200423_163240 by dusty miller, on Flickr Once the top case is fitted, the 8 stainless nylocs and new washers are fitted underneath, along with 3 M6 bolts that are present on these aircooled engines, and then 8 bolts and washers on the top case. As with the Lc range, the cases are marked with numbers to show the sequence of tightening. Tighten it all up, and the bottom end is in one piece again;  20200423_193609 20200423_193609 by dusty miller, on Flickr Before I did the final tightening, I fitted the new drive shaft and pushrod seals - it's easier to do it now before torqueing up the cases;  20200423_164519 20200423_164519 by dusty miller, on Flickr Next I fitted the bearing retainer plate and the small baffle plate above it;  20200423_195137 20200423_195137 by dusty miller, on Flickr Then the tacho drive cog;  20200423_195510 20200423_195510 by dusty miller, on Flickr A washer then goes on and finally a new circlip; 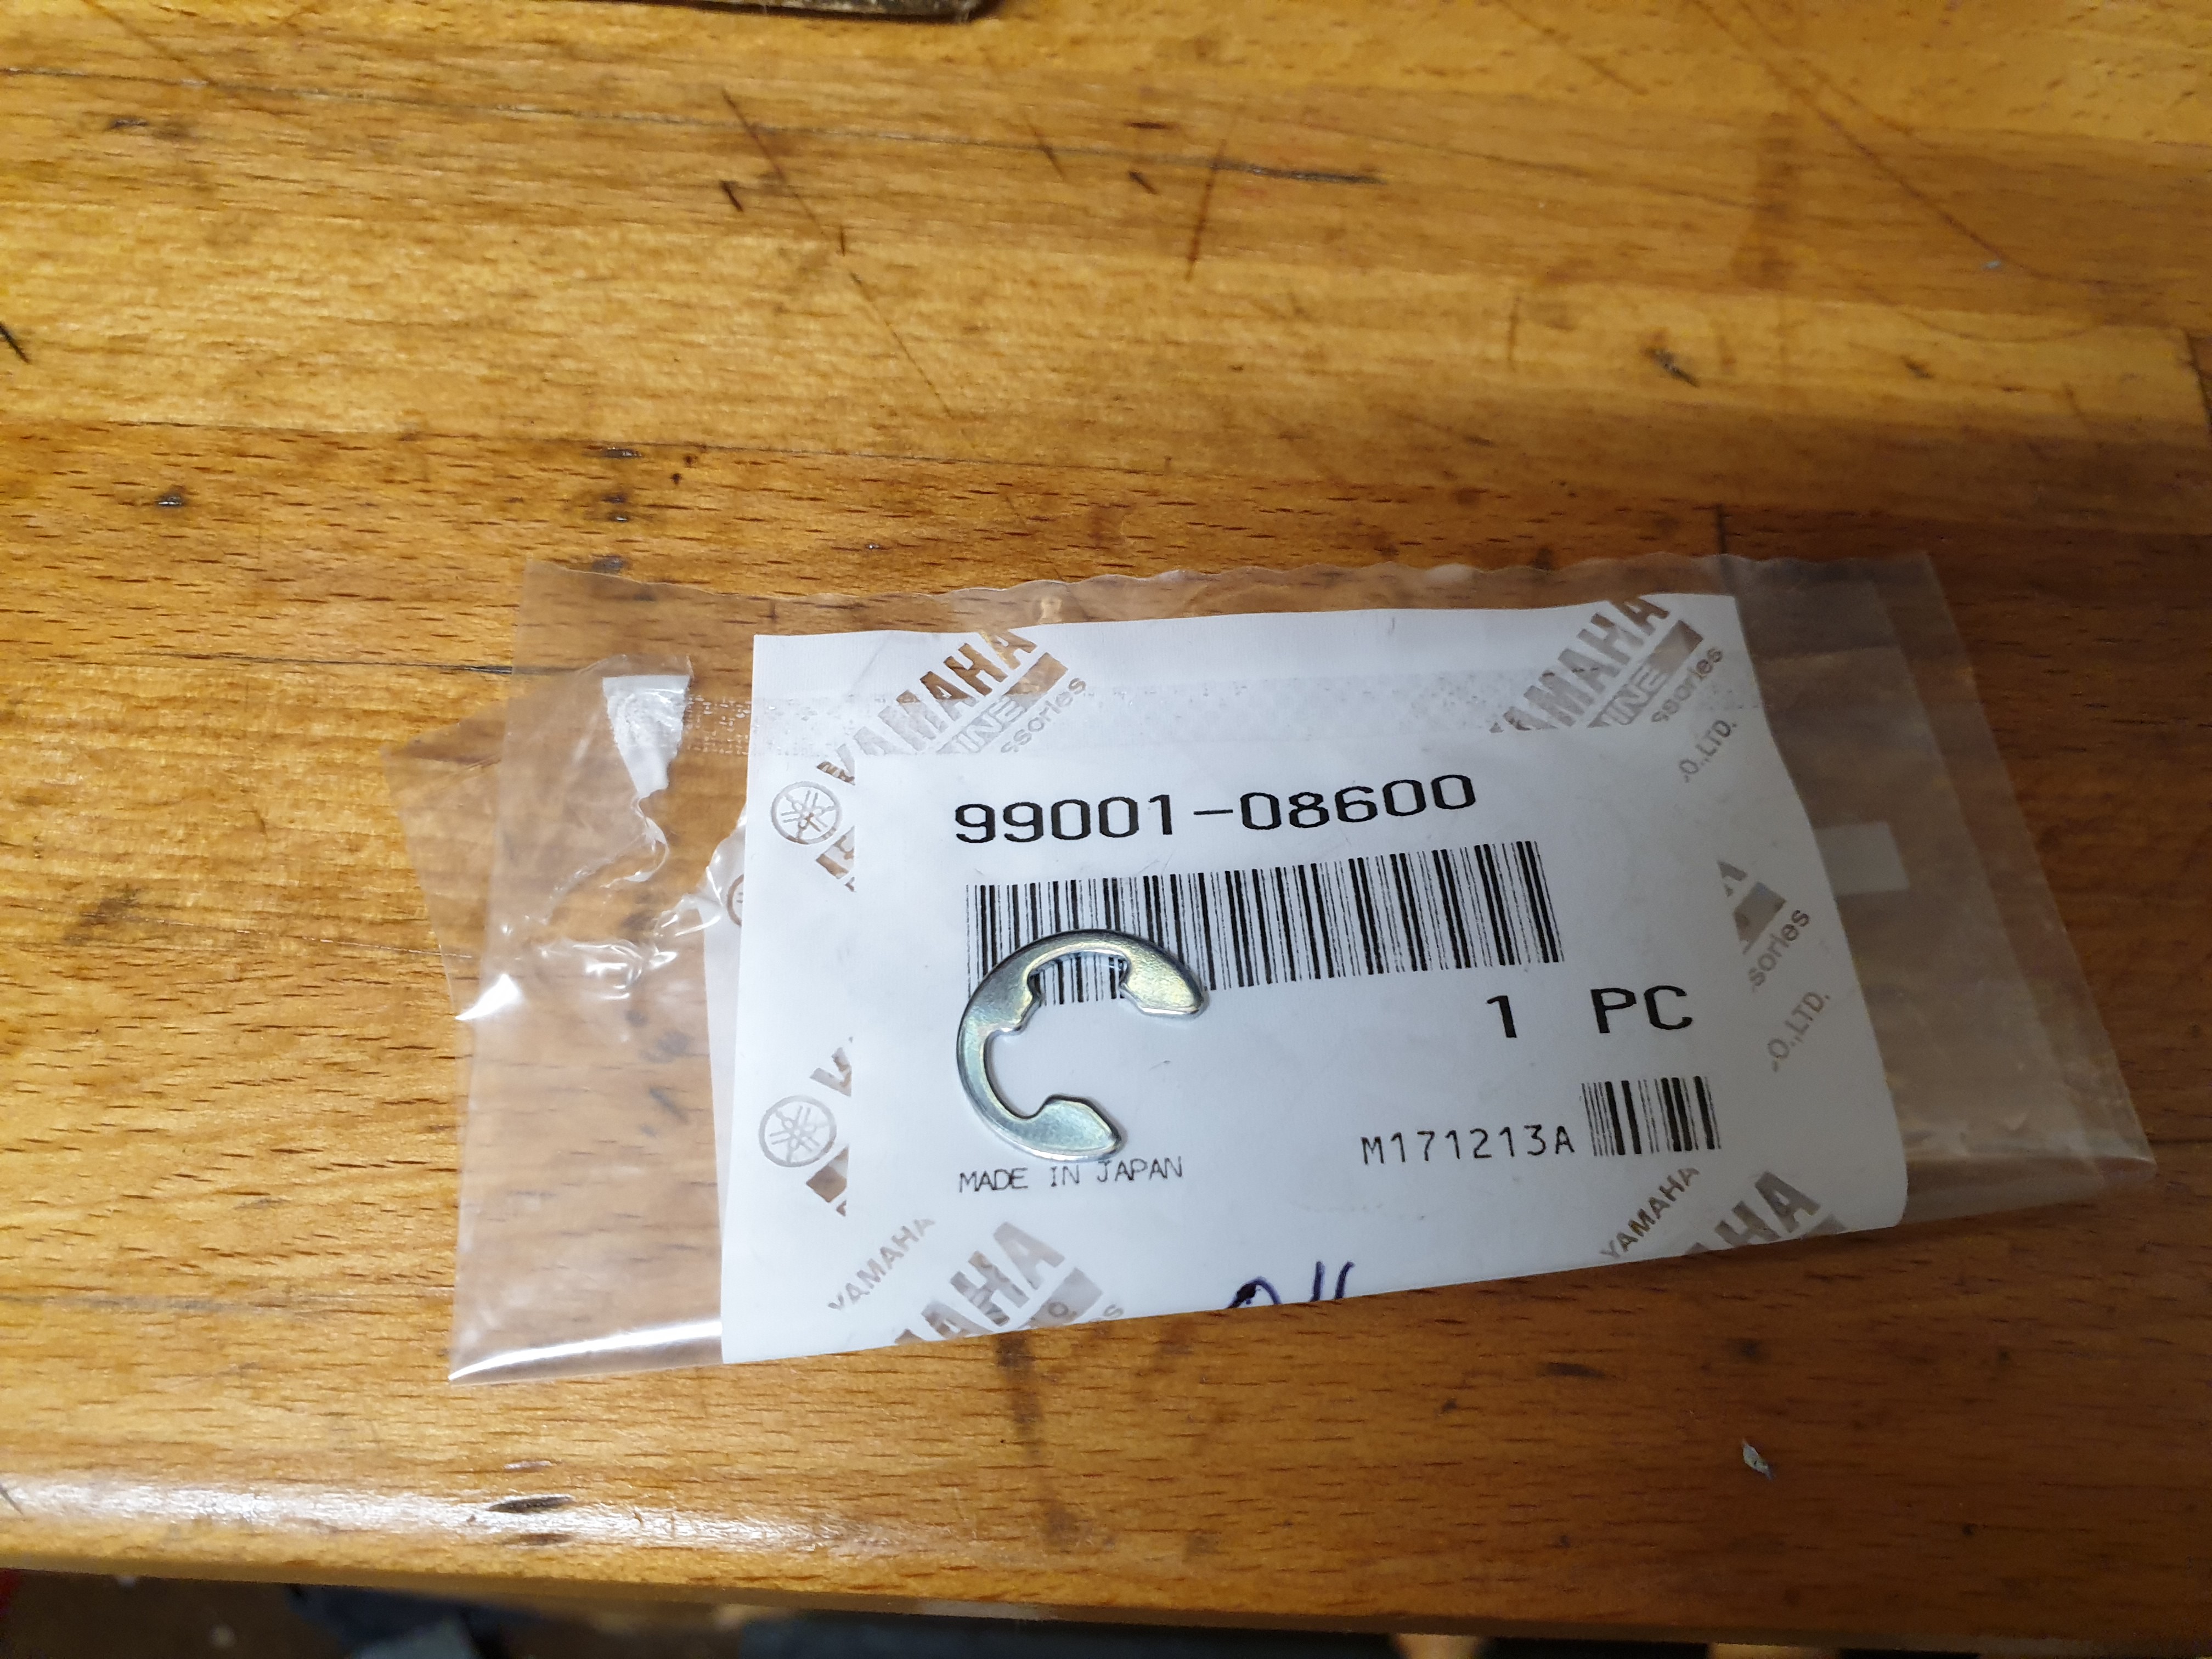 20200423_201039 20200423_201039 by dusty miller, on Flickr It's starting to resemble an engine again !!  20200423_200401 20200423_200401 by dusty miller, on Flickr Dusty |
|
|
|
Post by oldbritguy on Apr 24, 2020 7:56:21 GMT 1
That is looking great Dusty. Doing my LC engine just now but nowhere near as tidy a job as this. Clean but not to this standard  Considering you have several builds on the go just now I am thoroughly impressed at how organised your work bench is, super tidy John |
|
|
|
Post by dusty350 on Apr 24, 2020 8:28:03 GMT 1
Hi John It's a really small garage - half garage and half office which I converted years ago. Space is tight so I have to keep things tidy. I would love to convert it back to one big garage again, but the office gets used all the time, so I will have to make do ! Dusty |
|
|
|
Post by dusty350 on Apr 25, 2020 21:34:33 GMT 1
Cleaned up the generator today. The back plate was filthy, and the wiring was grubby, so I cleaned up the genny first;  20200425_105227 20200425_105227 by dusty miller, on Flickr The wiring connectors went in the ultrasonic cleaner. I find this really gets them clean;  20200425_154949 20200425_154949 by dusty miller, on Flickr Then I dry it all off, spray with WD40, then retape the wiring. The plugs look a lot cleaner;  20200425_200433 20200425_200433 by dusty miller, on Flickr I fitted the sprocket back on - loosely for now. The spacer behind the sprocket had a groove that I could feel with my fingernail, so I swapped it for an Lc spacer - they are exactly the same part - and this is in better nic. It looks marked but you cant feel it. Lc on the left;  20200425_105125 20200425_105125 by dusty miller, on Flickr I cleaned the sprocket up, along with the retaining nut, and fitted a new locking washer;  20200425_144605 20200425_144605 by dusty miller, on Flickr Before I fitted the generator, I lapped the rotor onto the crank. It's easier to do at this point as you can clean the grinding paste off much more easily without the generator in the way. I used fine paste, and it doesn't take long to get a good finish;  20200425_194854 20200425_194854 by dusty miller, on Flickr Once everything is really clean after using the paste, the genny can go back on; 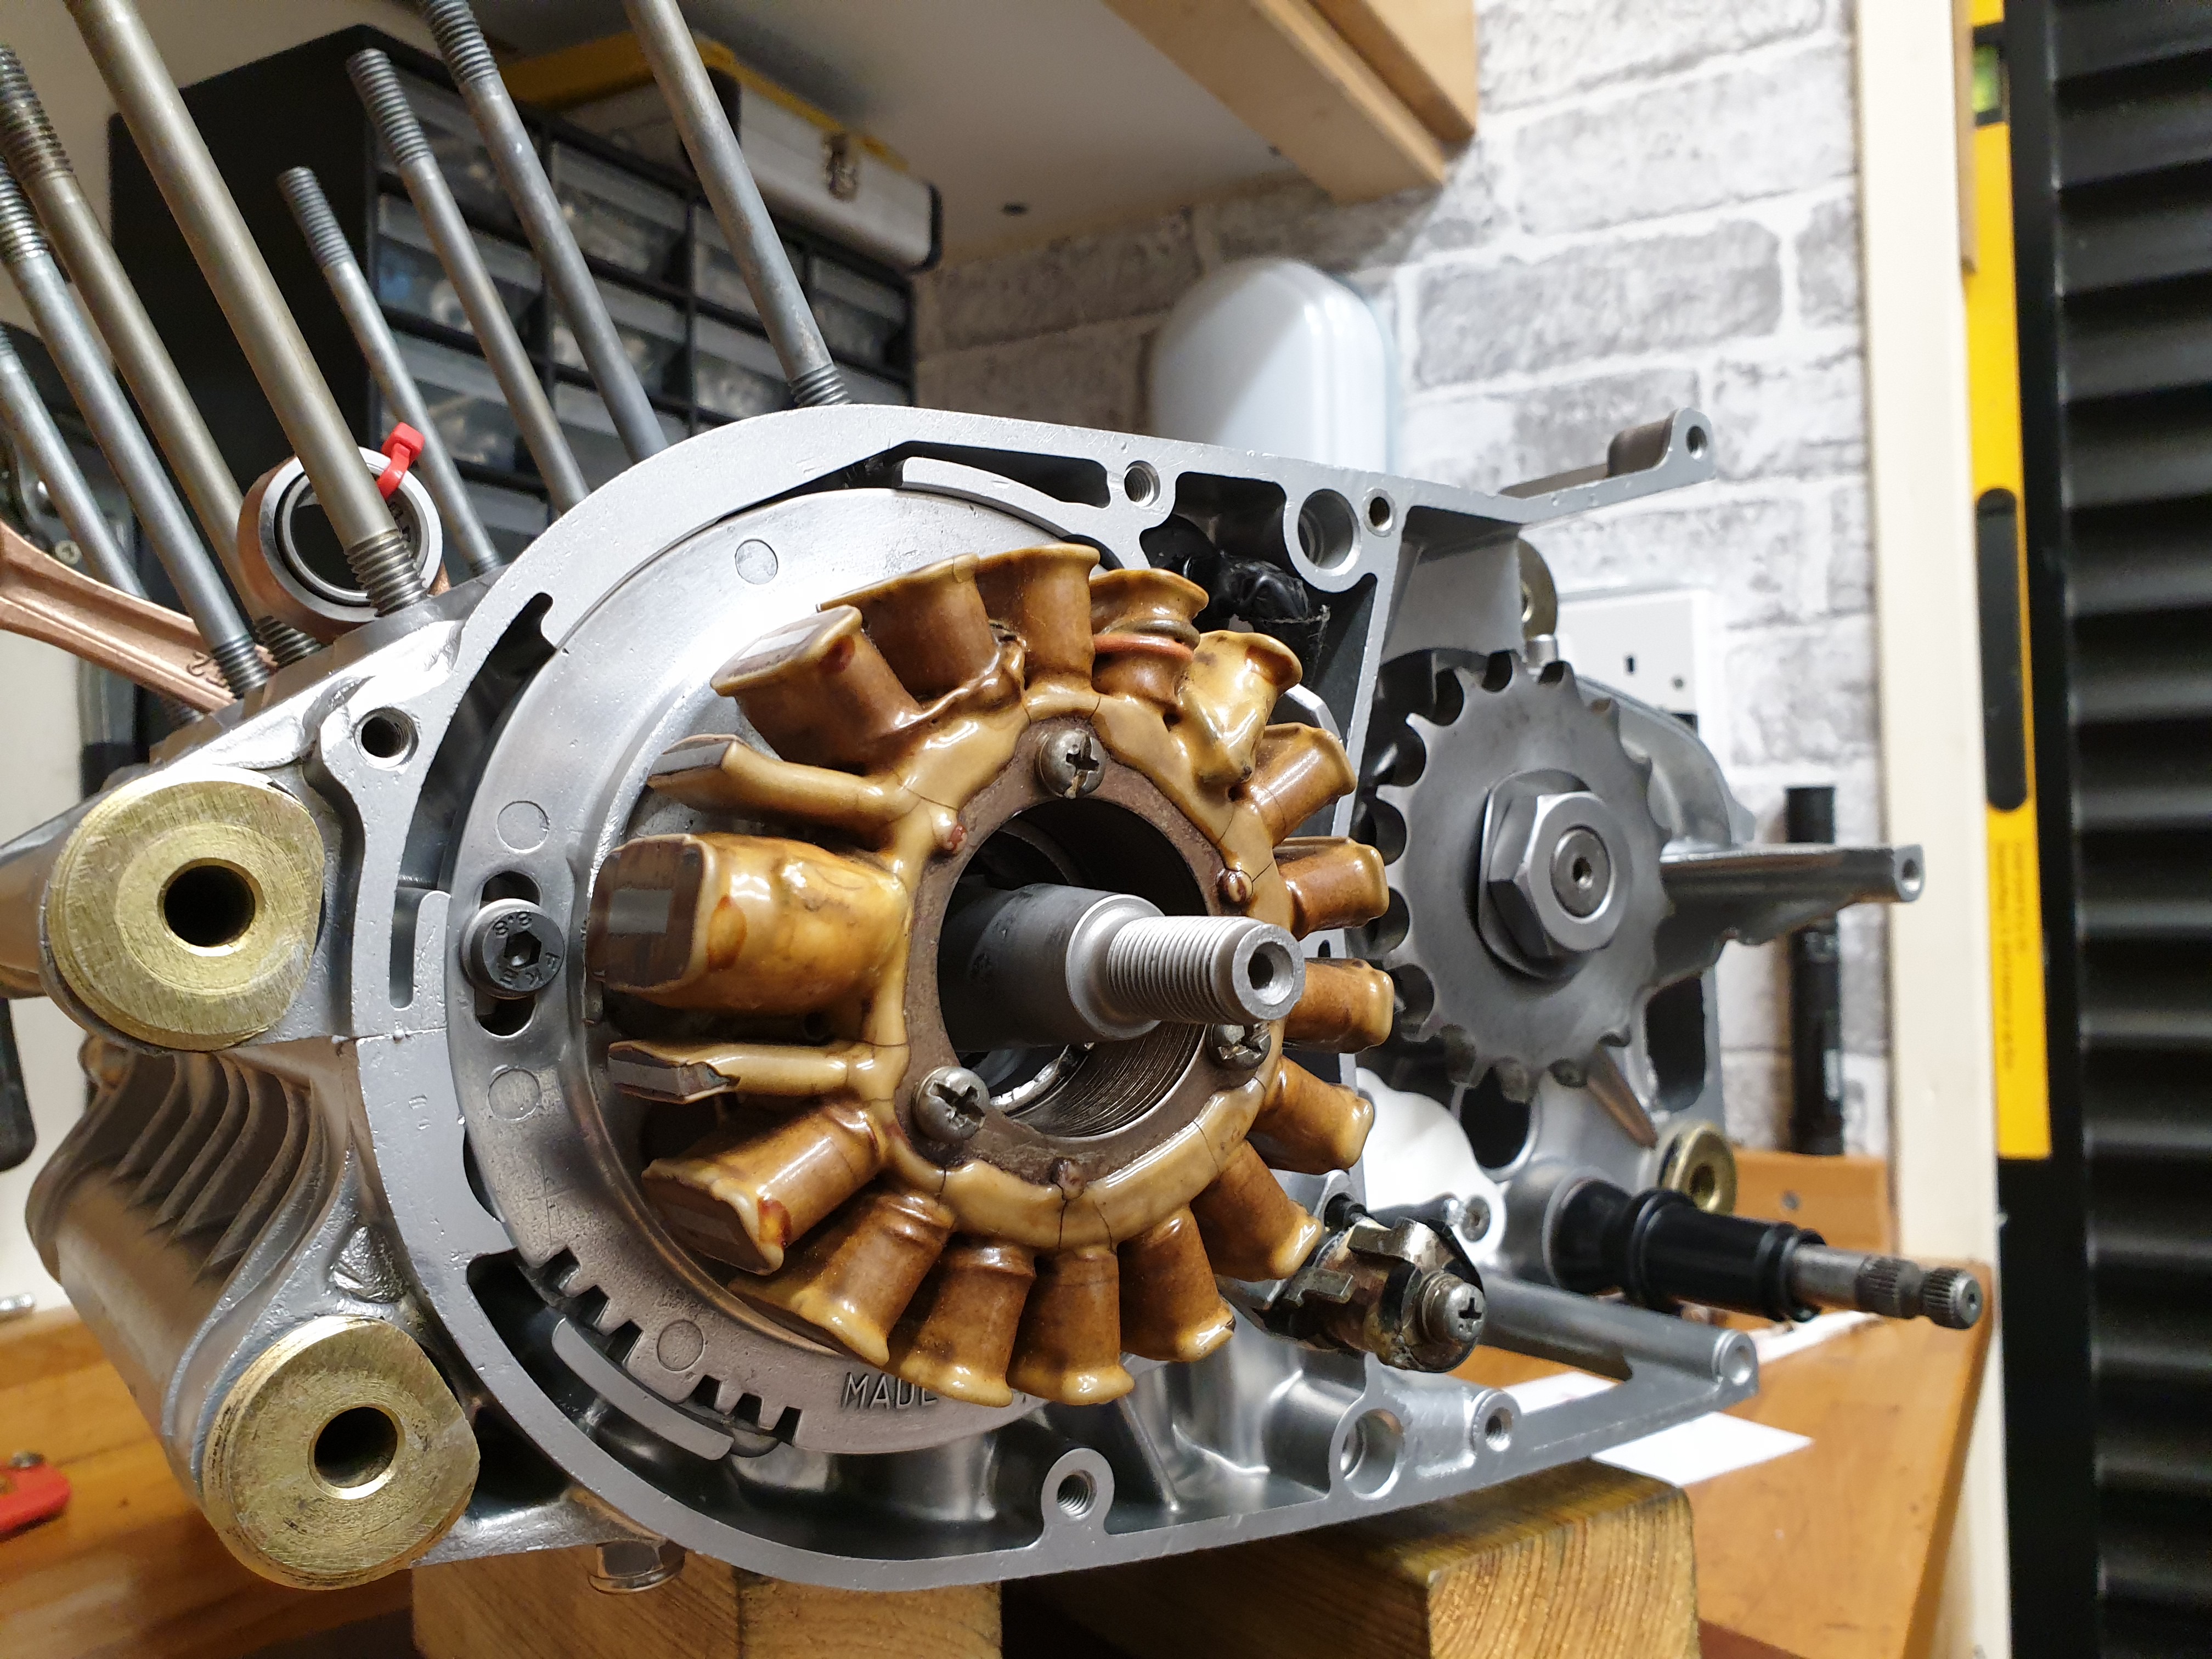 20200425_200359 20200425_200359 by dusty miller, on Flickr 2 temporary bolts hold it on at the mo as I have misplaced the correct hex head bolts ! I also fit the rotor loosely;  20200425_200836 20200425_200836 by dusty miller, on Flickr I cleaned this up ages ago, including getting the internal magnets back to bright metal, as they had a layer of surface rust on them. I will need to revisit the rotor in due course. Next I spin the engine around, and fit the first clutch washer. This engine differs from the Lc/Pv in that the 2 washers are different sizes, whereas the watercooled bikes have 2 identical washers;  20200425_201442 20200425_201442 by dusty miller, on Flickr The smaller diameter goes on first;  20200425_201613 20200425_201613 by dusty miller, on Flickr Dusty |
|
|
|
Post by donkeychomp on Apr 25, 2020 21:52:30 GMT 1
Looking good Dusty. Are the allen bolts your idea? Can't remember if mine uses philips screws everywhere but I'd prefer to use allens.
Alex
|
|
|
|
Post by dusty350 on Apr 25, 2020 22:08:33 GMT 1
Hi mate I had a load of cap head/allen bolts in stainless in the correct sizes, and I have been gradually using them on engine builds instead of the normal cross head fasteners. They don't need to be stainless as they live in oil. Stainless is a softer metal for fasteners, but I've never had an issue if I've had to remove them. As with any fastener, a good fitting tool is essential to stop chewed up heads. And I always use a low strength Loctite - any thing stronger and you could struggle if/when a strip down is needed again I get all my fasteners, usually in bulk, from that place in Walton I told you about, but I also get stuff to keep in stock from Kempton autojumble - not that the jumble will be happening any time soon  Dusty |
|


 It's gonna be an expensive build !!


 Where have we heard that before !! The gearshaft is in fairly good nic actually, and although you can see a witness mark where the shaft passes through the seal, it's not really felt with your fingernail. There is always the double lip seal option, or the extended housing option seen on here before. Although the aircooled shaft has a circlip on the sprocket side to hold it in place, I do wonder if it's overkill as the inside of the clutch casing has a post, the same as an Lc/pv that stops the shaft moving sideways.