|
|
Post by Paul Dawkins on Dec 17, 2011 19:10:29 GMT 1
Brilliant, I love this thread. Keep it up. I see your going for the best/fastest colour. Are you keeping the Artex finish on the tank?  |
|
|
|
Post by tunneruk on Dec 18, 2011 10:22:23 GMT 1
Brilliant, I love this thread. Keep it up. I see your going for the best/fastest colour. Are you keeping the Artex finish on the tank? Cheers fella!, I was thinking of just touching the tank in then go straight over with the graphics ................ .............. Think I'll get away with it?? |
|
|
|
Post by tunneruk on Dec 18, 2011 13:18:31 GMT 1
and i love the kick start job good thinking, I know that replacements are readily available but I always set out to restore as much as possible, the clock case is another example, I'm in the process of restoring the one I have rather than buying a new one, it will be original and look lovely! |
|
|
|
Post by tunneruk on Dec 28, 2011 20:14:54 GMT 1
Well much progress has been made over the last couple of weeks. It was a bitter sweet moment to get all my powder coating back from work, this is one of only two jobs that I've not done myself (The Zinc plating being the other) so I can now start re-assembling some of the bike. 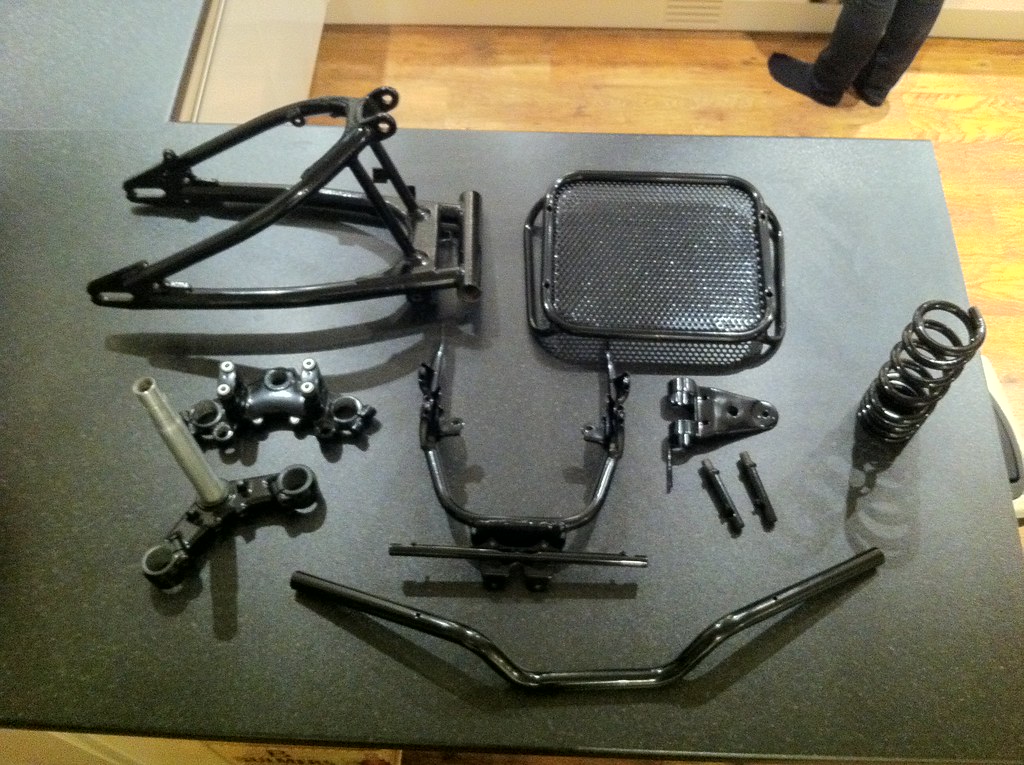 IMG_1701 IMG_1701 by tunneruk, on Flickr Got the shock all rebuilt 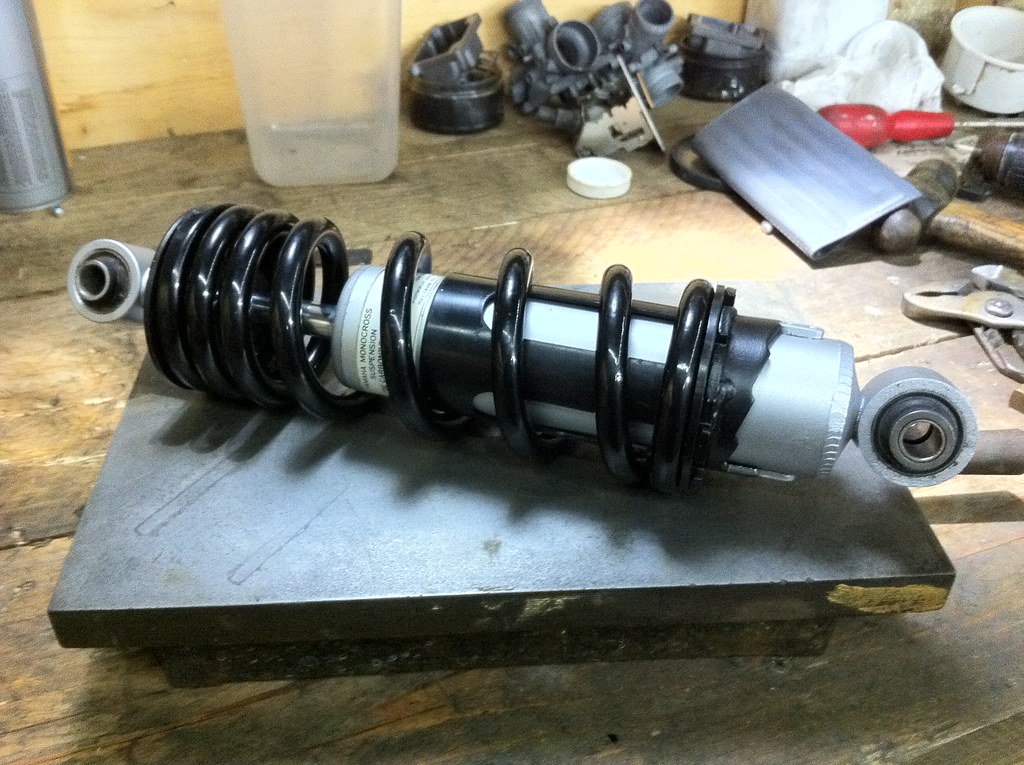 IMG_1703 IMG_1703 by tunneruk, on Flickr Got the bike up to a suspended chassis... 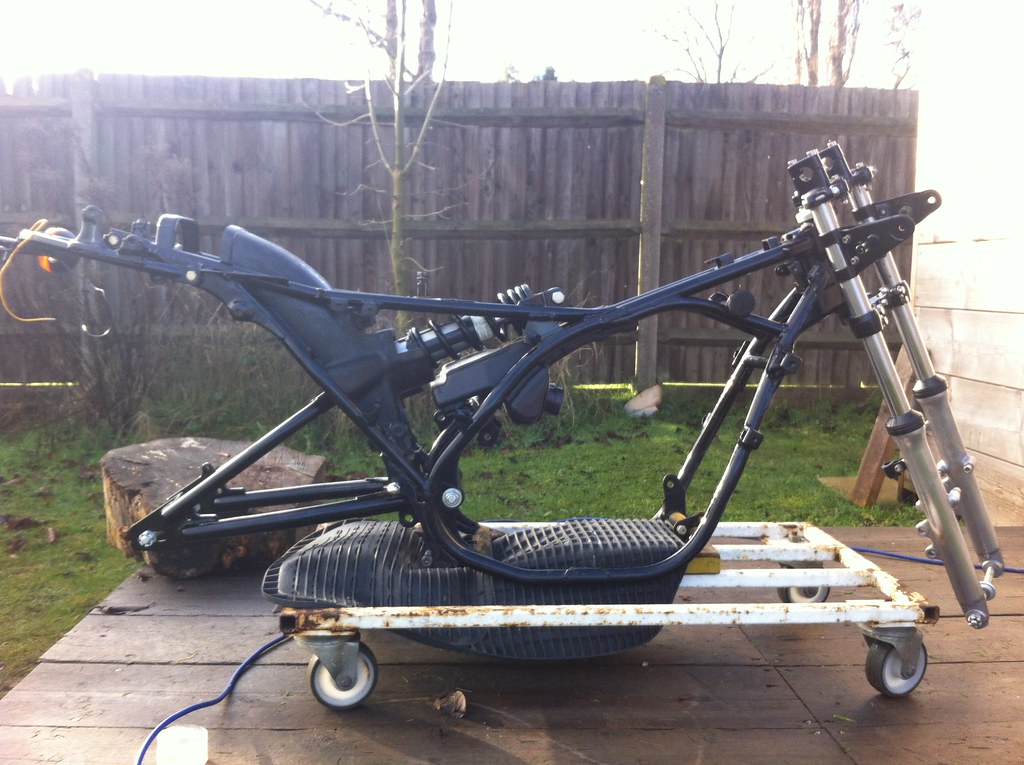 IMG_1704 IMG_1704 by tunneruk, on Flickr 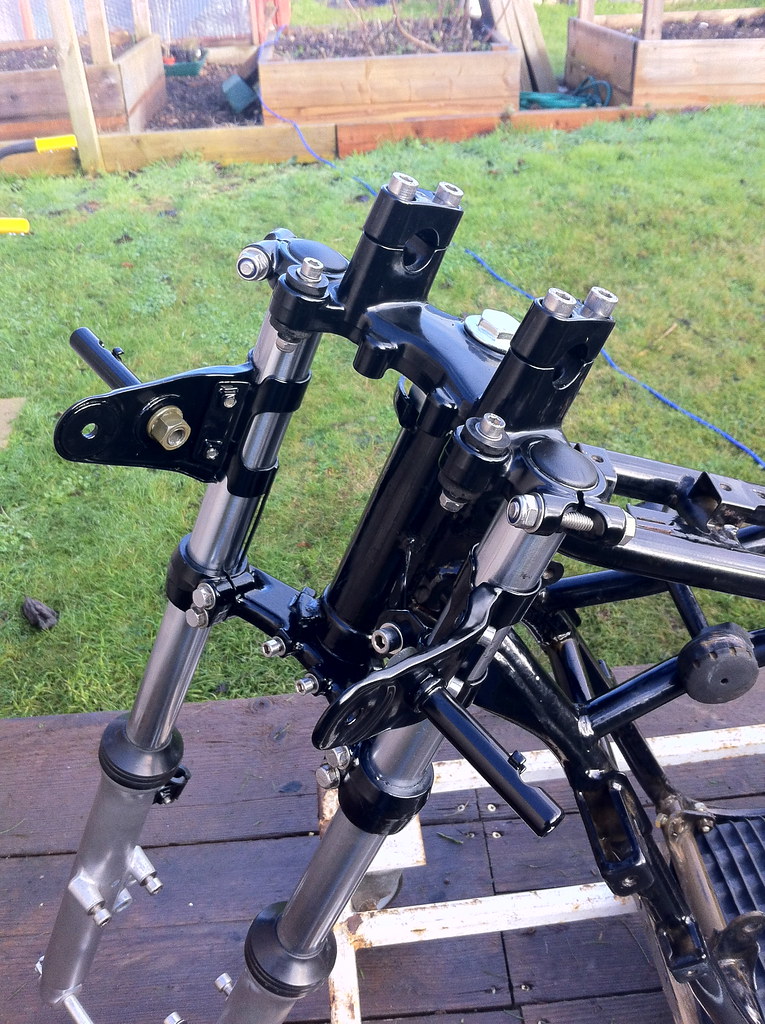 IMG_1711 IMG_1711 by tunneruk, on Flickr I repeated the processes involved in the refurbishment of the front wheel on the rear, got the tyres fitted and hey presto! 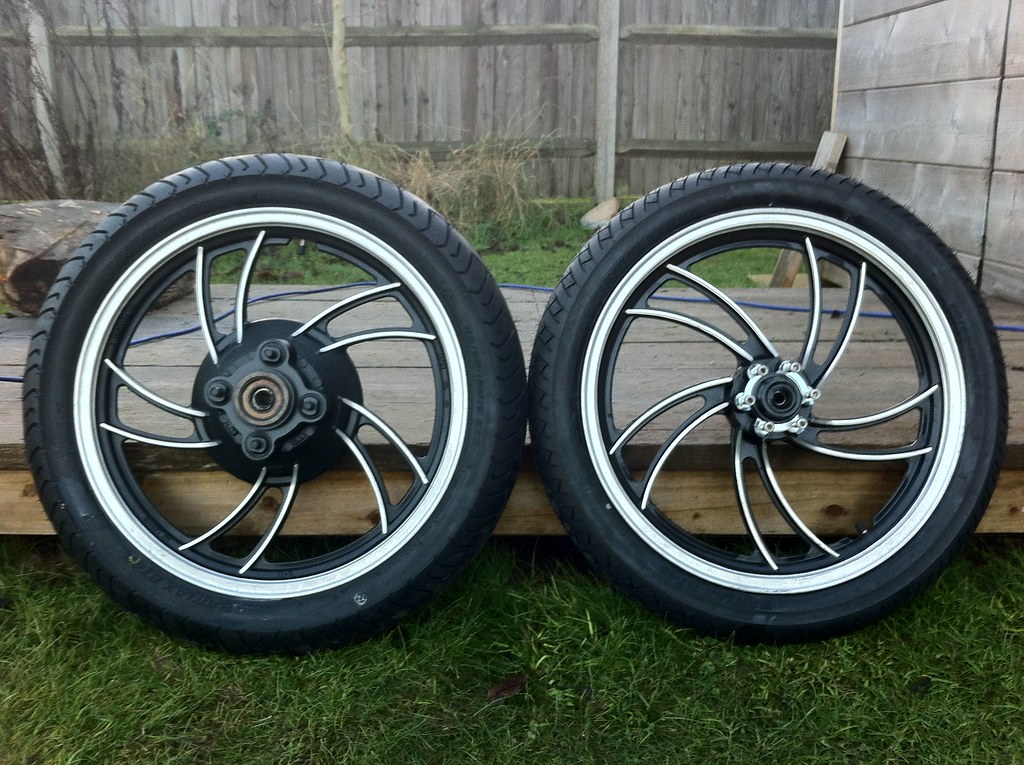 IMG_1713 IMG_1713 by tunneruk, on Flickr 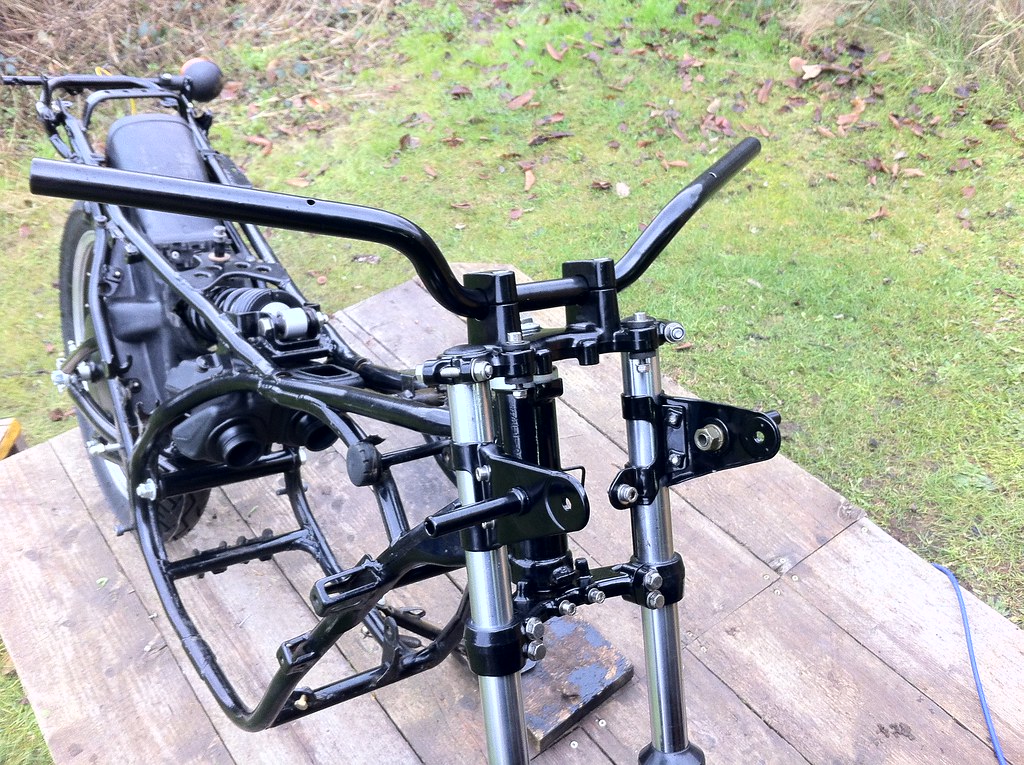 IMG_1729 IMG_1729 by tunneruk, on Flickr 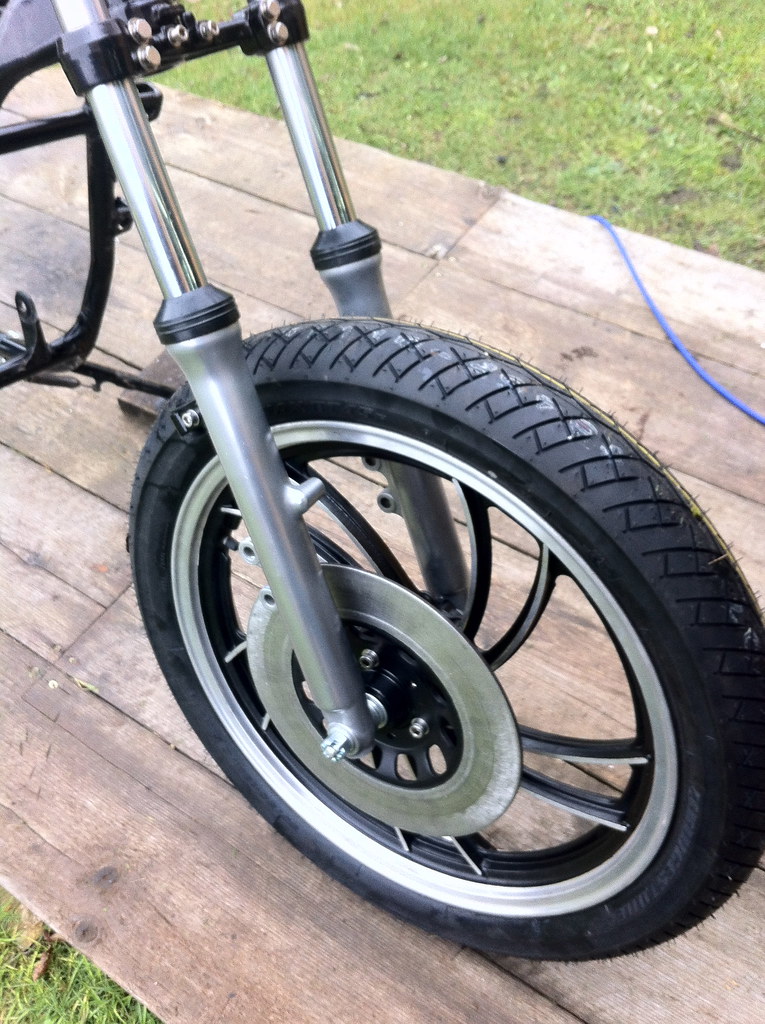 IMG_1727 IMG_1727 by tunneruk, on Flickr 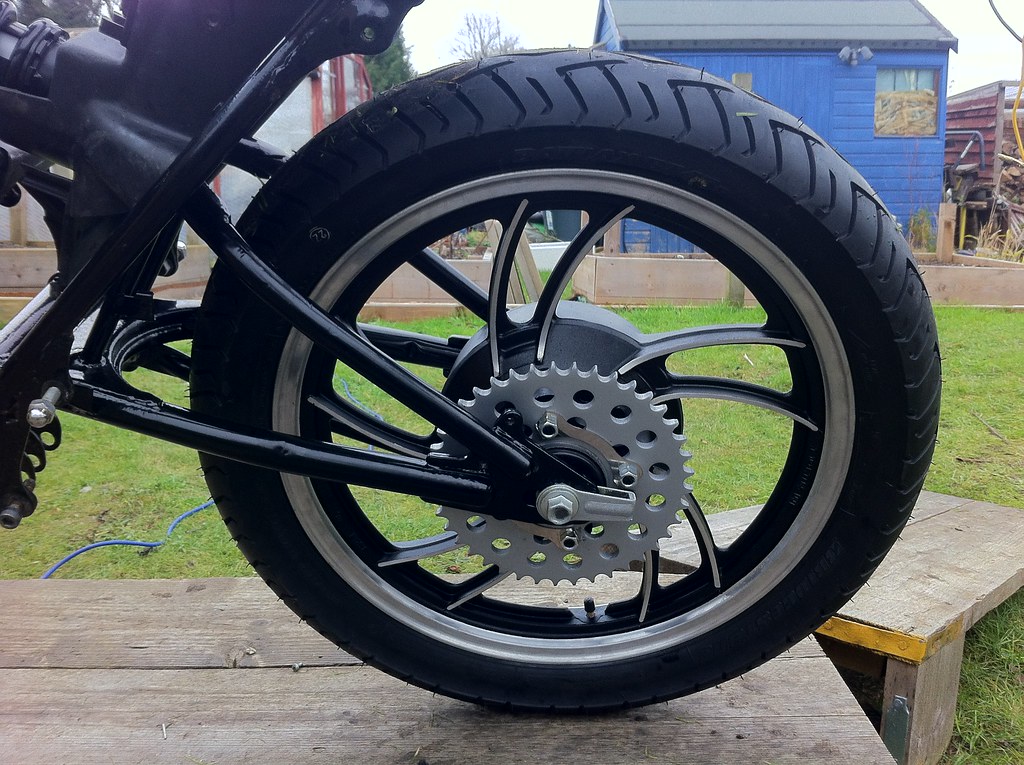 IMG_1731 IMG_1731 by tunneruk, on Flickr 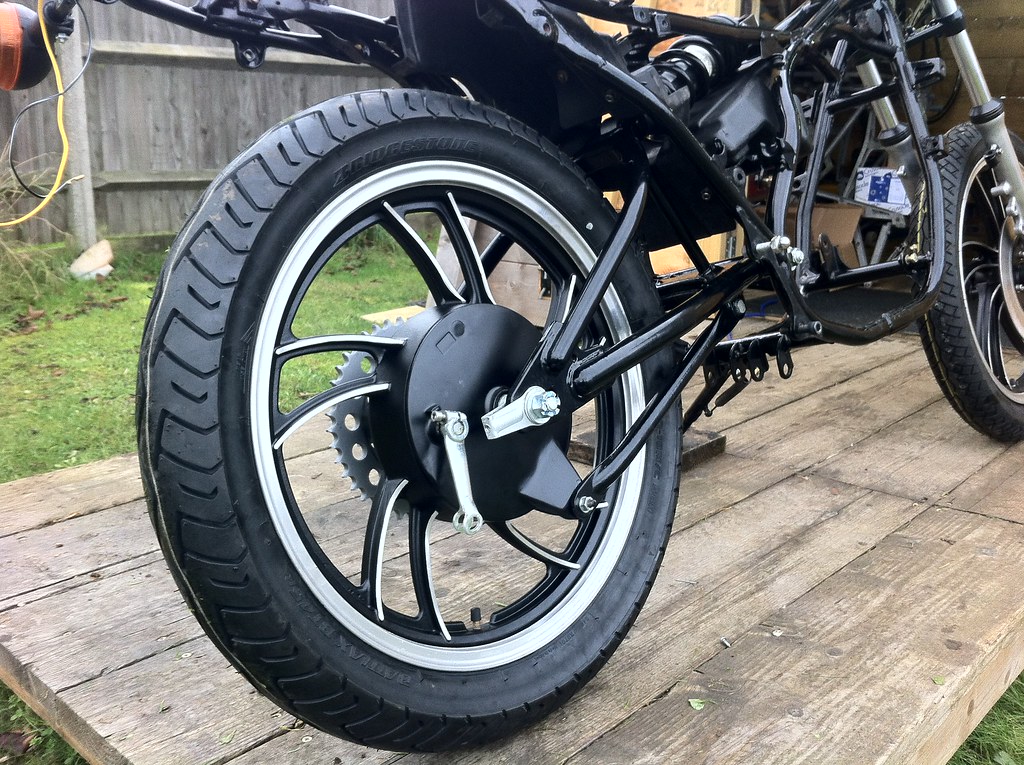 IMG_1723 IMG_1723 by tunneruk, on Flickr 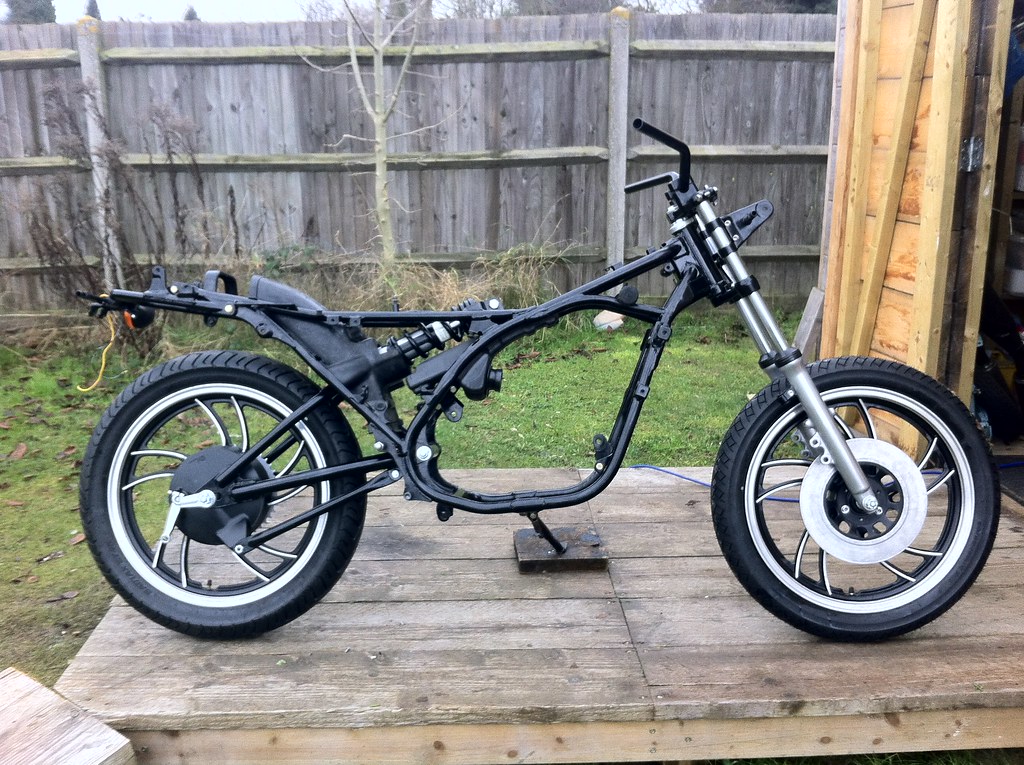 IMG_1721 IMG_1721 by tunneruk, on Flickr It's amazing what you can buy in Ikea these days .......... 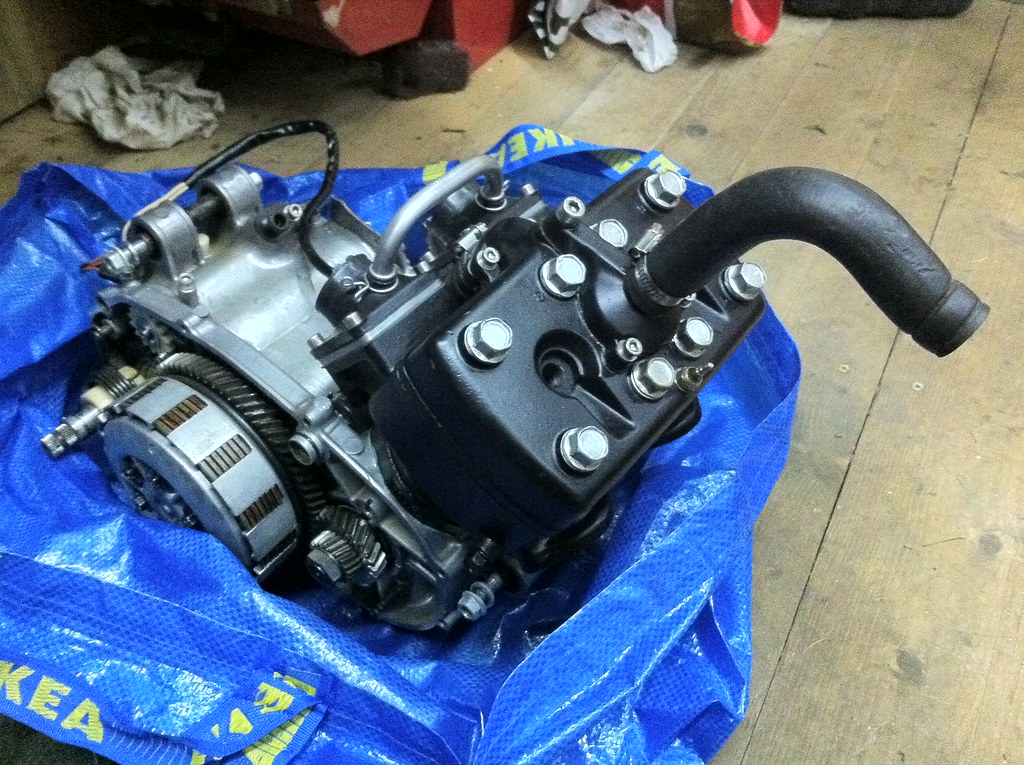 IMG_1715 IMG_1715 by tunneruk, on Flickr 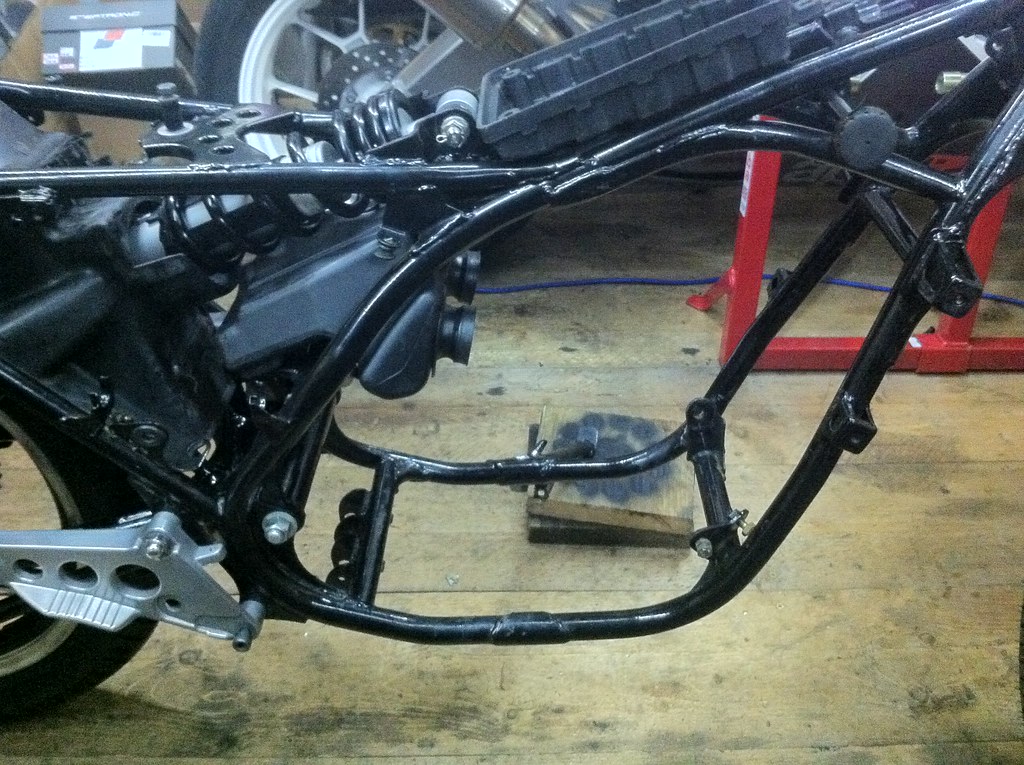 IMG_1738 IMG_1738 by tunneruk, on Flickr 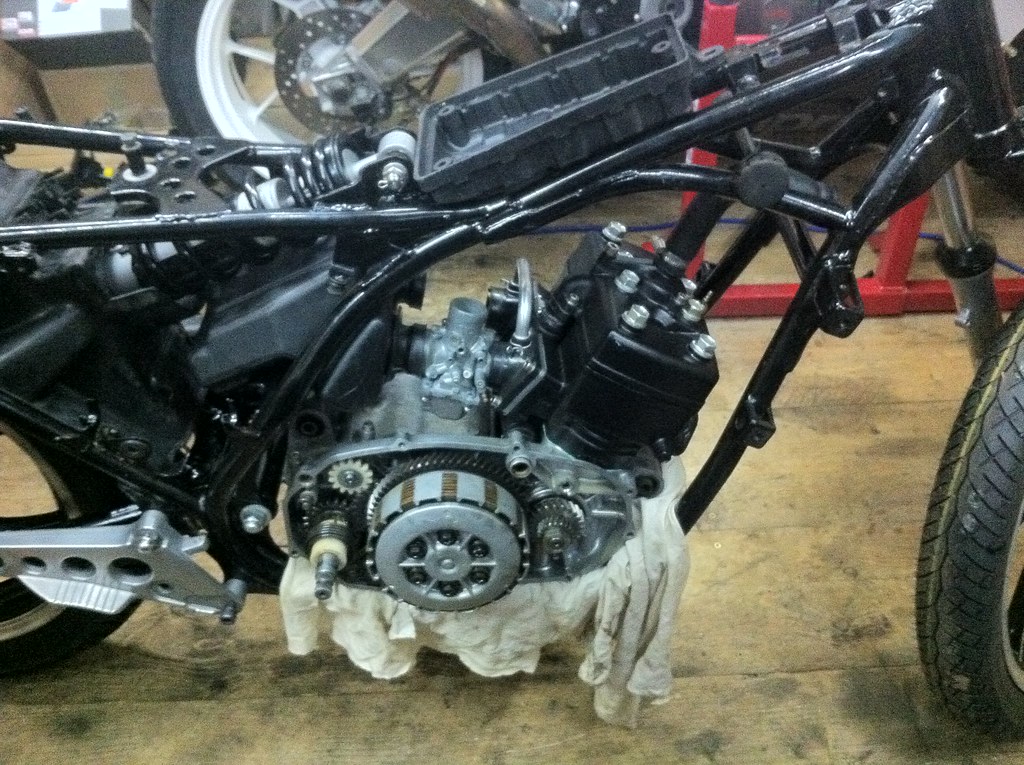 IMG_1740 IMG_1740 by tunneruk, on Flickr 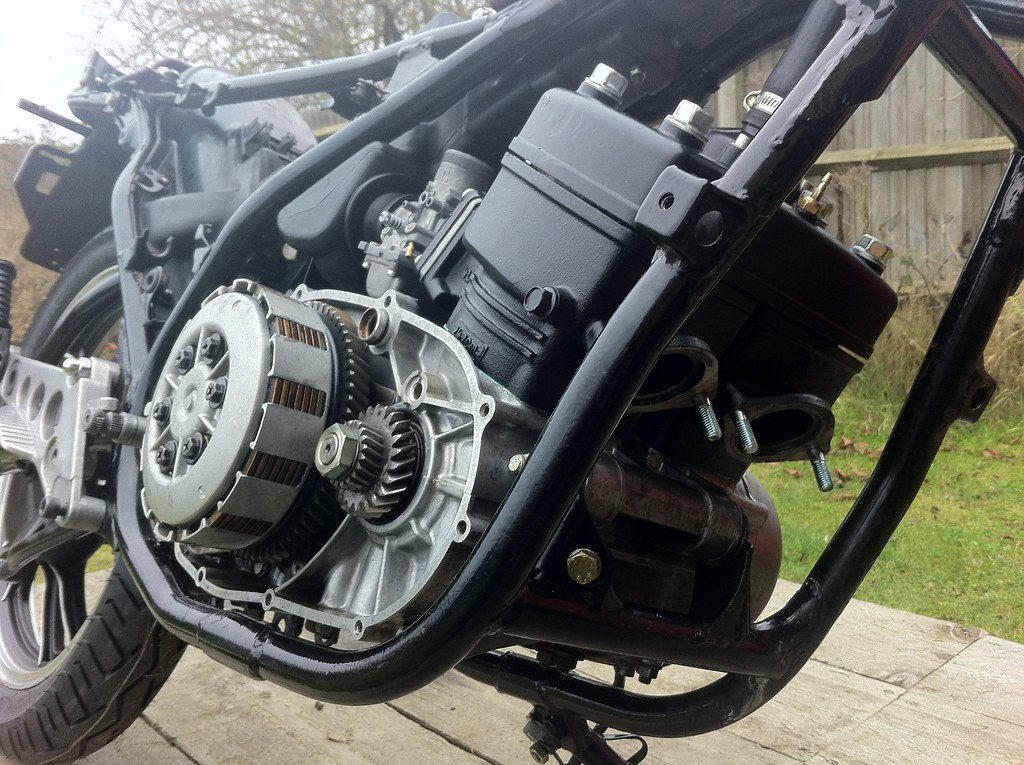 IMG_1747 IMG_1747 by tunneruk, on Flickr 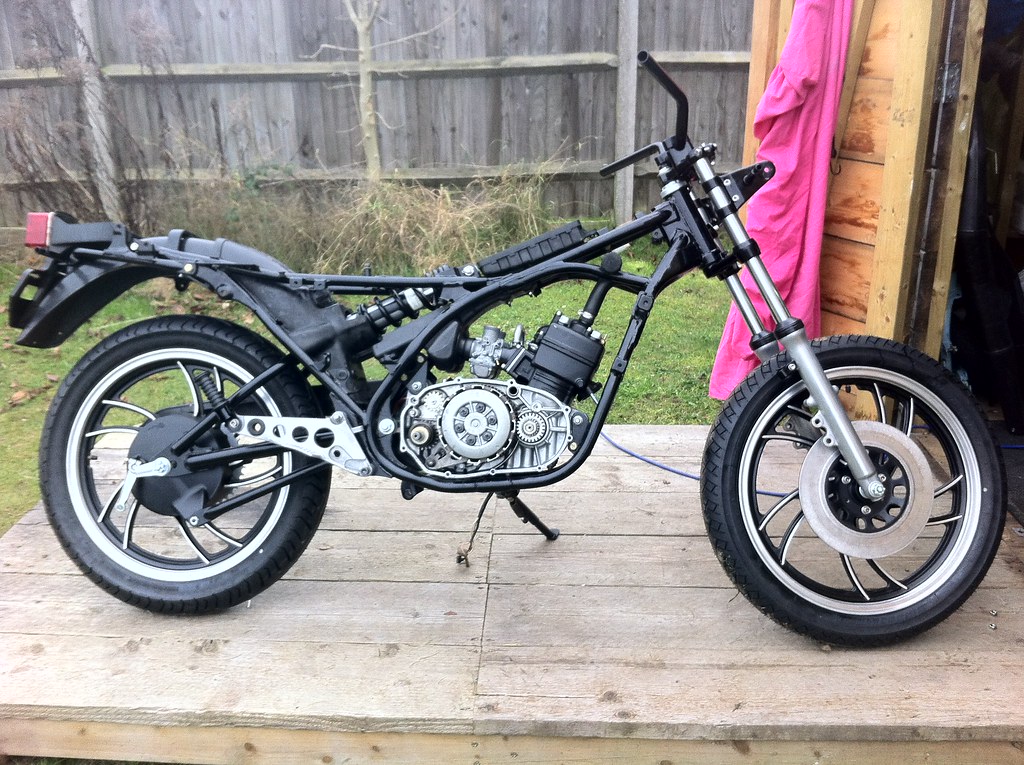 IMG_1745 IMG_1745 by tunneruk, on Flickr I've been very lucky in finding an absolutely gorgeous set of standard pipes, so nice in fact that I think I'll probably leave them in their original paint. 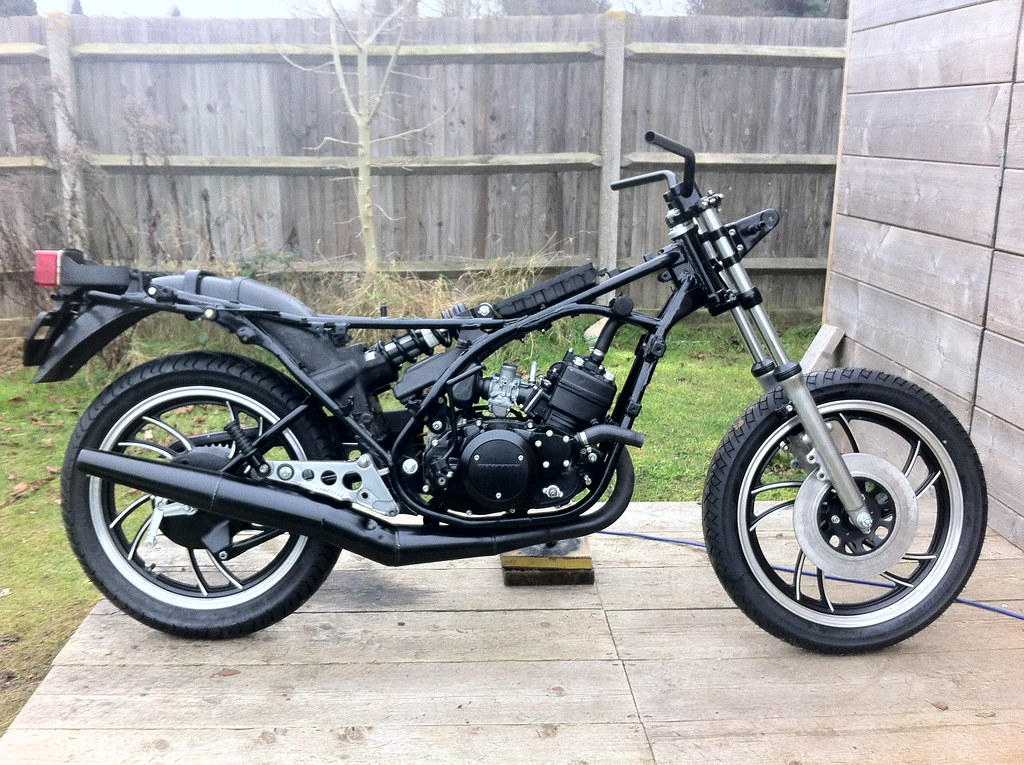 IMG_1753 IMG_1753 by tunneruk, on Flickr 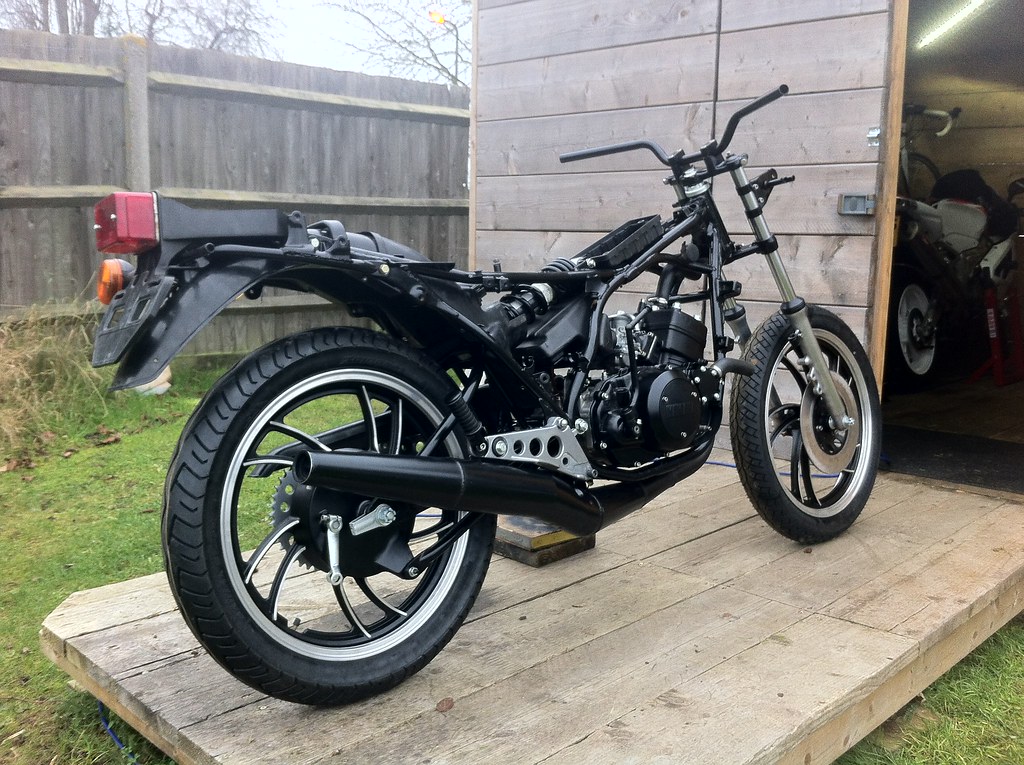 IMG_1757 IMG_1757 by tunneruk, on Flickr 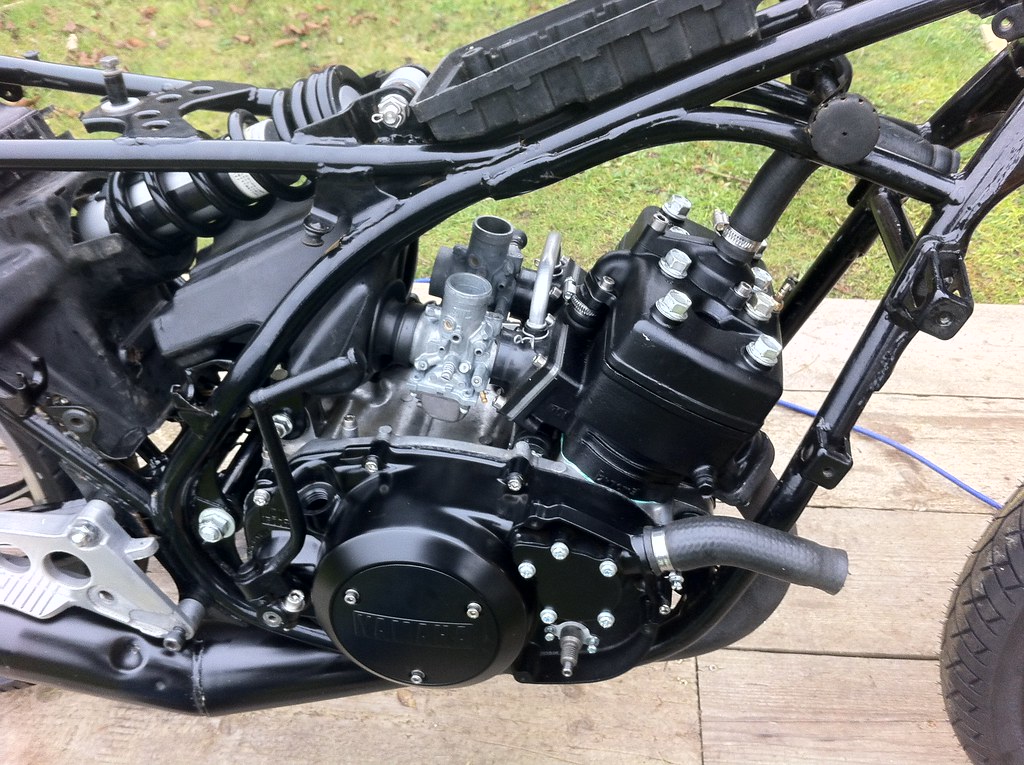 IMG_1755 IMG_1755 by tunneruk, on Flickr I found an excellent condition replacement radiator .......  IMG_1675 IMG_1675 by tunneruk, on Flickr 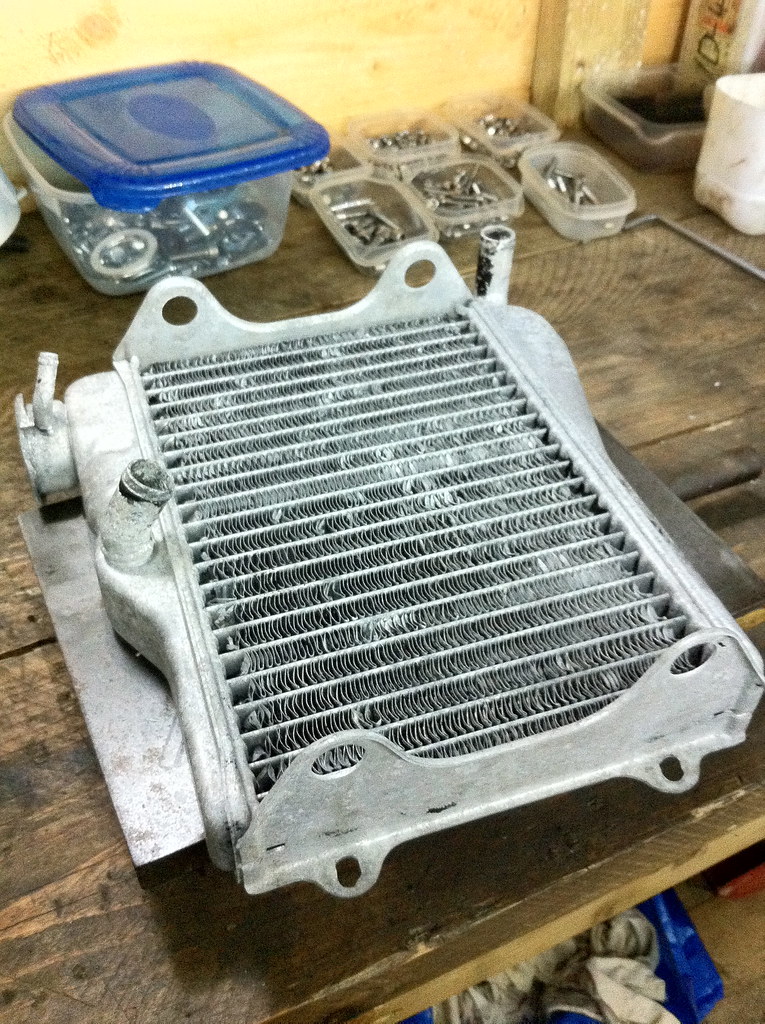 IMG_1759 IMG_1759 by tunneruk, on Flickr 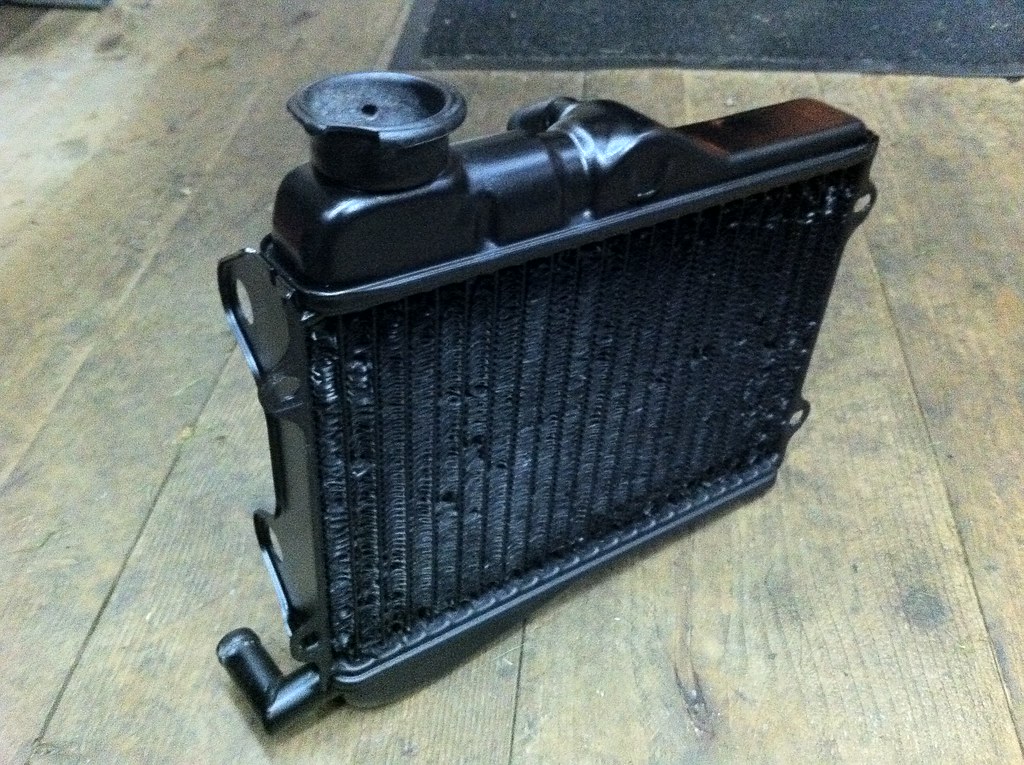 IMG_1761 IMG_1761 by tunneruk, on Flickr 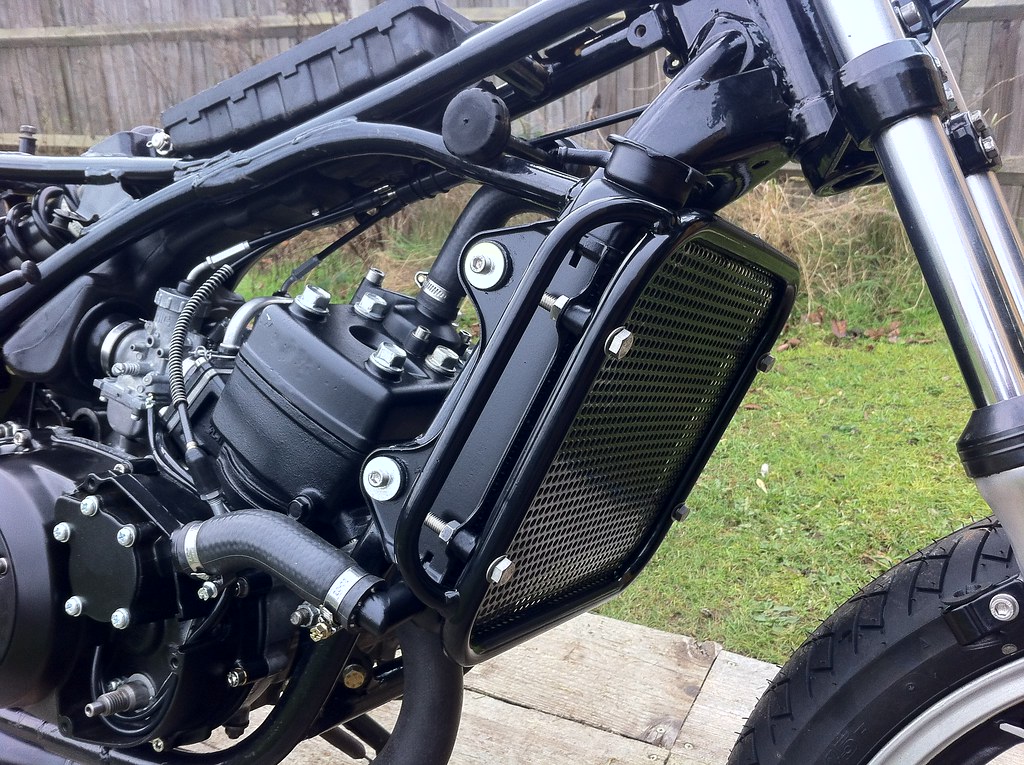 IMG_1769 IMG_1769 by tunneruk, on Flickr 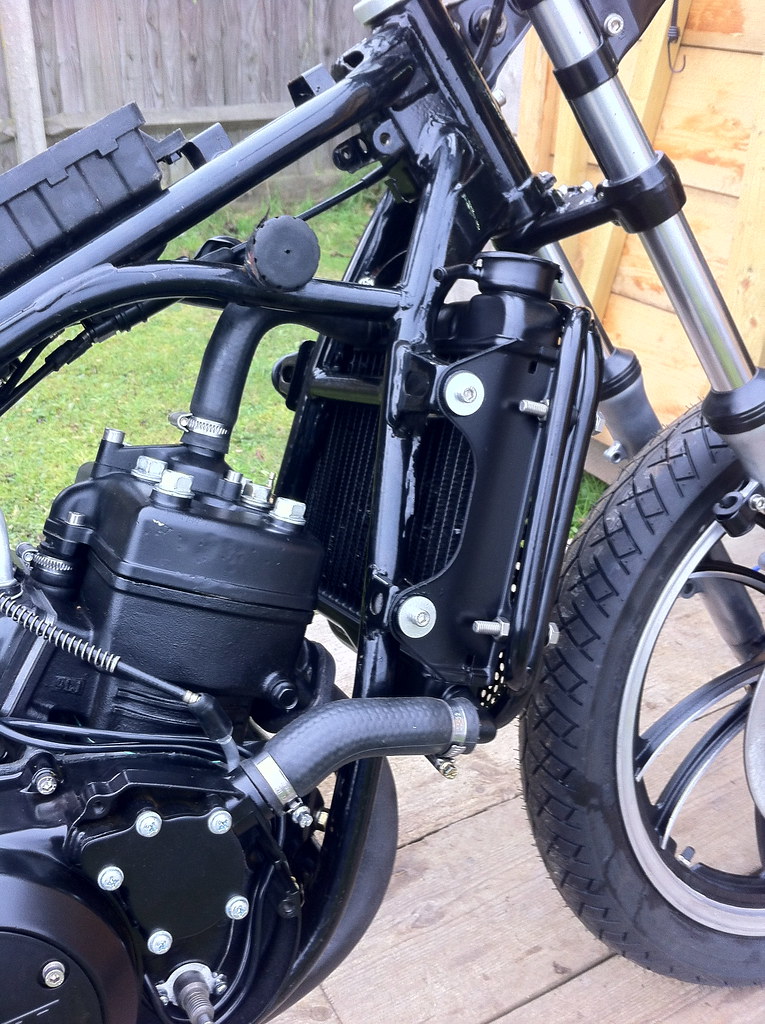 IMG_1771 IMG_1771 by tunneruk, on Flickr I got the Carbs all built up and cables fitted about an hour ago, 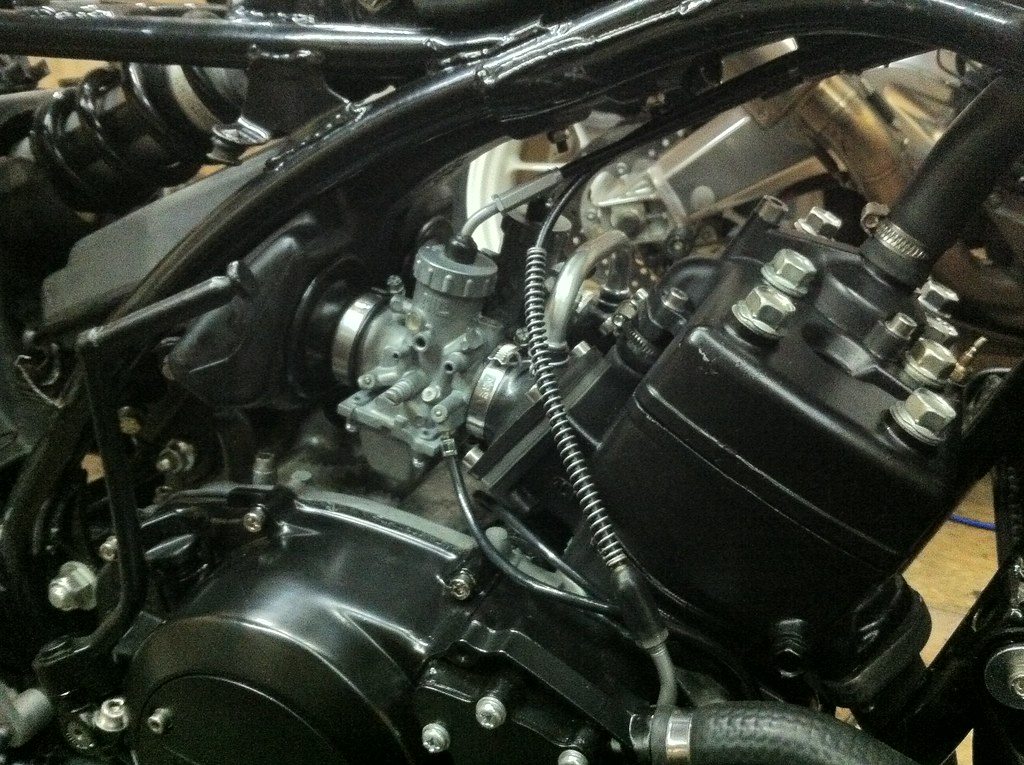 IMG_1765 IMG_1765 by tunneruk, on Flickr I suppose I'd better make a start on the front calliper eh ........ |
|
|
|
Post by marsbar350 on Dec 28, 2011 21:34:37 GMT 1
great work chris another week and it will be running! by the way,youve got the front indi stems the wrong way round.cut out to the front  |
|
|
|
Post by arrow on Dec 28, 2011 22:16:24 GMT 1
Tunneruk, slow down dude, you makin' me all dizzy.  Superfast, quality build.  Can I ask what paint you used on the wheels ? |
|
|
|
Post by tunneruk on Dec 28, 2011 22:38:39 GMT 1
great work chris another week and it will be running! by the way,youve got the front indi stems the wrong way round.cut out to the front Ha ha indeed I have, what a bozo!! |
|
webbo
Thrash Merchant

Posts: 393
|
Post by webbo on Dec 29, 2011 13:49:10 GMT 1
Top work! I'm doing much the same to mine but at a much sloooooowwer rate! I'm using yours as a referance. ;D Cheers
|
|
|
|
Post by tunneruk on Jan 4, 2012 8:42:49 GMT 1
by the way,youve got the front indi stems the wrong way round.cut out to the front Nope ............... they are the right way round, your comment made me second guess myself! |
|
|
|
Post by tunneruk on Jan 8, 2012 22:58:27 GMT 1
SHE"S ALIVE!! I've been busy doing about 850 small but important jobs, none of which really make a huge difference on their own but accumulated make a huge difference! I'll just put a few pictures up ..................... .................. And then .................. the video:JB 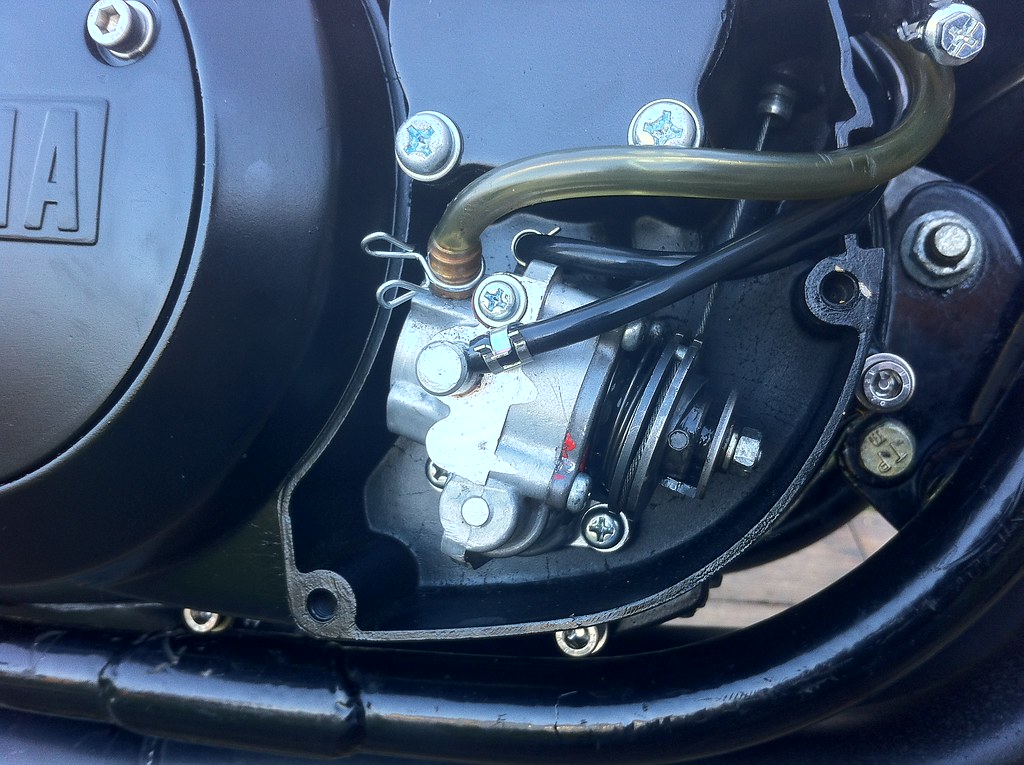 IMG_1797 IMG_1797 by tunneruk, on Flickr 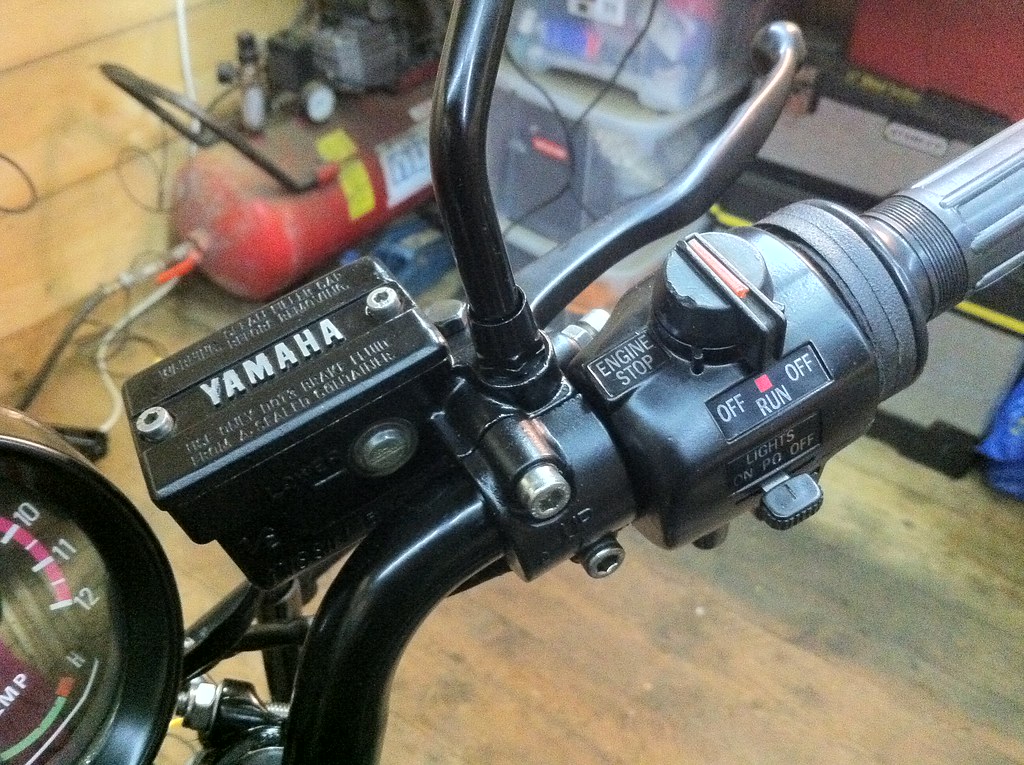 IMG_1808 IMG_1808 by tunneruk, on Flickr  IMG_1810 IMG_1810 by tunneruk, on Flickr  IMG_1813 IMG_1813 by tunneruk, on Flickr 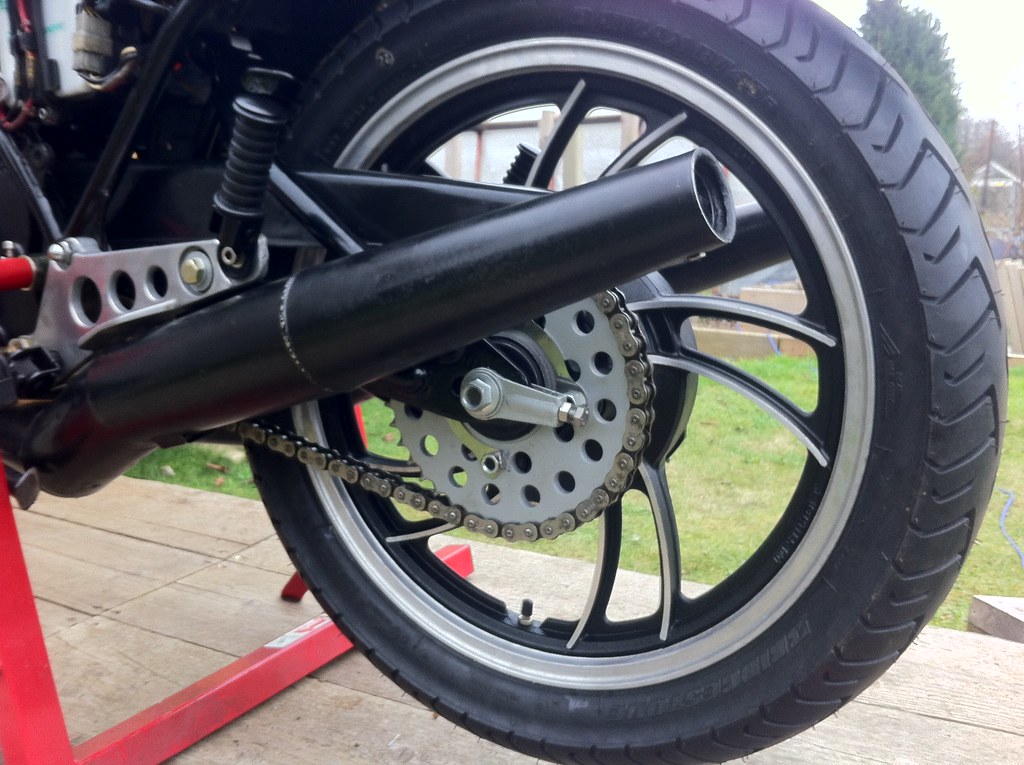 IMG_1815 IMG_1815 by tunneruk, on Flickr 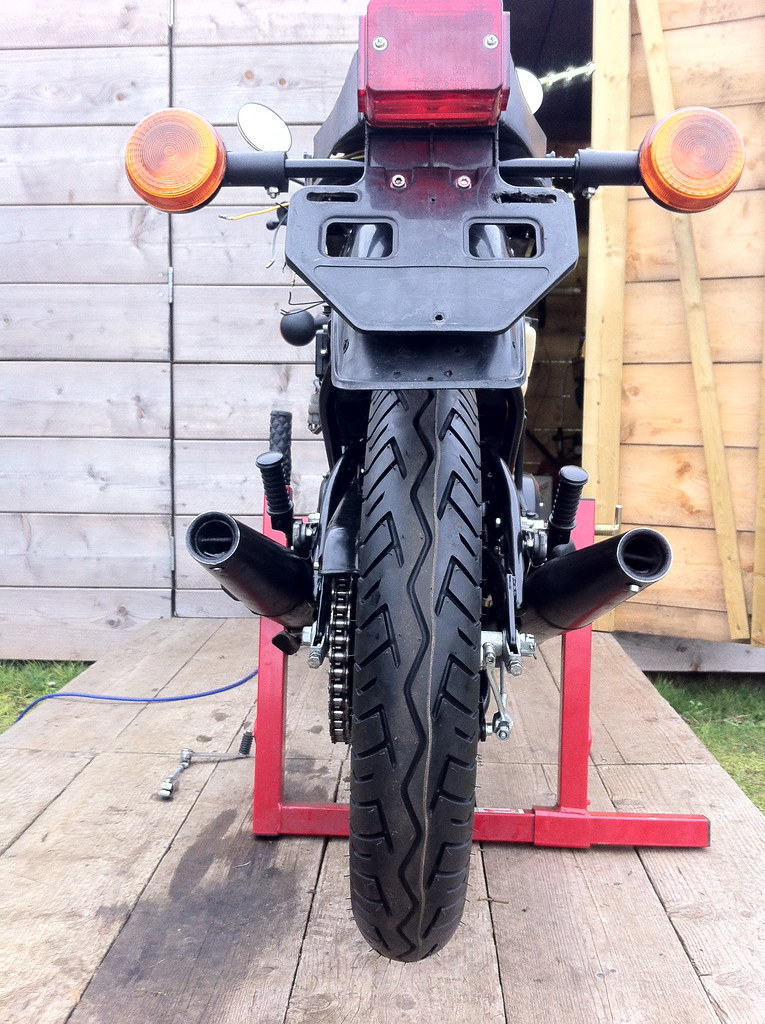 IMG_1817 IMG_1817 by tunneruk, on Flickr  IMG_1820 IMG_1820 by tunneruk, on Flickr 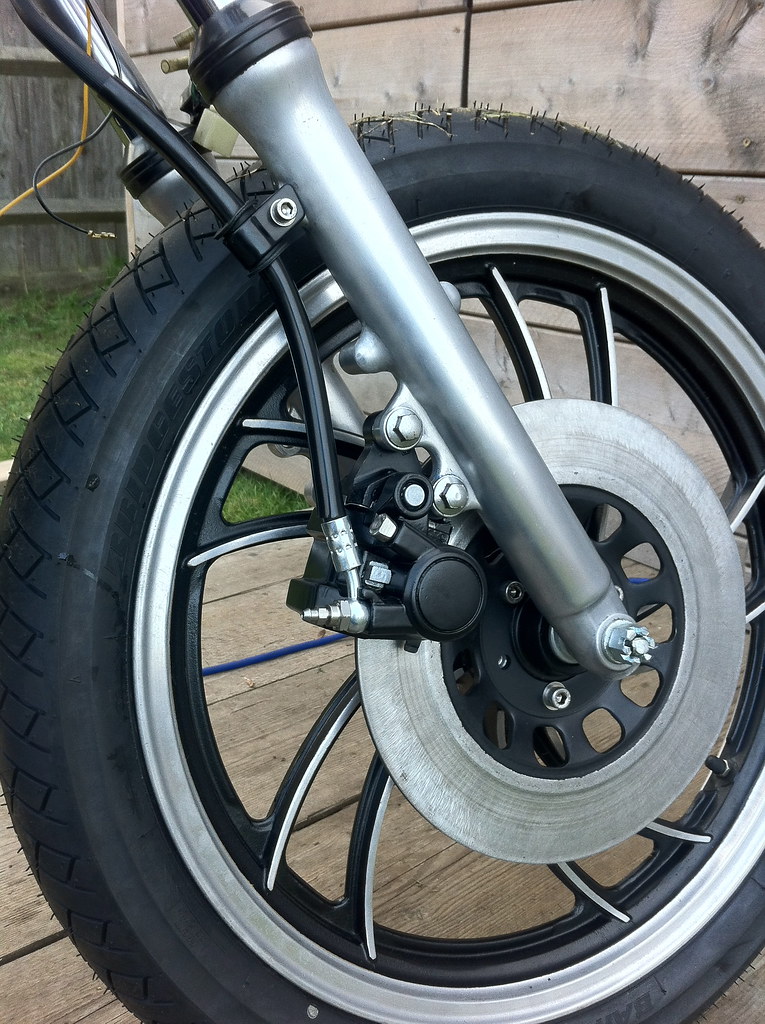 IMG_1819 IMG_1819 by tunneruk, on Flickr There's a lot of assembly lubricant in the system, there is two stroke oil in the petrol as well as the oil injector coming online so it's smoke central ................... Smells bloody lovely though! Click the link below for the video... |
|
|
|
Post by arrow on Jan 8, 2012 23:13:29 GMT 1
Excellent, just one thing; On the photo showing the oil pump there is an extra washer (that looks like an adjusting shim) underneith the spring washer. I was thinking if you took this off the shim should go under the 'BIG' washer, not on top.
|
|
|
|
Post by lb on Jan 9, 2012 8:22:37 GMT 1
Excellent, just one thing; On the photo showing the oil pump there is an extra washer (that looks like an adjusting shim) underneith the spring washer. I was thinking if you took this off the shim should go under the 'BIG' washer, not on top. +1 Nut,then spring washer,big washer then shim. Excellent thread ,great to see another LC running.Thanks for sharing your build with us. |
|
|
|
Post by tunneruk on Jan 9, 2012 9:11:50 GMT 1
Cheers for the heads up on the oil pump guys. I'll put that right tonight!
I'm in the process of trying to restore the 13 year old battery that was fitted using the old Epsom Salts method. It's looking like it might just work!!!!
|
|
|
|
Post by arrow on Jan 9, 2012 12:39:30 GMT 1
[quote author=tunneruk board=hybridchat thread=13228 post=121361 time=1326096710 Cheers for the heads up on the oil pump guys. I'll put that right tonight!I'm in the process of trying to restore the 13 year old battery that was fitted using the old Epsom Salts method. It's looking like it might just work!!!![/quote]
Check the stroke is correct when your done.
|
|
|
|
Post by tunneruk on Jan 9, 2012 15:50:15 GMT 1
[quote author=tunneruk board=hybridchat thread=13228 post=121361 time=1326096710 Cheers for the heads up on the oil pump guys. I'll put that right tonight!I'm in the process of trying to restore the 13 year old battery that was fitted using the old Epsom Salts method. It's looking like it might just work!!!! Check the stroke is correct when your done.[/quote] Could you explain what you mean please? |
|
|
|
Post by arrow on Jan 9, 2012 16:54:51 GMT 1
The minimum stroke of the oil pump has to be set to 0.2mm~0.25mm using shims. This will affect the oiling of the engine through most of the rev range, except near full bore and onwards. With the motor running push the pulley right down and you will see the plunger moving in and out. You need to stop the motor when the plunger is fully out or use the kick start, if you see the plunger moveing back in just carry on till it is fully out again. Release the pulley and check for the correct gap in the area shown in the photo (use feeler gauges to check the gap). There is a small ‘heel’ in this area so it is the only place to check the gap correctly. Attachments:
|
|
|
|
Post by tunneruk on Jan 9, 2012 21:32:22 GMT 1
The minimum stroke of the oil pump has to be set to 0.2mm~0.25mm using shims. This will affect the oiling of the engine through most of the rev range, except near full bore and onwards. With the motor running push the pulley right down and you will see the plunger moving in and out. You need to stop the motor when the plunger is fully out or use the kick start, if you see the plunger moveing back in just carry on till it is fully out again. Release the pulley and check for the correct gap in the area shown in the photo (use feeler gauges to check the gap). There is a small ‘heel’ in this area so it is the only place to check the gap correctly. You are a star. I will indeed check this when I get the tank back on! |
|
|
|
Post by Paul Dawkins on Jan 10, 2012 19:28:29 GMT 1
The little red stripe on the kill switch is now available from Yambits but if your a tight git like me you can also make one from WD40 Straw, flatten it, cut it to shape and glue it in. ;D
Job done
|
|
|
|
Post by tunneruk on Jan 10, 2012 21:33:40 GMT 1
The little red stripe on the kill switch is now available from Yambits but if your a tight git like me you can also make one from WD40 Straw, flatten it, cut it to shape and glue it in. ;D Job done Funny thing is that the switch was intact complete with the little red insert, however last week as I was re-assembling the switchgear I dropped that part of the switch and it bloody broke off! I'd been so careful to keep the original intact then I go and drop the decking thing!!! I've ordered one from Yambits, it's on it's way! |
|
|
|
Post by Splodge on Jan 10, 2012 23:52:43 GMT 1
Bike is looking good, there is something addictive about turning an old nail into something special keep up the good work fella |
|
|
|
Post by tunneruk on Feb 4, 2012 11:44:52 GMT 1
Warning - This post has many photographs:thumb I've been a very busy boy! I'm pretty much going to let the images do the talking .... 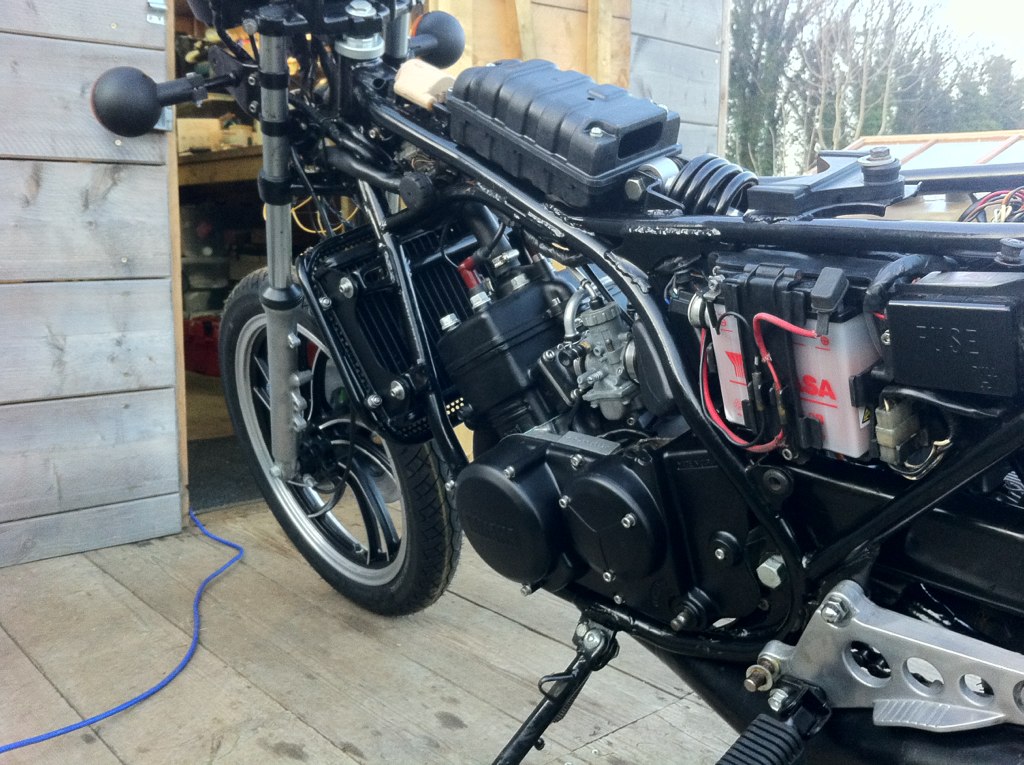 Untitled Untitled by tunneruk, on Flickr 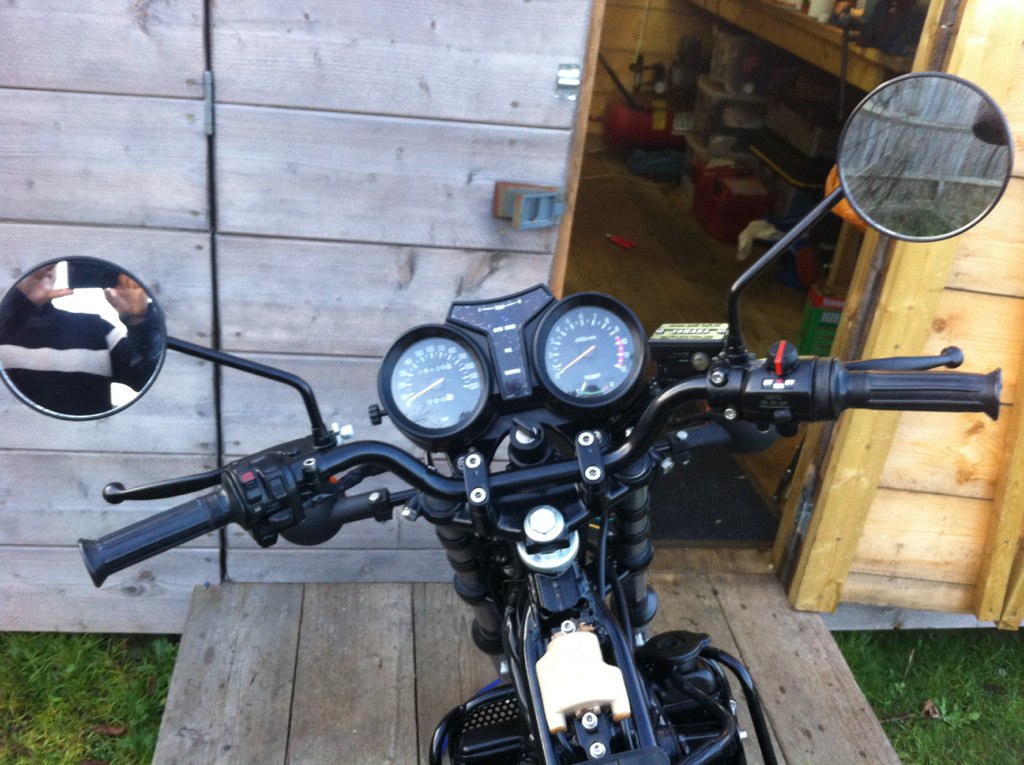 Untitled Untitled by tunneruk, on Flickr 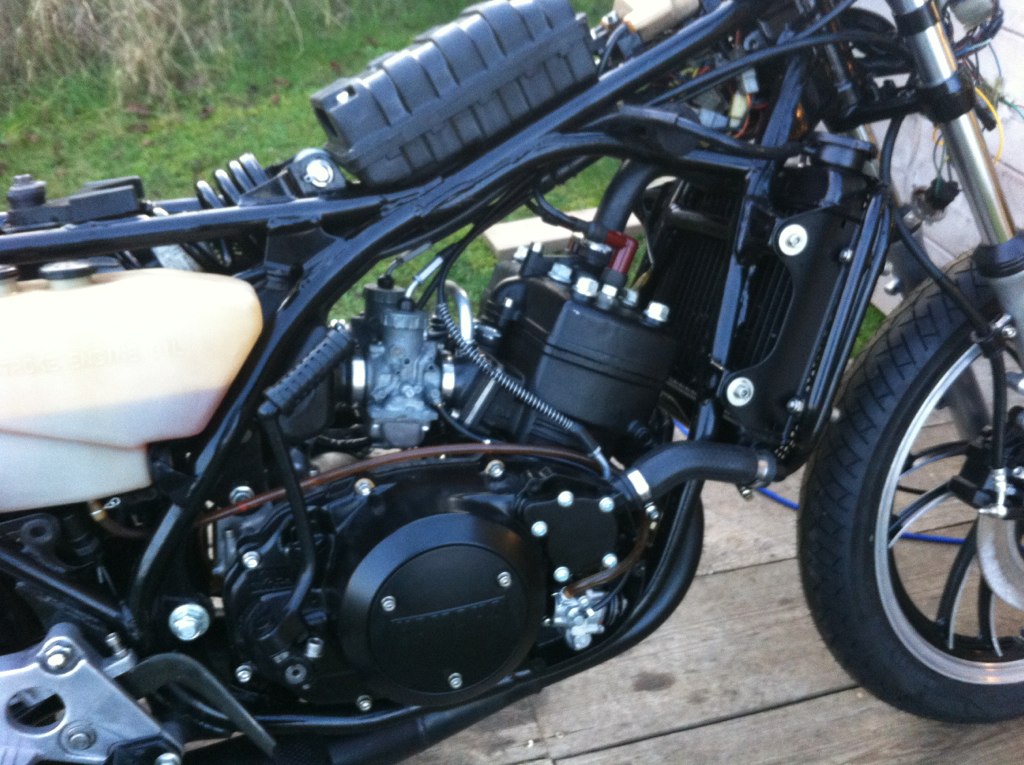 Untitled Untitled by tunneruk, on Flickr And so the bodywork begins! 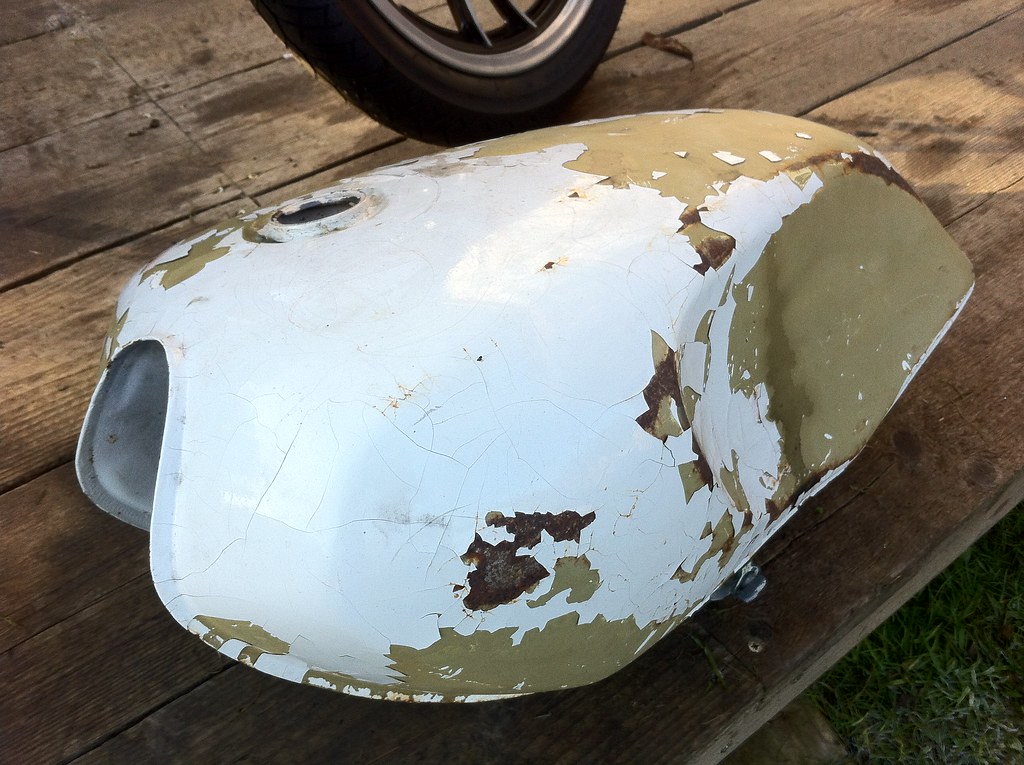 IMG_1847 IMG_1847 by tunneruk, on Flickr 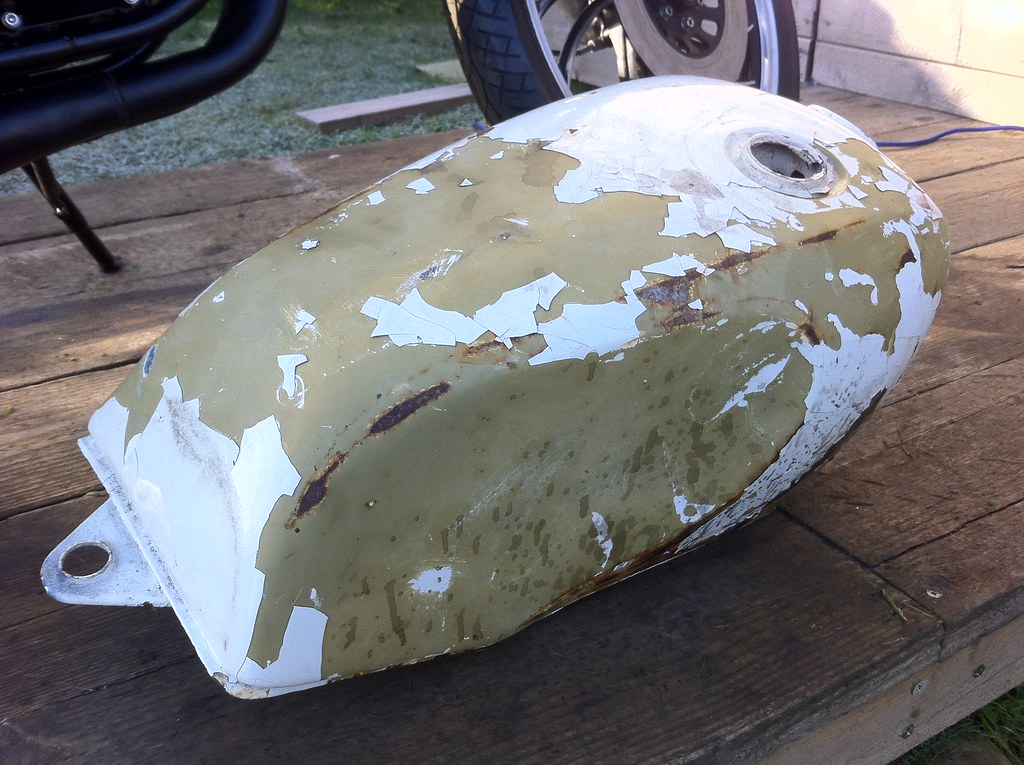 IMG_1849 IMG_1849 by tunneruk, on Flickr  IMG_1851 IMG_1851 by tunneruk, on Flickr  IMG_1855 IMG_1855 by tunneruk, on Flickr 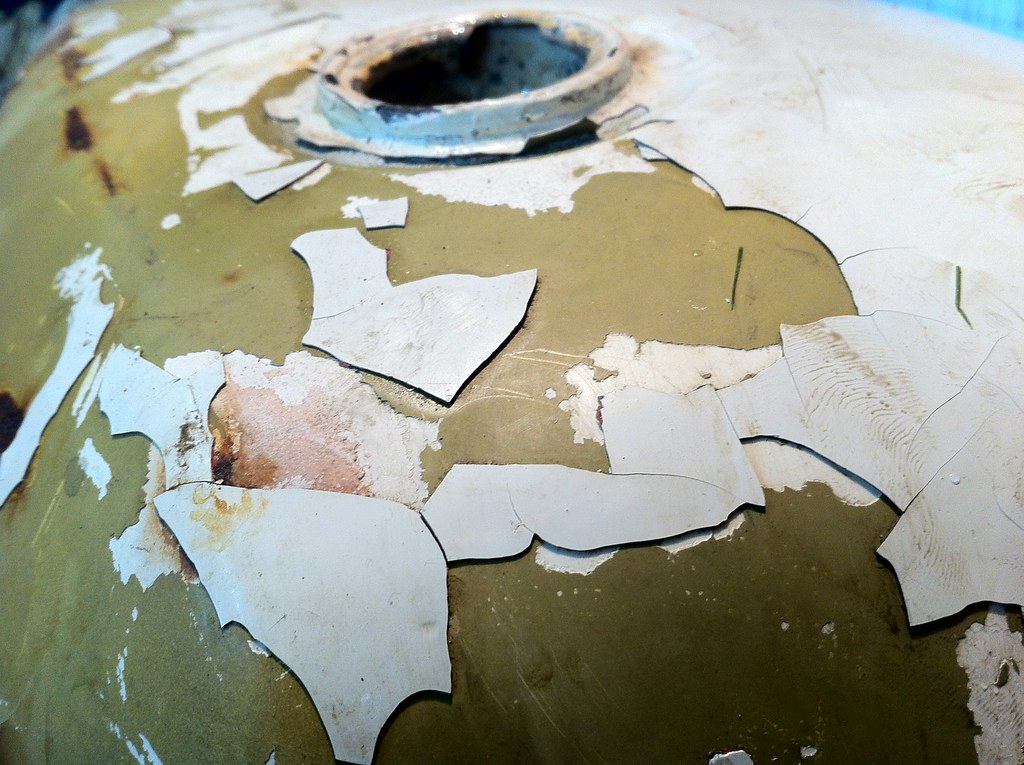 IMG_1857 IMG_1857 by tunneruk, on Flickr 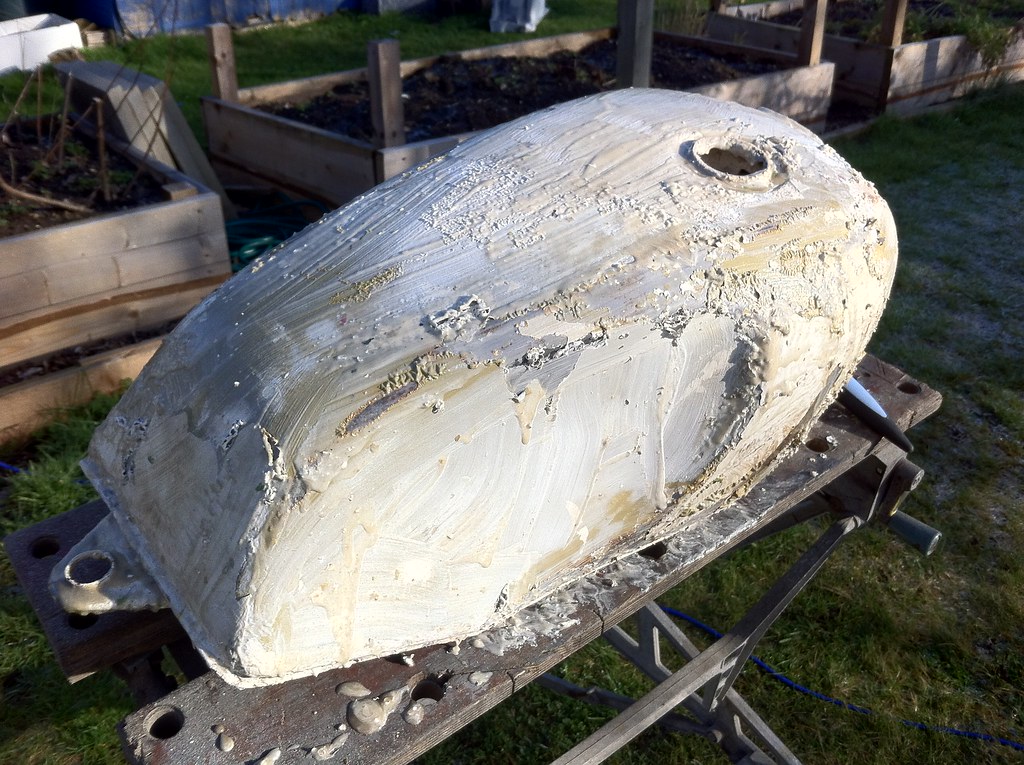 IMG_1865 IMG_1865 by tunneruk, on Flickr 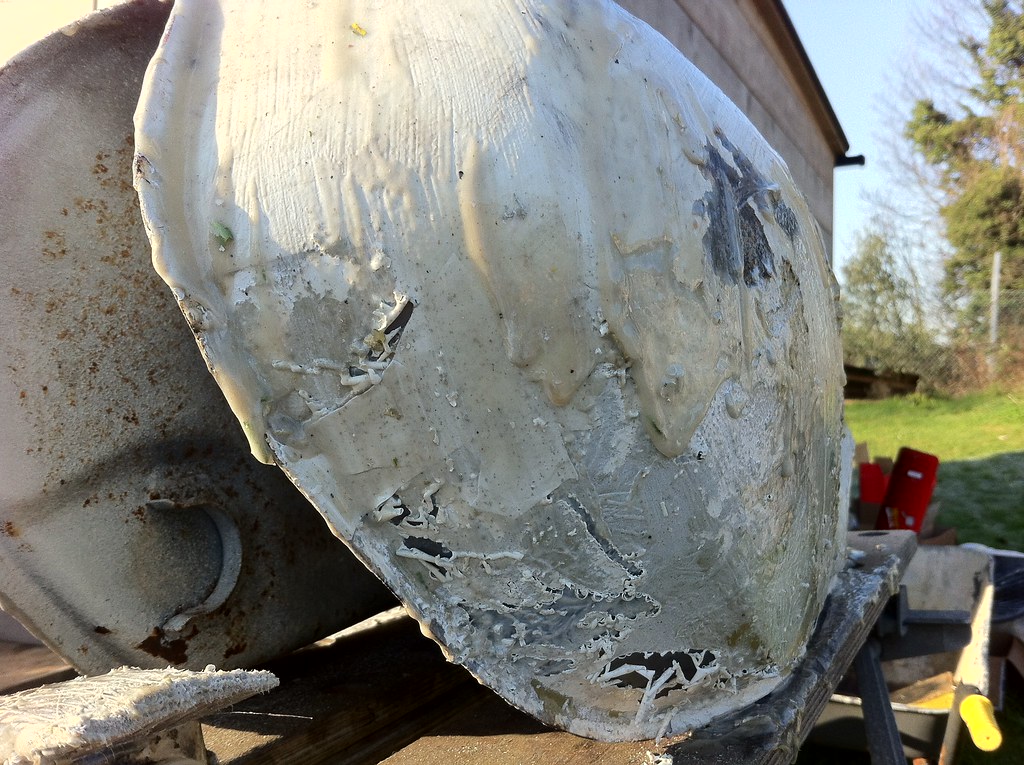 IMG_1867 IMG_1867 by tunneruk, on Flickr 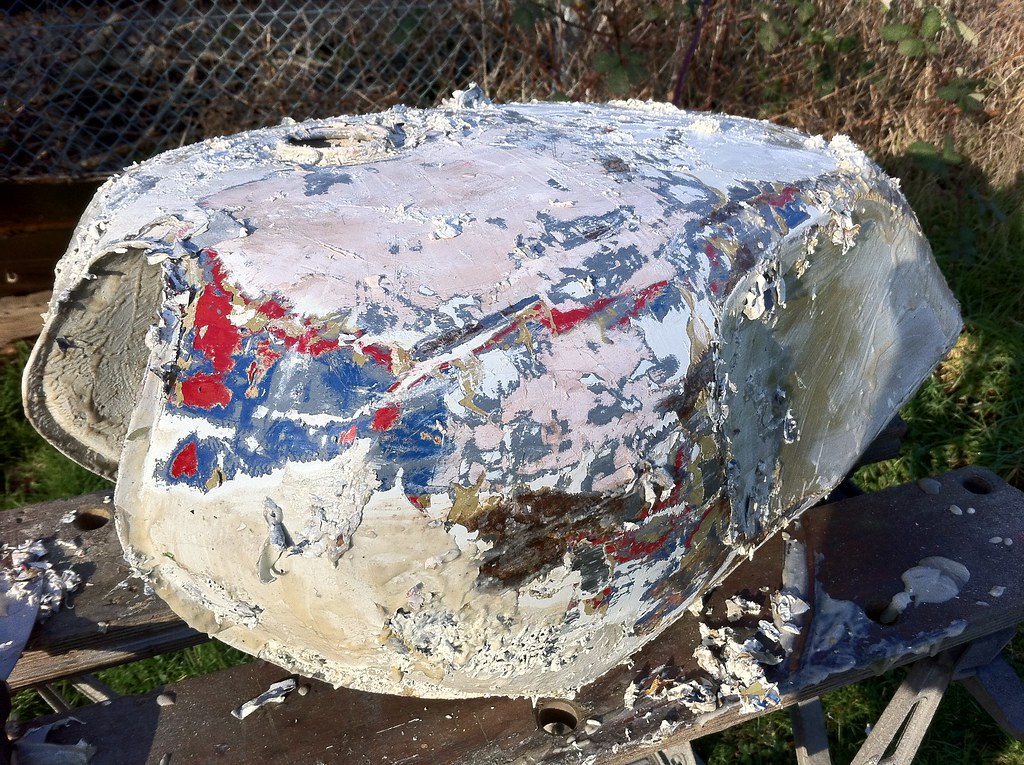 IMG_1869 IMG_1869 by tunneruk, on Flickr 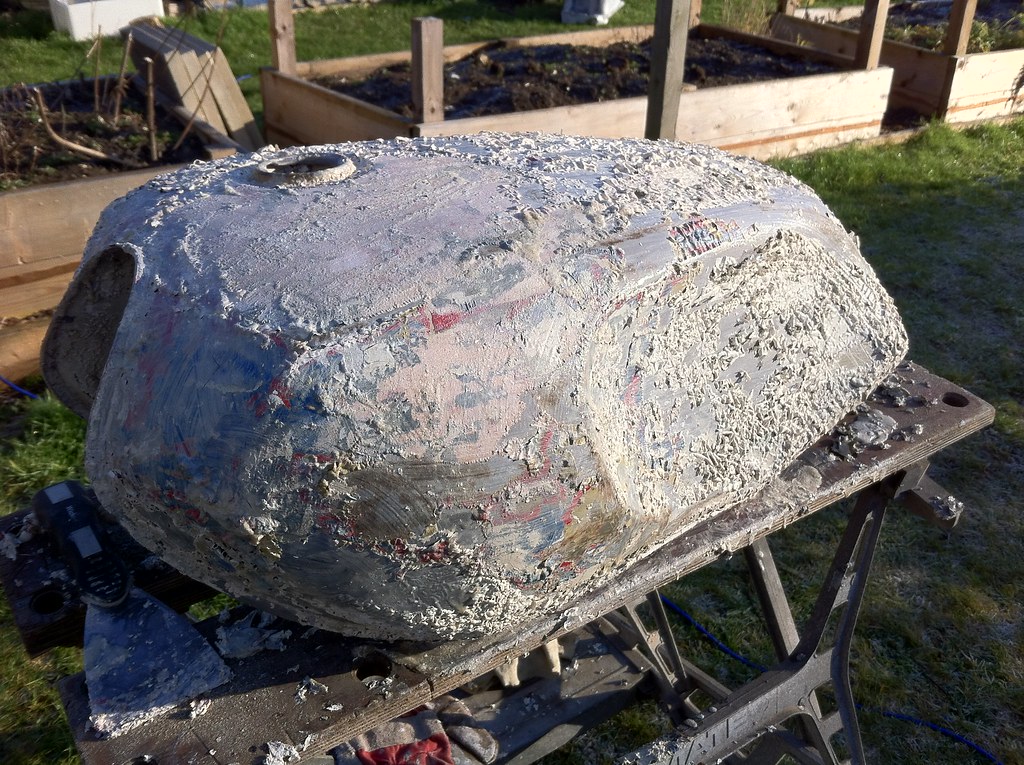 IMG_1872 IMG_1872 by tunneruk, on Flickr 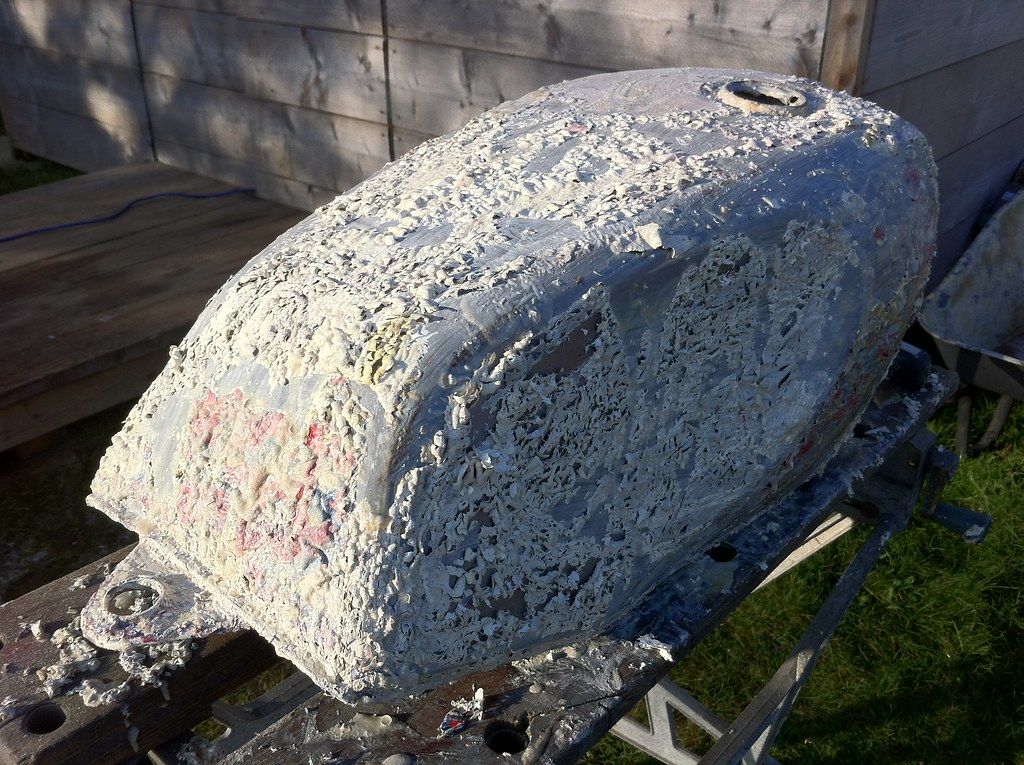 IMG_1874 IMG_1874 by tunneruk, on Flickr 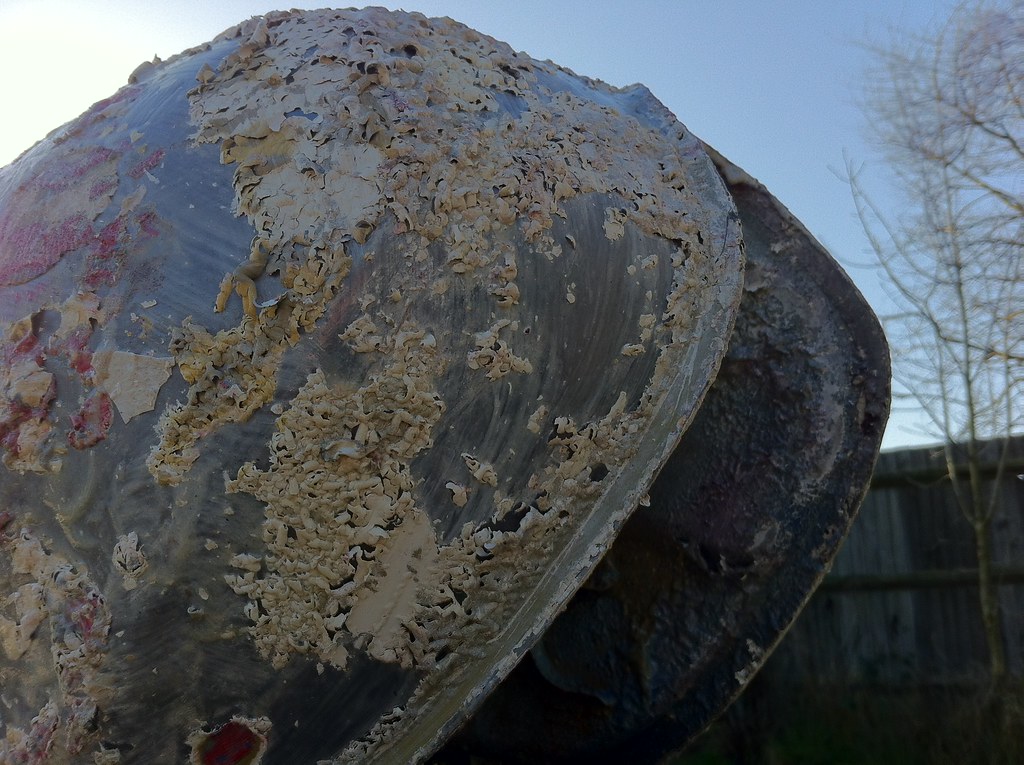 IMG_1876 IMG_1876 by tunneruk, on Flickr  IMG_1878 IMG_1878 by tunneruk, on Flickr  IMG_1882 IMG_1882 by tunneruk, on Flickr 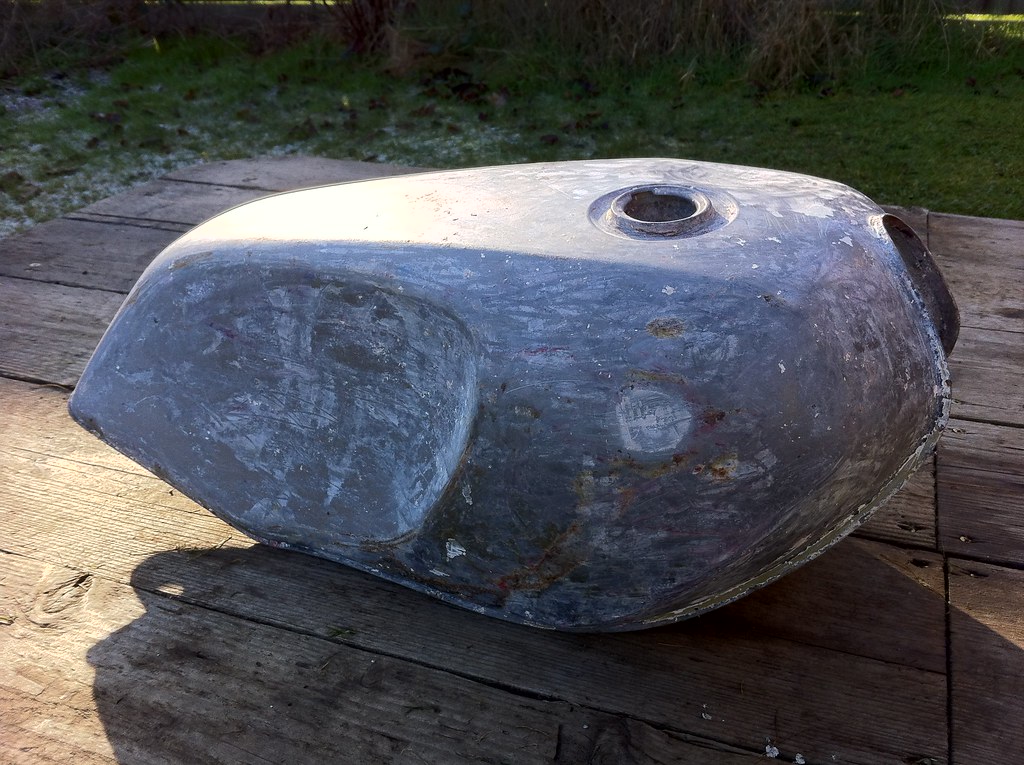 IMG_1889 IMG_1889 by tunneruk, on Flickr  IMG_1890 IMG_1890 by tunneruk, on Flickr 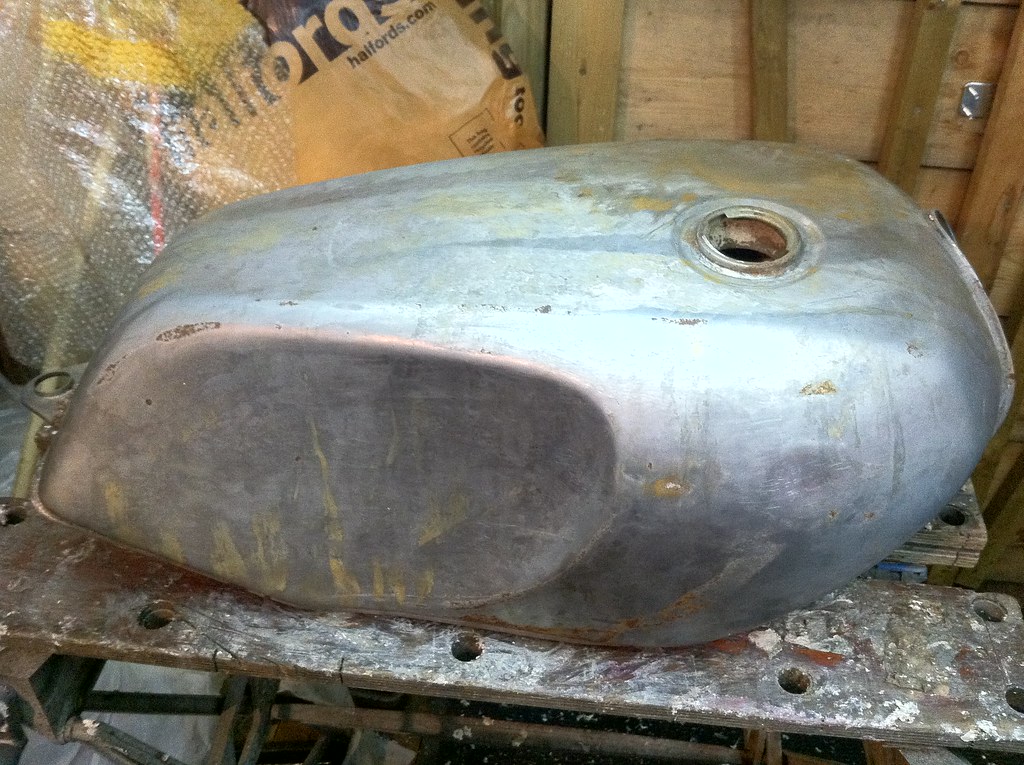 IMG_1900 IMG_1900 by tunneruk, on Flickr  IMG_1902 IMG_1902 by tunneruk, on Flickr  IMG_1913 IMG_1913 by tunneruk, on Flickr  IMG_1915 IMG_1915 by tunneruk, on Flickr 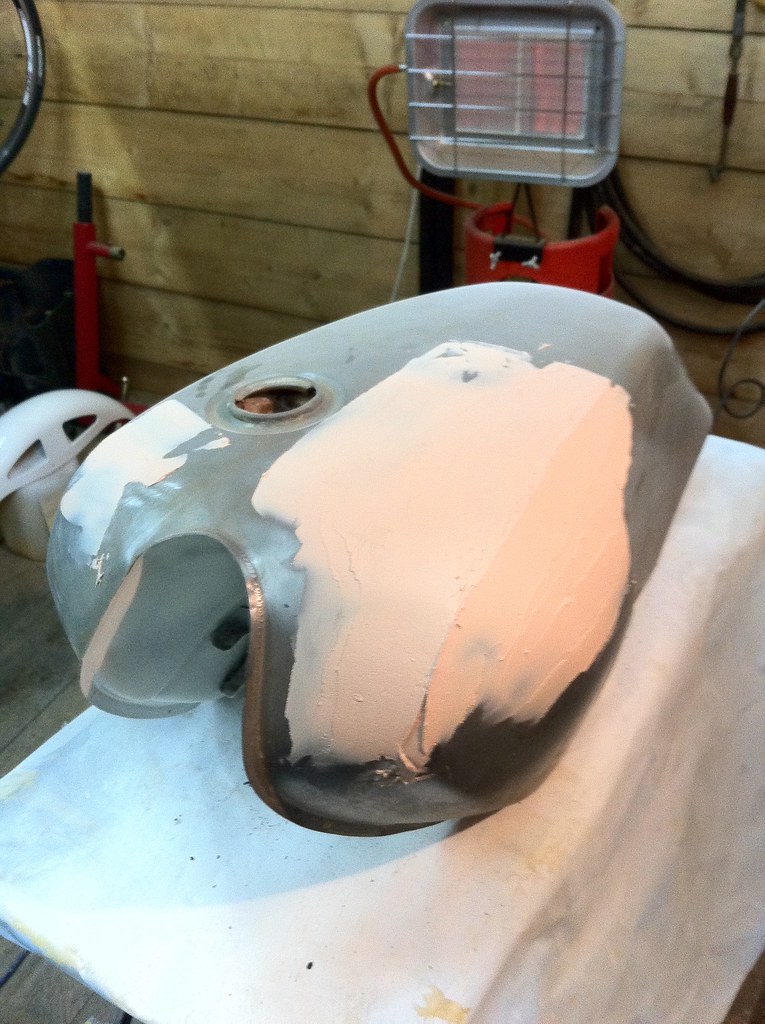 Untitled Untitled by tunneruk, on Flickr 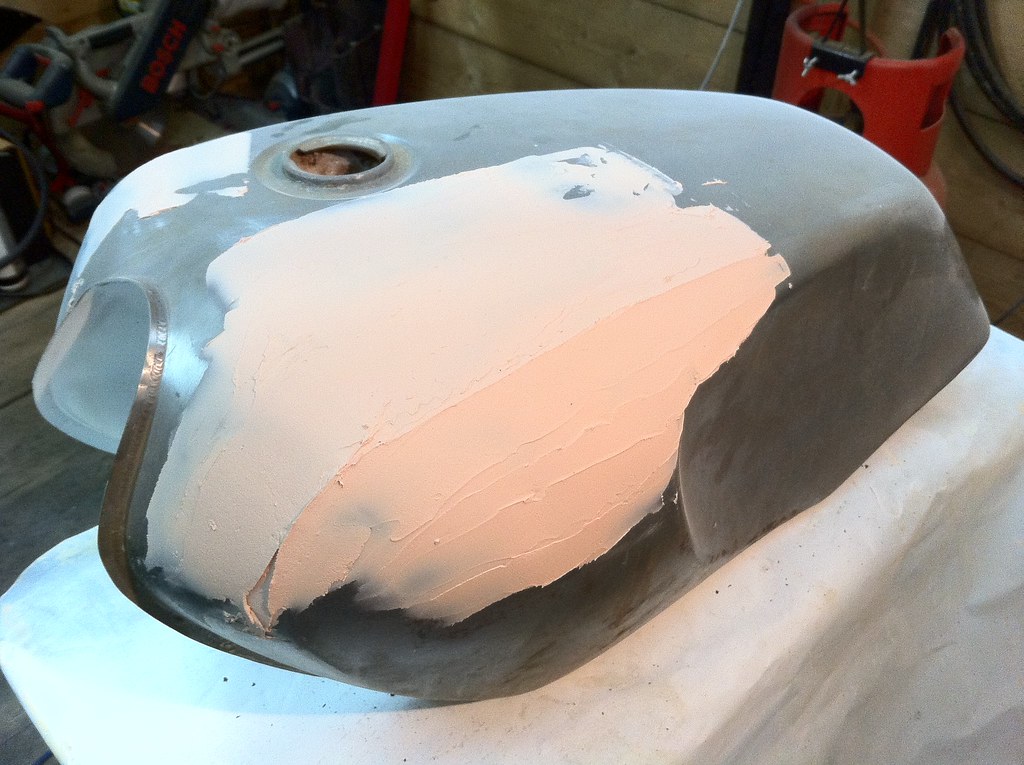 Untitled Untitled by tunneruk, on Flickr 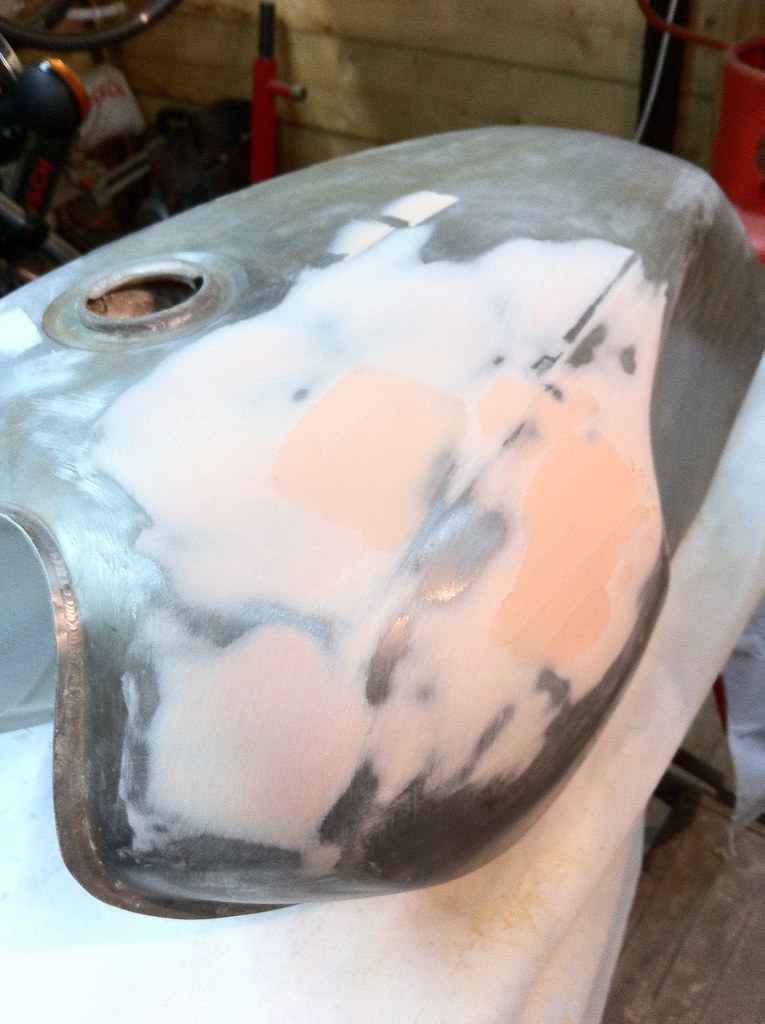 Untitled Untitled by tunneruk, on Flickr 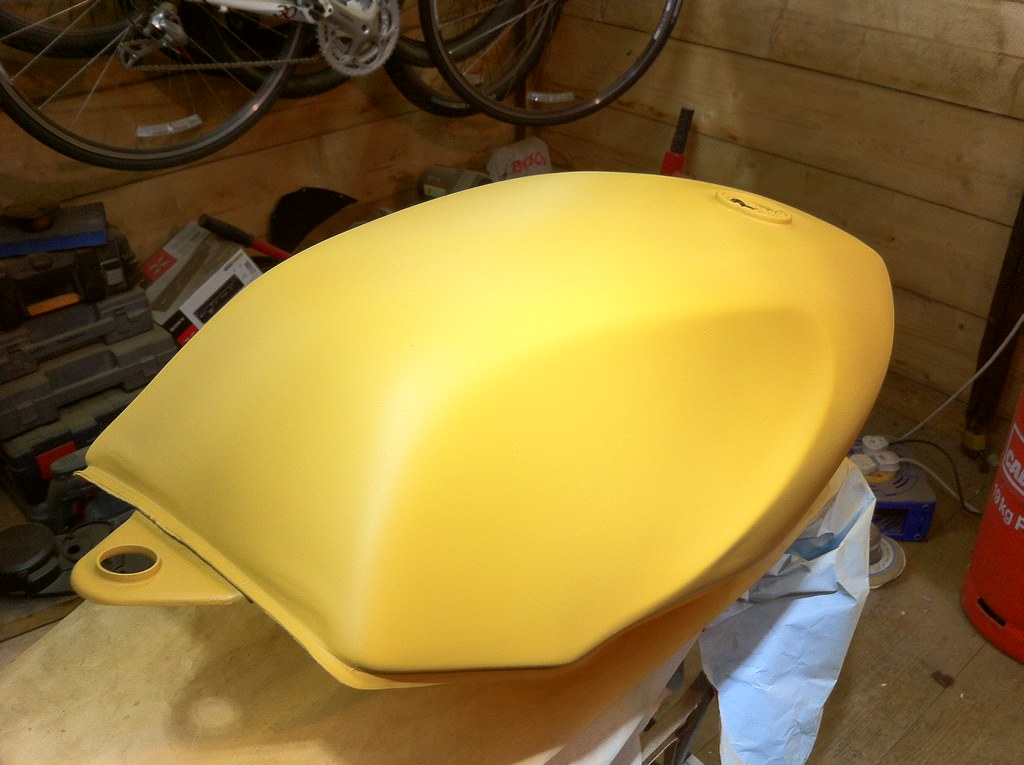 IMG_1970 IMG_1970 by tunneruk, on Flickr  IMG_1972 IMG_1972 by tunneruk, on Flickr 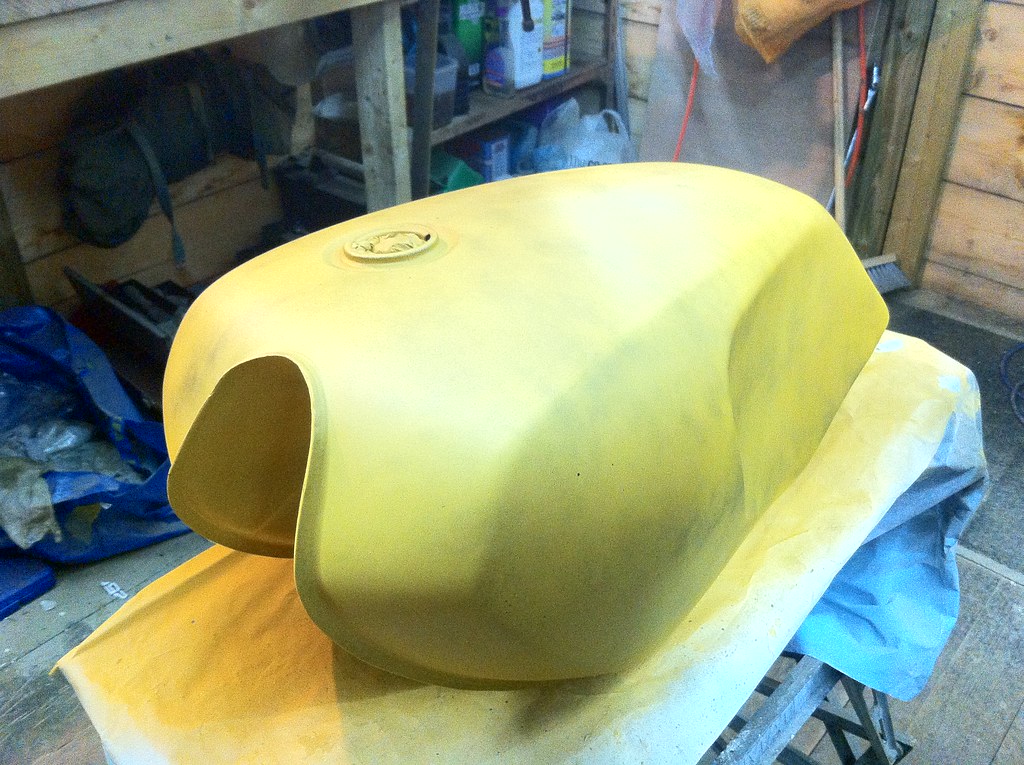 IMG_1982 IMG_1982 by tunneruk, on Flickr  IMG_1985 IMG_1985 by tunneruk, on Flickr 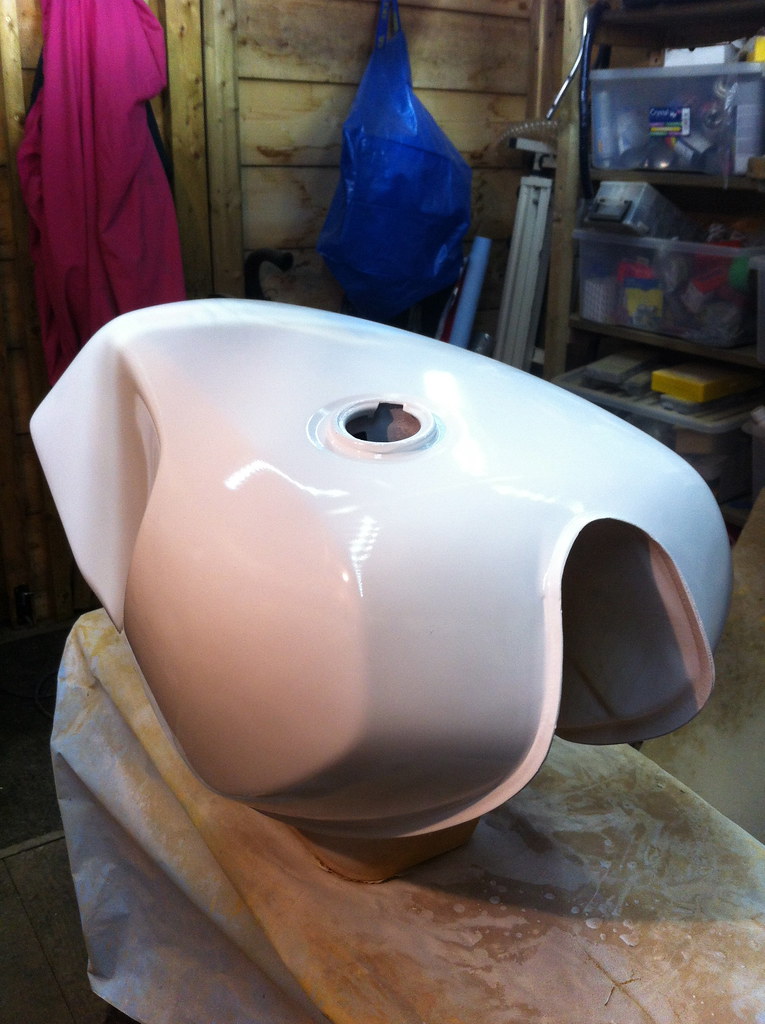 IMG_1987 IMG_1987 by tunneruk, on Flickr 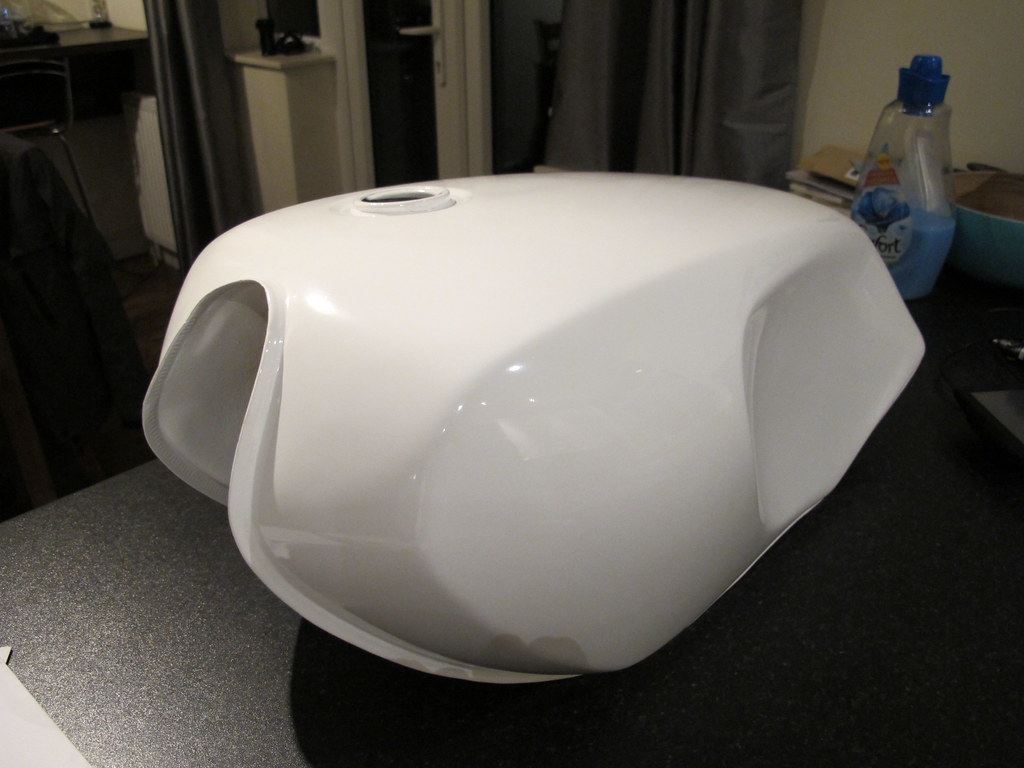 IMG_0023 IMG_0023 by tunneruk, on Flickr Amazingly I bought the mudguard and panels from different people at different times only to find that they've come from the same bike!! 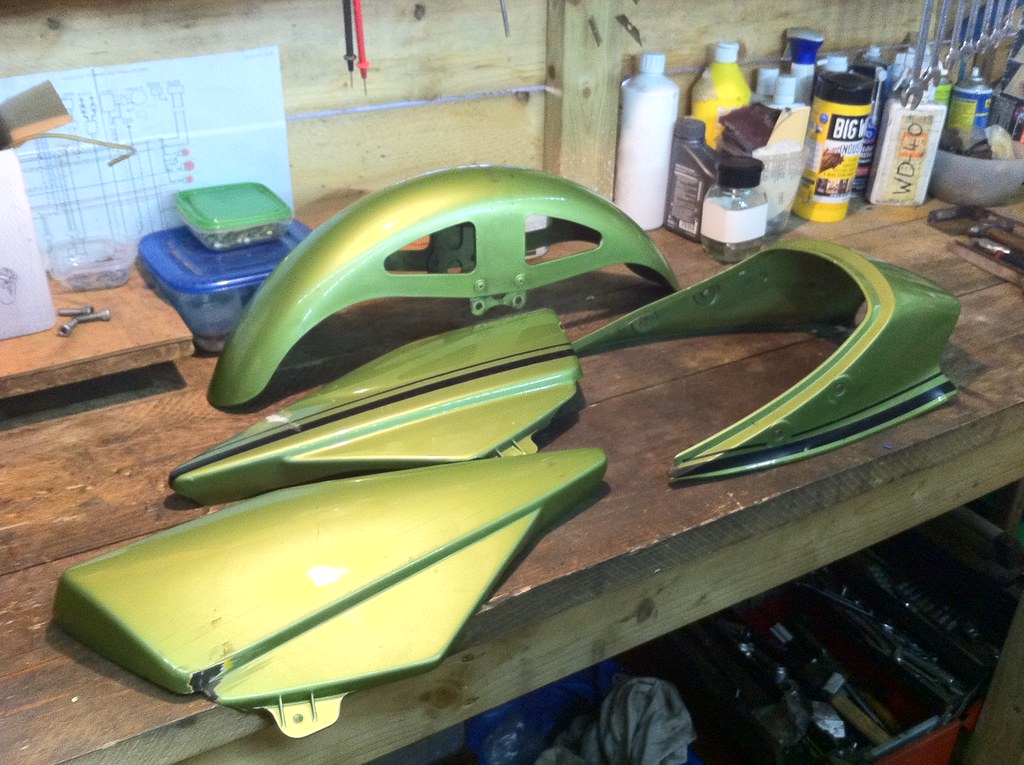 IMG_1845 IMG_1845 by tunneruk, on Flickr 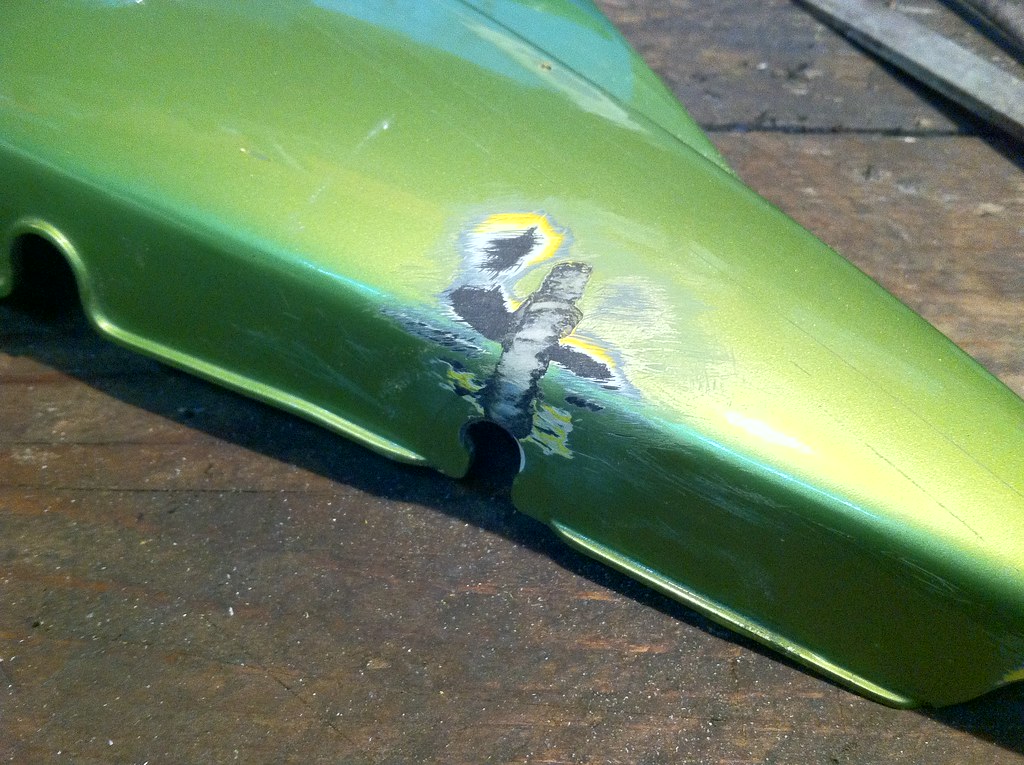 IMG_1892 IMG_1892 by tunneruk, on Flickr  IMG_1894 IMG_1894 by tunneruk, on Flickr 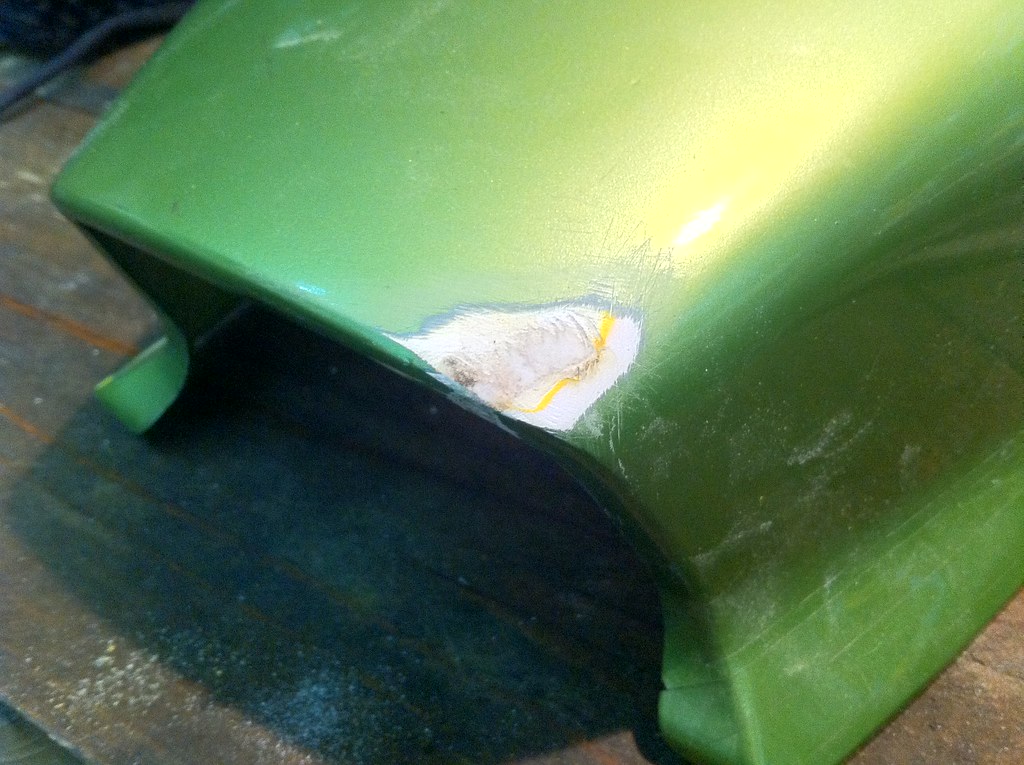 IMG_1896 IMG_1896 by tunneruk, on Flickr 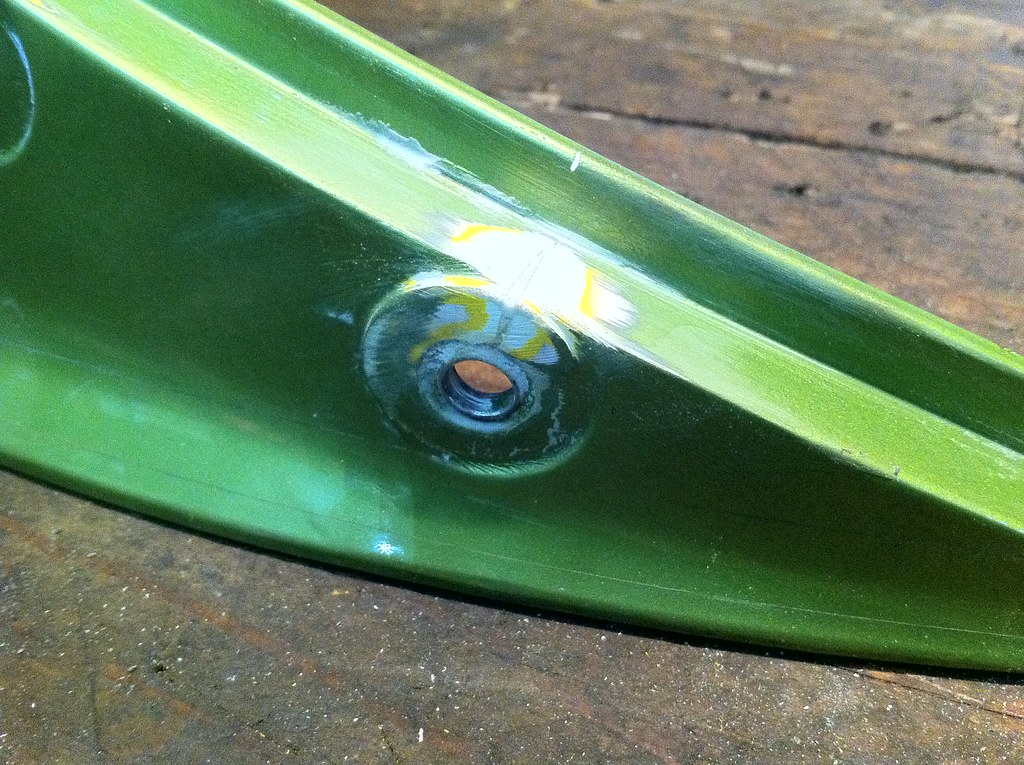 IMG_1898 IMG_1898 by tunneruk, on Flickr  IMG_1917 IMG_1917 by tunneruk, on Flickr  IMG_1911 IMG_1911 by tunneruk, on Flickr 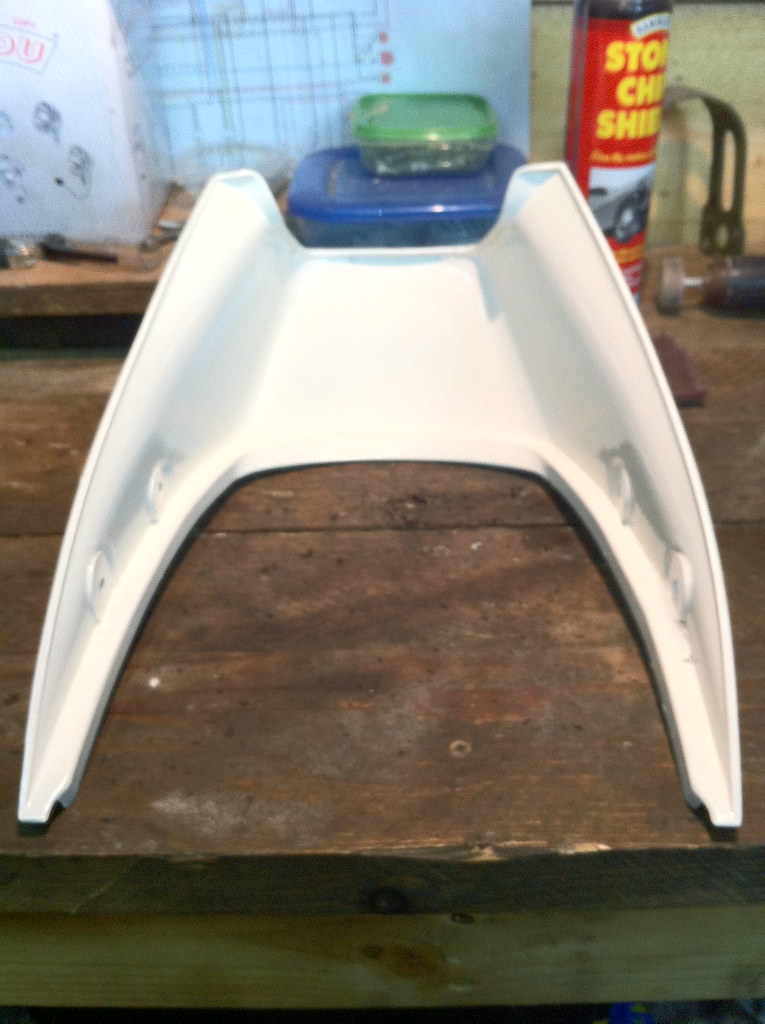 IMG_1907 IMG_1907 by tunneruk, on Flickr 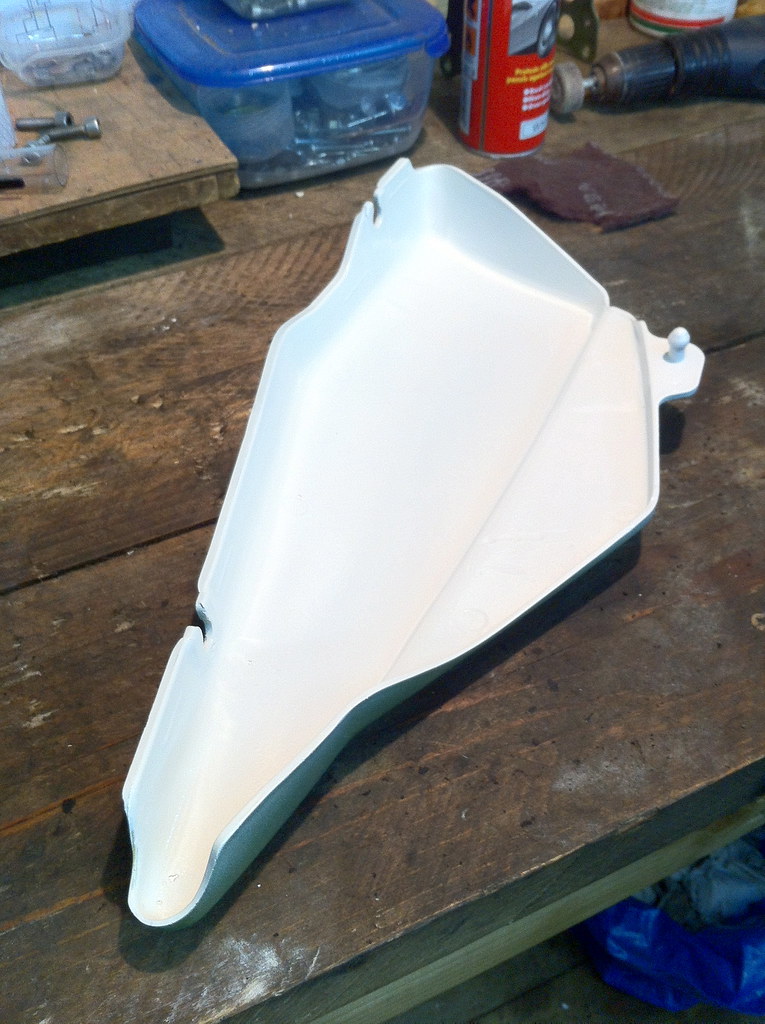 IMG_1909 IMG_1909 by tunneruk, on Flickr  IMG_1919 IMG_1919 by tunneruk, on Flickr  IMG_1922 IMG_1922 by tunneruk, on Flickr 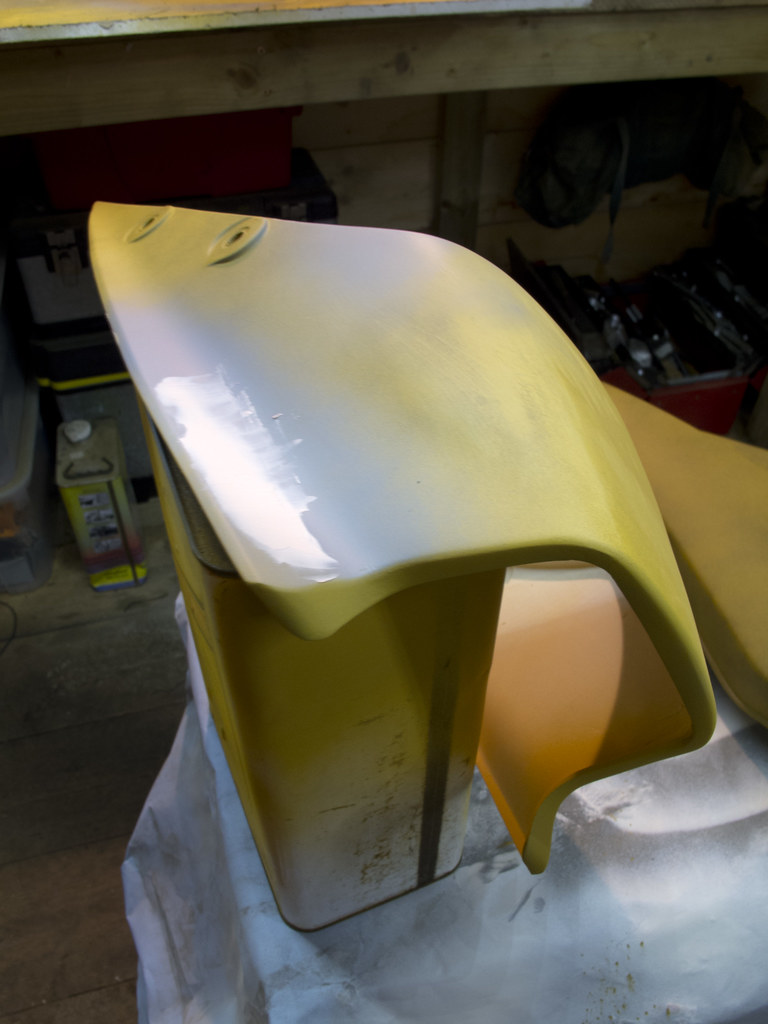 IMG_0011 IMG_0011 by tunneruk, on Flickr 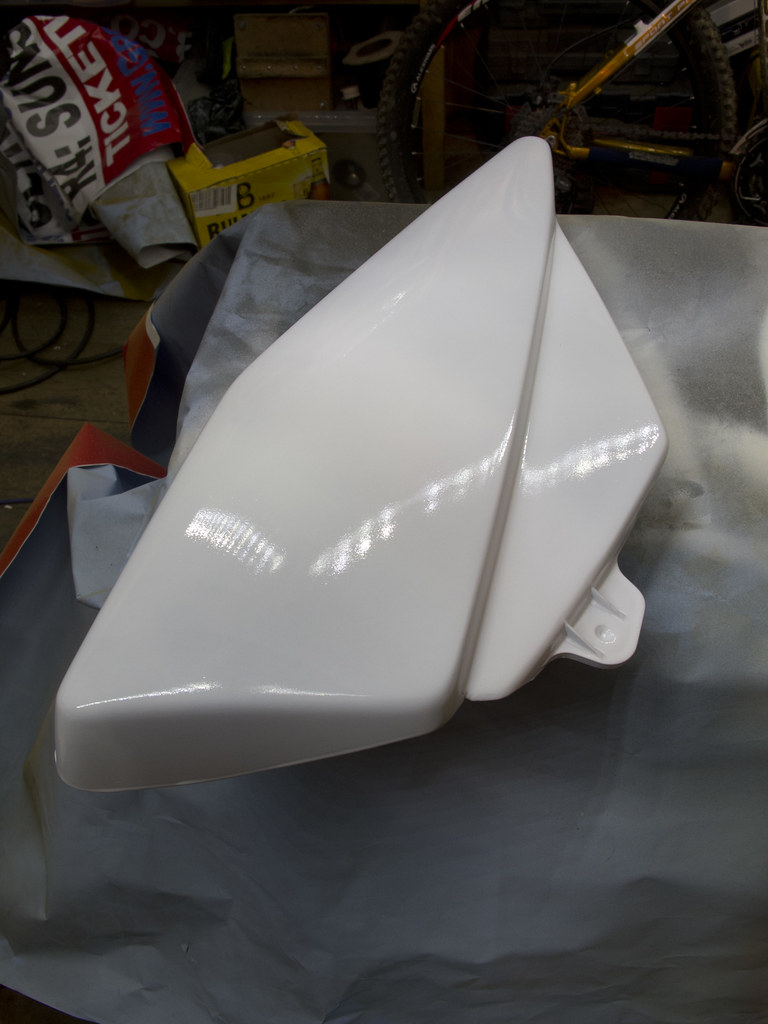 IMG_0015 IMG_0015 by tunneruk, on Flickr 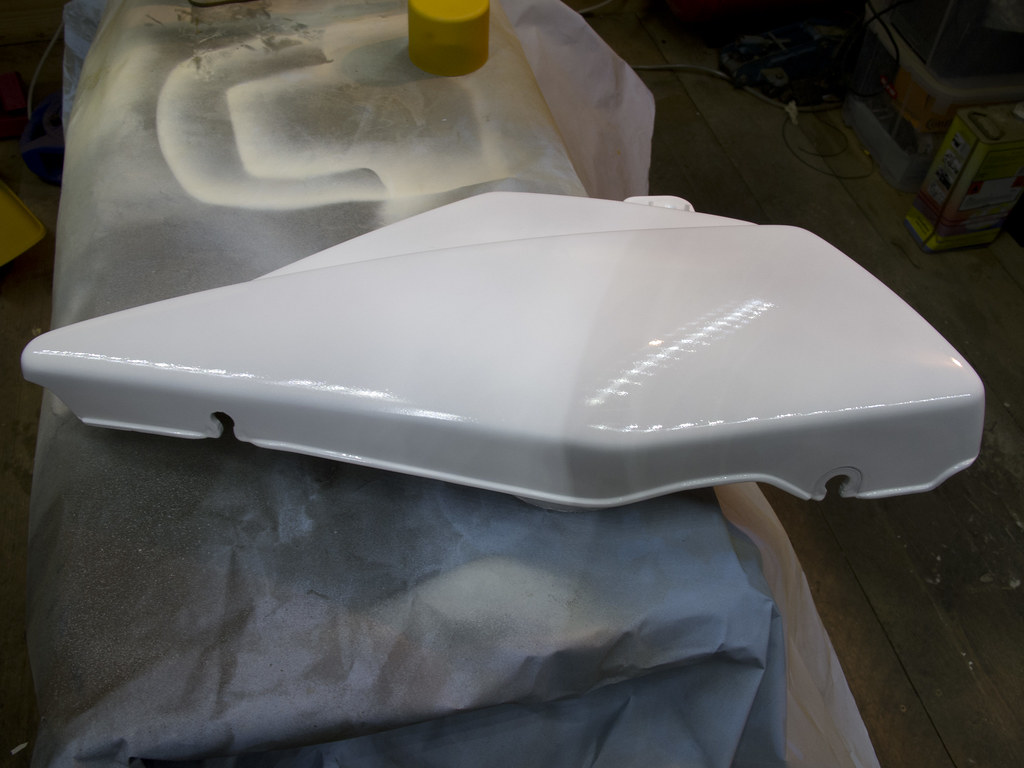 IMG_0016 IMG_0016 by tunneruk, on Flickr 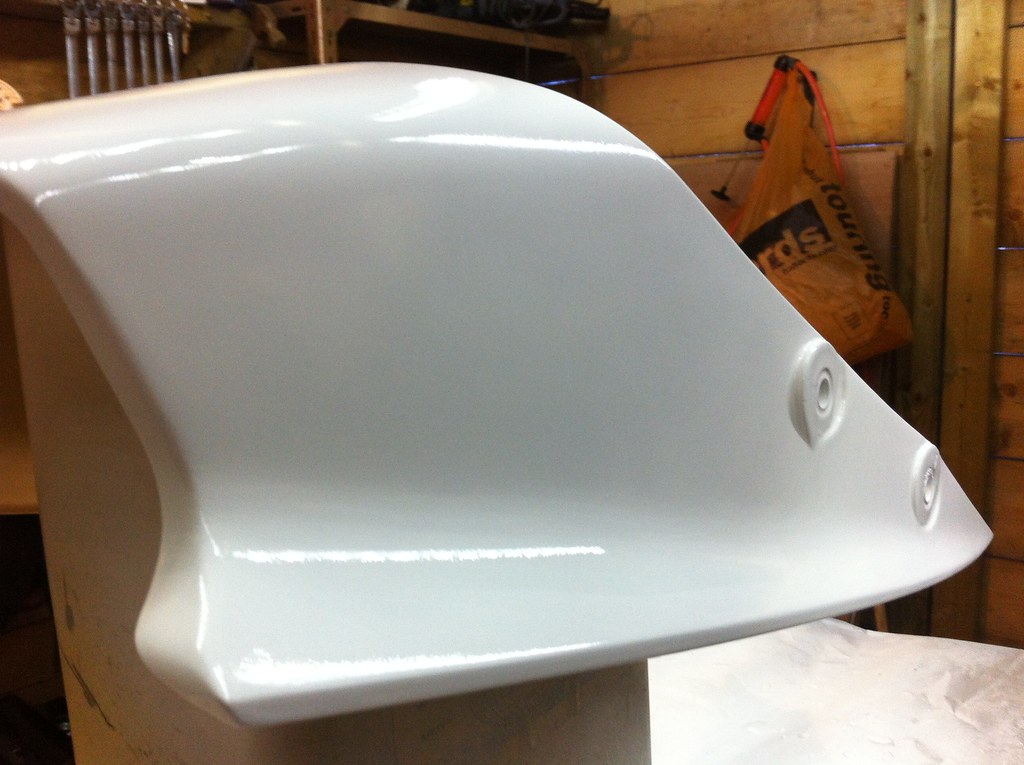 Untitled Untitled by tunneruk, on Flickr 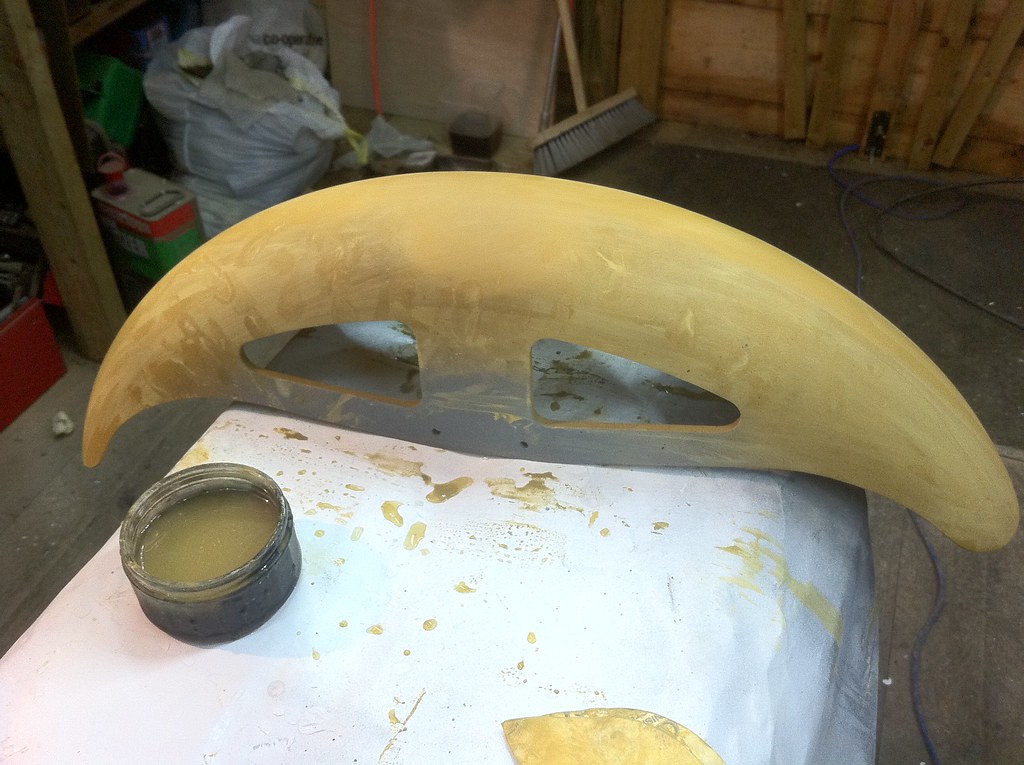 Untitled Untitled by tunneruk, on Flickr 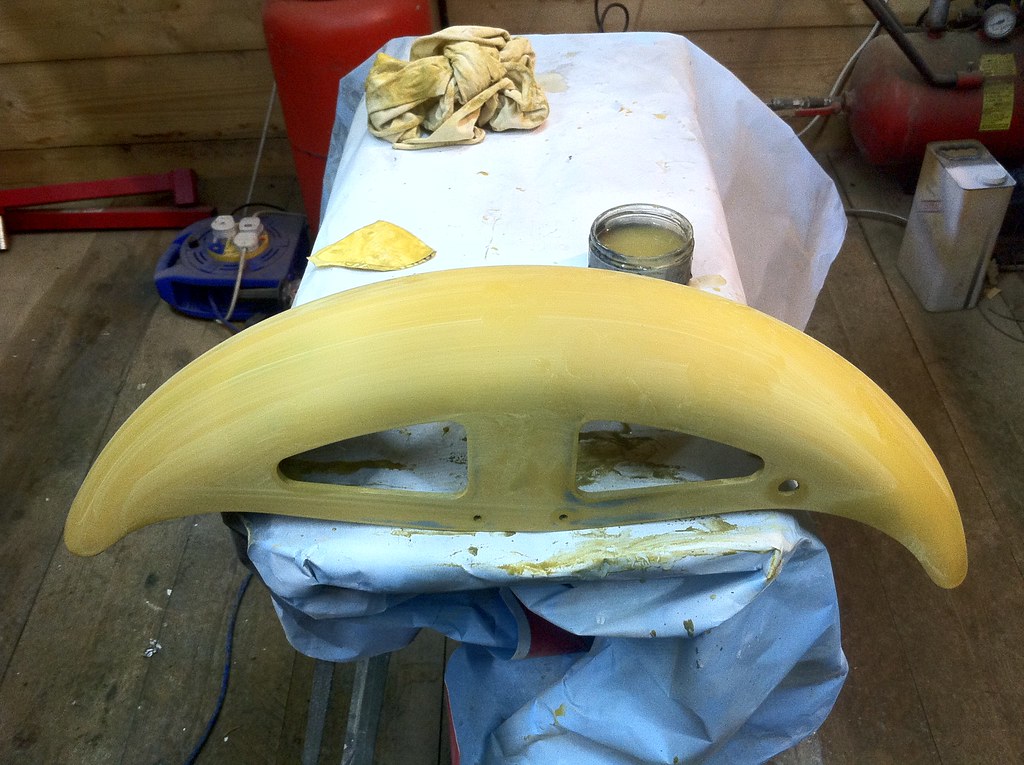 Untitled Untitled by tunneruk, on Flickr  Untitled Untitled by tunneruk, on Flickr 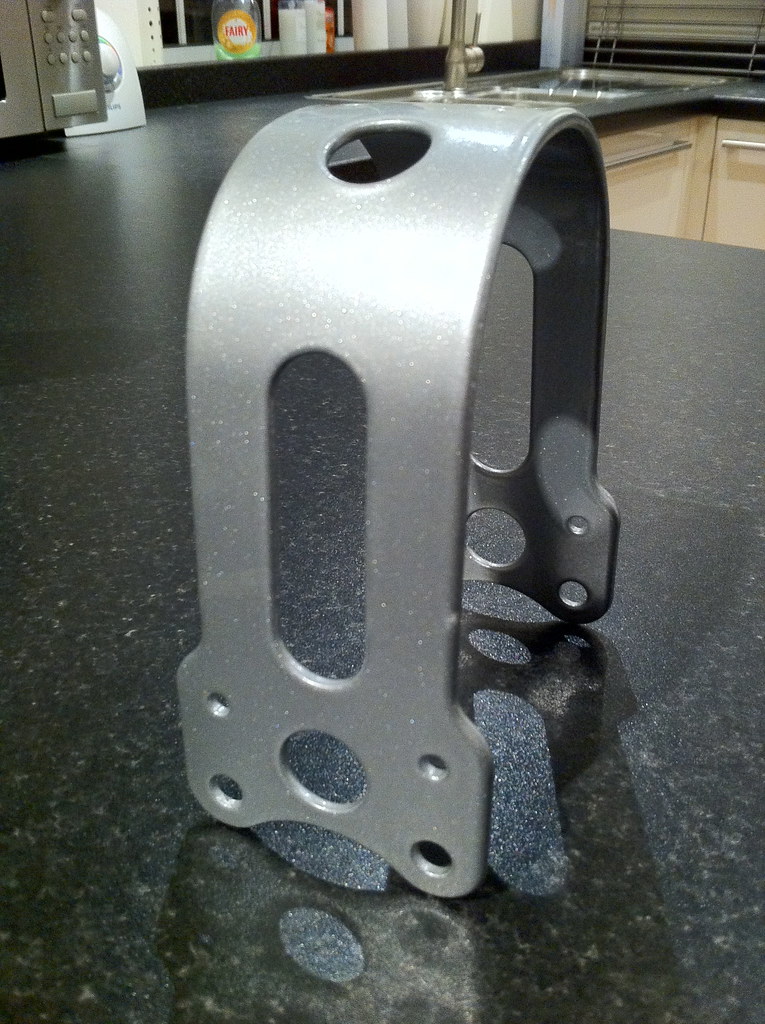 IMG_1976 IMG_1976 by tunneruk, on Flickr 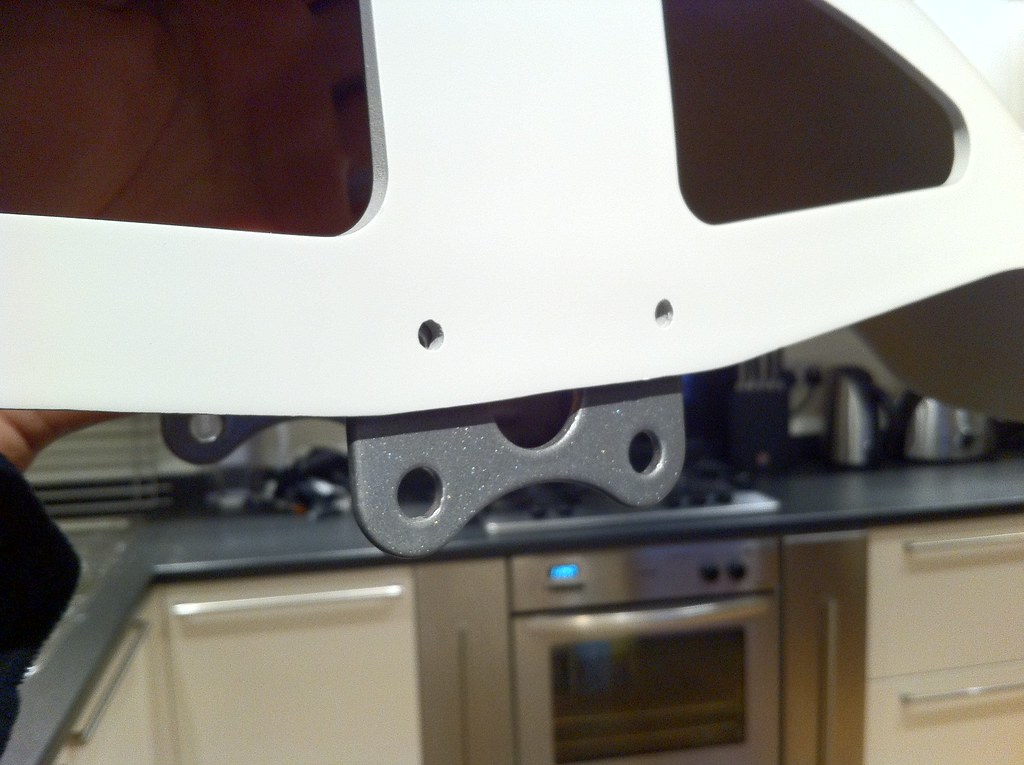 IMG_1978 IMG_1978 by tunneruk, on Flickr 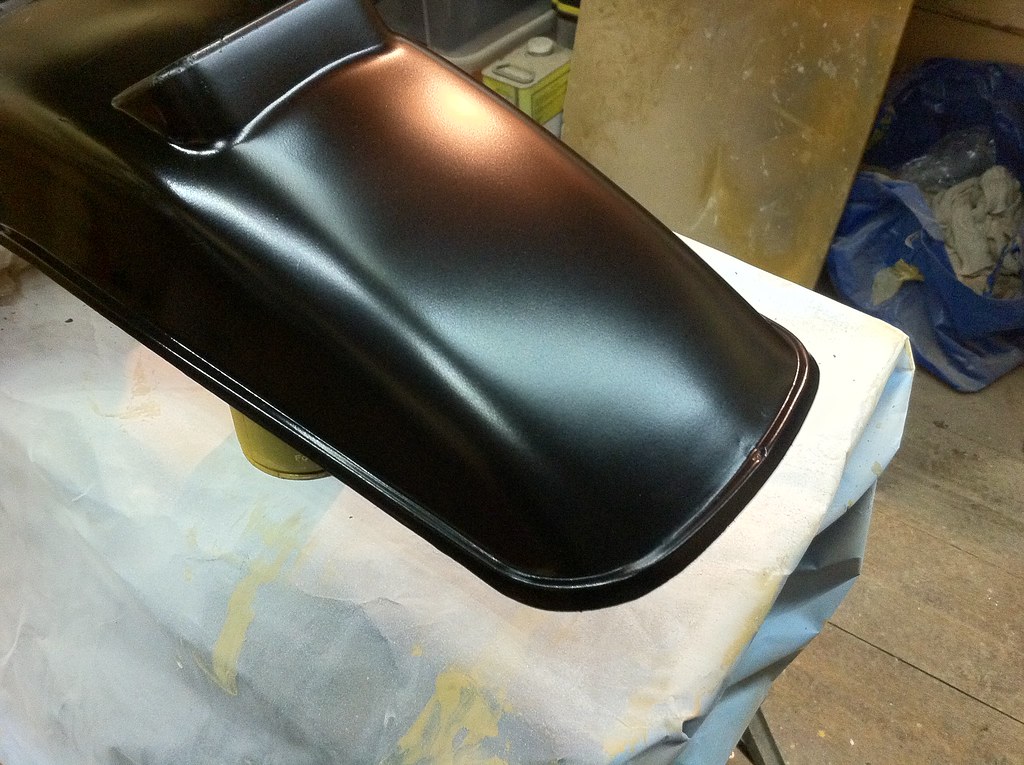 Untitled Untitled by tunneruk, on Flickr 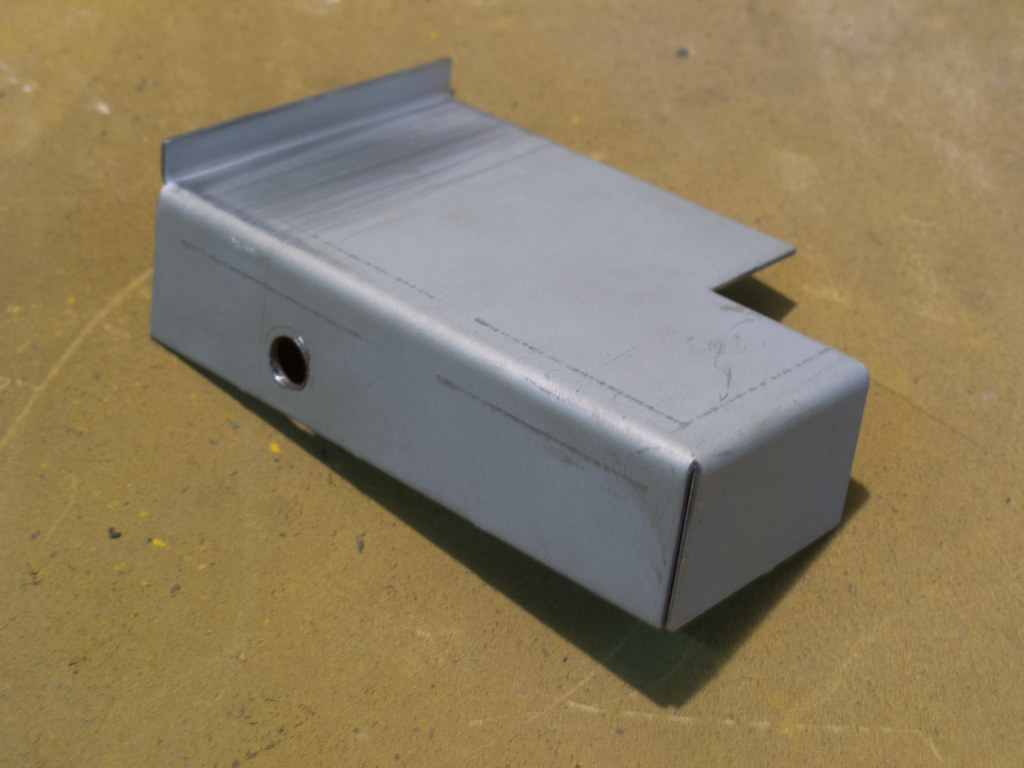 IMG_0013 IMG_0013 by tunneruk, on Flickr 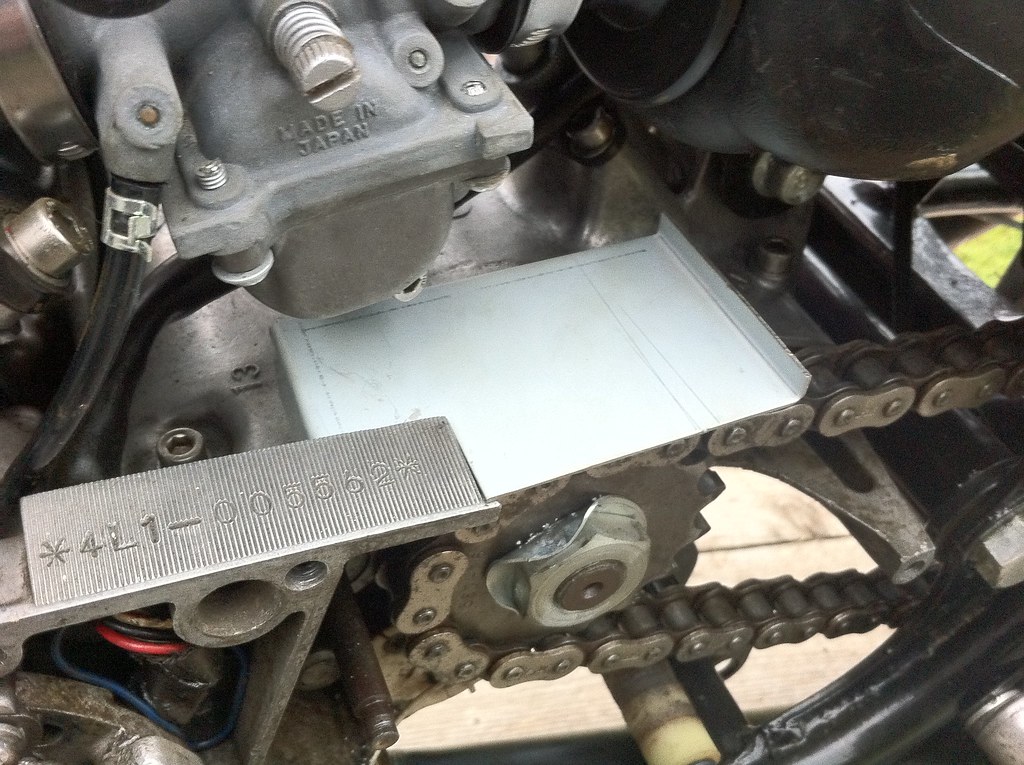 Untitled Untitled by tunneruk, on Flickr 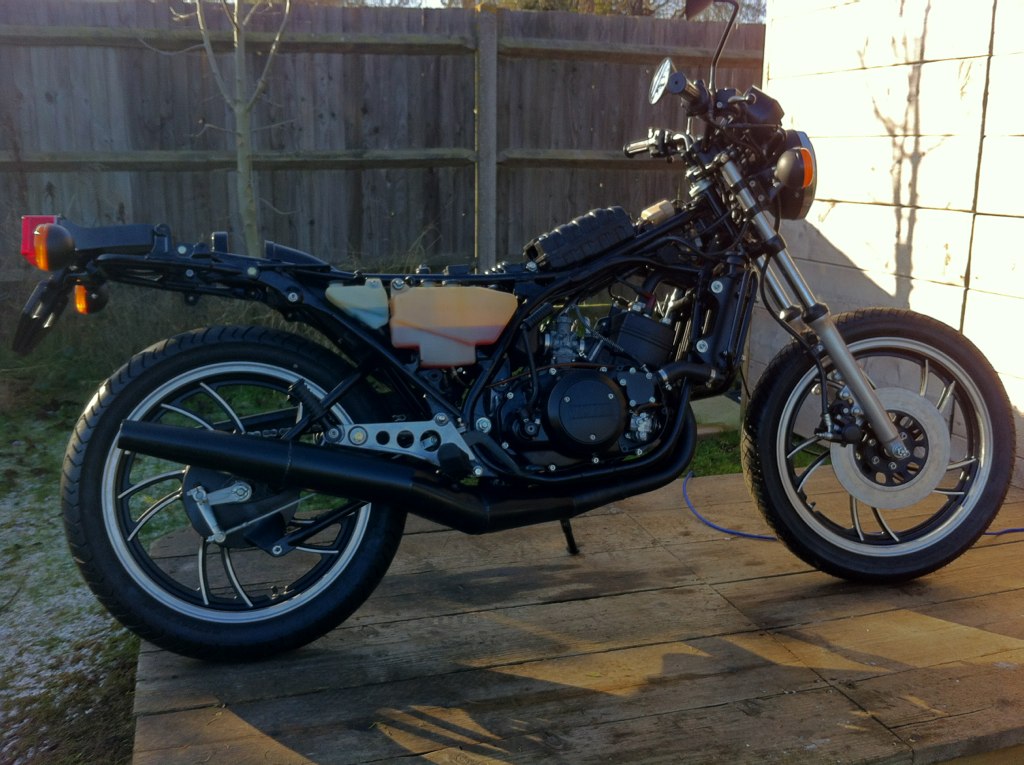 Untitled Untitled by tunneruk, on Flickr 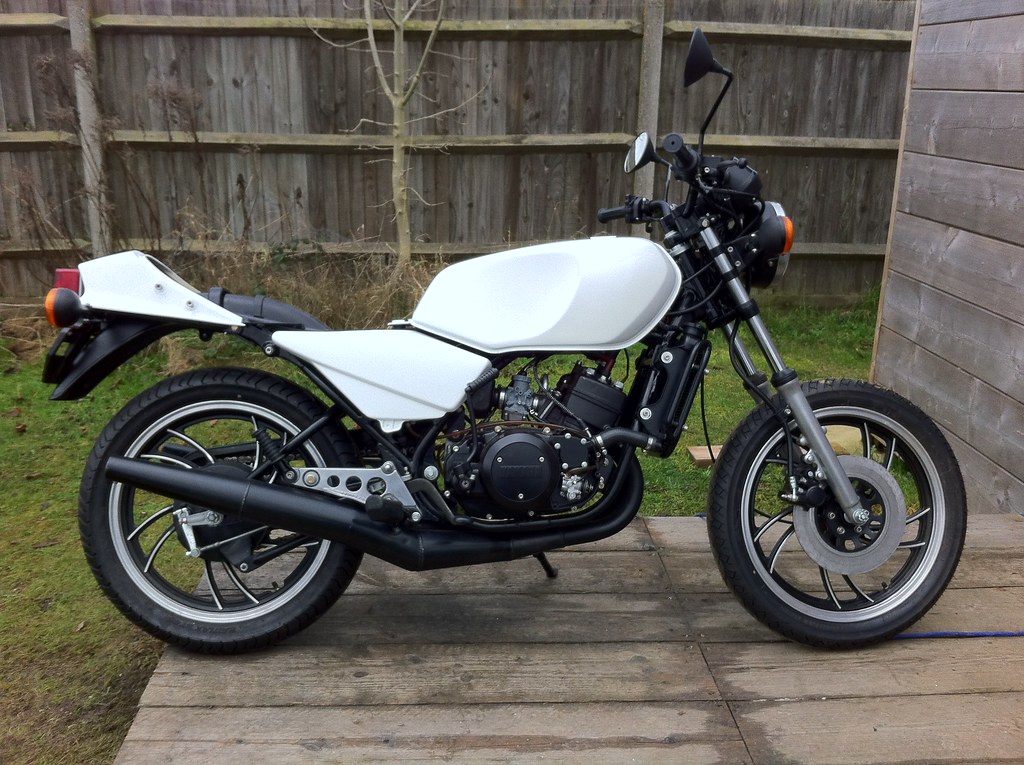 IMG_1998 IMG_1998 by tunneruk, on Flickr 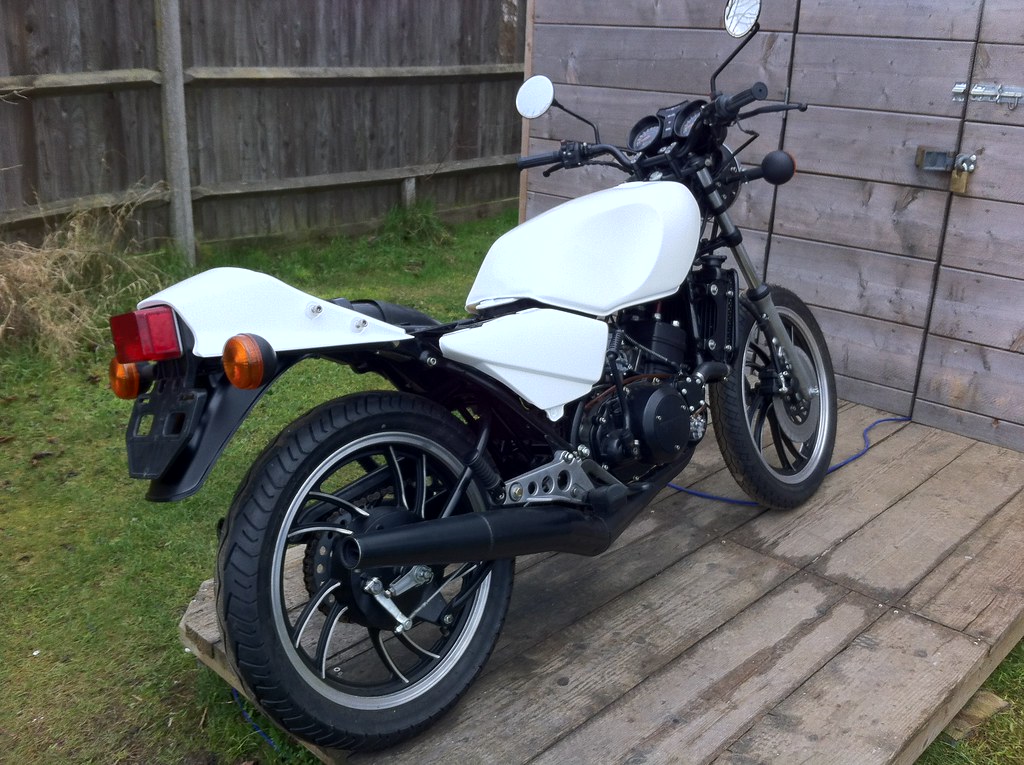 IMG_2001 IMG_2001 by tunneruk, on Flickr  IMG_0025 IMG_0025 by tunneruk, on Flickr 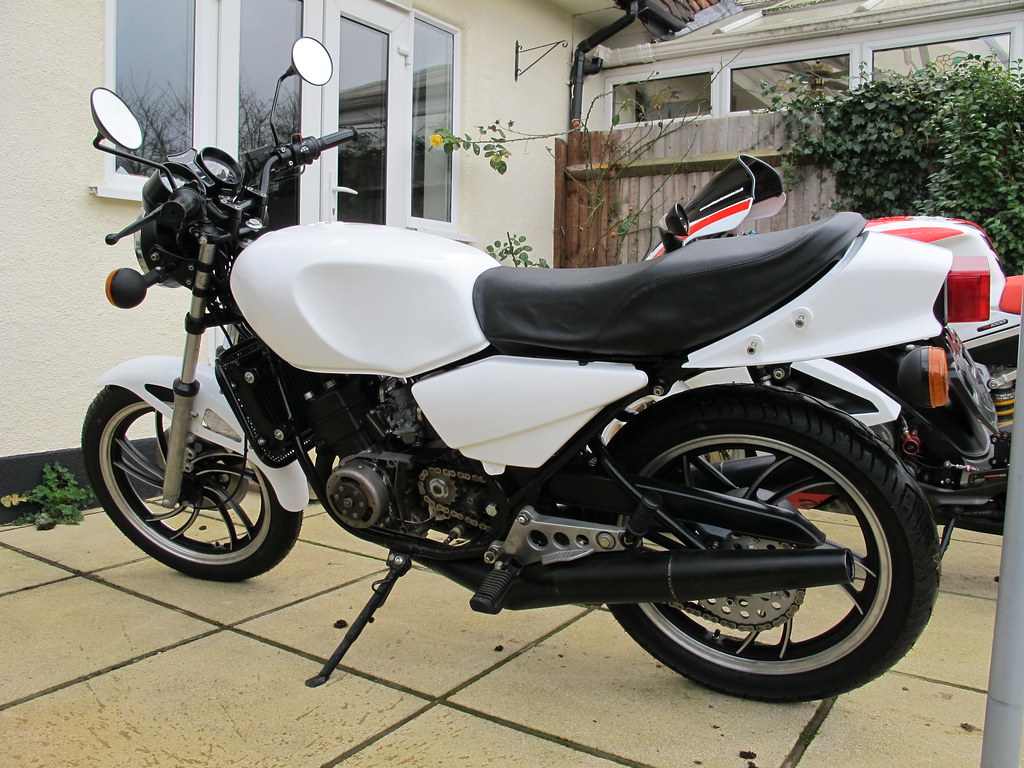 IMG_0026 IMG_0026 by tunneruk, on Flickr  IMG_0028 IMG_0028 by tunneruk, on Flickr 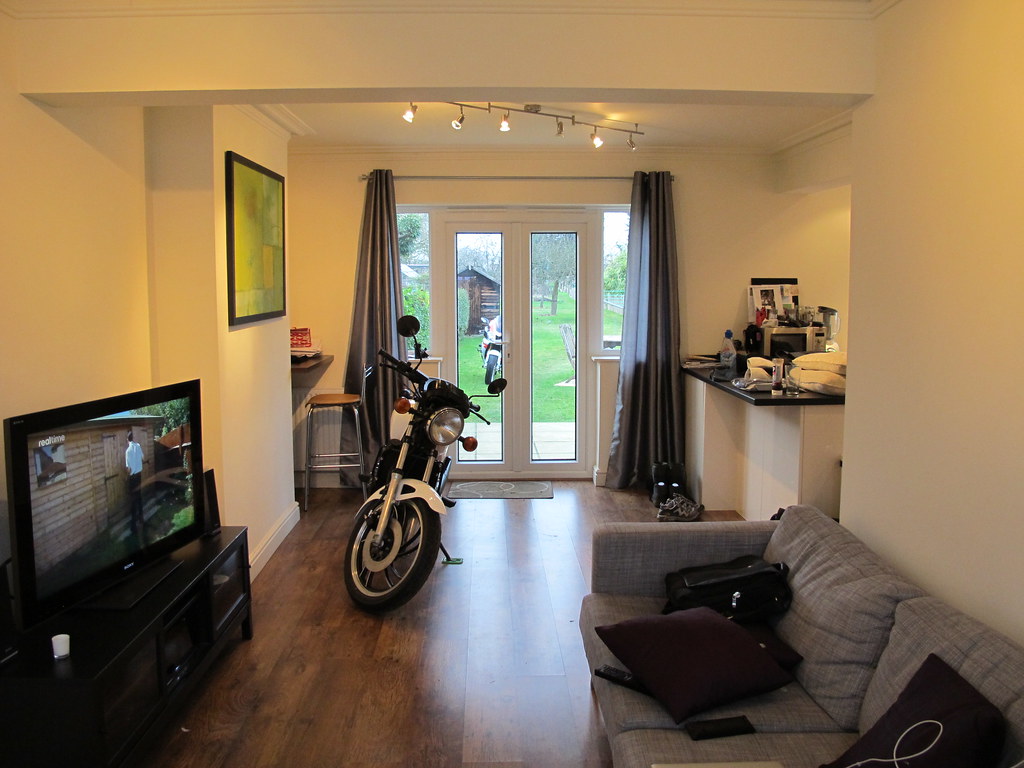 IMG_0029 IMG_0029 by tunneruk, on Flickr Another lesson learned ..... Never buy the cheapest Vinyl decals available. The kits for LC's cover both 250 / 350 inclusively. Before I applied the full set onto my painstakingly painted panels I prepped one of the old panels and fitted one of the spare 350 graphics. Below is what happened when I lacquered it ....... A very lucky escape for me!! 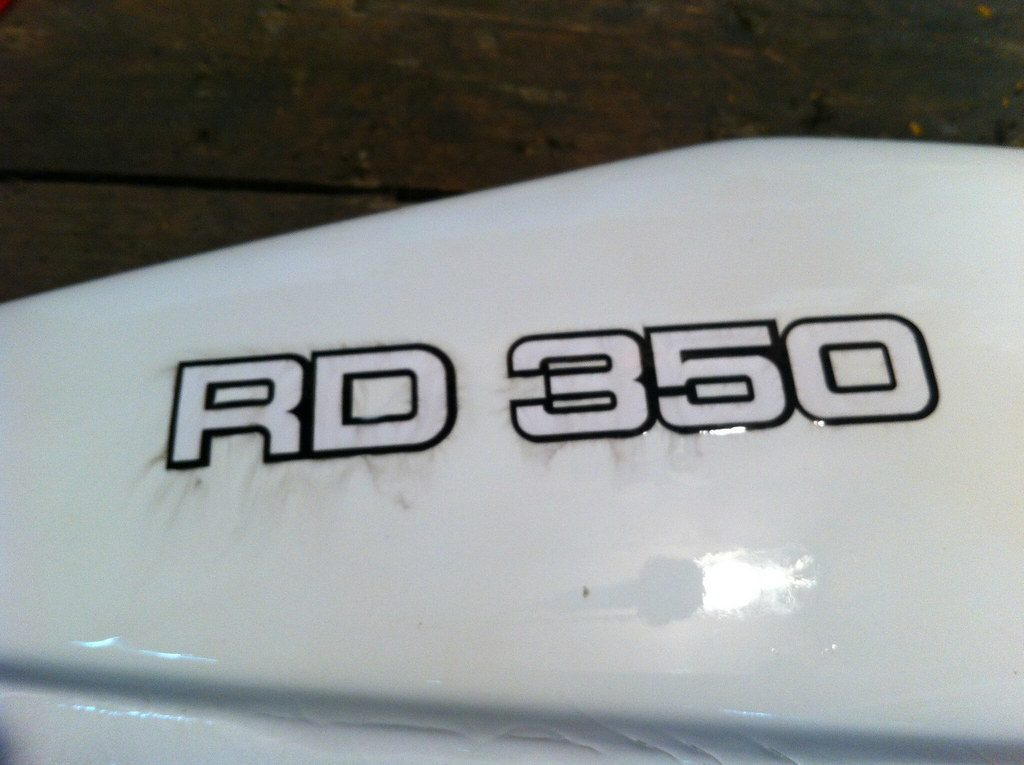 IMG_1951 IMG_1951 by tunneruk, on Flickr Fortunately a good friend of mine is a vinyl signs specialist so off I went, cap in hand and he sorted it out. Cheers Steve!  IMG_2027 IMG_2027 by tunneruk, on Flickr 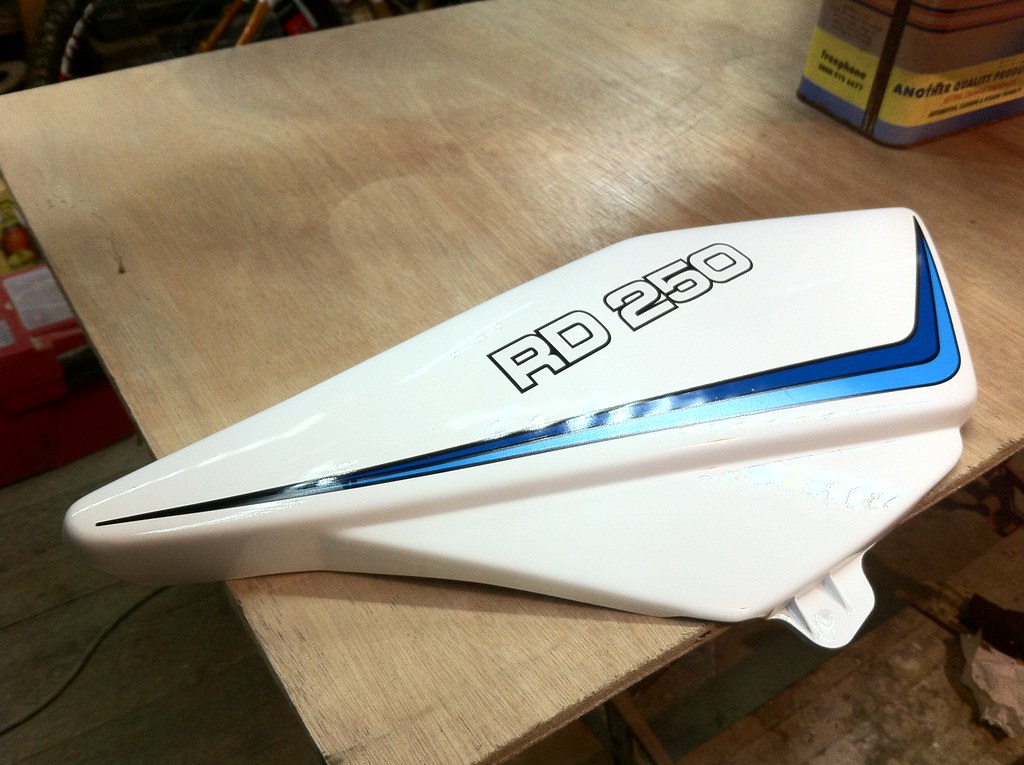 IMG_2029 IMG_2029 by tunneruk, on Flickr  IMG_2031 IMG_2031 by tunneruk, on Flickr 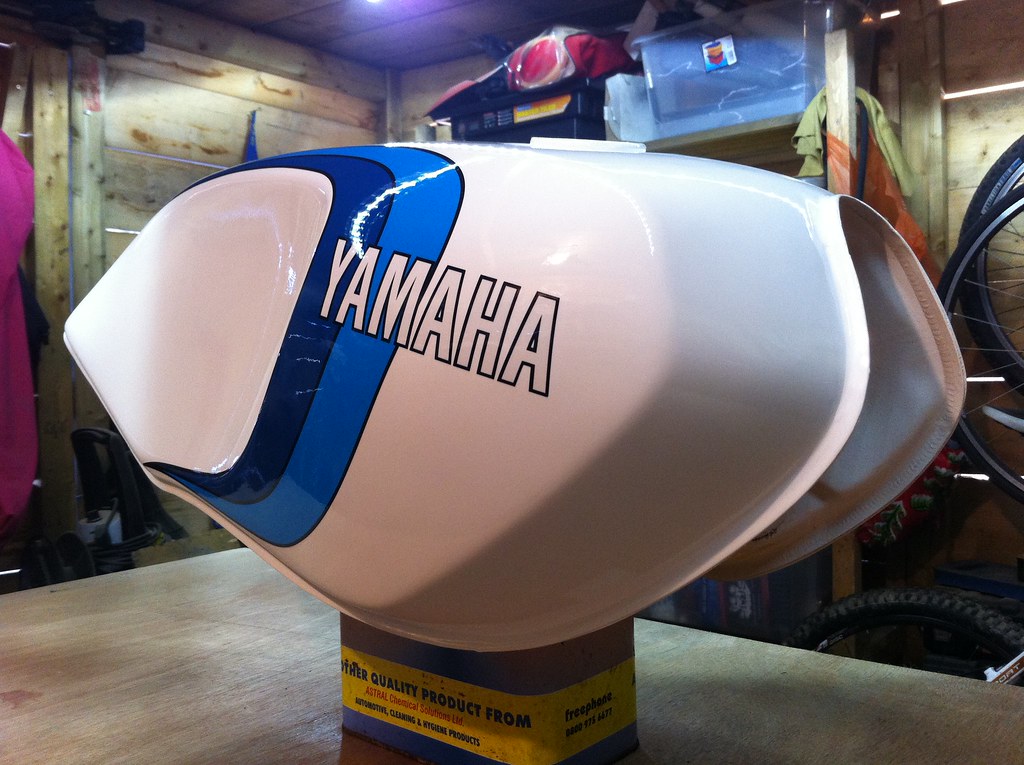 IMG_2034 IMG_2034 by tunneruk, on Flickr 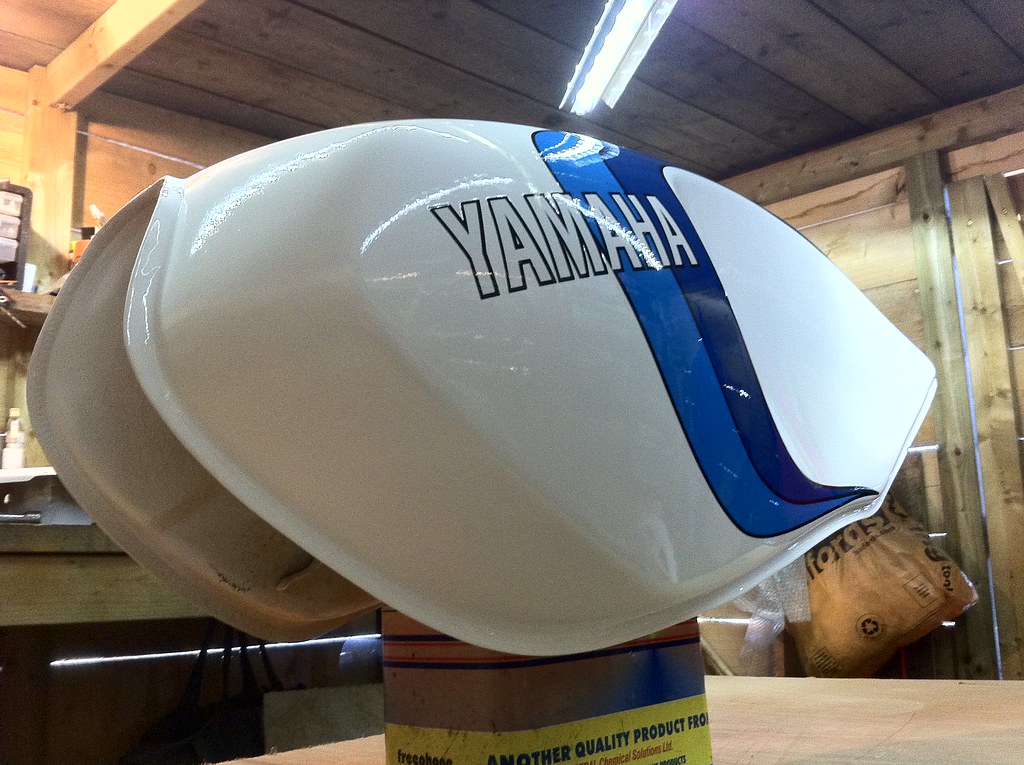 IMG_2039 IMG_2039 by tunneruk, on Flickr 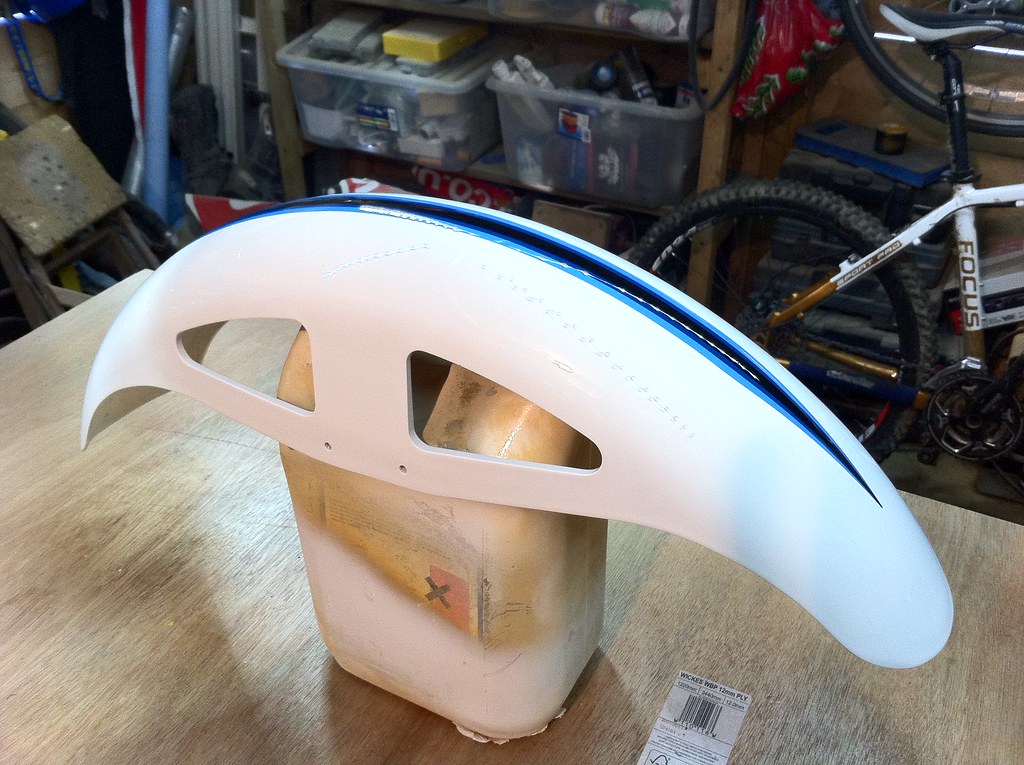 IMG_2041 IMG_2041 by tunneruk, on Flickr 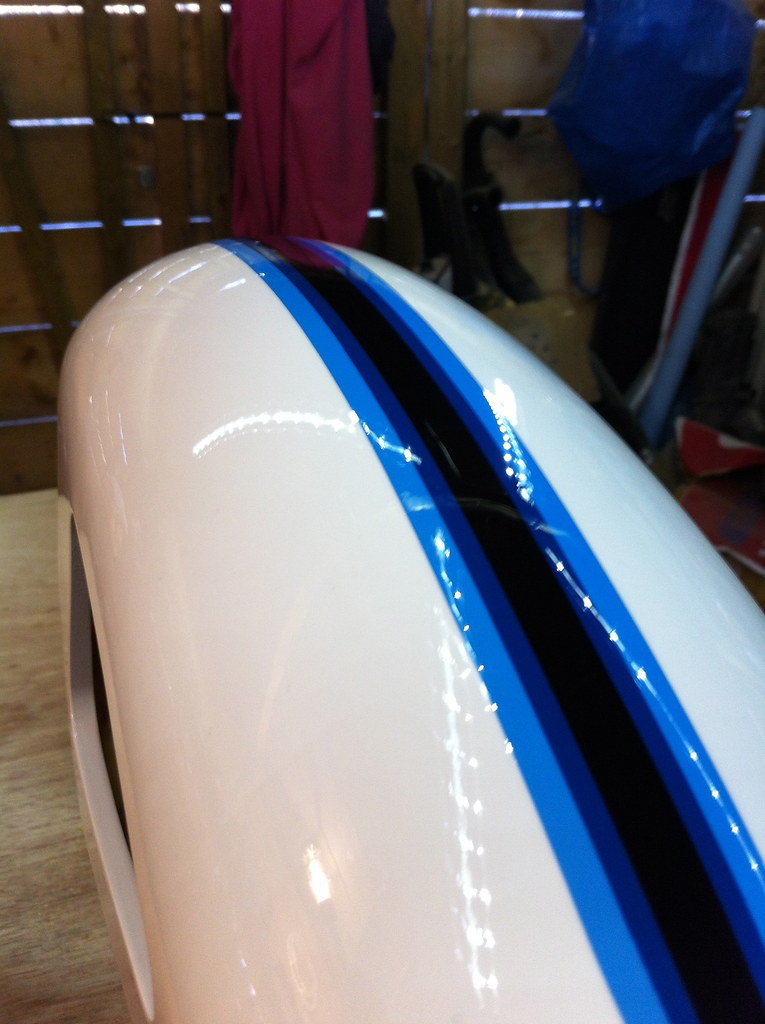 IMG_2042 IMG_2042 by tunneruk, on Flickr 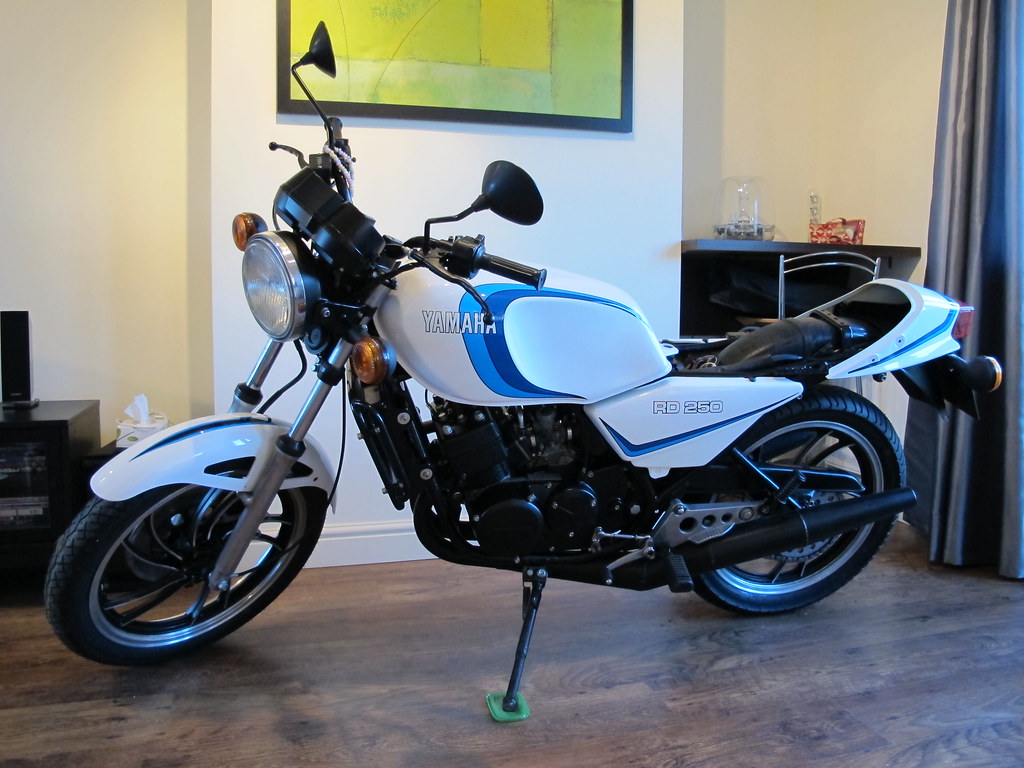 IMG_0034 IMG_0034 by tunneruk, on Flickr  IMG_0035 IMG_0035 by tunneruk, on Flickr 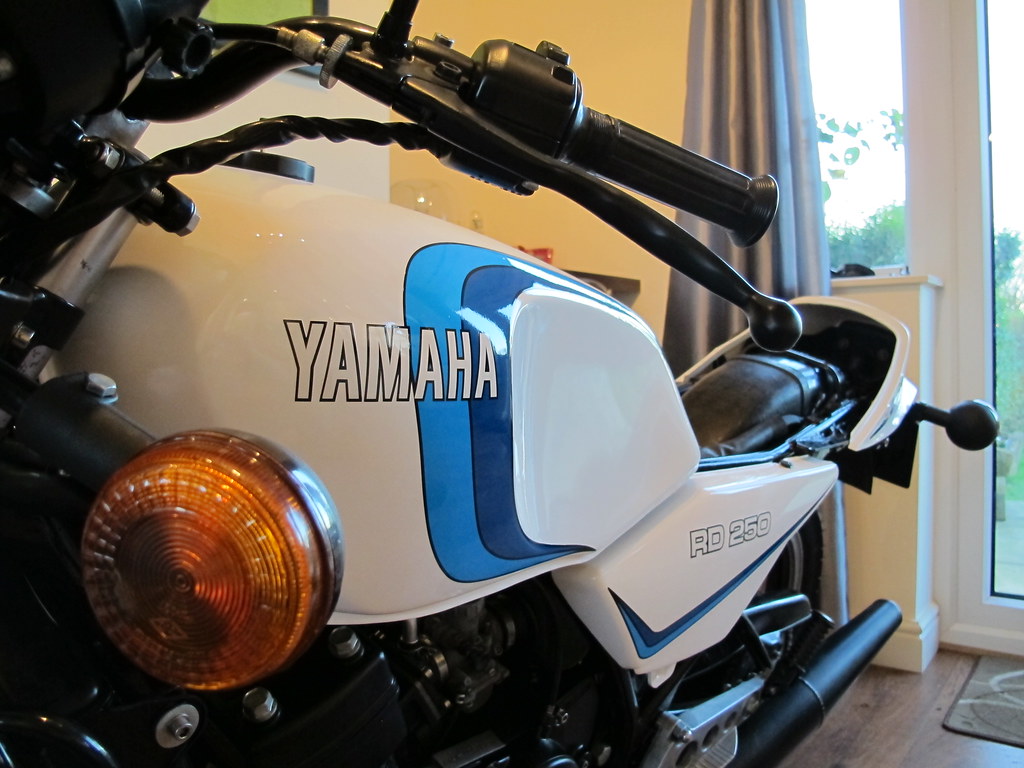 IMG_0038 IMG_0038 by tunneruk, on Flickr  IMG_0039 IMG_0039 by tunneruk, on Flickr  IMG_0036 IMG_0036 by tunneruk, on Flickr  IMG_2046 IMG_2046 by tunneruk, on Flickr 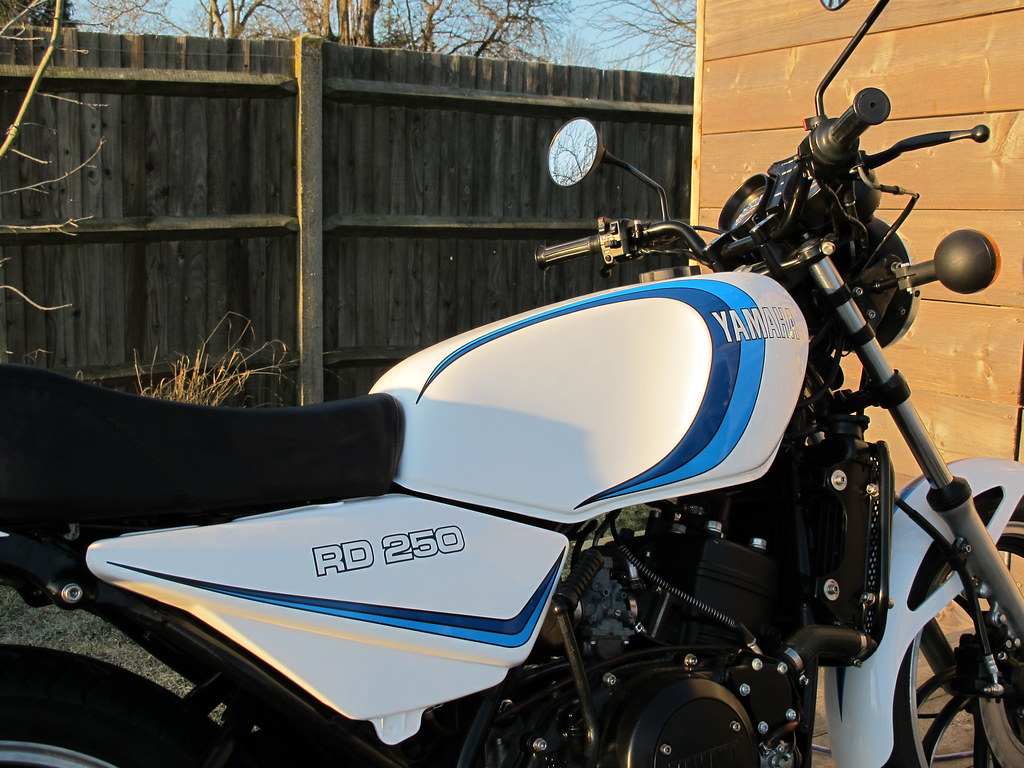 IMG_0042 IMG_0042 by tunneruk, on Flickr 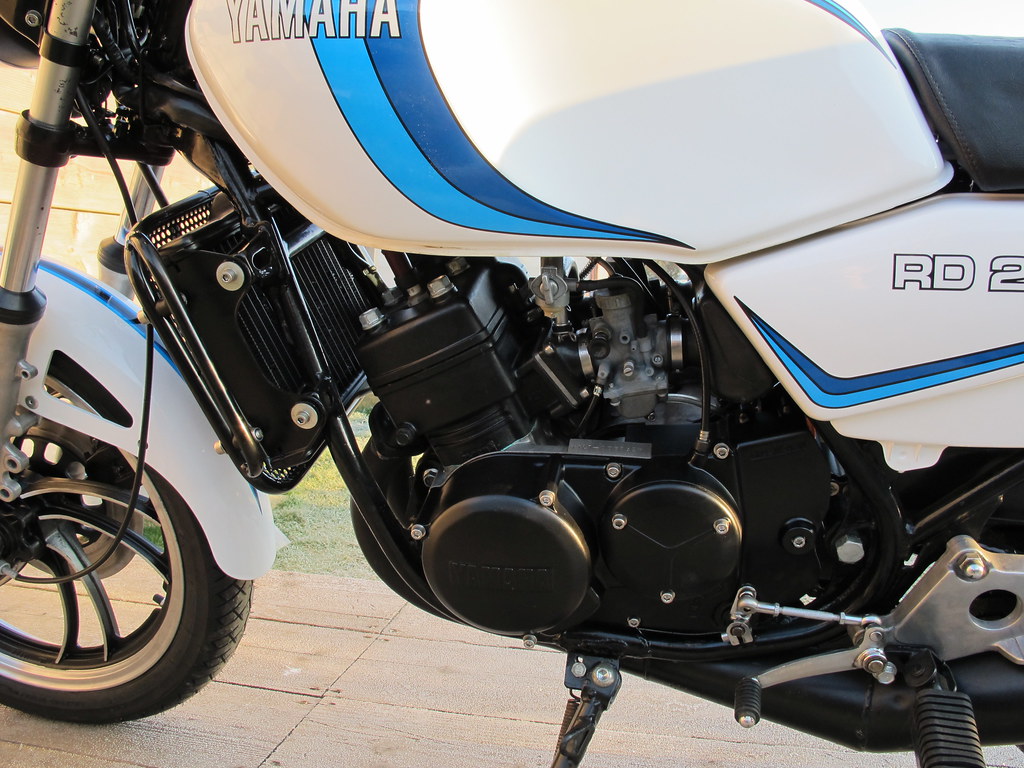 IMG_0044 IMG_0044 by tunneruk, on Flickr  IMG_0045 IMG_0045 by tunneruk, on Flickr  IMG_0048 IMG_0048 by tunneruk, on Flickr  IMG_0055 IMG_0055 by tunneruk, on Flickr 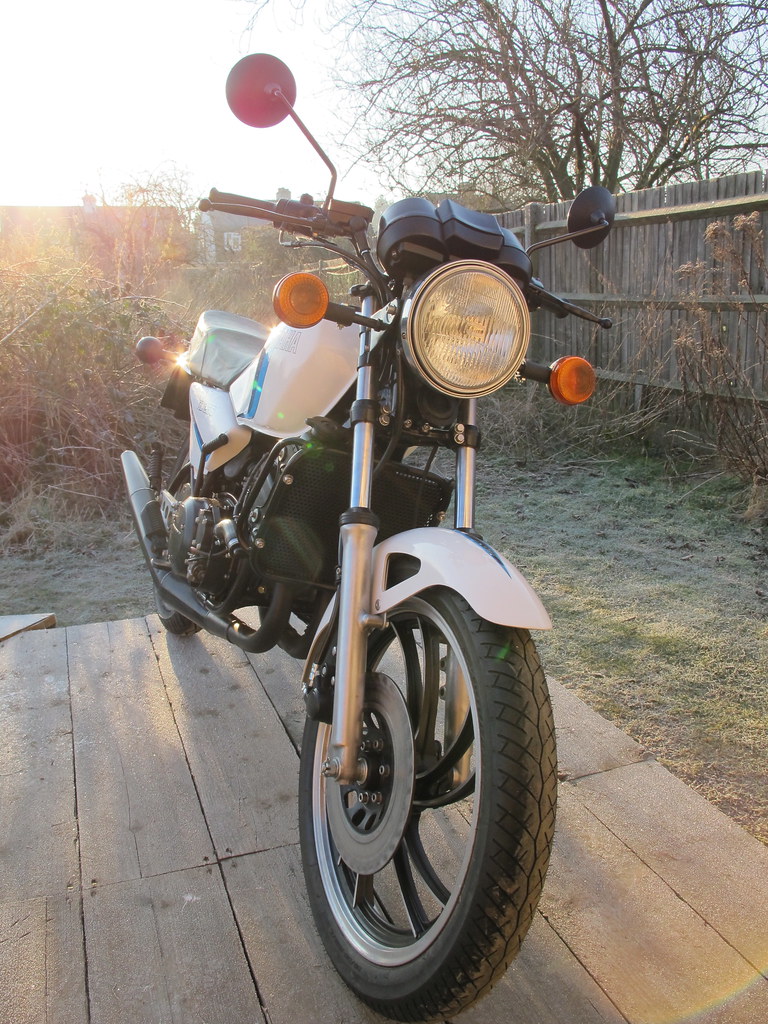 IMG_0057 IMG_0057 by tunneruk, on Flickr 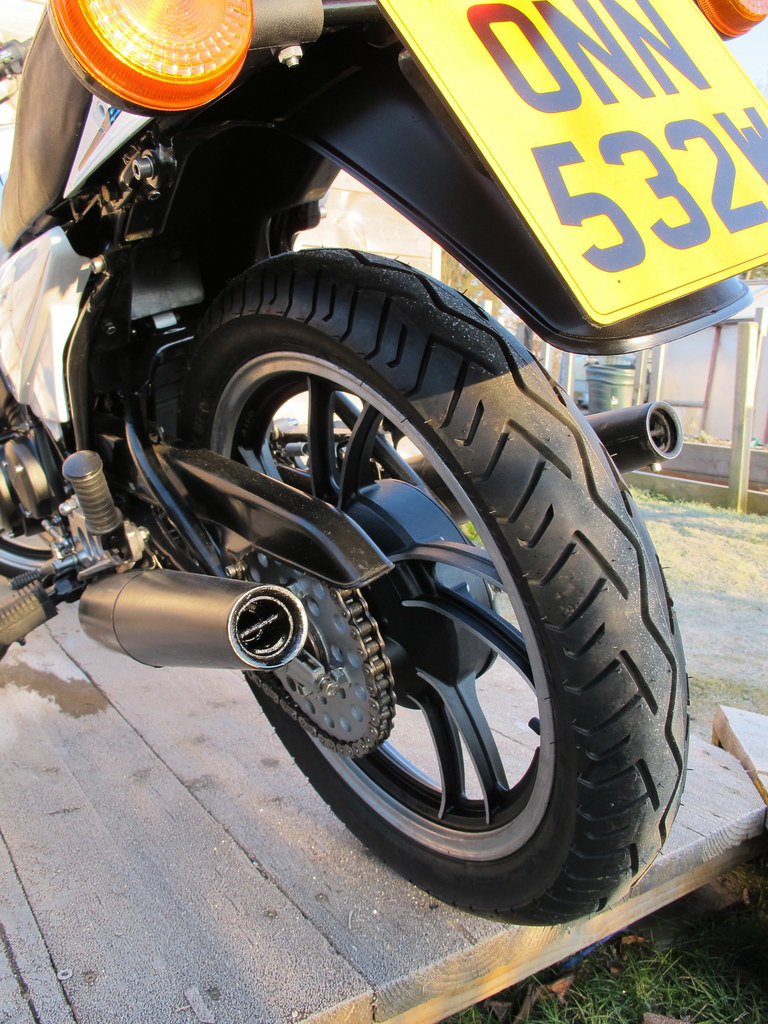 IMG_0061 IMG_0061 by tunneruk, on Flickr  IMG_0058 IMG_0058 by tunneruk, on Flickr Jobs still to do .... Paint and fit the seat catches Paint and fit the oil / water pump cover Fit the grab rail (Which I've decided to get powder coated black) Wait two weeks then hit the paintwork with some 1500 wet / dry and buff back. Then the last job will be paint the lower section of the side panels satin black I took it for a quick spin up the road yesterday, it's running like a pig so some carb adjustment is in order I think. There are also a couple of small water leaks that I need to address. My RD250LC. 27th November 2011 to 4th February 2012 :beerjug: |
|
Deleted
Deleted Member
Posts: 0
|
Post by Deleted on Feb 4, 2012 12:22:45 GMT 1
well done, i looked at your you tube video ,im still a couple of months away to have mine running, i cant wait, you bike looks great.
|
|
|
|
Post by marsbar350 on Feb 4, 2012 15:12:07 GMT 1
great work chris
loving the "in house"shots
|
|
webbo
Thrash Merchant
Posts: 393
|
Post by webbo on Feb 4, 2012 15:27:24 GMT 1
Amazing job there Chris. I wish I had the ability to do my own paintwork. Well done mate!
|
|
|
|
Post by Fingermaus on Feb 4, 2012 19:04:38 GMT 1
Really enjoyed those photos, brilliant.
I especially liked the tank transformation.
|
|
|
|
Post by tunneruk on Feb 4, 2012 19:14:43 GMT 1
Amazing job there Chris. I wish I had the ability to do my own paintwork. Well done mate! I've not used any fancy paints or equipment. Every part of this bike has been painted with Halfords own brand rattle cans, the only exception being the cylinders, head and radiator which are Plasticote BBQ paint. It's all about the prep and getting plenty of paint on. |
|
|
|
Post by marsbar350 on Feb 4, 2012 19:23:17 GMT 1
only problem chris im on a 8 meg broadband connection and it taking over a minute to load this page LOL! talk about pic heavy  |
|
|
|
Post by tunneruk on Feb 4, 2012 19:37:28 GMT 1
only problem chris im on a 8 meg broadband connection and it taking over a minute to load this page LOL! talk about pic heavy Pic heavy is the way I roll matey! If you've got 8mb broadband it should rip through those?? |
|
|
|
Post by marsbar350 on Feb 4, 2012 19:44:06 GMT 1
tried again and a lot better are ya putting the speedo guide in the front muddy  |
|
|
|
Post by arrow on Feb 4, 2012 19:55:57 GMT 1
Thats great looking work.
|
|