|
|
Post by dusty350 on Jan 3, 2019 20:38:26 GMT 1
Hi Mark Those "Recoil" style insert kits are really easy to use. Main thing is to get the drill in correctly - square to the hole if you know what I mean. Once you've done that, tap the hole, and the inserts screw in easily. The outer part of the insert bites into the ally surrounding it, thus leaving them fixed permanently. Took about 5 minutes each insert. Did it on a 400 engine back in the early 90's and that repair is still good now  Dusty  |
|
|
|
Post by wallcraft on Jan 3, 2019 20:43:40 GMT 1
Very nice indeed.
What size is that back tyre, doesn't look so skinny.
Mark.
|
|
|
|
Post by wallcraft on Jan 3, 2019 20:45:45 GMT 1
Cheers, I'll get on the Bay and order one. Thanks.
|
|
|
|
Post by dusty350 on Jan 6, 2019 13:07:15 GMT 1
Couple of little jobs recently. I fitted the new Ngk caps after cutting the Banshee Ht leads to length, and fitted the top coolant hose; 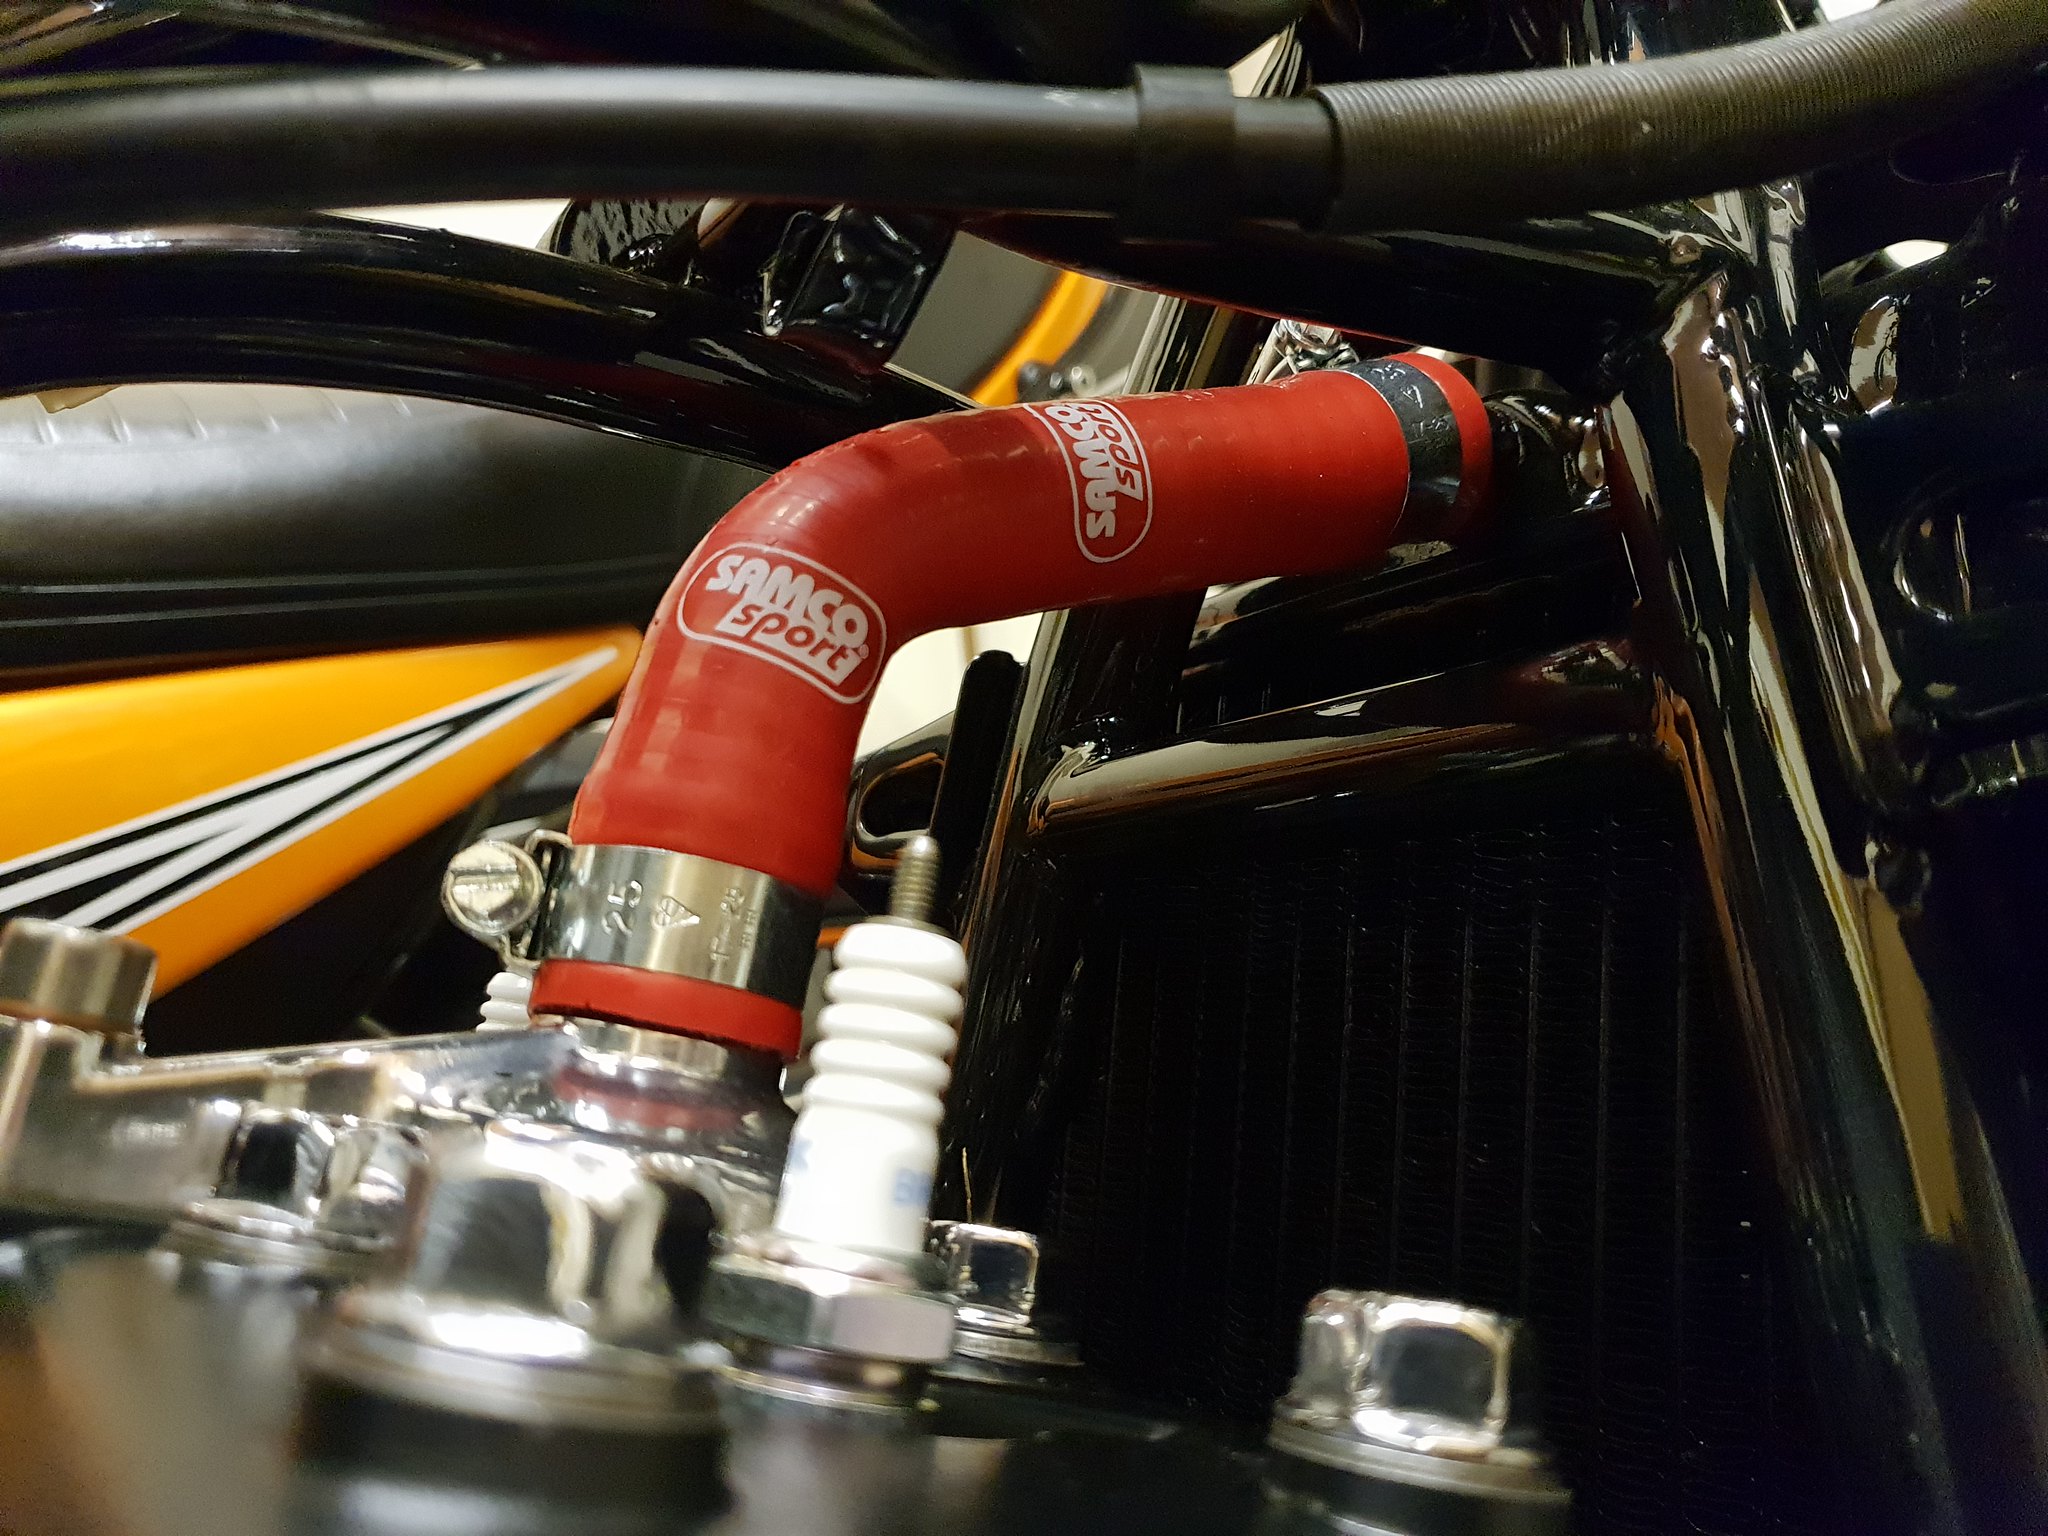 20190105_195100 20190105_195100 by David Miller, on Flickr Didn't get a pic up close of the caps but you get the idea !! 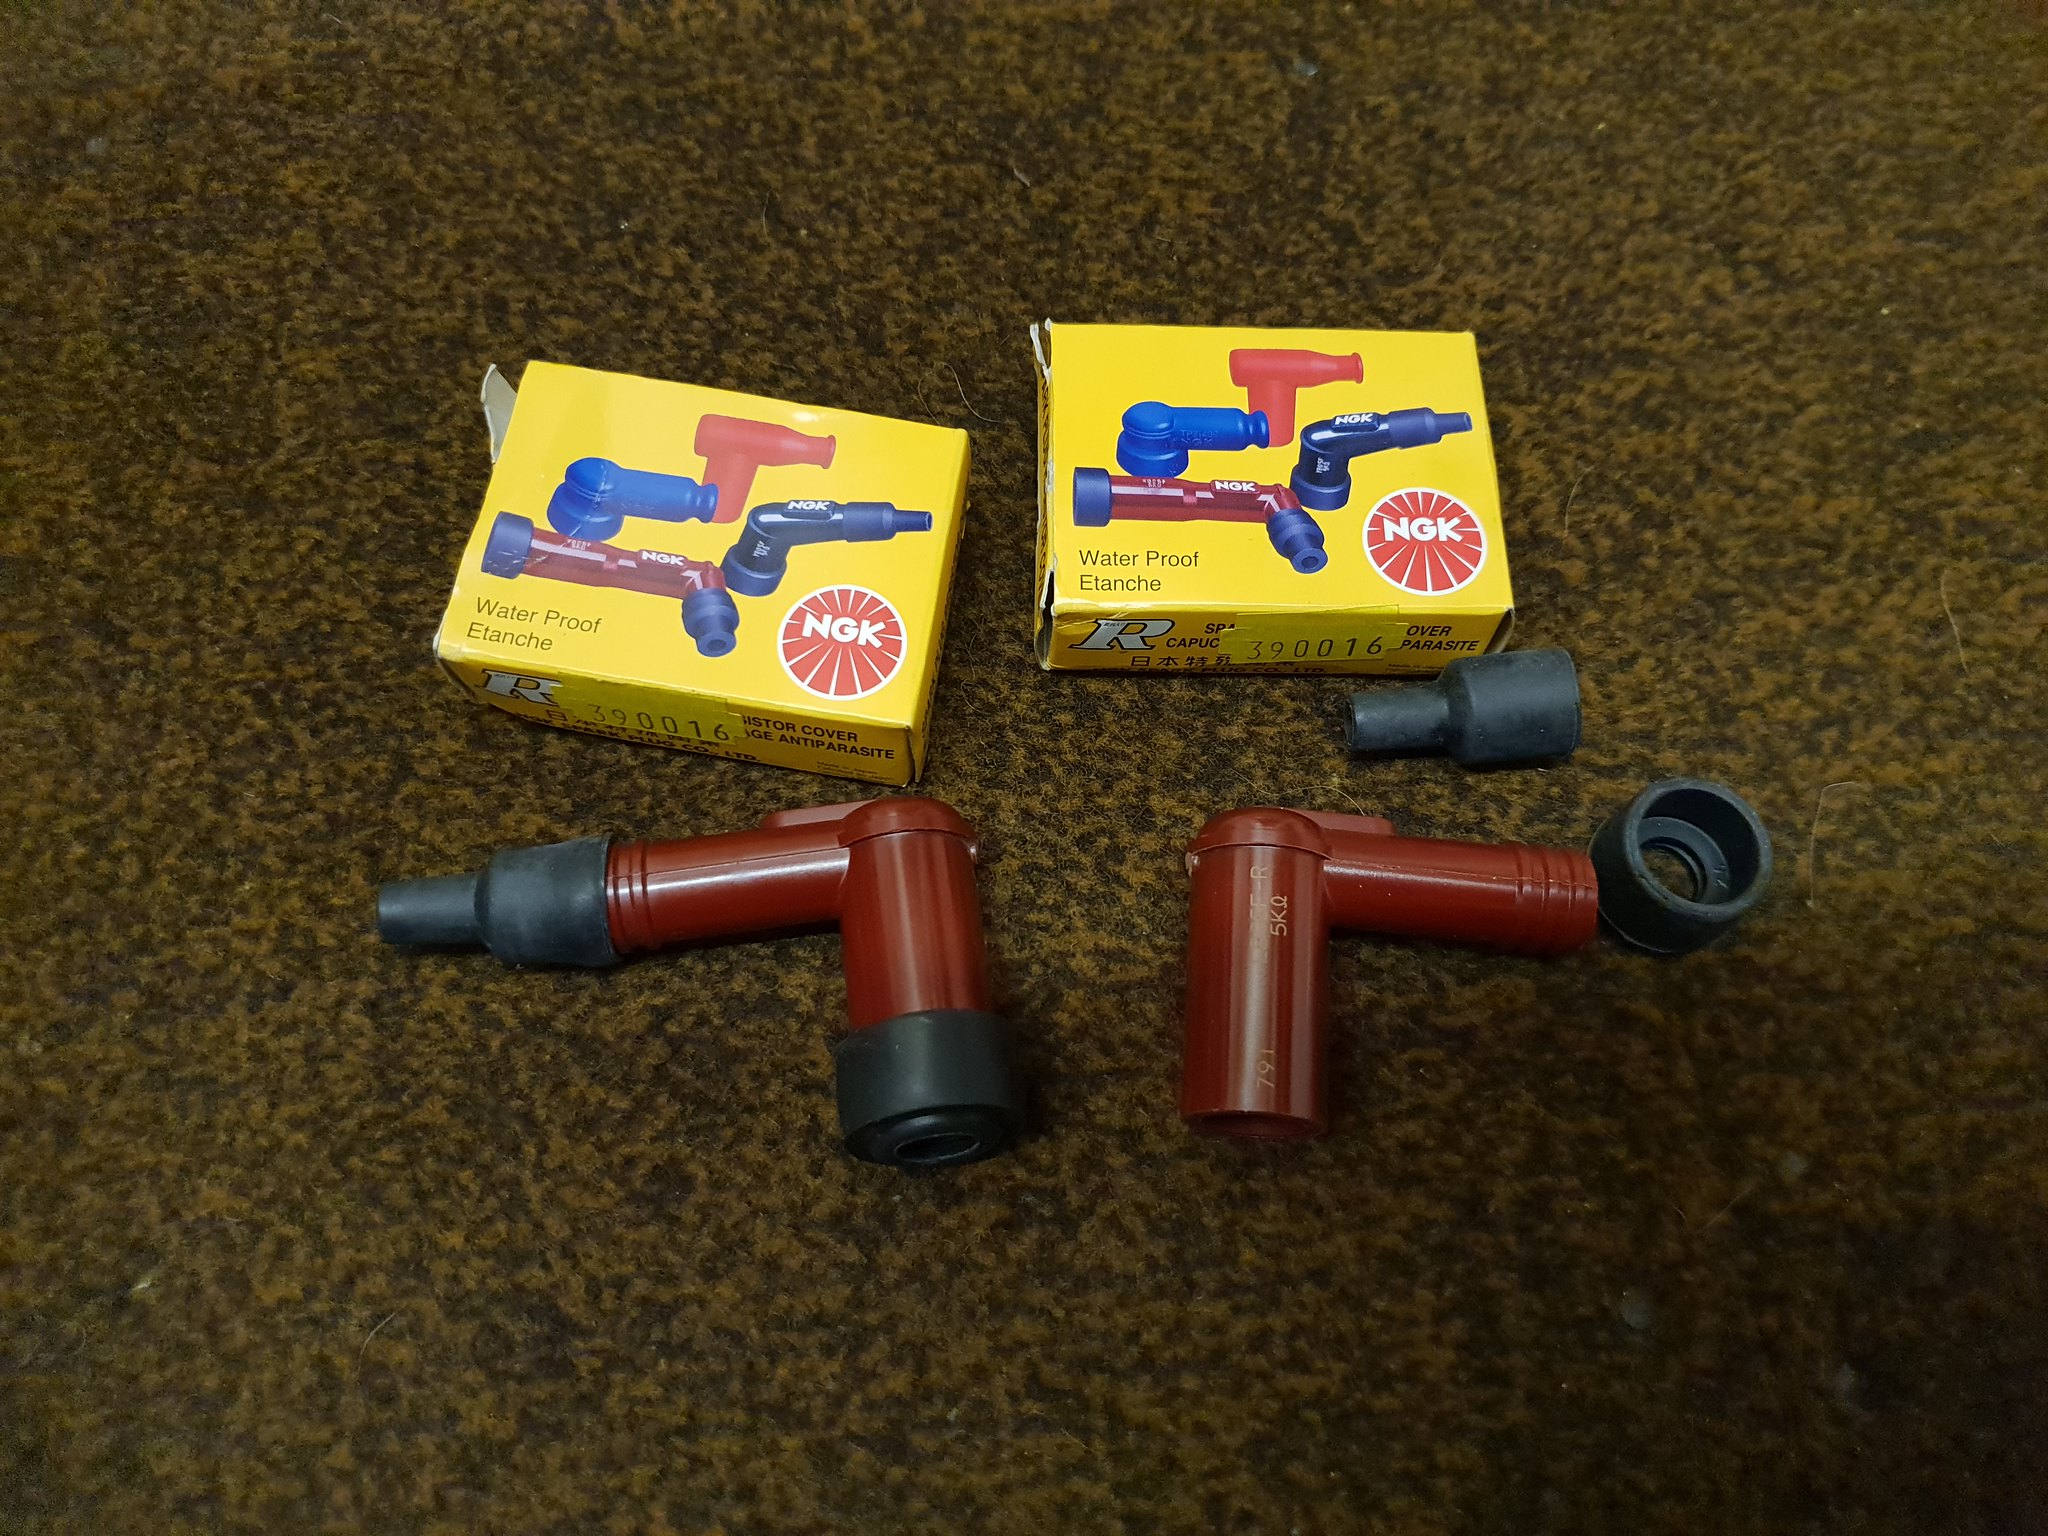 20190105_195053 20190105_195053 by David Miller, on Flickr 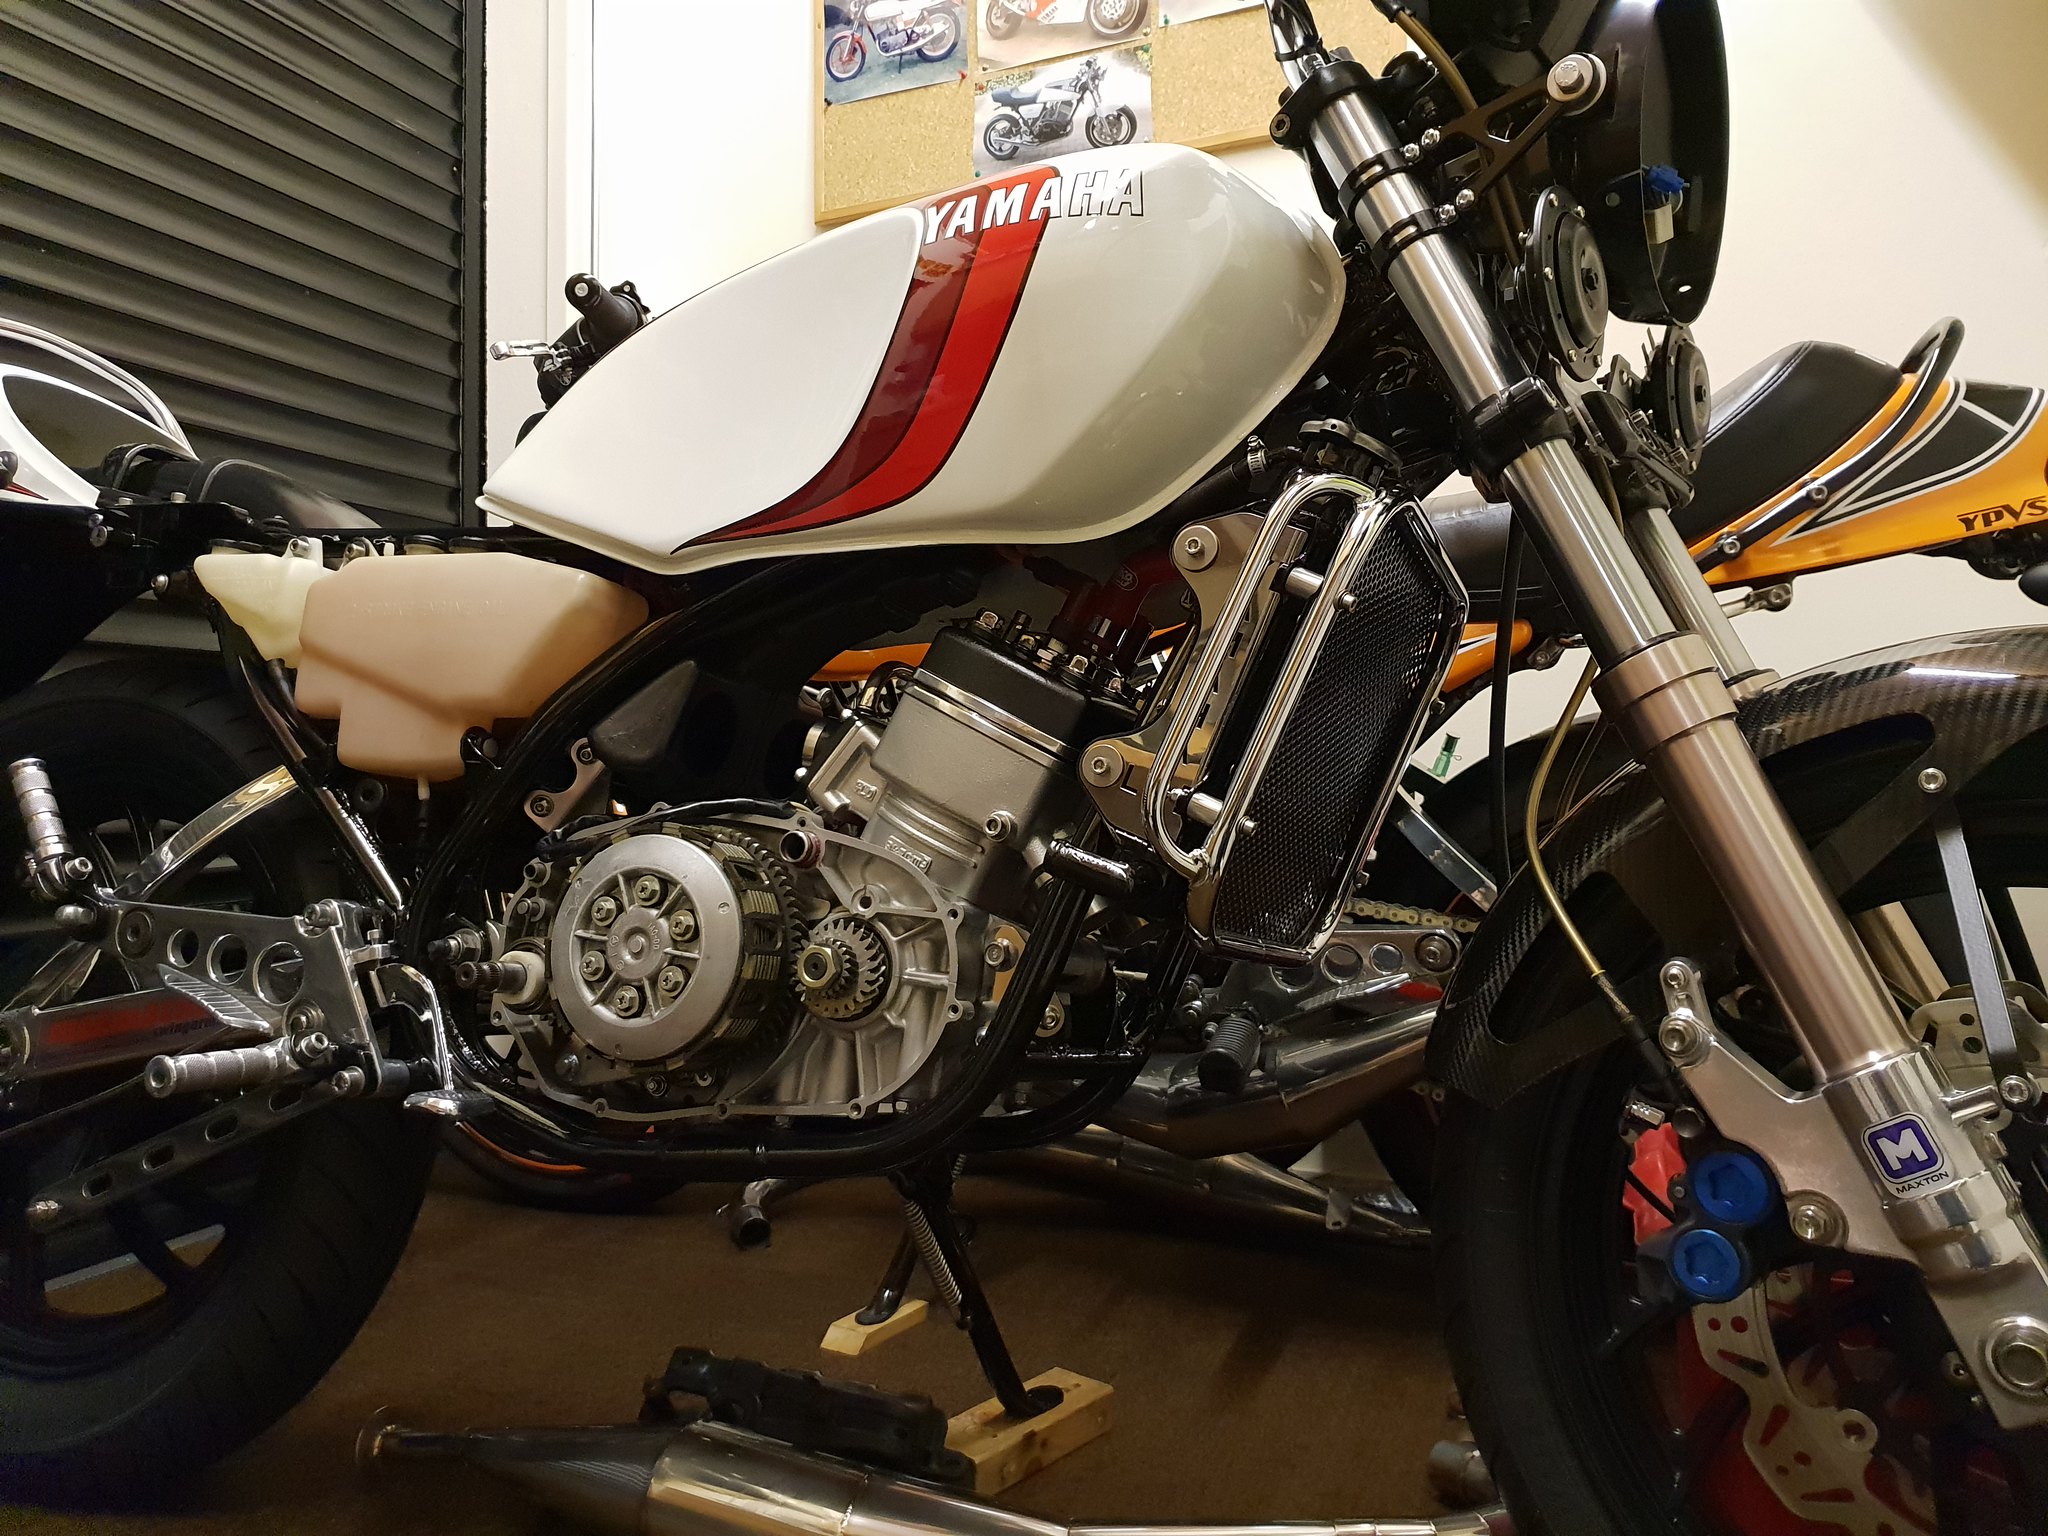 20190105_202825 20190105_202825 by David Miller, on Flickr I had a really manky kickstart that I cleaned up; 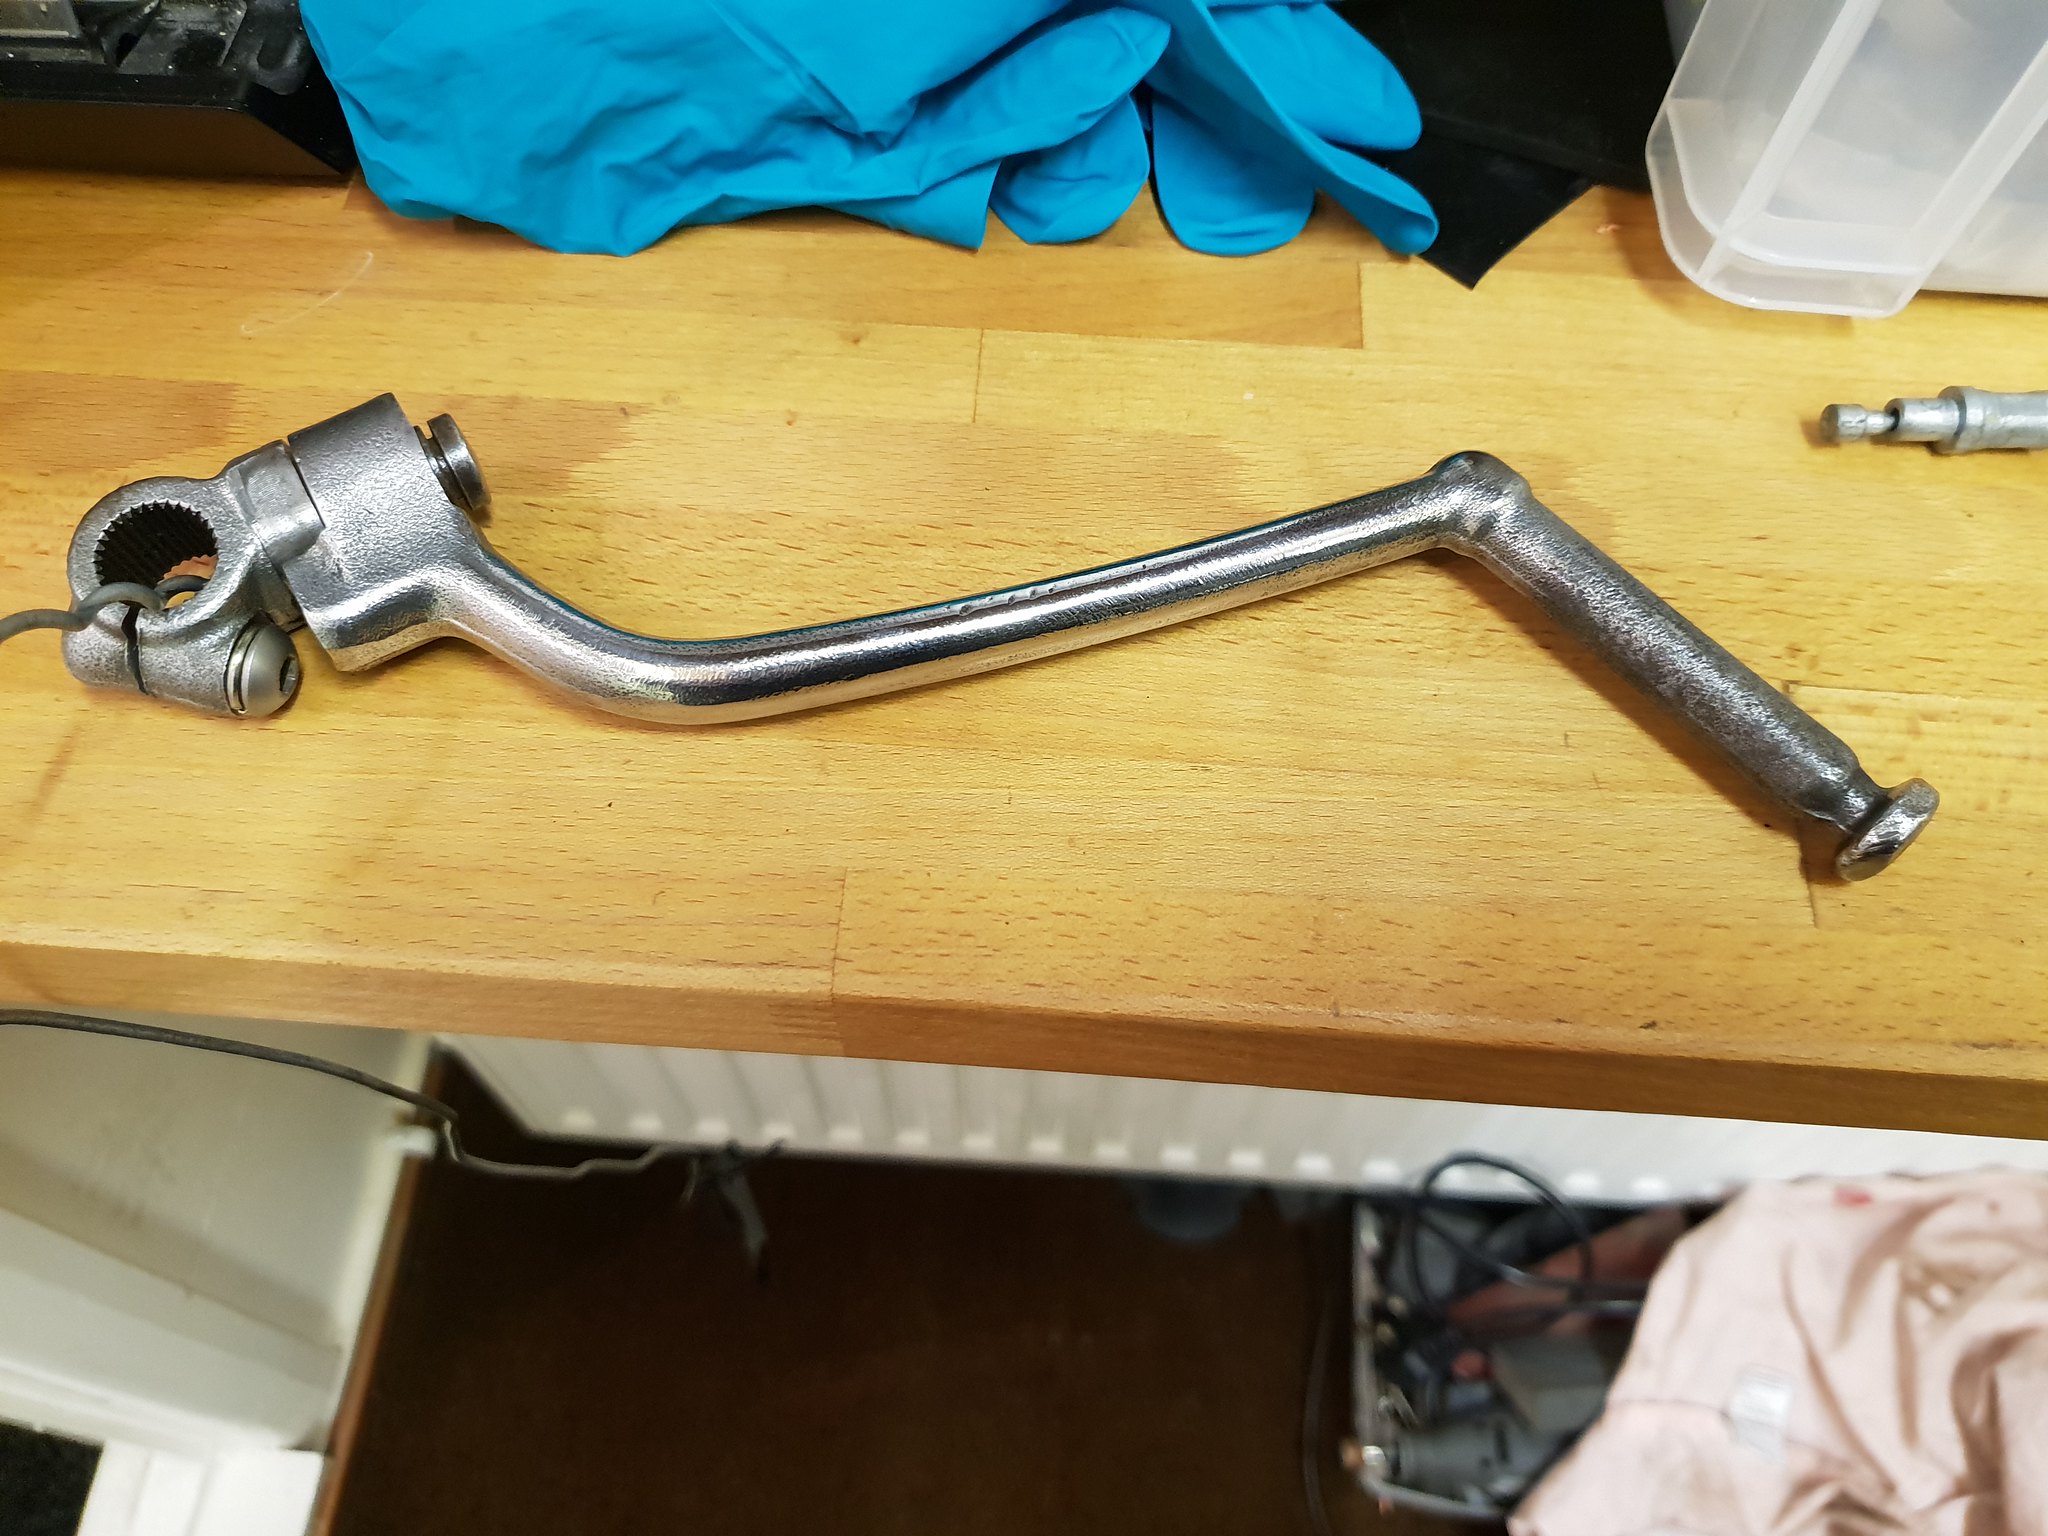 20190106_112350 20190106_112350 by David Miller, on Flickr Need to get a new rubber and repair kit from Norbo. The clutch case is ready to pick up from the Powdercoaters too. I hope to fit the exhausts permanently this week so ran the pipes over the polishing wheel so they are ready to go on. I also rubbed down and resprayed the bracket for the rear reflector, so I will fit that this week too; 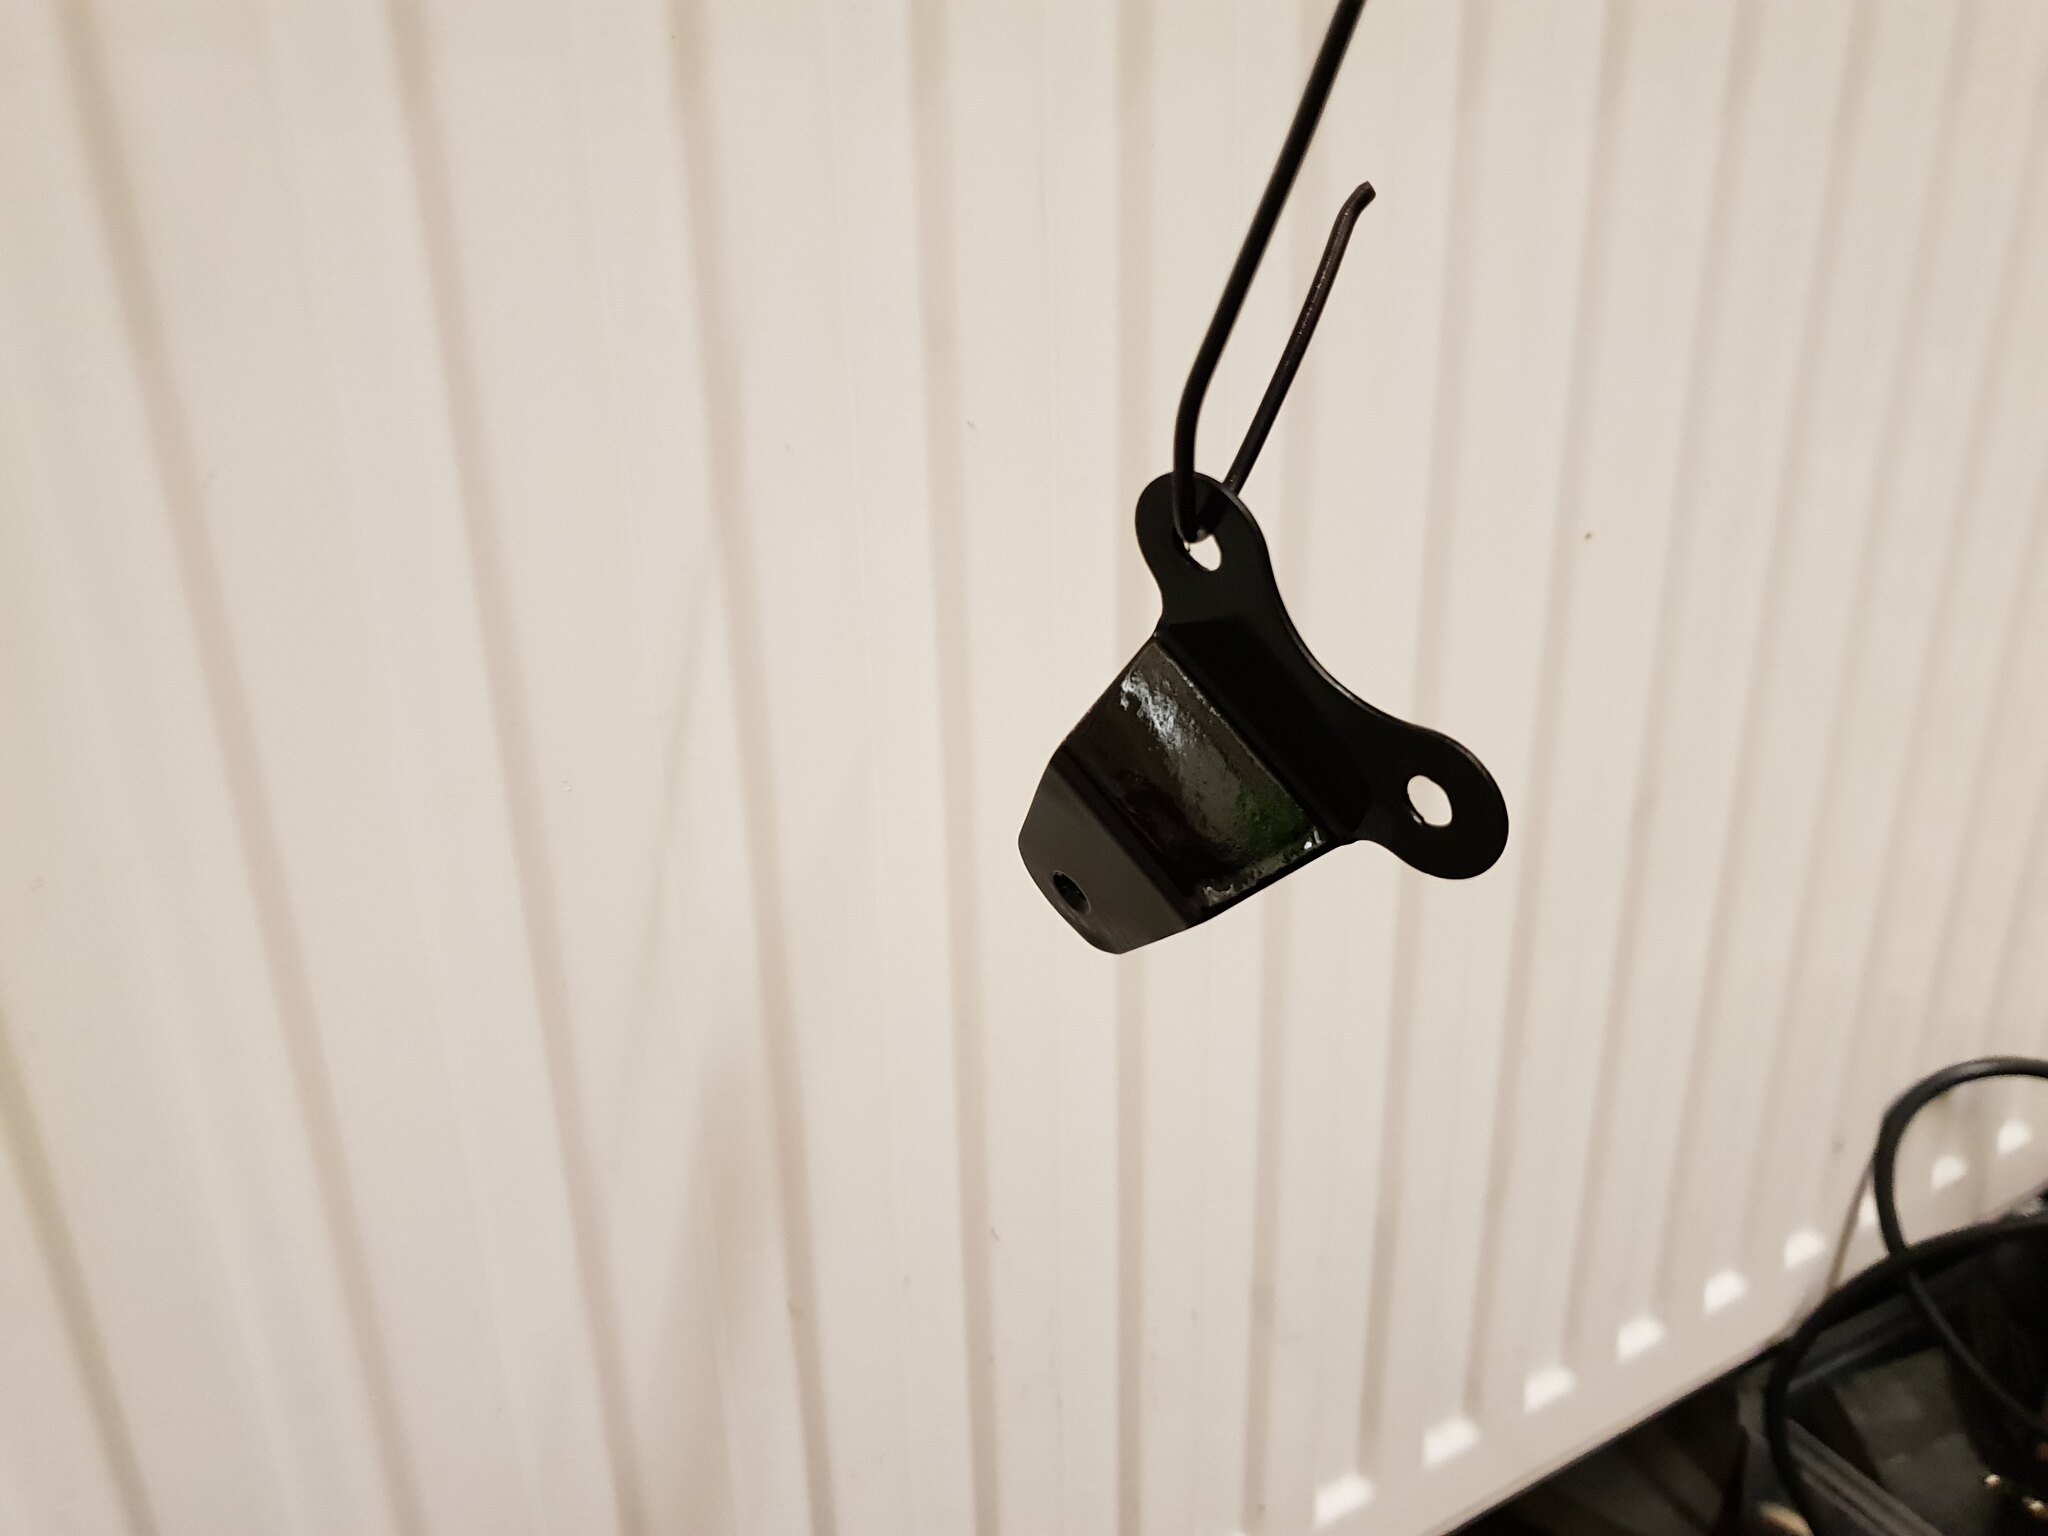 20190106_112404 20190106_112404 by David Miller, on Flickr Dusty |
|
|
|
Post by rigga on Jan 6, 2019 15:53:59 GMT 1
Those helicoil kits, listed as 6mm x1.0, wasn't there a discussion a while back that its better to have 1.5 or even 2.0 as being longer they are better? Or did I dream that ......
|
|
|
|
Post by midlifecrisisrd on Jan 6, 2019 18:11:38 GMT 1
Those helicoil kits, listed as 6mm x1.0, wasn't there a discussion a while back that its better to have 1.5 or even 2.0 as being longer they are better? Or did I dream that ...... Yes and no The 1.0 refers to the thread pitch which is correct for the case screws There are different thread length available though so you were correct on that I've never used anything other than whatever standard is Steve |
|
|
|
Post by dusty350 on Jan 6, 2019 20:01:17 GMT 1
Correct. The 1.0 is thread pitch. The actual inserts for the kit I've used are approx 5mm long and you fit them half a turn under flush. The bigger diameter recoil kits have relatively short inserts too.
Dusty😁
|
|
|
|
Post by rigga on Jan 6, 2019 21:45:11 GMT 1
Thanks gents BTW ....cracking build Dusty .... again  |
|
|
|
Post by dusty350 on Jan 6, 2019 22:27:28 GMT 1
Thanks Rigga. And for info, I was in my local car spares place on Saturday and noticed they stocked a Laser tools version of the Recoil style thread repair kit on the shelf. Looked exactly the same as what I have used, so lots of options if you need a set. And as mentioned, the repair I did on the bottom crankcase on my old 400 is still good and oil tight nearly 30 years later (I'm friends with the owner), so they do work well. Dusty |
|
|
|
Post by donkeychomp on Jan 6, 2019 23:54:39 GMT 1
Oh blimey those pipes and swinger just set it off so sweetly. Another cracker Dusty!
I am watching that helicoil thing on eBay, thanks for the link but the seller is in China! How long did yours take to get here?
Alex
|
|
|
|
Post by dusty350 on Jan 7, 2019 8:27:42 GMT 1
I used 9853riley on ebay. They are in Sussex. Had a quick look on ebay and they are out of stock at the mo but delivery would be 2 days if they had an M6 kit. Loads on ebay or try anywhere that sells Laser tools - David Page Autofactors at the top of Kingston Rd sell them Dusty |
|
|
|
Post by rigga on Jan 7, 2019 11:02:29 GMT 1
I ordered a set on Dusty's recommendation, did see the china location in the one that was linked, but there was another advertised in jersey, so went with that, be here by about Thursday, so 3 or 4 days.
|
|
|
|
Post by dusty350 on Jan 9, 2019 21:11:05 GMT 1
Bit more done. Got some bits from Norbo today (thanks mate). These ally spacers fit into the exhaust ports on the early Lc barrels, allowing a better, flatter surface for the exhaust washers to compress against; 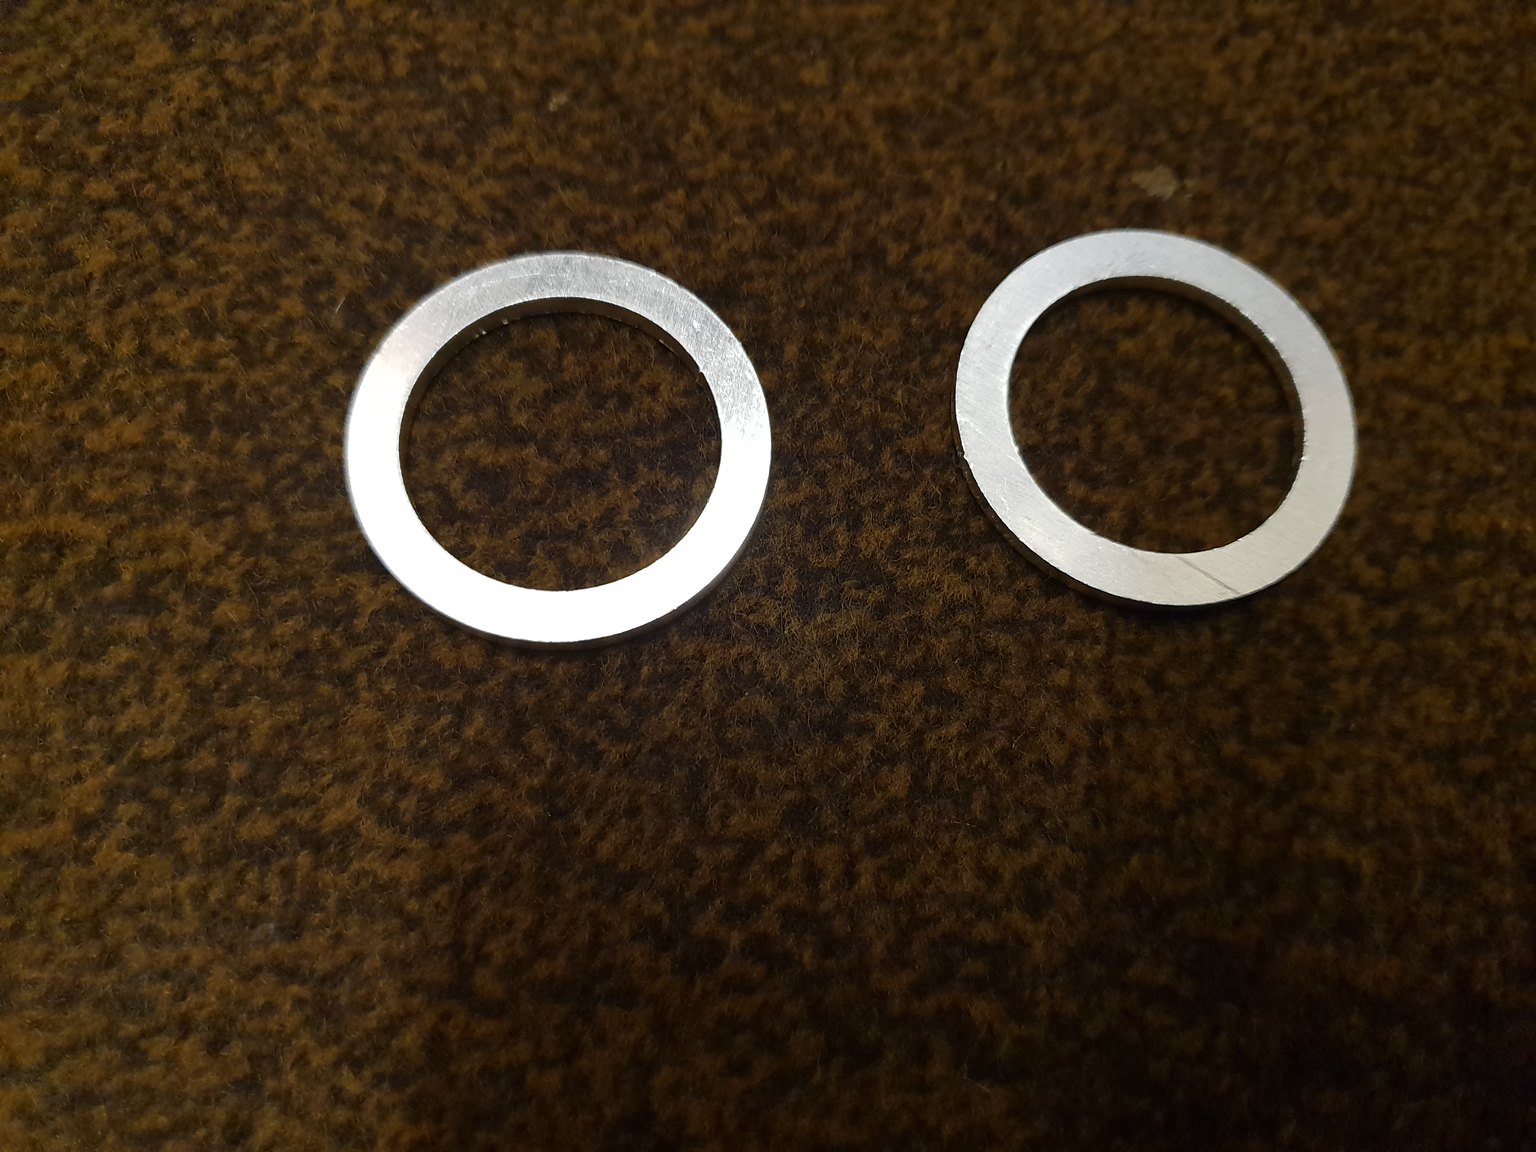 20190109_183114 20190109_183114 by dusty miller, on Flickr I coated them in 3bond; 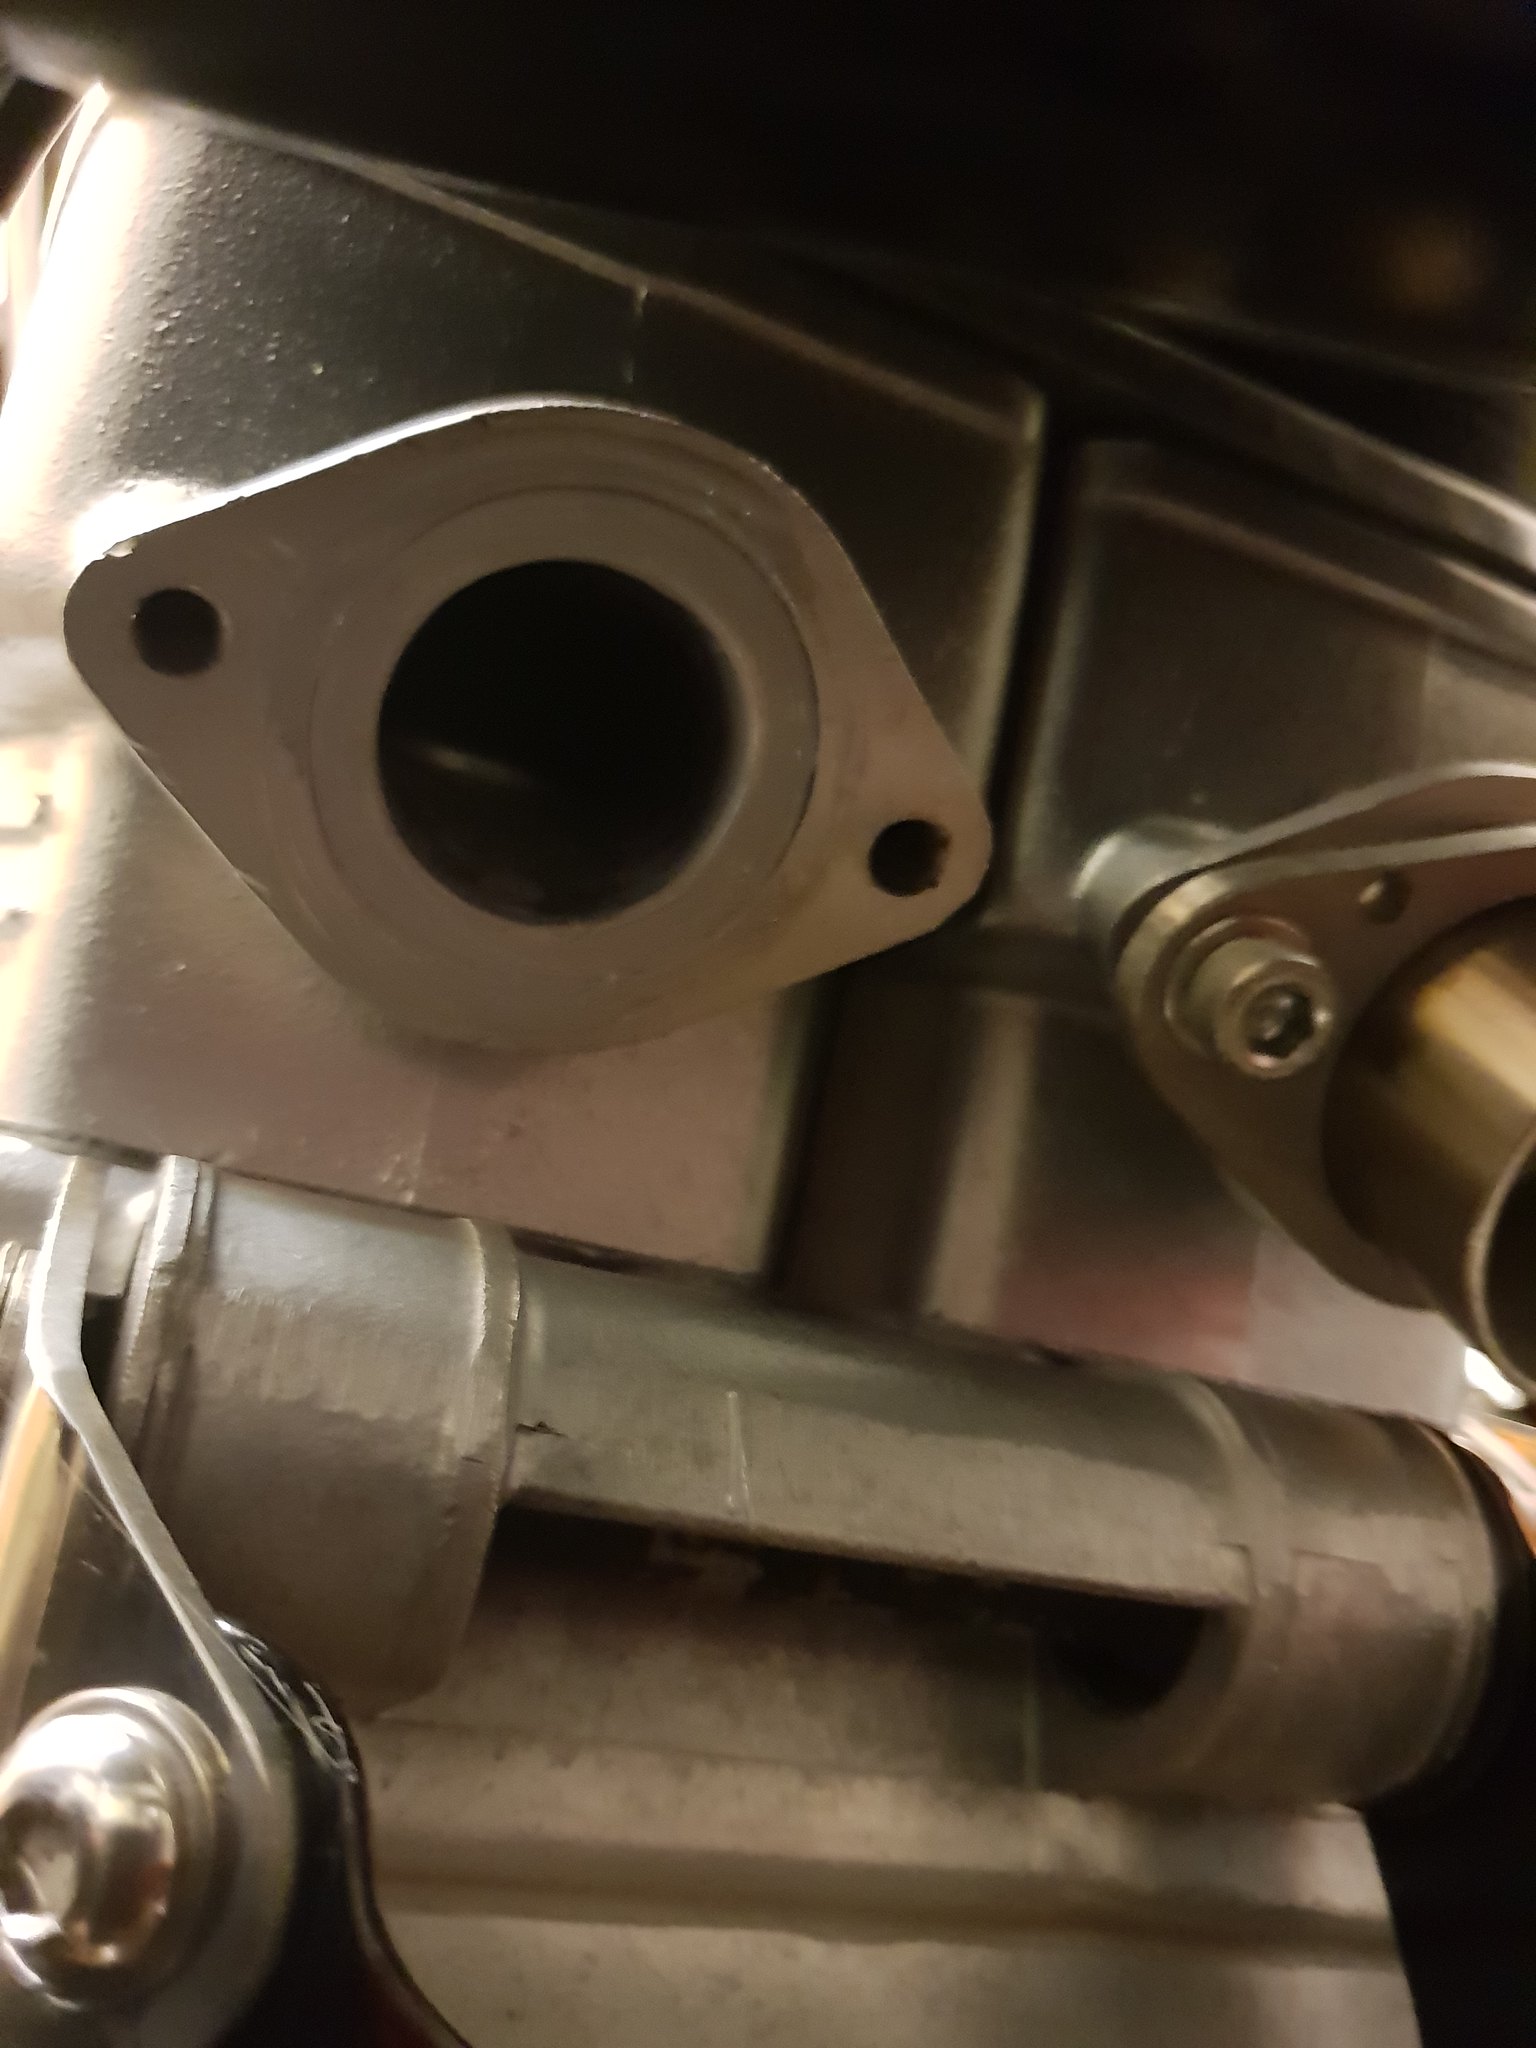 20190109_183713 20190109_183713 by dusty miller, on Flickr I'm using Ypvs copper crush washers as I think they are a better bet than the ally Lc style version; 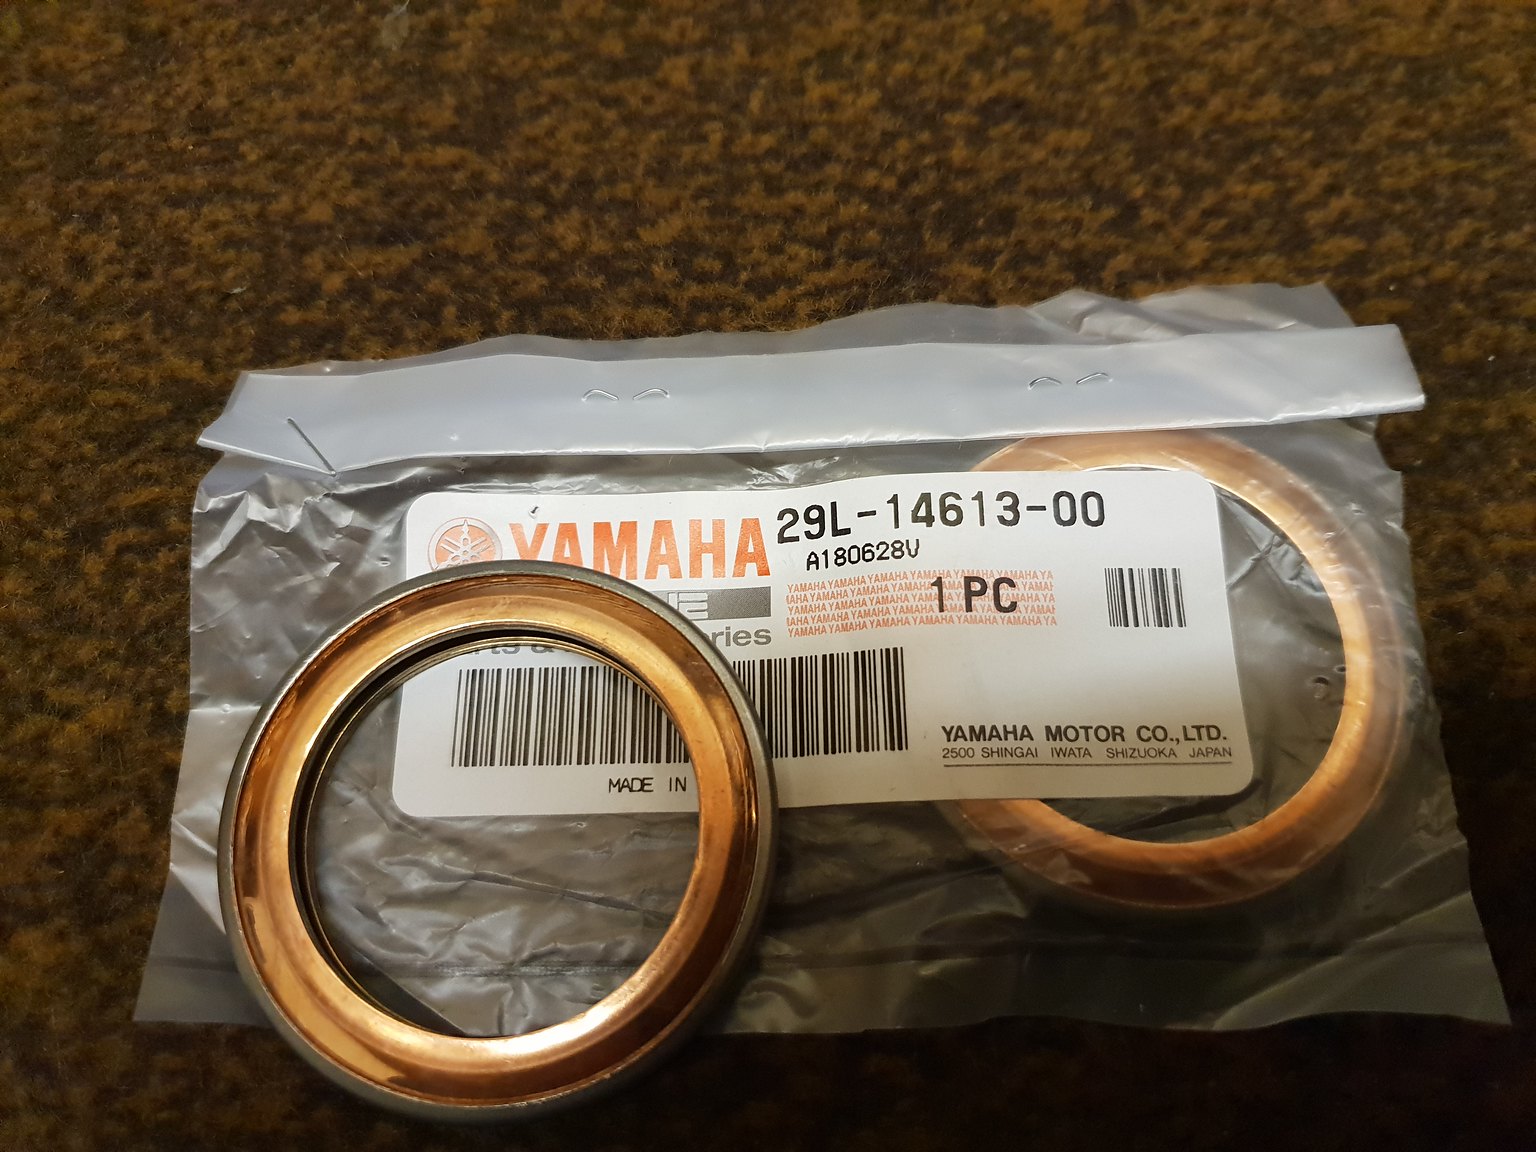 20190109_183731 20190109_183731 by dusty miller, on Flickr A bit more 3bond on all the mating surfaces and then I could bolt on the exhaust flange, and then the exhaust;  20190109_185844 20190109_185844 by dusty miller, on Flickr  20190109_185901 20190109_185901 by dusty miller, on Flickr Picked up my newly powdercoated clutch case on Monday; 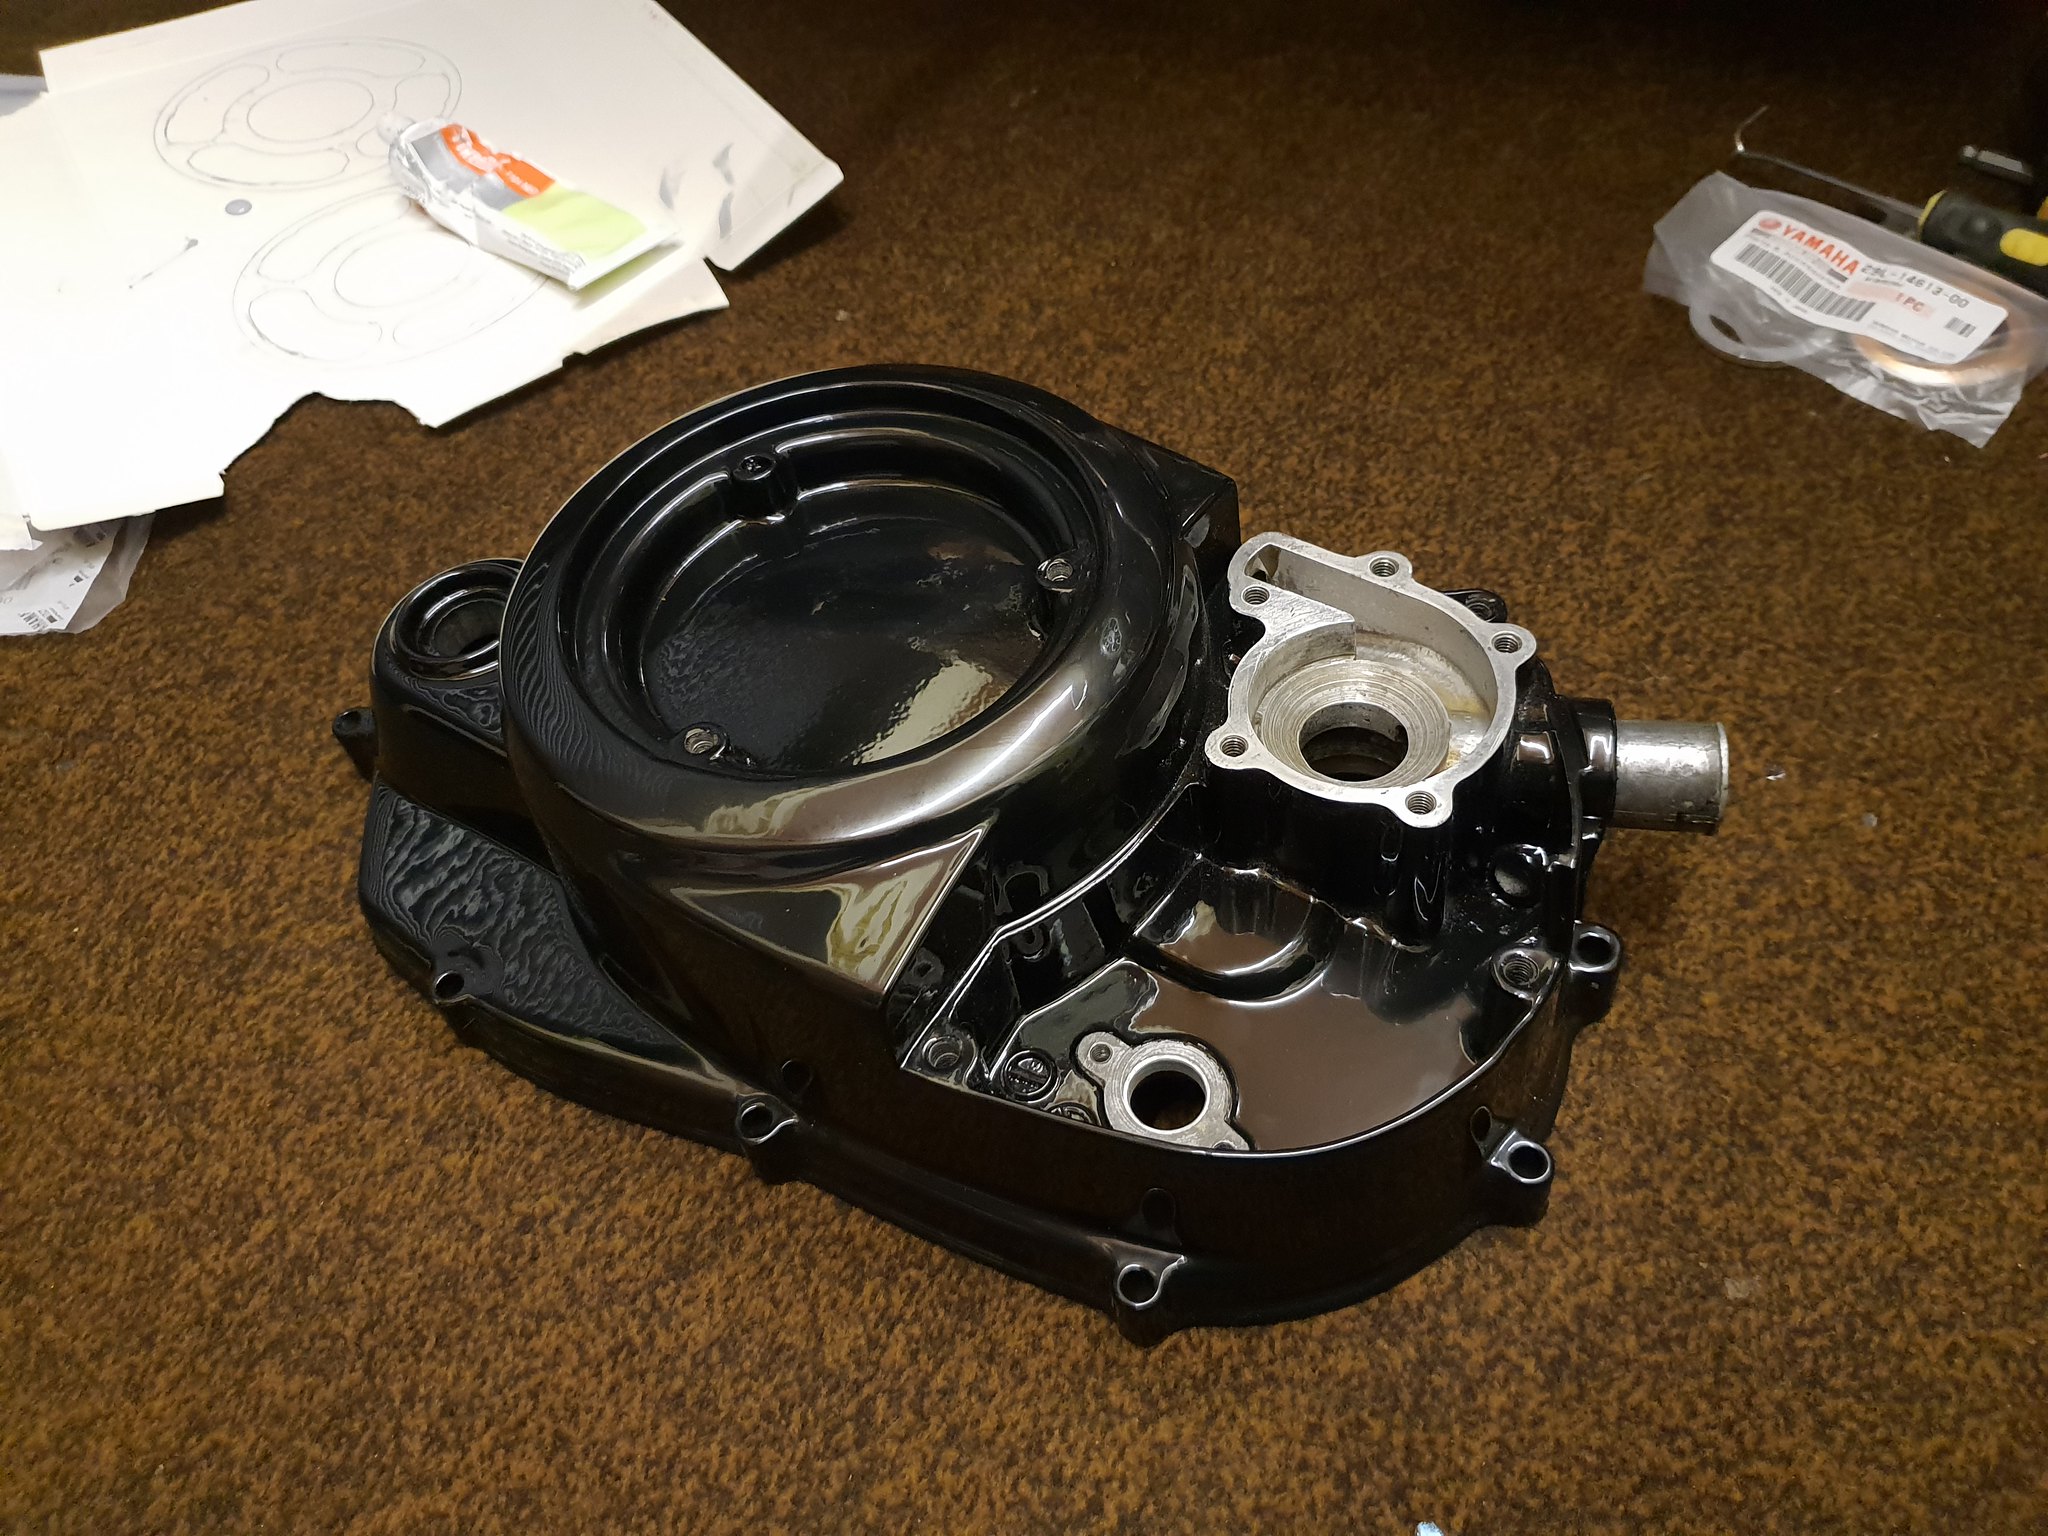 20190109_192302 20190109_192302 by dusty miller, on Flickr Just need to build the water and oil pumps into the case before I fit it. I robbed an alloy impellor of the café racer project for this build;  20190109_190025 20190109_190025 by dusty miller, on Flickr The plastic oil pump cover was pretty rough, so I rubbed it down and gave it a matching coat of gloss black; 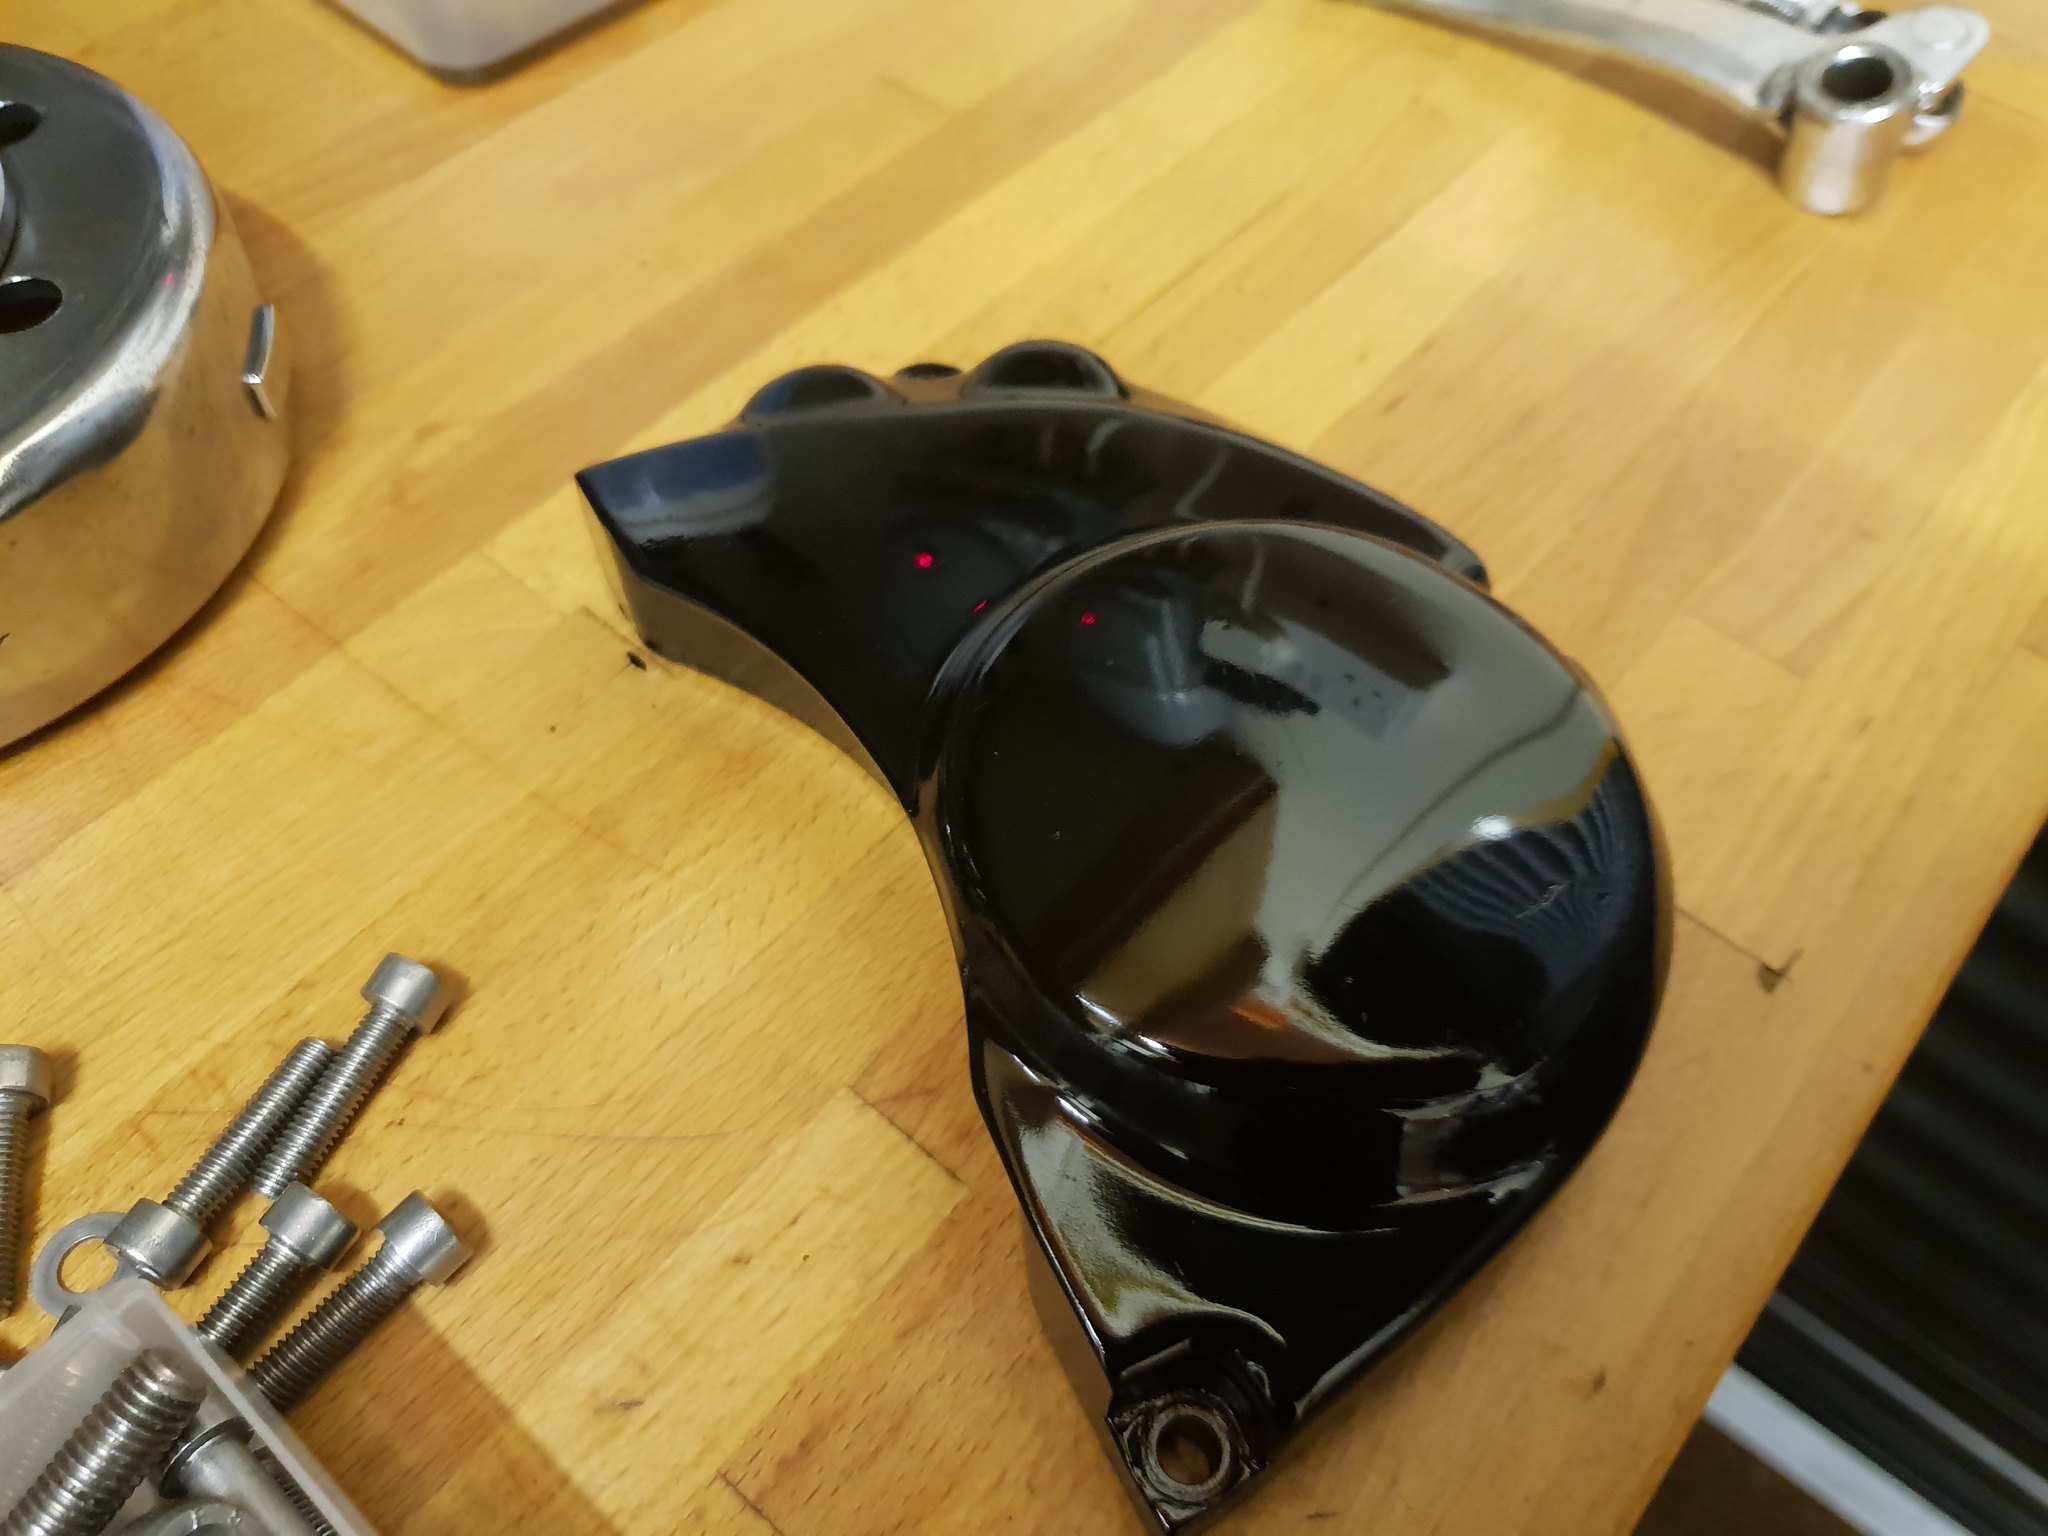 20190109_190009 20190109_190009 by dusty miller, on Flickr And I also repaired the kick start with new spring, bb and washer and e clip, topped off with a new rubber; 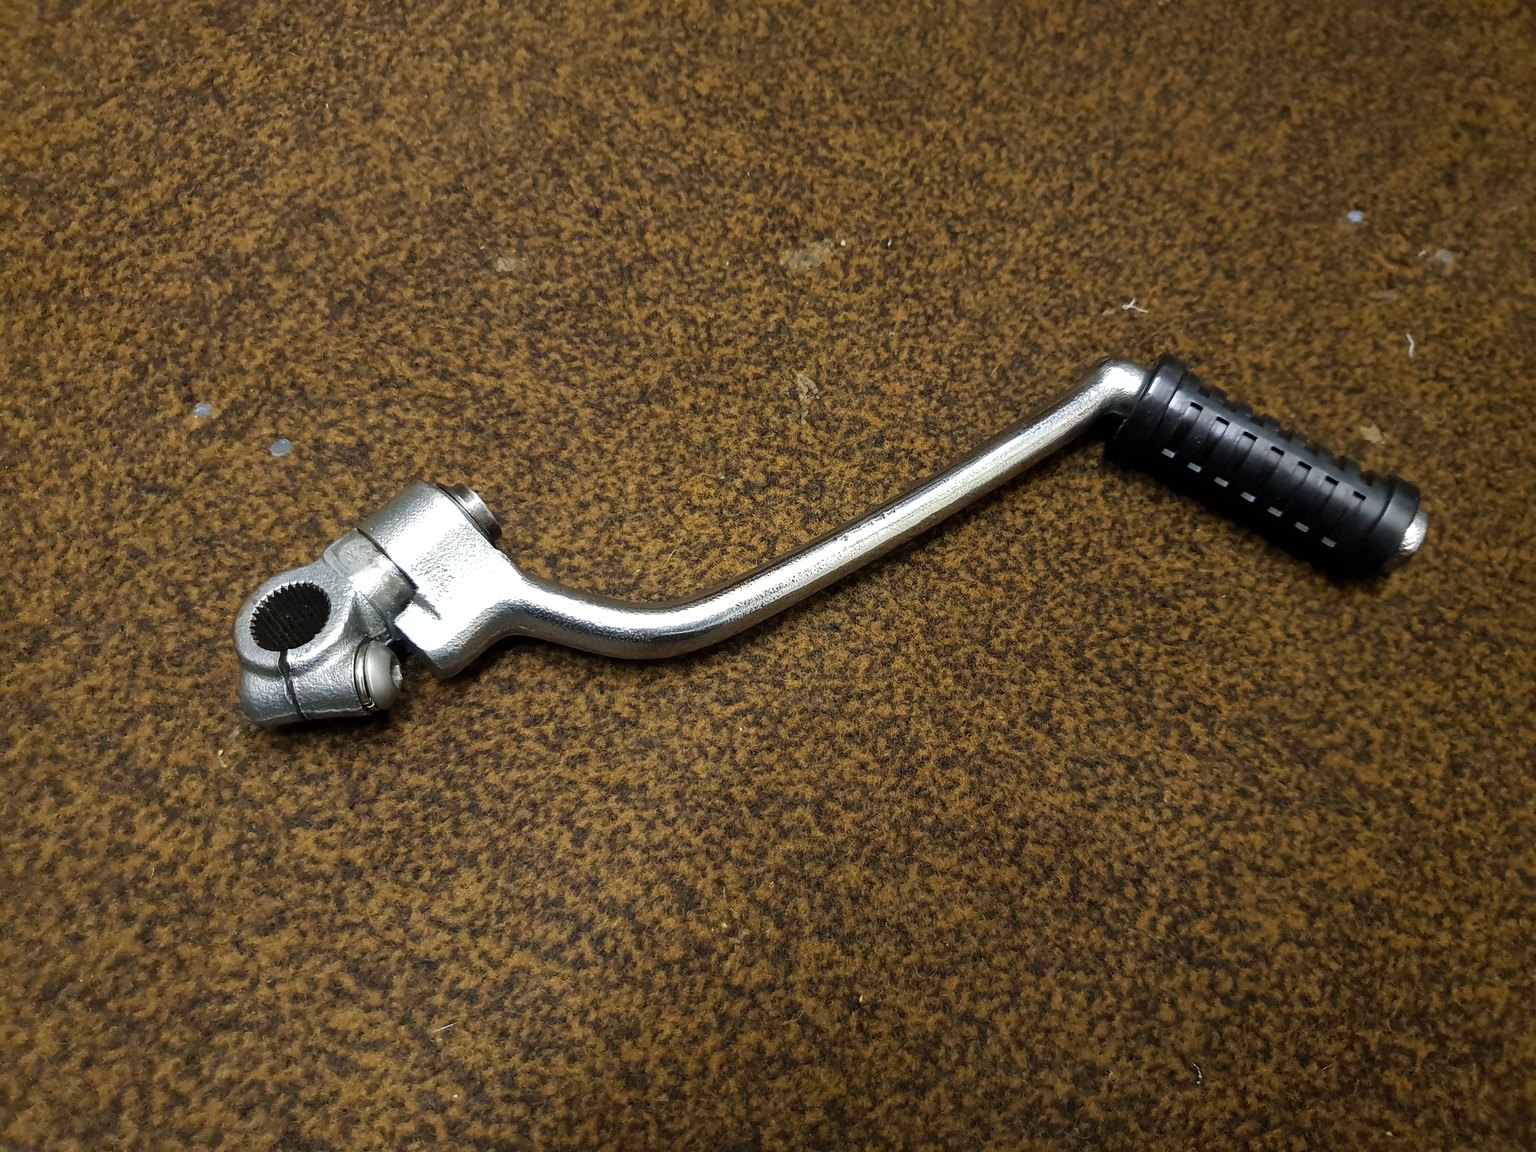 20190109_185948 20190109_185948 by dusty miller, on Flickr Dusty |
|
|
|
Post by donkeychomp on Jan 9, 2019 23:34:33 GMT 1
Pipes are stunning Dusty.
Alex
|
|
|
|
Post by mouse on Jan 10, 2019 7:59:17 GMT 1
This is looking really good Dusty, a beautiful job as usual!
Mouse
|
|
|
|
Post by andymoore on Jan 11, 2019 20:45:56 GMT 1
+1🖒🖒
|
|
|
|
Post by Mr Kipling on Jan 11, 2019 21:07:03 GMT 1
Hi Dusty , that waterpump impellor , is that got a hardened shaft ??? the stainless ones wear real fast.
|
|
|
|
Post by dusty350 on Jan 11, 2019 21:57:14 GMT 1
Hi mate Not sure to be honest - it was in the alloy case that came with the bike. I know Norbo advertises them with an extra hardened shaft but he was out of stock when I asked. Was gonna put a standard one in until I realised I had this one. I will fit it and keep an eye on it. Dusty |
|
|
|
Post by dusty350 on Jan 12, 2019 21:33:36 GMT 1
Both pipes on permanently now; 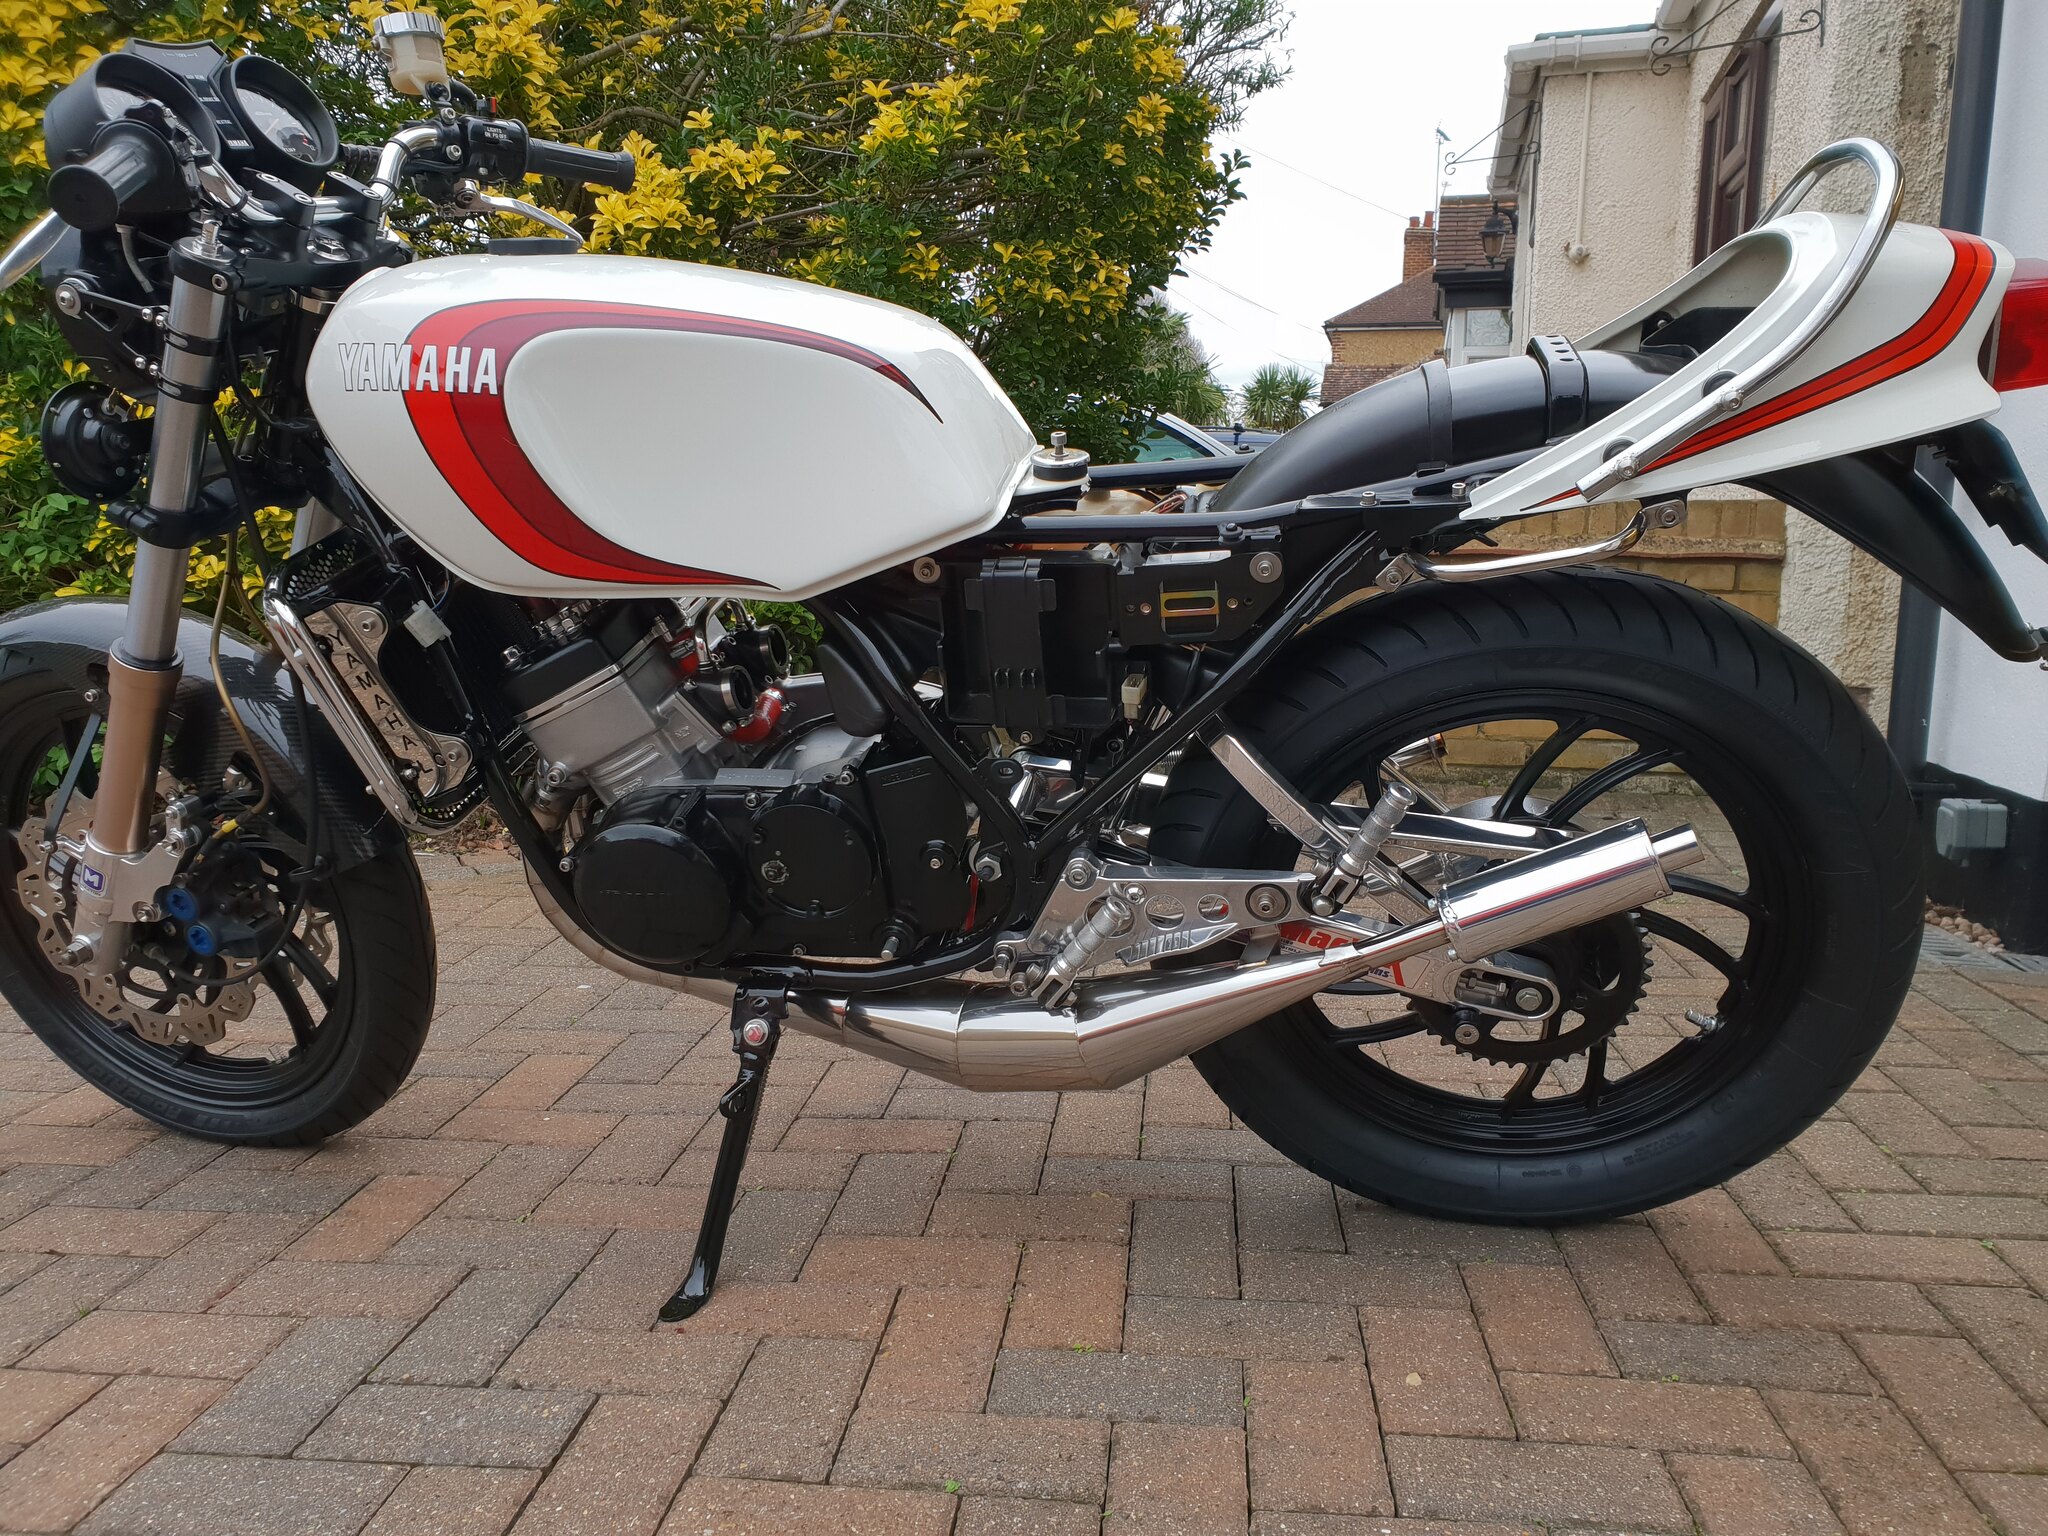 20190112_112602 20190112_112602 by dusty miller, on Flickr Built the water pump into the case and the cog and shaft for the oil pump. I'm using a Ypvs 350 pump as the bike never came with an Lc pump, and I had a spare pv item. Need to get that off to Arrow. All new seals and gaskets meant I could bolt the clutch case on, fit the last hose and fit the kicker; 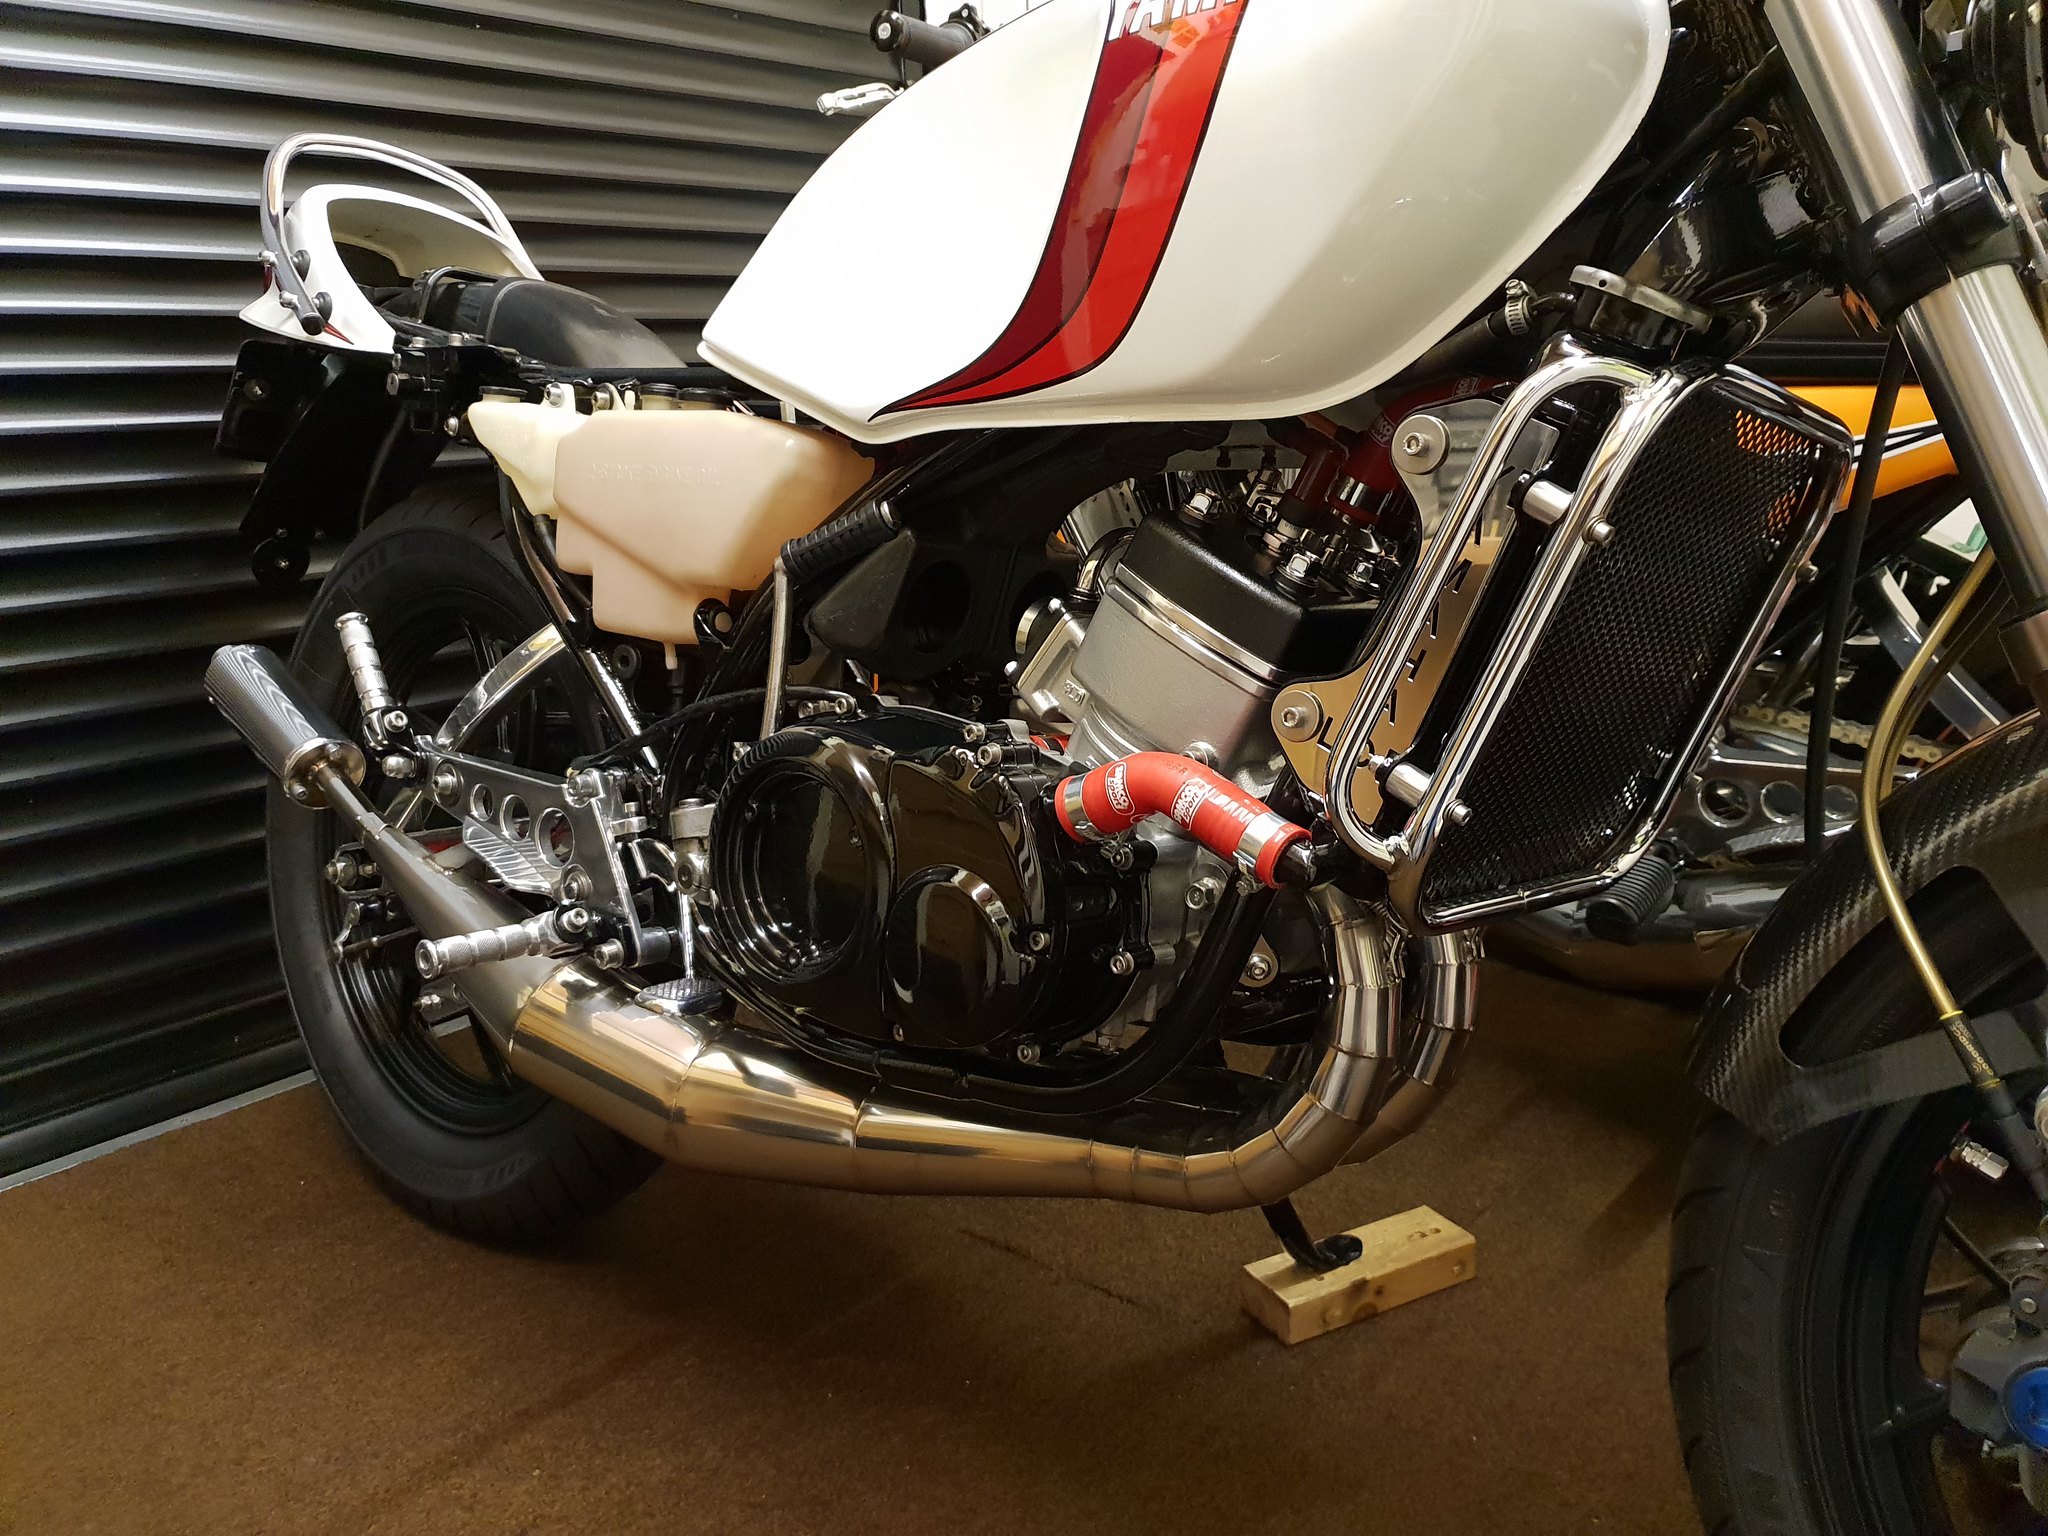 20190112_183421 20190112_183421 by dusty miller, on Flickr Gonna fit the clutch cable tomorrow and then it will be loom, get the airbox finally bolted up and then carbs can go on. Dusty |
|
|
|
Post by Mr Kipling on Jan 12, 2019 21:36:38 GMT 1
Looks like a cracker for sure....
|
|
|
|
Post by Tobyjugs on Jan 12, 2019 21:46:05 GMT 1
Hi mate Not sure to be honest - it was in the alloy case that came with the bike. I know Norbo advertises them with an extra hardened shaft but he was out of stock when I asked. Was gonna put a standard one in until I realised I had this one. I will fit it and keep an eye on it. Dusty Hi Dusty i think a standard Yamaha impeller works very well in a 4LO engine without a thermostat. |
|
|
|
Post by Tobyjugs on Jan 12, 2019 21:49:00 GMT 1
Both pipes on permanently now; 20190112_112602 by dusty miller, on Flickr Built the water pump into the case and the cog and shaft for the oil pump. I'm using a Ypvs 350 pump as the bike never came with an Lc pump, and I had a spare pv item. Need to get that off to Arrow. All new seals and gaskets meant I could bolt the clutch case on, fit the last hose and fit the kicker; 20190112_183421 by dusty miller, on Flickr Gonna fit the clutch cable tomorrow and then it will be loom, get the airbox finally bolted up and then carbs can go on. Dusty Everything looks so nice and new. I always dream of owning such a bike in this condition. |
|
|
|
Post by dusty350 on Jan 12, 2019 22:33:25 GMT 1
Hi Toby The alloy impellor was in better nic than the 2 Yam ones I have - just don't want the extra expense of buying new at the mo. Just getting Yam seals and gaskets came to a fair few quid  The bike is pretty good but I still feel like it's someone else that made a start on it - I've just put it all together with some finishing touches. Ideally I start with a bare frame and source all the parts myself, whereas this was a decent rolling chassis to start with. I really like it though, and the Fzr conversion is really well done and not too "over the top" for the Lc wheels. Once I get the loom and carbs on I will feel like it's nearly done Dusty |
|
|
|
Post by donkeychomp on Jan 13, 2019 0:32:19 GMT 1
If I squint a bit that looks like my very first 250LC. Except mine had clock protecters lol. Love it matey.
Alex
|
|
|
|
Post by dusty350 on Jan 18, 2019 20:03:40 GMT 1
Today I tackled the job I hate the most - fitting the wiring loom !! I got the loom in a carrier bag - a lot of the rest of the bike was in boxes so it figures, and it looked ok but obviously not very pliable ! Anyway, got it all on and then started making some repairs. I made the loom for the twin coils and repaired a couple of broken wires in the headlight bowl too. Just need to buy a battery now to see if it all works With the loom fitted I could final fit the airbox with new gaskets and filter; 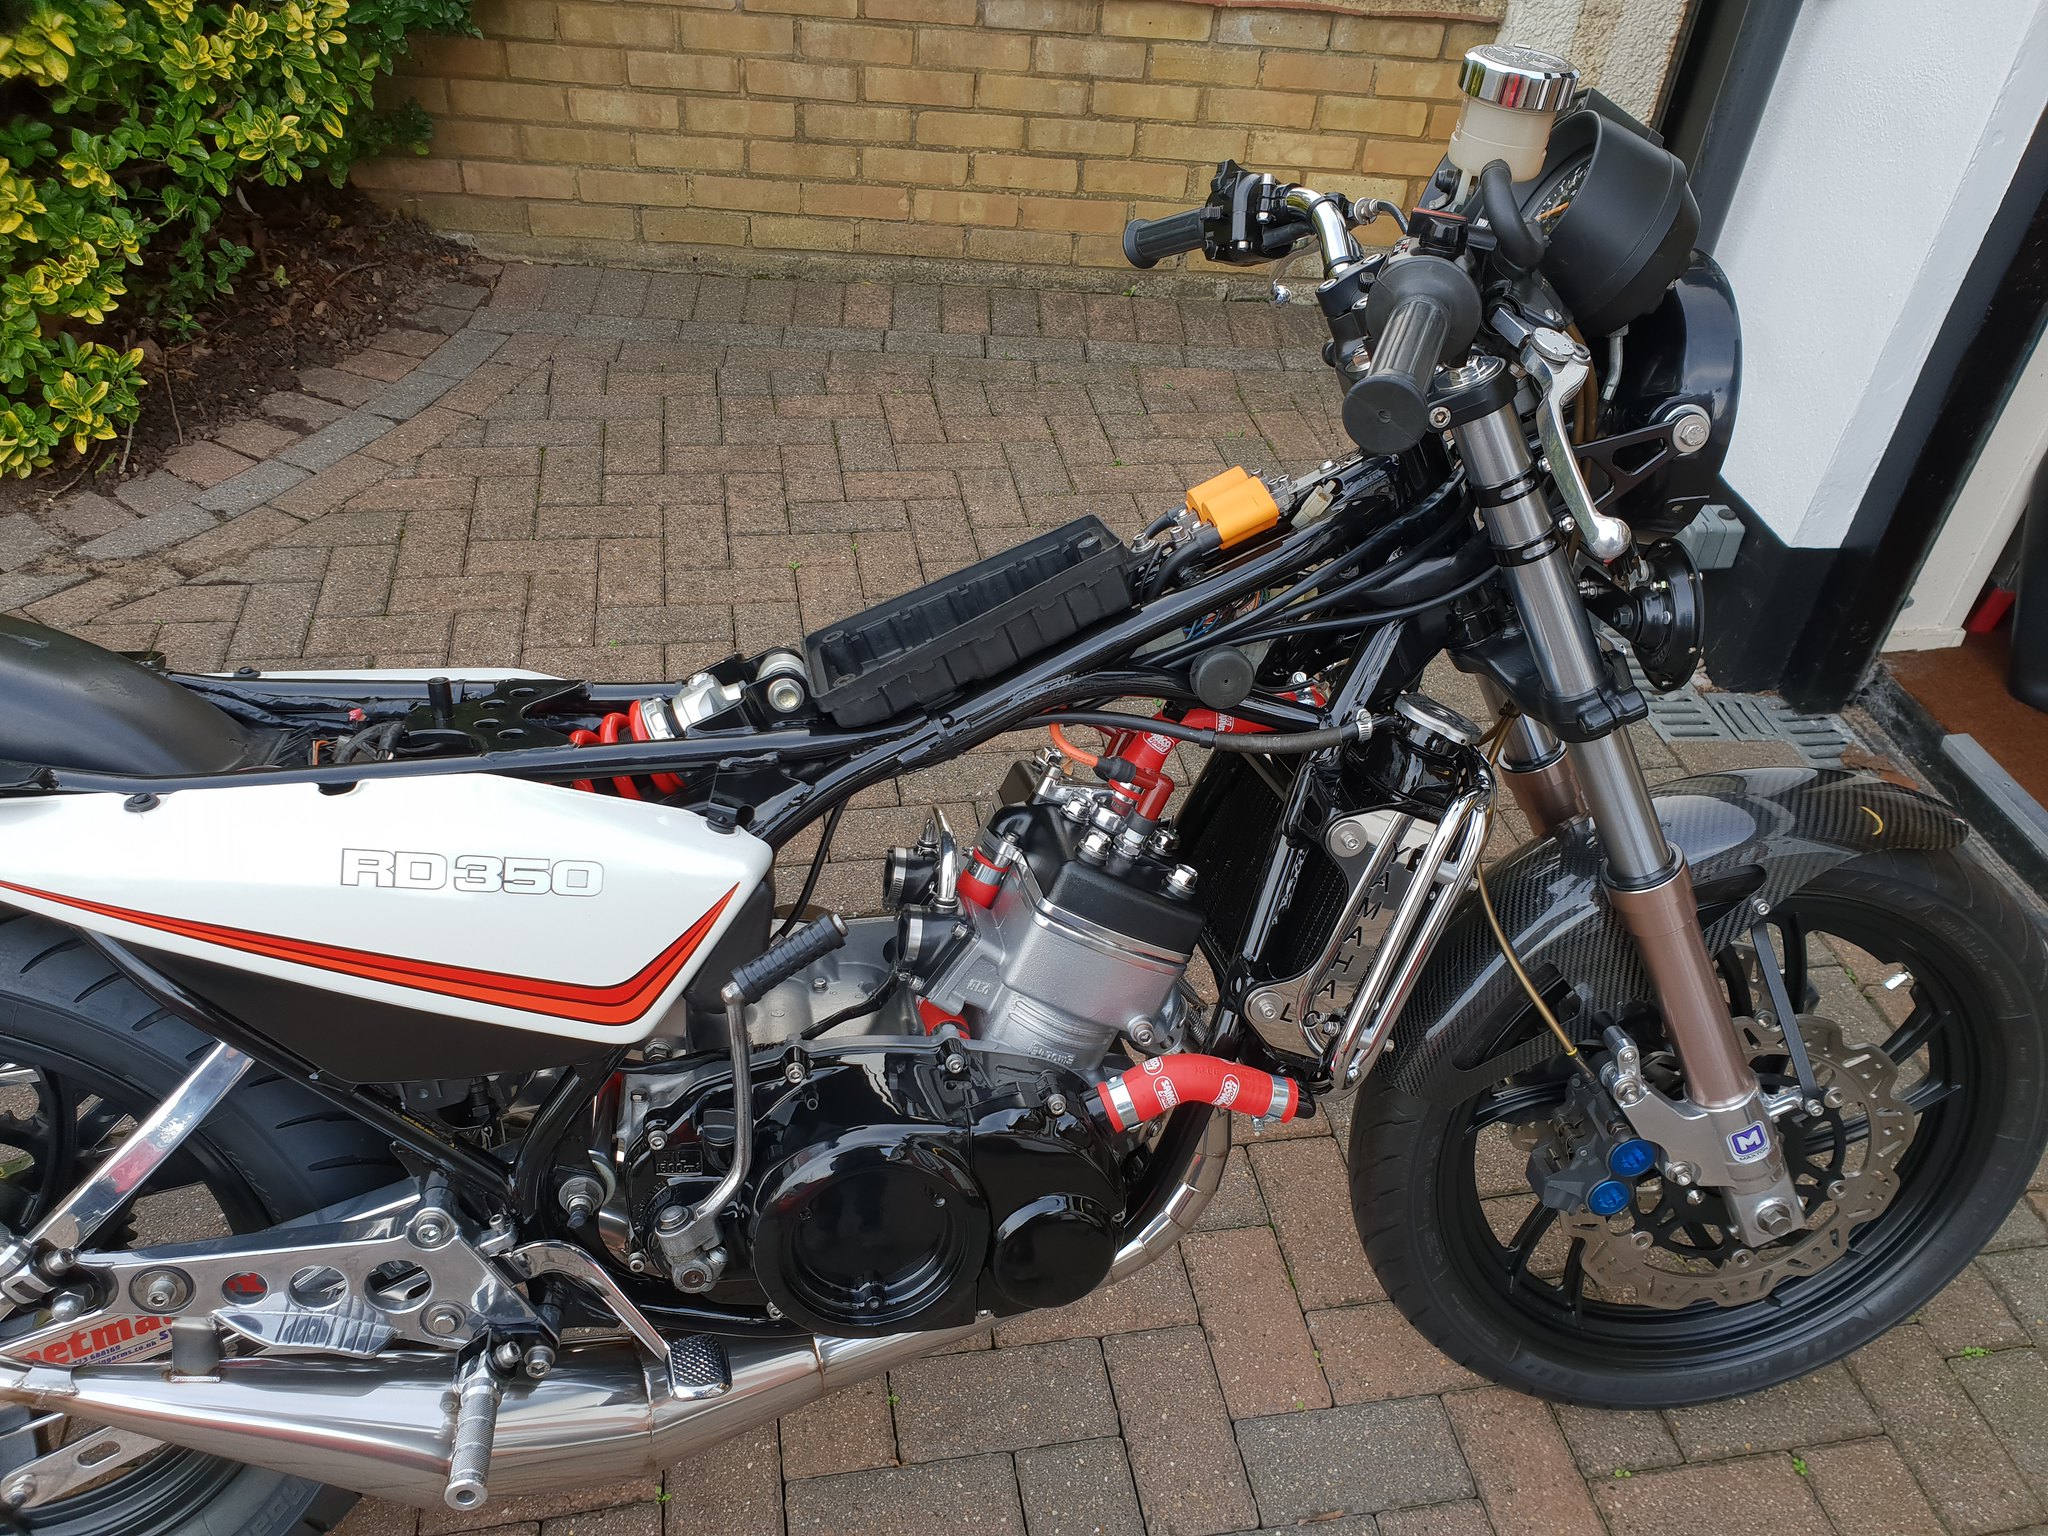 20190118_150311 20190118_150311 by dusty miller, on Flickr Yamark popped over yesterday with a spare tacho cable - cheers mate , so I've fitted that and the clutch cable. He also brought over his dial gauge as I haven't bought one yet, so we could check the timing. When I put the engine together, I could make out some very fine scribe marks made by a previous owner, and I had lined the stator up with them when I bolted it on. They were actually spot on, and we didn't have to alter the timing at all, so all's good there. I fitted the rear reflector the other day - a small part but it's the little bits that make a difference I think; 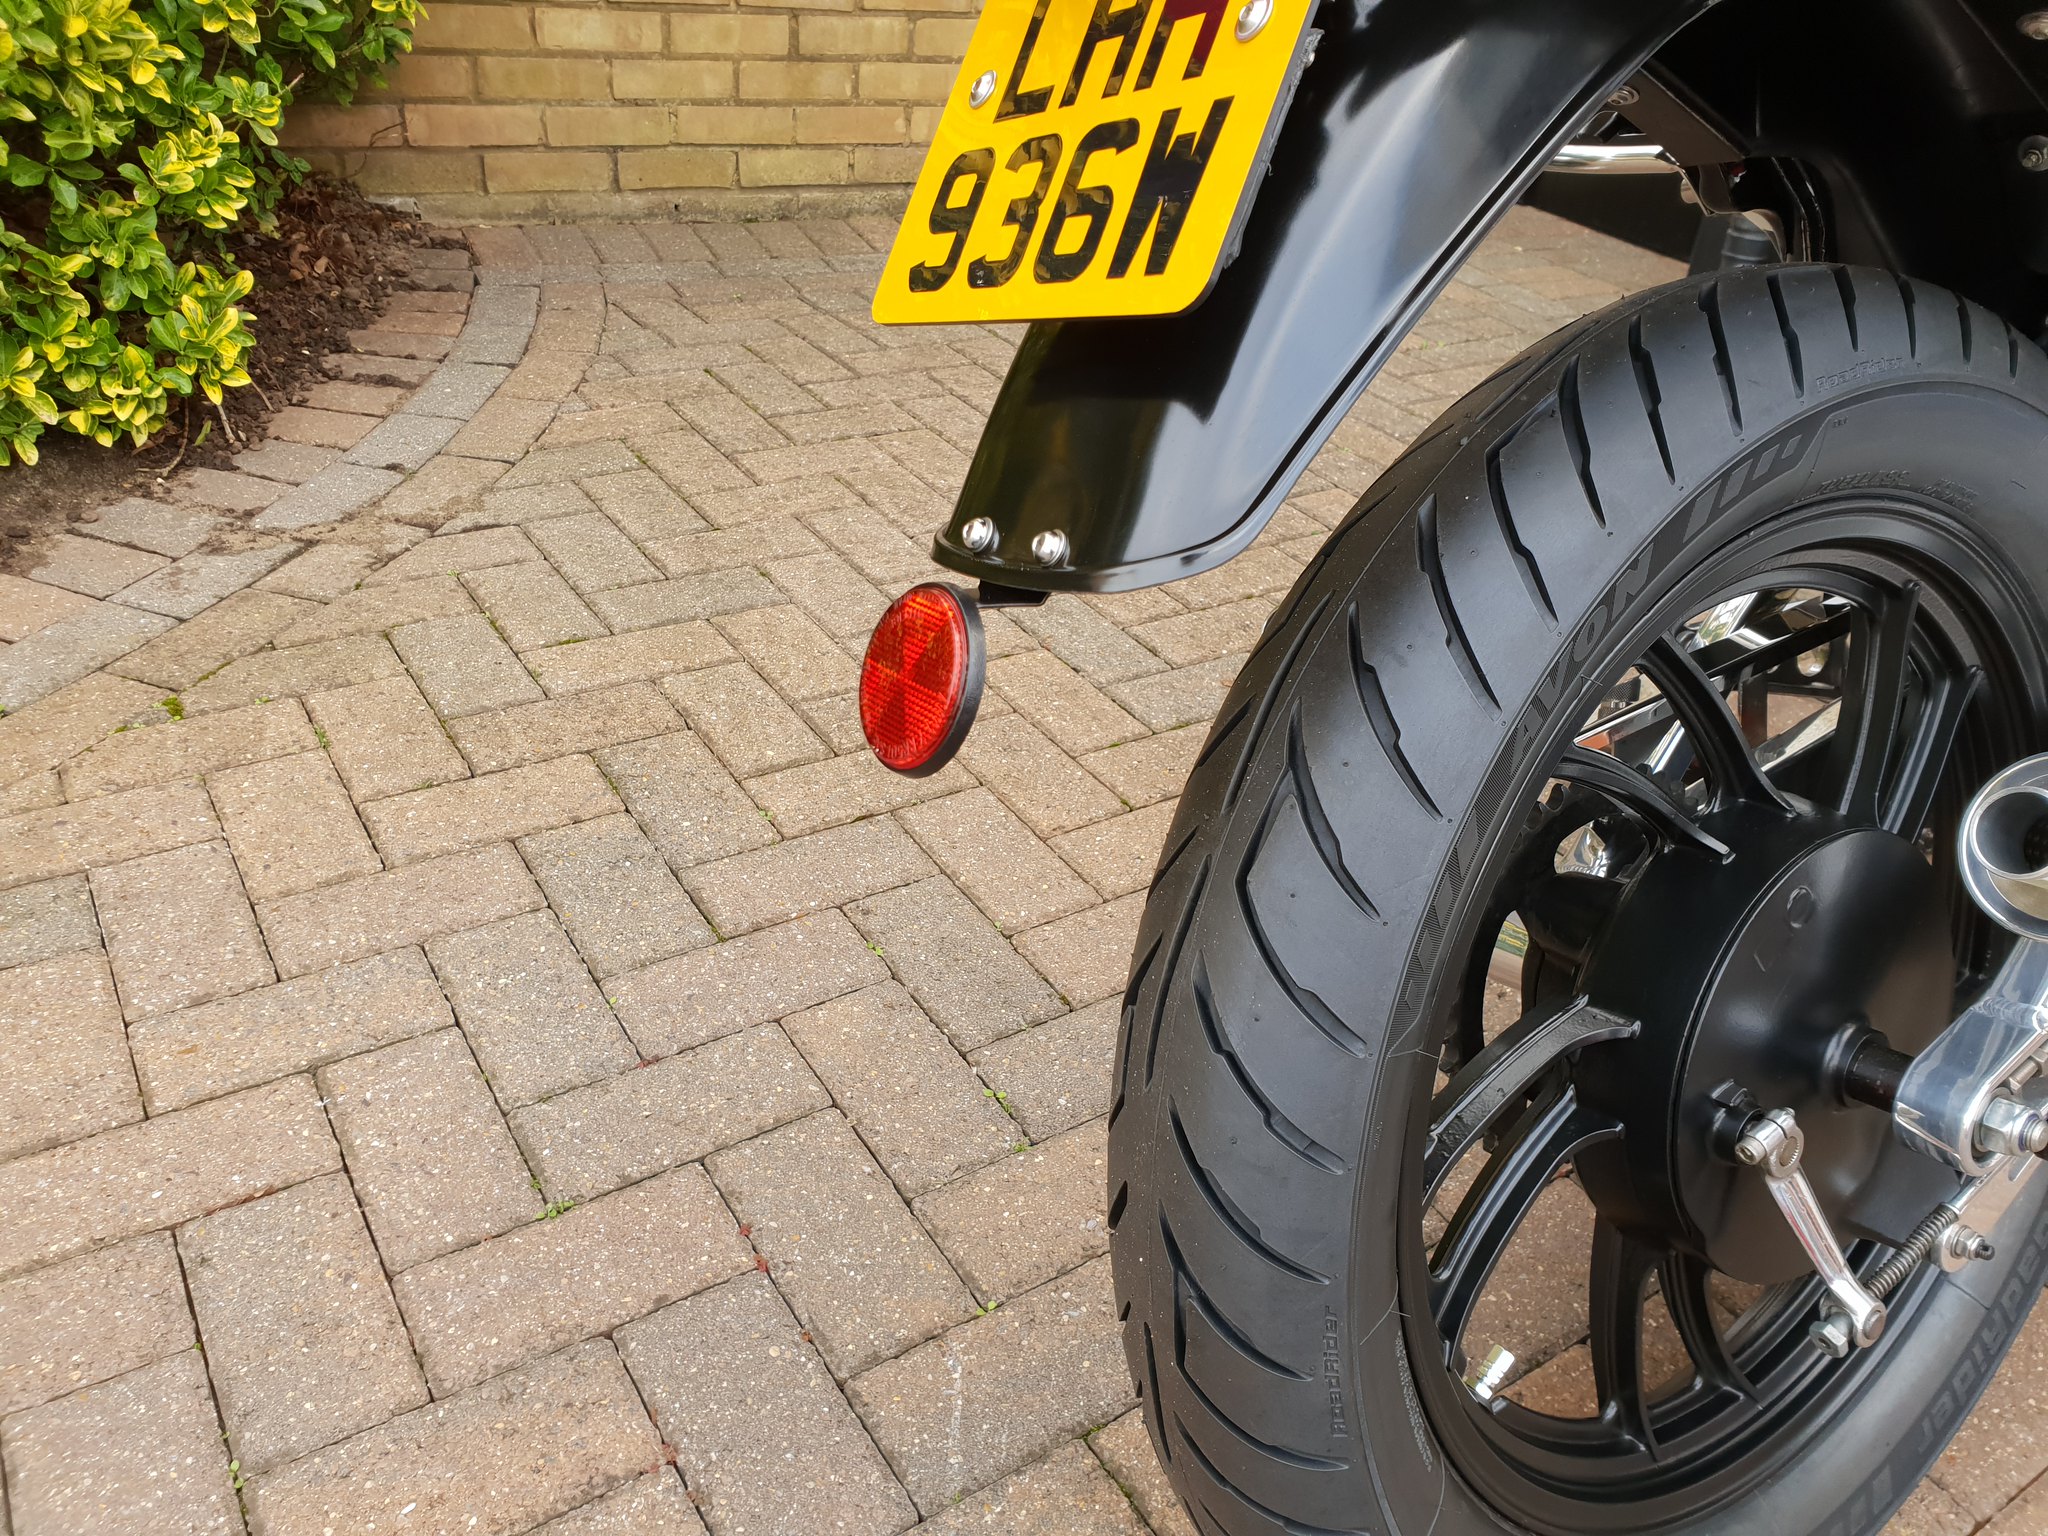 20190118_145316 20190118_145316 by dusty miller, on Flickr I think it looks neater with the bracket behind the guard So it's not far off now; 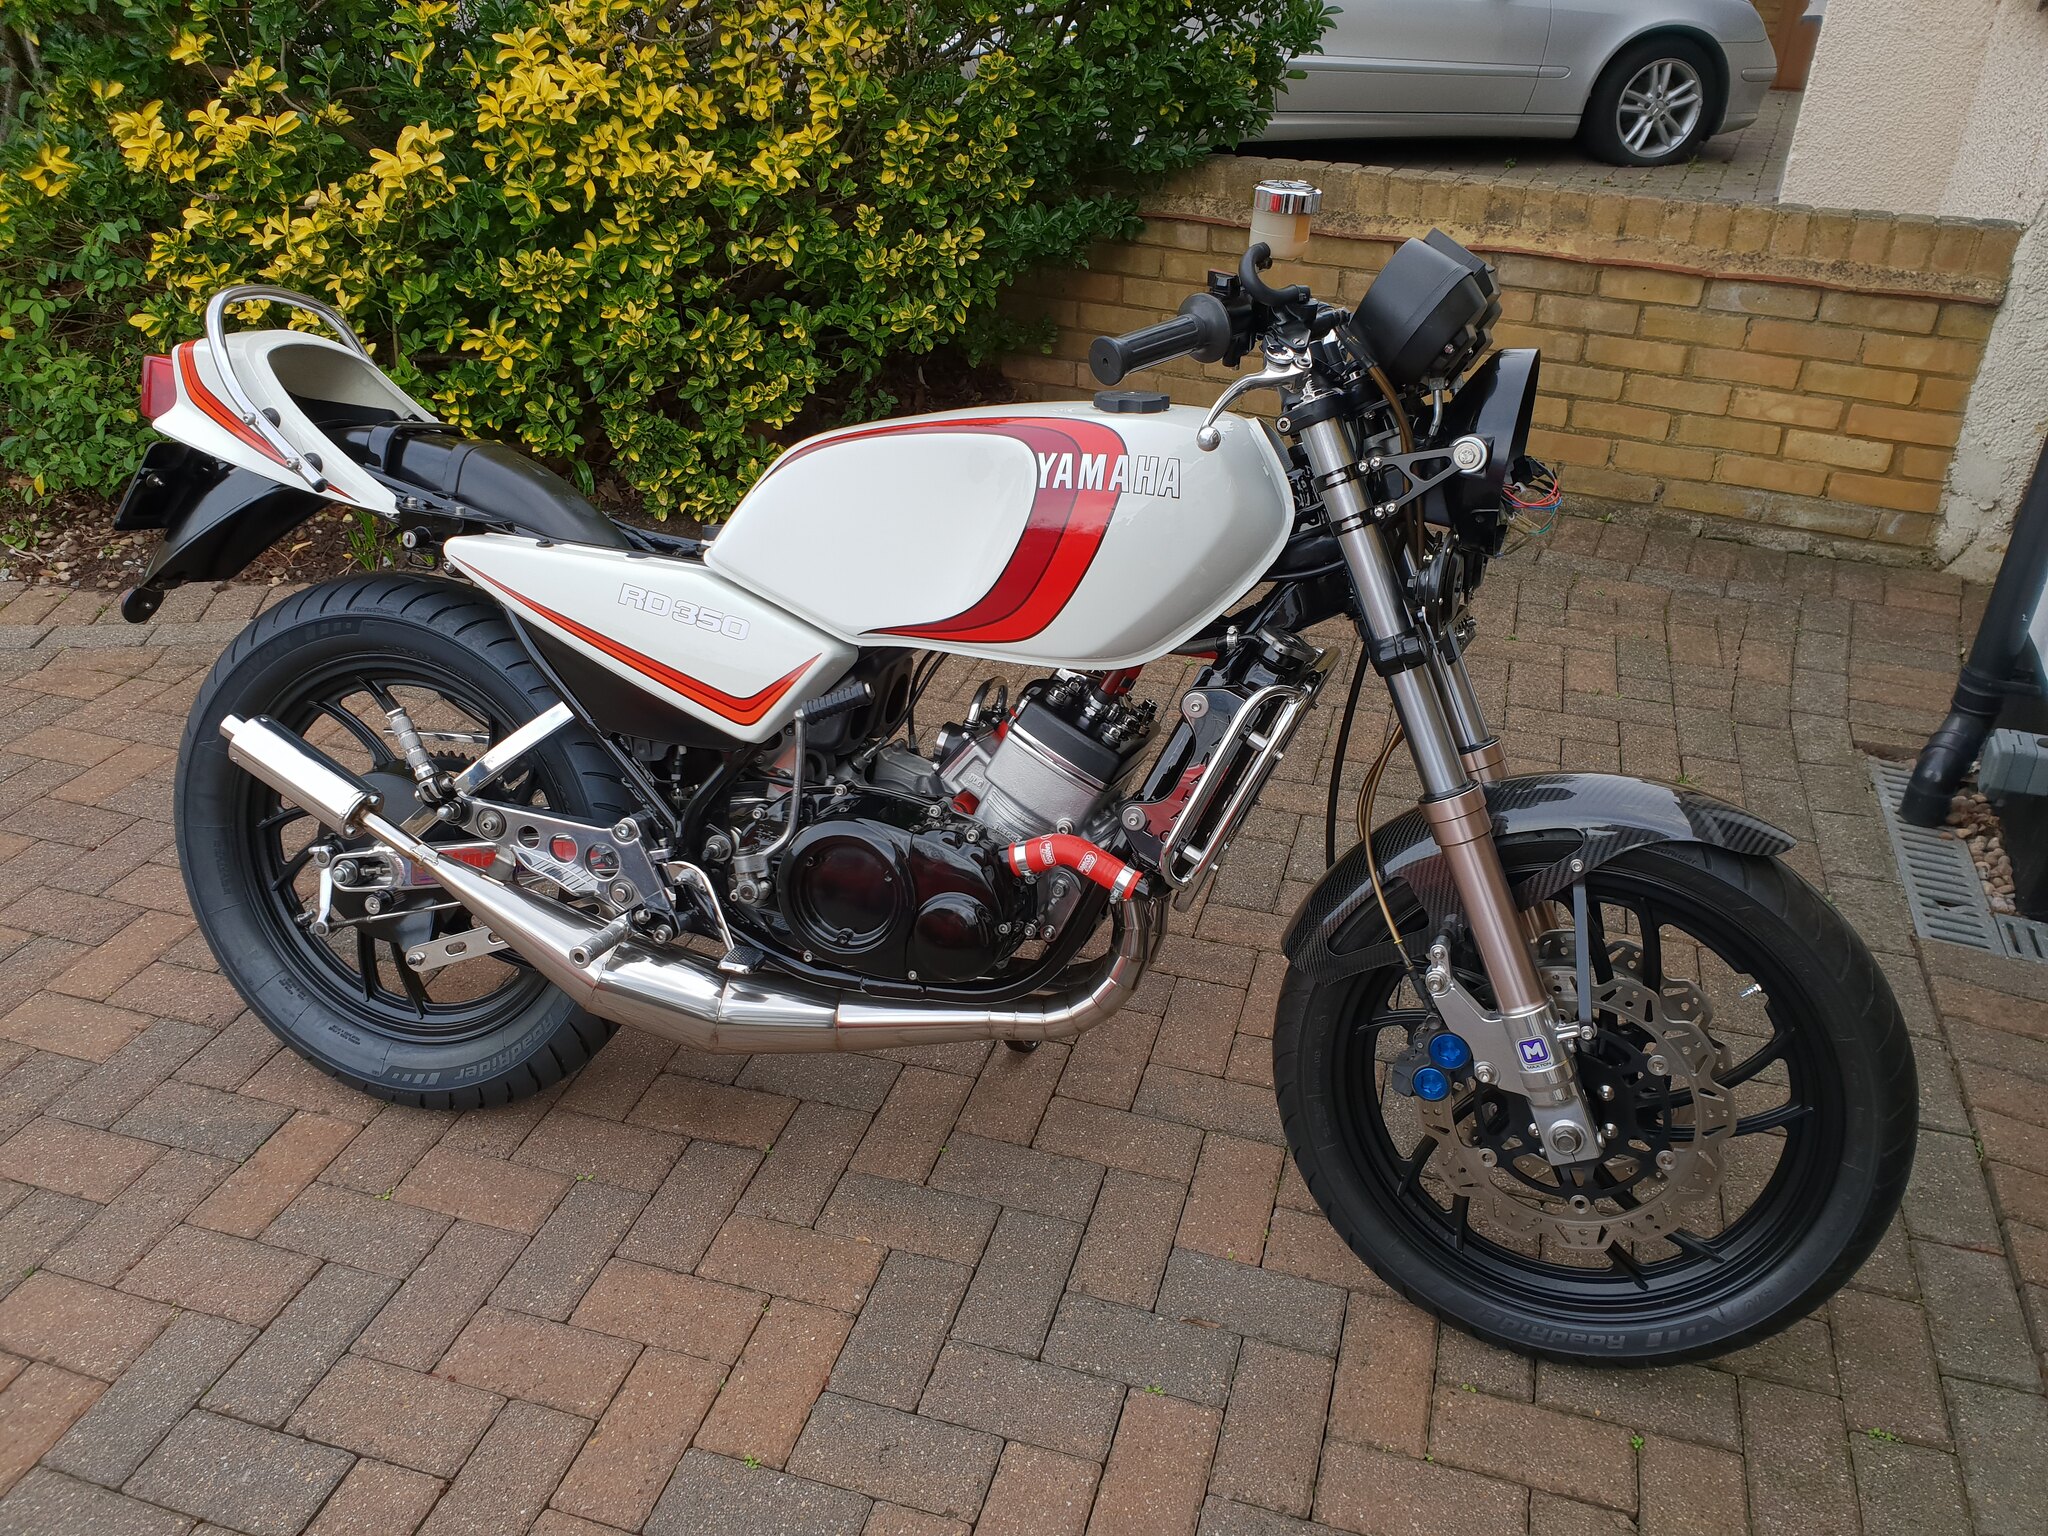 20190118_145308 20190118_145308 by dusty miller, on Flickr Jobs left to do; Fit headlamp Buy and fit battery Buy and fit chain Buy and fit oil lines Fit carbs Get oil pump off to Arrow Fit throttle cable And probably a few jobs I've forgotten !! Dusty |
|
|
|
Post by Mr Kipling on Jan 18, 2019 20:10:06 GMT 1
looking neat n tidy now...
|
|
|
|
Post by philmill on Jan 18, 2019 20:20:59 GMT 1
I really like that front end, I'm wondering what it would look like on my RZ500 Phil |
|
|
|
Post by dusty350 on Jan 18, 2019 20:54:38 GMT 1
Hi Phil It's Fzr600. 41mm forks. I really like the look of it - it's different to the norm, but there is a lot of work in it to make it fit with the Lc wheel. I reckon if you had to pay someone to do it, it would be a small fortune as there are a lot of man hours I expect. Dusty |
|
|
|
Post by midlifecrisisrd on Jan 18, 2019 21:14:41 GMT 1
I really like that front end, I'm wondering what it would look like on my RZ500 Phil Nah, what you need is a nice clean fazer 600 front end. Couldn't possibly guess who has one 😉 In all seriousness it is a really nice front end Dusty Steve |
|
|
|
Post by philmill on Jan 18, 2019 21:21:40 GMT 1
I really must leave the 500 until I've finished some of the other bikes..... too many boxes of bits in the garage  But thanks for the info Dusty and the offer Steve. Phil |
|


