|
|
Post by kostas on Apr 26, 2014 19:16:32 GMT 1
I need to torque up the nut at the right side or the crank and the nut holding the flywheel.
How do I lock the crank? Placing a long socket extension on top of wooden blocks as described in Haynes book does not seem such a good idea...
Kostas
|
|
|
|
Post by marsbar350 on Apr 26, 2014 19:23:15 GMT 1
hi kostas
i used a copper coin between the primary drive and clutch gears
|
|
|
|
Post by Yogi on Apr 26, 2014 19:40:38 GMT 1
 hi kostas i used a copper coin between the primary drive and clutch gears I did one today,worked fine
|
|
|
|
Post by Tone on Apr 26, 2014 19:51:35 GMT 1
|
|
|
|
Post by muttsnuts on Apr 26, 2014 21:19:07 GMT 1
I use a battery torque gun, works a treat and requires no jamming of gears or holding tools, if not you don't have access to one of them, then as a quick fix, if you have an oil filter strap wrench, then wrap that around the outside of the flywheel and get it very tight etc then tighten the flywheel nut
HTH
|
|
|
|
Post by kostas on Apr 26, 2014 23:11:05 GMT 1
How much does it take to twist the crank in the centre?? I think I F*** up as I tried to tighten up the flywheel by holding the primary drive nut (which was also loose) and in the process I did feel something slip  The crank final washer is new and as soon as I felt the slip I stopped, checked and the washer is still not flat is has not bottomed out yet. It is possible for the crank to slip like that?? Did not feel that I had to much torque on the nut. It there any way to chech without removing the crank? Kostas |
|
|
|
Post by steven on Apr 27, 2014 4:05:29 GMT 1
Hi Kostas, I get concerned every time I do it, as Iv read that it can happen when torqueing up the primary drive and or alternator rotor. After Iv torqued them up, I always re check the crank has not twisted using two clock gauges/DTI,s. steven. 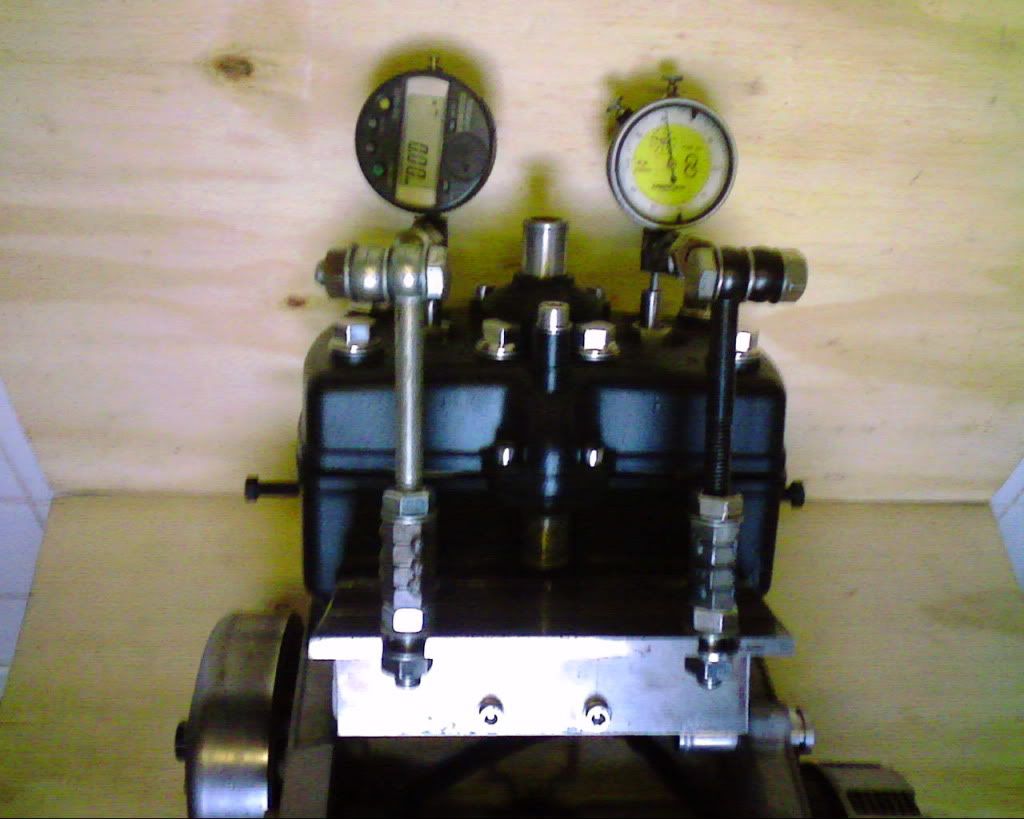 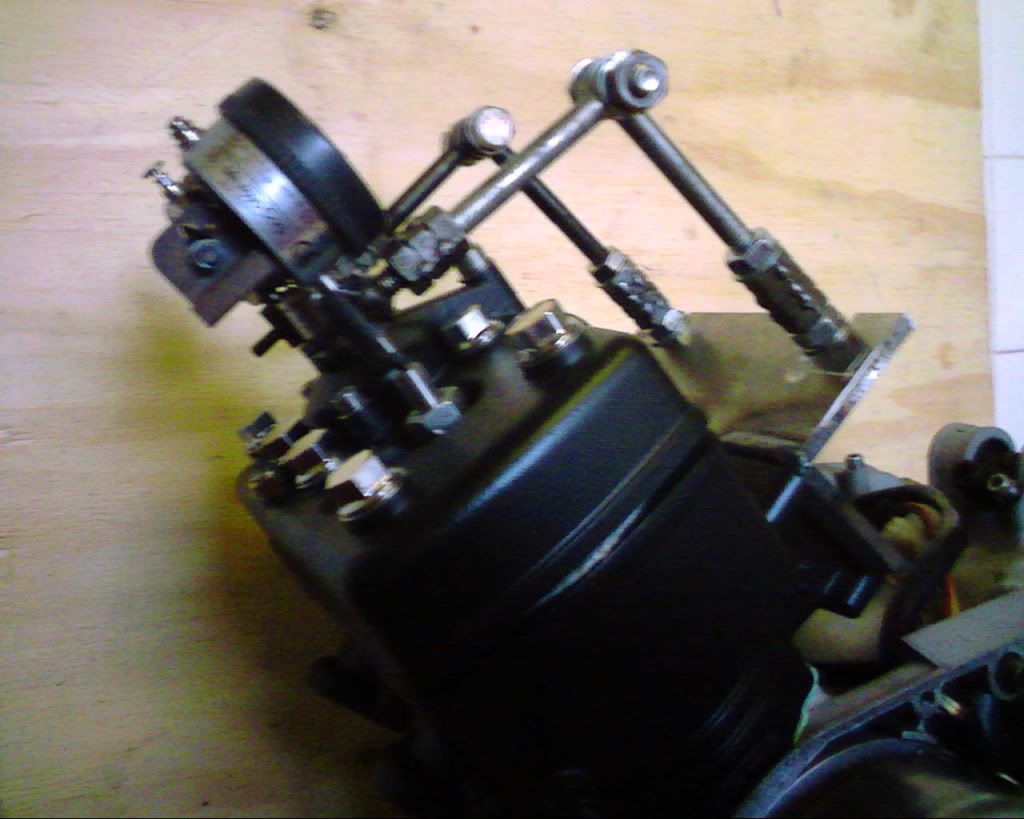 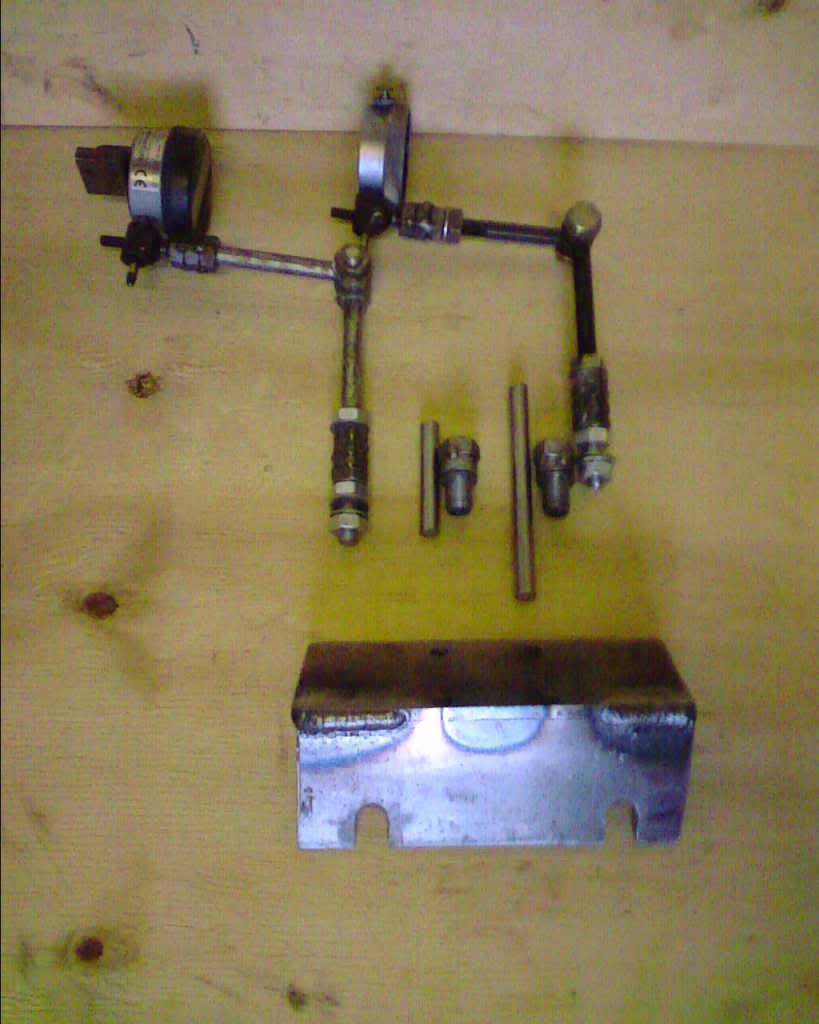 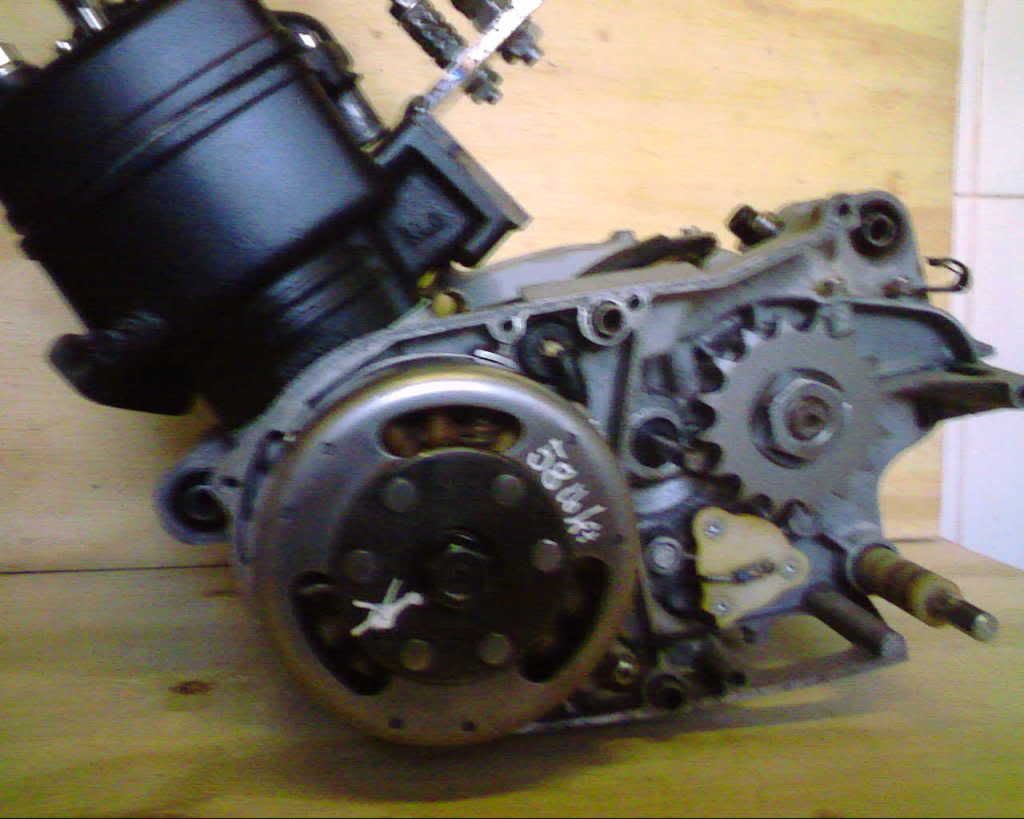 |
|
|
|
Post by steeley on Apr 27, 2014 7:06:57 GMT 1
nice set up you have there steven.i use a copper coin in between the gears on the clutch side to torque up the primary crank nut,but I hold the rotor to do up the rotor nut.years ago a mates 350lc ended up with the crank out of phase,if I remember right with the head off you could see the one piston would stop short of the top of the barrel when turned over.
|
|
|
|
Post by kostas on Apr 27, 2014 8:41:56 GMT 1
I just felt a decease in resistance while doing the rotor side, it was either the crank that slipped, the final crank washer or the spring washer under the rotor nut that gave way.
Both rotor and primary drive nuts are not fully tight yet.. So am I being too cautious about this?
How easy does this feker twist???
Kostas
|
|
|
|
Post by steven on Apr 27, 2014 12:08:05 GMT 1
Hi, I have heard of cranks twisting when tourqing them up, but Iv never had it happen. I looked into it ages ago, and was advised that, if it is a newish crank, or one that has not been stripped and re built,a few times, you should be ok. I was advised that if the crank had been stripped and re-built,perhaps a few times, then the interferance fit between the pins and webs may be reduced due to them being pressed in and out a few times. I have been paranoid about this happening ever since I heard about it, and can think of no other way of checking it properly than using two clock gauges to check it all, once tourqued up. I have also in the past used the 1p or 2p coin method,or a small piece of flattened copper pipe to jam the primary gears. I have learned something this morning with a bit of googling.....1p and 2p coins, as of September 1992 are made of STEEL, then copper plated...  Every day is indeed a school day.  What did we ever do without the internet.  steven. www.royalmint.com/help/help/magnetic-coins |
|
|
|
Post by kostas on Apr 27, 2014 12:42:56 GMT 1
Hello Steven,
Will try to duplicate you method with the dial indicators just to be on the safe side.
Kostas
|
|
|
|
Post by kostas on May 3, 2014 15:11:48 GMT 1
Turns out the crank will not twist that easy.. Followed Stevens trick with the DTIs just on a simpler approach. Just wrap the DTI bottoms with some tape fit an extesion to one to reach the bottom and you good to go!   Job done  Kostas |
|
db8888
Thrash Merchant

Posts: 329
|
Post by db8888 on May 4, 2014 20:52:49 GMT 1
you only need one dial gauge to check if the crank twisted ....Method find tdc on the left cylinder make a mark on the flywheel... find bdc on the right cylinder ... your marks on flywheel should line up if your crank is not twisted .......the left hand cylinder cannot
go out of phase with the flywheel right hand can ... for all you people with only one dial gauge
|
|
|
|
Post by kostas on May 5, 2014 6:04:51 GMT 1
you only need one dial gauge to check if the crank twisted ....Method find tdc on the left cylinder make a mark on the flywheel... find bdc on the right cylinder ... your marks on flywheel should line up if your crank is not twisted .......the left hand cylinder cannot go out of phase with the flywheel right hand can ... for all you people with only one dial gauge Nice one! Kostas |
|
jools
Drag-strip hero
Posts: 299
|
Post by jools on May 5, 2014 23:16:16 GMT 1
I use one DTI and a degree wheel fitted to the flywheel and a pointer stuck on the cases.
Set LH cylinder to 0 degrees at TDC then swap DTI to RH cylinder and check. TDC should be at 180 degrees.
Its not that simple though as there is a bit of dwell at TDC so you need to feel for it.
The old fashioned method is to stick a long bolt in the LH plug hole. rotate the crank backwards till it touches the bolt. set the degree wheel to 0, then rotate crank forward till it touches the bolt again and read off the angle. divide the reading by 2. set degree wheel to this value for TDC on LH cylinder.
Repeat for RH cylinder but this time don't touch the degree wheel. When you halve the angles you have read you should be getting 180 degrees if crank is true.
|
|


