

Post by Shytalk on Aug 20, 2013 9:36:20 GMT 1
I wrote and did this screen refurb guide a few years ago, but it got deleted when the site upgraded so I have dug it out from Gary Robbos Forum where it still lives and posted it up here again, the pastes I used back then were Farecla G3 for the coarser work then Farecla scratch remover for the finer work, there are probably a multitude of newer products out there now that will do the same or better job, the main thing to remember is to use a reasonable amount of water to keep things from drying out, it can get messy but the results are good, you won't ever remove a deep gouge but you can make it less obvious.
It is intended as guide to show what can be done, and what I have done - this screen is still sitting on my F1, it is not the bible, so read it and use it; or part of it or ignore it, you may just save yourself a fair amount of money and effort trying to buy a decent replacement.
As a lot of the screens are NLA I thought that I'd try to rejuvenate a scratched one, here's the how to.
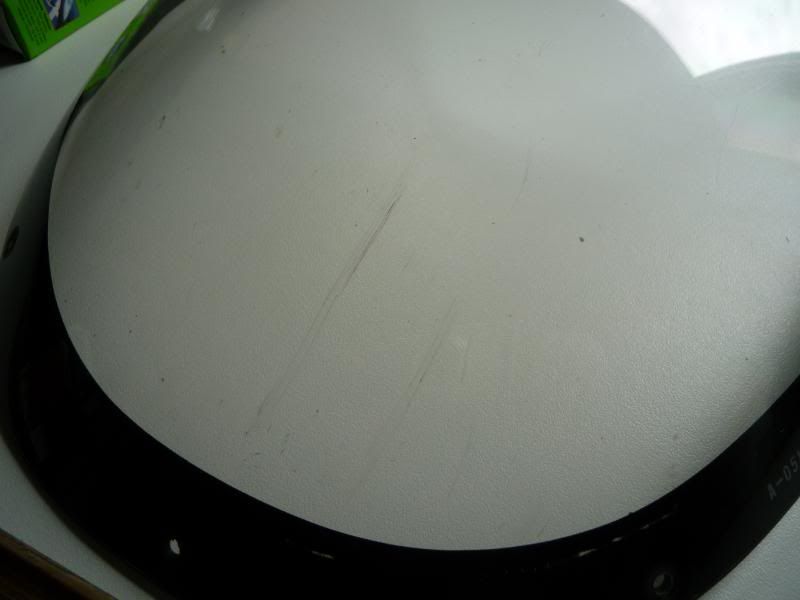
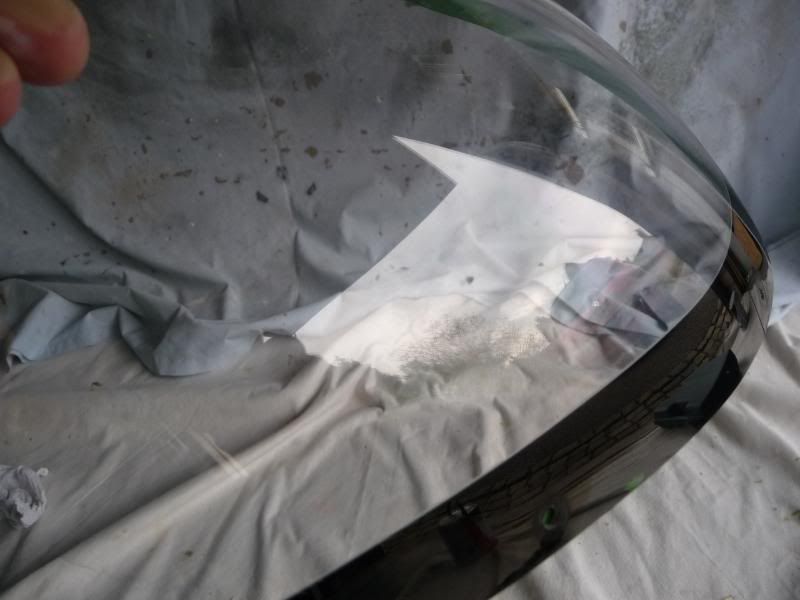
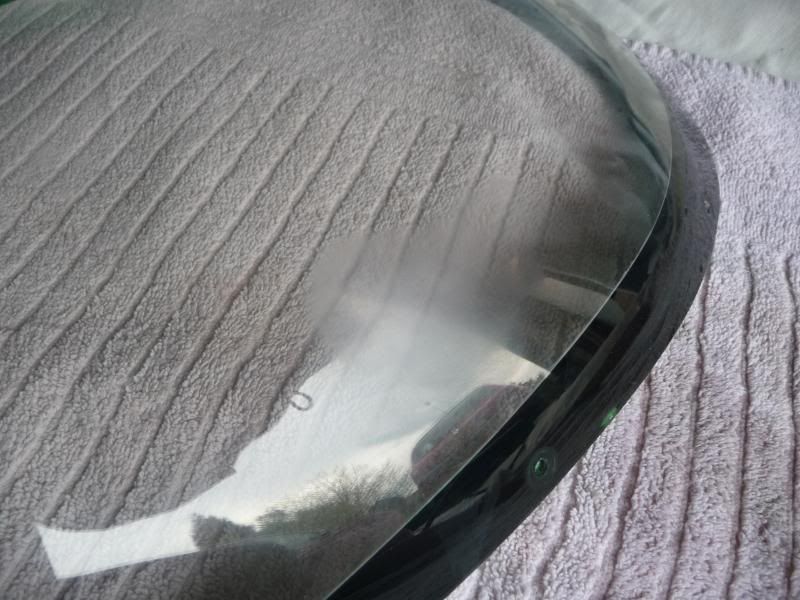
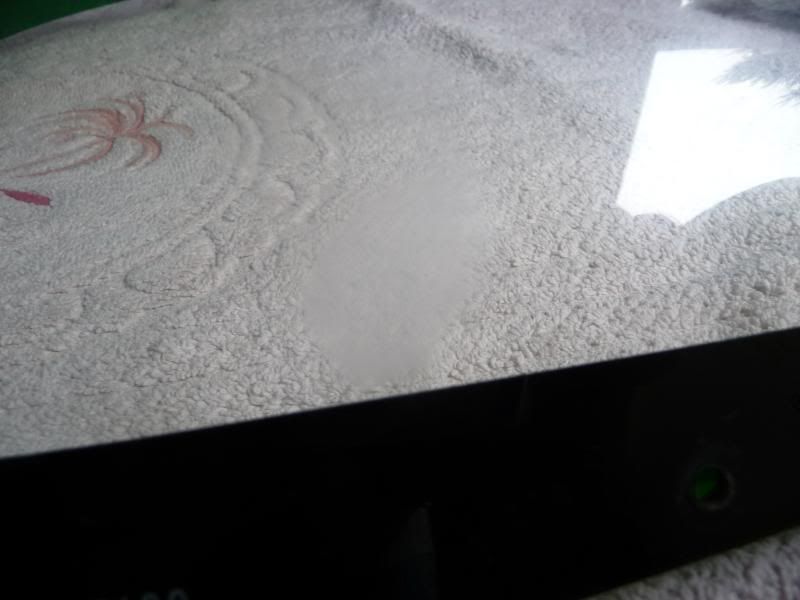
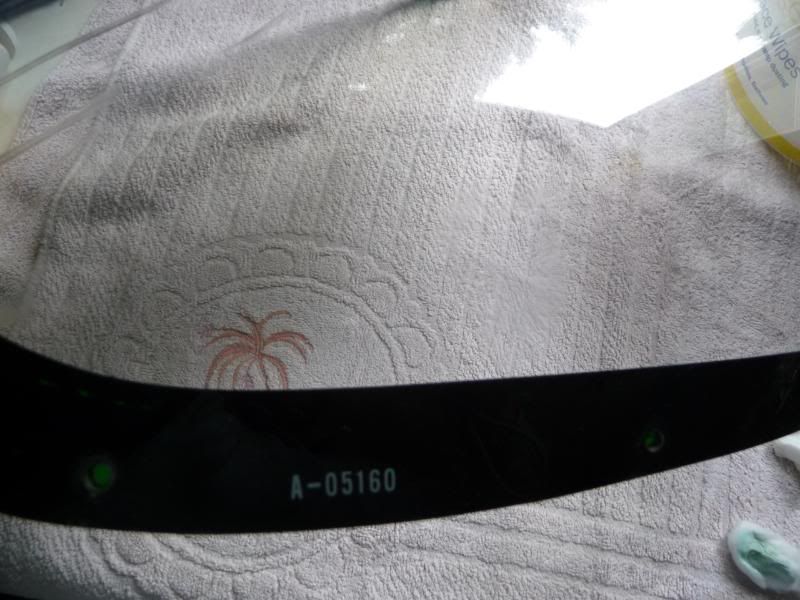
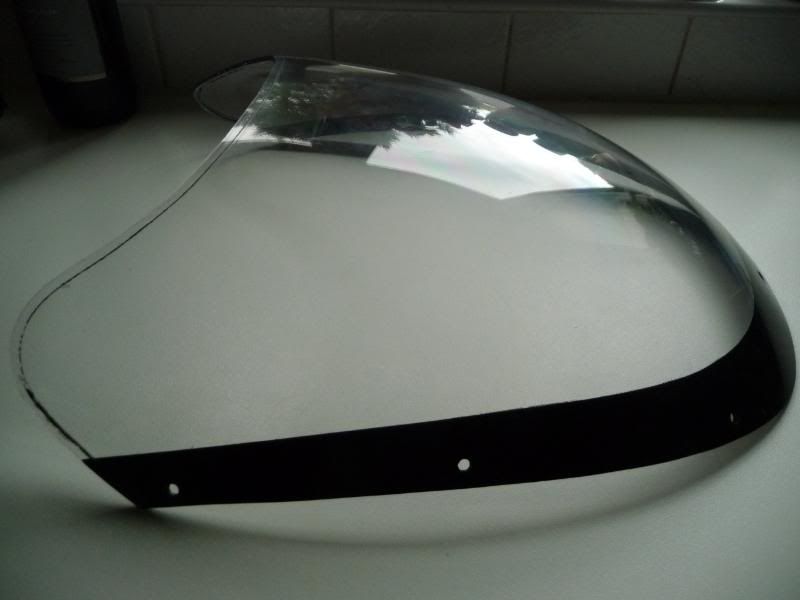
I spent quite a few hours on this screen, there were quite a few deep stone chips in various places and a couple of long scratches on the front, I've taken some pictures but some of the bits are hard to see in them : -
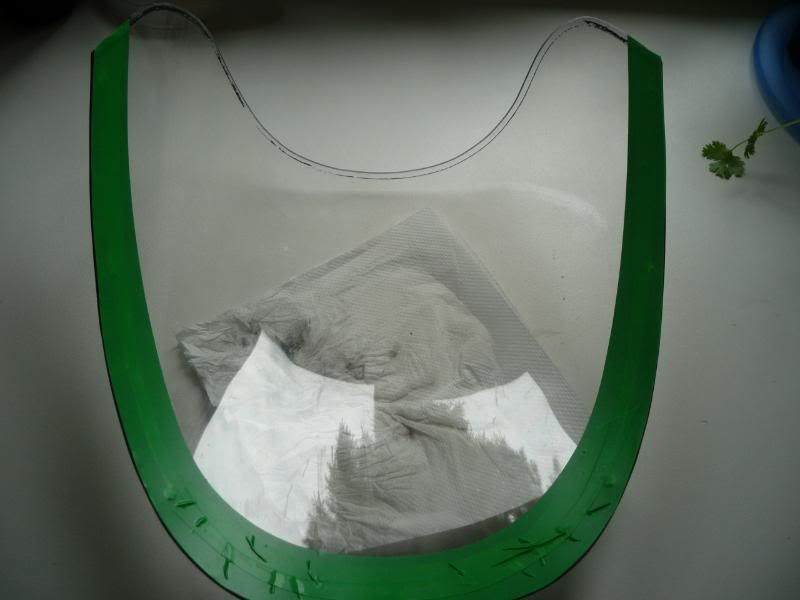
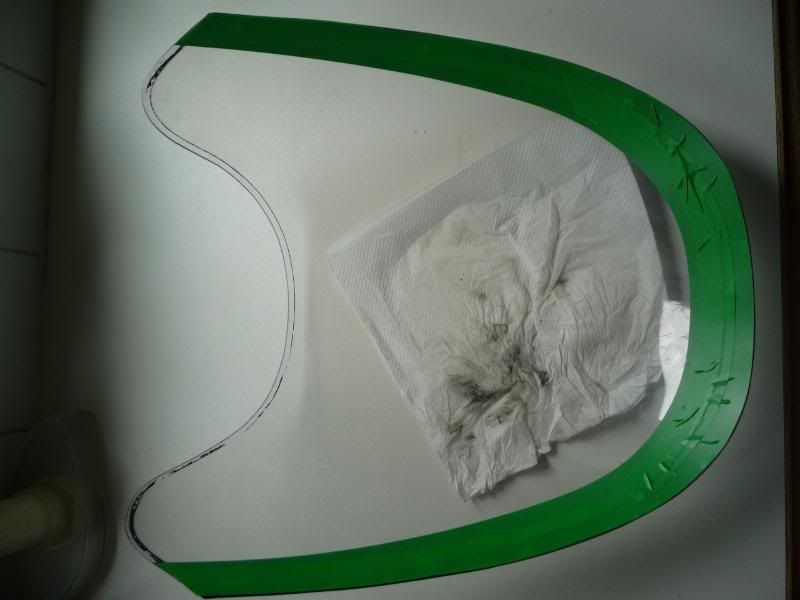
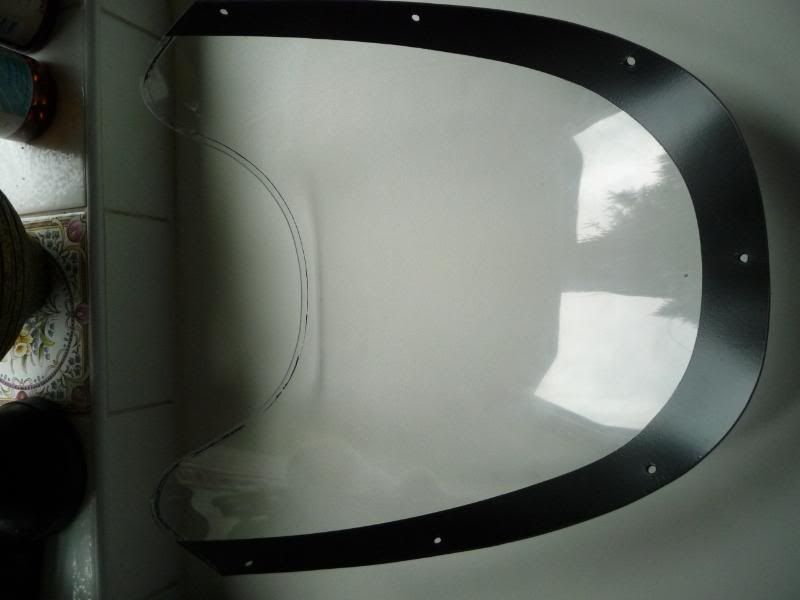
First task I do is mask the black inner paintwork with electrical tape : -
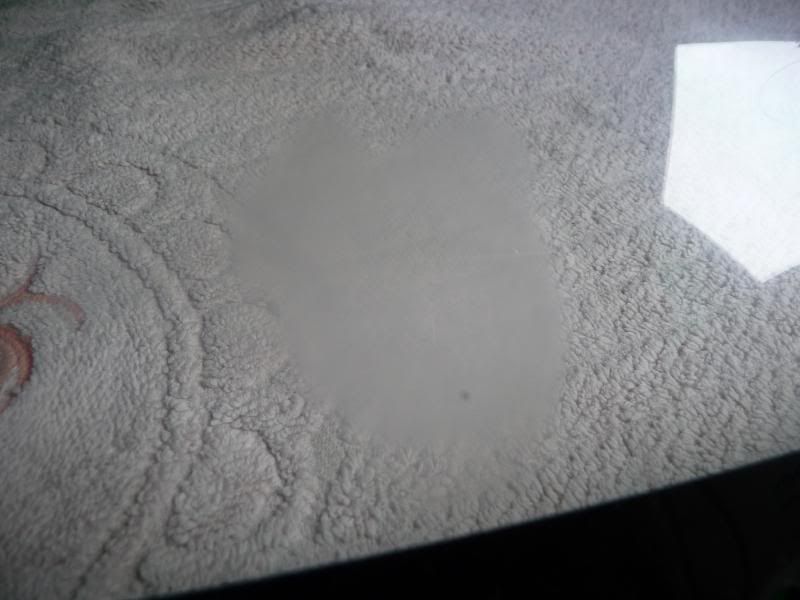
Next is the wet and dry, choose an area to work on and depending how deep the blemishes are I go to work with wet and dry - for light scratches I use 2000, for deep stuff I start off coarser then go to 2000 grade.
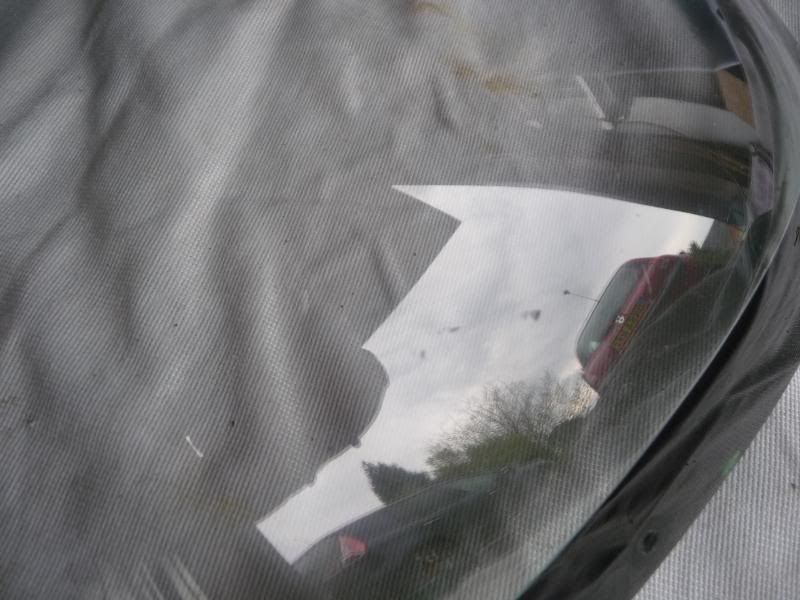
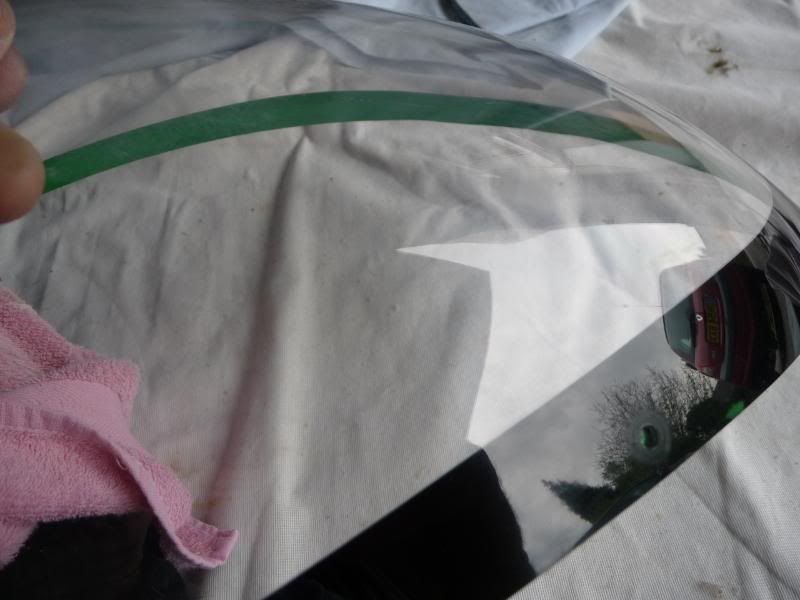
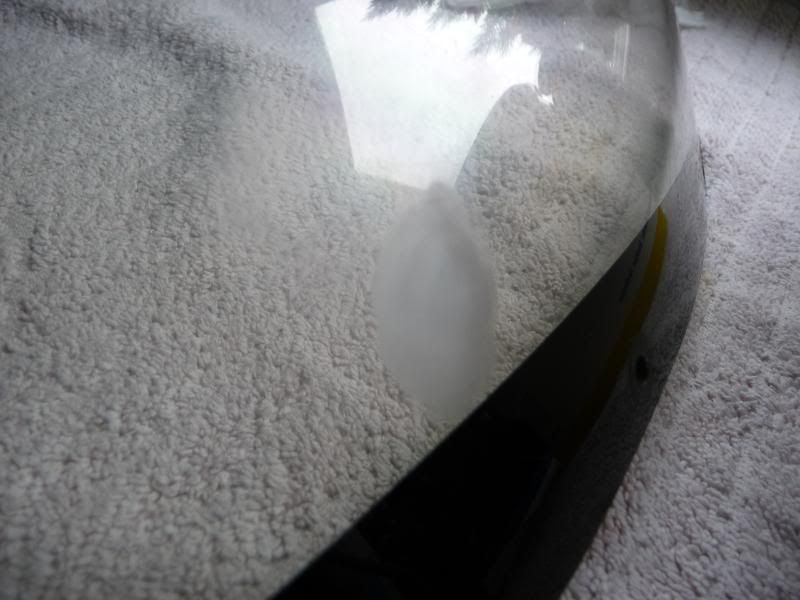
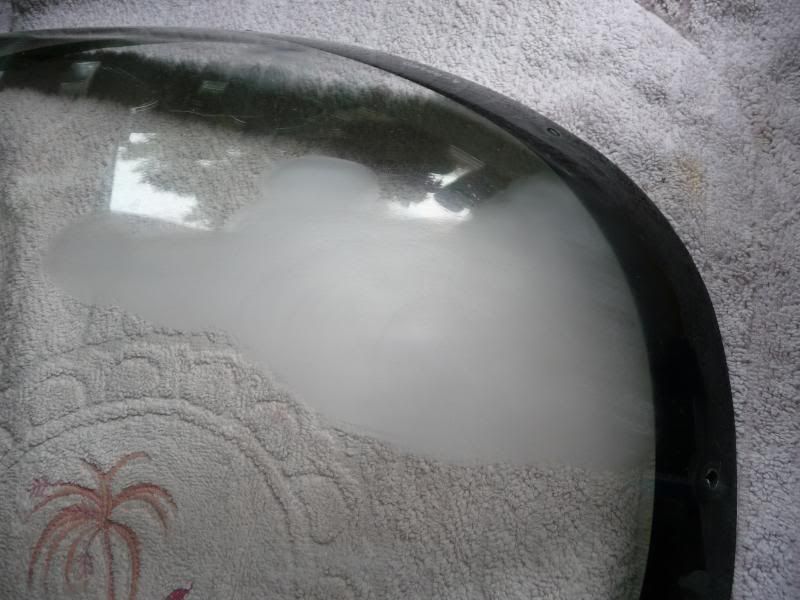
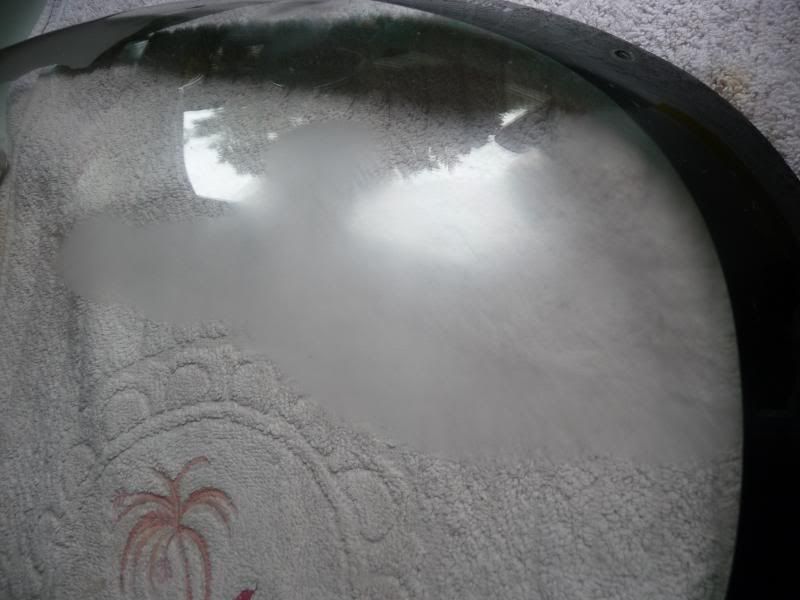
In this one you might see 3 stone chips - in the reflection of the sky in the picture : -
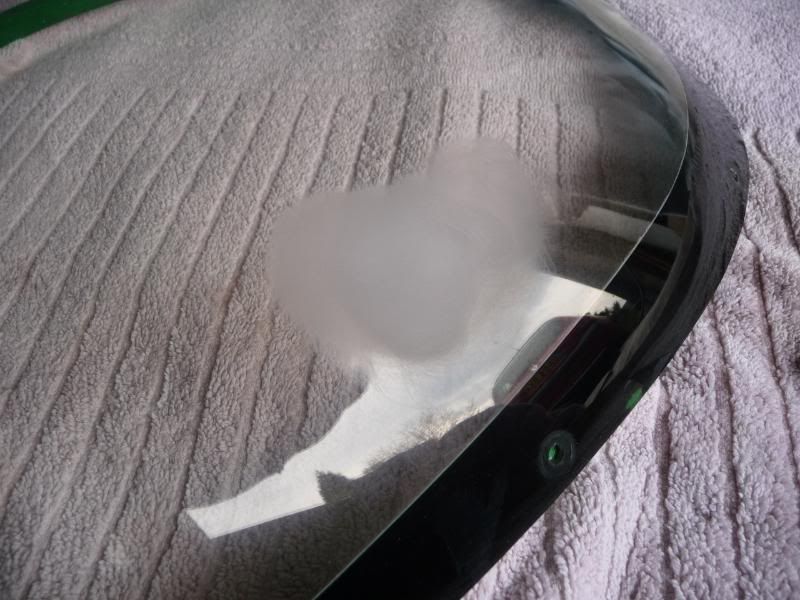
Then I get my scratch removing paste out, again, coarse first then fine later, I use it with a drill on slow speed - it can be done by hand but would take even longer : -
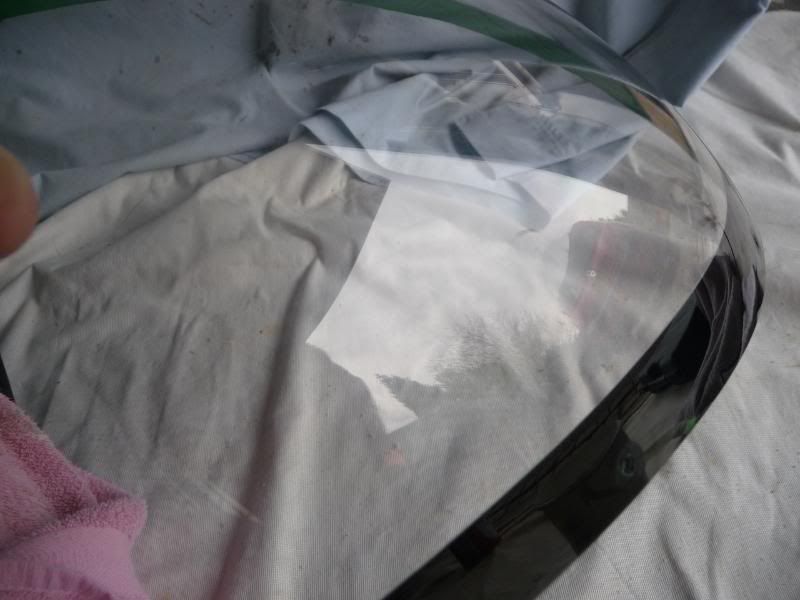
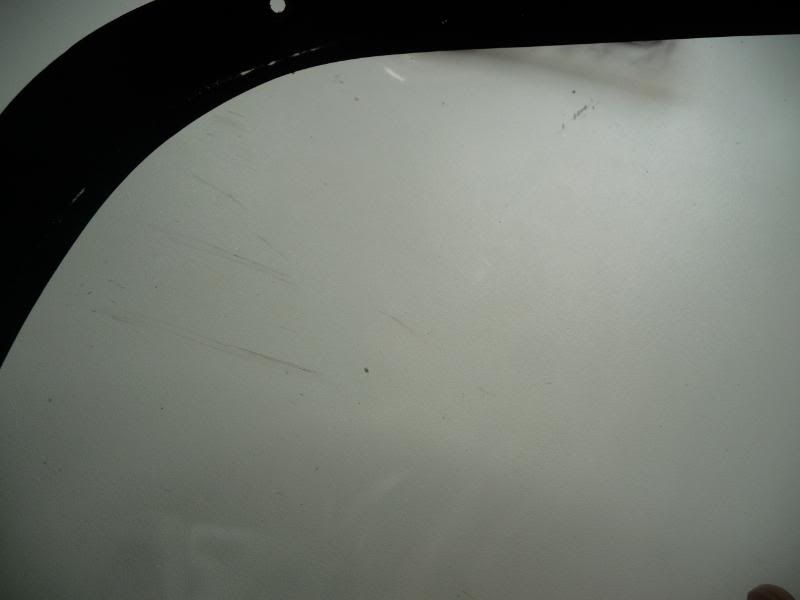
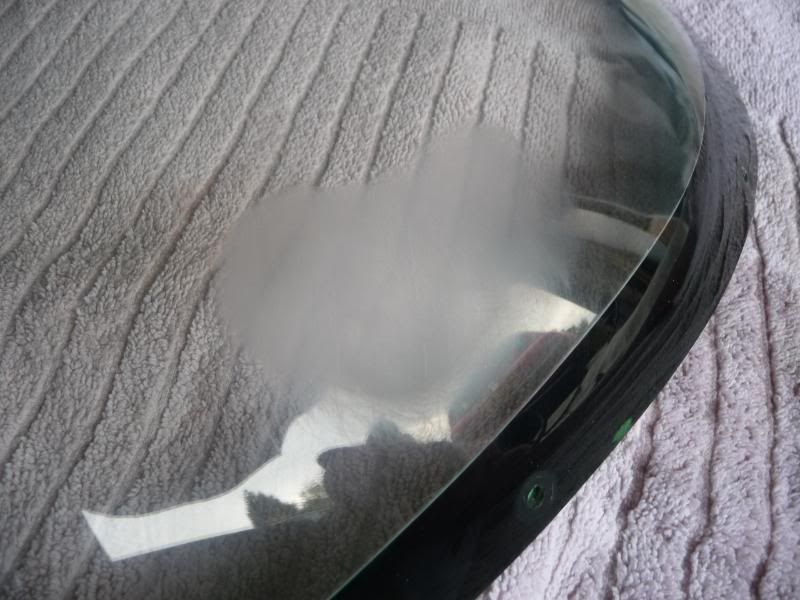
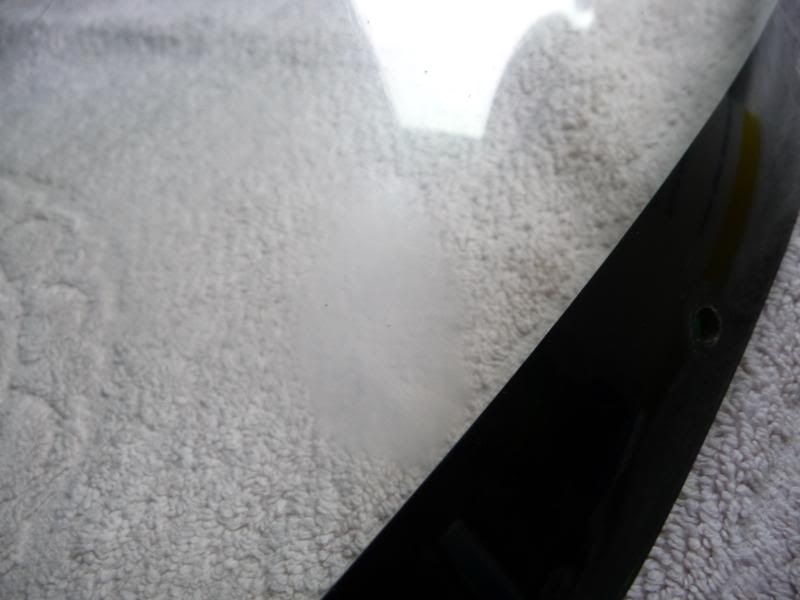
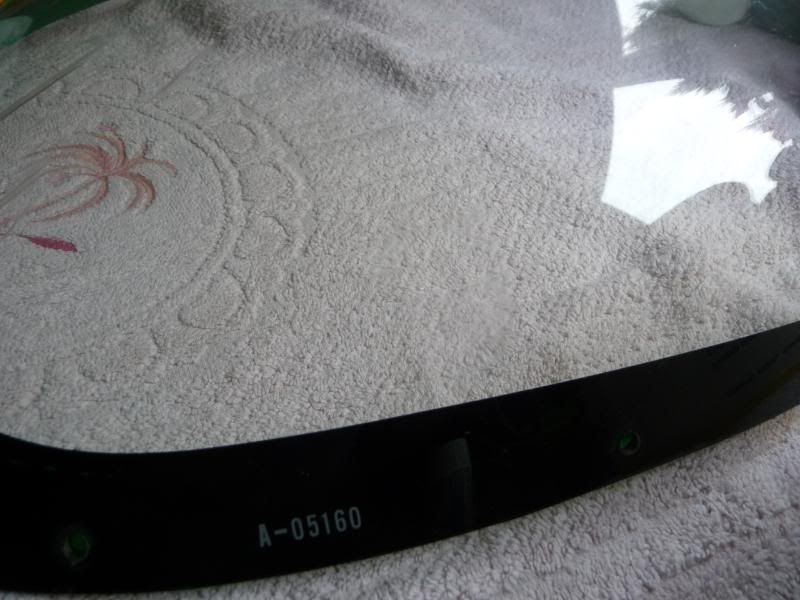
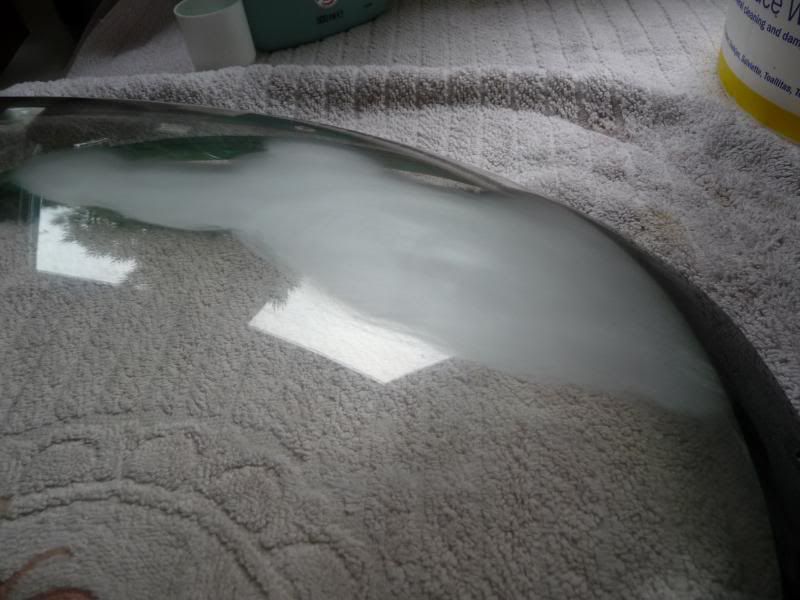
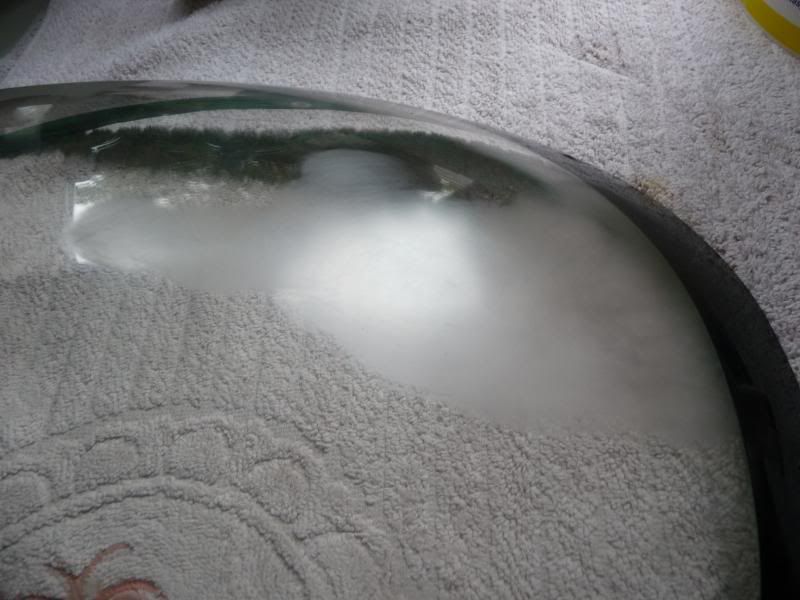
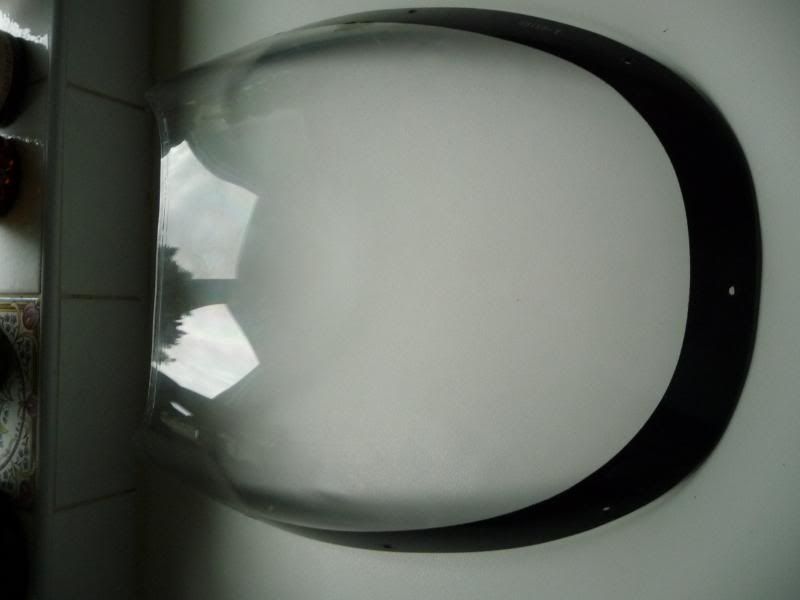
Some other areas : -
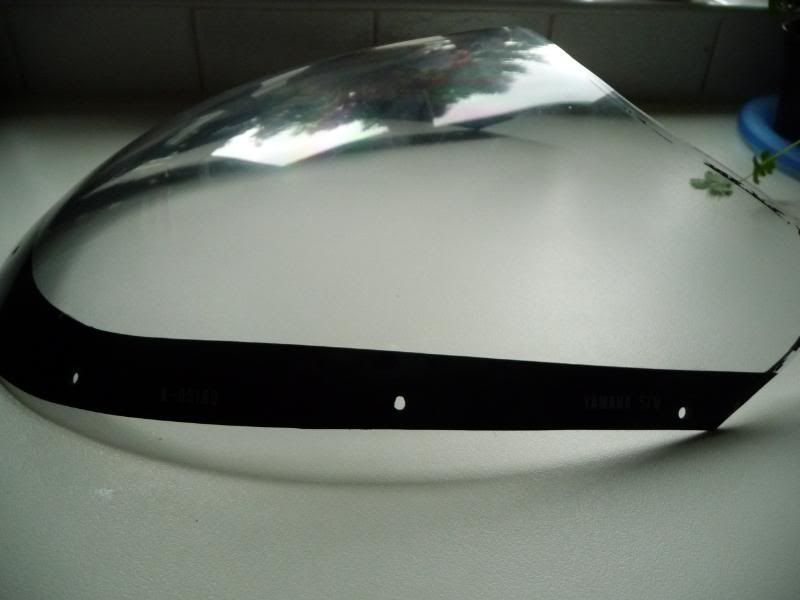
It does take some time and you have to be methodical as there are always scratches on both sides of the screen that need to be worked on, final touch is to remove the tape, mask off the clear part of the screen and respray the black edge, when that's dry give the screen a wax and polish : -
It is intended as guide to show what can be done, and what I have done - this screen is still sitting on my F1, it is not the bible, so read it and use it; or part of it or ignore it, you may just save yourself a fair amount of money and effort trying to buy a decent replacement.
As a lot of the screens are NLA I thought that I'd try to rejuvenate a scratched one, here's the how to.
I spent quite a few hours on this screen, there were quite a few deep stone chips in various places and a couple of long scratches on the front, I've taken some pictures but some of the bits are hard to see in them : -
First task I do is mask the black inner paintwork with electrical tape : -
Next is the wet and dry, choose an area to work on and depending how deep the blemishes are I go to work with wet and dry - for light scratches I use 2000, for deep stuff I start off coarser then go to 2000 grade.
In this one you might see 3 stone chips - in the reflection of the sky in the picture : -
Then I get my scratch removing paste out, again, coarse first then fine later, I use it with a drill on slow speed - it can be done by hand but would take even longer : -
Some other areas : -
It does take some time and you have to be methodical as there are always scratches on both sides of the screen that need to be worked on, final touch is to remove the tape, mask off the clear part of the screen and respray the black edge, when that's dry give the screen a wax and polish : -


