Post by laverdamancouk on Feb 5, 2013 22:15:43 GMT 1
Well finally as I have joined and nearly come to finishing (well hopefully sometime soon, time dependant) the rebuild which in reality has not taken that much time so far. I thought I would post the progress so far.
The concept was that as I have so many spare Aprilia Rs 125 spare parts from rebuilding this model over the years I would do a Hybrid hopefully on the cheap instead of it costing an arm and a leg and see if the parts were up to the challenge.
I up to yet have been pleasantly suprised how it has come together.
The first thing was to get a rolling chassis which turned up on Ebay and won for £360ish for the rolling chassis and a Banshee engine from Salty.(Cough, cough) Think I may be the only person who thinks I got a good deal out of a purchase.
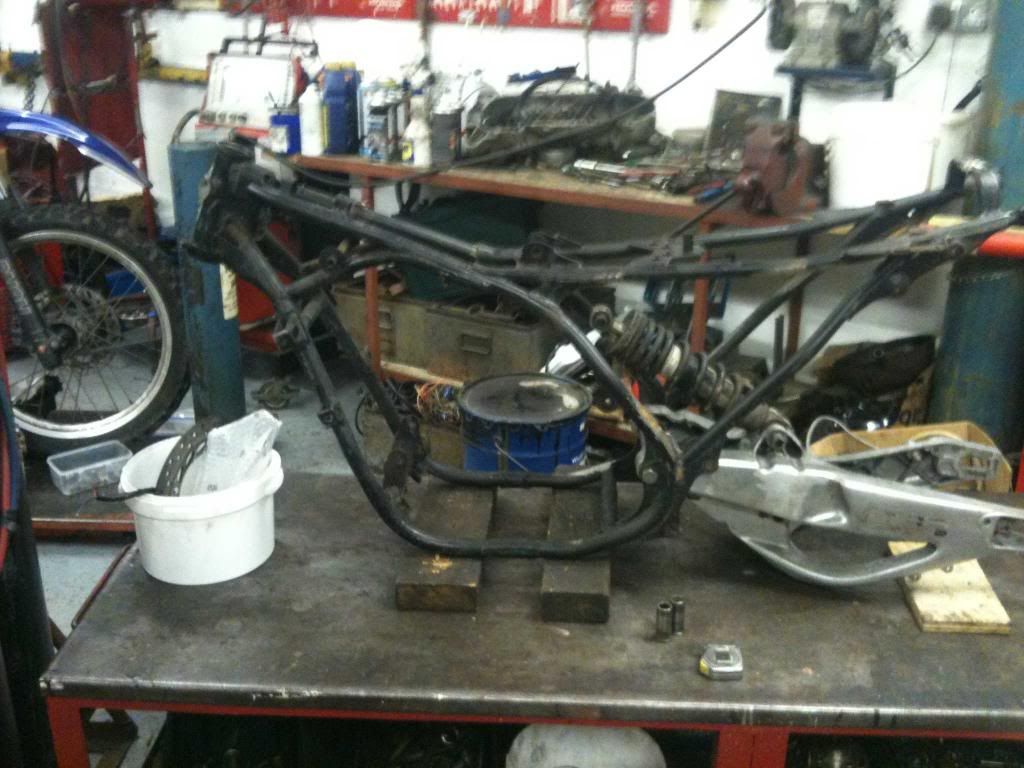
Frame was stripped and all unneeded lugs etc. were removed. Think the frame weighed about 11KG after it was butchered with the angle grinder and still need to remove a little more at a later date.
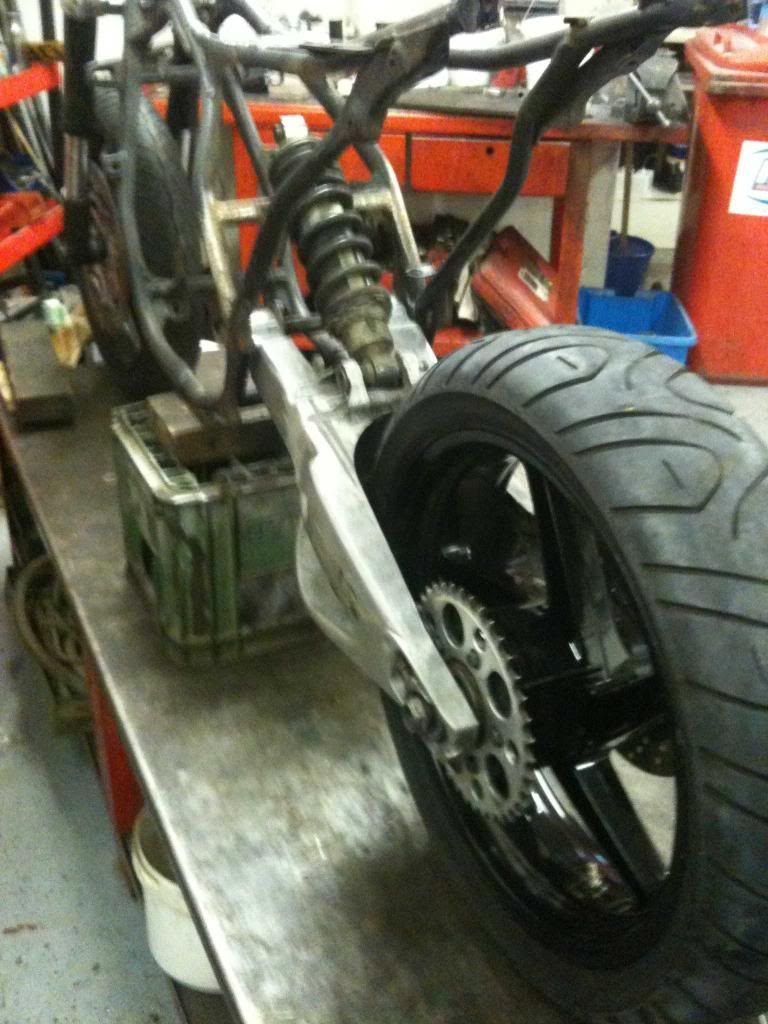
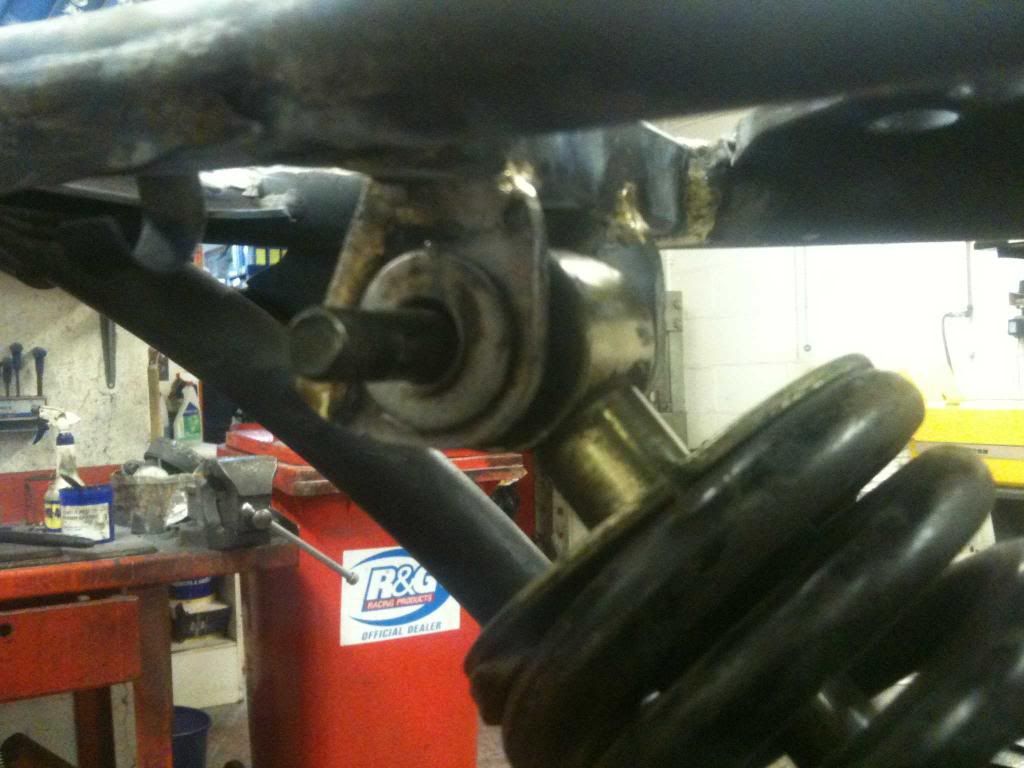
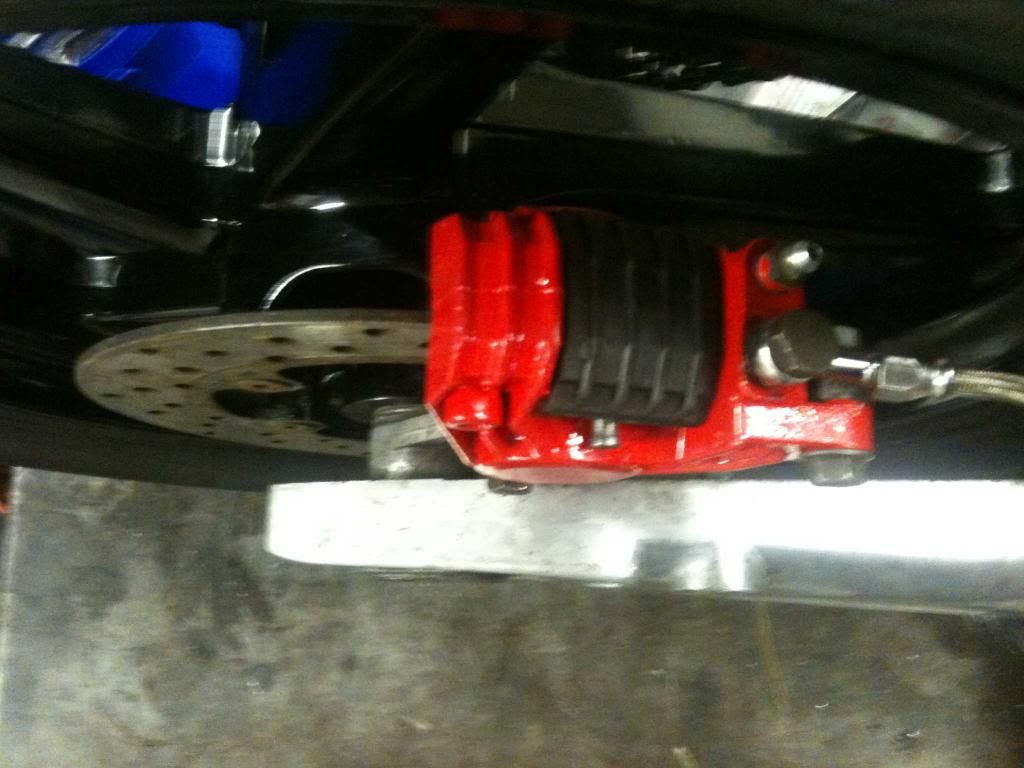
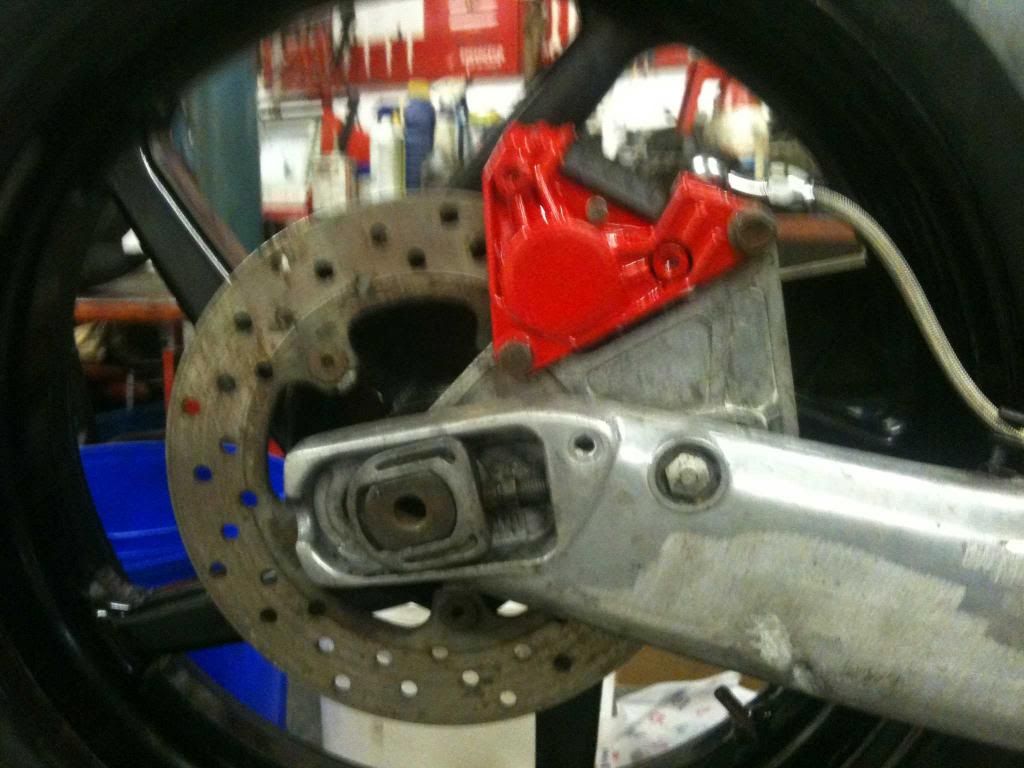
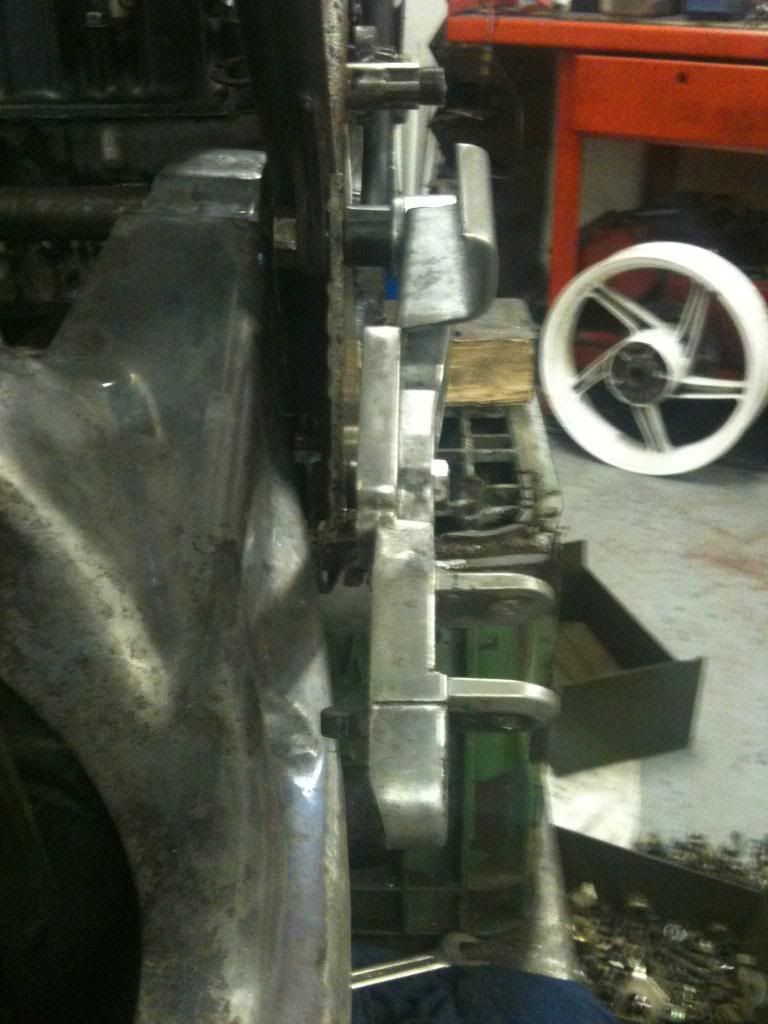
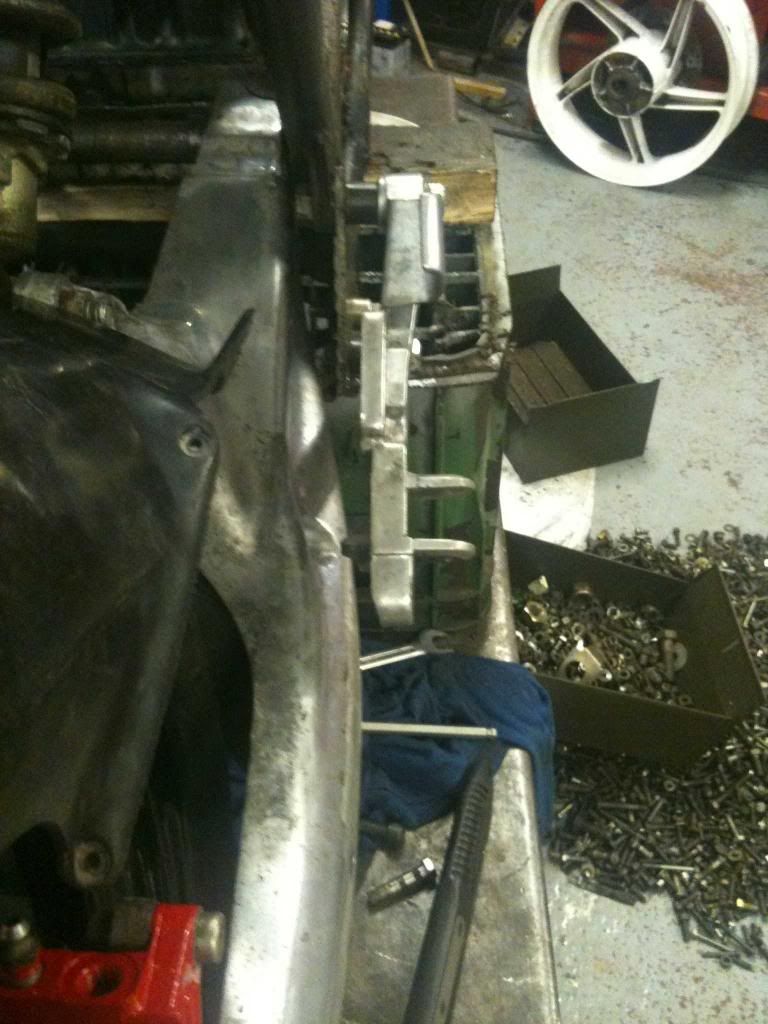
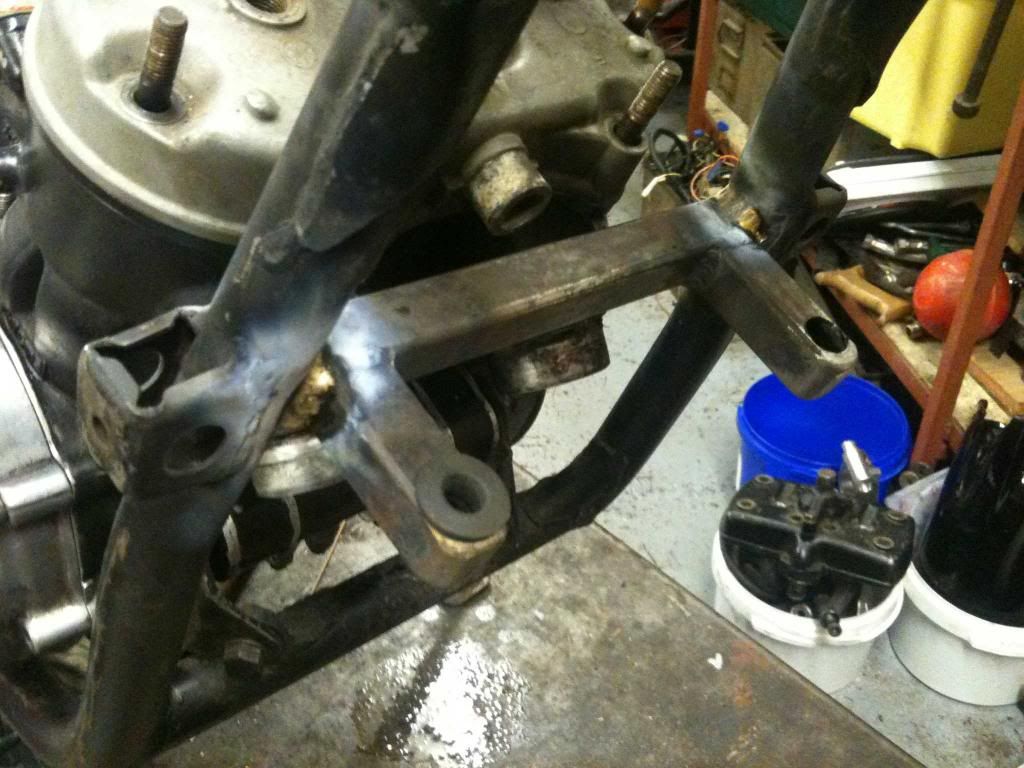
The swinging arm on the RS has the chain run on the RHS which was thought to be an issue but after looking at what to do it was decided to run the Arm upsidedown so the bracing runs underneath.( you'll get the picture in a mo when I load a picture.
It was wider than the frame would alow so again a little measuring and grinding and it sat nicely between the frame mounts.
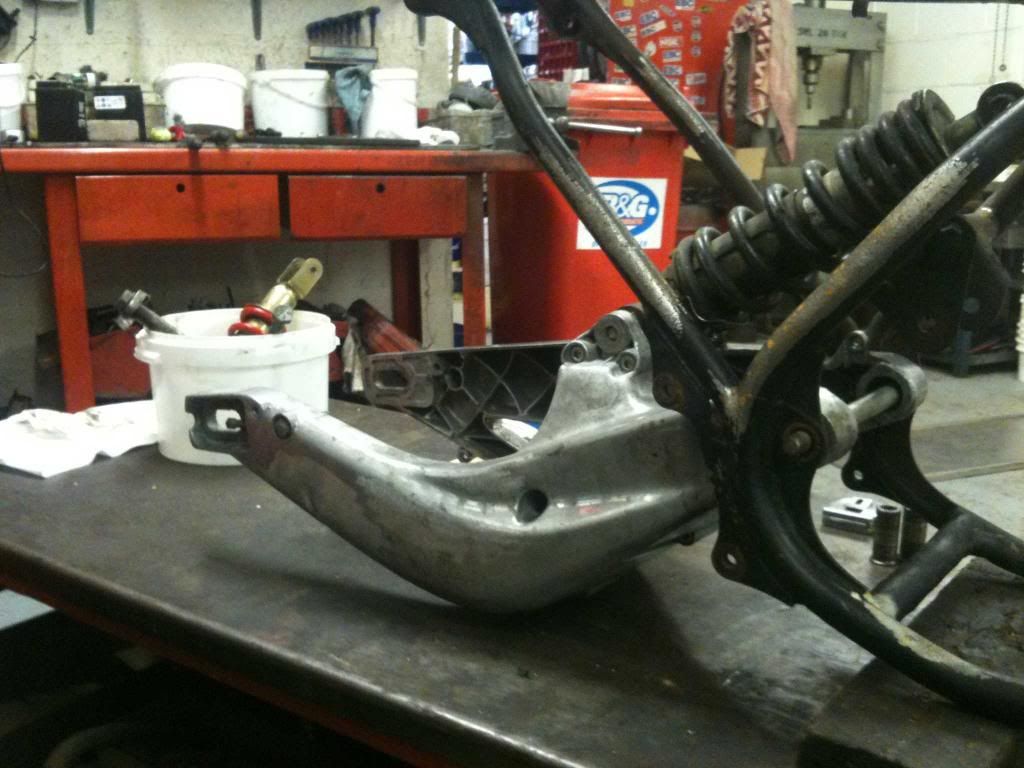
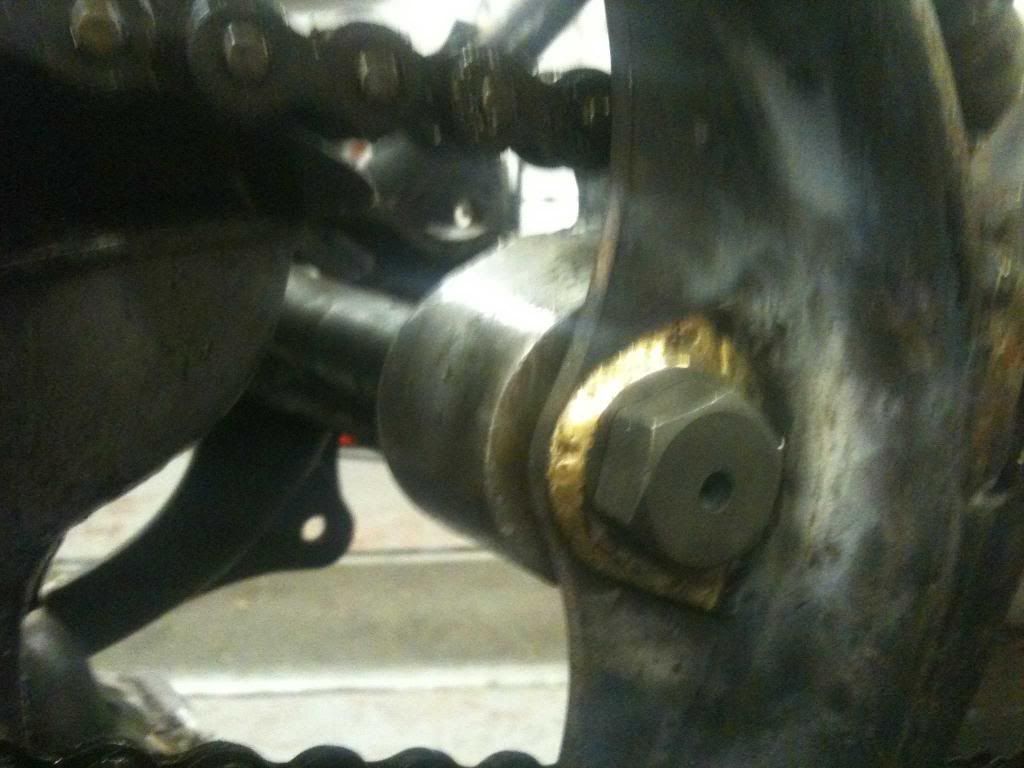
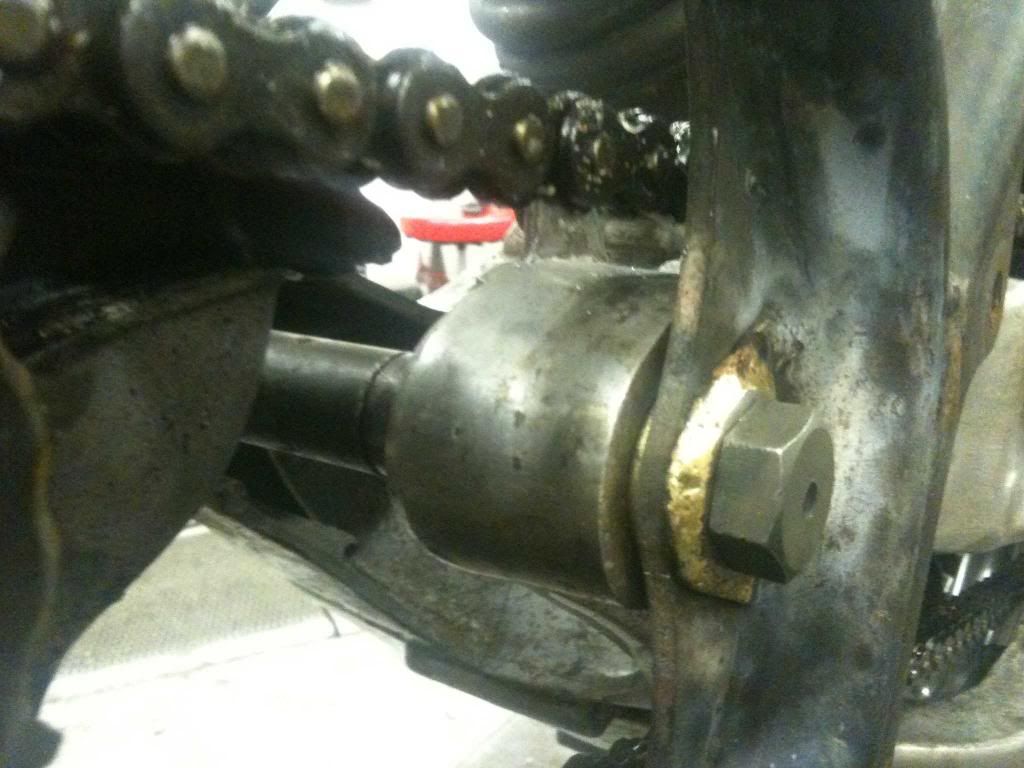
The original Aprilia swinging arm bearings are used but doubled up on each side and also the original Aprilia bushes are being used each side with a tubed spacer to fit between them to make it solid.
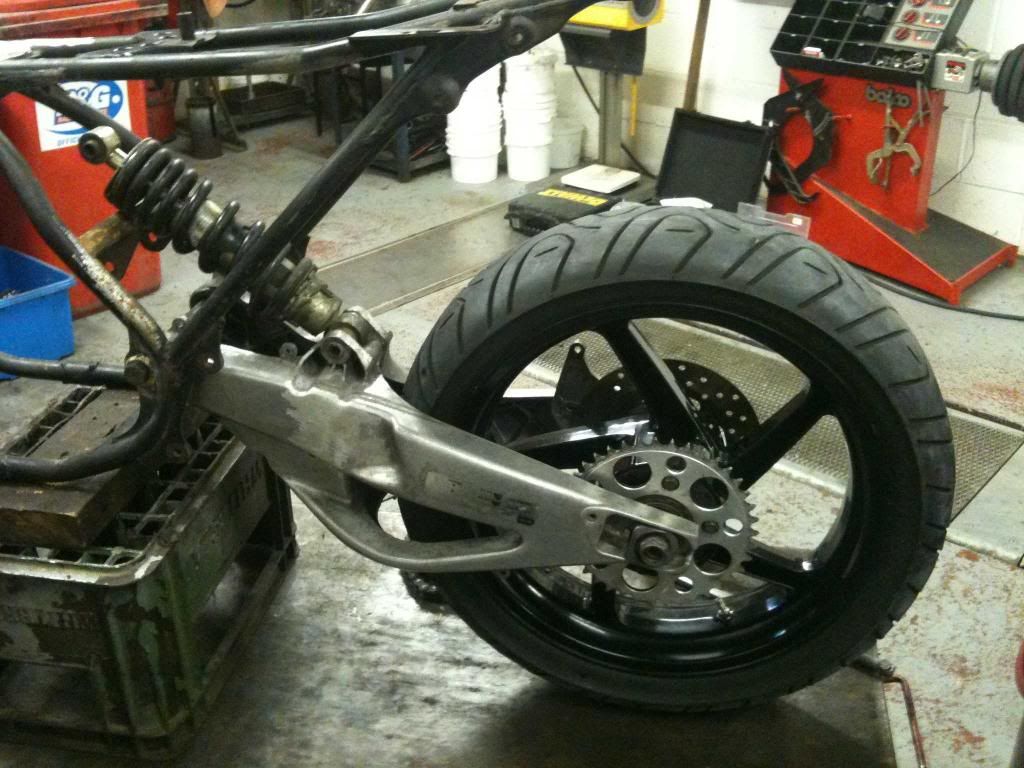
The Yamaha shock fitted straight into the Aprilia shock linkage mount and also the Aprilia bolt was used with absolutely no movement whatsoever.
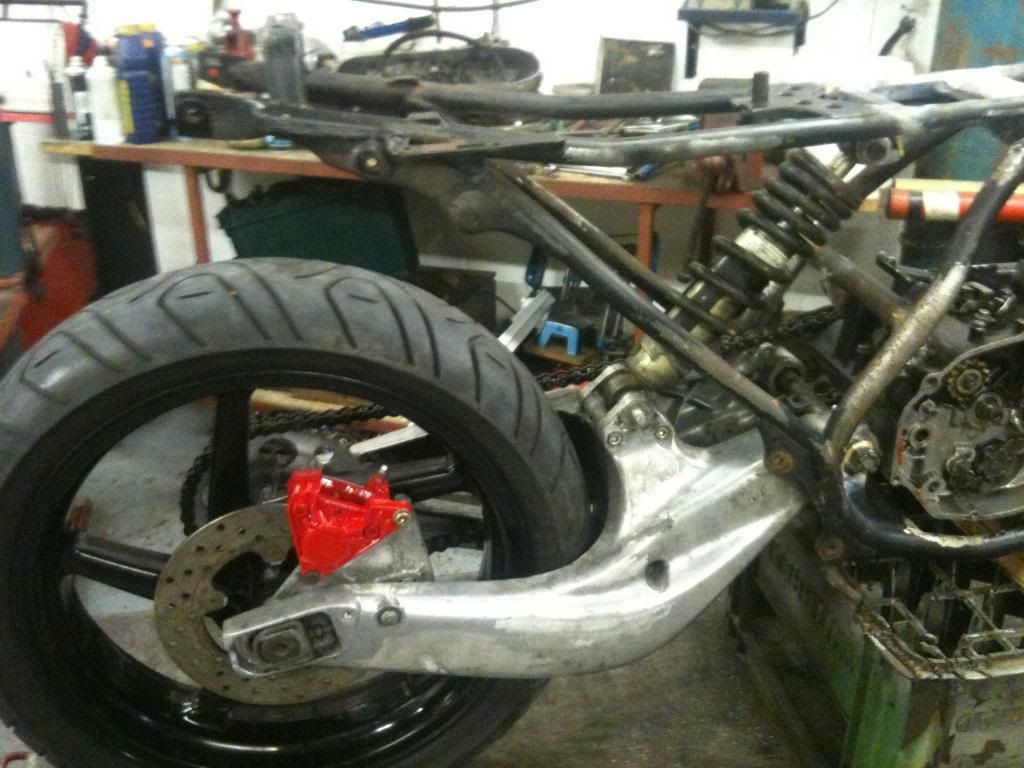
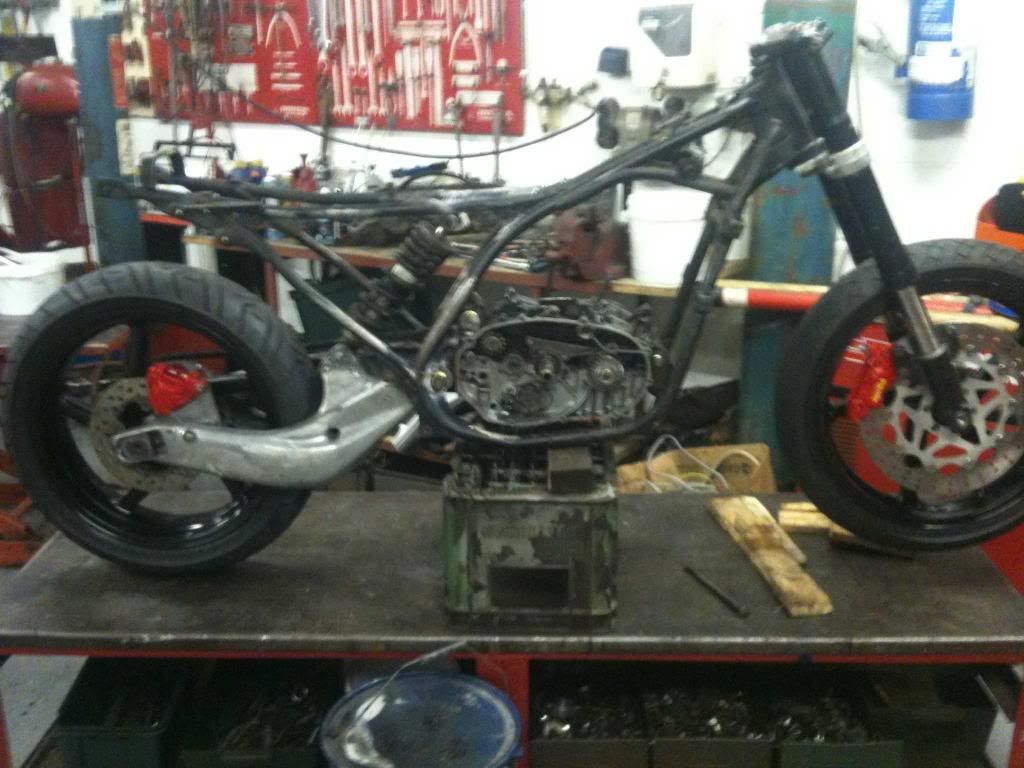
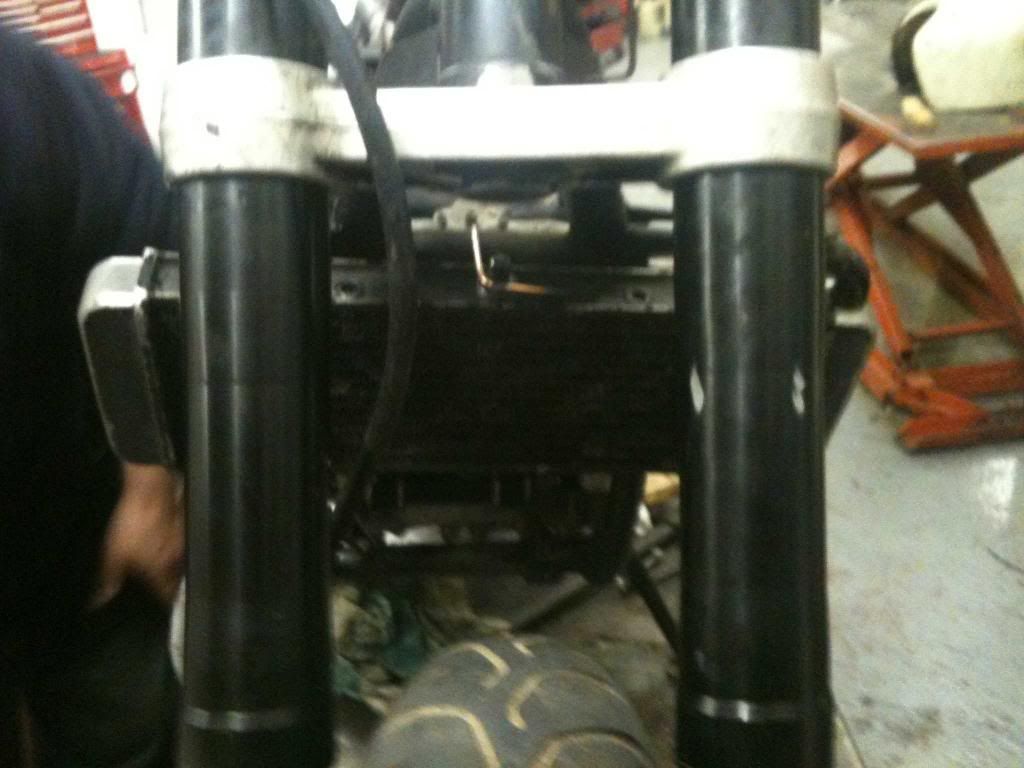
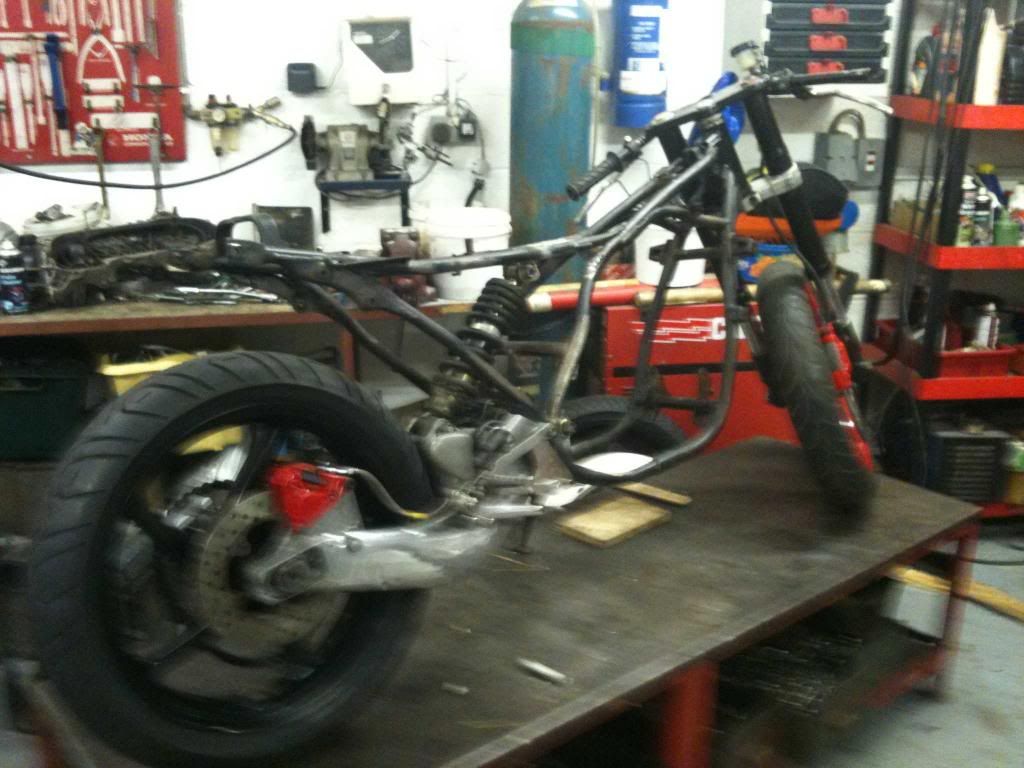
Time to put some wheels on to get an idea of how things would sit. The forks and yolks were just put into place for now with no bearings and the rear wheel is now turned the opposite way to what is does on the RS.
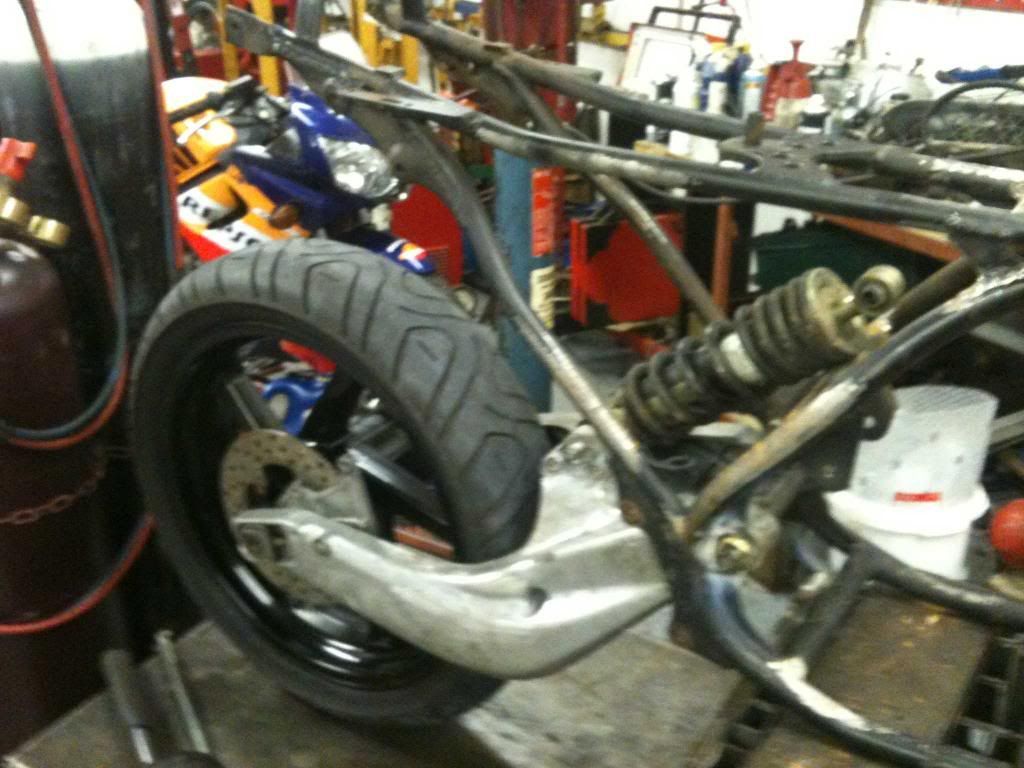

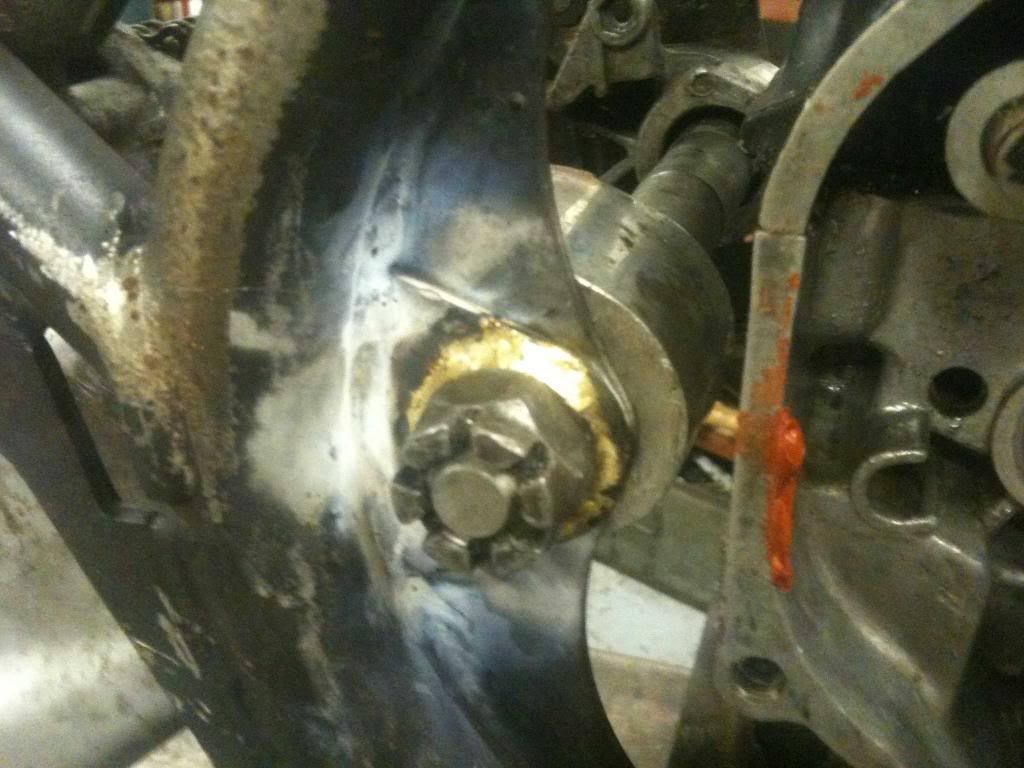
Now minor modification of the Original Yamaha Swinging arm Spindle was needed to fit through the bushes etc.
It needed to be lathed down by roughly 5mm throughout it's length and upto the threads.
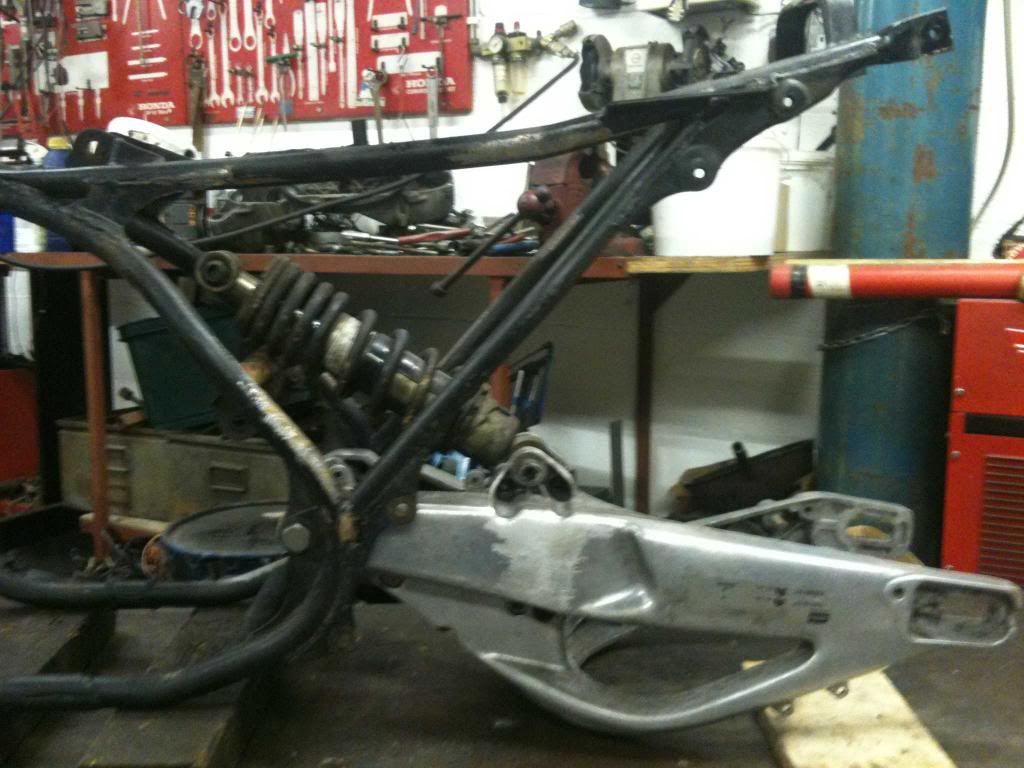
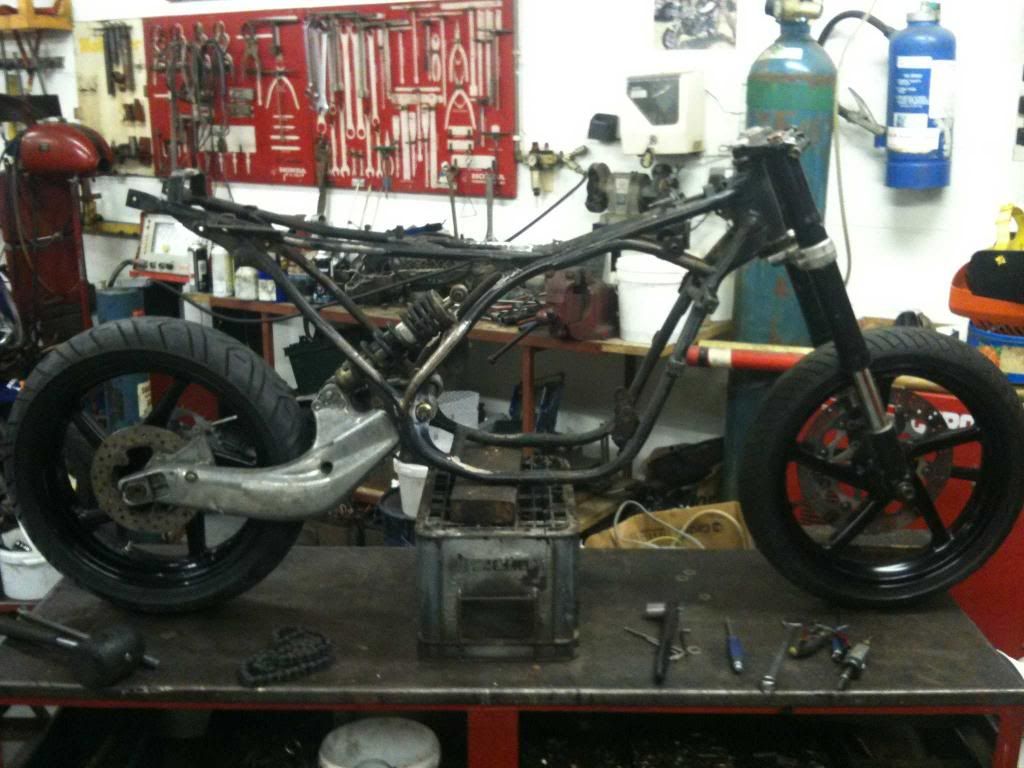
So now rolling chassis roughly looked like this.
More of the rebuild to come when I can be bothered to type again
OK next was I had to braise some washers onto the frame to componsate for lathing down the spindle...i figured later I could have left approx 20mm at the diameter it originally was at the bolt end but you live and learn.
The original top anchor lugs for the shock were reused and additional mounting were installed onto the frame to house were the shock would sit. this wasn't guess work to where it sat. The front fork angle was set to 26 degrees and the frame was levelled off to make sure all should be correct when under load.
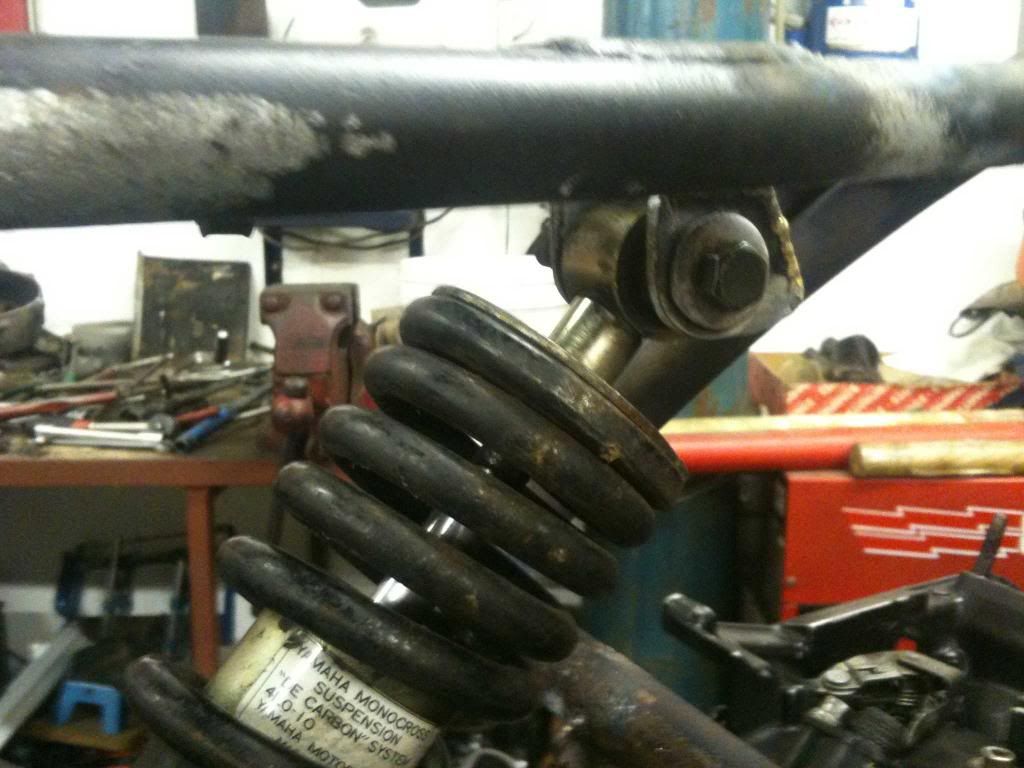
Some additonal bracing is still to be put on to strenghten the shock bracket at a later date.
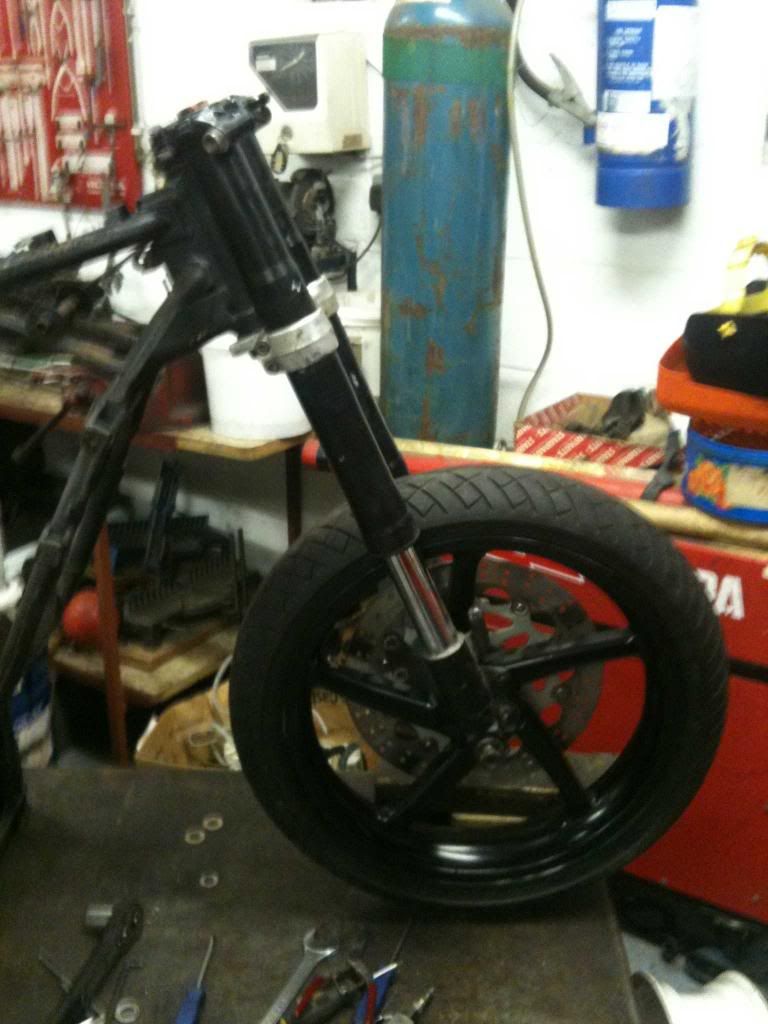
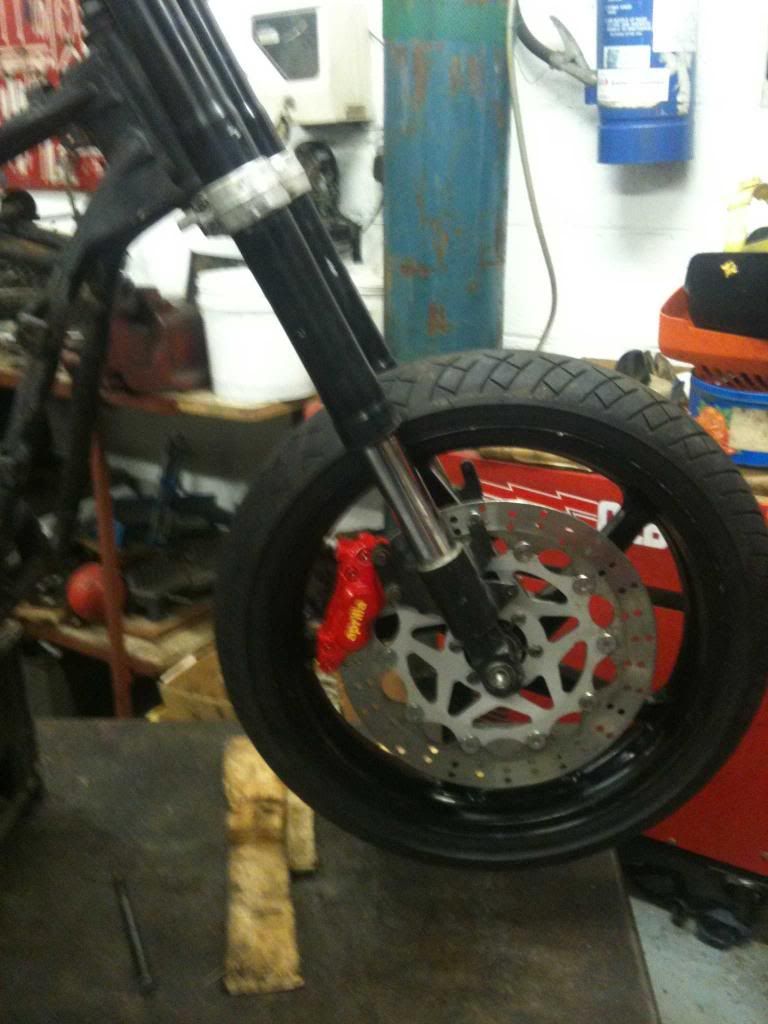
Front headstock bearings were sourced from Norbo but only the bottom on was of any use to fit the Arprilia yoke set so a replacement was sourced from my own supplier to suit. The bottom yolk stem was as near as dam an exact length for the frame but the bottom bearing did sit further into the frame than I liked so out came the grinder again and approx 5mm was removed from the bottom frame stem. Now the Aprilia complete yokes fitted to a tee. The castor angle was set to 26 degrees which is exactly the same as the RD.
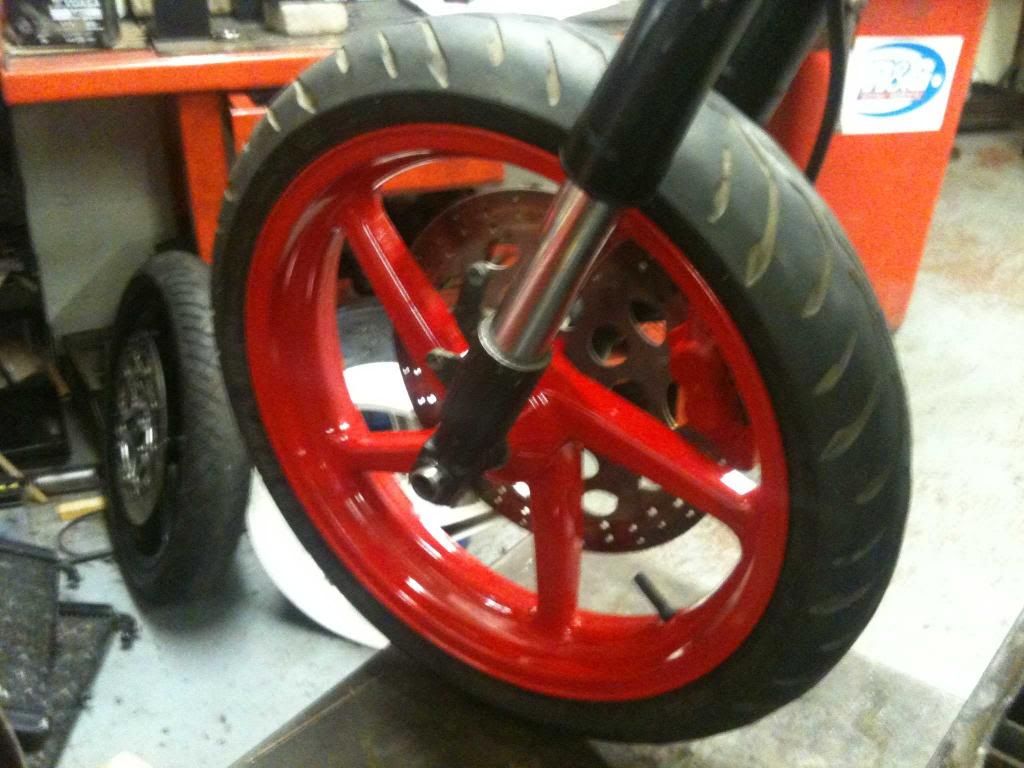
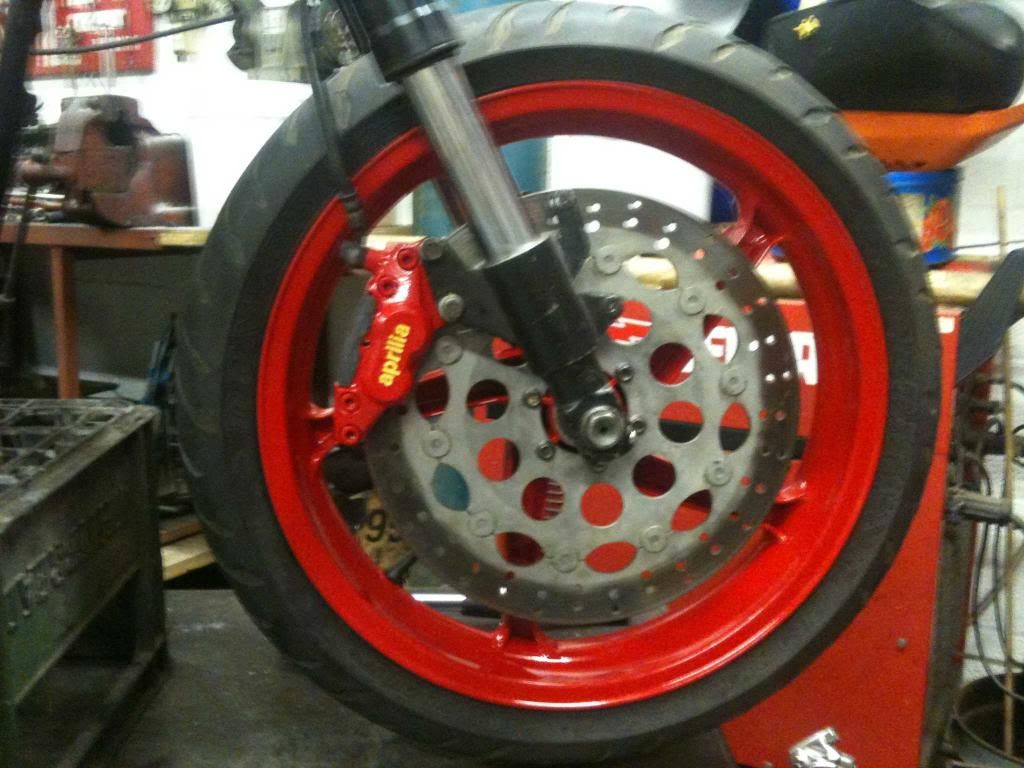
The front and rear brakes from the Aprilia and was given to a friend in Leeds who works round the corner and they spray calipers for AP Racing. This is very high temperature paint and a variety of colours was available but Red was chosen.
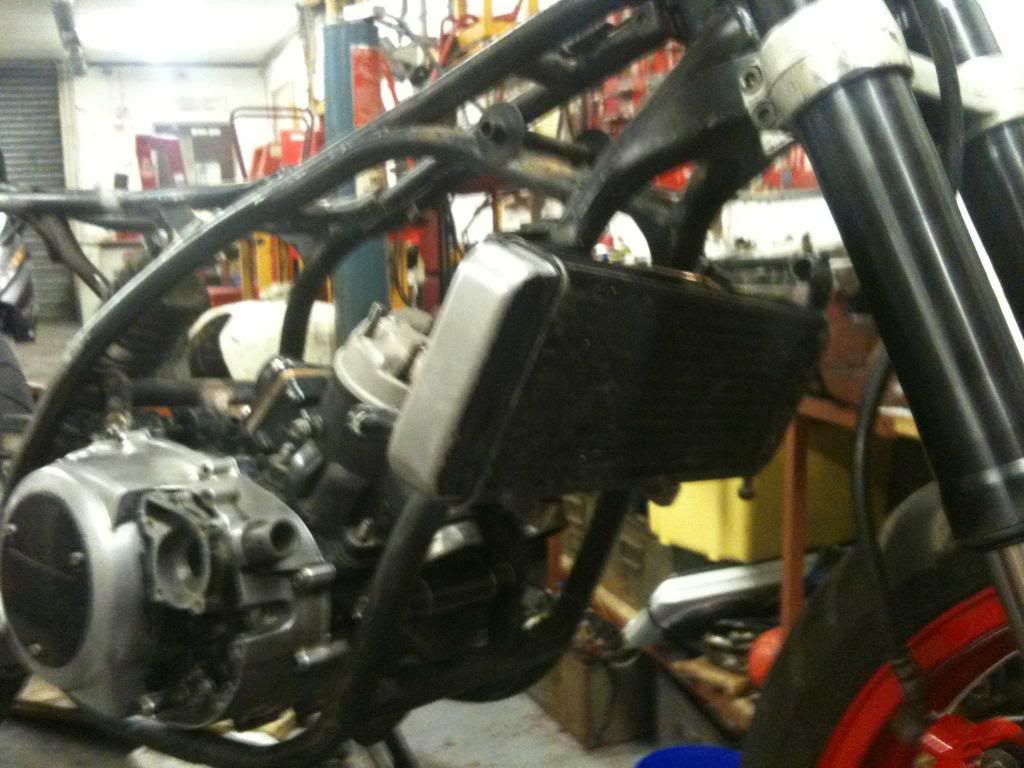
Now I had a complete rolling chassis to admire it was time to sit in the engine and see what needed doing there.
The original mounts were used and a chain was put on to see what the chain run would look like.
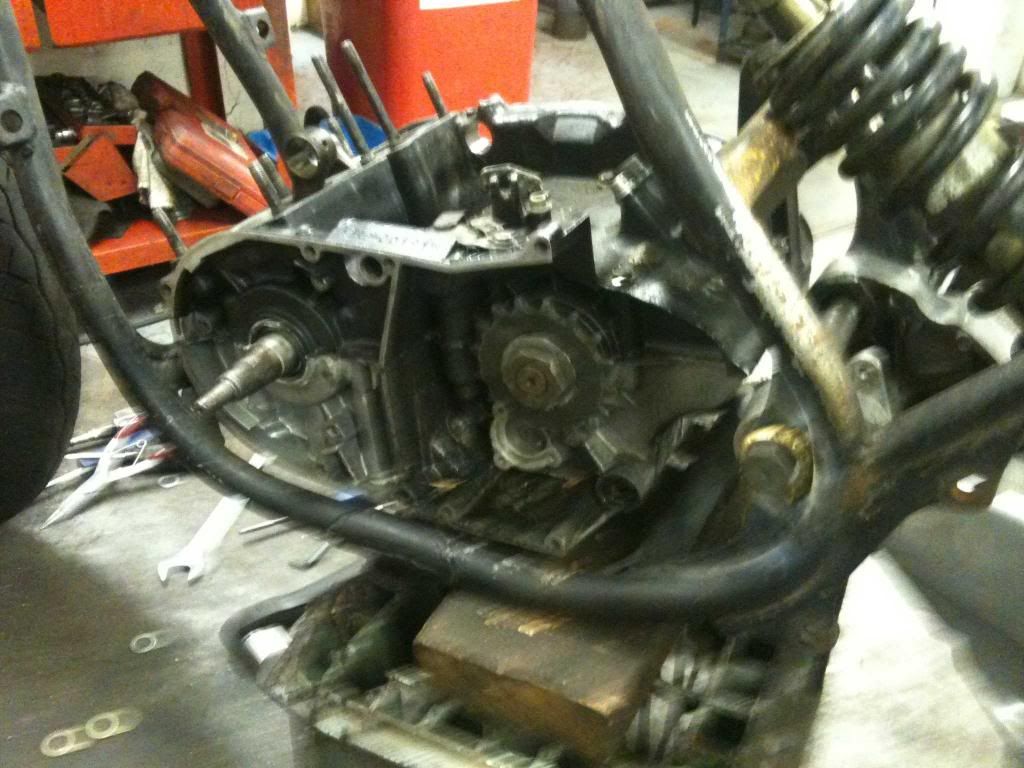


The front to rear sprocket run was checked with a laser and to everyones suprise it was straighter than an American motorway!!!
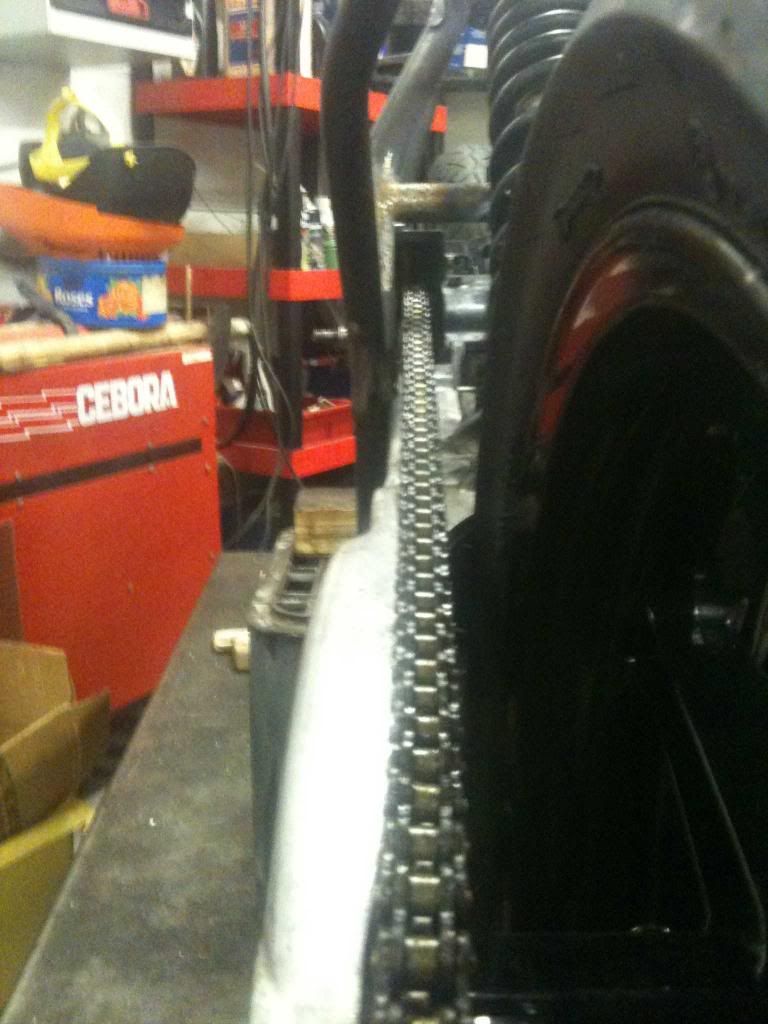
One thing that was noticed was that the chain did not clear the swinging arm at the frame point by more than a few mm.
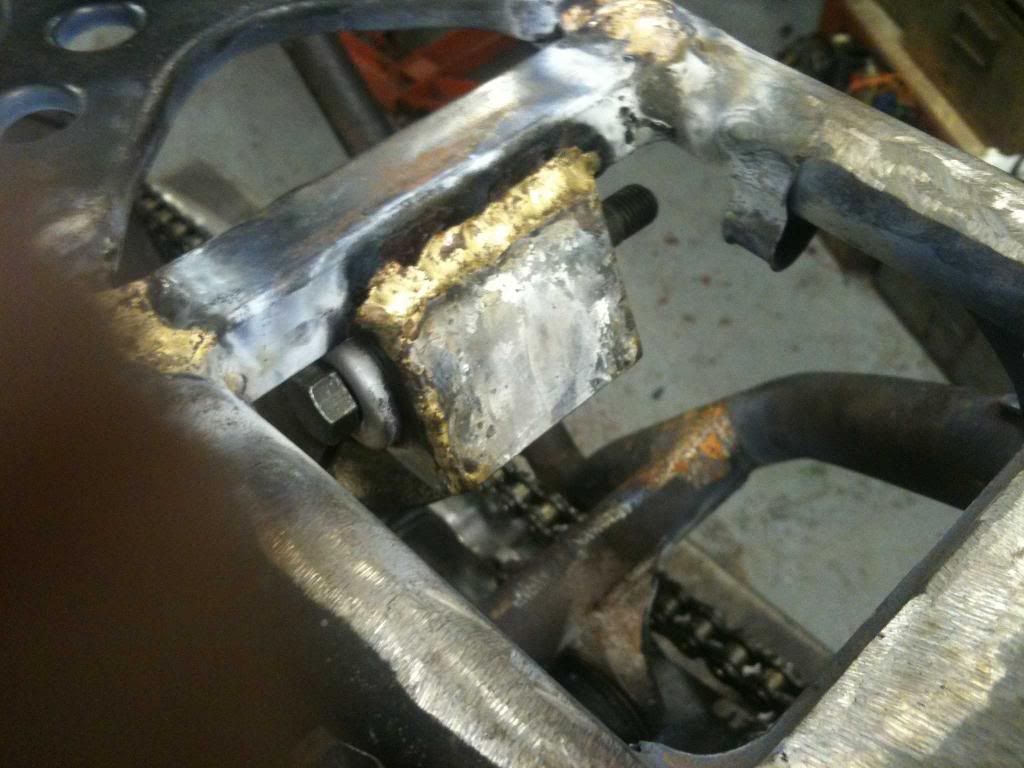
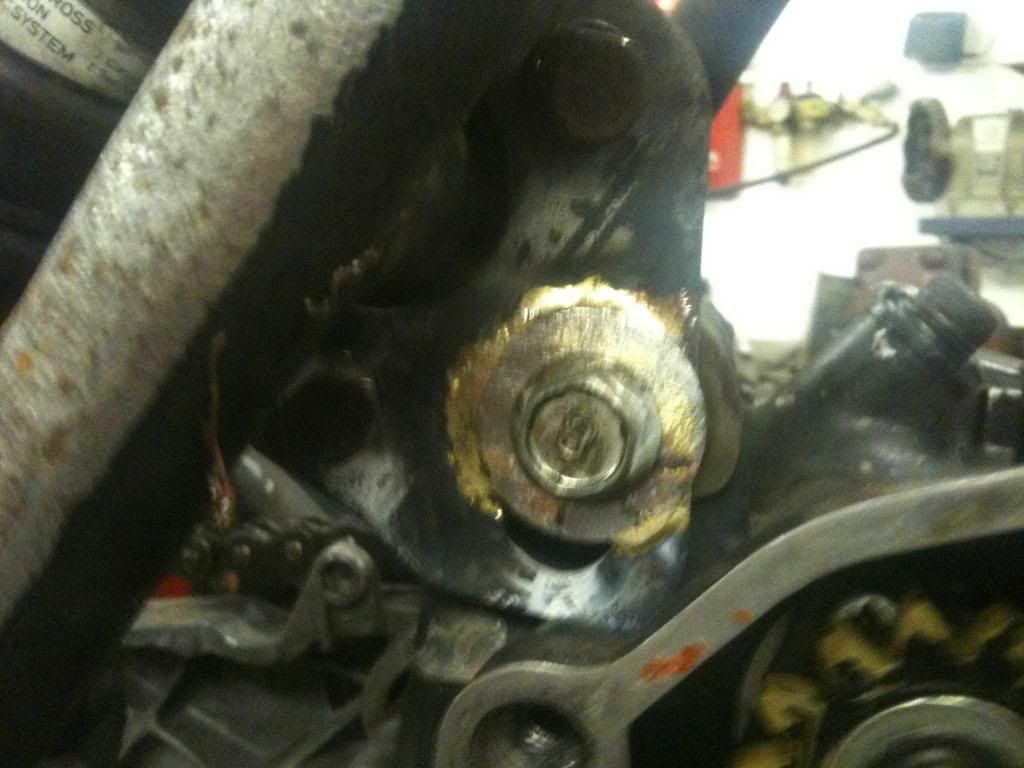
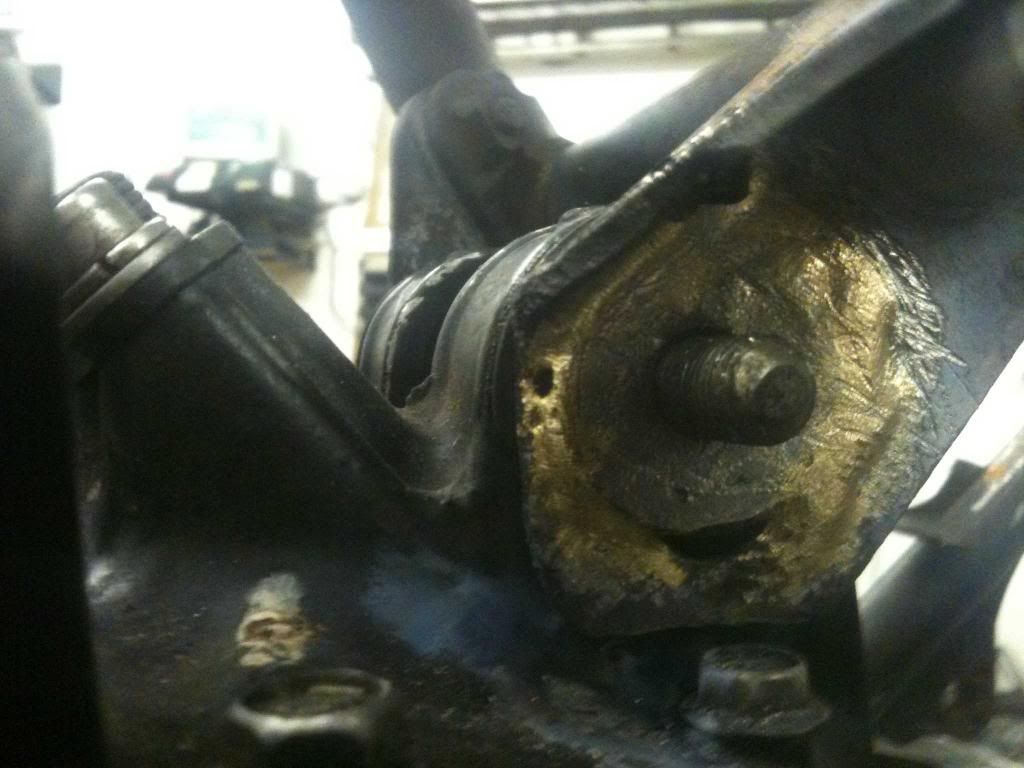
So it was decided to angle the back of the engine upwards by a little.
This just meant ovalling out the original bracket and braising on a washer at the desired height which would give the clearance needed.
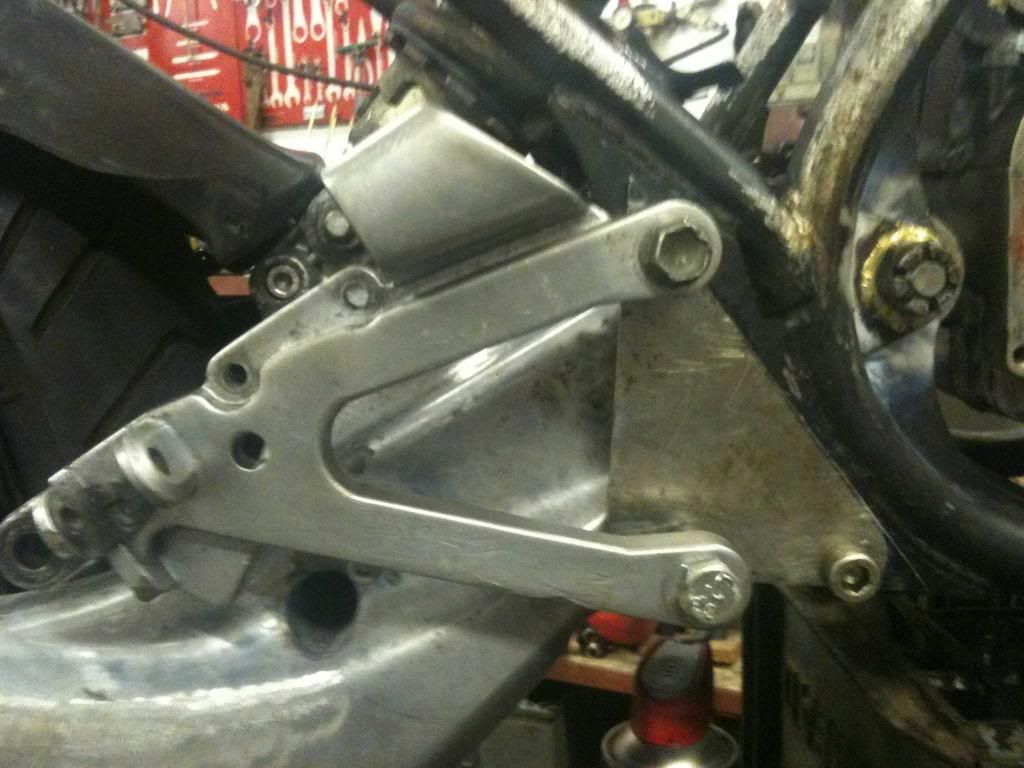
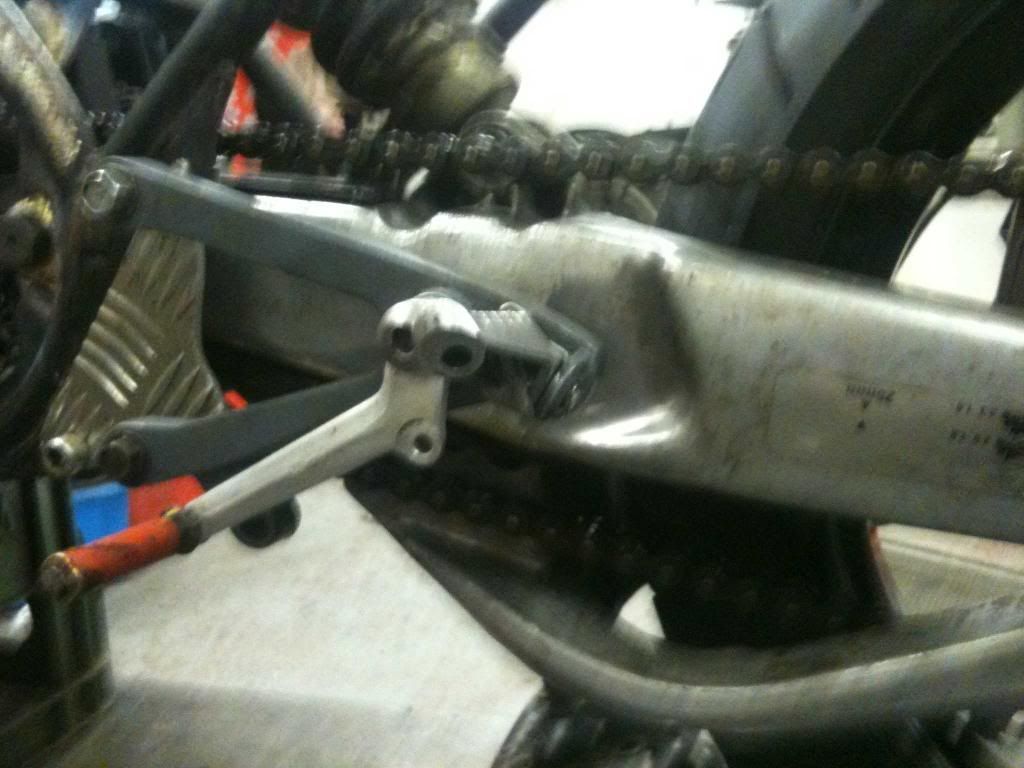
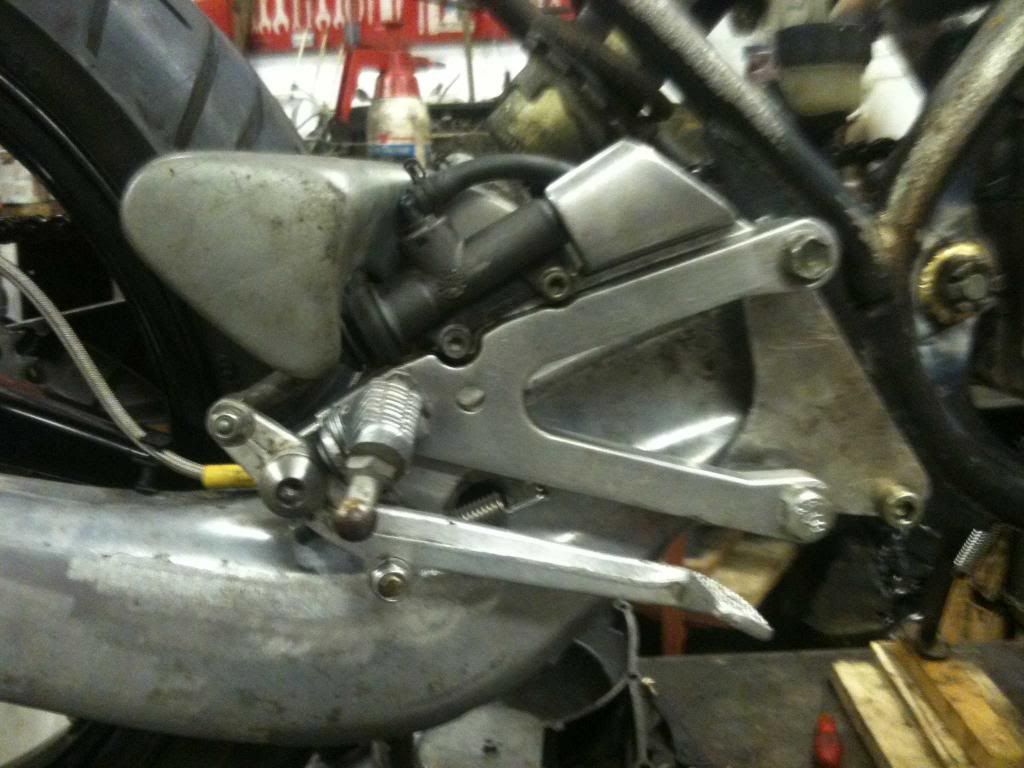
Next the Aprilia RS rearsets were used with a minor bracket mod to fit and are perfect for my lanky bandy chicken legs so Mick says.
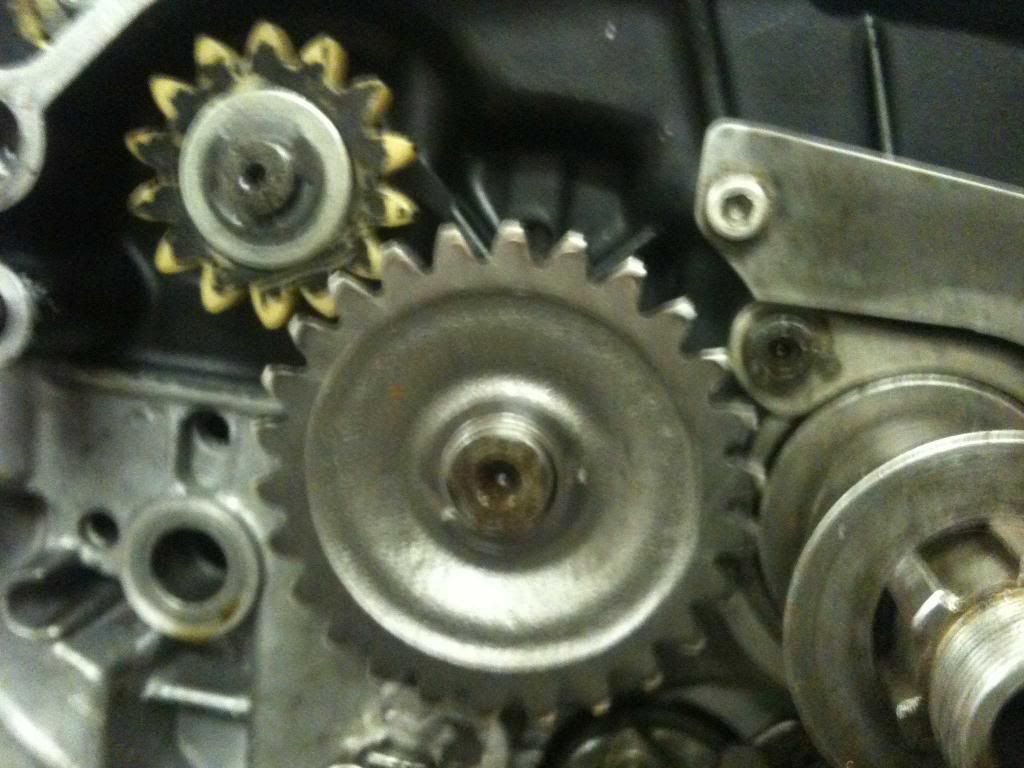
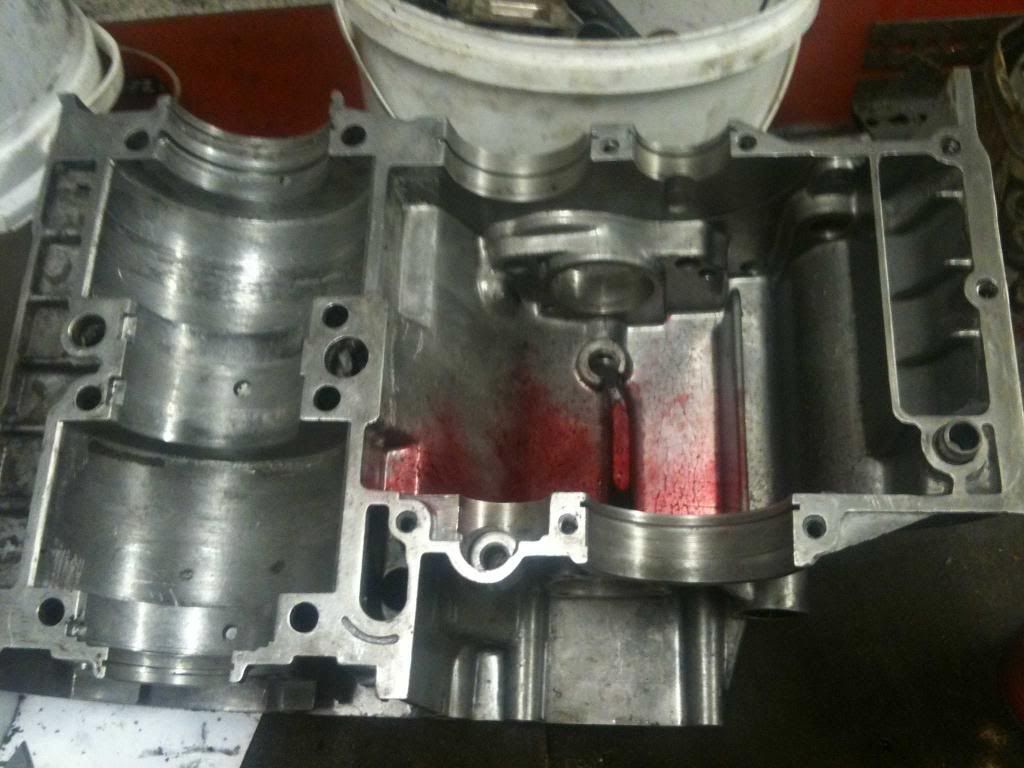
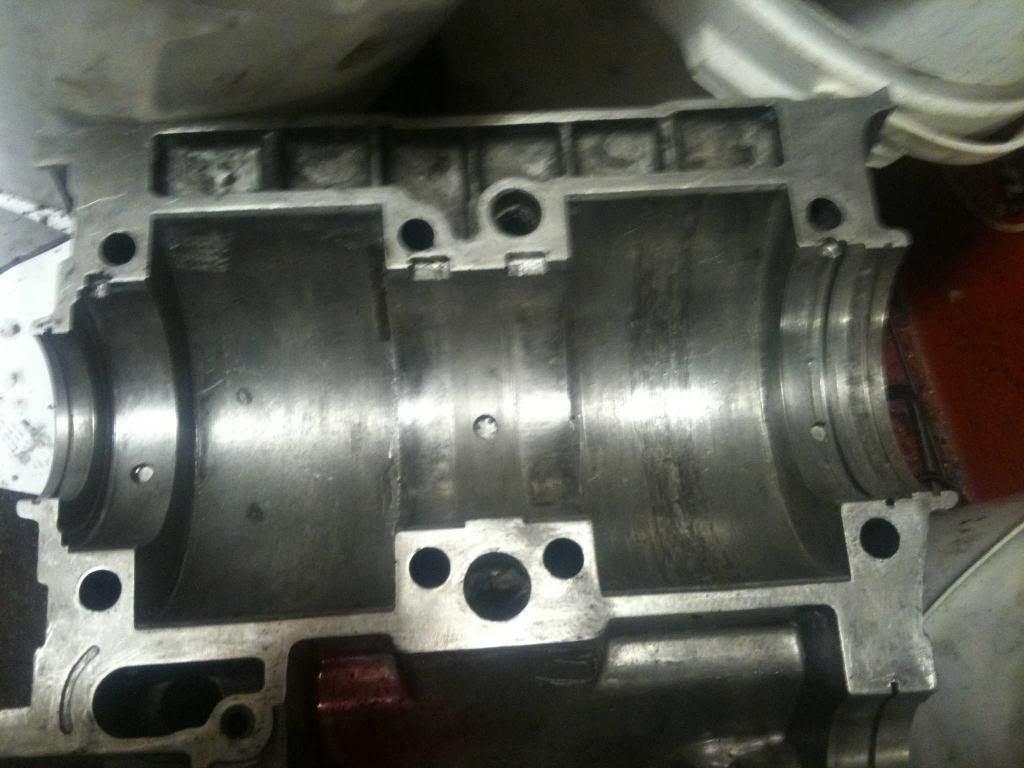
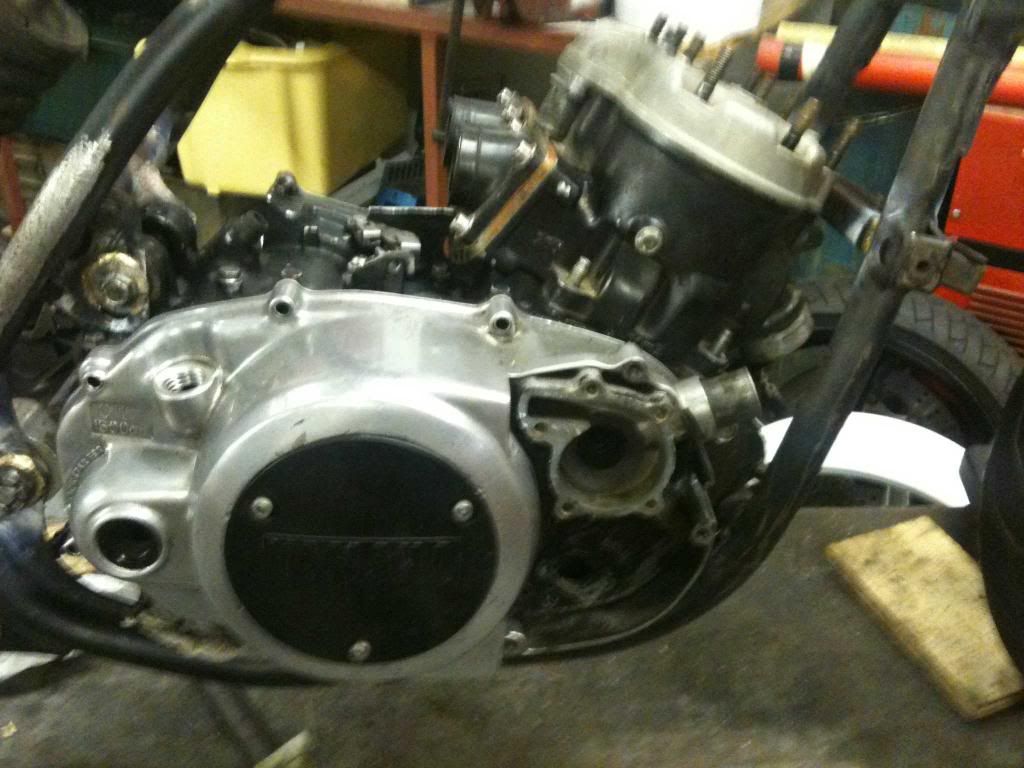
The bottom end could now be rebuilt and on inspection nothing but mains and seals needed replacing. Crank and rods were in pretty good condition.
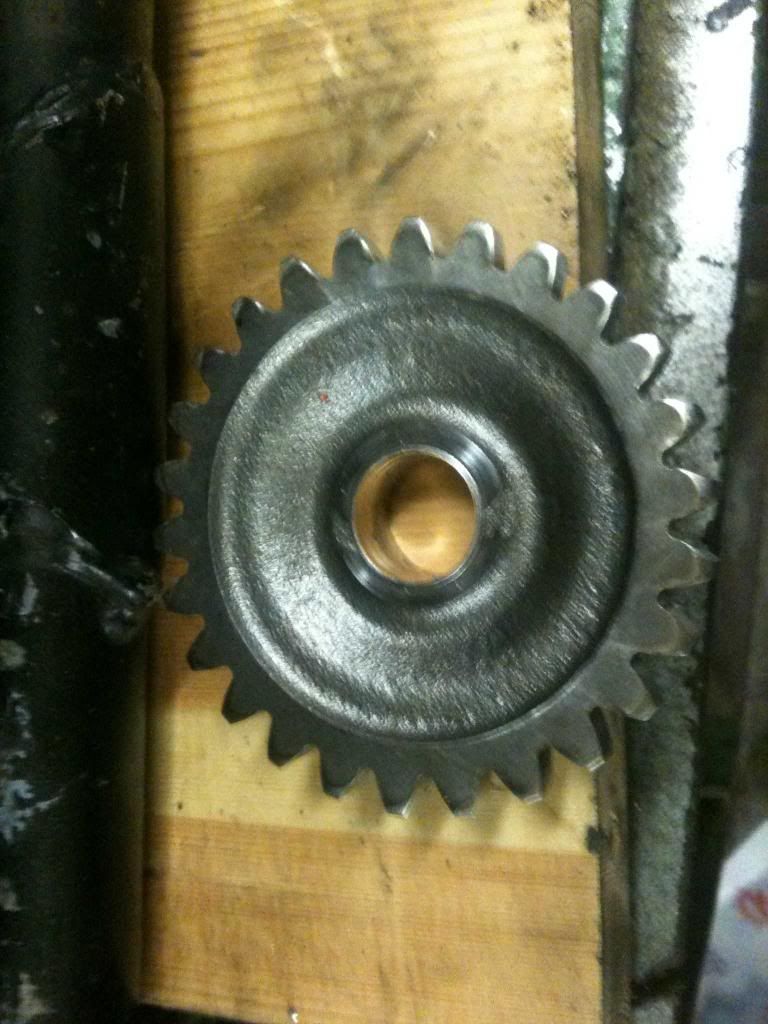
Although i am i need of the cog that goes from the clutch to the plastic cog as the bush has worn out and it slops around too much... Norbo have you got one?
Bottom end back together and installed time to have a bracket for the radiator which at the minute I am going to test one that i have from an Aprilia AF1.
Bit of braising again and this is what i came up with.
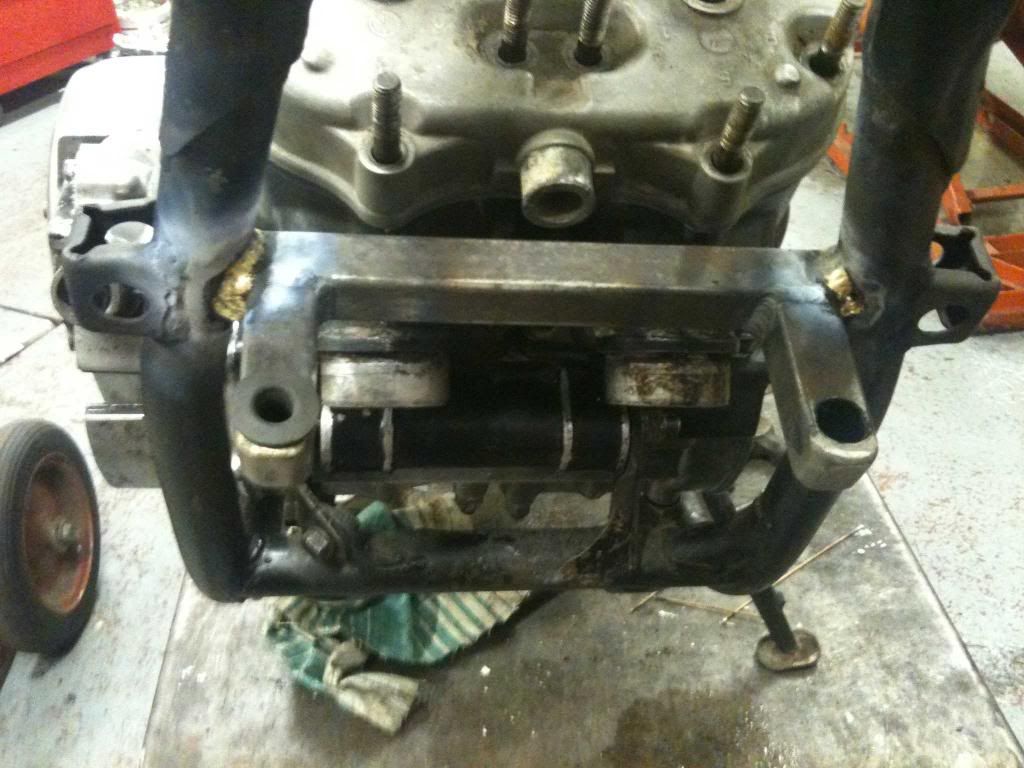
Anybody spot the c**kup? ?
?
Forgot about the hose run from the head when siting the cross brace so have cut this down in the middle and braised a piece of box section in to allow the hose to run through it....numpty.
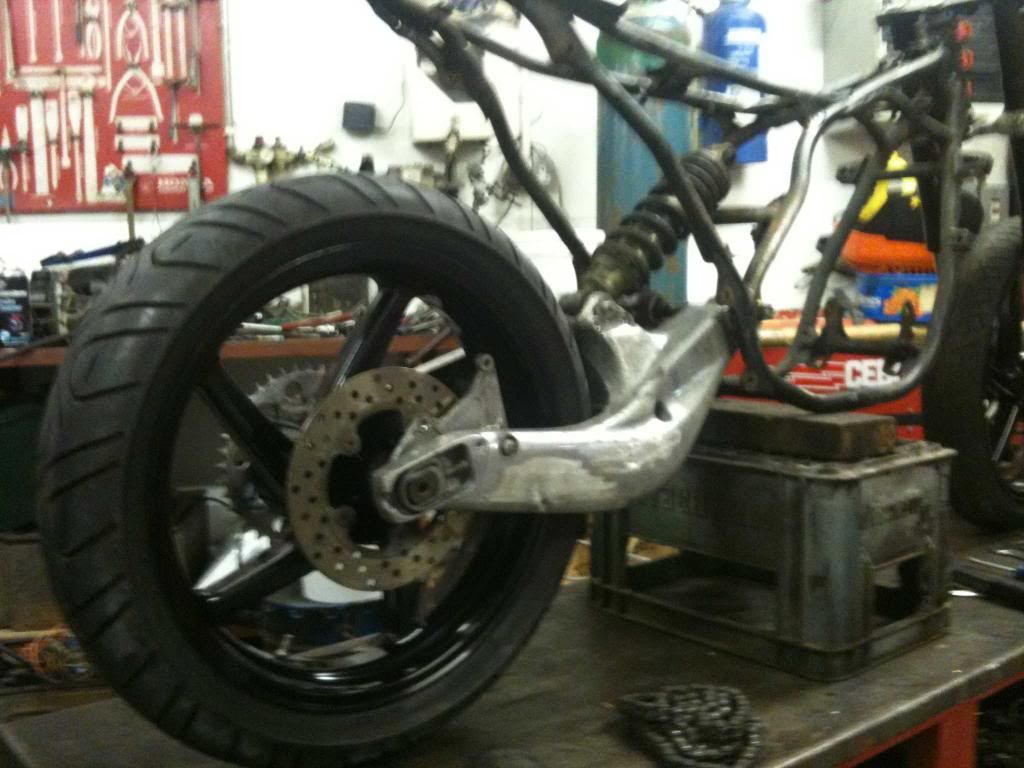
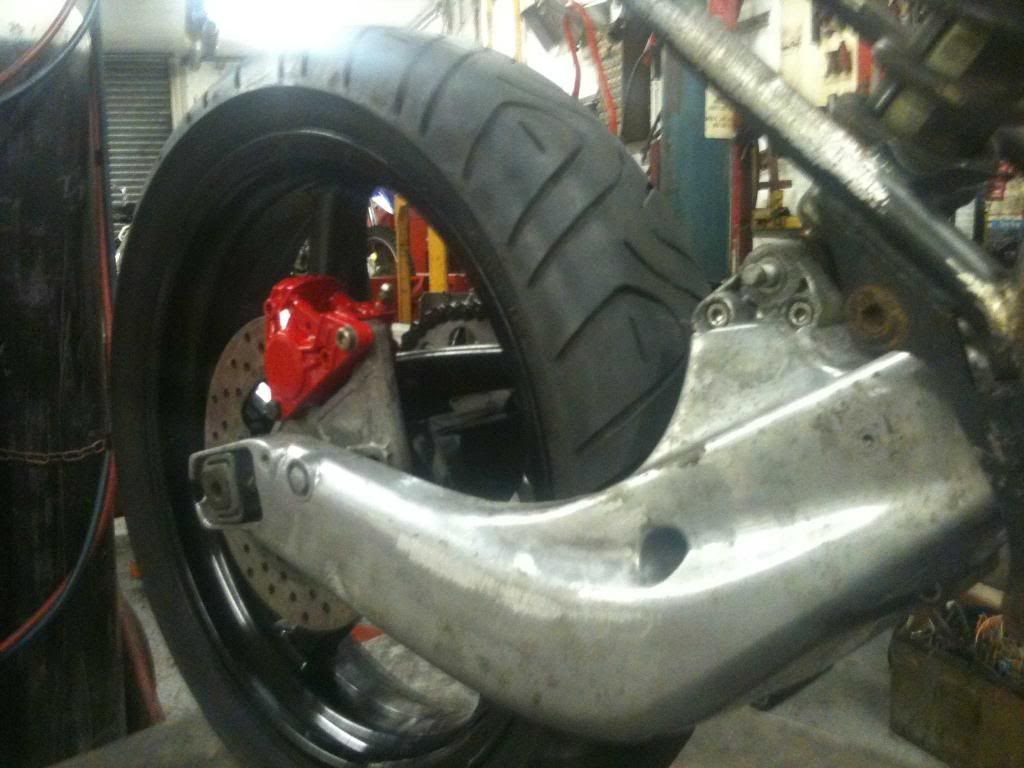
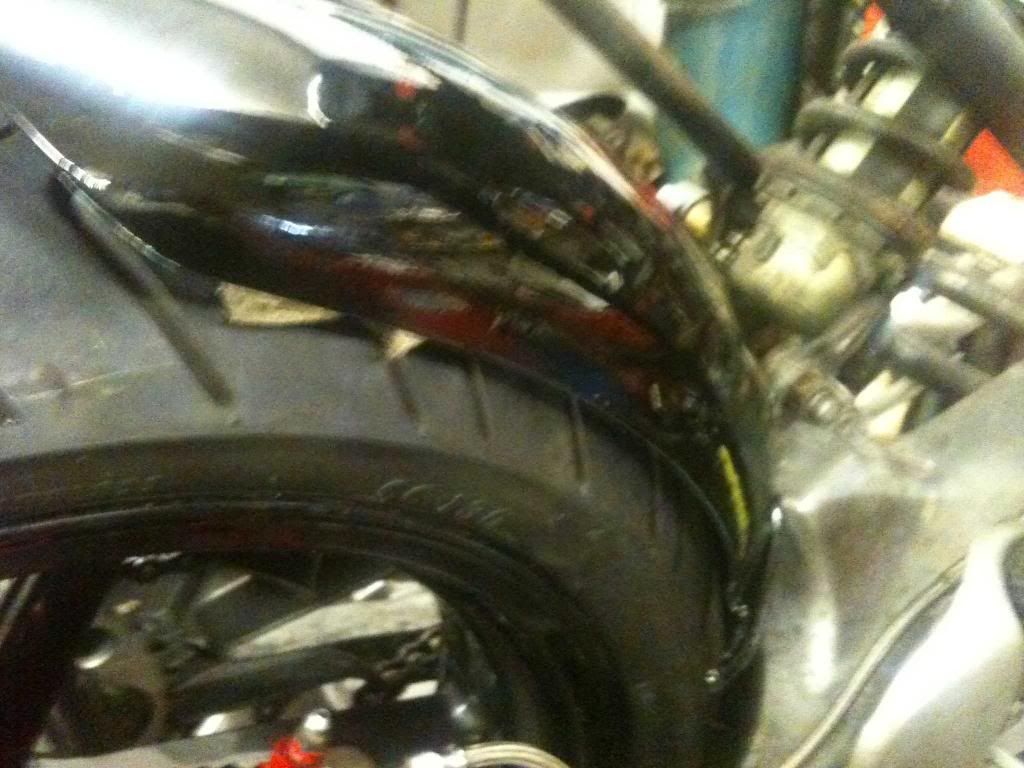
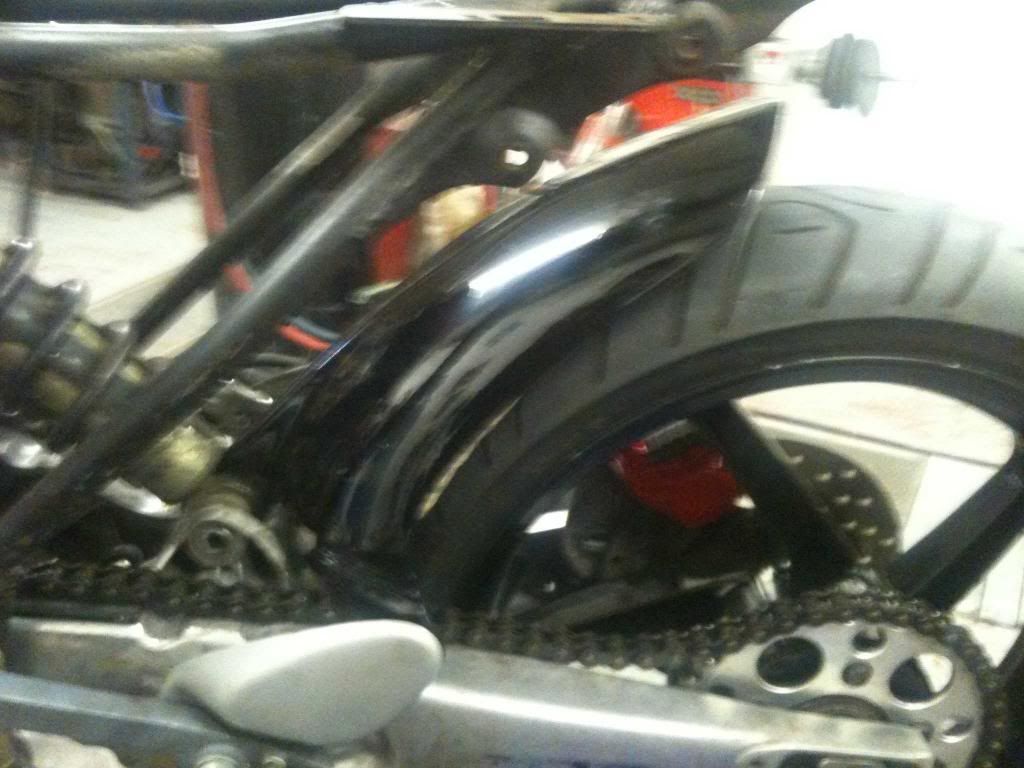
Thought of putting a Aprilia RS hugger on the back but will have to mod it a little on the RHS to mesh to the swinging arm...Comments appreciated.
Front and rear wheels are now sprayed in the same colour as the calipers. More pictures to come.
There wasn't any side stand bracket on the frame so what do you think i sourced one from?
you guessed it an Aprilia Rs one modded and it sits nicer than the original.
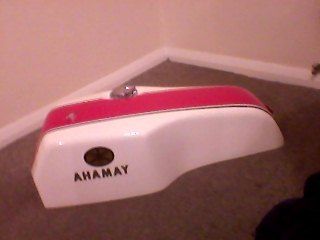
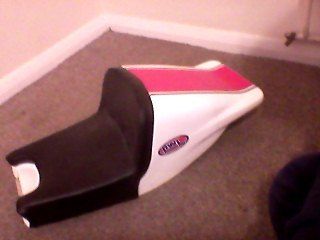
Roll on Thursday when the TZ Replica body kit comes and i can start fitting the steering damper..yep from an Aprilia and start chooping the rear to fit the seat unit.
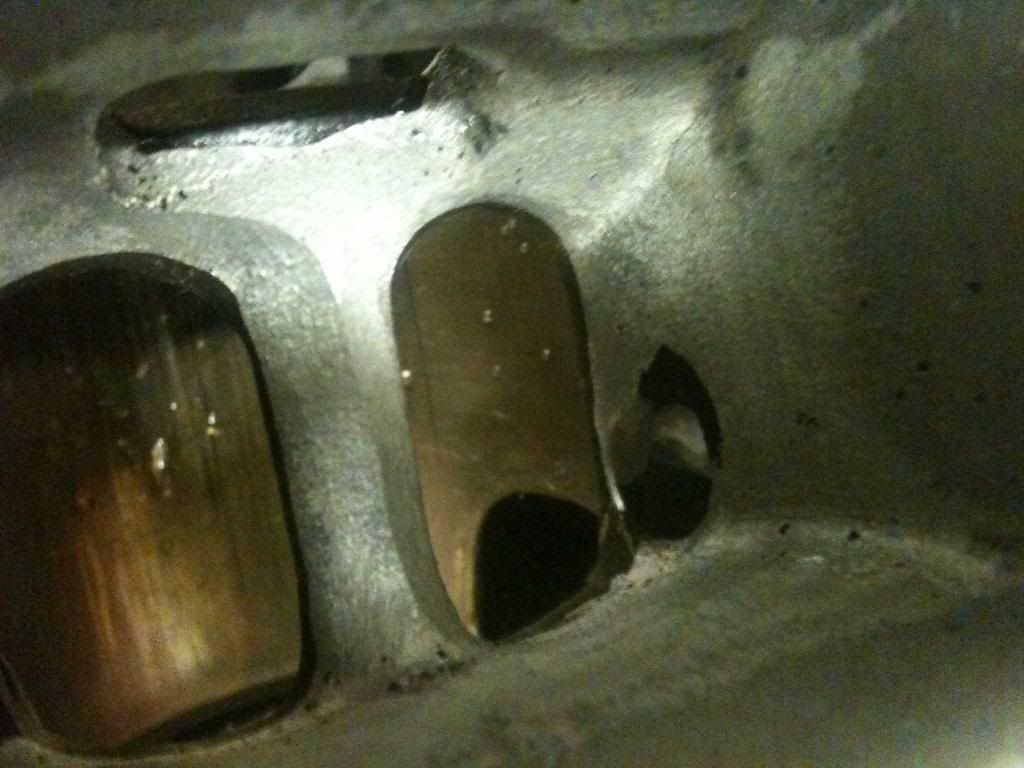
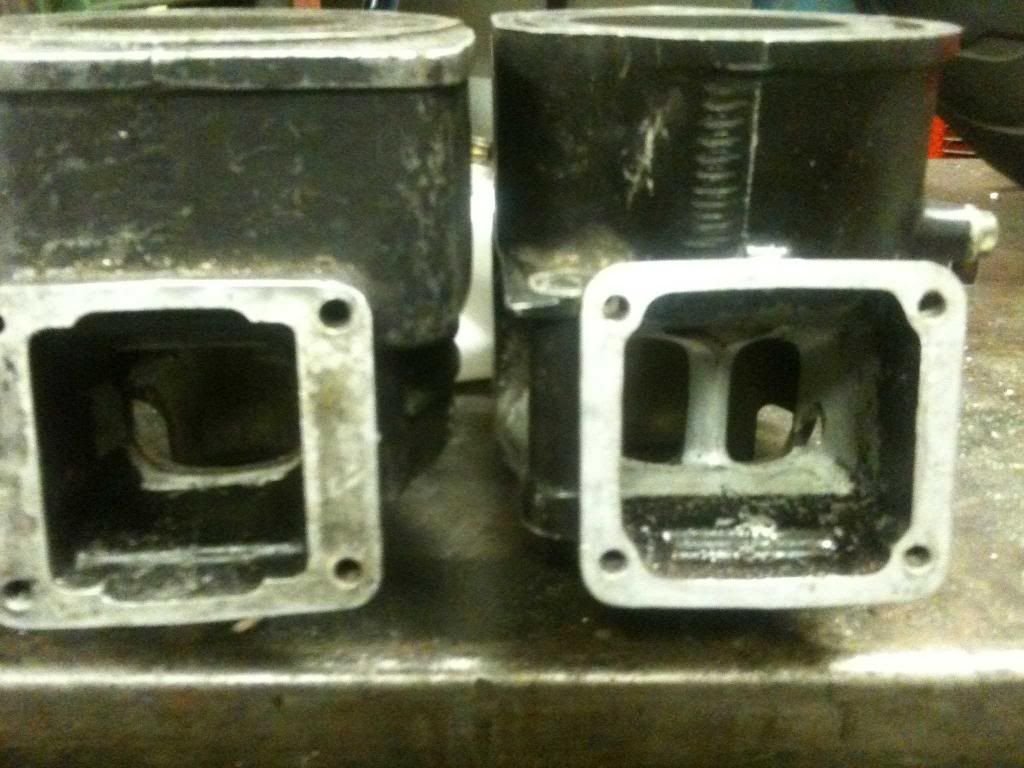
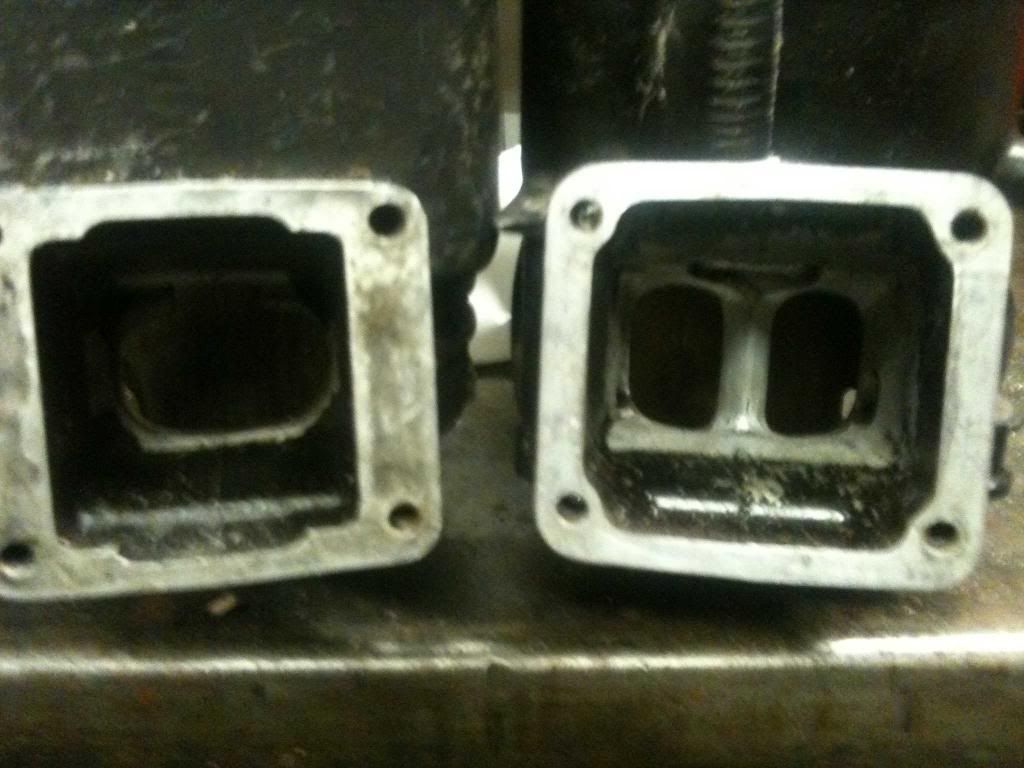
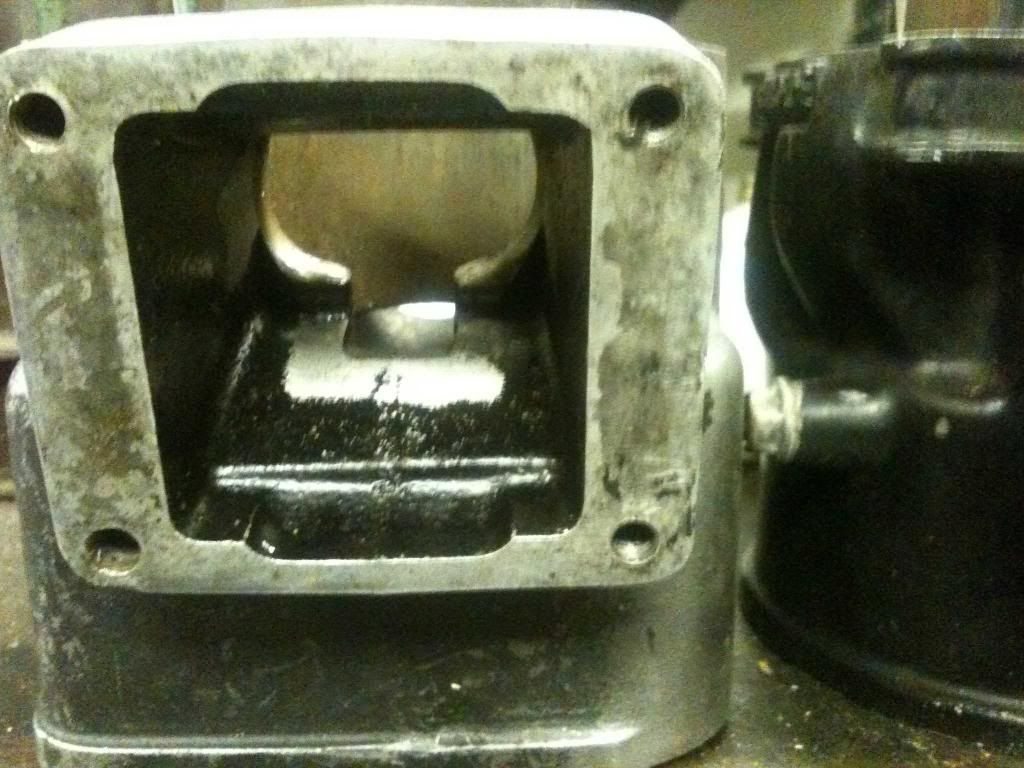
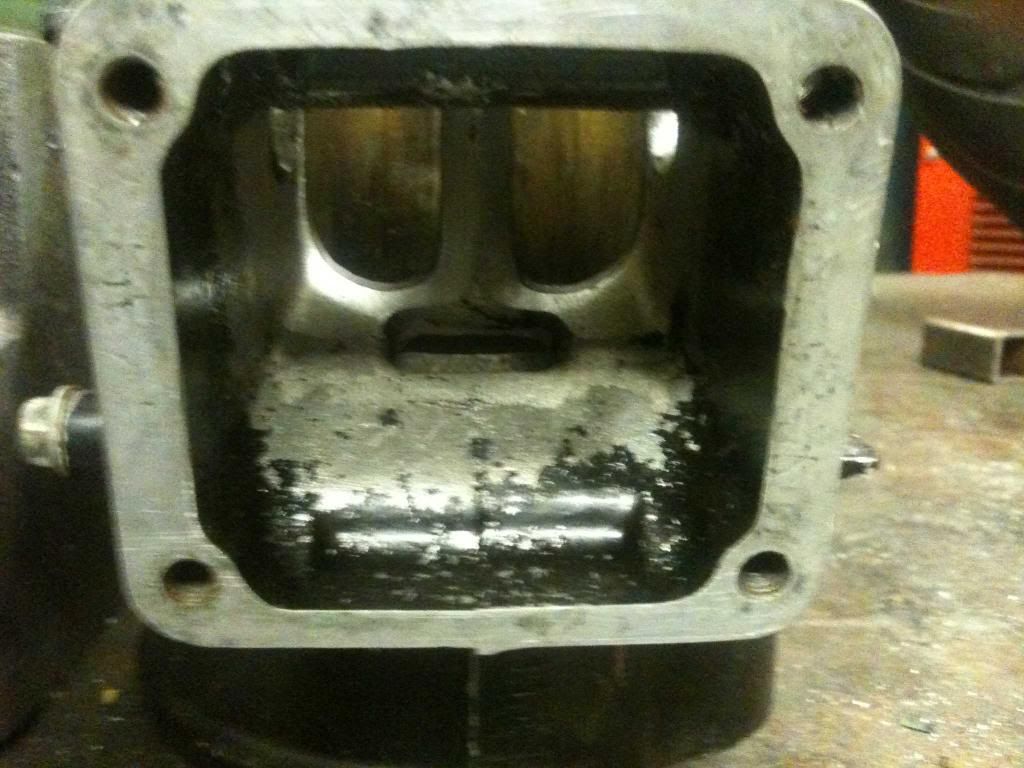
Barrels i will be reboring next week with 65.5mm pistons. If i believe right thats 1.5mm oversize.
The final stage will be to give the bike to a person of choice to build the pipes. Have a few in mind but all knowledge and thoughts again welcome as the design has not yet been finalised.
It will be a daytime MoT bike for now as I have not decided whether the front should be left alone or a small ducati style fairing to be fitted. Will not be running with a battery or electrics to start with just need to fit a rear stop lamp of some kind and a horn then it's play time after the DVLA give me a REG plate.
Will update with better pictures as they develop. I phone is crap for pics..........
The concept was that as I have so many spare Aprilia Rs 125 spare parts from rebuilding this model over the years I would do a Hybrid hopefully on the cheap instead of it costing an arm and a leg and see if the parts were up to the challenge.
I up to yet have been pleasantly suprised how it has come together.
The first thing was to get a rolling chassis which turned up on Ebay and won for £360ish for the rolling chassis and a Banshee engine from Salty.(Cough, cough) Think I may be the only person who thinks I got a good deal out of a purchase.
Frame was stripped and all unneeded lugs etc. were removed. Think the frame weighed about 11KG after it was butchered with the angle grinder and still need to remove a little more at a later date.
The swinging arm on the RS has the chain run on the RHS which was thought to be an issue but after looking at what to do it was decided to run the Arm upsidedown so the bracing runs underneath.( you'll get the picture in a mo when I load a picture.
It was wider than the frame would alow so again a little measuring and grinding and it sat nicely between the frame mounts.
The original Aprilia swinging arm bearings are used but doubled up on each side and also the original Aprilia bushes are being used each side with a tubed spacer to fit between them to make it solid.
The Yamaha shock fitted straight into the Aprilia shock linkage mount and also the Aprilia bolt was used with absolutely no movement whatsoever.
Time to put some wheels on to get an idea of how things would sit. The forks and yolks were just put into place for now with no bearings and the rear wheel is now turned the opposite way to what is does on the RS.
Now minor modification of the Original Yamaha Swinging arm Spindle was needed to fit through the bushes etc.
It needed to be lathed down by roughly 5mm throughout it's length and upto the threads.
So now rolling chassis roughly looked like this.
More of the rebuild to come when I can be bothered to type again
OK next was I had to braise some washers onto the frame to componsate for lathing down the spindle...i figured later I could have left approx 20mm at the diameter it originally was at the bolt end but you live and learn.
The original top anchor lugs for the shock were reused and additional mounting were installed onto the frame to house were the shock would sit. this wasn't guess work to where it sat. The front fork angle was set to 26 degrees and the frame was levelled off to make sure all should be correct when under load.
Some additonal bracing is still to be put on to strenghten the shock bracket at a later date.
Front headstock bearings were sourced from Norbo but only the bottom on was of any use to fit the Arprilia yoke set so a replacement was sourced from my own supplier to suit. The bottom yolk stem was as near as dam an exact length for the frame but the bottom bearing did sit further into the frame than I liked so out came the grinder again and approx 5mm was removed from the bottom frame stem. Now the Aprilia complete yokes fitted to a tee. The castor angle was set to 26 degrees which is exactly the same as the RD.
The front and rear brakes from the Aprilia and was given to a friend in Leeds who works round the corner and they spray calipers for AP Racing. This is very high temperature paint and a variety of colours was available but Red was chosen.
Now I had a complete rolling chassis to admire it was time to sit in the engine and see what needed doing there.
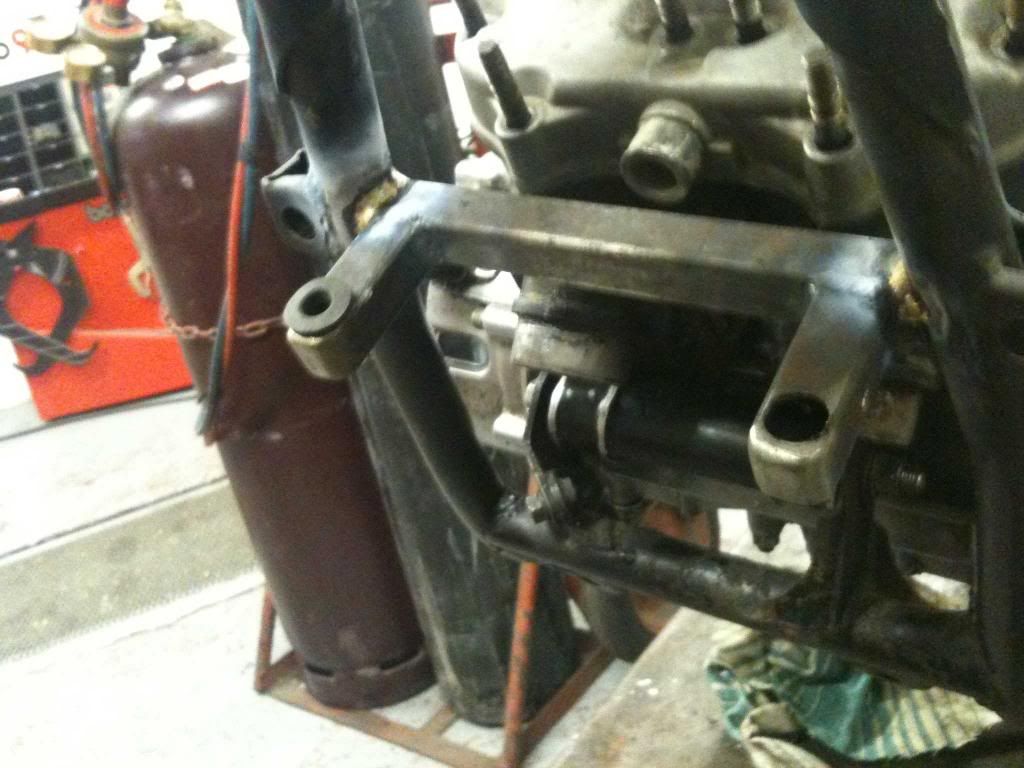
The original mounts were used and a chain was put on to see what the chain run would look like.
The front to rear sprocket run was checked with a laser and to everyones suprise it was straighter than an American motorway!!!
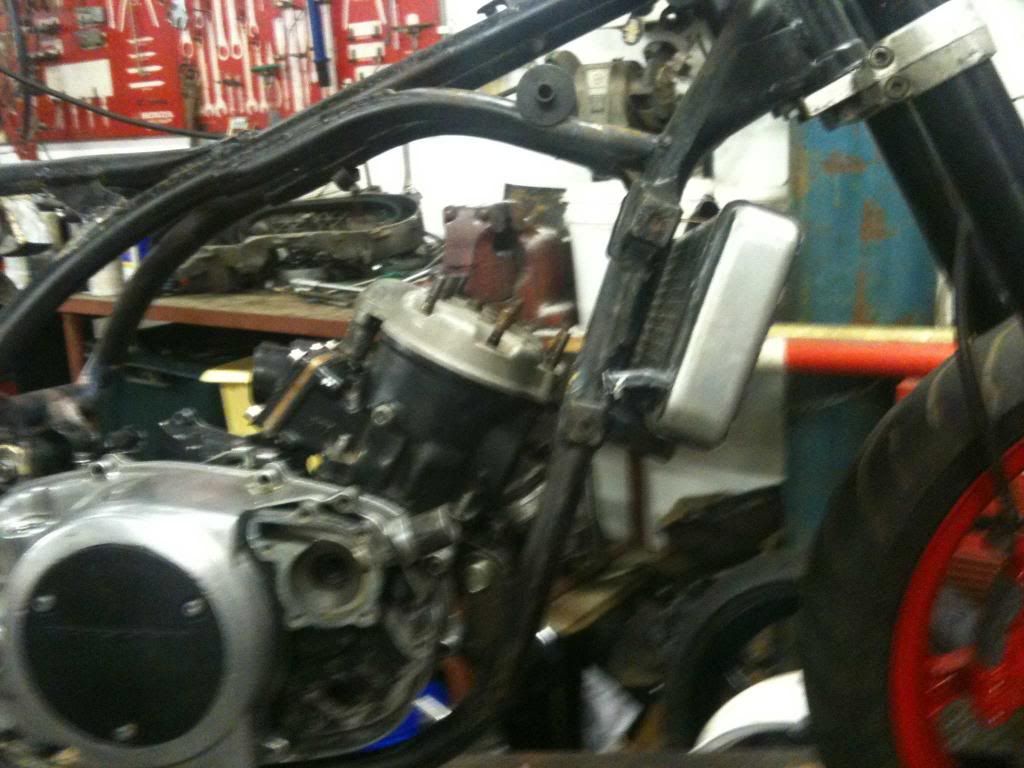
One thing that was noticed was that the chain did not clear the swinging arm at the frame point by more than a few mm.
So it was decided to angle the back of the engine upwards by a little.
This just meant ovalling out the original bracket and braising on a washer at the desired height which would give the clearance needed.
Next the Aprilia RS rearsets were used with a minor bracket mod to fit and are perfect for my lanky bandy chicken legs so Mick says.
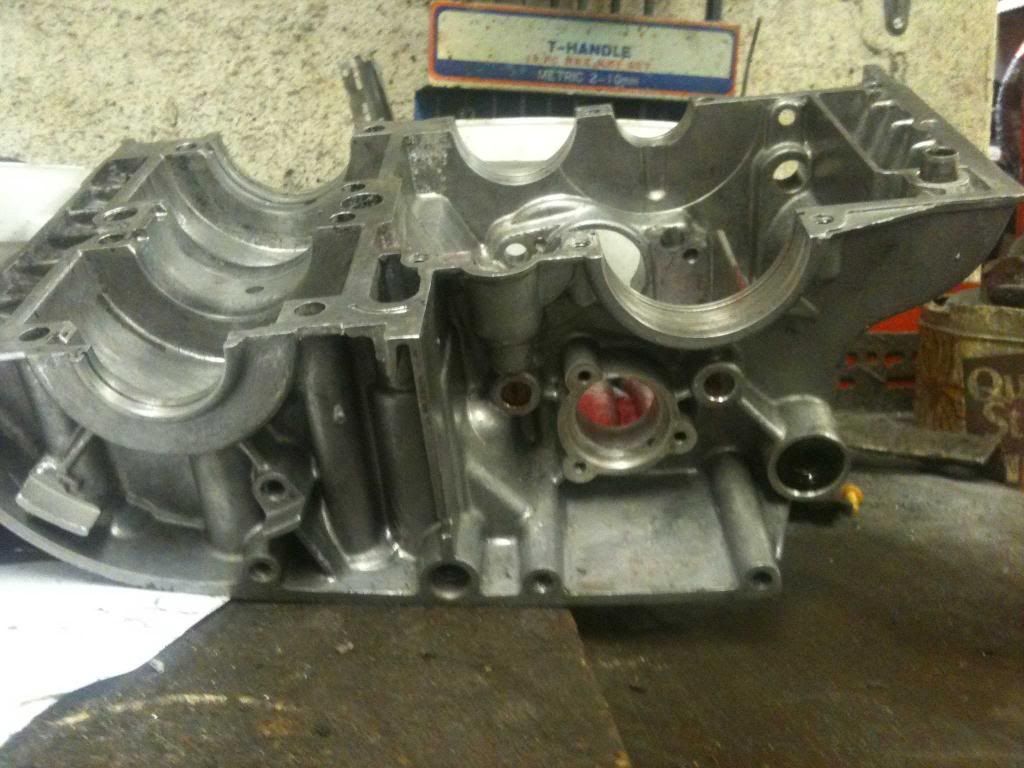
The bottom end could now be rebuilt and on inspection nothing but mains and seals needed replacing. Crank and rods were in pretty good condition.
Although i am i need of the cog that goes from the clutch to the plastic cog as the bush has worn out and it slops around too much... Norbo have you got one?
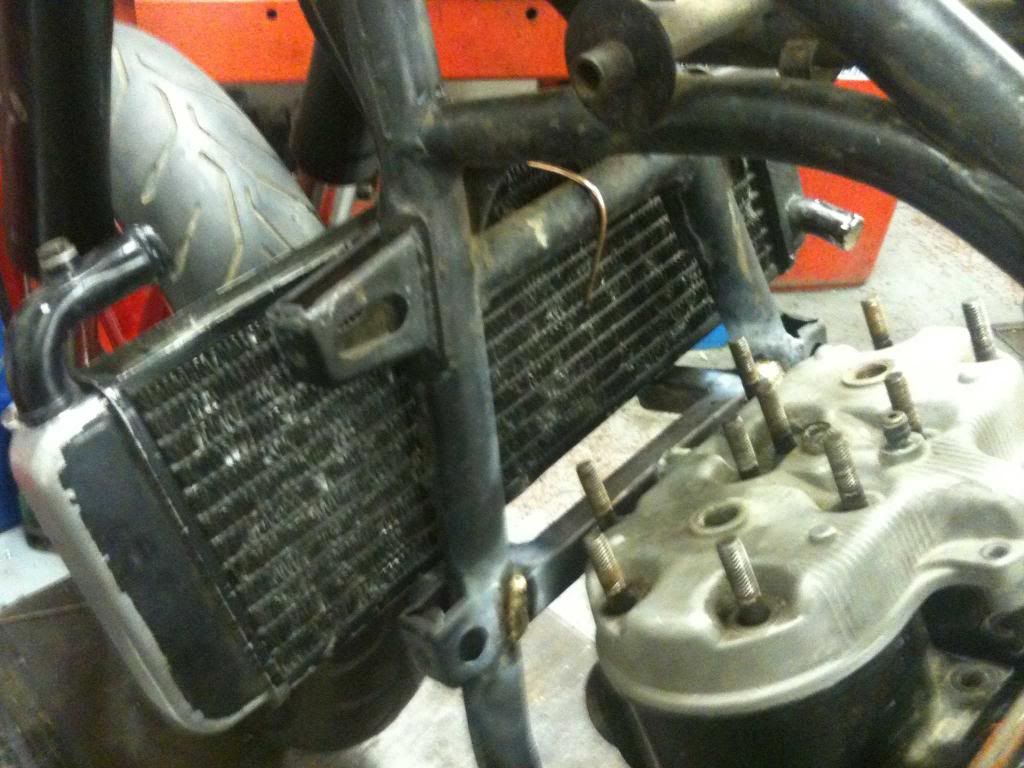
Bottom end back together and installed time to have a bracket for the radiator which at the minute I am going to test one that i have from an Aprilia AF1.
Bit of braising again and this is what i came up with.
Anybody spot the c**kup?
 ?
?Forgot about the hose run from the head when siting the cross brace so have cut this down in the middle and braised a piece of box section in to allow the hose to run through it....numpty.
Thought of putting a Aprilia RS hugger on the back but will have to mod it a little on the RHS to mesh to the swinging arm...Comments appreciated.
Front and rear wheels are now sprayed in the same colour as the calipers. More pictures to come.
There wasn't any side stand bracket on the frame so what do you think i sourced one from?
you guessed it an Aprilia Rs one modded and it sits nicer than the original.
Roll on Thursday when the TZ Replica body kit comes and i can start fitting the steering damper..yep from an Aprilia and start chooping the rear to fit the seat unit.
Barrels i will be reboring next week with 65.5mm pistons. If i believe right thats 1.5mm oversize.
The final stage will be to give the bike to a person of choice to build the pipes. Have a few in mind but all knowledge and thoughts again welcome as the design has not yet been finalised.
It will be a daytime MoT bike for now as I have not decided whether the front should be left alone or a small ducati style fairing to be fitted. Will not be running with a battery or electrics to start with just need to fit a rear stop lamp of some kind and a horn then it's play time after the DVLA give me a REG plate.
Will update with better pictures as they develop. I phone is crap for pics..........


 but sort out the photo's fella looking at blurred pictures hurts my eyes