|
|
Post by oldbritguy on Mar 20, 2020 0:17:21 GMT 1
Seeing as my 31k is all but finished now bar a few little jobs, I was getting itchy for a new project. As we also might be in lockdown soon, I had been in contact with Dave Muttsnuts about an unfinished LC he had for sale, and last week took a trip down to Malton in North Yorkshire and picked up my fantastic new project. It is a non matching numbers UK 250LC with 350 top end and like my 31k was, some assembly is required.  A few parts to source which I have already thrown some feelers out for but most of it is there. Frame has been nicely powdercoated, motor is in good shape, subframe is uncut and there are loads of other nice parts in boxes for me to pick through (switches, loom, twin disc set up, battery box, original unmolested airbox, 4LO-O1 carbs, uncut numberplate holder and tail light, original headlight shell and brackets plus loads of bits n bobs) I picked up a new repro tank while I was at it too so itching to go. Some of you may recognise this from the pics so any history on this would be nice. Not sure what I will do with this but I think I will just put together a tidy working bike with a nice set of spannies rather than a resto. It is non matching which helps lol. Might be a while before I get going on this but once I do more pics will follow       Hopefully some progress updates soon John  |
|
|
|
Post by donkeychomp on Mar 20, 2020 0:22:21 GMT 1
Looks very original. Keen to see what you do to her!
Alex
|
|
|
|
Post by oldbritguy on Mar 20, 2020 0:28:26 GMT 1
Yeah Alex, although in bits she is mostly in original shape. I'm thinking yellow paintjob and noisy pipes. Keep the rest as is and use it as much as possible At least that is the plan for now  John |
|
|
|
Post by JonW on Mar 20, 2020 1:32:34 GMT 1
ohh nice project!
|
|
|
|
Post by dusty350 on Mar 20, 2020 8:17:23 GMT 1
Looks a great project John  Not too much involved to make a nice bike. Look forward to watching your progress. Dusty |
|
|
|
Post by midlifecrisisrd on Mar 20, 2020 10:51:22 GMT 1
Nice start
The way things are going work wise I'll expect it finished by Easter
😁
Steve
|
|
|
|
Post by oldbritguy on Apr 22, 2020 23:33:11 GMT 1
I have been gathering parts over the past few weeks and so it is time to make a start Got the cylinders away to PJME and started boxing up bits for powdercoat and plating. Engine on the bench and time for a strip down to see how things are inside  Top case has the usual snapped chain damage but someone had started tidying it up as it has been cleaned up and dressed back. Still a big hole though. Anyone recognise this motor?  I am not skilled in the art of welding, never mind alloy welding so I had a go at making a cover plate which will do me for the moment I cut up a bit of 3mm ally plate and bent it into shape with a bit of alloy block to make a lug  I got one of those lumiweld kits years ago so had a go at sticking it together. Just used a propane plumbers torch for the heat source.    Then fitted onto the cases with a couple of stainless fasteners.  Not going to win any fabrication prizes but will do me just now until I come up with a better idea. Next, time to look inside the motor |
|
|
|
Post by shaunthe2nd on Apr 22, 2020 23:42:58 GMT 1
A tidy patch you have done there.
Speak to Tony at AJ's in Hull, he has welded up quite a few of these if you want to go down that path.
|
|
|
|
Post by KevtheRev on Apr 23, 2020 7:24:06 GMT 1
Nowt wrong wi' a good patch lad ! My case has all the usual battlescars too . My bike looks a lot like yours actually lol. I won't be going resto either , but I'd like a nice tight crisp bike for everyday use . I was squirreling away little Yamaha bags for years ! Fired it up the other day . Best o' luck with your new bike ! |
|
|
|
Post by oldbritguy on Apr 23, 2020 7:53:38 GMT 1
That bike o yours sounds nice considering it hasn't run for a while This one has a wee while to go before firing up and hopefully will sound as good  |
|
|
|
Post by dusty350 on Apr 23, 2020 8:00:32 GMT 1
Looking good mate Nice job on the little plate too. I haven't forgotten your bits - just waiting for the right moment to visit the drop off shop Keep the pics coming Dusty |
|
|
|
Post by oldbritguy on Apr 23, 2020 8:41:05 GMT 1
Looking good mate Nice job on the little plate too. I haven't forgotten your bits - just waiting for the right moment to visit the drop off shop Keep the pics coming Dusty Cheers Dusty The patch plate will do for the moment as I cannot get to my local engineer to get it welded. It is one of those where you need to be with the guy explaining exactly what is needed otherwise, well who knows what it might turn out like  . It will get done during the next strip down. No rush for the parts as I am finding quite a few things inside this motor which will keep me occupied for a wee while yet. Keep safe buddy John |
|
|
|
Post by oldbritguy on Apr 24, 2020 8:17:42 GMT 1
Given this is a totally unknown motor, I will be changing crank seals and gearbox bearings as routine Started pulling things apart a week or so back so playing a bit of catch up Clutch/kickstart idler gear was doing a bit of a dance on the gearshaft so off with the clutch and sent the gear off to 4LO4ever for re-bushing. Clutch is not too bad, no play from centre bush, new friction plates and good steels and only a little slop in the rubbers. There is a bit of play in the bearing but it will be getting replaced anyhow. However when I removed the basket from the mainshaft, I found this!  I cannot imagine how this happened as it is not exactly a stressed component however I hope this is not a heads up for what I might find inside. Before I took the clutch basket off, I loosened off the primary gear as well so I could compare the backlash numbers as there is a bit of movement between the gears. Now like most on here, I am reaching the age where my eyesight is not as it once was so I am asking the audience what they think the etched number on here is?  I think it might be 97 but who knows? It looks as though the oil pump drive has spun at some point erasing half of the number making it tricky to read. If I cannot identify it I will attempt at sourcing another. I have 3 clutch baskets 61, 62, and 63 (63 is the one I have just removed from this engine) so I have a bit of scope for finding a match for the magic 155 +/- 1 . Once I get inside I will be able to compile a full shopping list of what is needed for the rest of the build John |
|
|
|
Post by midlifecrisisrd on Apr 24, 2020 10:37:23 GMT 1
God knows what number that is lol
The cut bearing retainer crescent is a racer mod to allow the engine to be split without removing the clutch basket
Steve
|
|
|
|
Post by oldbritguy on May 1, 2020 0:09:16 GMT 1
I have just about everything now to rebuild the bottom end so it was time to pull the thing apart and start fitting new parts. The last person to assemble the motor must have had shares in silicon sealant because there was loads of the stuff everywhere, and the thing was stuck together solid. After a bit of persuasion with a big rubber mallet and a few mugs of tea, the cases came apart  You can see the amount of black sealant on the top case, it was definitely well sealed lol. Pulled everything out, cleaned the gasket gunk off the case faces and gave everything a good look over  All the gears are good with no corrosion or chipped teeth, selectors and forks are good and crank although not new, is within tolerances (max 0.6mm end float at big ends) and bearings are smooth with no play. The cases had by the look of things been recently vapour blasted/cleaned however I found something which caused a little concern. In the cavity which is at the front of the cases separate from the motors internals I found a load of blast/cleaning media. Obviously not been thoroughly cleaned out after blasting.  This did not look good, plus when I was removing the small M6 bolts from the top of the crankcase halves, they felt gritty and some of them had been cut short and were only secured in by 5 or 6 turns. Upon closer inspection the threaded holes were full of old gasket cement and crud from the vapour blasting. I used a piece of wire to get most of it out then sprayed some cleaning fluid in then ran a tap to clean the threads  This was in all of the M6 thread holes. No wonder the bolts would not fully run home. Must have been like that for a while as when did you last see orange Hermetite lol. There was also blue Hylomar in there too. On the plus, all of the threads actually look good with no obvious damage. I used a small syringe and filled all of the holes with methylated spirit to loosen off any residual crap and hopefully soften any old sealant before cleaning it out and trying fresh bolts in the holes  I am leaving this overnight and I'll see how it looks in the morning. |
|
motty
L plate rider.

Posts: 41 
|
Post by motty on May 1, 2020 7:05:26 GMT 1
Wow, that is some horrible muck you have found in the threads. Some people shouldn't be allowed near a set of spanners!
|
|
|
|
Post by ringdingding on May 1, 2020 11:20:01 GMT 1
It always amuses me when people go to the time and expense of having parts vapour blasted but don't do the cleaning post blasting. I have a friend with a vapour blast and powder coat business. I was in there a few months back and there was a set of LC carbs in for blasting, complete as taken off the bike. I asked him if he was stripping them for the customer. The reply was no, the customer didn't want them stripped just vapour blasted as is. Complete recipe for disaster!
The new terminology for these type of resto's is now Survivor bike...
|
|
|
|
Post by dusty350 on May 1, 2020 11:33:42 GMT 1
Frightening to think the previous owner must have tried to get the bolts in, the media obviously filling up the bottom of the hole, and then cutting the lengths down so they could fit ! At least he didnt force the bolts in at their original length - it can punch the back out of a casting for sure.
Posted those bits to you today John. You should see them early next week 😉
Dusty🙂
|
|
|
|
Post by oldbritguy on May 1, 2020 11:46:31 GMT 1
Frightening to think the previous owner must have tried to get the bolts in, the media obviously filling up the bottom of the hole, and then cutting the lengths down so they could fit ! At least he didnt force the bolts in at their original length - it can punch the back out of a casting for sure. Posted those bits to you today John. You should see them early next week 😉 Dusty🙂 Thank you Dusty, you are a star and I will give you a shout when they arrive. Post is going really slow just now. I posted some things out over a week ago and still ain’t arrived, 1st class too🤨 Haven’t looked at the engine today but I am confident after yesterday’s cleaning efforts everything will be fine. Heading out to a funeral just now. Good mate of mine WM in the blue watch at Cowcaddens did 34 years passed away at the weekend still in service. Top guy and fit as a butcher’s. Cancer has no respect. It will be tricky maintaining distancing at the crematorium but to hell with it as I’m not staying away but will respect the space. Keep safe mate John |
|
|
|
Post by headcoats on May 1, 2020 11:53:18 GMT 1
I have some spare cases like this and have media in the bolt holes etc which I will have to do too 
Mine still has the gear selector drum in too ! |
|
|
|
Post by 1966baz on May 1, 2020 12:30:31 GMT 1
Another project, good on you.I think we are addicted.I am on another project now but running out of room.
|
|
|
|
Post by dusty350 on May 1, 2020 15:03:06 GMT 1
Hi John,
Sorry to hear about your mate😔
An all too common story I'm afraid.
Bits went with Hermes so you should see them Monday or Tuesday. I hope they are of some use to you😉
I put my cases in the shower and blast them with water. Shifts a lot of media that may remain hidden otherwise. All part of the fun !🥴
Dusty🙂
|
|
|
|
Post by oldbritguy on May 19, 2020 17:04:02 GMT 1
Still waiting on some engine parts so been busy gathering stuff to complete a lot of the gaps found so far. There was a good recent thread on LC clocks which caught my interest as this was a big ticket item I needed to find. When I got the bike I was aware there were some clock parts but mostly missing. There was a complete kph speedo, a burst kph speedo, a new bottom clock case and a rough top case,. It was a start  I managed to get a used tacho but it was looking quite tired and with a kph speedo it was time to get new faces. Cue Mr Simon Wells ....   The speedo will still clock up kilometres but at least it reads in mph which will hopefully keep me on the right side of the law Then found a well used bracket needing some tlc. Wire brush, sandpaper, two coats of primer then a couple of satin black  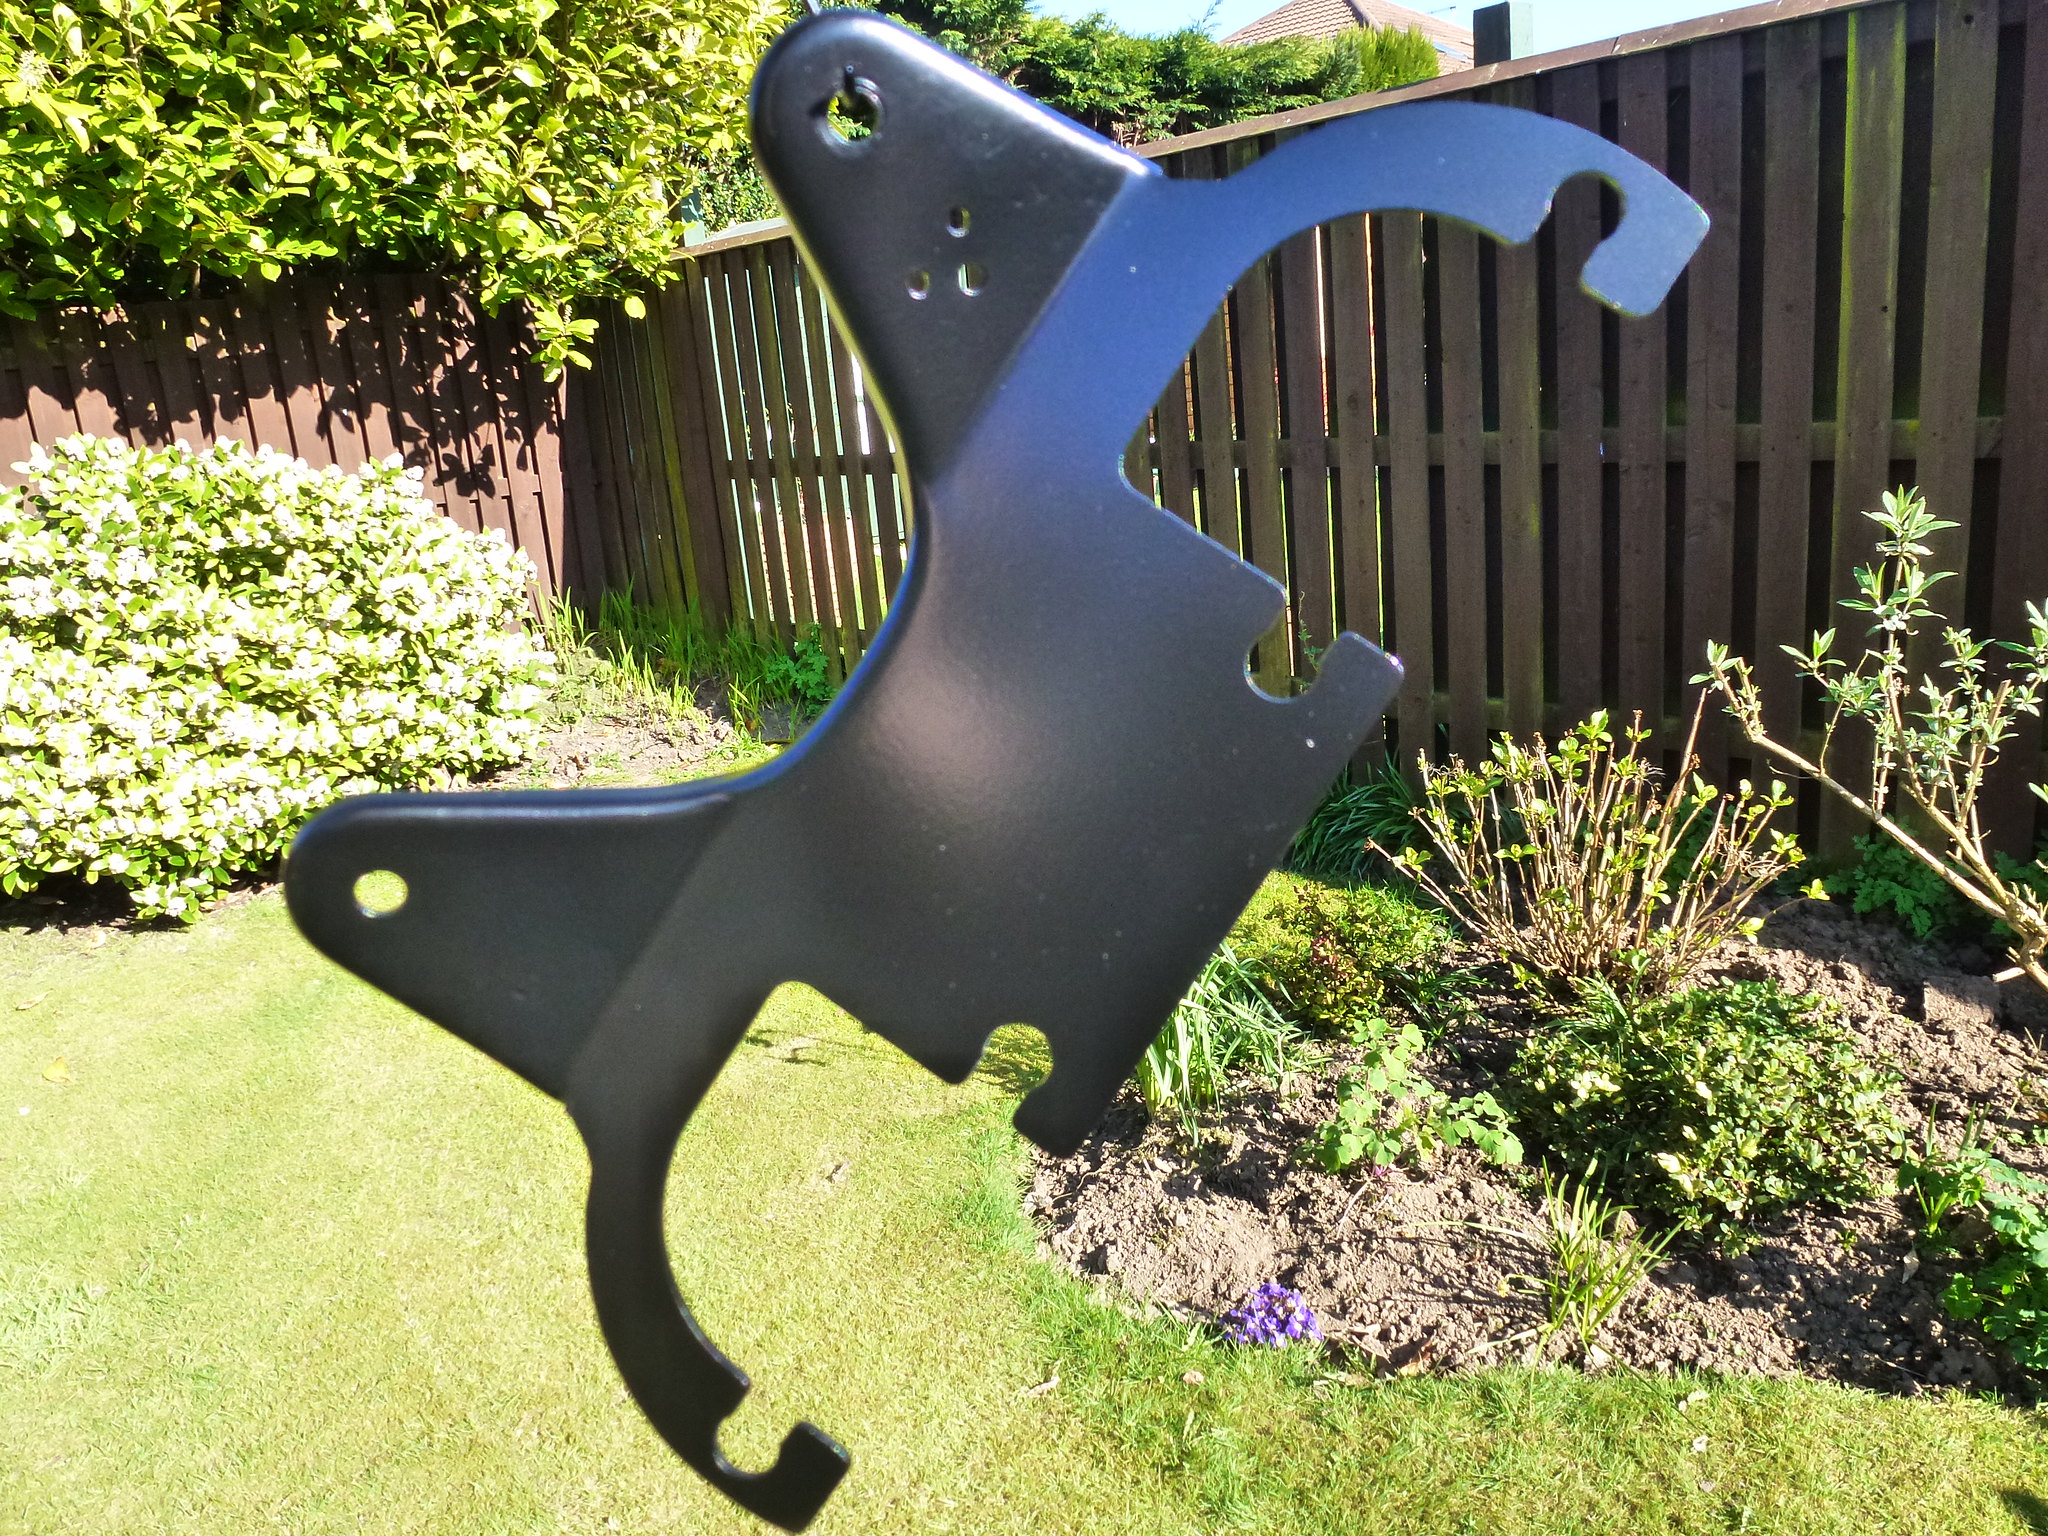 Then the tricky ebay hunt for some more parts.  Then step up wangwang who provided a tacho loom which is spot on, top man, and a trip to Norbos shop for some rubber bits and a trip knob, and finally fowlers for some screws, we were ready to get assembling  Last but not least I splashed out on a new top cover as the one I had was faded, had some cracks and was what looked like heat buckling along the housing for the idiot lights. I have seen a couple like that so must be a common thing  A mug of coffee and 15 minutes later we have a set of clocks  The reason I gave a bit of detail here was in answer to the earlier clock thread and the price of used LC clocks these days. When originally looking for a set and saw the prices they were selling for, I thought it would be easier and probably cheaper just getting the extra bits I needed. When all added up, the parts, new faces, wiring, bracket, screws, bulbs, cases, paint and time, this lot probably came to at least £400 any way so might as well just have bought a complete set. At least I know these ones don't need anything done to them now. Next! John |
|
|
|
Post by Yogi on May 19, 2020 17:18:18 GMT 1
Top job 👍
|
|
|
|
Post by midlifecrisisrd on May 19, 2020 17:25:41 GMT 1
Top work 😎
Steve
|
|
|
|
Post by dusty350 on May 19, 2020 18:41:33 GMT 1
Great work on the clocks John Dusty |
|
|
|
Post by Tobyjugs on May 19, 2020 20:11:04 GMT 1
The standards on this forum are high. Great job so far.
|
|
|
|
Post by oldbritguy on May 21, 2020 13:15:42 GMT 1
Spot the difference  Nice set of 4LO-01 carbs for the build but might have a problem with fitting cables. Dave W told me at the time so will probably put a shout out for the correct item at some point but that is a while down the road. I have a set of 31k carbs on standby but might have a go at sorting these first |
|
|
|
Post by oldbritguy on May 28, 2020 22:08:16 GMT 1
I have been using the story of waiting for parts as an excuse for doing very little on the LC, even though I could make a decent bit of progress. Today since I had taken delivery of my alloy rivet nuts, I had a go at fixing the lugs on the radiator so the guard can screw back on again.  The hole in the radiator lug is oval in shape and 8mm wide at the narrowest. The rivet nuts are 7mm in diameter which is just a bit narrow to take up the slack when crimped into place. Solution. I just used a stainless washer on the back of it.  I did not have any 7mm washers so I drilled out some 6mm ones as an alternative. Not as easy as I thought and had to grip them in the vice hence the ragged edges on the outer edge but does the job I fitted four of these plus a replacement lug which was totally shag*ed beyond help and all I need to do now is give it a clean and up and some satin heat paint and we are good to go.  John |
|
|
|
Post by donkeychomp on May 28, 2020 22:45:48 GMT 1
Inventive and works. Good stuff!
Alex
|
|


 . It will get done during the next strip down.


