|
|
Post by racerd on Aug 27, 2008 15:39:41 GMT 1
|
|
|
|
Post by racerd on Aug 27, 2008 15:45:14 GMT 1
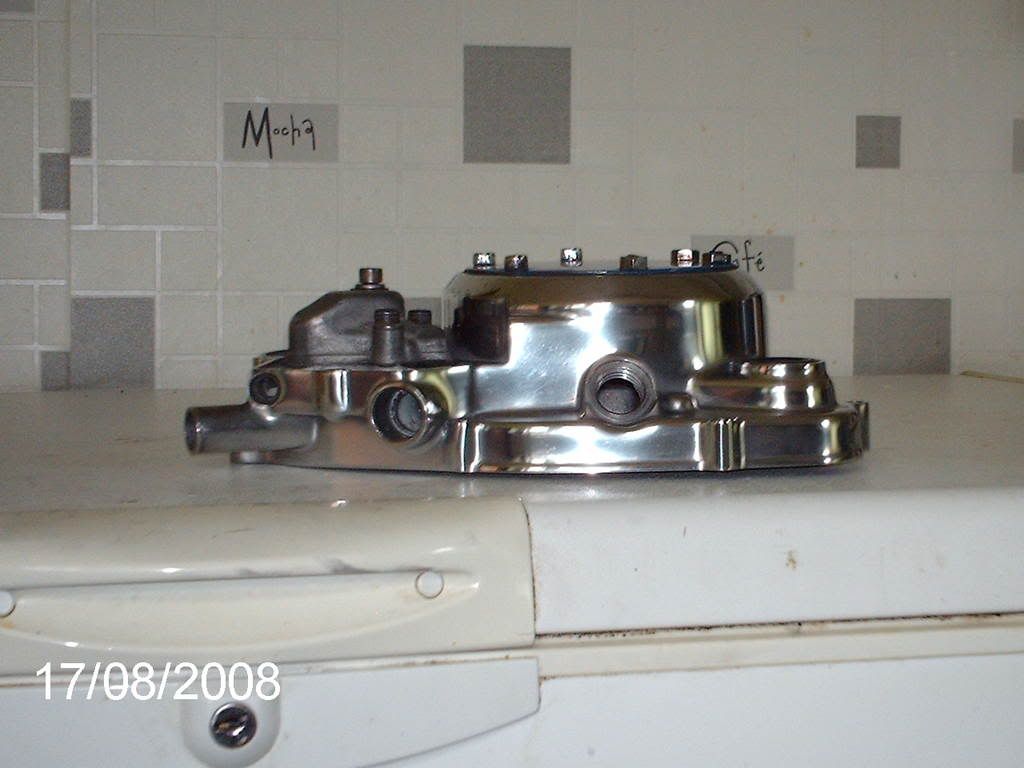
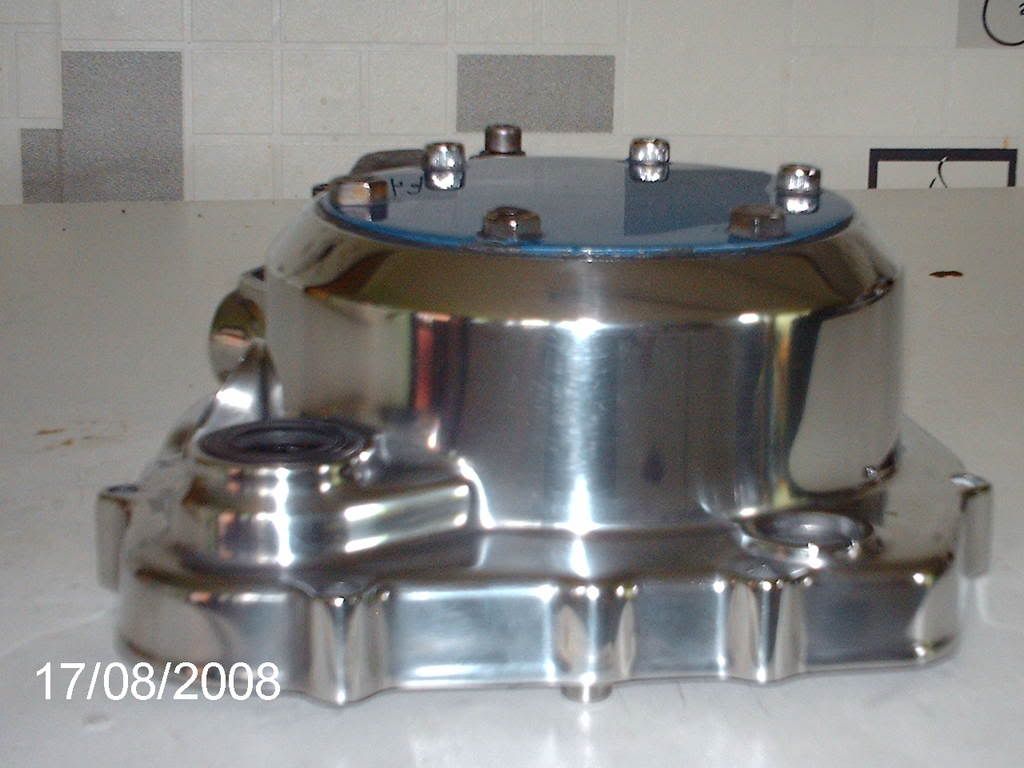
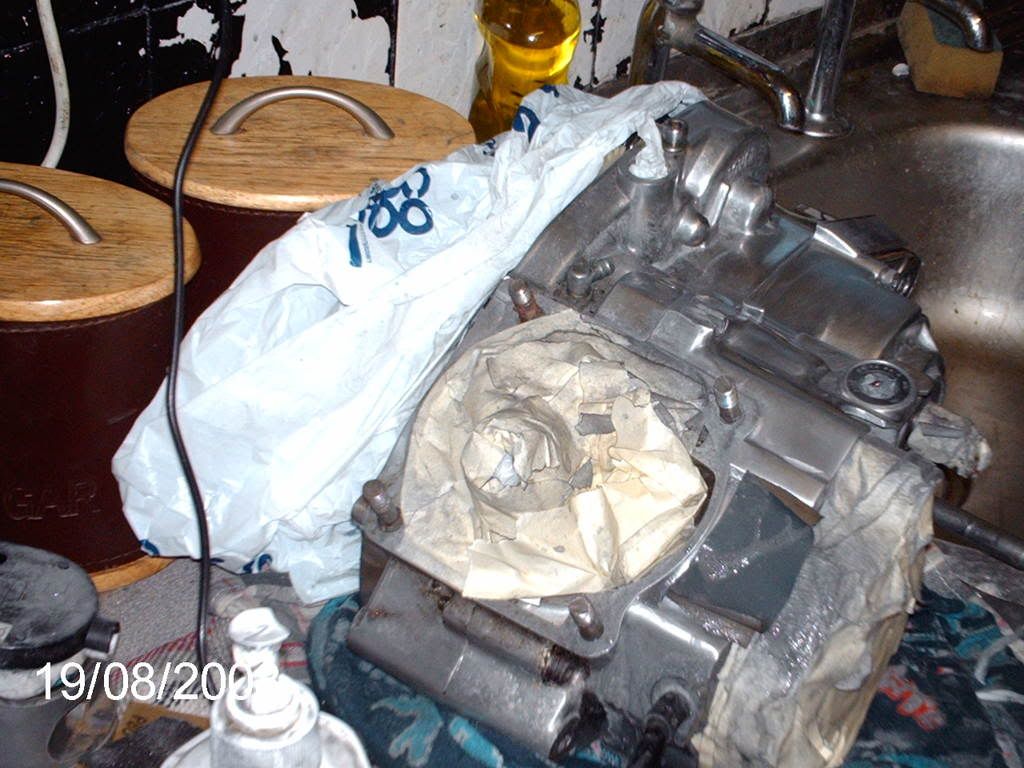
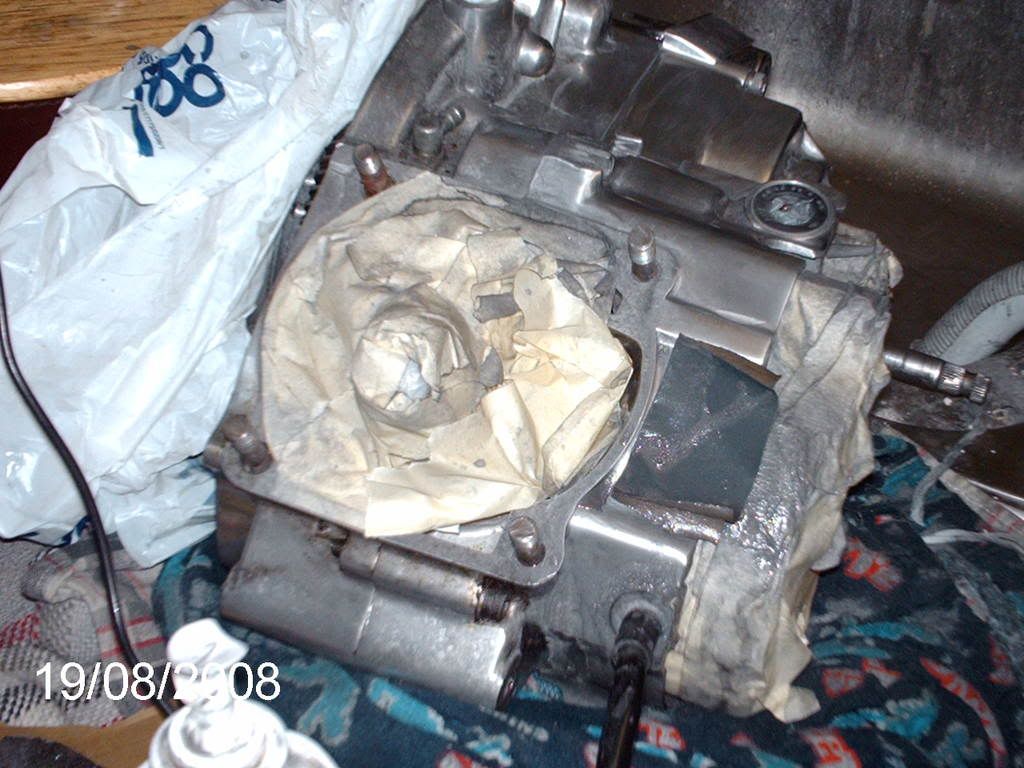
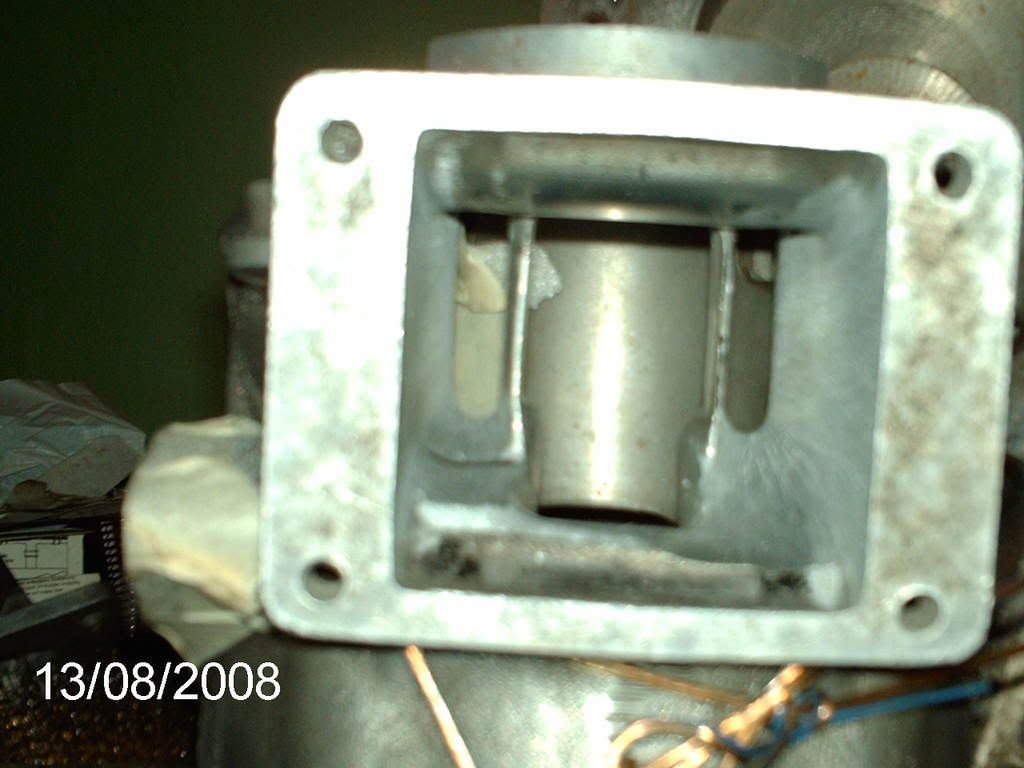
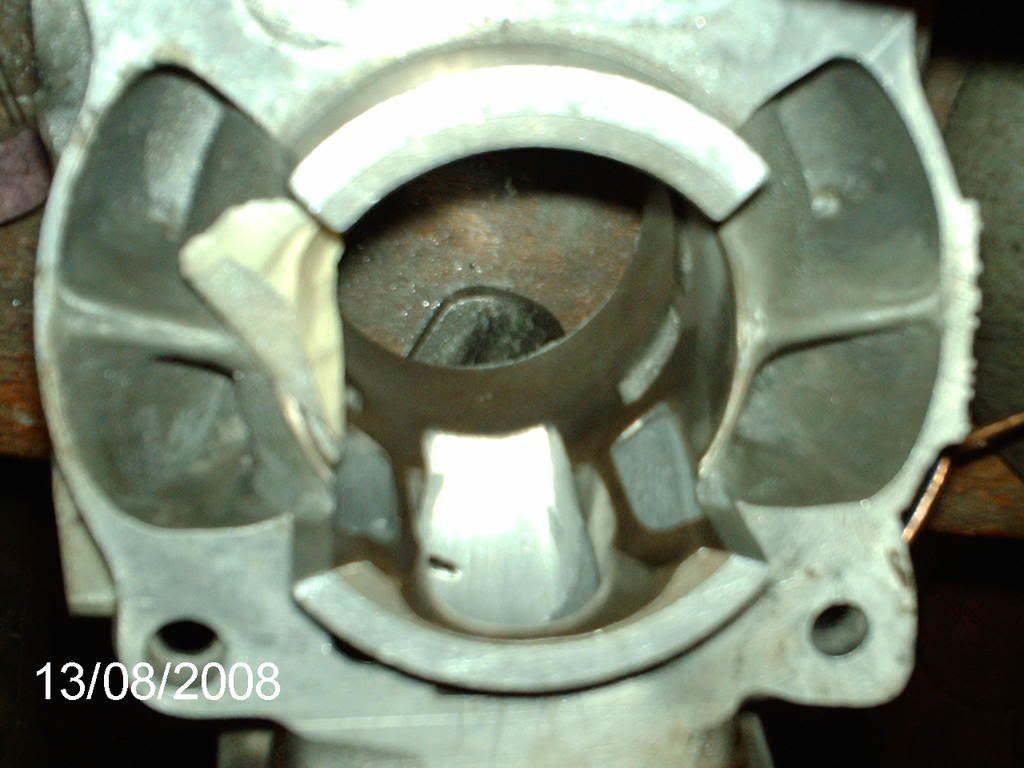
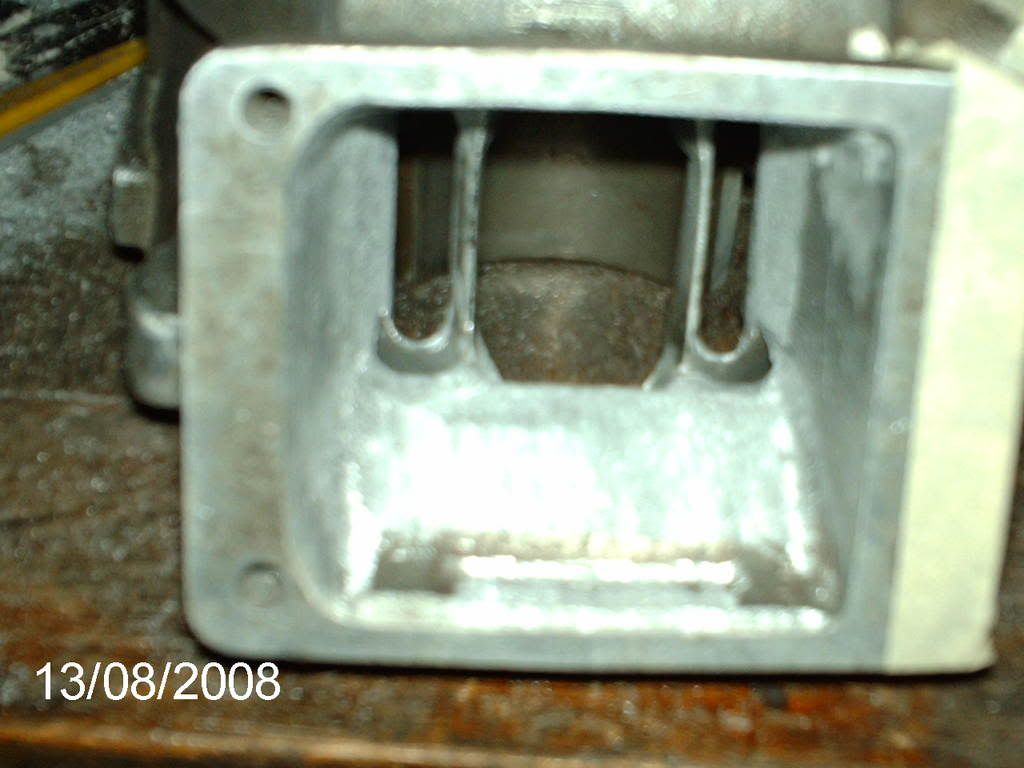
the crank cases took me about 70/80 hours to flat and polish also done the crank case mouth mod
to line up with my ypvs barrel on the inlet side then got to re profile scavengers entrances
|
|
|
|
Post by racerd on Aug 27, 2008 15:49:17 GMT 1
|
|
|
|
Post by scott on Aug 27, 2008 18:04:30 GMT 1
:owow m8,that is some seriously good polishing  |
|
|
|
Post by Norbo on Aug 28, 2008 9:42:36 GMT 1
I cant believe that casing is polished . the side covers yes but bloooooooooooody hell that lump is just mint .
Come on be honest its a chromex powder coat isn't it
|
|
|
|
Post by racerd on Aug 28, 2008 22:59:59 GMT 1
|
|
|
|
Post by racerd on Aug 28, 2008 23:17:03 GMT 1
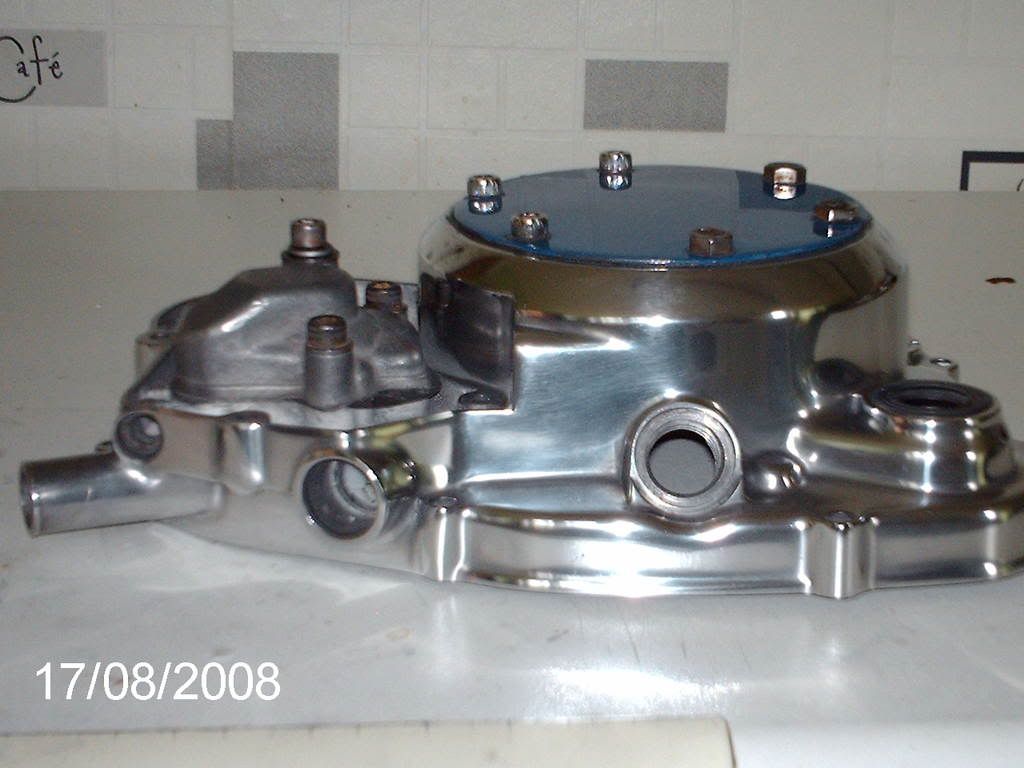
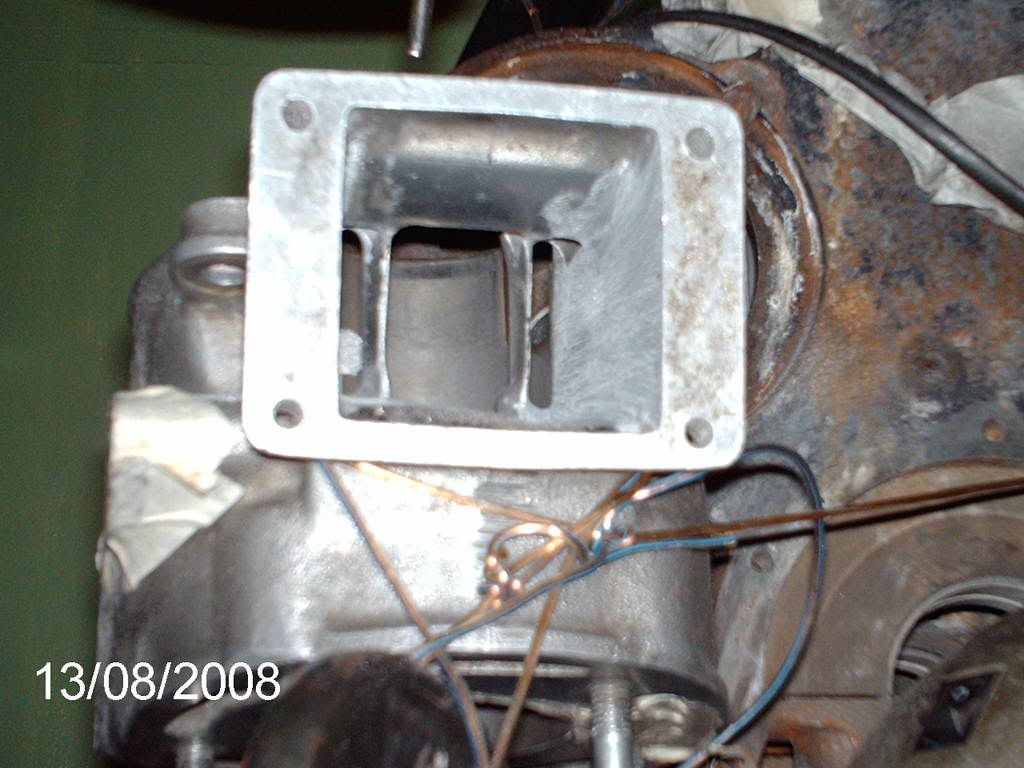
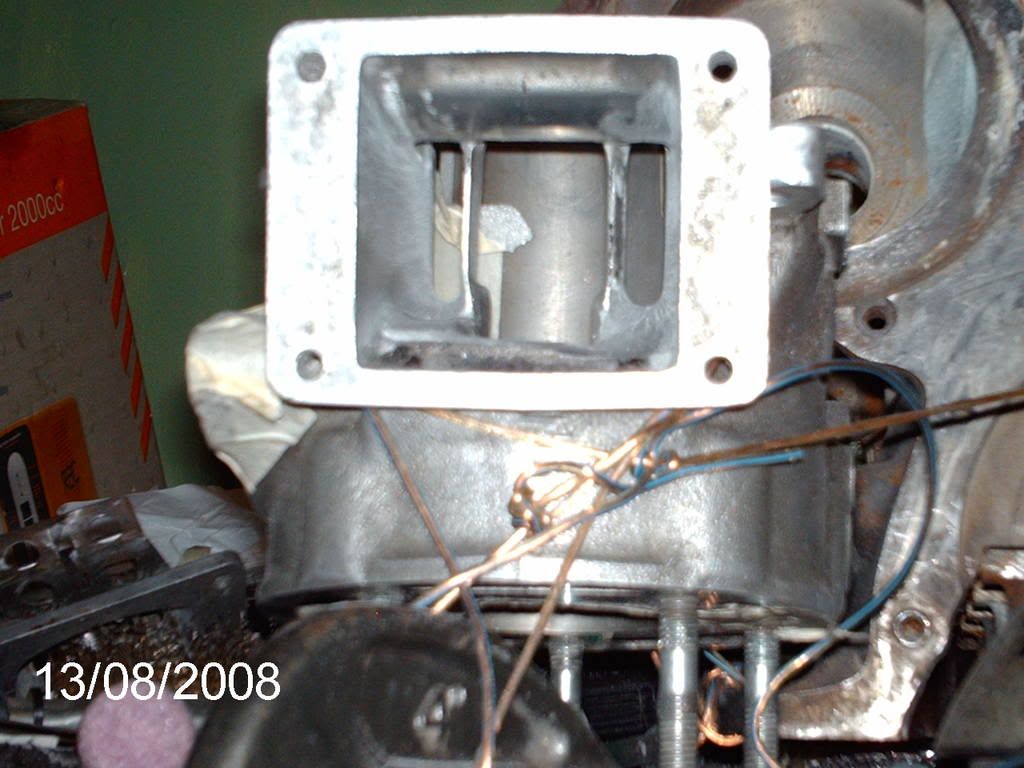
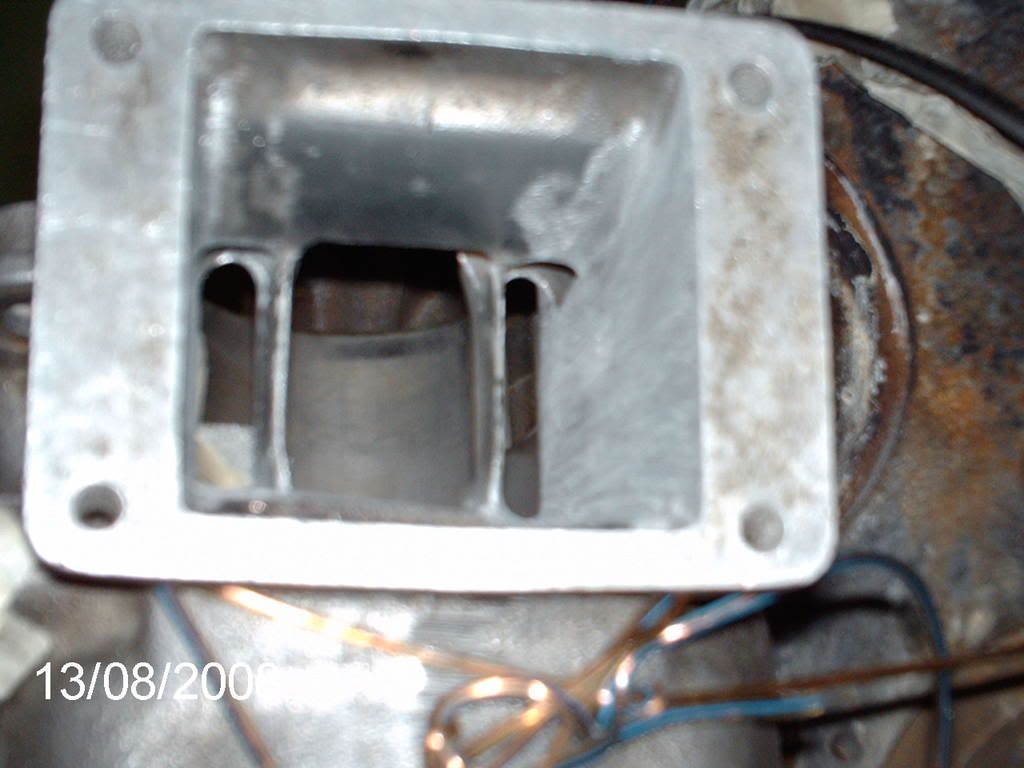
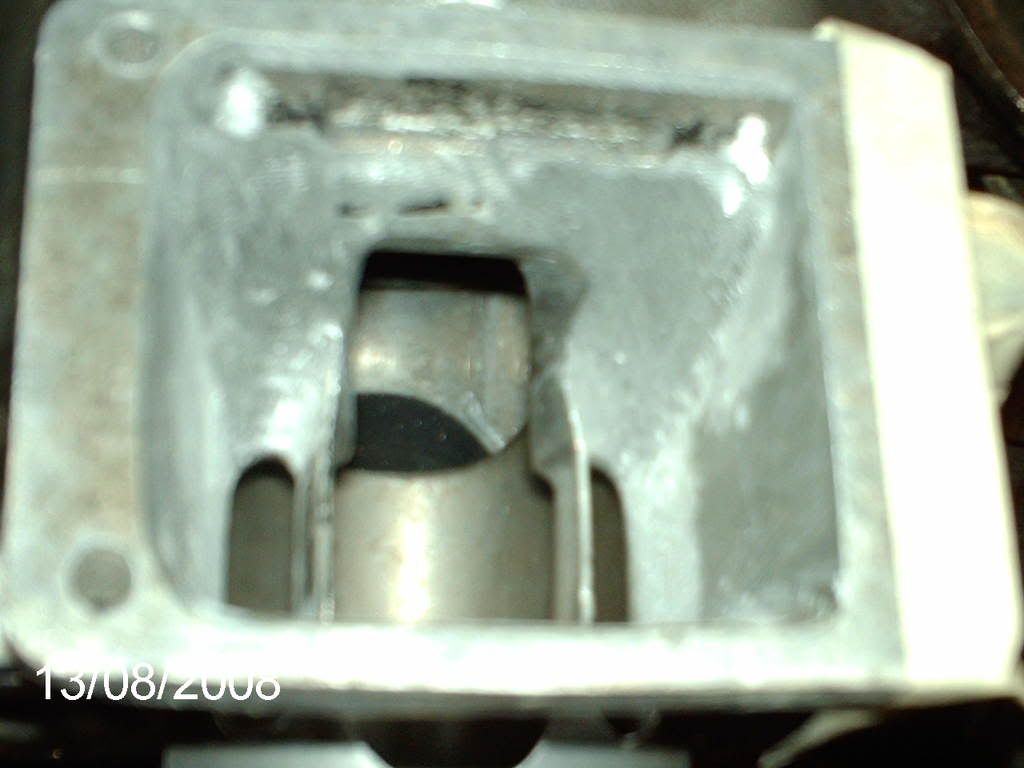
yes the left hand crank case is a 1gm been busy doing
my barrel, the inlet side was started off with a file then
in 40 grit still got to finish it off but got to start the scavenger entrances, then flat and polish the rims and the edges
of the spokes on my wheels then the levers then clean frame
good 2/3 hours cleaning and waxing and wax oiling the
inside white frame shows the dirt not mud
|
|
|
|
Post by racerd on Aug 28, 2008 23:24:09 GMT 1
|
|
|
|
Post by racerd on Aug 28, 2008 23:31:32 GMT 1
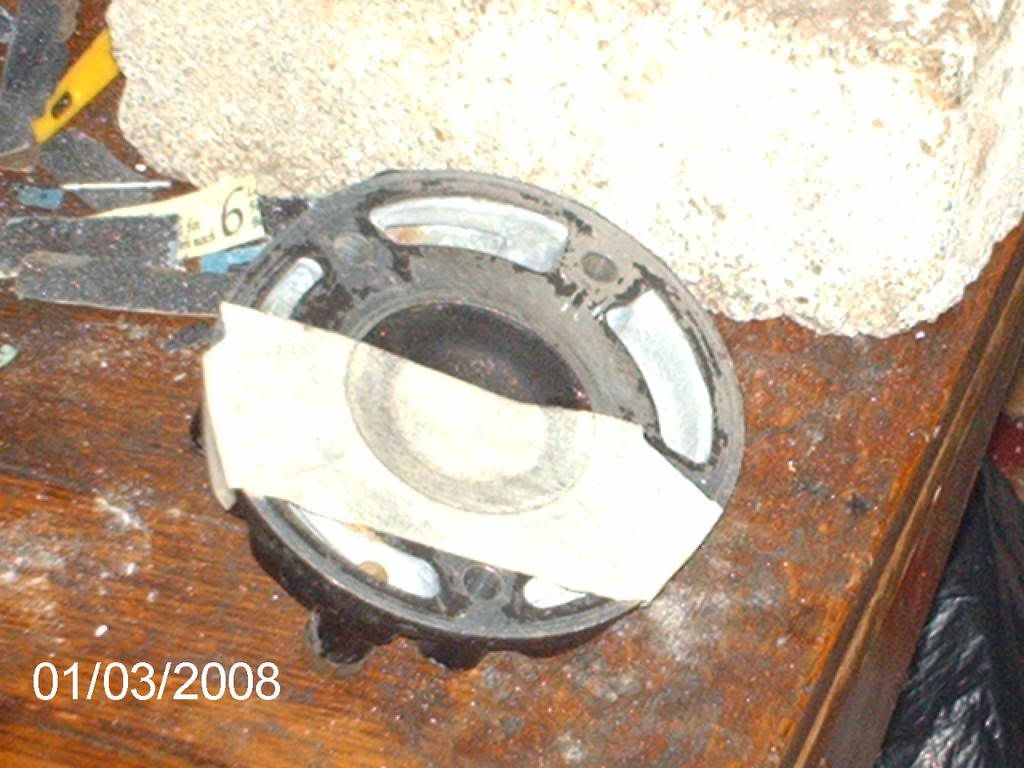
couple showing end can 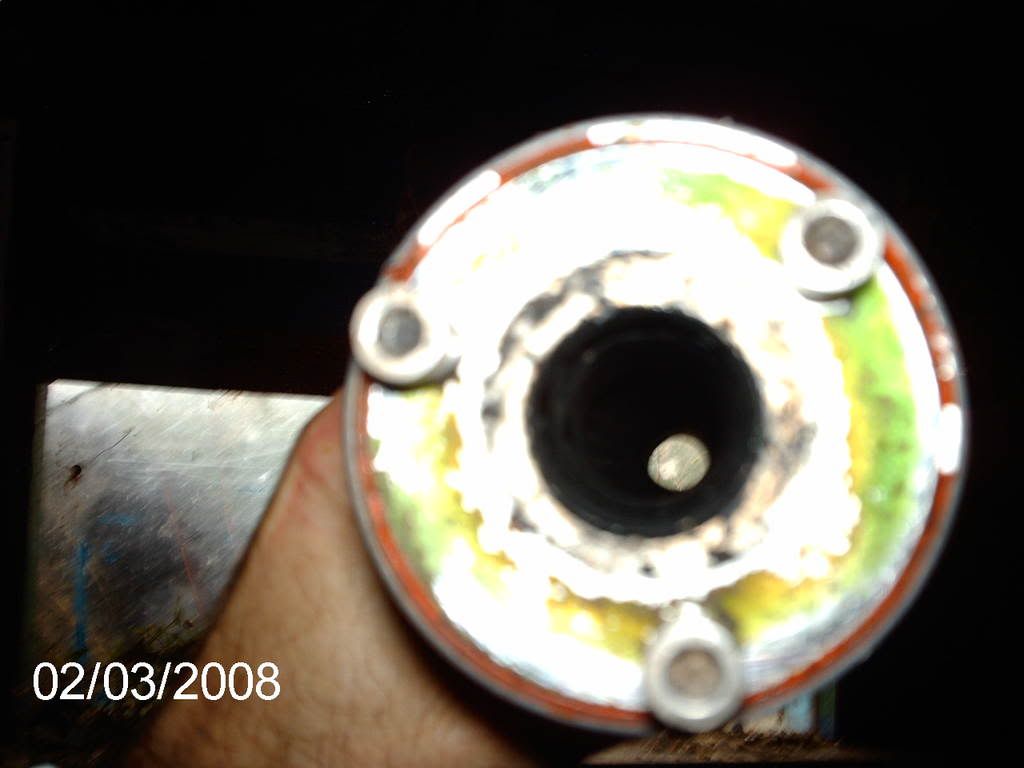 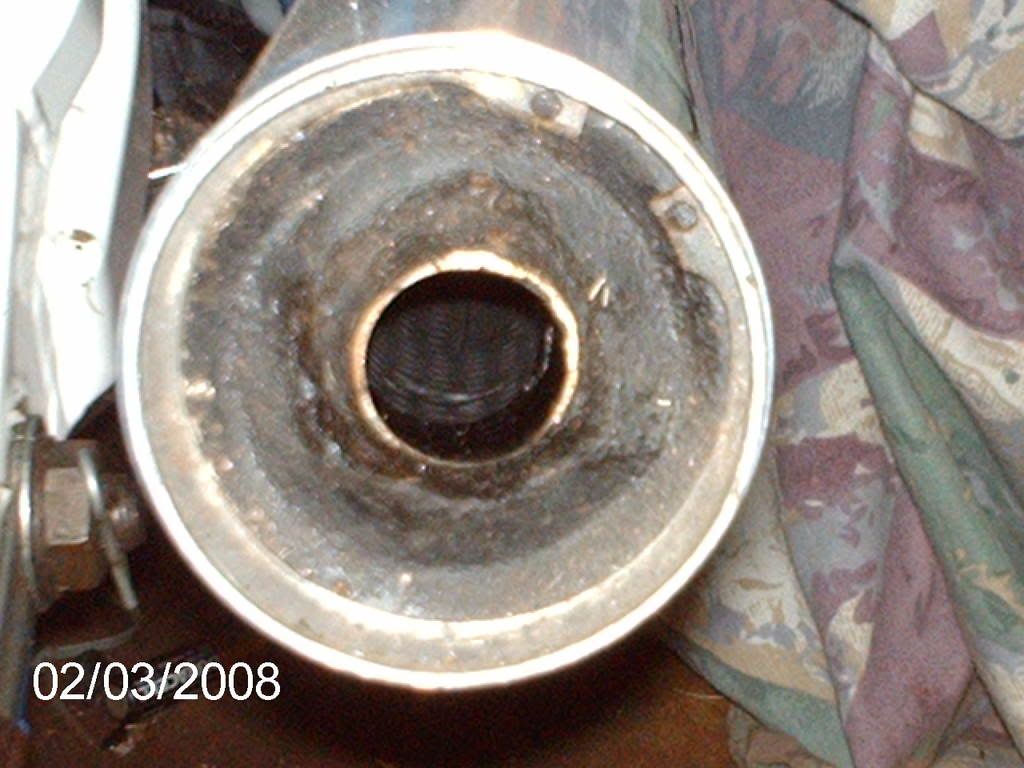 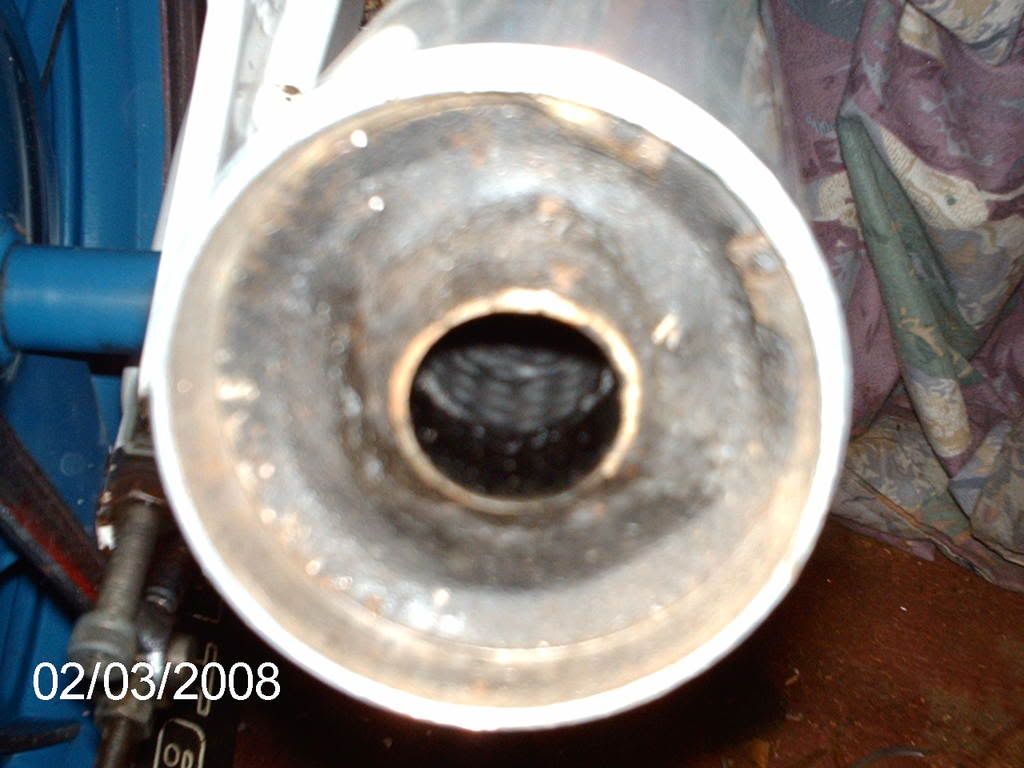 the original end can was a mechanical baffle type so swapped that end can for this long end can one it came from a scooter lambretter on the end can it has stamped on it made by clf for msc couple of photo's of the original codnor micron 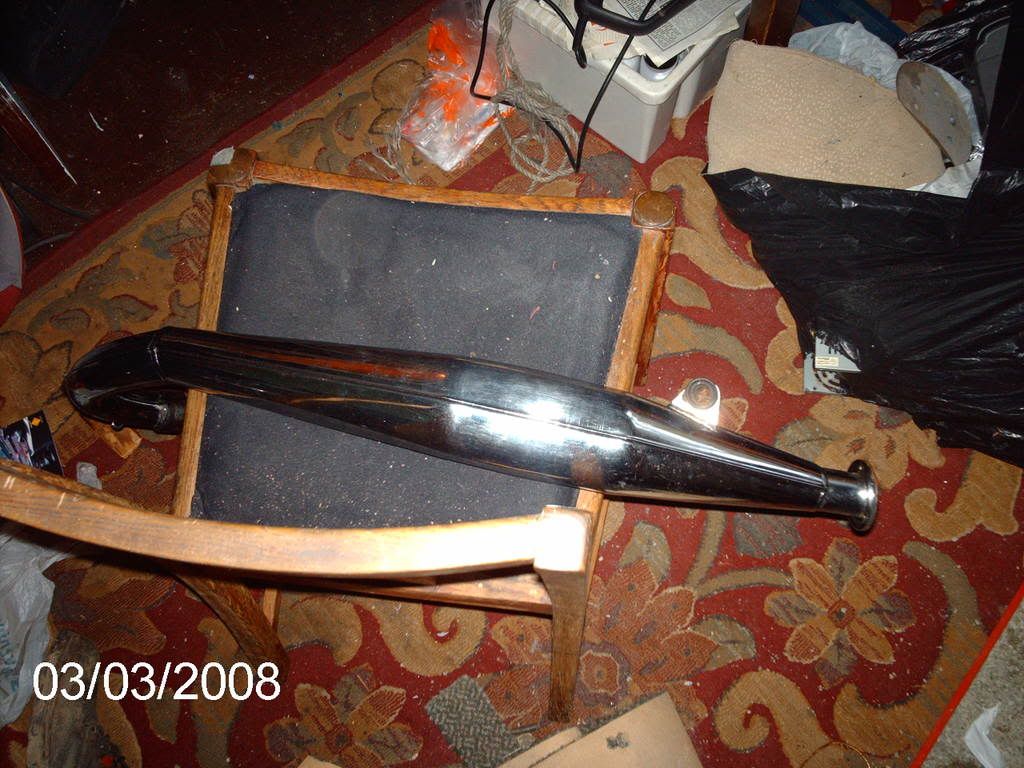 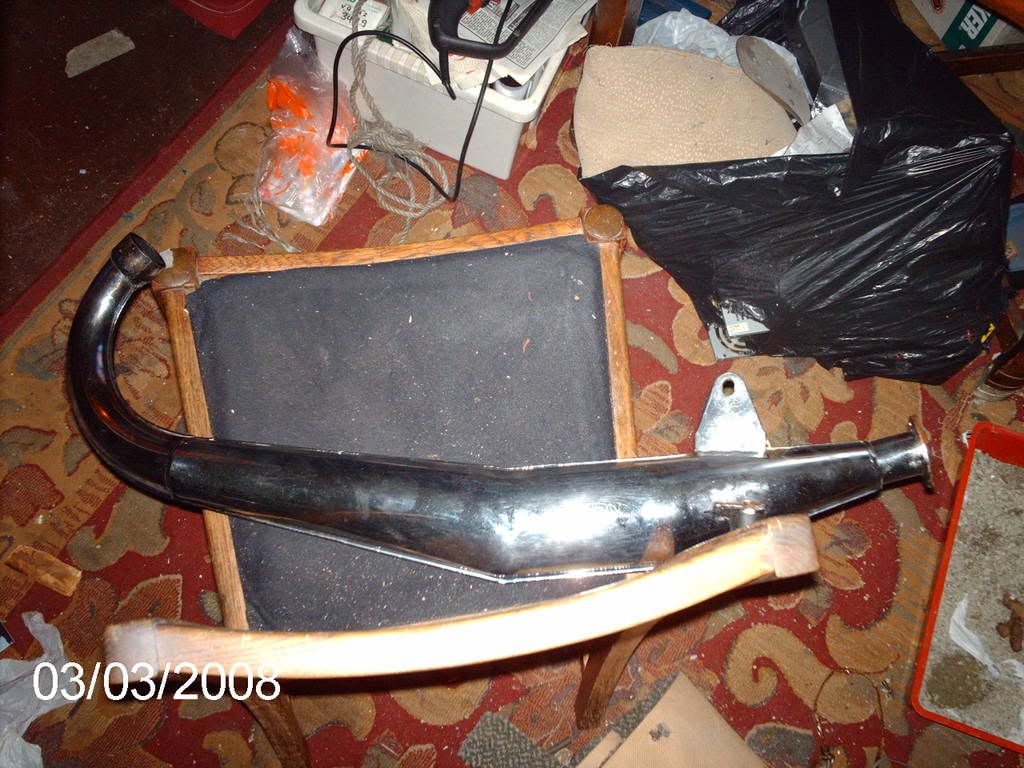  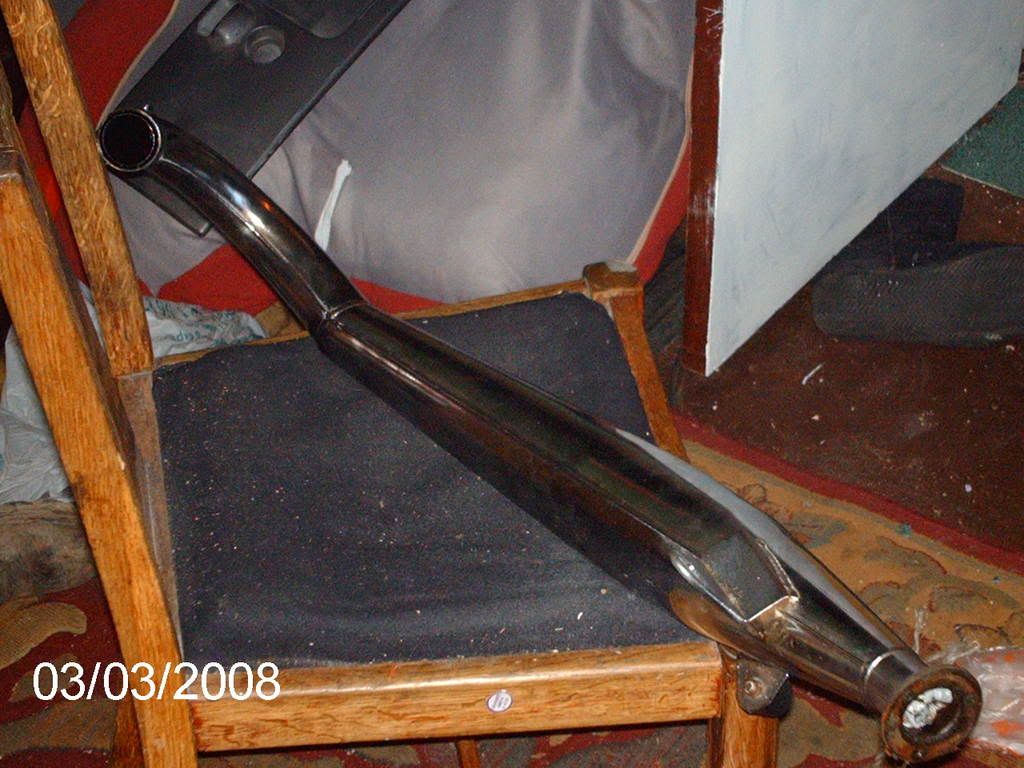 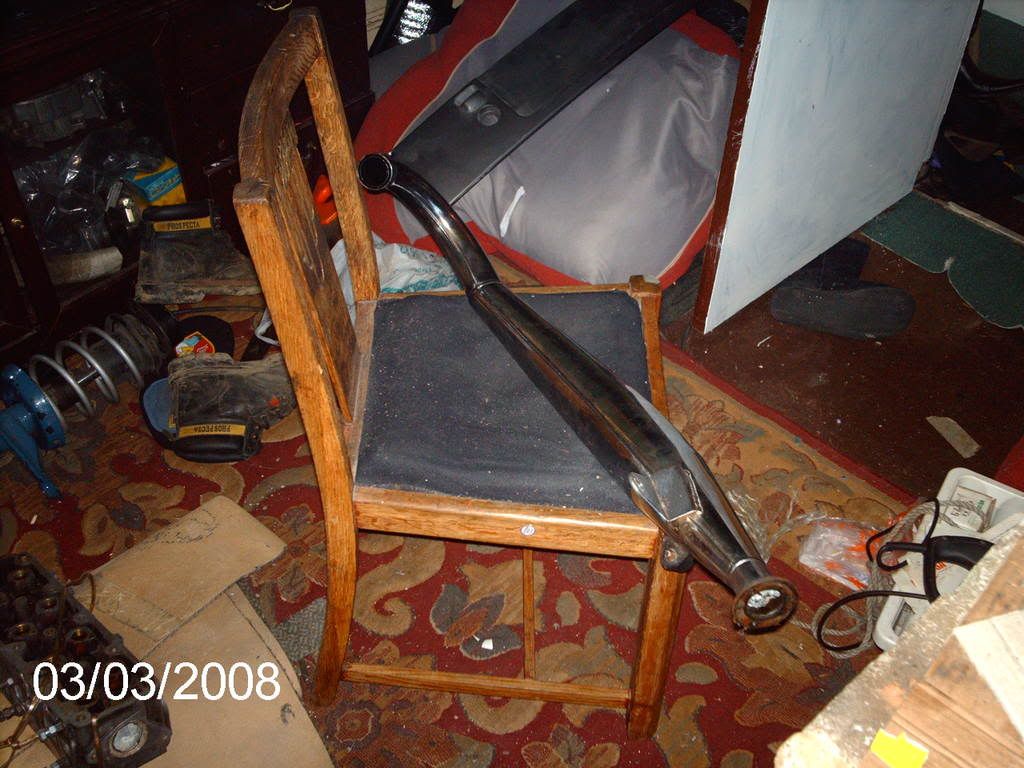 |
|
|
|
Post by racerd on Aug 28, 2008 23:41:18 GMT 1
|
|
|
|
Post by Norbo on Aug 29, 2008 20:06:10 GMT 1
Looks like a good bit of tuning on the barrel mate . Be interested to see what it will do flat out .
|
|
|
|
Post by racerd on Aug 29, 2008 23:14:27 GMT 1
the speedo gave a reading of 115 mph in 6th at 11,000 rpm
|
|
|
|
Post by racerd on Aug 29, 2008 23:22:28 GMT 1
|
|
|
|
Post by racerd on Aug 29, 2008 23:35:11 GMT 1
|
|
|
|
Post by mellow on Aug 31, 2008 9:11:46 GMT 1
 fook!!! that engine is the mutts nuts!!
|
|
|
|
Post by vin on Aug 31, 2008 10:26:57 GMT 1
Wow! I agree with meller's you must have the patience of a saint |
|
|
|
Post by racerd on Sept 13, 2008 2:38:50 GMT 1
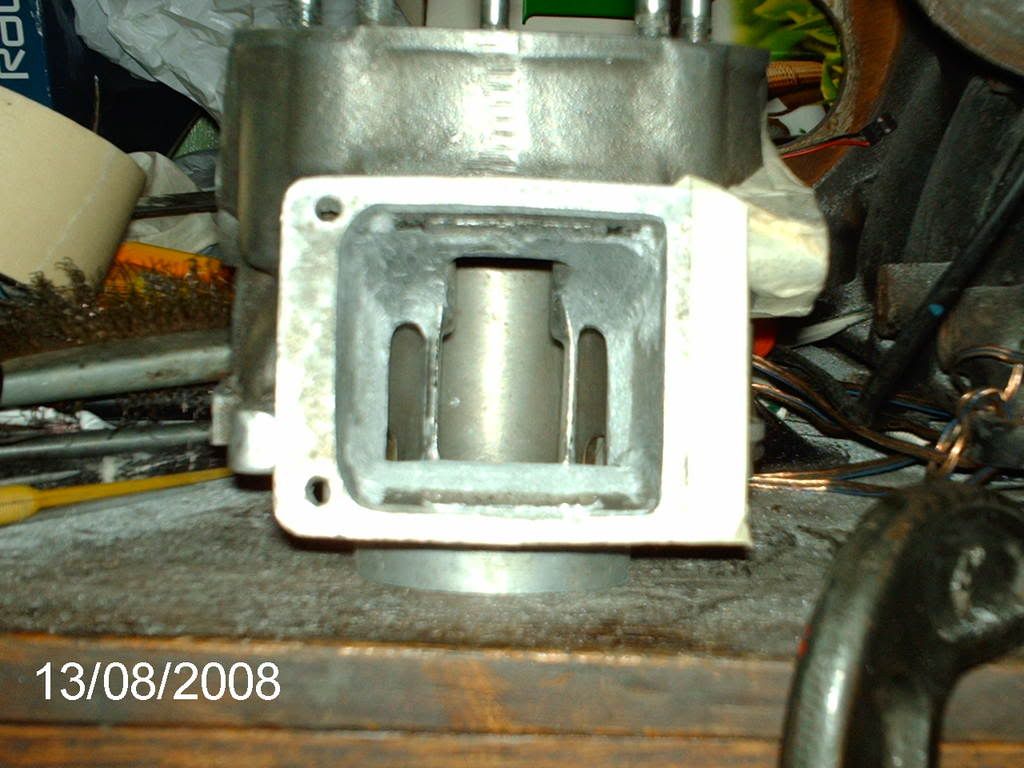
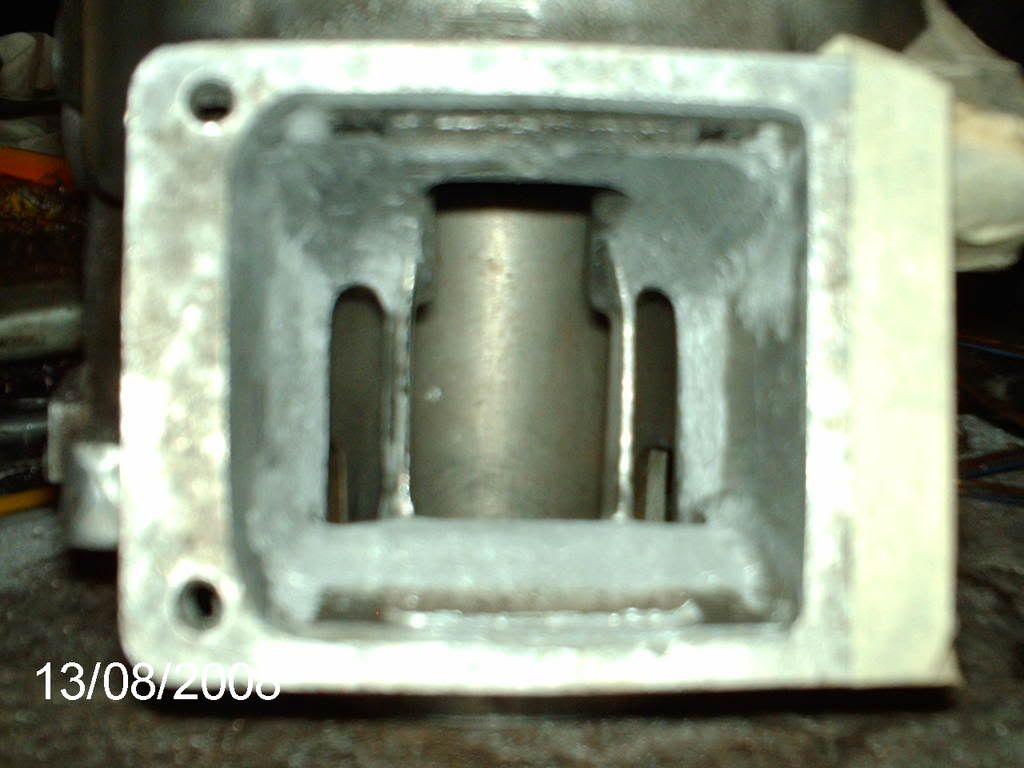
finished porting the barrel just doing scavenger entrances
and still a little bit to do to the crank cases line up the
inlet port then still got to flat the reed block on the inside,
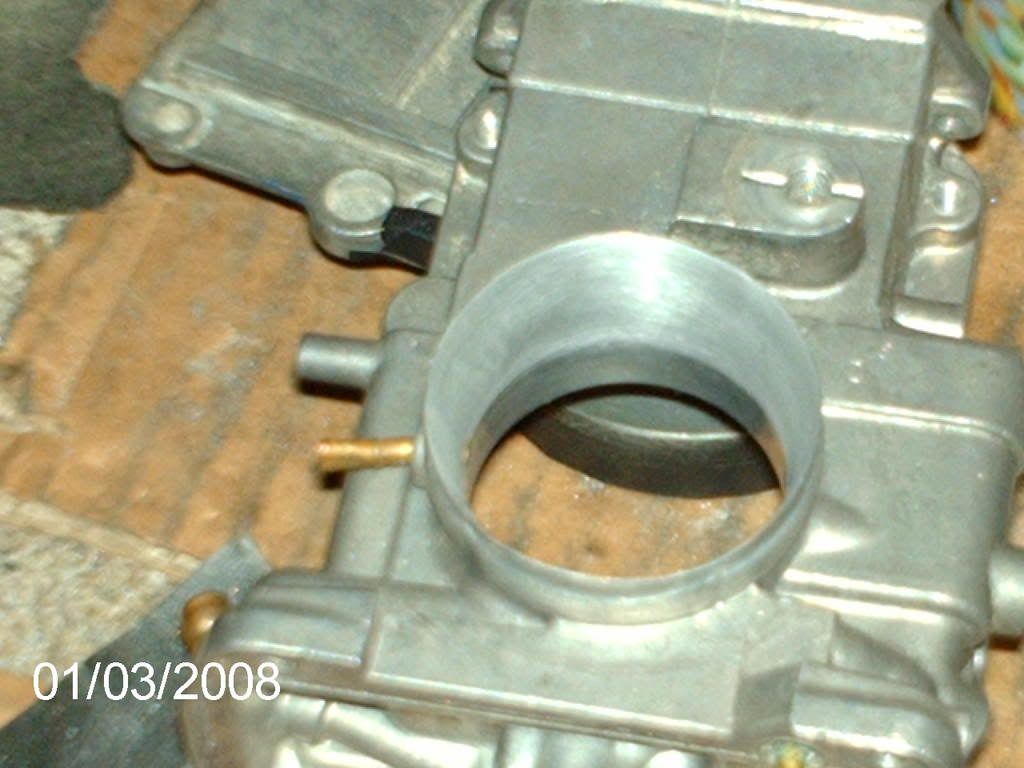
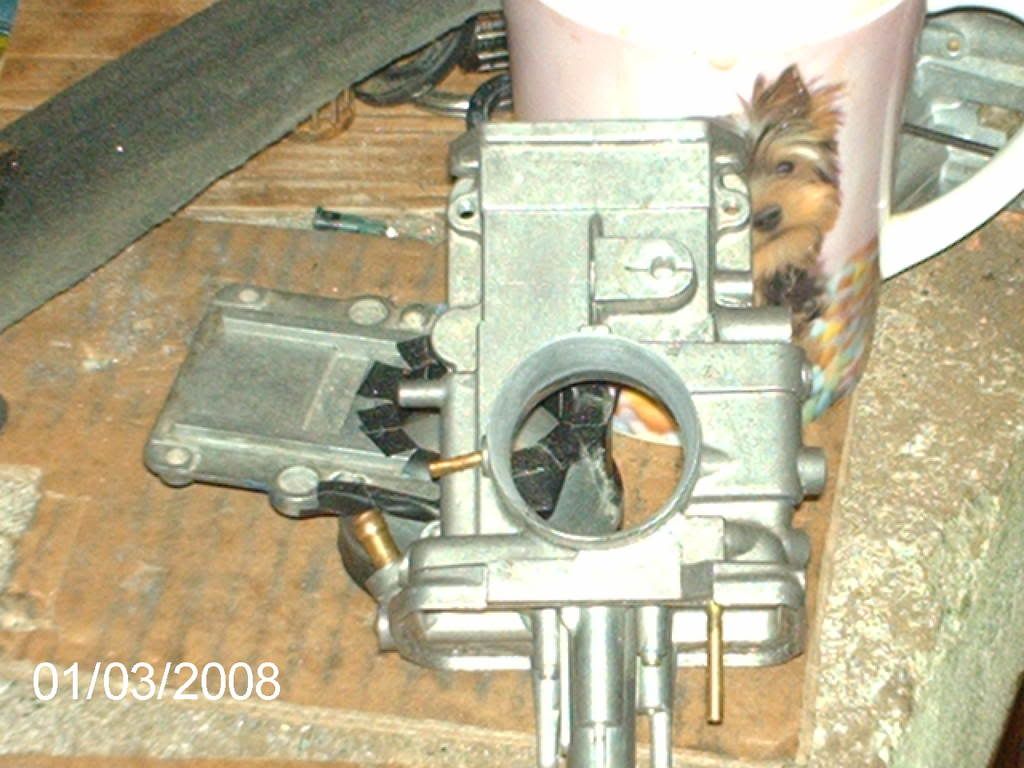
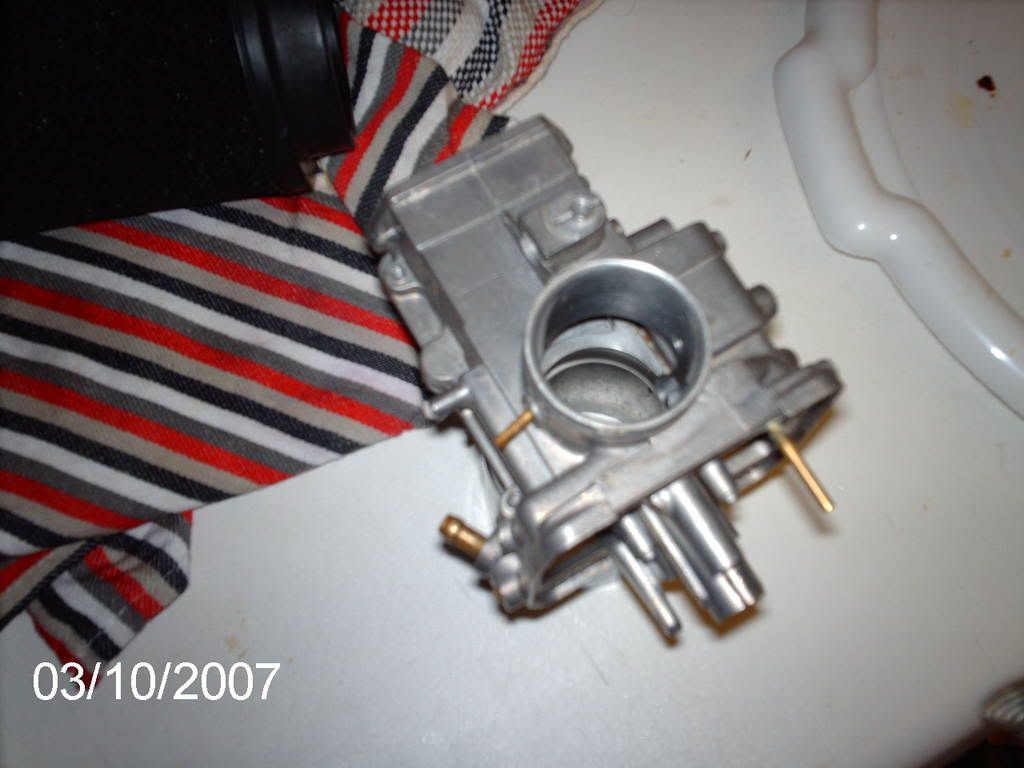
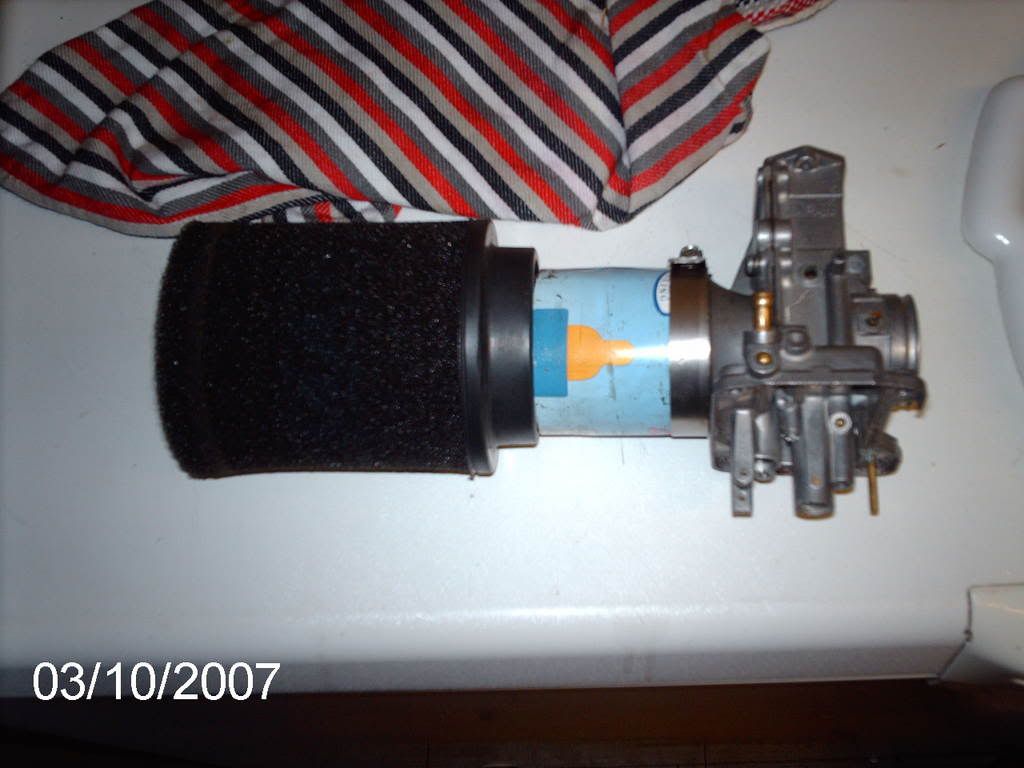
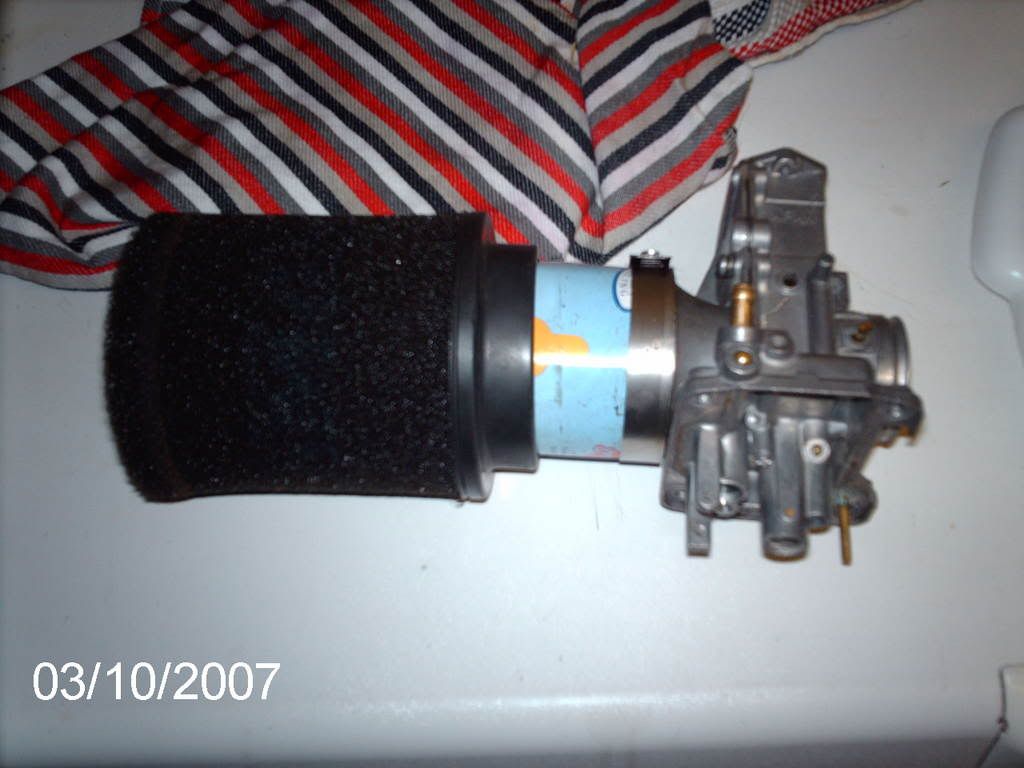
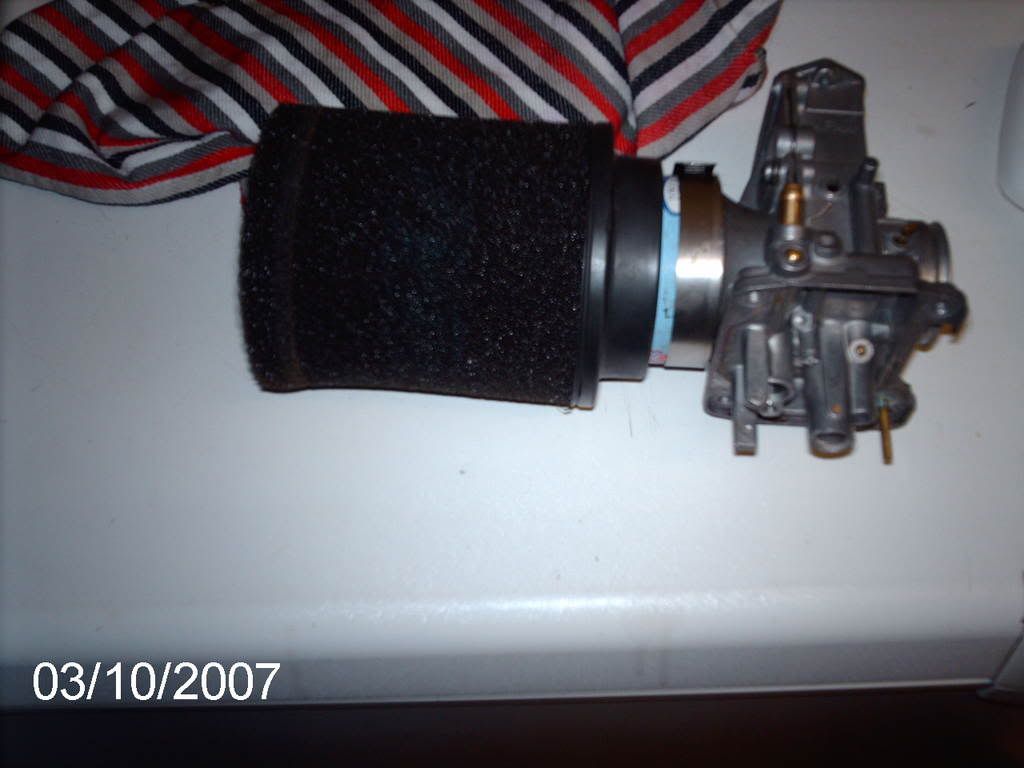
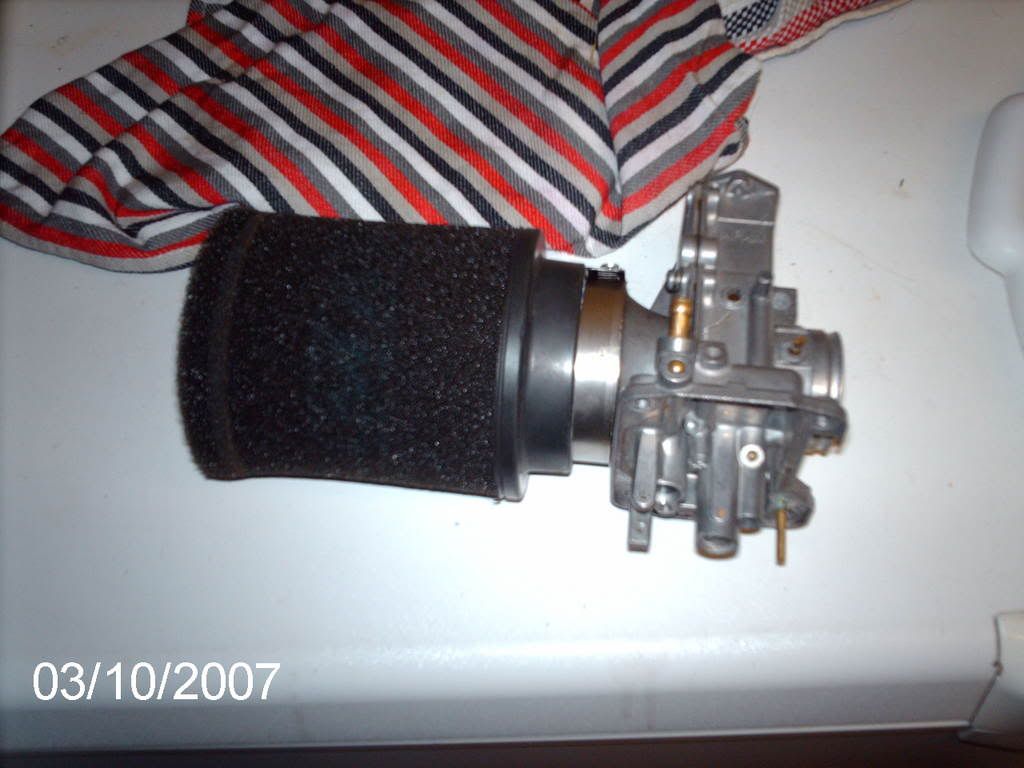
already taper ported the front of the carb to 38/9mm
from 32mm might even go 0.75mm on the squish, then the
next step is to get the motor to pull 17 gear box sprocket
45 rear sprocket gearing
|
|
doy
Thrash Merchant

Posts: 427
|
Post by doy on Sept 14, 2008 10:04:27 GMT 1
|
|
|
|
Post by racerd on Sept 14, 2008 14:55:45 GMT 1
a couple of before and after photo's  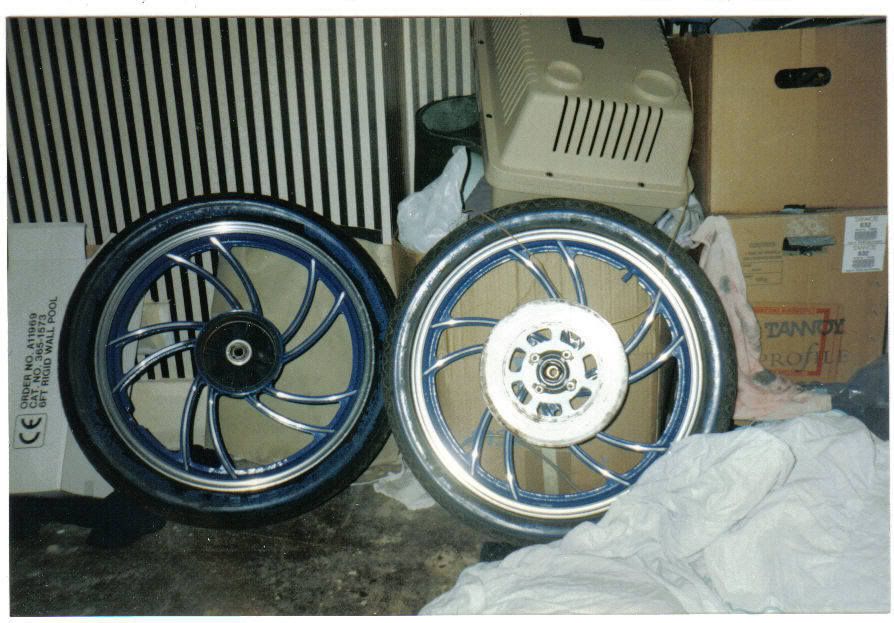 to prep the wheels it took me 3 hours to get them ready for etch primer then when masking them up this took 3 hours per wheel and to etch prime them 3 hours per wheel and the same time to prime them and the same time per wheel to flat the primer, the etch primer and primer i used air craft paint from Stevenage british aero space and when spraying on top colour 3 hours per wheel the hard part was getting the paint into the corners where the spokes join the rims, and not getting runs in the paint to un mask the wheels took 2 to hours for both wheels had to be careful when unmasking the wheels that i didn't pull the paint off this was because the paint was still a little bit soft could not have un masked the wheels when the paint was dry and to flat and polish the edge of the rims and the edges of the spokes took me 20/30 hours per wheel when i polish them now still takes 3 hours per wheel then 1 hour per tyre to tyre pen the lettering on the tryes, 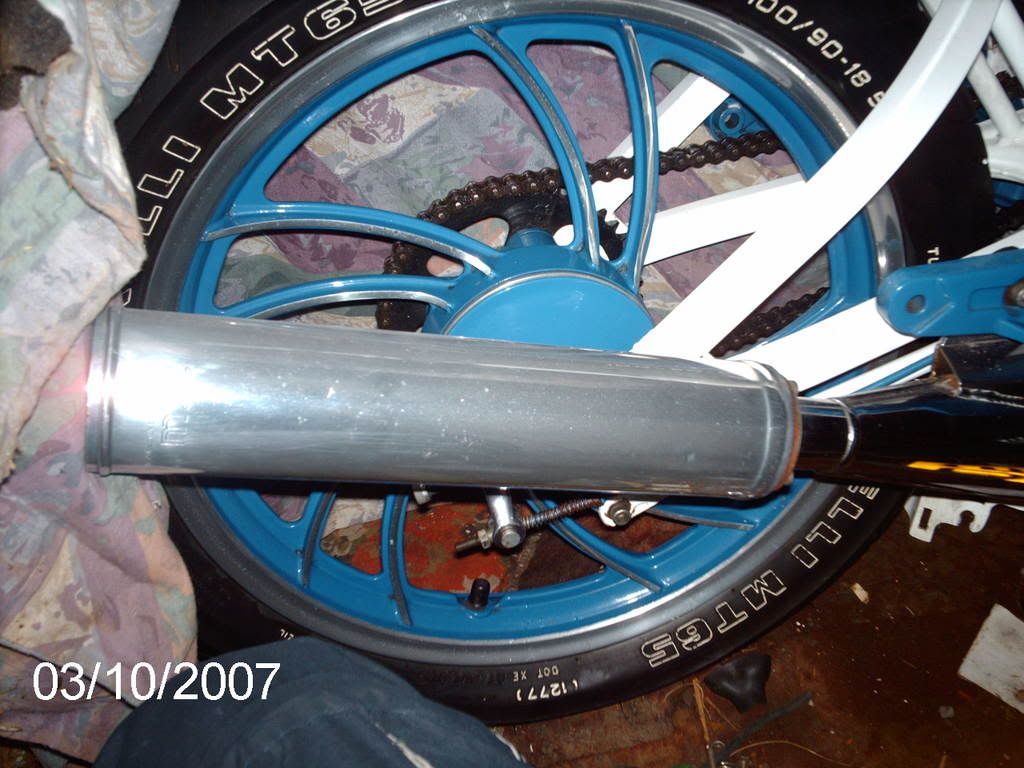 , mono shock 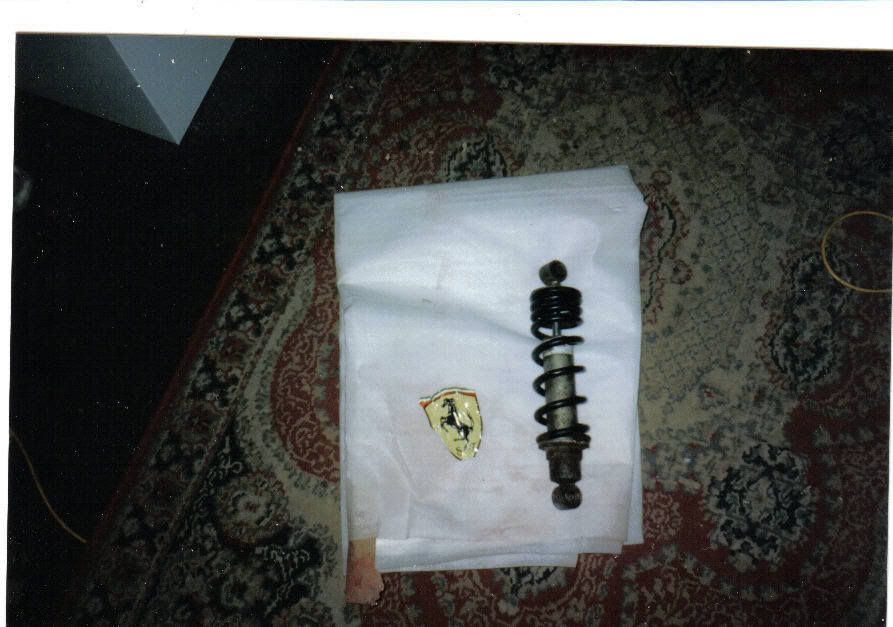 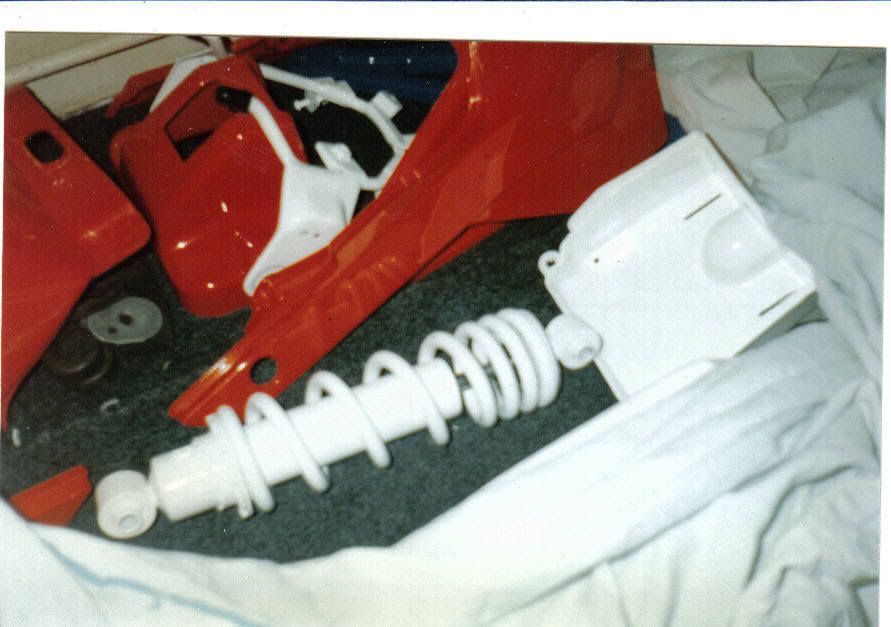 when i got the mono shock there were no bushes in the top and bottom of the mono shock got genuine parts and pressed them in my self then stripped the mono shock down took the spring off and prepped it ready for etch primer and primer, this took about 10 hours then a couple of hours to flat the primer ready for colour the hard part was spraying the spring in getting even coverage on the inside of the spring with out getting runs use air craft etch primer and primer then the fun part was fitting up the spring i tried to compress the spring by hand no go then a lad from the garage next door pushed down the spring by hand so i could put the collets back in and he also adjusted the pre load by hand |
|


 fook!!! that engine is the mutts nuts!!