|
|
Post by Tobyjugs on Apr 11, 2017 21:18:08 GMT 1
Brilliant!!!!
|
|
|
|
Post by yamark on Apr 12, 2017 6:22:05 GMT 1
Jon; I thought I was the only "nutty professor" on here. Fantastic - dangerous, corrosive, explosive chemicals - it doesn't get much better than this 
Great work, always wondered how it was done. |
|
|
|
Post by bazzer5115 on Apr 12, 2017 7:23:47 GMT 1
Clever stuff.I do my own zinc plating at home in a bucket also.
May try anodising next😀
Only downside is I have found that black anodising tends to fade to a purple/grey colour after a few years😒
|
|
|
|
Post by jon on Aug 25, 2017 19:01:25 GMT 1
Been a while since I posted on any of my 4 threads, because of Photof**kit. Anyway I have had some time to start rebuilding my threads, and here goes ... I got some chrome plating done for this build, as its going to be a bit bling. Its expensive, but the finish is as good as I'd hoped for. 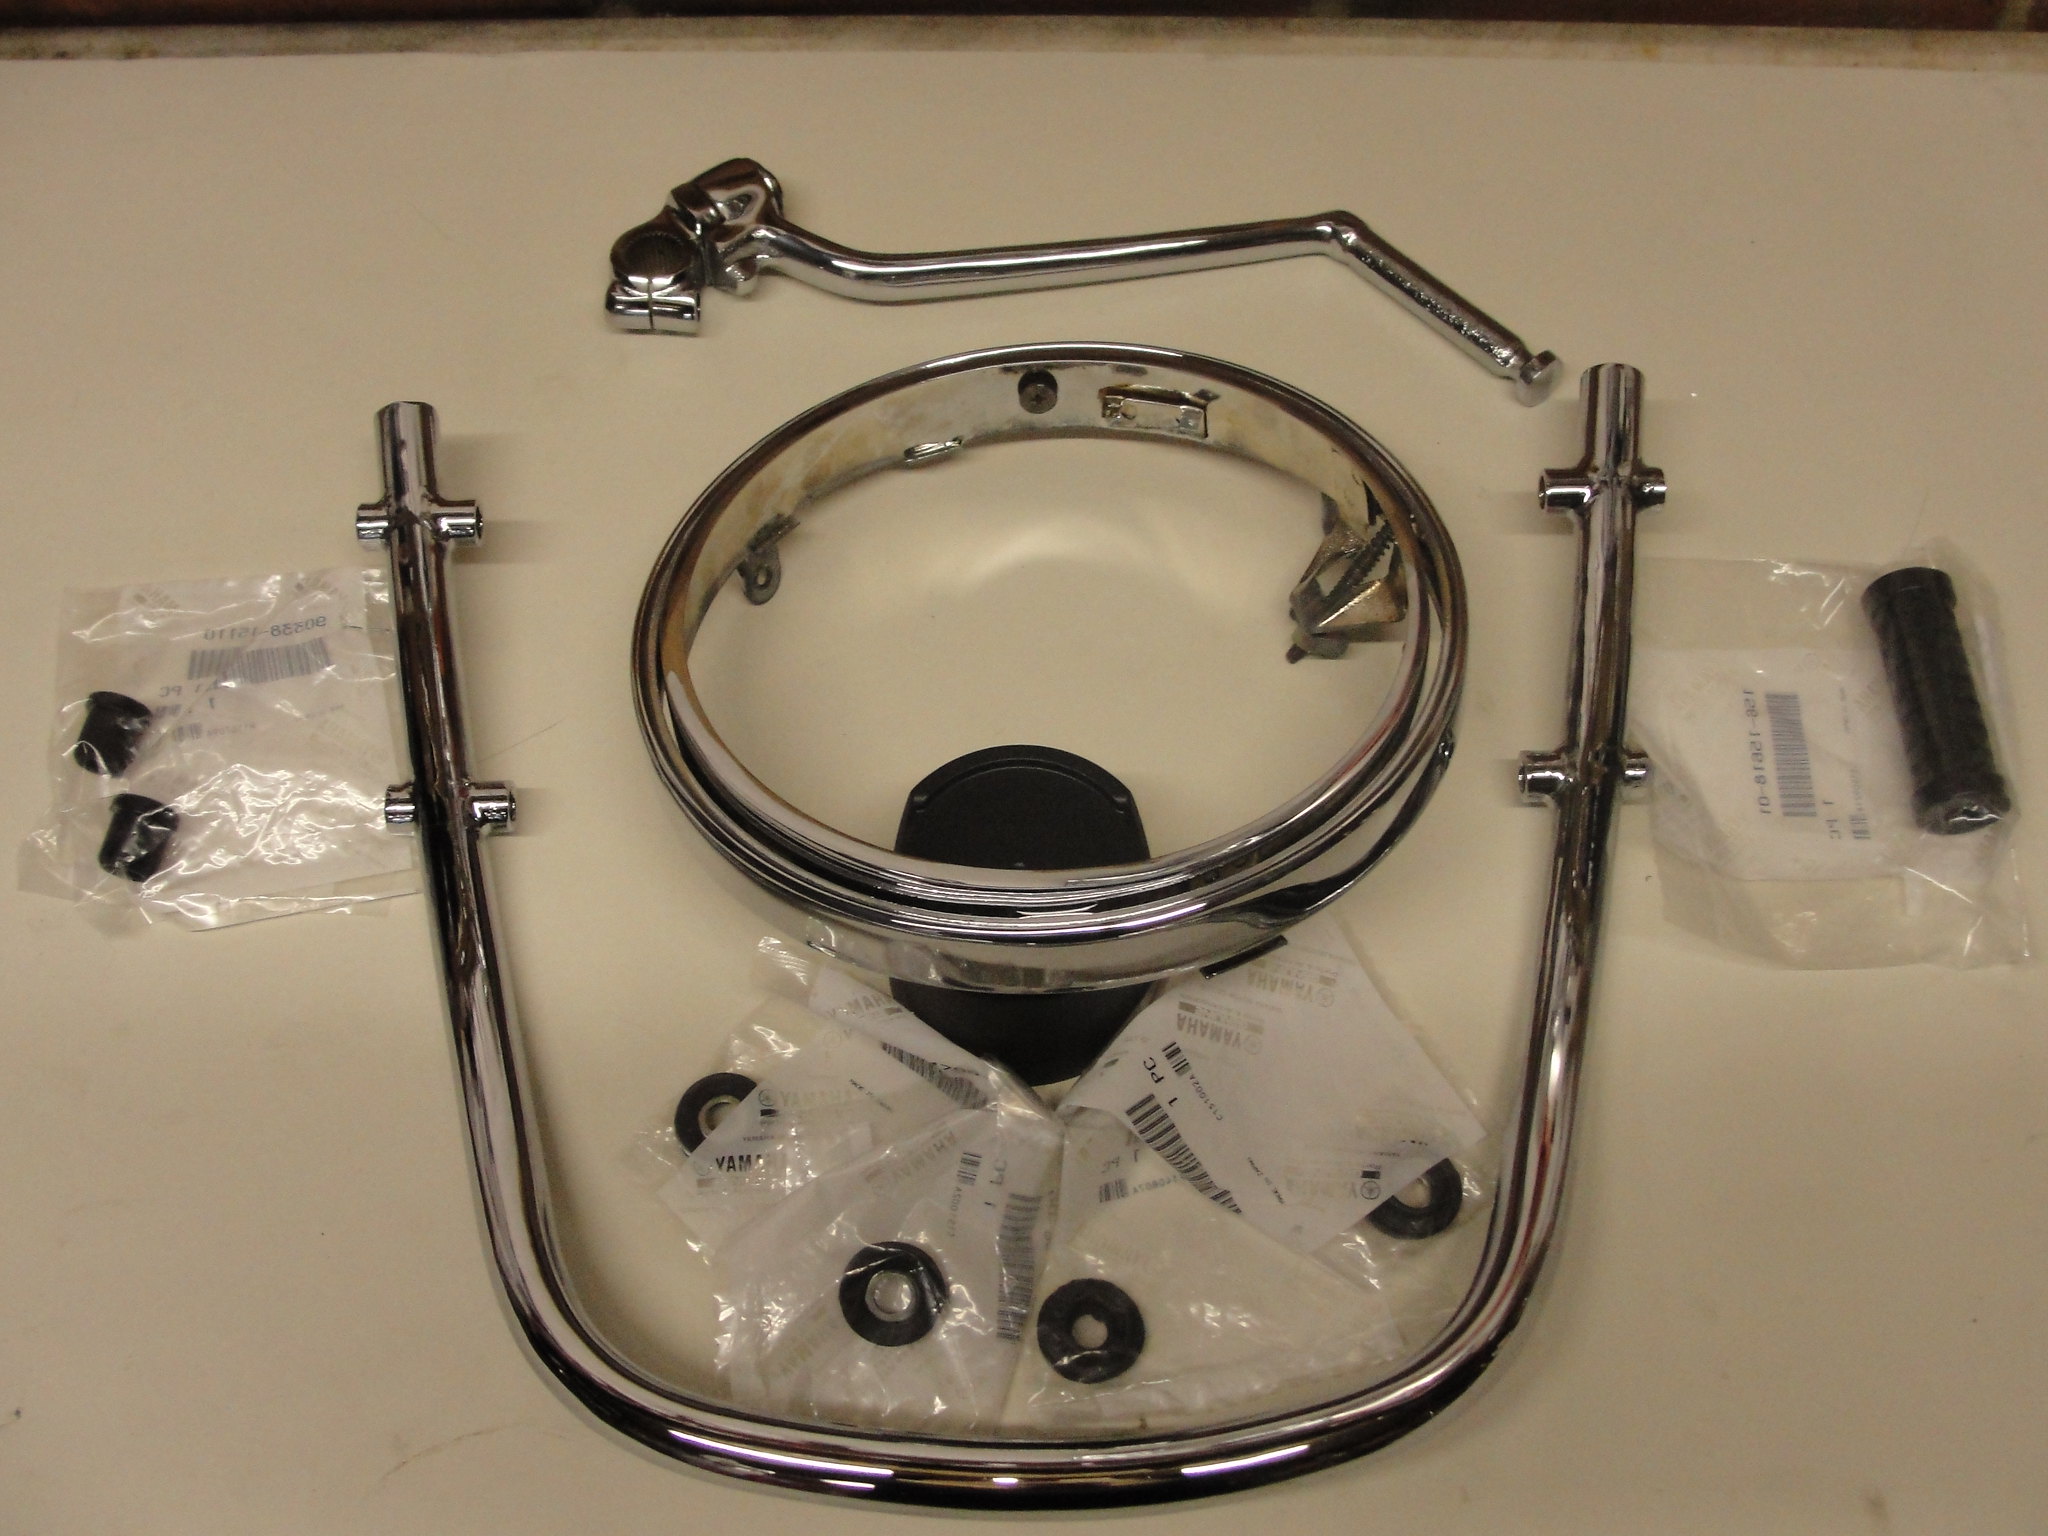 Jon |
|
|
|
Post by jon on Sept 14, 2017 18:58:11 GMT 1
Well I've finally finished strengthening my LC frame. I'm happy its stronger than before as the stiffer forks and swingarm would have put more flex into the frame. It's nowhere near as stiff as a modern frame, but every little helps. the lower headstock has fairly flimsy brackets joining it to the spars. I like jonw have made a top plate for the lower: 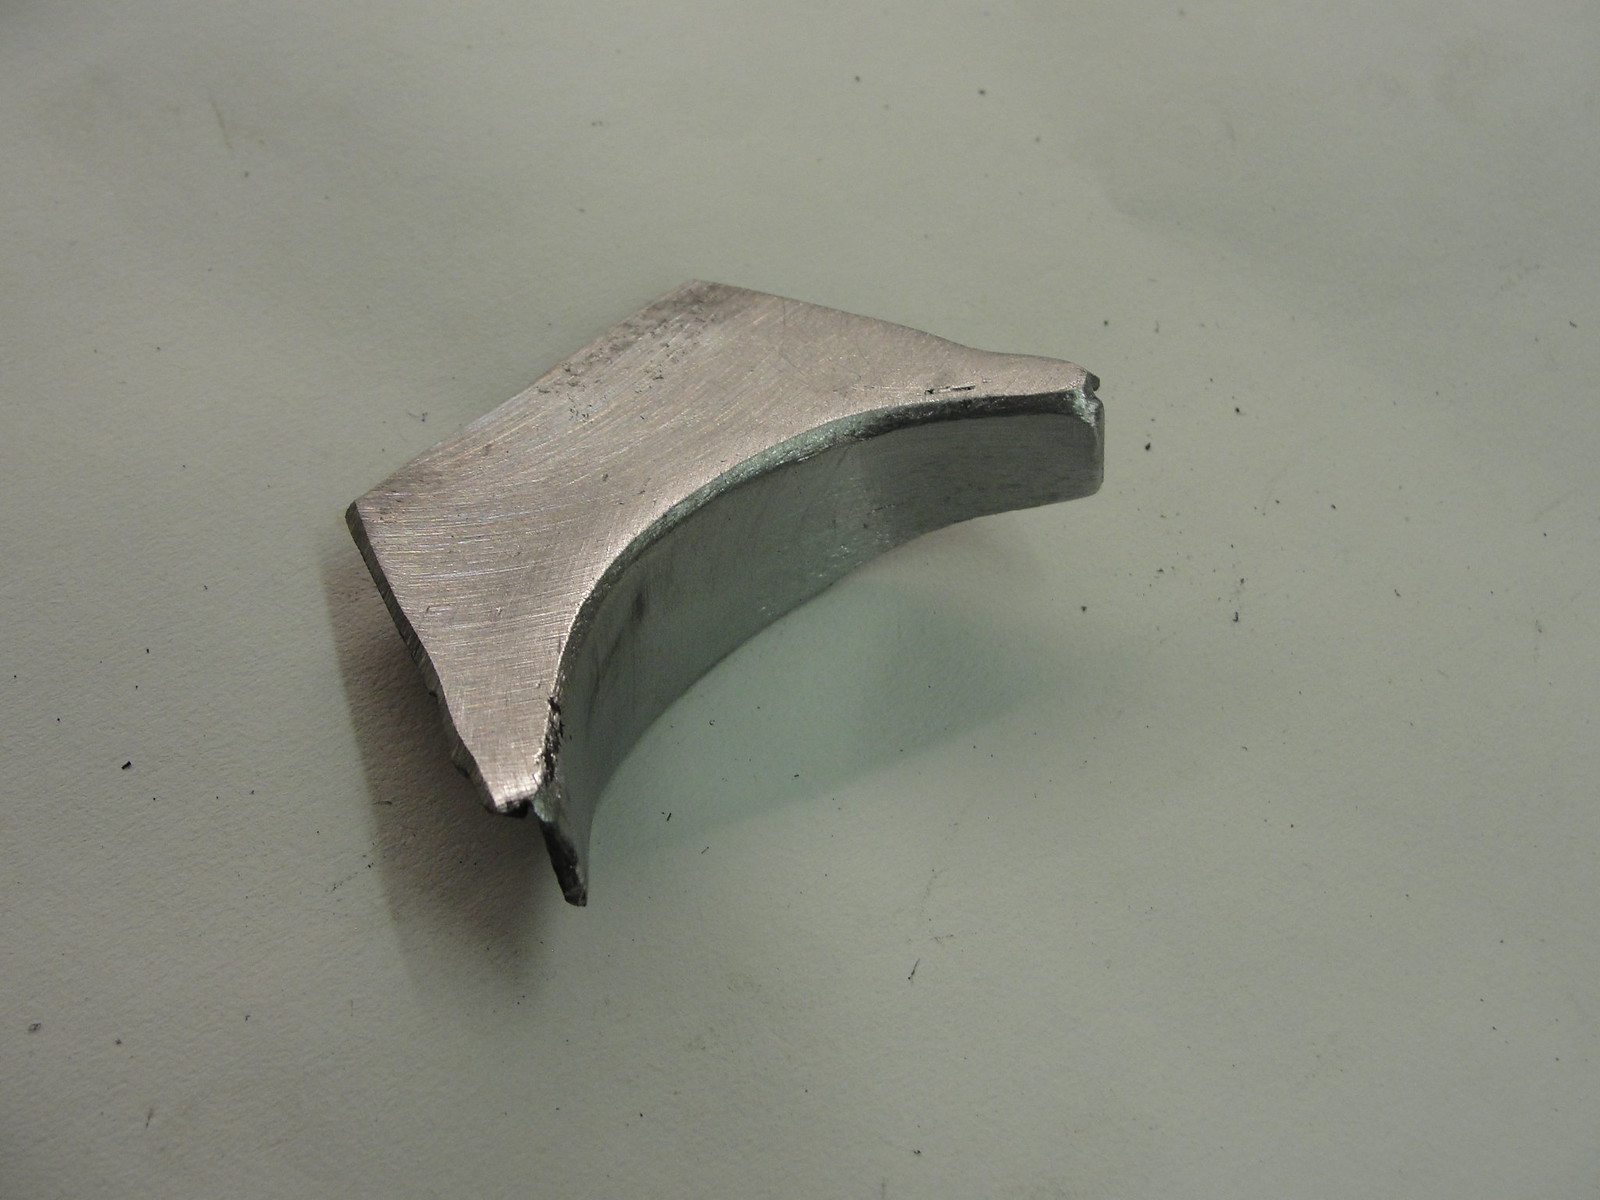 I fully welded all the bits that were missing welds as well: 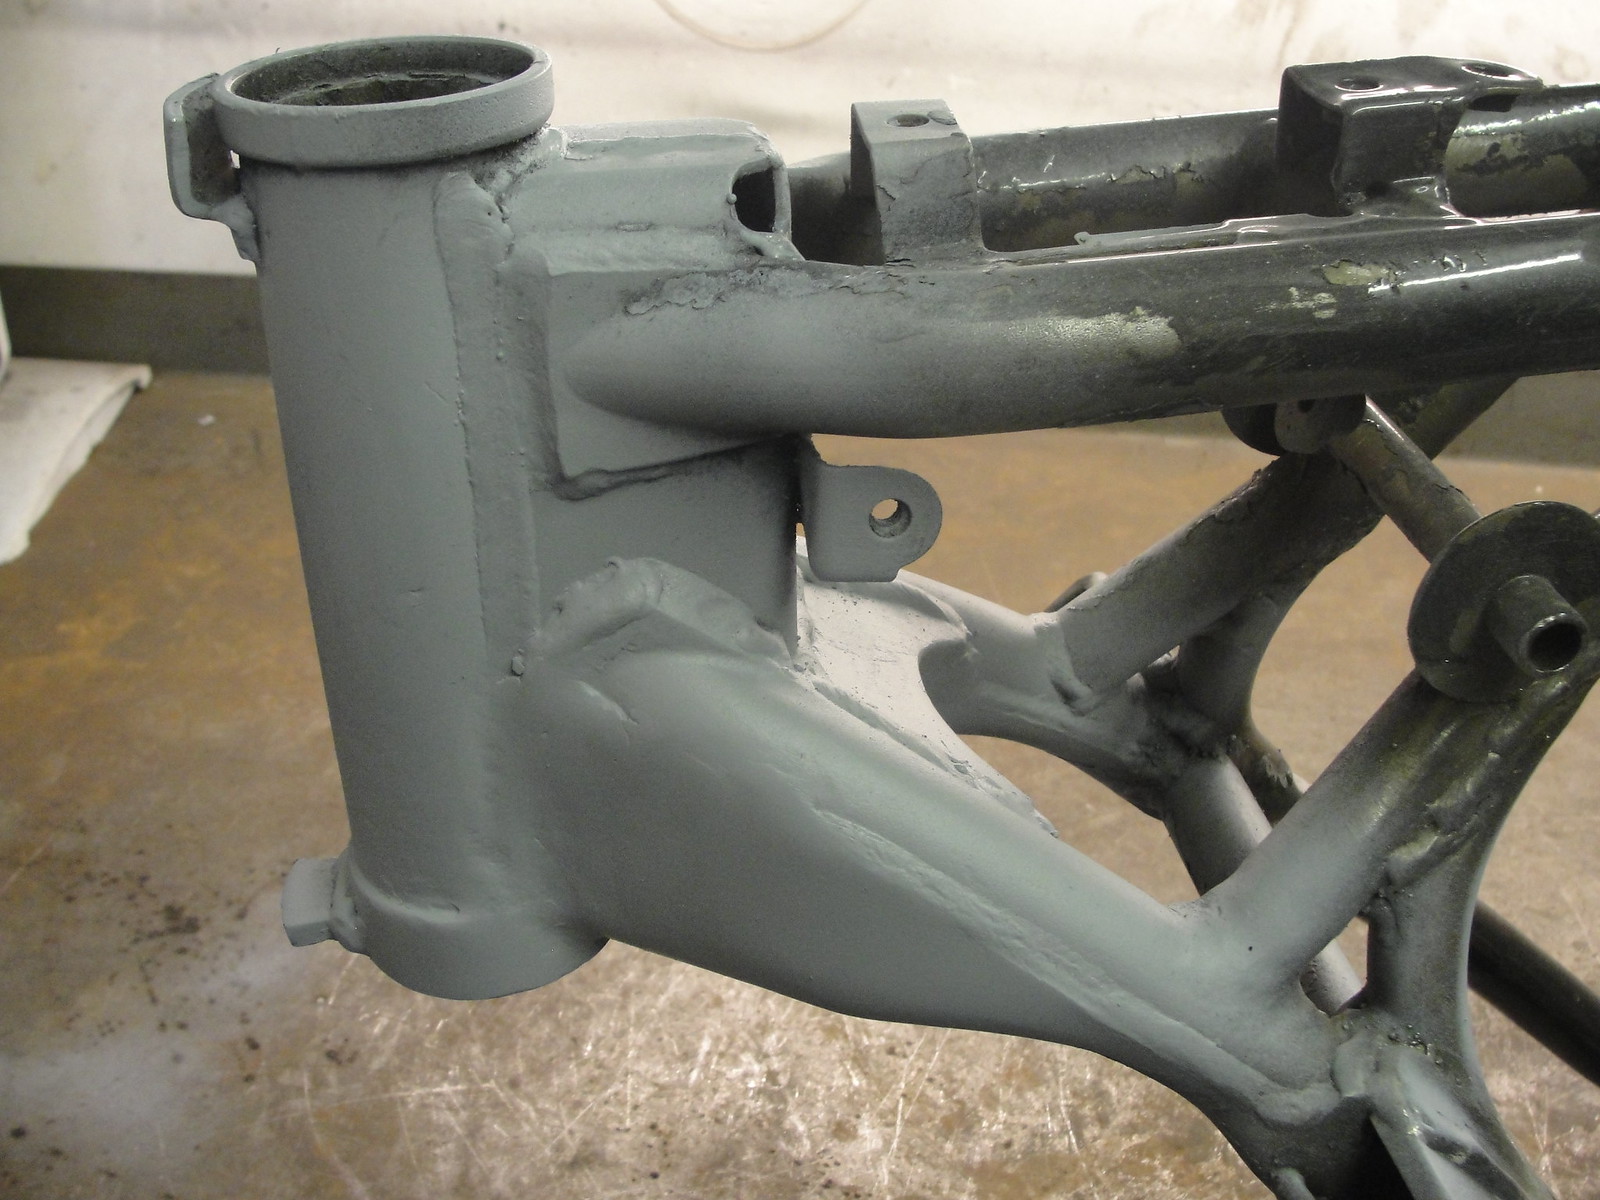 Power Valve bracket was next: 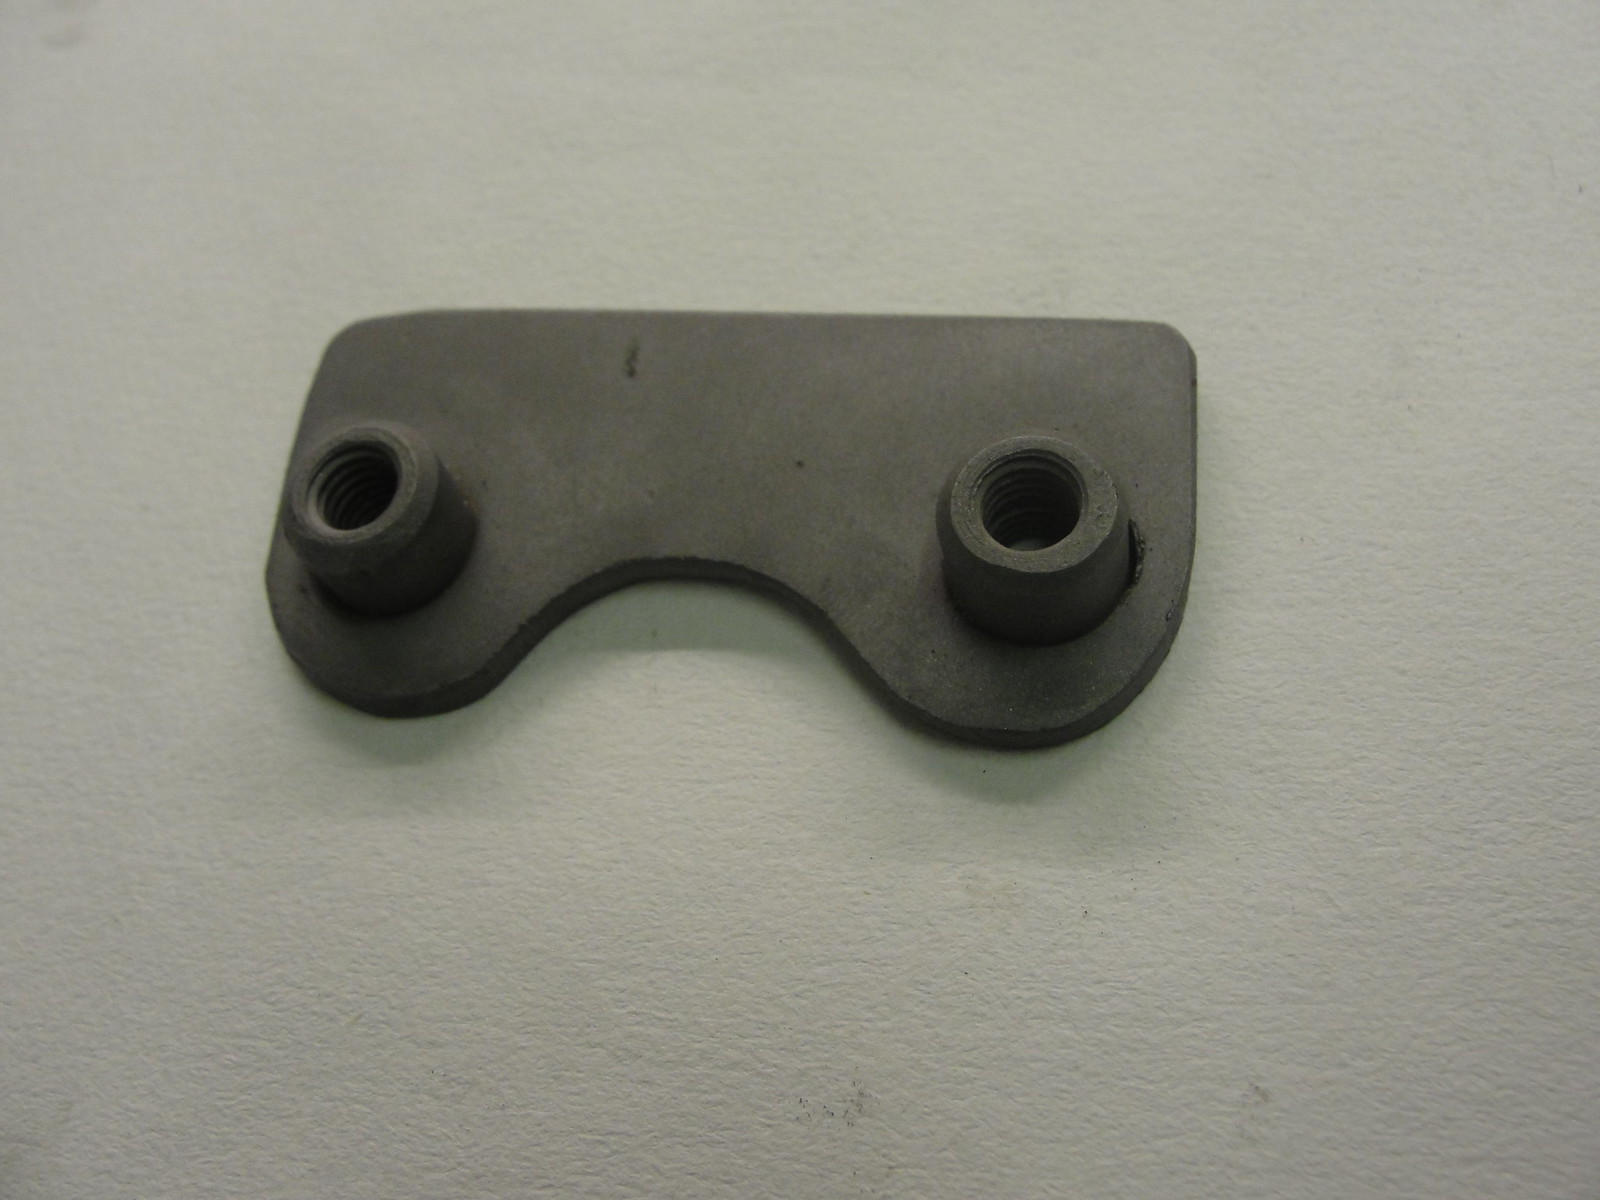 Next the coil cover needed a bit of surgery to the inside to clear the servo. Before: 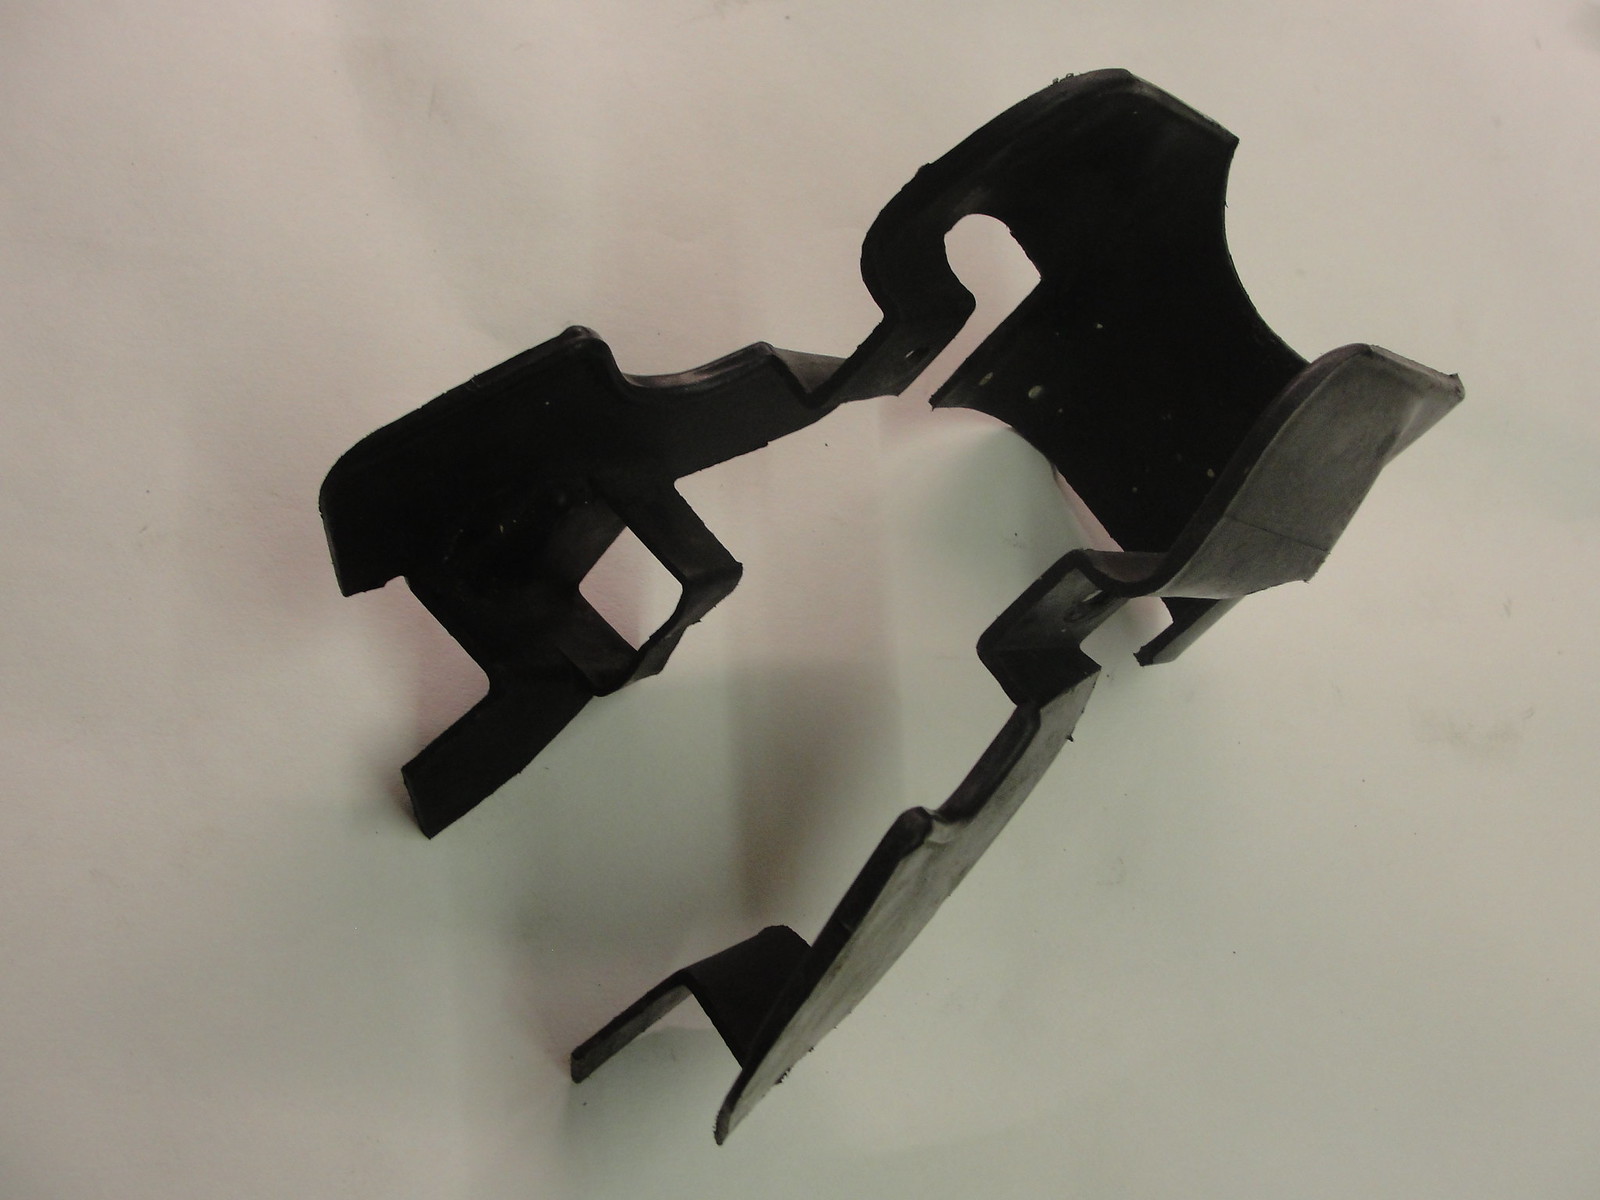 After: 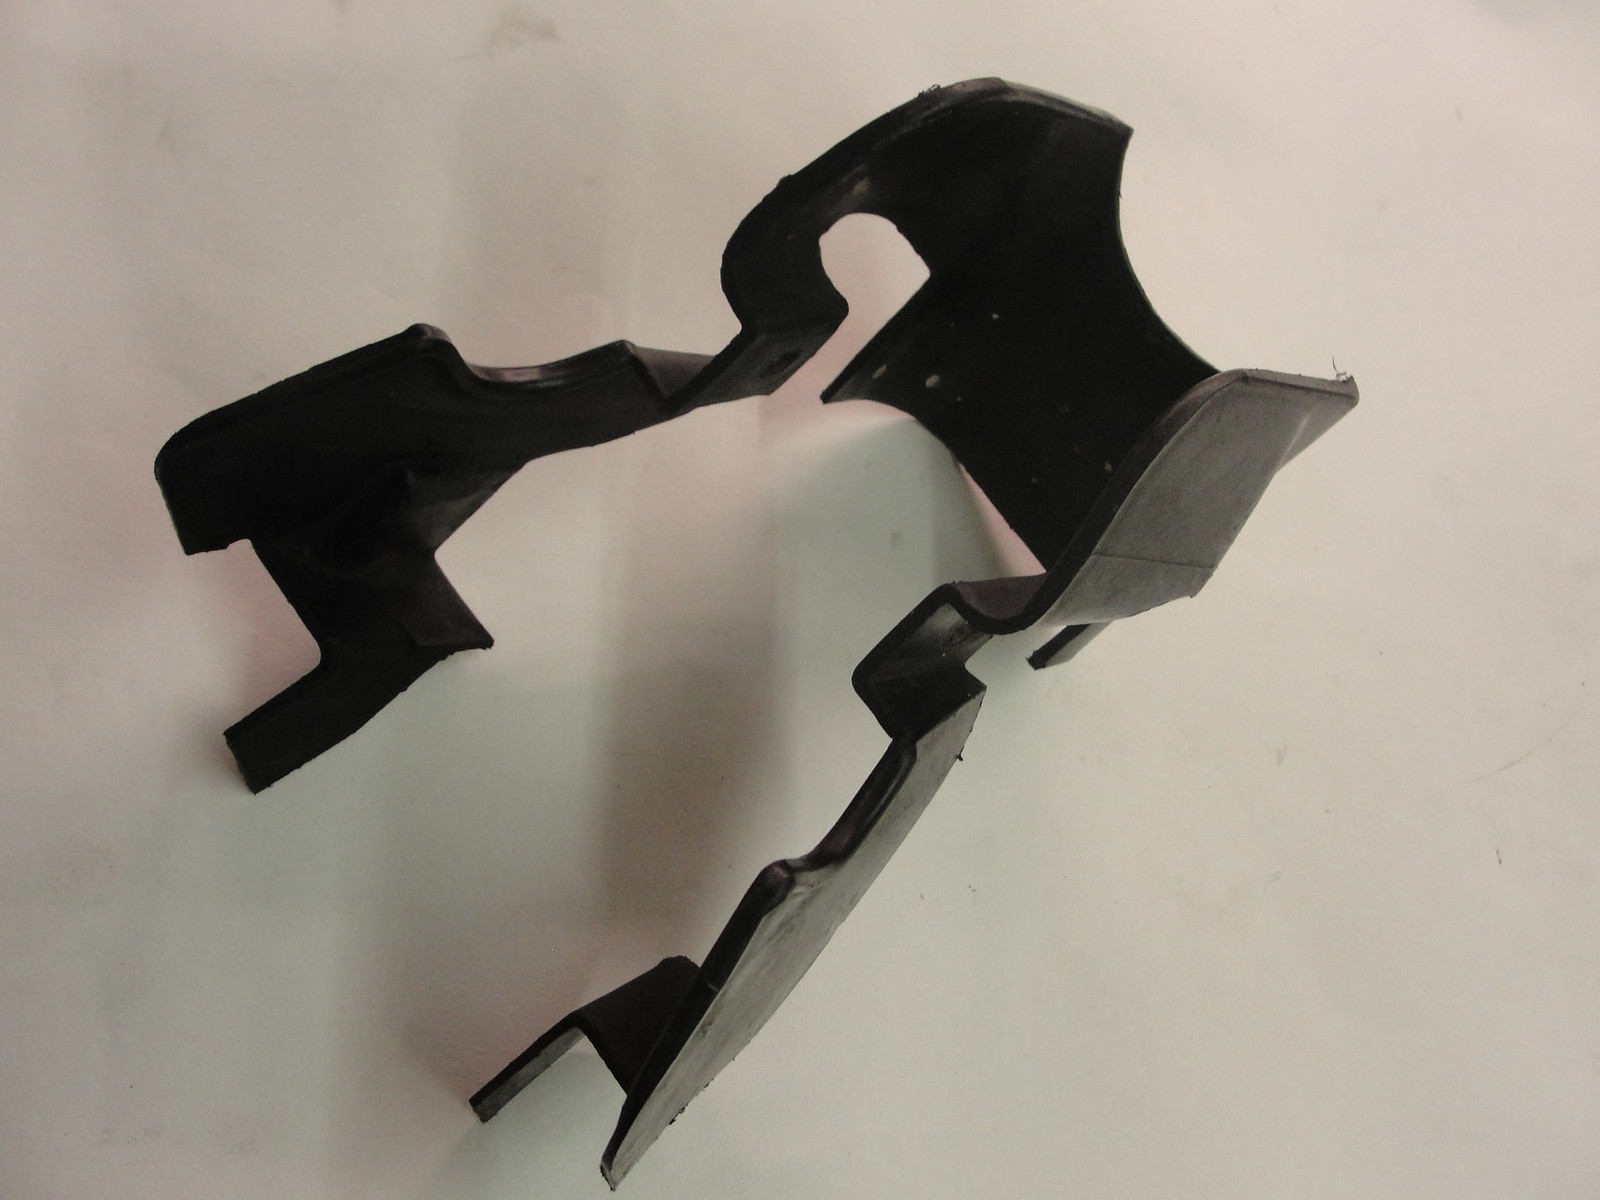 The finished article, with servo squeezed in behind the headtock, and coil cover fitted: 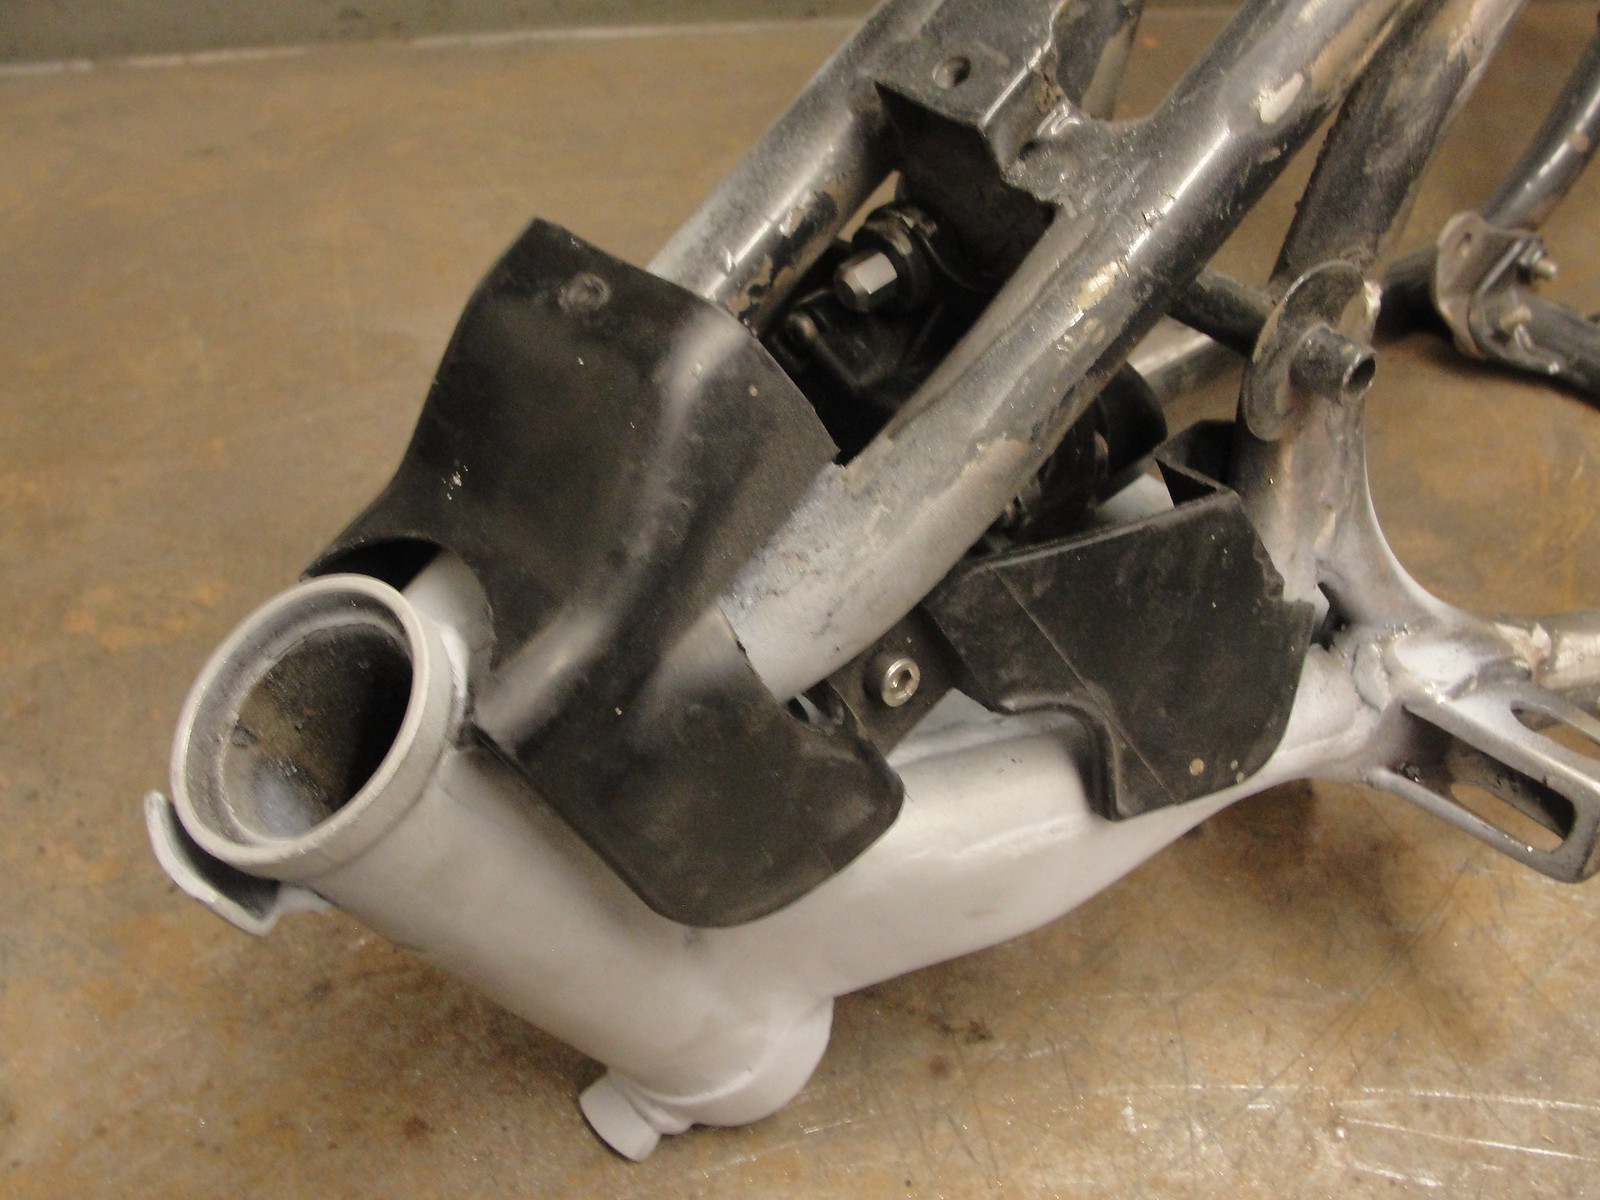 Next job on this bike is the swingarm modifications. Jon |
|
|
|
Post by Yogi on Sept 14, 2017 19:15:05 GMT 1
Been a while since I posted on any of my 4 threads, because of Photof**kit. Anyway I have had some time to start rebuilding my threads, and here goes ... I got some chrome plating done for this build, as its going to be a bit bling. Its expensive, but the finish is as good as I'd hoped for.  Jon That chrome looks mint mate |
|
|
|
Post by jon on Sept 14, 2017 20:20:45 GMT 1
Yes Matt, it almost looked 'wet' if that makes sense when I picked it up.
Jon
|
|
|
|
Post by Yogi on Sept 14, 2017 20:32:55 GMT 1
Yes Matt, it almost looked 'wet' if that makes sense when I picked it up. Jon All the best finishes look like liquid,I know exactly what you mean |
|
|
|
Post by JonW on Sept 18, 2017 3:11:26 GMT 1
Great work Jon, The whole steel piece they make that forms the open cup is a funny bit of Yamaha half arsed work really, doesnt fit at the headstock and catches rain at the back. mental.
A question; did you make the servo plate or rob one off an old ypvs frame? do you have any other pics of where you fitted it? Im keen to do an LC with a ypvs motor and am gathering info and ideas.
|
|
|
|
Post by jon on Sept 18, 2017 7:02:20 GMT 1
Great work Jon, The whole steel piece they make that forms the open cup is a funny bit of Yamaha half arsed work really, doesnt fit at the headstock and catches rain at the back. mental. A question; did you make the servo plate or rob one off an old ypvs frame? do you have any other pics of where you fitted it? Im keen to do an LC with a ypvs motor and am gathering info and ideas. Hi Jon, I made.the servo plate. First I turned down two bosses and tapped them to M6. Then I cut a 3mm plate to size and weldd them on. I will try and get some more pictures of the servo. Jon |
|
|
|
Post by JonW on Sept 18, 2017 7:13:02 GMT 1
Thanks mate. Cheers for the info I have the technology to make one like you did  |
|
|
|
Post by morgy on Sept 19, 2017 6:58:37 GMT 1
WOW you have some good engineering skills dude... Is it essential to have a jig to widen the swing arm section?
|
|
|
|
Post by jon on Sept 19, 2017 7:39:43 GMT 1
Morgy, if you want to ensure the left and right frame spars expand the same amount, then I'd say a jig is essential.
That said, it did spread evenly both sides without the need to help one side follow the other. I wouldn't take the risk personally.
The top cross member is also located back in the same place because of the engine mounts bolted to the jig. Get this misaligned, and your engine may not bolt back in.
Jon
|
|
|
|
Post by morgy on Sept 26, 2017 12:24:14 GMT 1
Jon. What is the pipe size and thickness used on the Rd frame, what size pipe did you use for your strengthening sections. If your modding things like rear mater cylinder brackets would you use 3mm plate or more...
Thanks
Mark
|
|
|
|
Post by jon on Sept 26, 2017 20:05:08 GMT 1
I can't remember wall thickness of the tube I used. You could probably get an idea from measuring the photo I have on this thread.
3mm would be fine for the bracket, however I used 6mm on my LC as it is thick enough to have the M6 thread through it. 3mm is too thin to hold an M6 thread IMO.
Jon
|
|
|
|
Post by jon on Nov 20, 2017 20:54:14 GMT 1
Well as usual I have been flitting between projects. My Kenny Roberts YPVS has been painted, and just needs a few more panels cutting back. Last weekend I've been working on my latest LC hybrid. A while ago I asked Nigel at NK racing for a quote to modify my FZR arm to fit an LC. All was okay until I mentioned my frame was spread, to which I got a reply he couldn't do it as his jig was for a standard LC. I'm not too surprised at this, but a little surprised he was not prepared to take it on? Anyway, I thought 'Oh well, I'll have to arrange it myself'. I spoke to my local welder Jason about doing this and he said he'd do it. I made a jig from the LC arm, and drew up some brackets in CAD. Anyway, the brackets were cut and i arrived with my jig on Saturday. Unfortunately I'd somehow managed to mess up on the bracket height so it was out! Jason was so understanding about this and offered to adjust them in the afternoon, then weld them Sunday. He even offered to try and teach me to aluminium weld, so in his words 'you can stop pestering me to weld something, you can can come and use my kit and do it yourself!'. I had a quick go, and within 20 minutes I had something that would probably hold 2 bits of metal together, but didn't look too good. It's totally differnt to MIG. I'll be back to see if I can master it? Anyway, he made it look so easy as I watched him do my swingarm. In fact to say I was in awe of his co-ordination is an understatement. I'd made a jig to keep everything square: 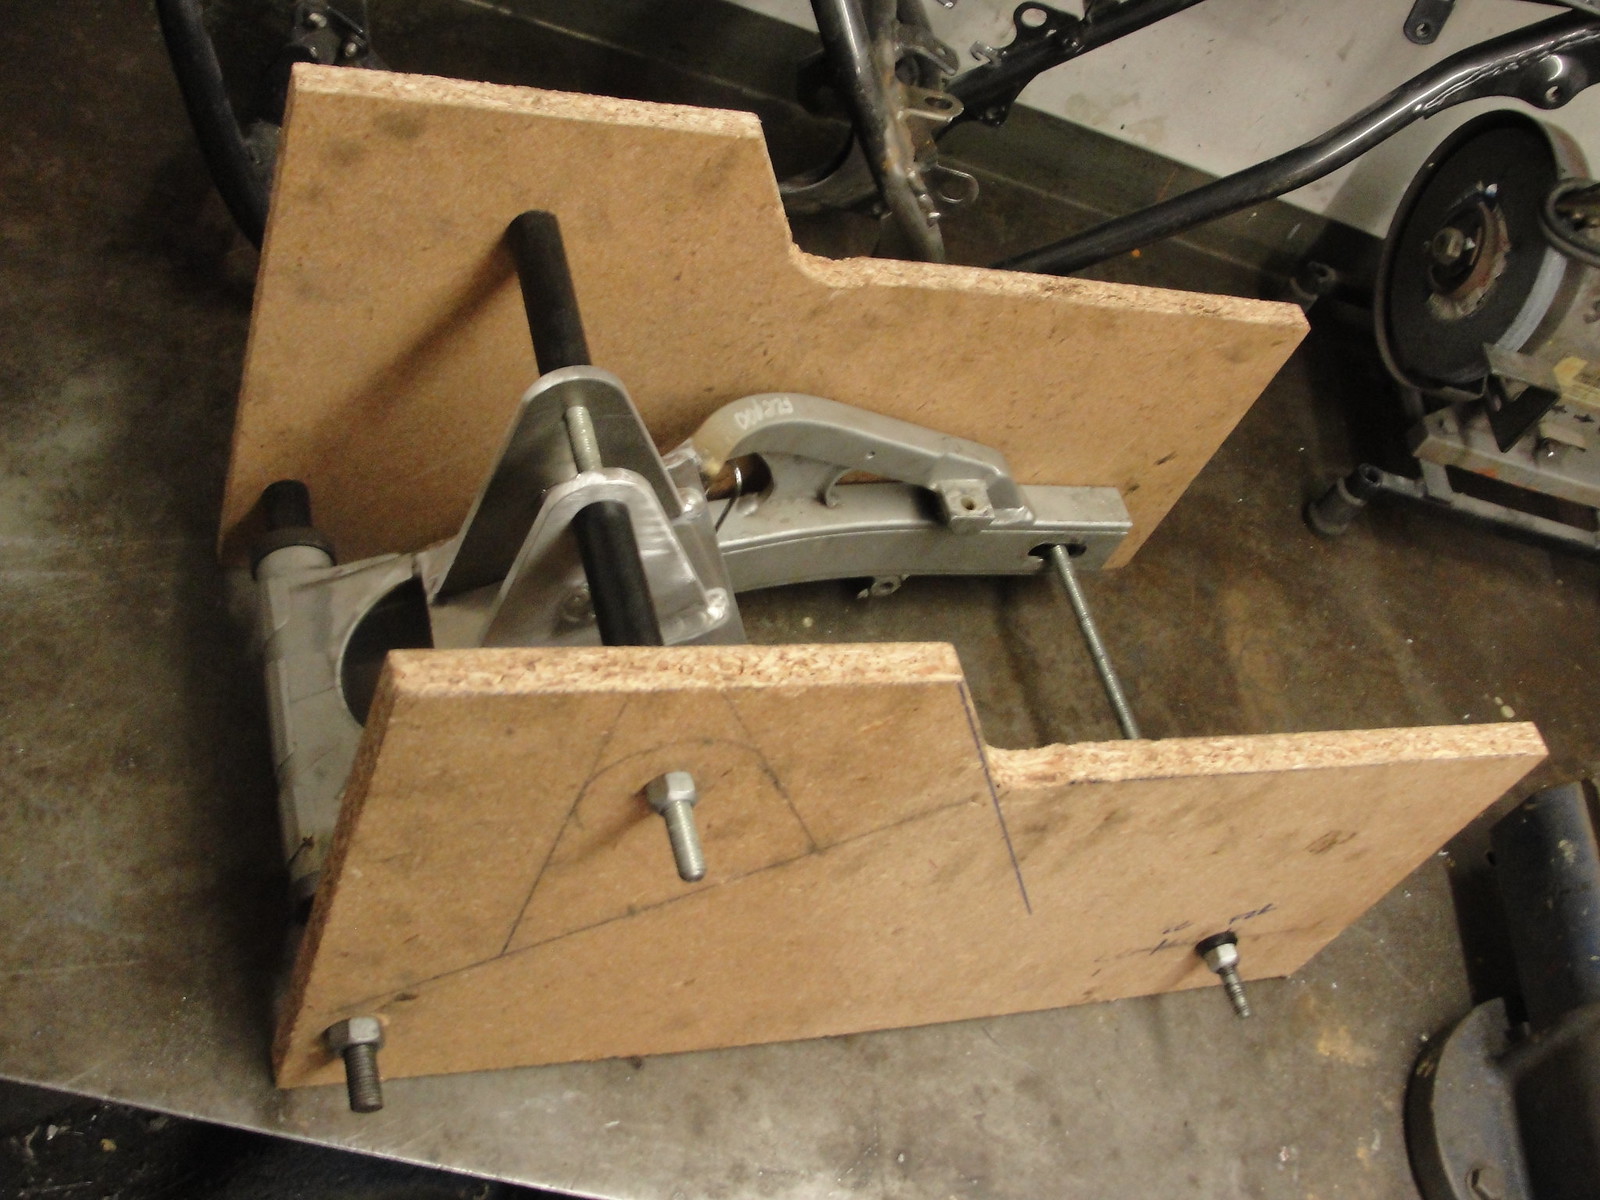 It was really quite complex and difficult to describe how he suggested doing it but ill try. The vertical plates have ears which fit into the bottom plate. These were welded underneath first. Next the vertical plates were welded with a root weld. Then gone over the top to build it up. Next the assembly was set up in the jig and tack welded to the arm. After this the jig was removed and a root weld either side of the plate. then twp lines of weld over the top. 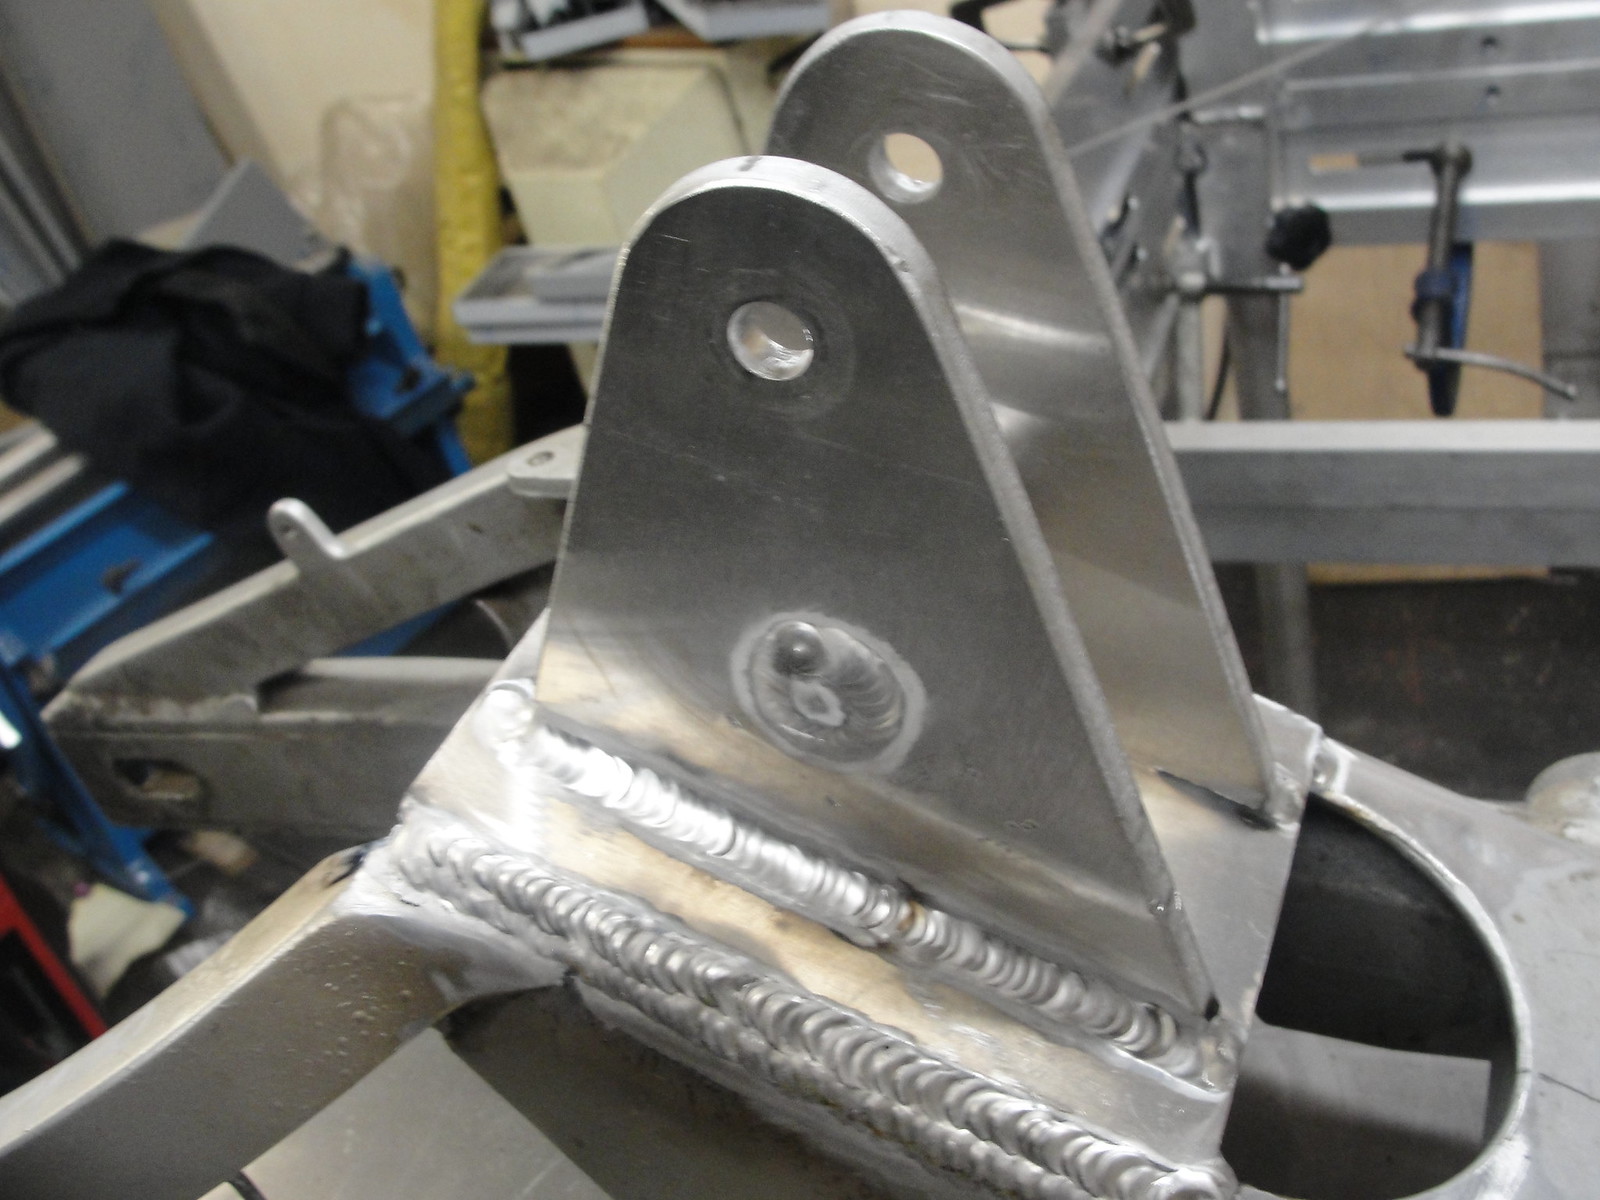 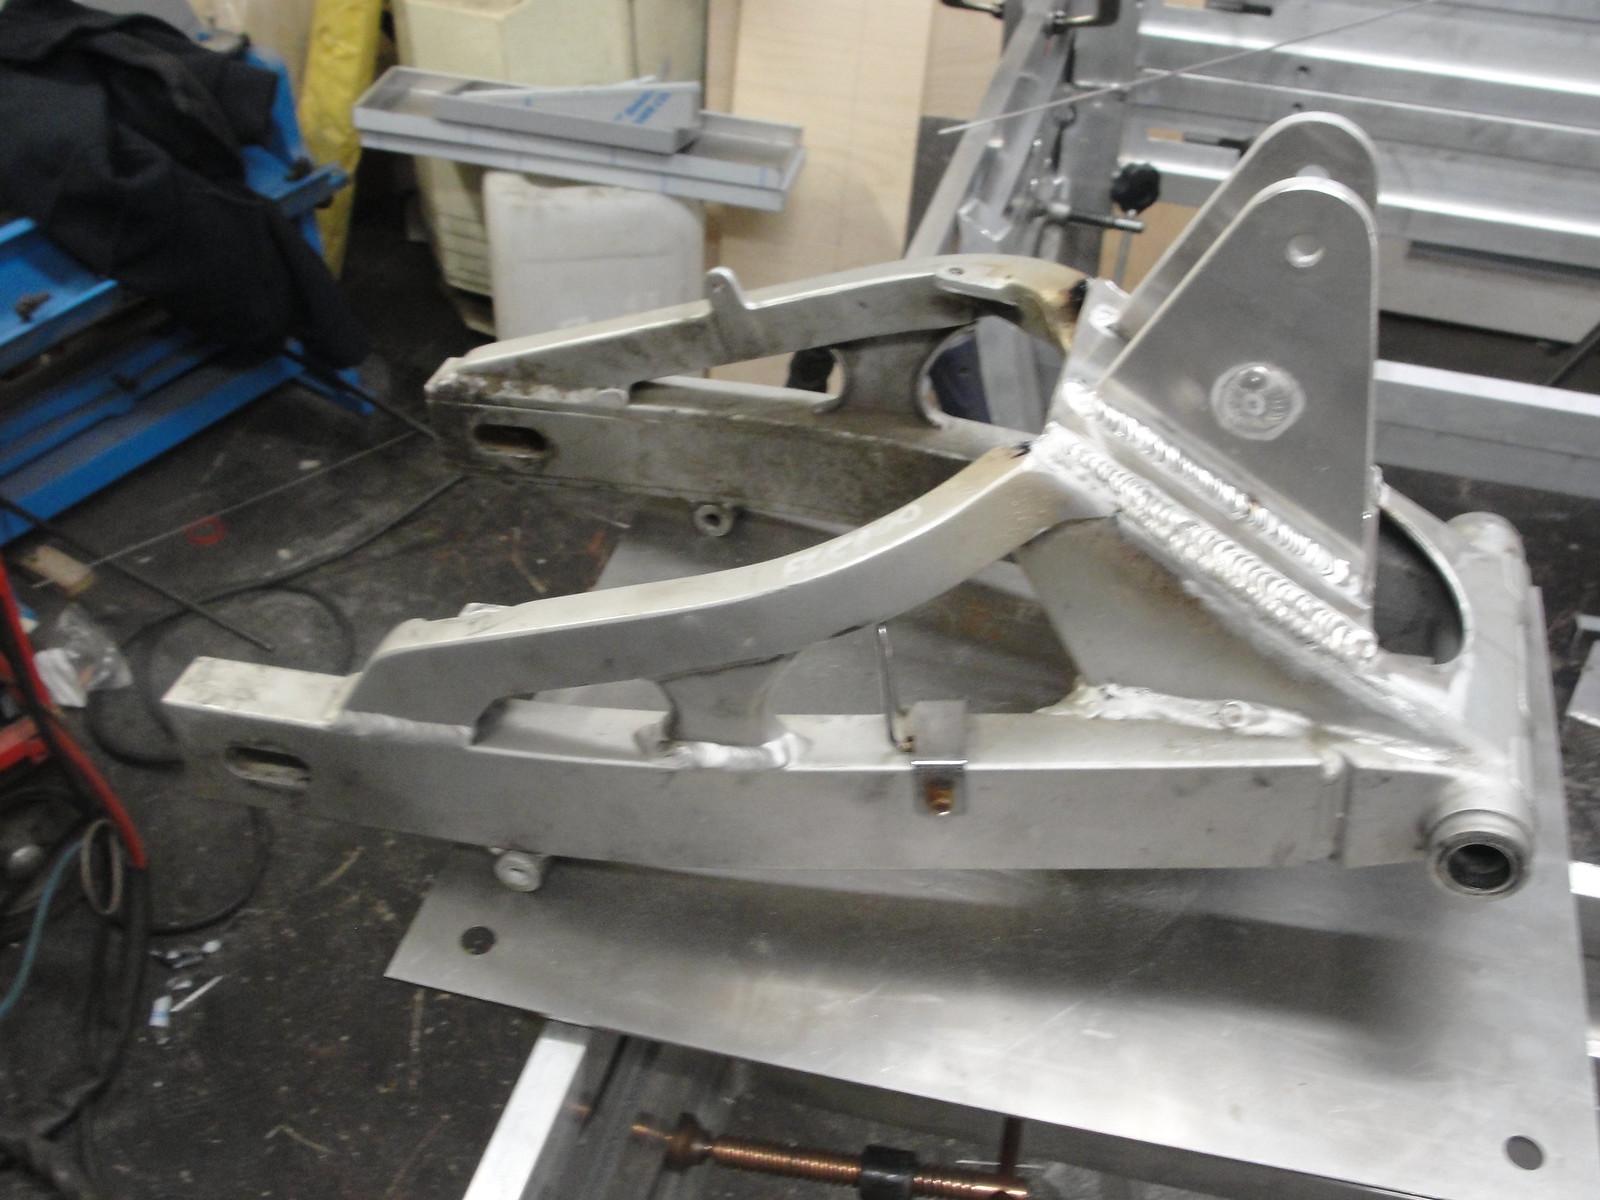 Jon |
|
|
|
Post by mouse on Nov 20, 2017 22:28:21 GMT 1
Love the swingarm, what size tyre is that going to take?
Mouse
|
|
|
|
Post by jon on Nov 20, 2017 23:08:20 GMT 1
Love the swingarm, what size tyre is that going to take? Mouse Hi Mouse, I'm lucky enough to have picked up 2 x17" FZR 3TJ rear wheels, and this is a 3EN arm. I think the tyre size for these are 160/60/17. The frame spread will easily handle this. I'll see how it corners, and come down from this if necessary. Jon |
|
|
|
Post by jon on Dec 4, 2017 18:57:54 GMT 1
|
|
|
|
Post by Nicky on May 30, 2018 11:15:42 GMT 1
Blimey, reading through this thread makes me feel utterly insignificant! I have a question of you who know about swing arms / shocks:
I have a standard 81 350LC which I'm overhauling. I'm at changing the swing arm bushes but, when I removed the sleeve from the tube there didn't seem to be any bushes! The frame has been powder-coated by the previous owner and I wonder if the bushes weren't removed and the 'hat' part of the bushes has been effectively incorporated into the tube and over-powdered then baked. When I feel inside the tube, about half an index finger in, I feel a definite ridge / lip - but it's the same diameter as the tube. Help!
|
|
|
|
Post by morgy on Aug 11, 2018 17:14:17 GMT 1
Any more news on the this build.??
|
|
|
|
Post by jon on Aug 12, 2018 18:09:12 GMT 1
Hi nikkio, sorry I missed your post as it wasn’t a quote or PM.
I’m not quite sure what you were asking, but hopefully you’ve resolved It by now?
Morgy, there has not been that much progress on this build as far a modifications. However there has been 100’s (if not 1000’s) of pounds worth of parts bought for it.
The frame is essentially done anyway, so next stage is a dry build.
I’ve been concentrating on my fairly standard KR YPVS, so haven’t had much time for this one in terms of man hours, just £.
Jon
|
|
firebird67
L plate rider.
  2 strokes forever 😍😍😍
Posts: 31
|
Post by firebird67 on Oct 16, 2018 0:00:56 GMT 1
Great project keep up the good work 👍
|
|
|
|
Post by jon on Jul 31, 2021 12:34:09 GMT 1
Well I haven’t really done anything on my builds for ages due to lockdowns and re-doing the kitchen. Trouble is I’ve rammed both garages full of kitchen stuff and haven’t had the room to work on bikes. Kitchen is neatly done and I need to tidy the garages thoroughly. Managed to get to the LC the other day and test the mudguard on before sending to paint. Now I know this is a usual thing for most people, but usually I paint them myself. Front forks are 4HW (baby 3XV) and so the mudguard is the usual race inspired streamlined style. I think it would look much better and less bulky compared to the unfaired LC bodywork if it were trimmed. 
Jon
|
|
|
|
Post by donkeychomp on Jul 31, 2021 21:26:07 GMT 1
I concur. Get the Dremel out.
Alex
|
|
|
|
Post by jon on Feb 4, 2023 17:51:27 GMT 1
Can’t believe how time flies. I’ve have had a 2 years sebbatical totally refurbing the kitchen. Back to the bikes now. Been colllecting parts for both builds. Progress is slow as some parts have been expensive. Spondon 440 billet yokes for both builds, +4 hot rods crank with 10 roller outers, forged pistons + rebore and a Mick Abbey tune + a pair of genuine PWK28 Keihin carbs, to suit for the YPVS, new tank and panels for the LC, then a Mark Cordwell paint job, and currently Martin 77 is building me some pipes. That’s £4.4K just there. Anyway some pix of the paint:    I’m really lucky to be able to do my own paint, but I just was too busy to do this one, so farmed it out to a pro. Mark’s work is flawless. Even the 340 mile round trip yesterday seemed worth it. Was surprised to see the attention to detail:  Jon |
|
|
|
Post by jon on Feb 4, 2023 18:03:42 GMT 1
This is my inspiration bike. Mine will look VERY similar.  Jon |
|
|
|
Post by sidney81 on Feb 4, 2023 18:28:25 GMT 1
Hi Jon ,nice to see your back on the build! Looking forward to seeing your progress 😃
|
|
|
|
Post by dusty350 on Feb 4, 2023 20:17:24 GMT 1
Mark does a lovely job of the paint  I really like the 3 stripe schemes Dusty  |
|
|
|
Post by JonW on Feb 4, 2023 23:49:40 GMT 1
Lovely! The 'inspiration' is lovely, excited to see your take Jon.
|
|