|
|
Post by Fingermaus on Dec 20, 2011 23:41:14 GMT 1
Well I promised that I'd start my build this month, and I think I've done enough to make a start, so this is what I bought in Feb.  And I hope to end here  Mid strip 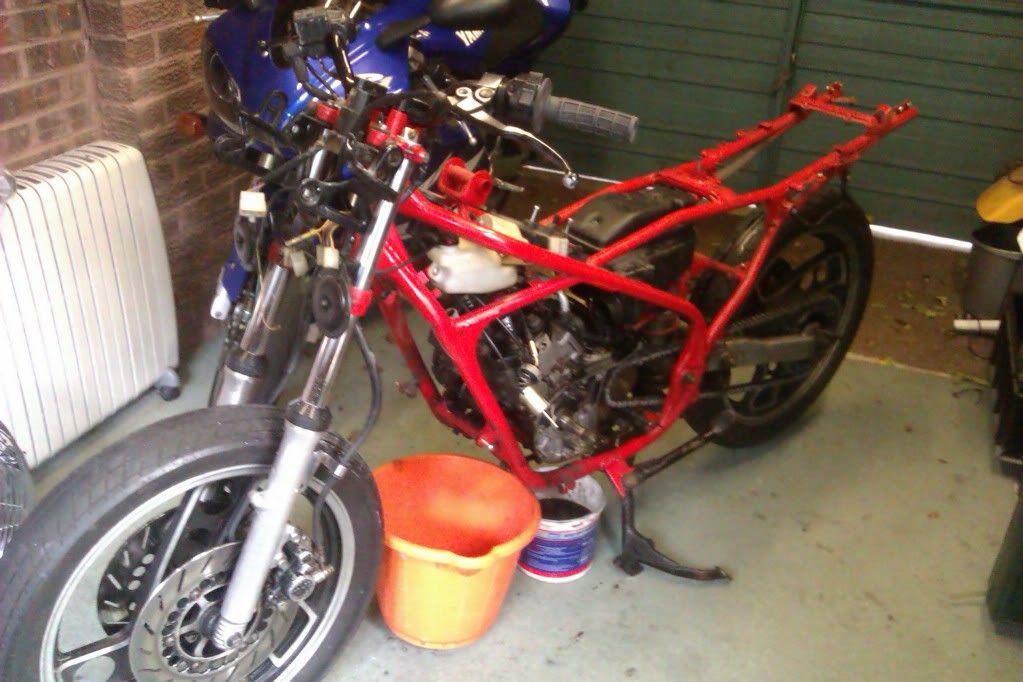 All done  Now due to the welding needed on the frame, I'm starting on the body work, which works well because the frame is a great holder for the panels. This was a mudguard which I picked up at Rufforth, and was advertised as a Dunstall Suzuki Mudguard 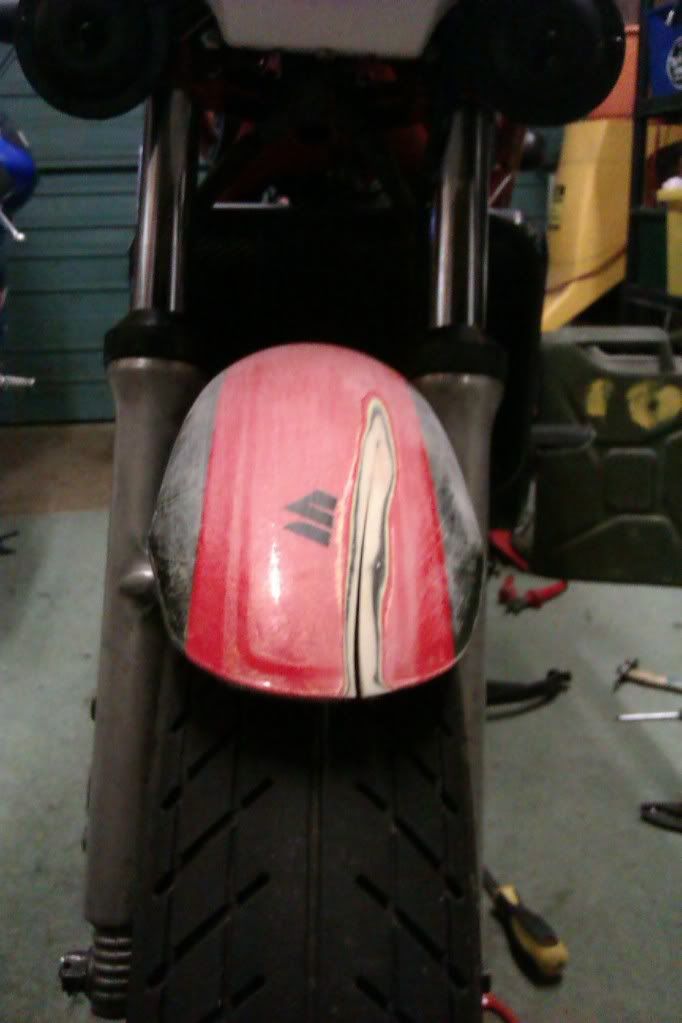 Made a groove with old faithful, and used the same make of fairing repair Norbo sells in the shop. 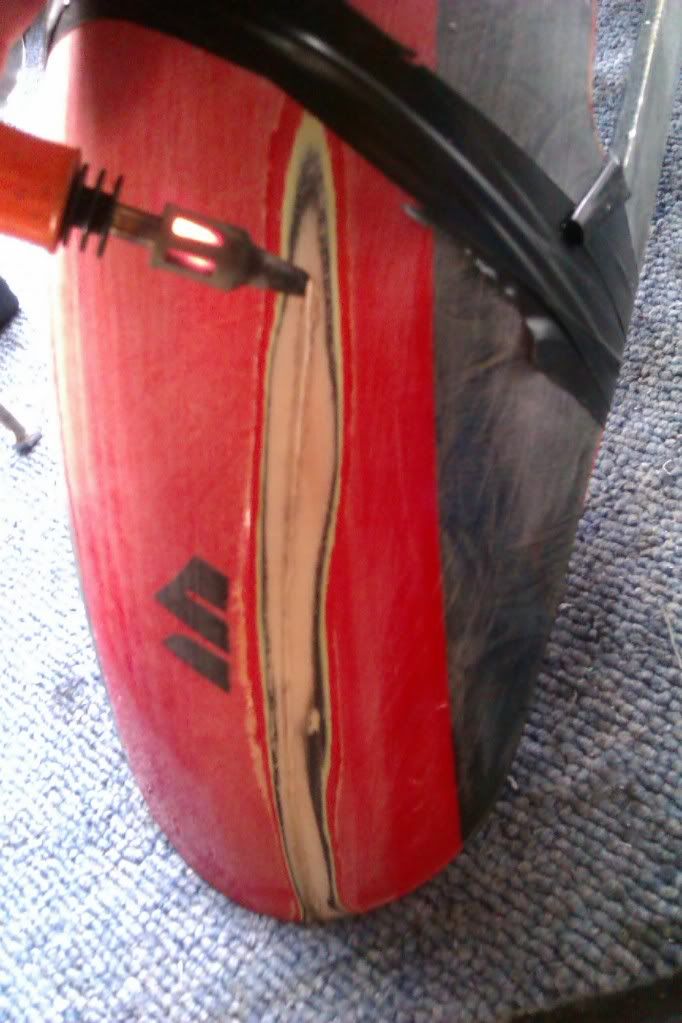 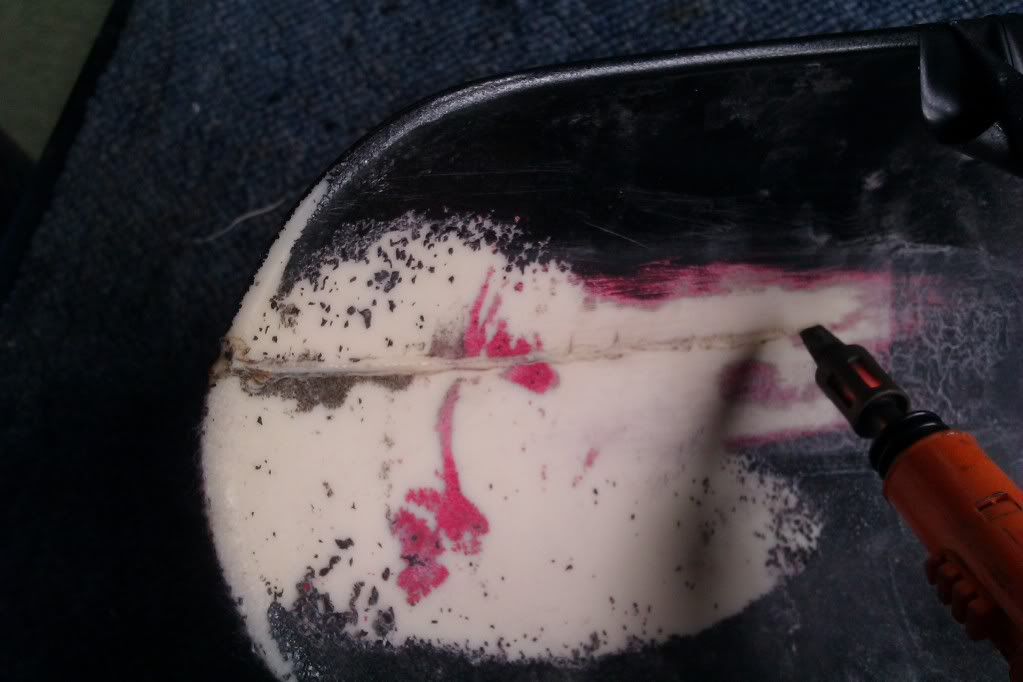  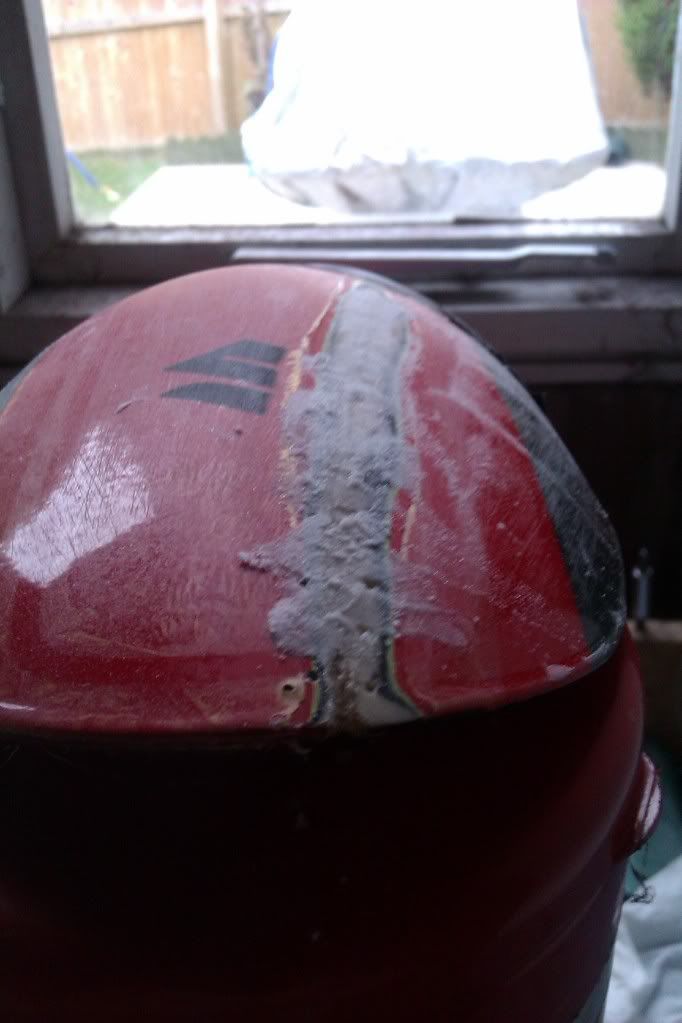 I used the same stuff to make a few tabs 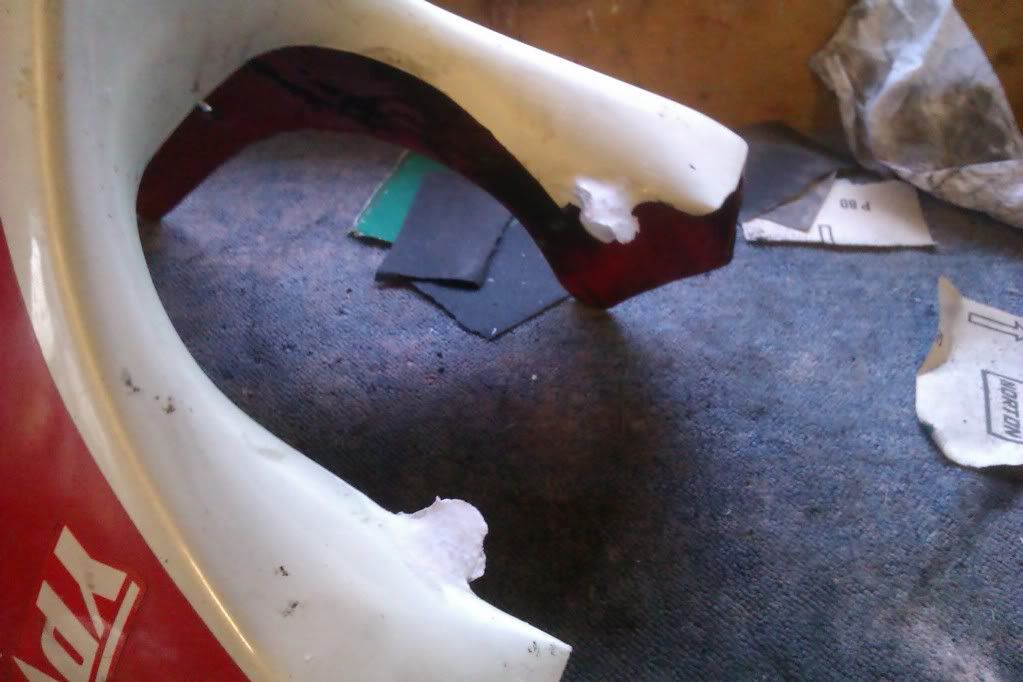 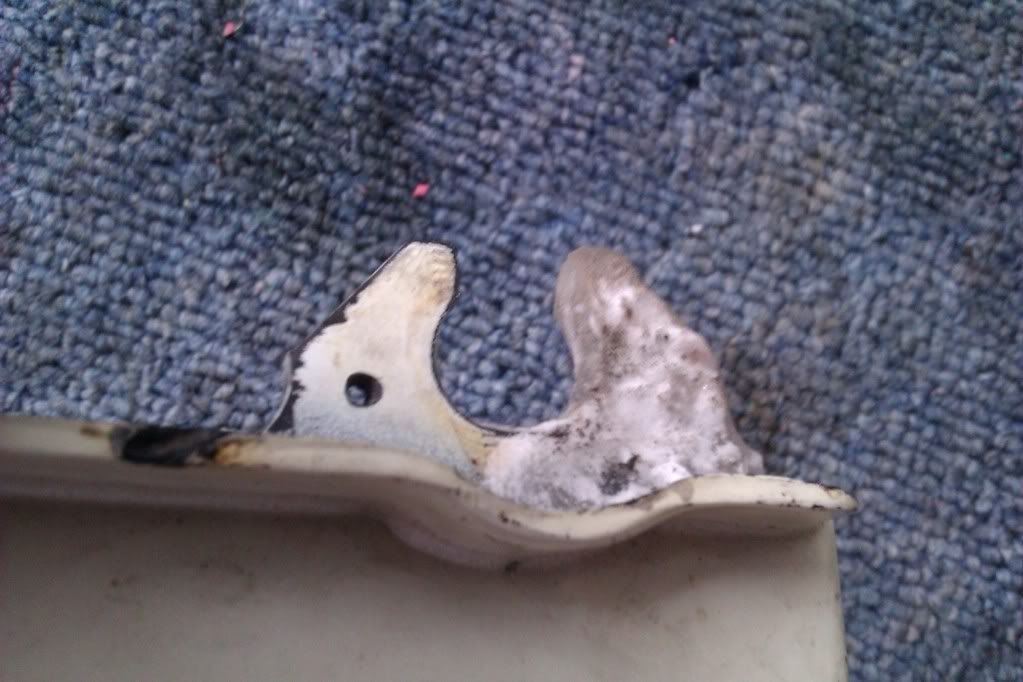 And fix cracks 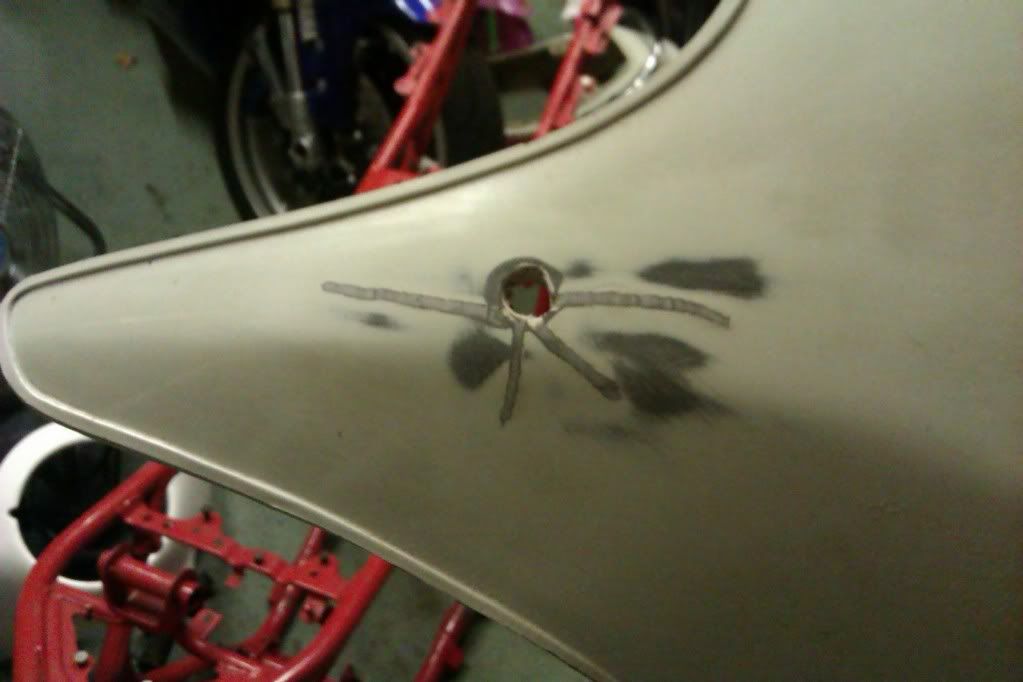 The wifes hairdryer came in handy to remove the stickers 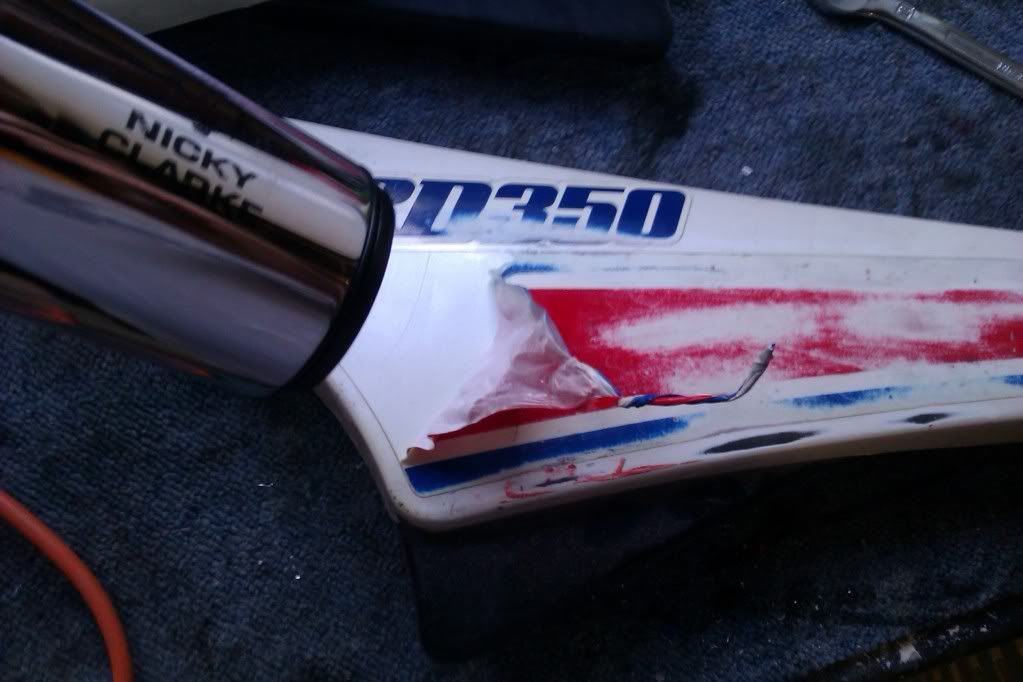 Bit of thinners to get them nice and glue free. 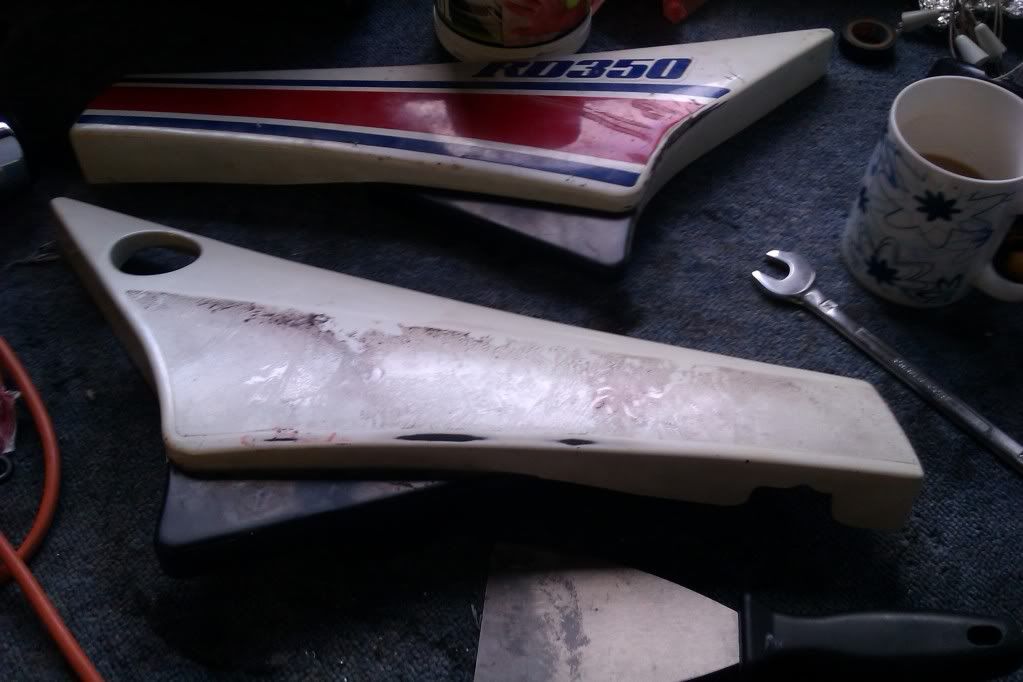 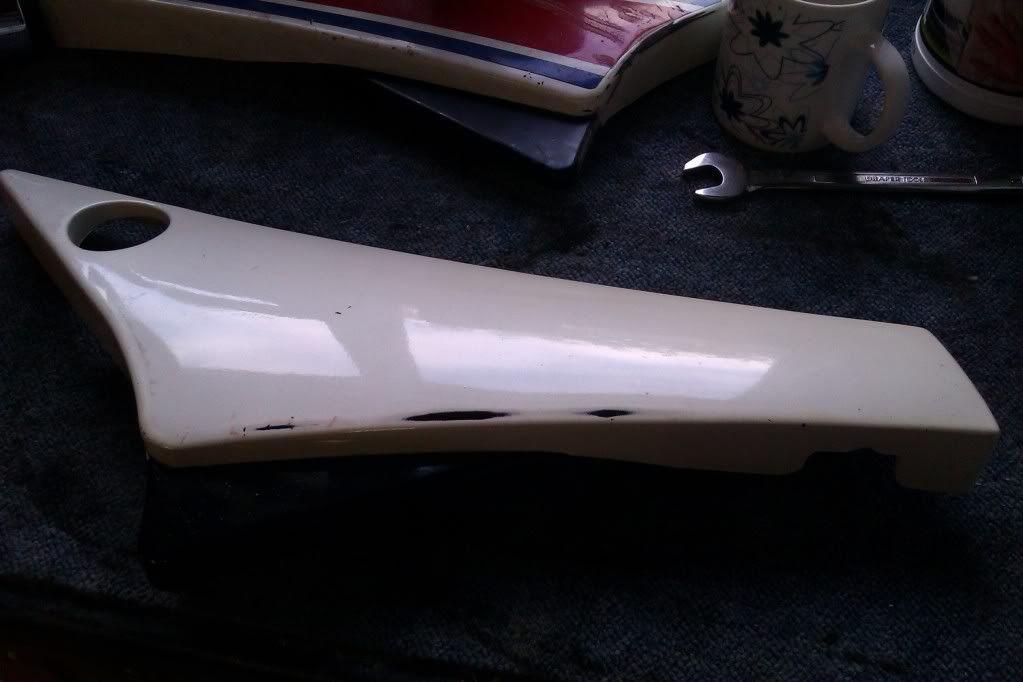 Rubbed down and filled with bumper repair, Rubbed down again,primed and the basecoat on. Stored in the spare bedroom so the kids dont use them as a sledge/sheild/hat/stormtrooper outfit. 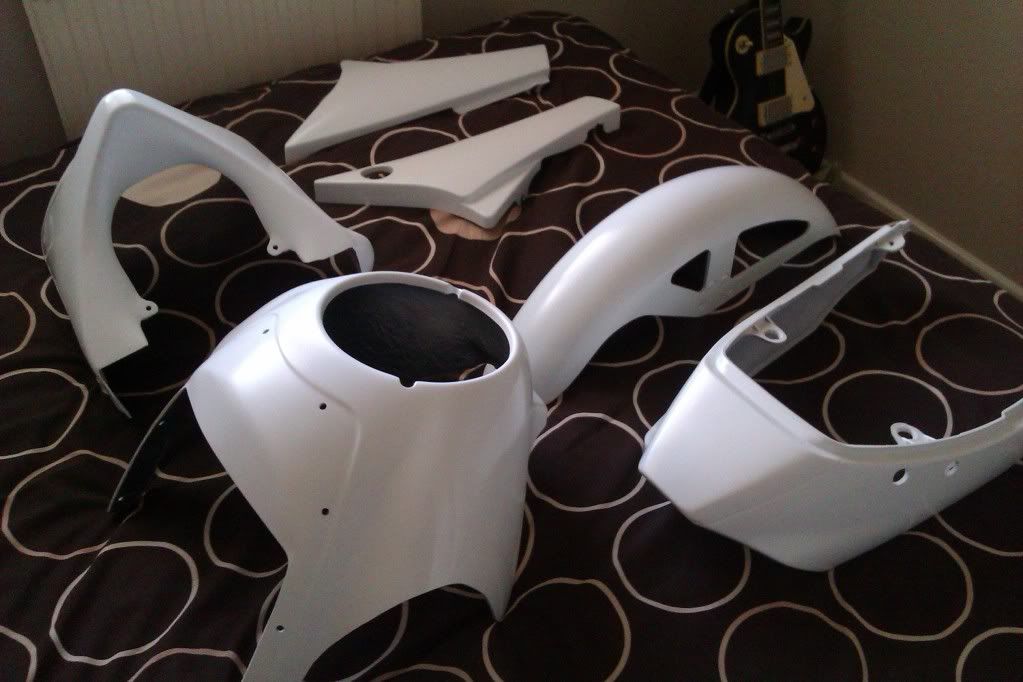 This is how I'm doing the speedblocks. Bikini first. I use 6mm fine line masking tape which gives me a really nice crisp line. 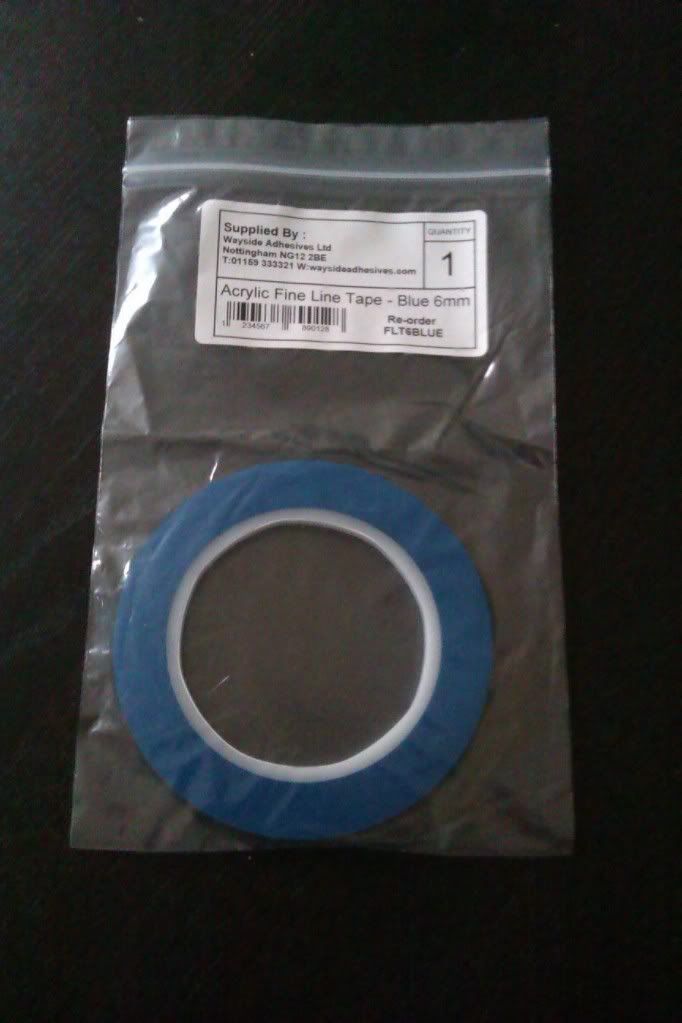 Three lines top and bottom and the verticals 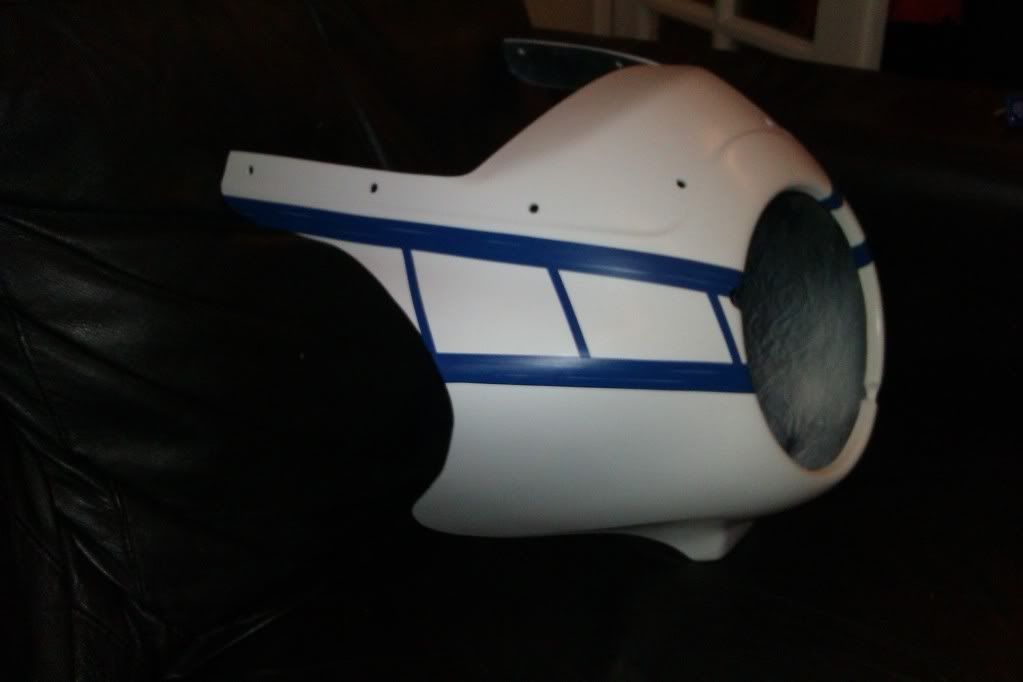 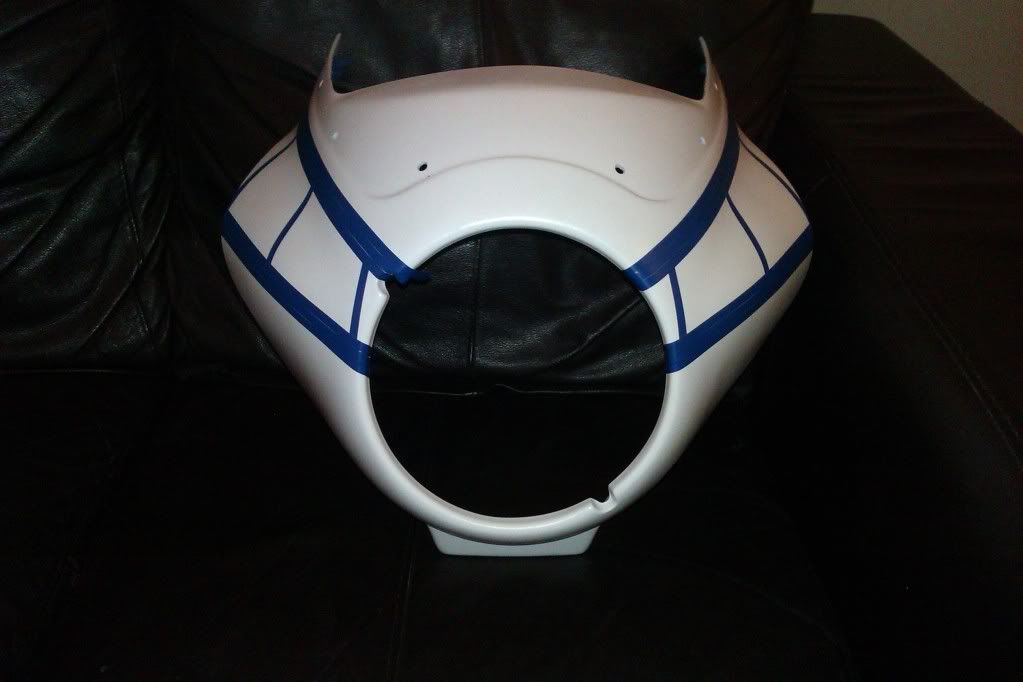 Mask everthing apart from the red bits. 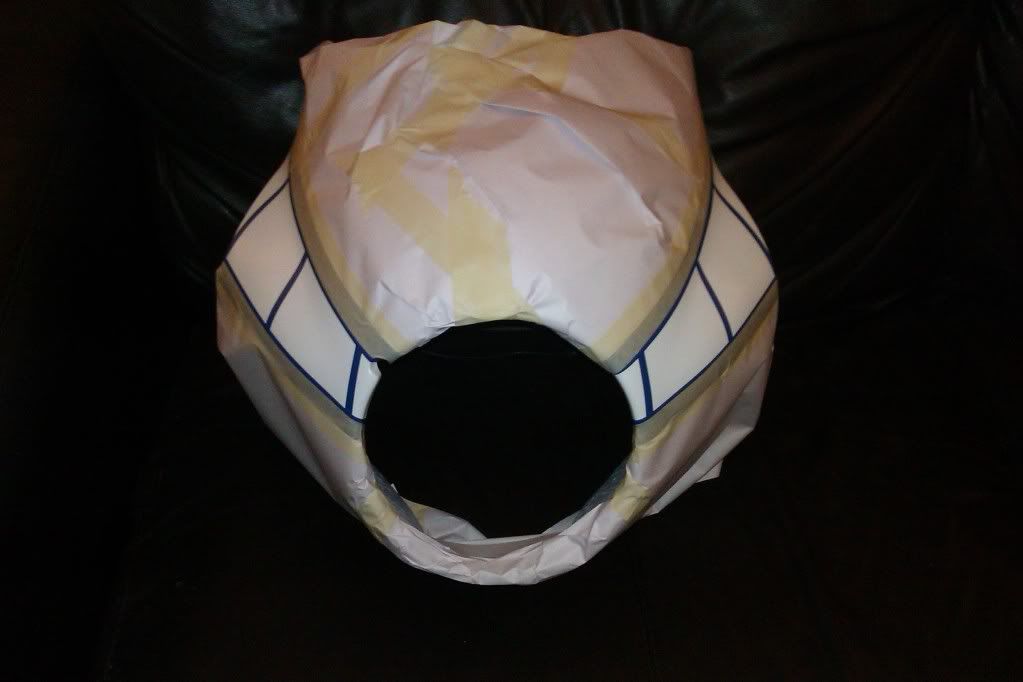 Put the red on. 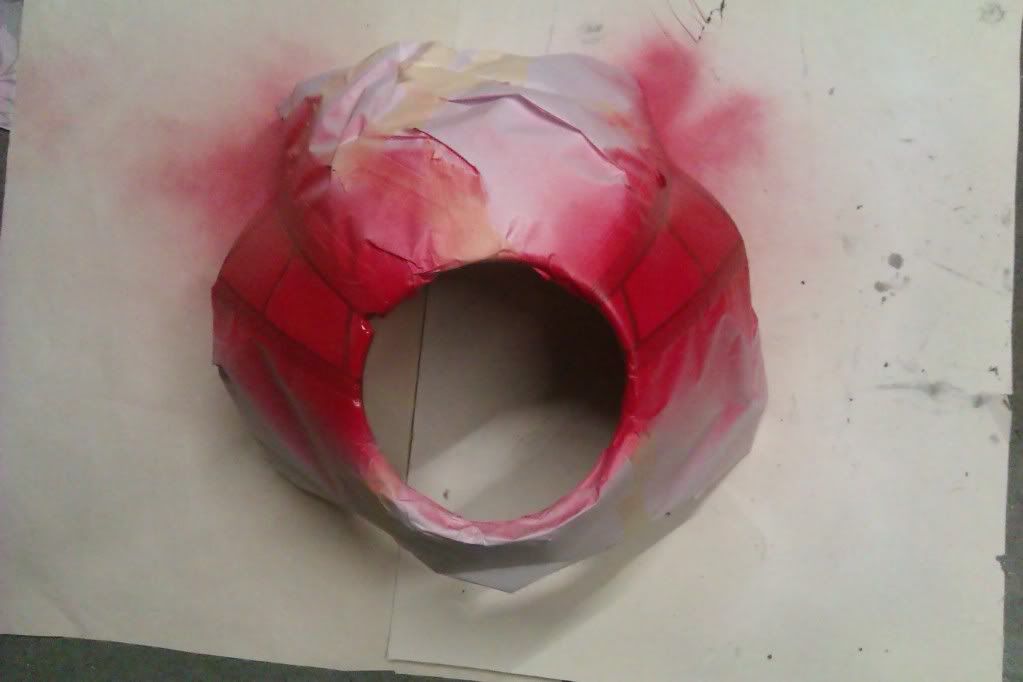 I then removed the middle of the three masking lines and masked everything else. 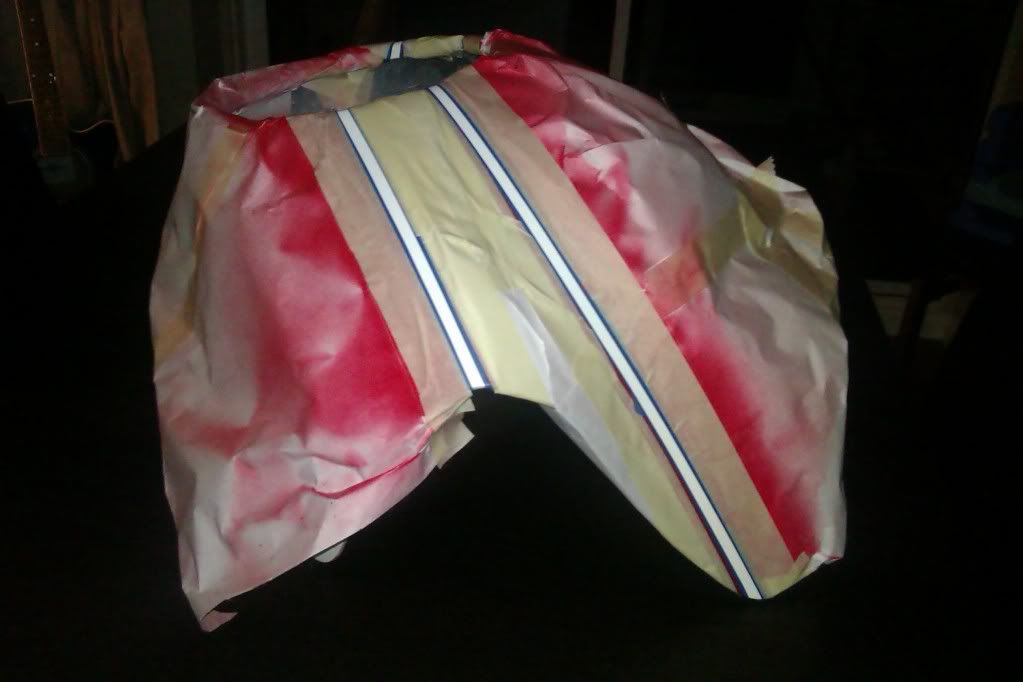 Put the black on  VERY carefully removed all the masking and.... TA DAA! Speedblocks. 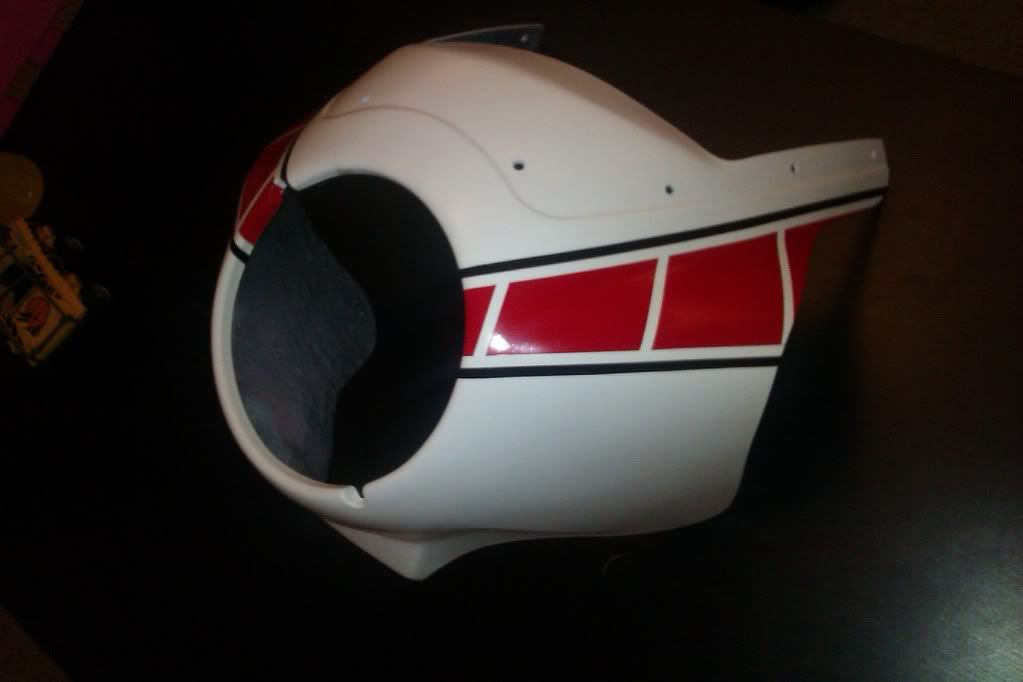 Decal fitted, cheers Norbo! 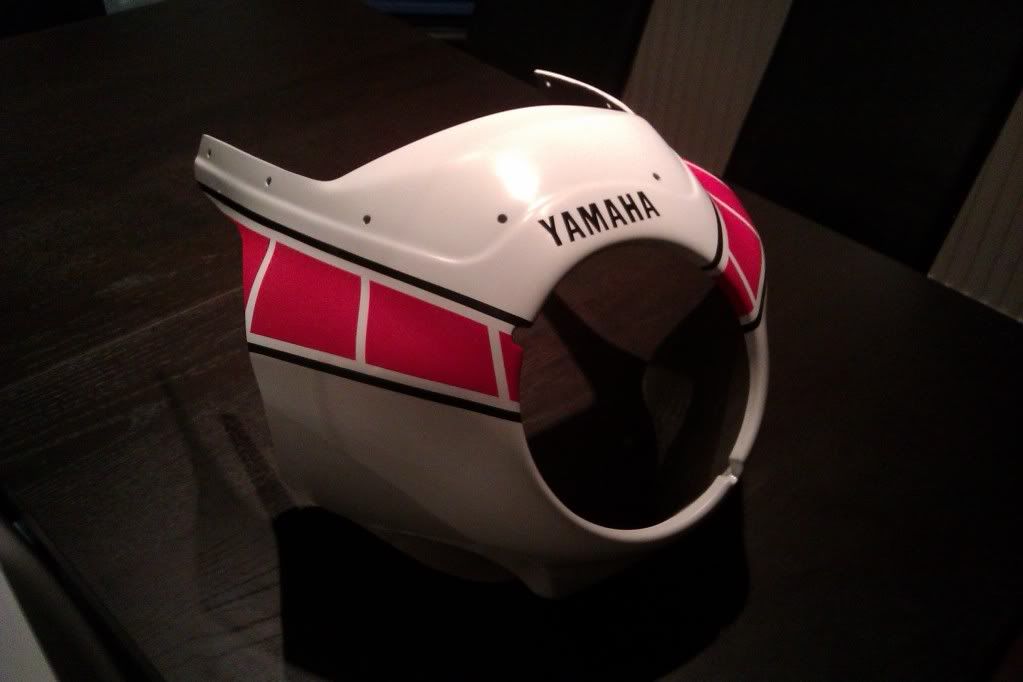 The rest of the panels will be done in the same way, and I'll have to get the clearcoating done in the new year. More to come after xmas. |
|
|
|
Post by marsbar350 on Dec 21, 2011 16:14:24 GMT 1
thats a real nice job matey with repairs to your panels and doin your own paint youve saved hundreds on the build costs! keep the good work up  |
|
|
|
Post by rigga on Dec 21, 2011 17:54:43 GMT 1
Excelllent work,always nice to see someone having a go and ending up with great results,lots of guys like that on here.
|
|
|
|
Post by vin on Dec 21, 2011 18:15:50 GMT 1
Great pictures, write up and more importantly top job  |
|
|
|
Post by Fingermaus on Dec 21, 2011 20:13:34 GMT 1
Thanks for the comments guys! Really appreciate it.
I had a pop at painting on my first build because I couldn't afford to have it done.Just thought, oh what the sod!If it goes wrong it can't be any worse than it is.
Turned out ok and Ive been having a pop since.
|
|
|
|
Post by mellow on Dec 21, 2011 20:14:02 GMT 1
Very cool job. I admire all you guys who can spray |
|
|
|
Post by scott on Dec 21, 2011 22:59:45 GMT 1
fair play m8 looks nice work 8-)i like to av a go at anything.
and your quote.. "Stored in the spare bedroom so the kids dont use them as a sledge/sheild/hat/stormtrooper outfit" had to laff at that m8,,got 3 nephews that would do the same m8 ;D ;D
|
|
|
|
Post by Norbo on Dec 25, 2011 16:25:13 GMT 1
Nice pne Zed a chep and usfull bit of info . and welcome to the site
|
|
|
|
Post by Fingermaus on Dec 26, 2011 13:01:55 GMT 1
are you using rattle cans or a proper spray gun? Rattle cans from halfords.Its all very D.I.Y. The red and white are straight Ford colours(Colorado red and Frozen white) which contrast very nicely with each other.The dark camera shots don't really pick this up.In fact the last two shots don't look like the same fairing, but it's a really red red, and a really white white, as daft as that sounds.The black is Mercedes black. |
|
|
|
Post by billyboy on Dec 26, 2011 17:54:27 GMT 1
great work ,do a lot of the same myself, what laquer / clear are you going to use ? i have always found that a coat of 2k clear picks out the plastex repaired areas ,i reckon the solvent in it is so strong it 'melts' thro the base and makes lines where the repairs are underneath. maybe you have found the answer in a thin coat of bumperfill .it almost needs a barrier coat over the repairs before a prime coat. i'd be interested in your opinion. atb billy
|
|
|
|
Post by Fingermaus on Dec 26, 2011 20:46:38 GMT 1
I'll be lacquering this in 2k, but am still undecided how it will be applied. I try to keep things as homemade and hobby orientated as possible. Soooo, My option are:- Take it to a shop and pay. Get hold of a compressor, gun. 2K in a can.(the separate component MIPA kind) MIPA 2KThe last option stays with my homemade/hobby values, so it's likely to be that one. If this ends in a ball of blistered orangepeel flames I'll let you know |
|
|
|
Post by billyboy on Dec 27, 2011 18:40:08 GMT 1
I can thoroughly recommend the HB Body 496 aerasol rattle cans , the stuff is brilliant ,........................ but you will need a respirator mask and a warm place to do it and some gentle heat to cure it. i did mine in the summer and it took a month to harden fully in my garage ,but soon as i put it in direct sun/heat it cured much,much quicker. flows really nice from the can but still pulls the plastex repaired areas thro the primer and base , maybe the bumperfill will prevent that happening. atb
|
|
|
|
Post by twostroker on Jan 1, 2012 0:24:34 GMT 1
very nice indeed you seem to have a talent for a bit of paint work so rather than bugger around with aerosols that are far from user friendly and are also expensive i would invest in a secondhand 50 litre compressor and a couple of cheap spray guns, you will then be able to use 2k paint and once you get the hang of a spray gun its far more controlable than any rattle can and can be used for many jobs. plus the compressor can be used for pumping up tyres,blowing out carburettors if its not being used for paint etc |
|
|
|
Post by billyboy on Jan 1, 2012 1:13:13 GMT 1
twostroker can you advise on a product to put a barrier over plastex type repairs coz they always seem to show thro slightly on 2k jobs i have done in the past.
|
|
|
|
Post by Fingermaus on Jan 1, 2012 15:20:43 GMT 1
twostroker can you advise on a product to put a barrier over plastex type repairs coz they always seem to show thro slightly on 2k jobs i have done in the past. Not all the repairs have the bumperfill as a barrier, some are bare plastech.The ones which are bare were good enough to prime straight over. I have used plastic primer but I also gave the plastics a light layer of pro XL adhesion promotor, so if the lacquer pulls the plastech through in certain areas and not others I'll be able to let you know what (if anything) has stopped it from happening. |
|
|
|
Post by Fingermaus on Jan 1, 2012 15:29:02 GMT 1
very nice indeed you seem to have a talent for a bit of paint work so rather than bugger around with aerosols that are far from user friendly and are also expensive i would invest in a secondhand 50 litre compressor and a couple of cheap spray guns, you will then be able to use 2k paint and once you get the hang of a spray gun its far more controlable than any rattle can and can be used for many jobs. plus the compressor can be used for pumping up tyres,blowing out carburettors if its not being used for paint etc I'm really tempted to do just that. |
|
|
|
Post by Fingermaus on Jan 1, 2012 17:30:41 GMT 1
I've been pinching little chunks of time over the xmas period and managed to progress really nicely with the bodywork. First thing was to get the lines right.I wanted the tank stripe to be visible above the seat, so I loosely fit that and started masking. These next two photos took hours to get just right. It was that curve going down the side of the bike.Lots of standing back, adjusting, standing back, adjusting, calling Mrs Maus in for a second opinion. Eventually I was happy. 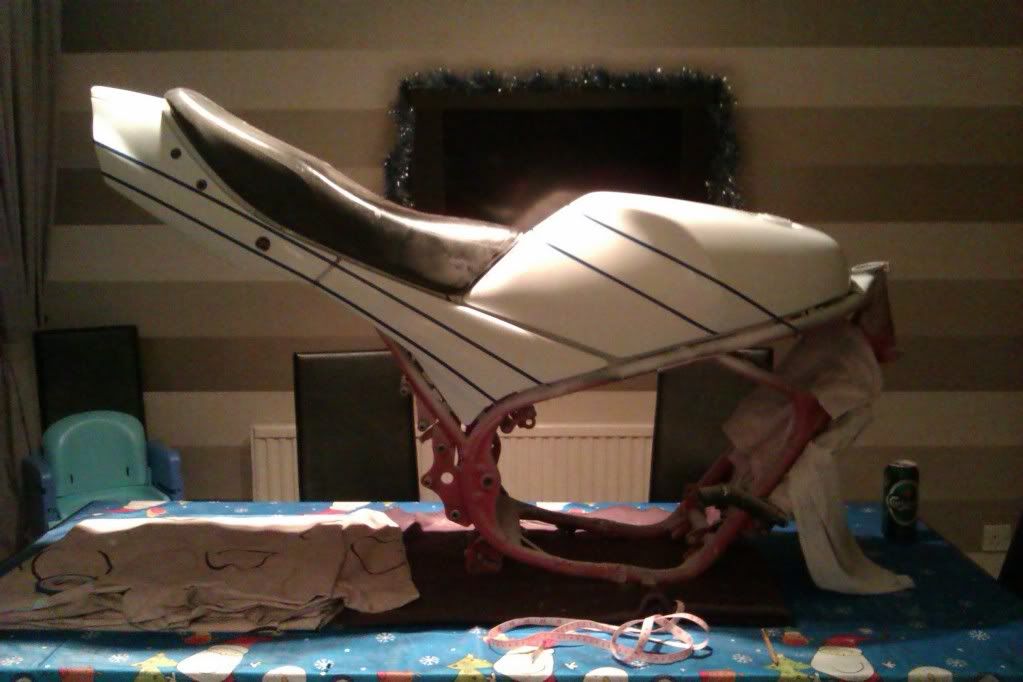 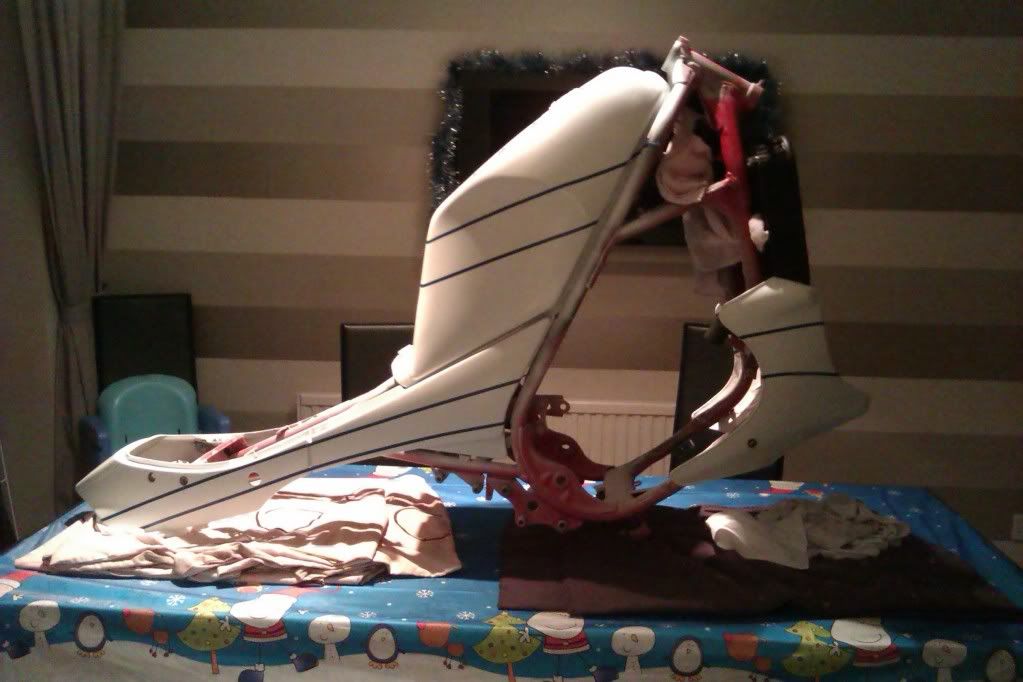 Then onto the verticals. 80mm seems to be the right size for a speedblock.But its not 80mm top and bottom for all of them.The side panel block gaps had to be enlarged at the bottom. Because the way the line drops and moves away from the top line the spacings are 85mm at the bottom line. 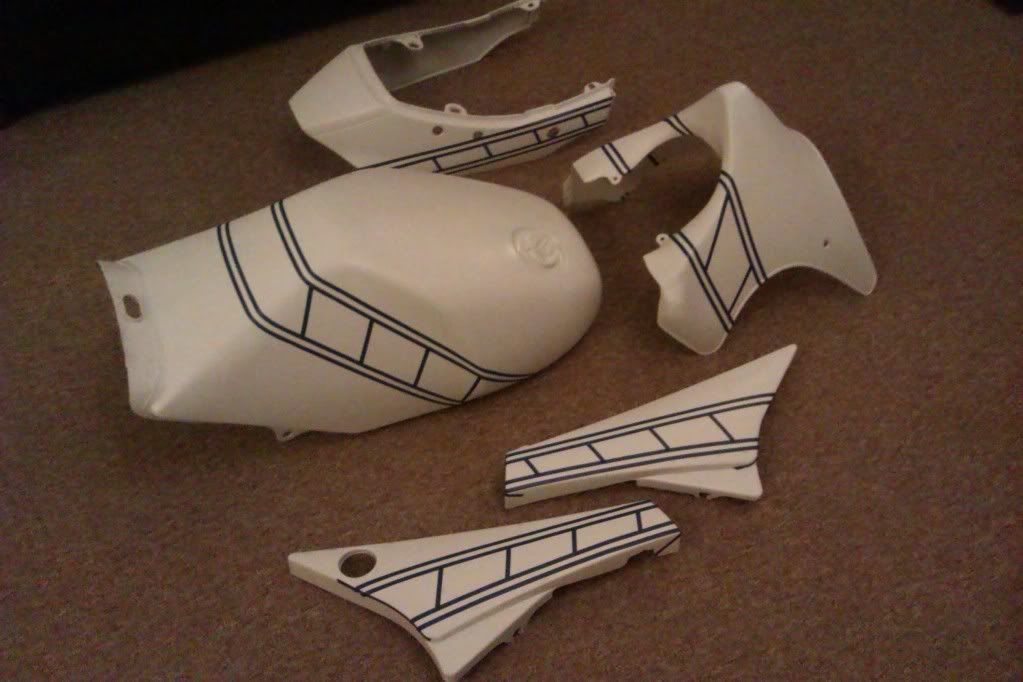 All masked 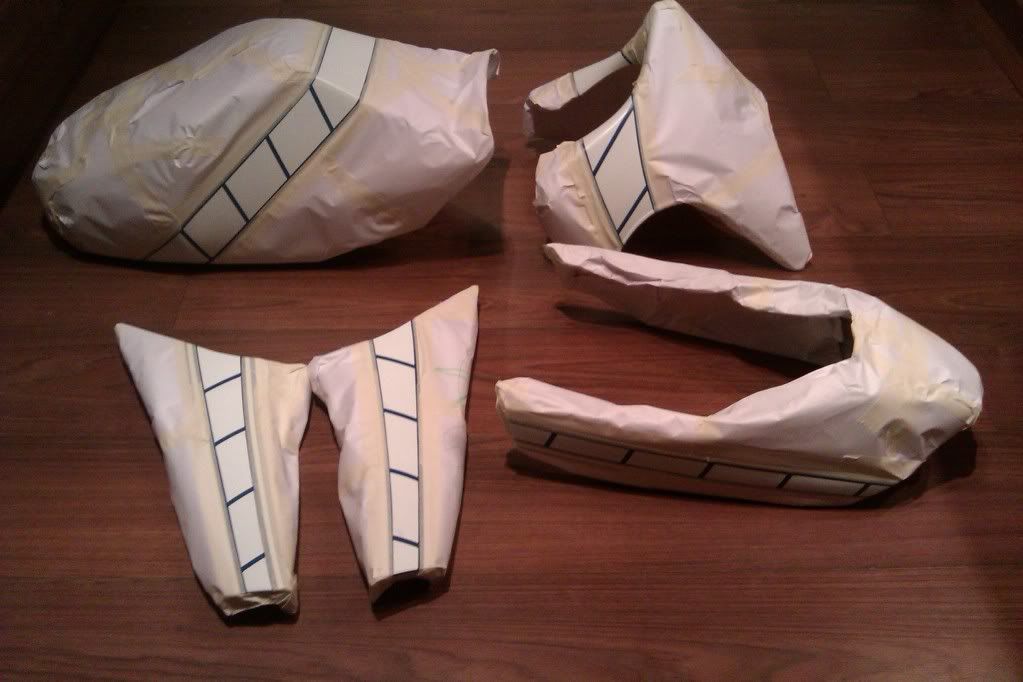 And the same procedure as the bikini 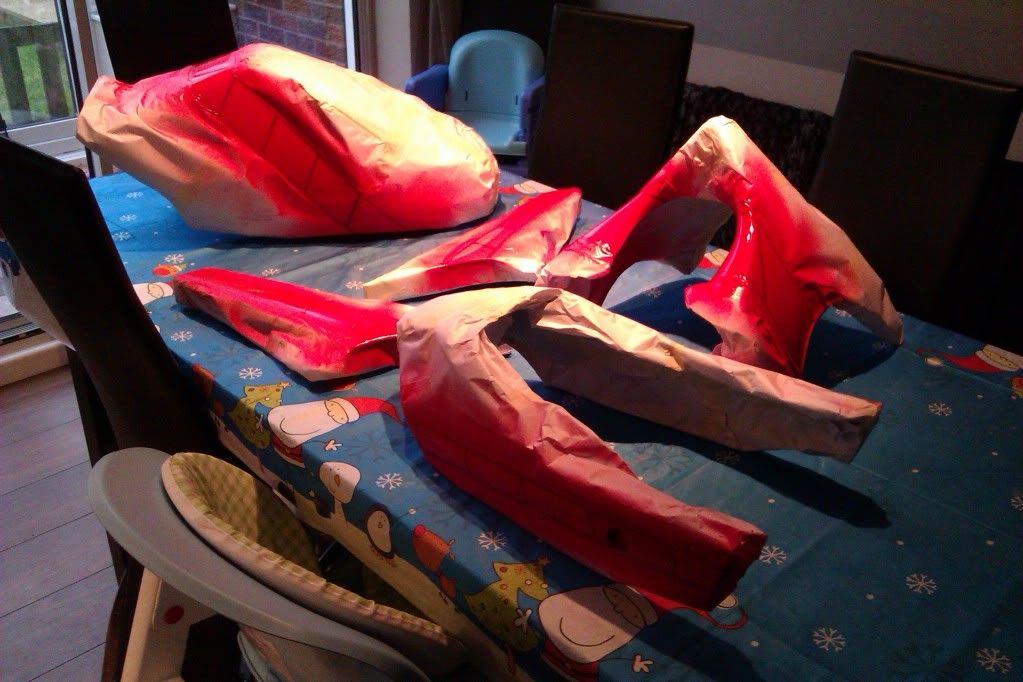 All done 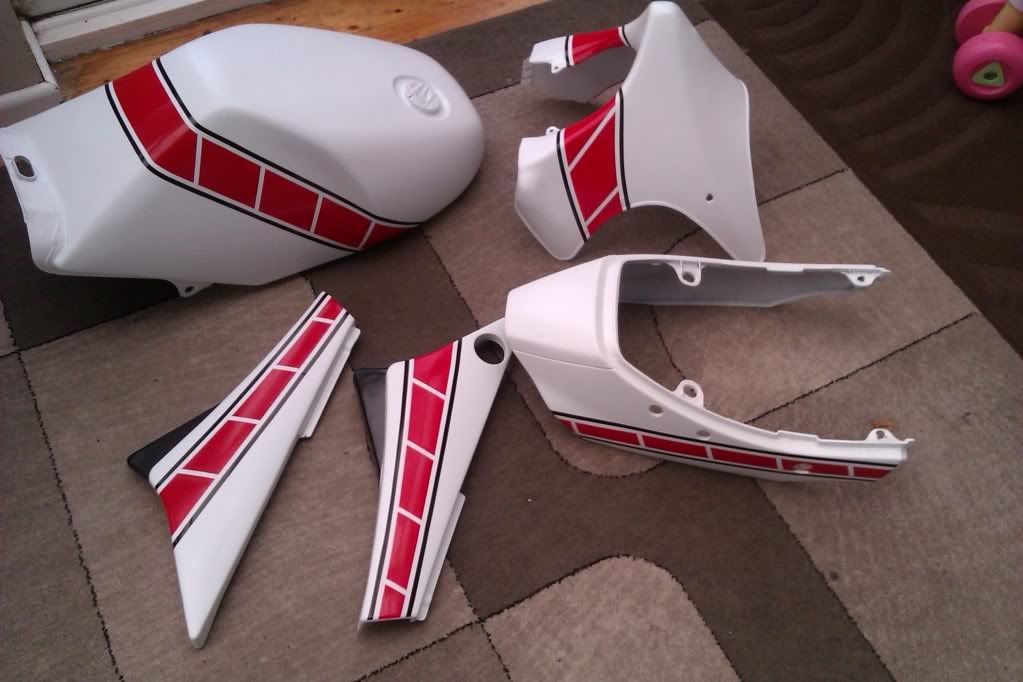 This next shot was a bit of a bum clencher Before I started on the bodywork I scuffed the tanks existing paintwork and did a rough trial run of the design. It looked ok, but I couldn't know for sure if this design would work until it was placed on the bike with the rest of the panels. 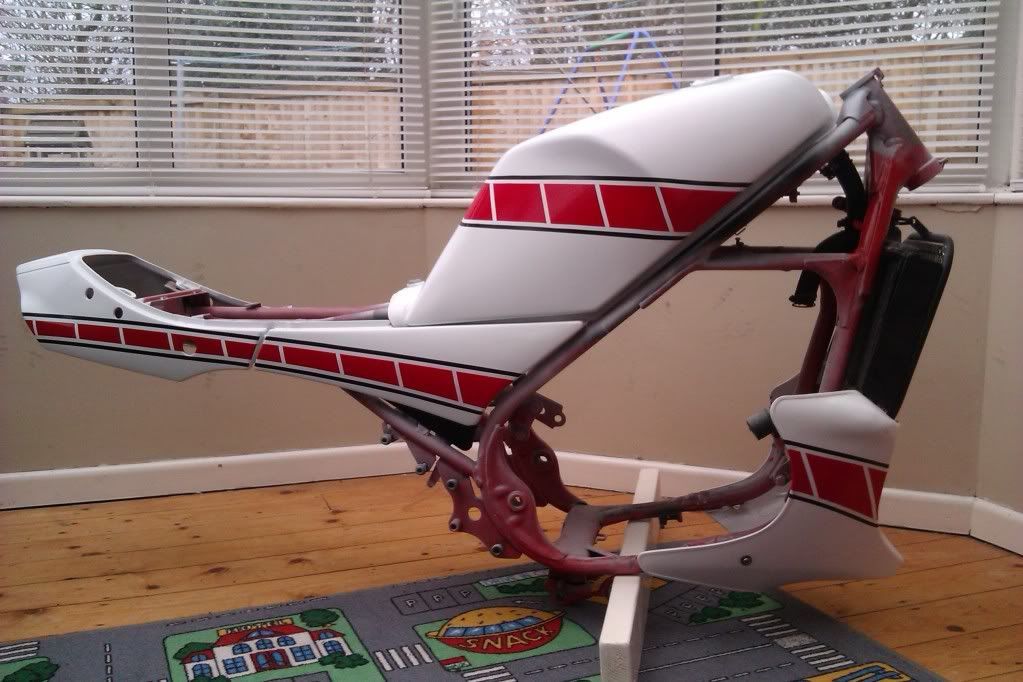 I think it works well,so it's staying. I did have a back up design ready.I like the Kenny Roberts scheme but tried a 'Skinny Kenny' design for want of a better description If the tank hadn't worked I'd have stripped the paint off it and painted a stripe along the top of the bike. 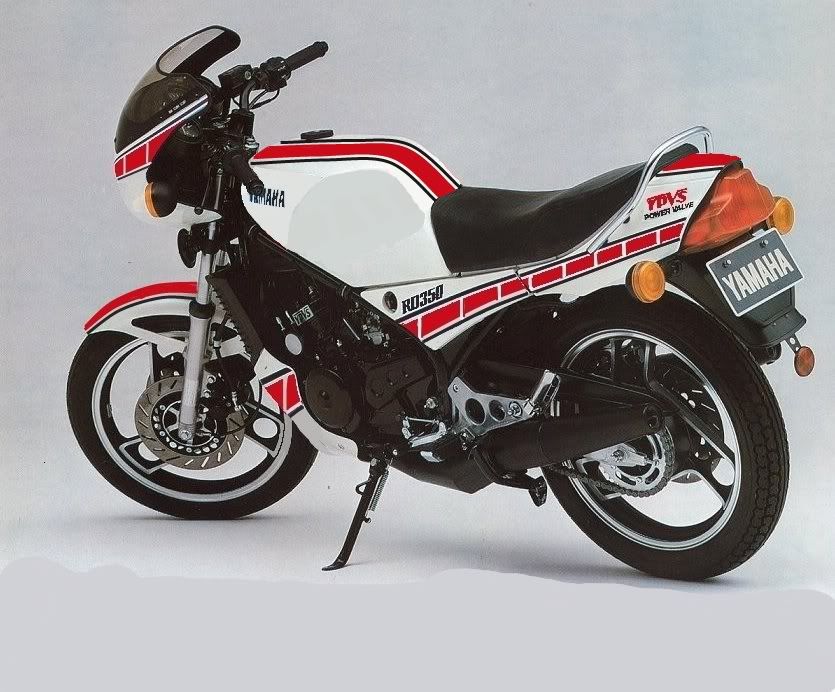 I'll leave the bodywork now and make a start on the bike. |
|
|
|
Post by twostroker on Jan 1, 2012 19:20:44 GMT 1
twostroker can you advise on a product to put a barrier over plastex type repairs coz they always seem to show thro slightly on 2k jobs i have done in the past. ive never had any problems with plastex but ive had similar issues with filler thats got too much hardener and cellulose rattle cans.basicly 2k primer would make the job much easier and far less likley to sink,bleed through etc. |
|
|
|
Post by Fingermaus on Jan 1, 2012 20:07:42 GMT 1
Eyup Mr.Kenyon Sir! Liking the progress so far, I didn't realise you had got so far with it, kept that quiet! Mr Wilson! Where have you been? Good to see you on here bud. Last time I saw you we were in the keys and this was just a photoshopped picture on my phone. Now tell me you're going to show everyone what you've been up to.Please. |
|
|
|
Post by Fingermaus on Jan 1, 2012 20:09:02 GMT 1
That's looking fantastic. I might have to nick the second design for my N1 Nick away Simon. I reckon that would look sweet on an N. |
|
yaddy
L plate rider.

Posts: 26
|
Post by yaddy on Jan 1, 2012 20:21:23 GMT 1
Heeee, good to see the progress mate, I'm gonna have to come round and have a peek! Got to eat some humble pie too I s'pose, I caned the speedblock idea on the tank when we last met but I'm gonna say that it looks "OK" ;D That's as close as I will get to an apology so take it! But listen, you know you can borrow my compressor and guns whenever you want. I'll be painting my fairing in a few weeks/months so let's clearcoat both at the same time? I recognise a few names on here so some will have seen what I'm up to but here goes:  Can't wait to tear it up in the summer dude, I met some new friends over at Sherburn yesterday, we had a good turnout on the strokers. ;D |
|
|
|
Post by Fingermaus on Jan 1, 2012 21:18:09 GMT 1
Heeee, good to see the progress mate, I'm gonna have to come round and have a peek! Got to eat some humble pie too I s'pose, I caned the speedblock idea on the tank when we last met but I'm gonna say that it looks "OK" ;D That's as close as I will get to an apology so take it! But listen, you know you can borrow my compressor and guns whenever you want. I'll be painting my fairing in a few weeks/months so let's clearcoat both at the same time? I recognise a few names on here so some will have seen what I'm up to but here goes: Can't wait to tear it up in the summer dude, I met some new friends over at Sherburn yesterday, we had a good turnout on the strokers. ;D The lasting impression I have of that bike is of it dancing away from the garage at Garforth on the back wheel.Still makes me chuckle. I'll take you up on the offer of a lacquering sesh, I completely forgot you still had that gear. Kettle's always on too dude. |
|
|
|
Post by rostrumorhospital on Jan 16, 2012 23:20:04 GMT 1
excellent job, the speed blocks and the red/white/black colours, classic yamaha and stilll the best, in my opinion, the 50th aniversary gp bike is the best looking bike on the grid.
|
|
|
|
Post by Fingermaus on Jan 17, 2012 0:19:13 GMT 1
Thanks bud.The 50th was a big influence on the design of the colour scheme.
|
|
|
|
Post by Fingermaus on Jan 17, 2012 0:42:56 GMT 1
I've been messing about with my broken clock cover 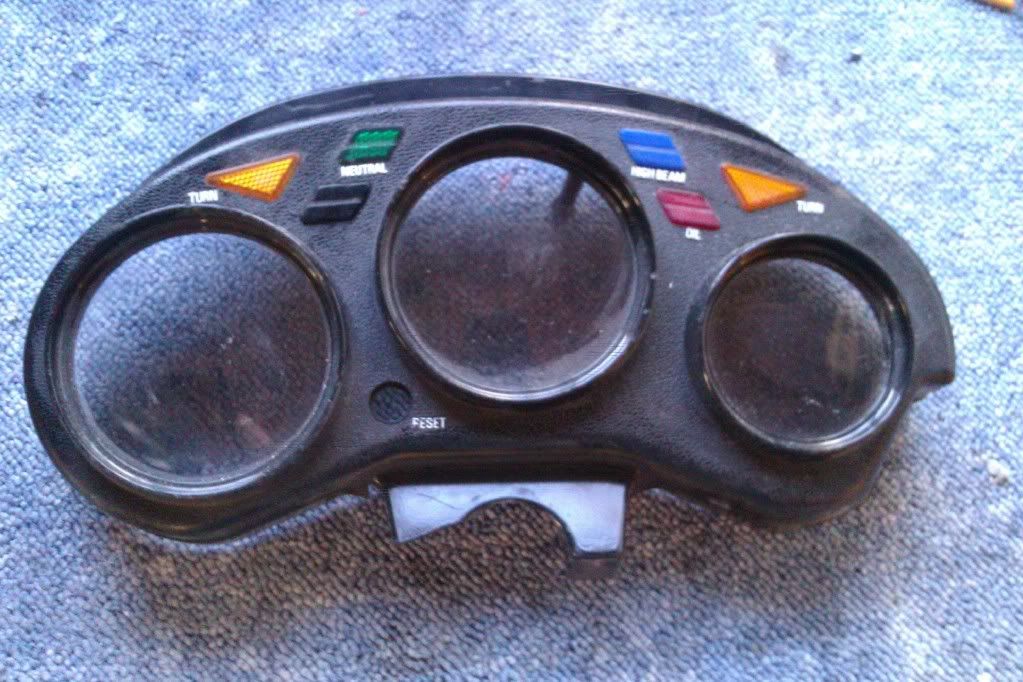 I made a block of plastech from a foil mould on the good side, and kept it in place with a ruler and some double sided sticky tape (Thanks Blue Peter) 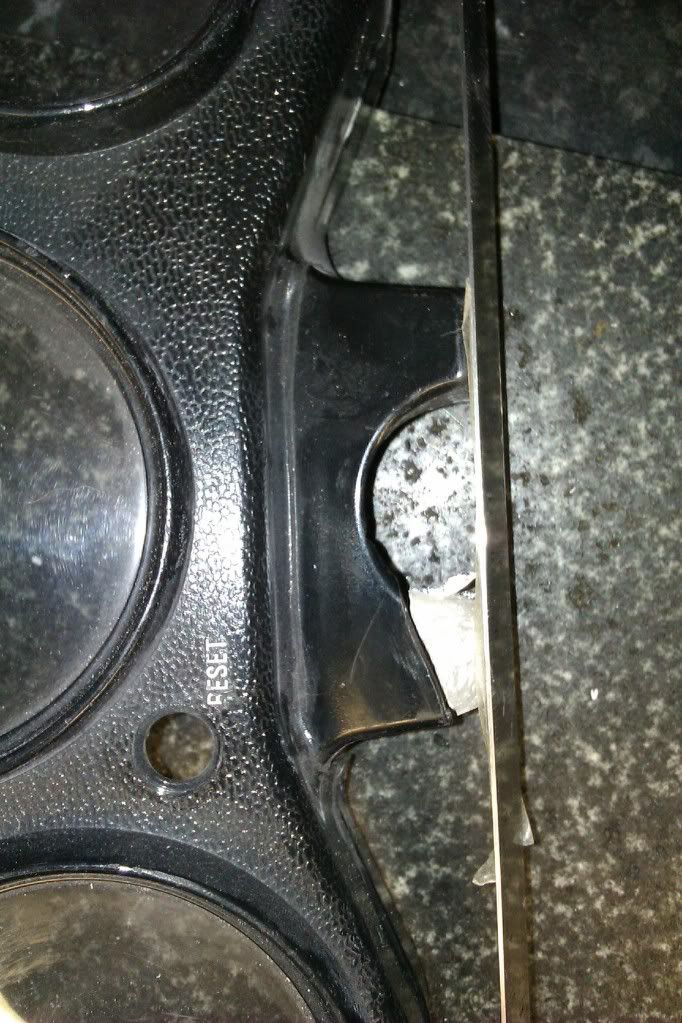 I then made sure it was good and stuck with more of the stuff, going heavy on the underside 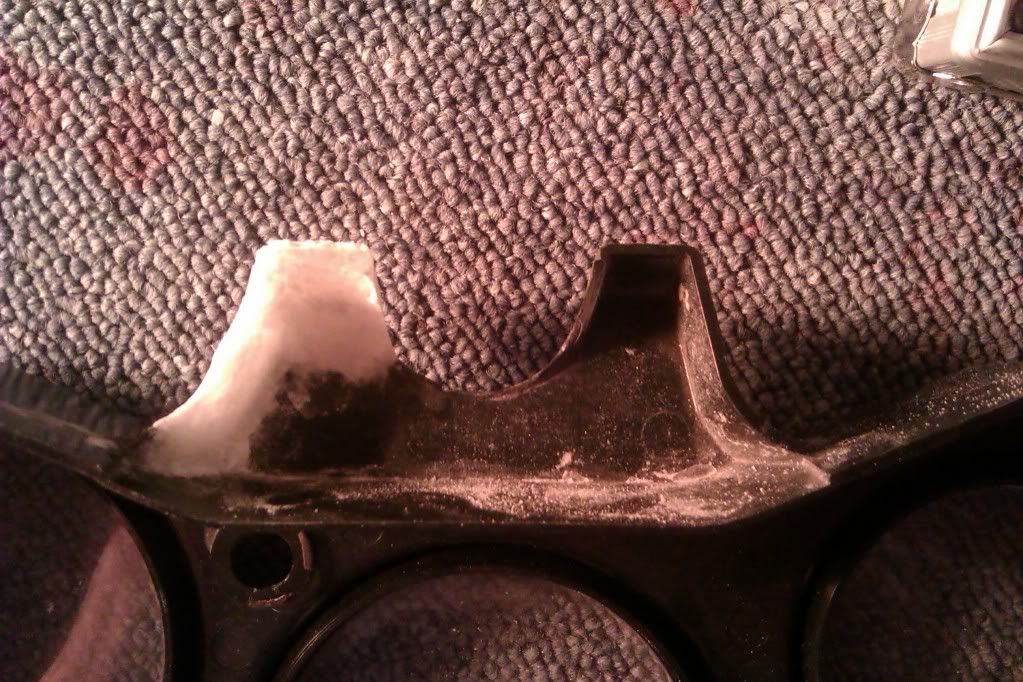 More bumperfill, like icing a little cake. 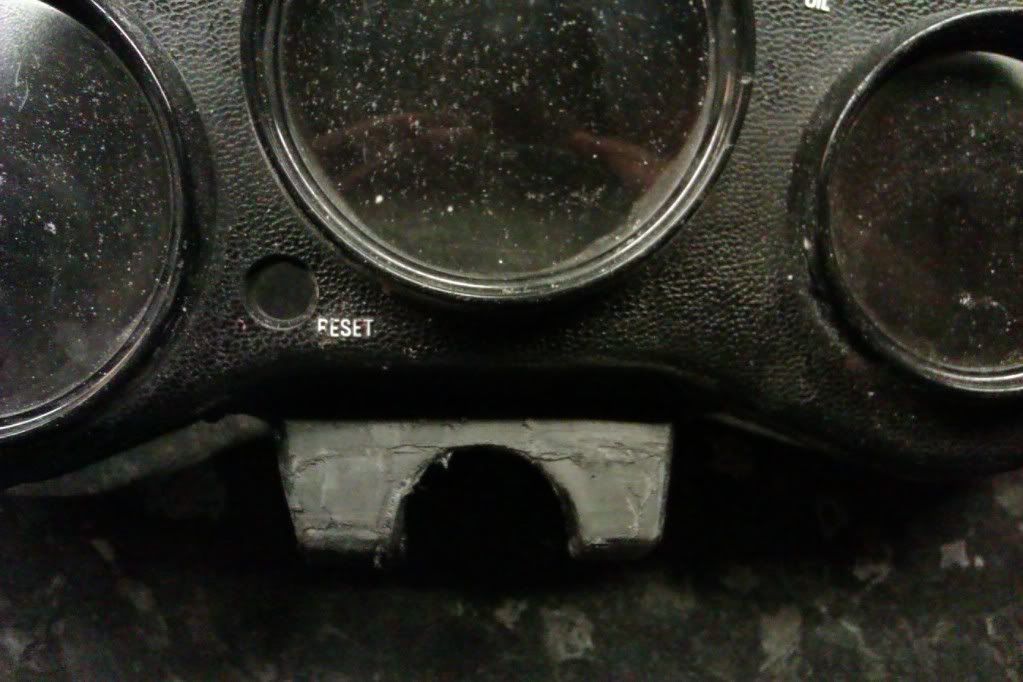 Then sanded and painted with a bit of PJ1. Not perfect but better than it was. 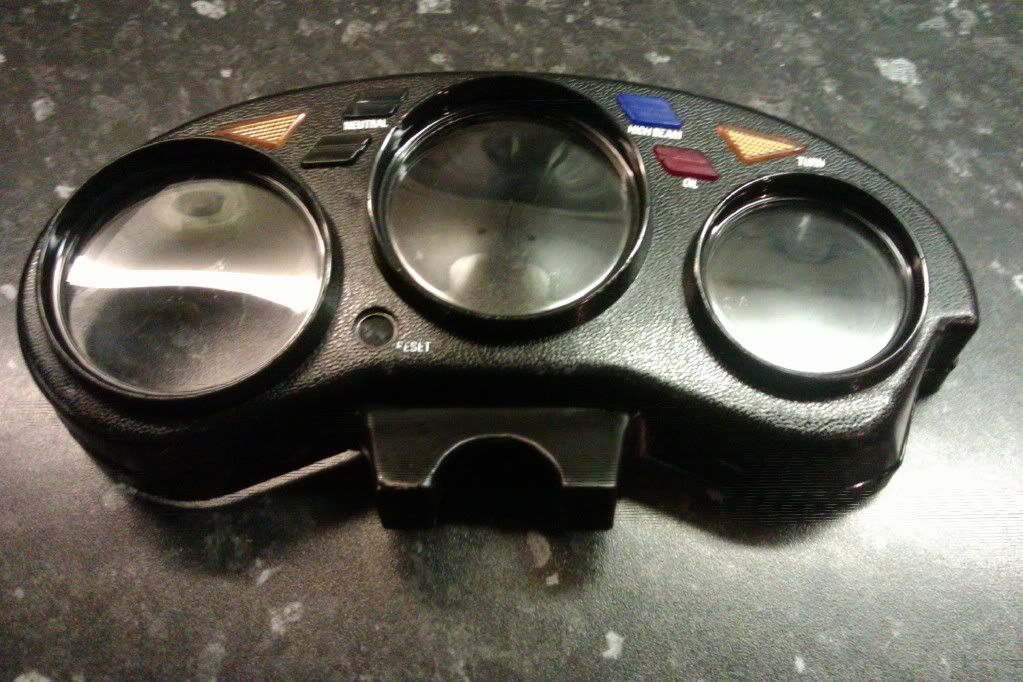 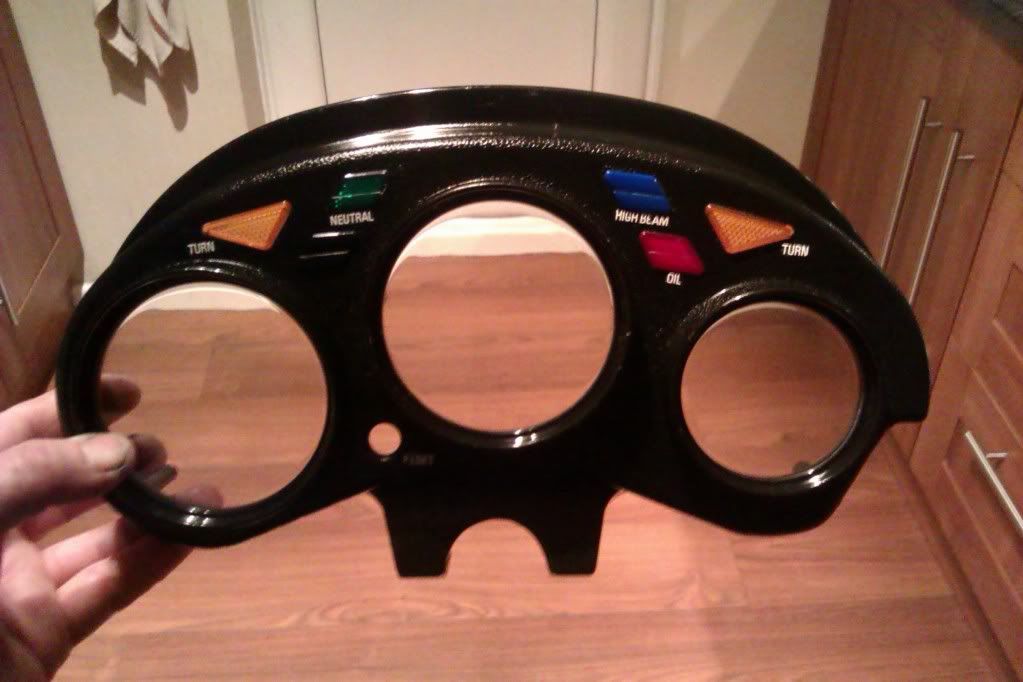 |
|
|
|
Post by Fingermaus on Jan 22, 2012 23:26:41 GMT 1
Bit more done this week, and one really big bit. My poor old frame had some war wounds. 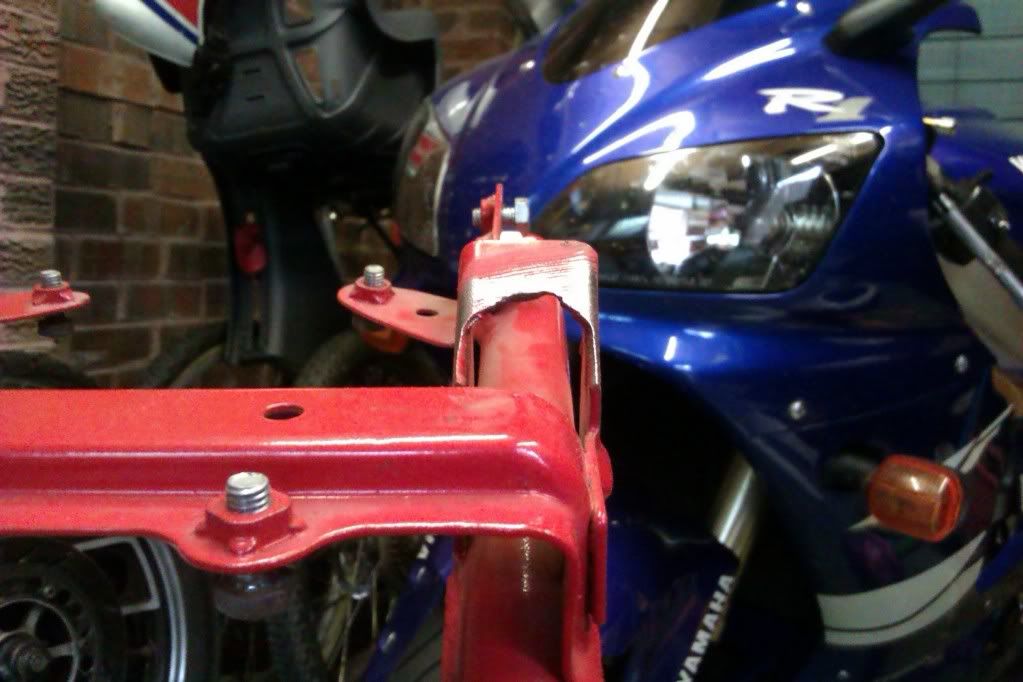  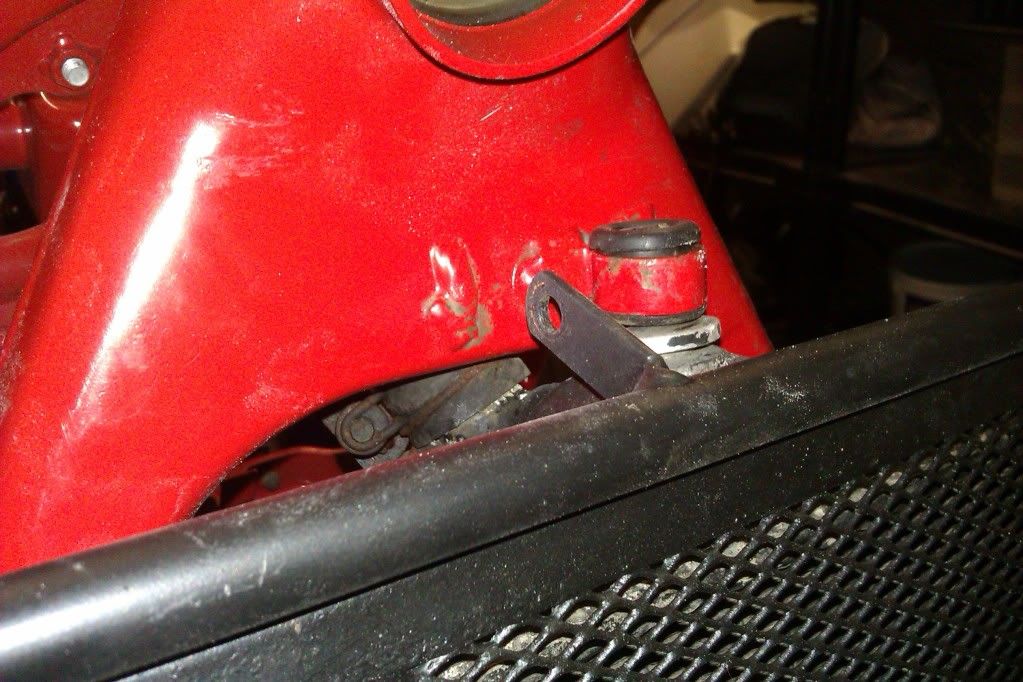 I forgot to take pictures of the bare weld repairs my mate did for me.Nevermind though, for I have powder! 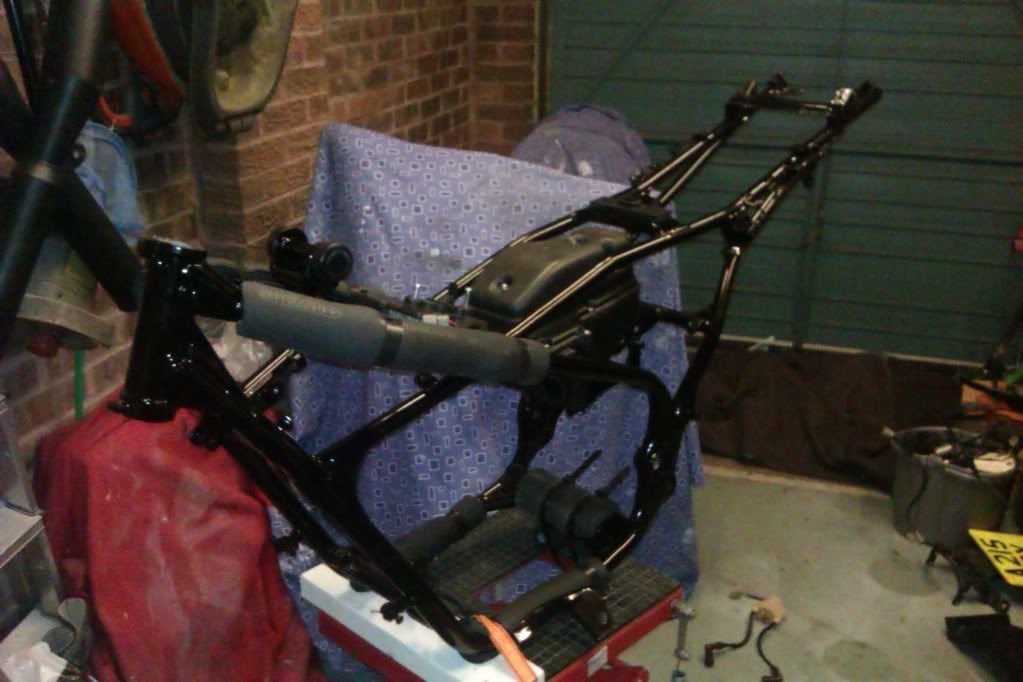 This is the nice bit now.Putting it all back together. My bottles were covered in foist. 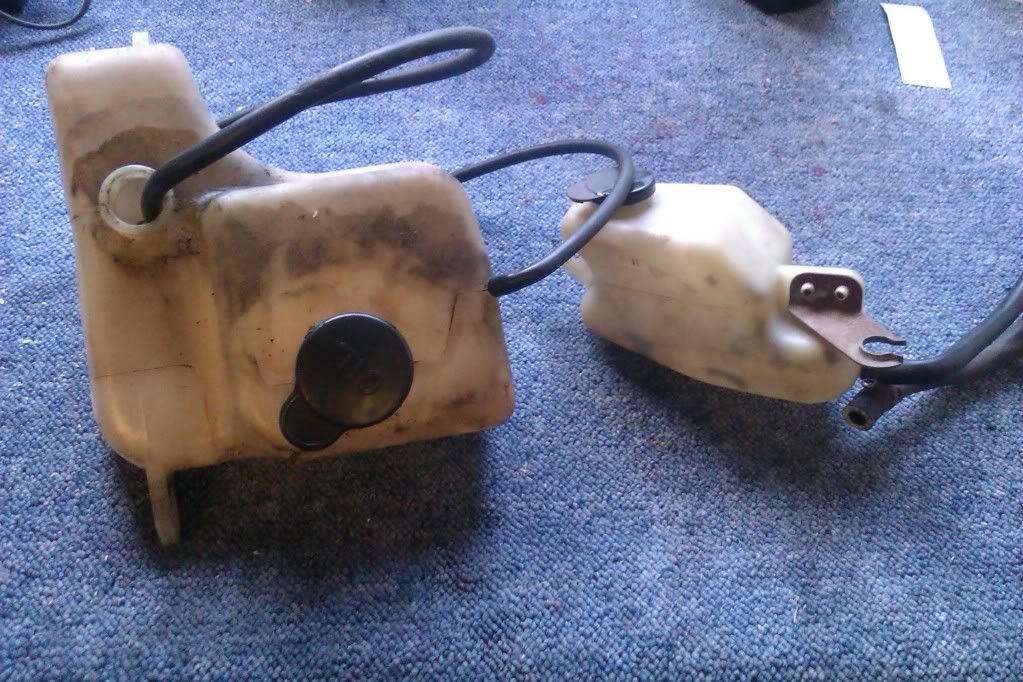 Not any more. 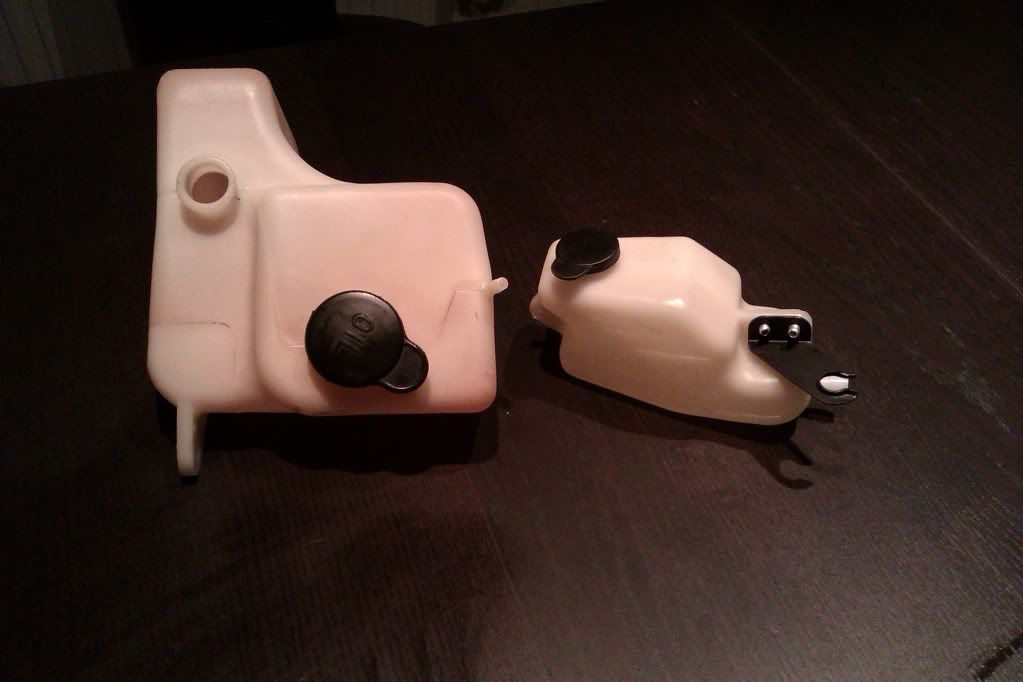 I put washing up liquid and water in them with some M6 washers too, shaky,shaky.Nicey, nicey. Then left them in bleach and water for most of this afternoon. The coolant bottle bracket was removed, painted and re-riveted. If I could meet the man who invented autoglym vinyl and rubber care, I'd give him biscuits and a badge.Chocolate biscuits too. 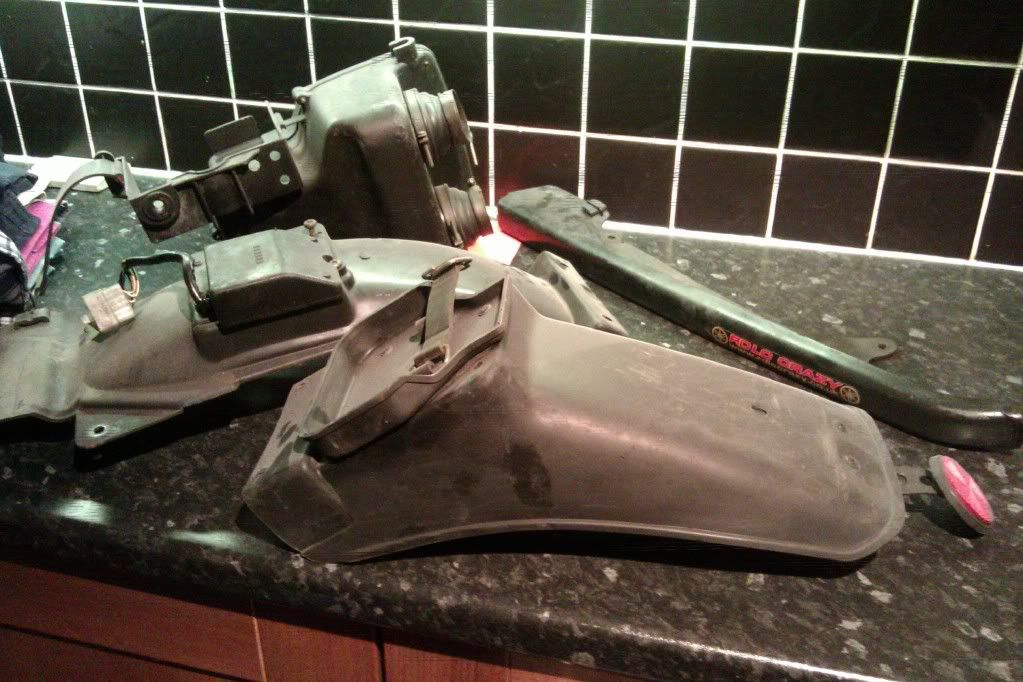 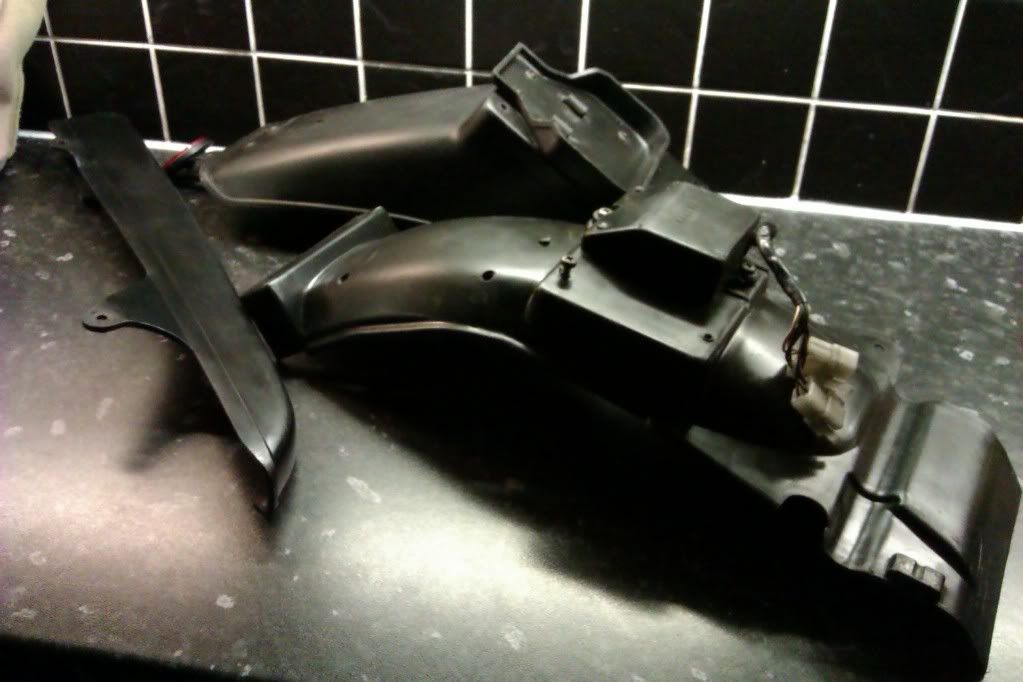 I'm still going insane with this one. rdlccrazy.proboards.com/index.cgi?board=mods&action=display&thread=12330I'm thinking of bottling it completely and doing them standard. |
|
|
|
Post by Fingermaus on Feb 28, 2012 20:57:12 GMT 1
Things are moving along again after a slow February. The dogleg bushes and seals were holding things up,but Norbo once again comes to the rescue and gets another one of our bike builds flowing. Some of my pics are a bit fuzzy,apologies for this. These are a few horror shots from before:- 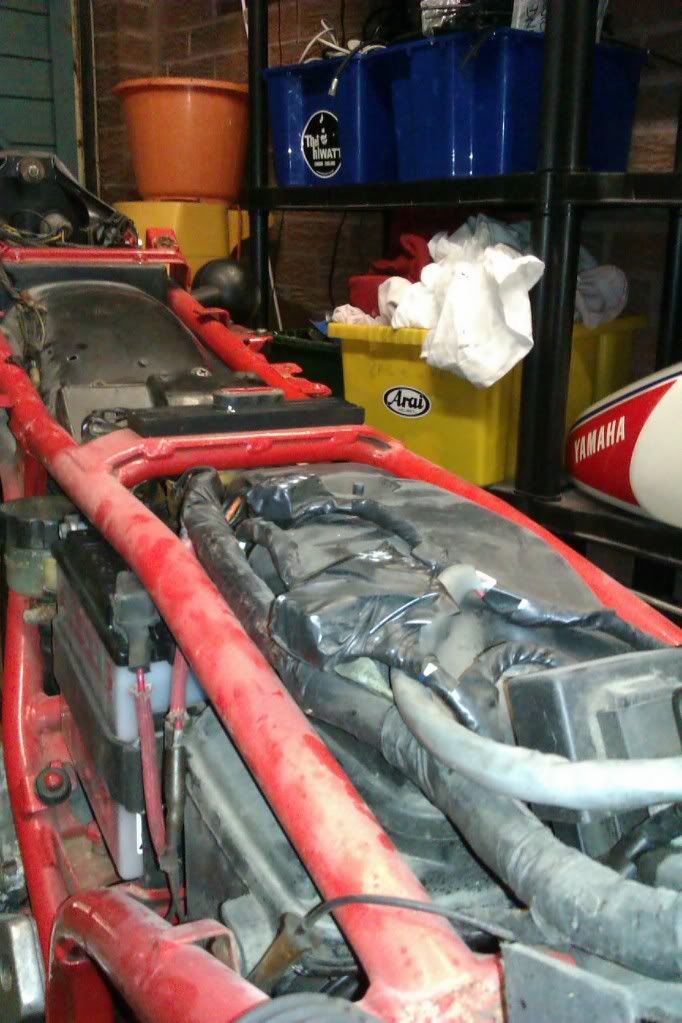 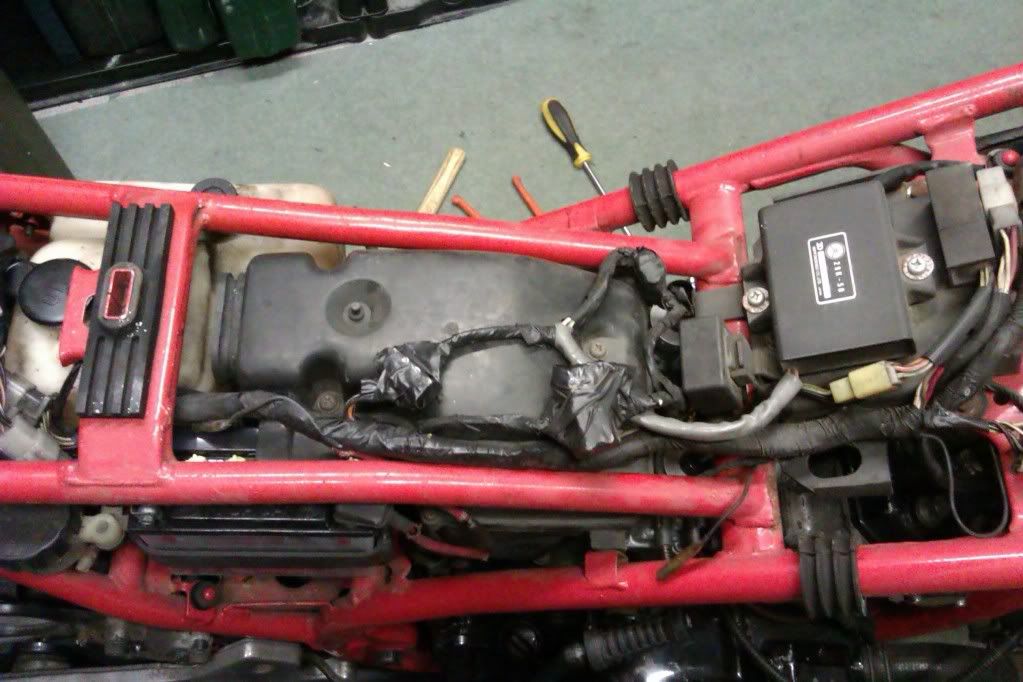 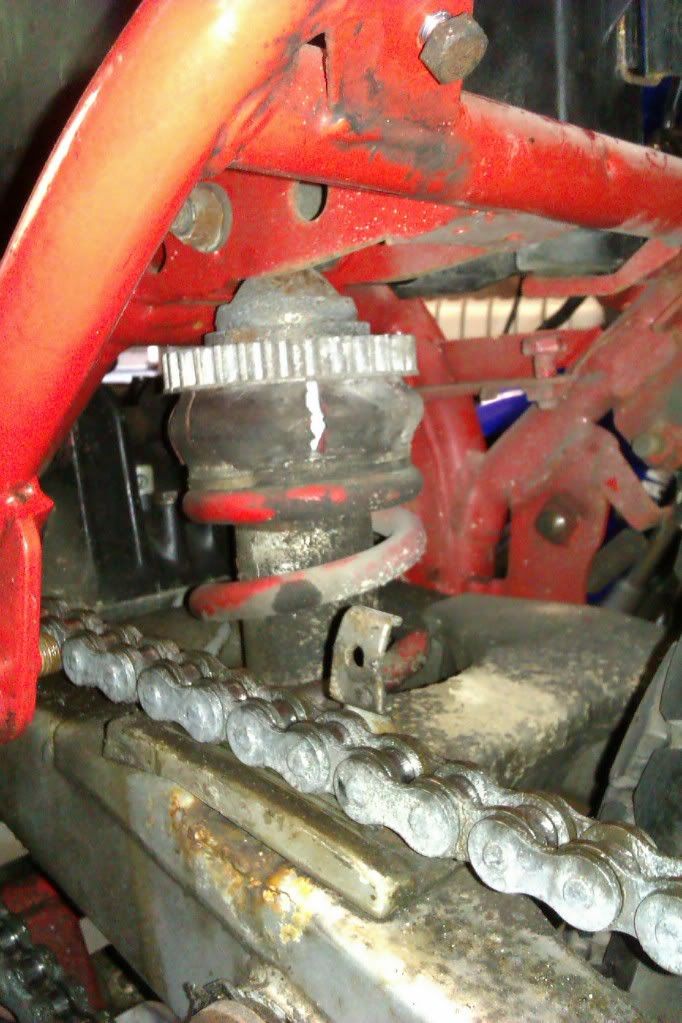 I got hold of a bargain Fazer shock from ebay.Swapped the bottom eye, and had the spring powder coated. Massive thanks to Gladders for lending me the spring compressors. 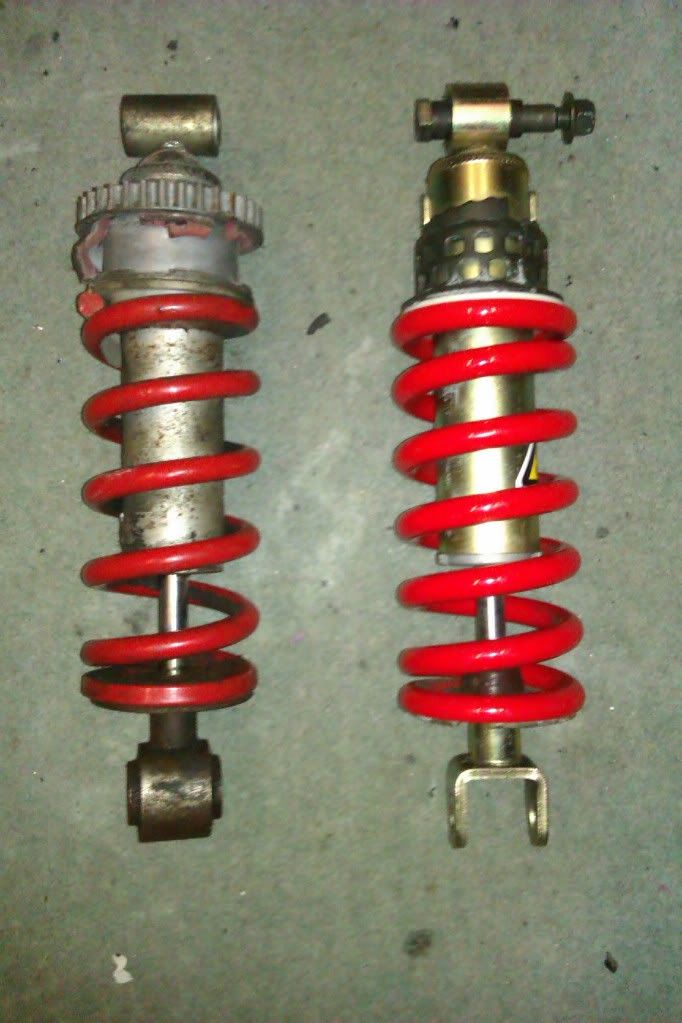 And in the bike. 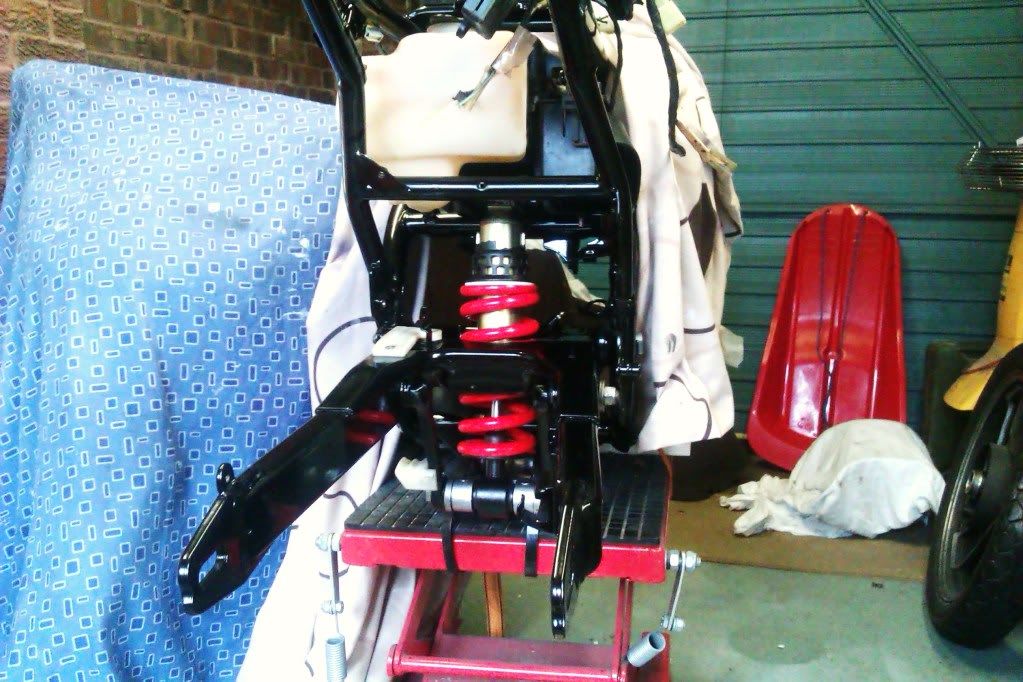 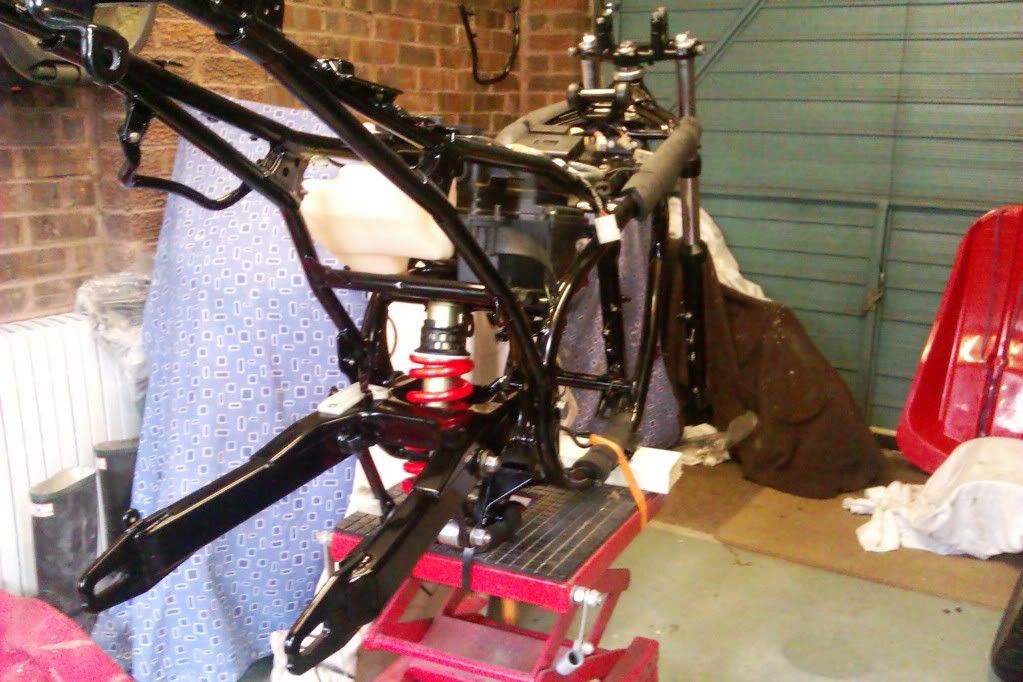 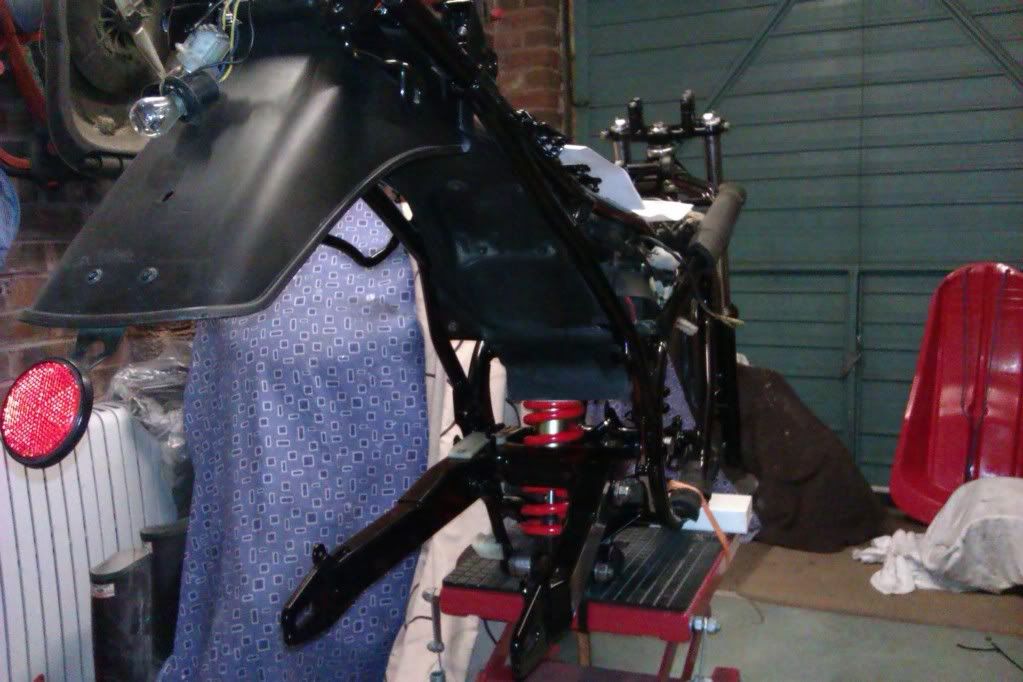 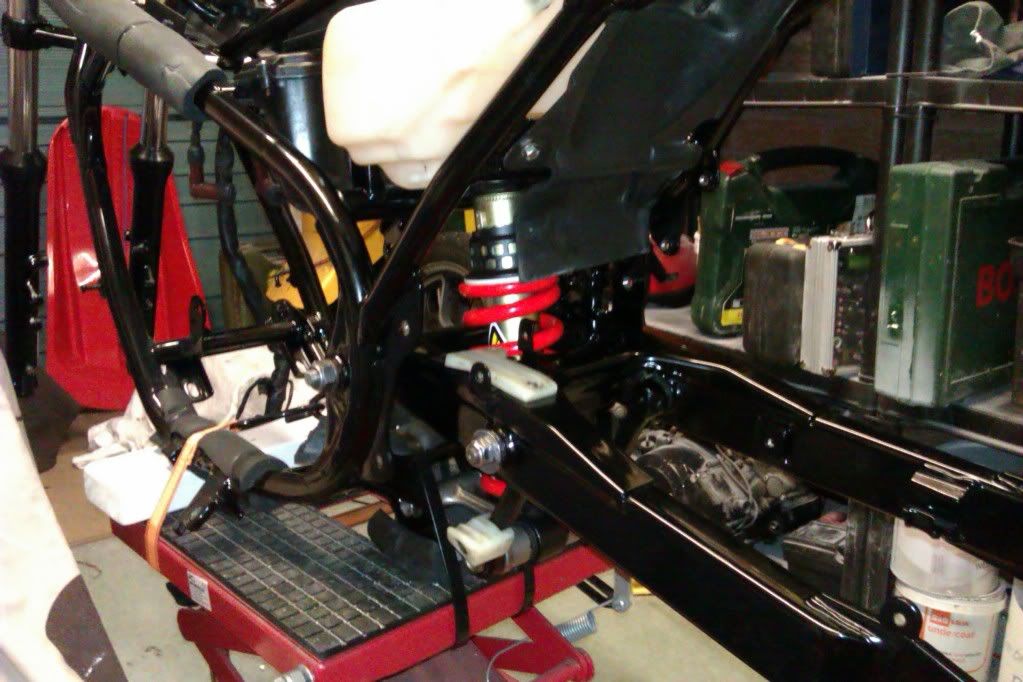 Sticking religiously to my design, I have stripped the forks and painted the bottoms black.I'm trying to wean myself off PJ1 and Simoniz tough black seems to be a really nice product. I've done my grabrail and lifting handle in it too. 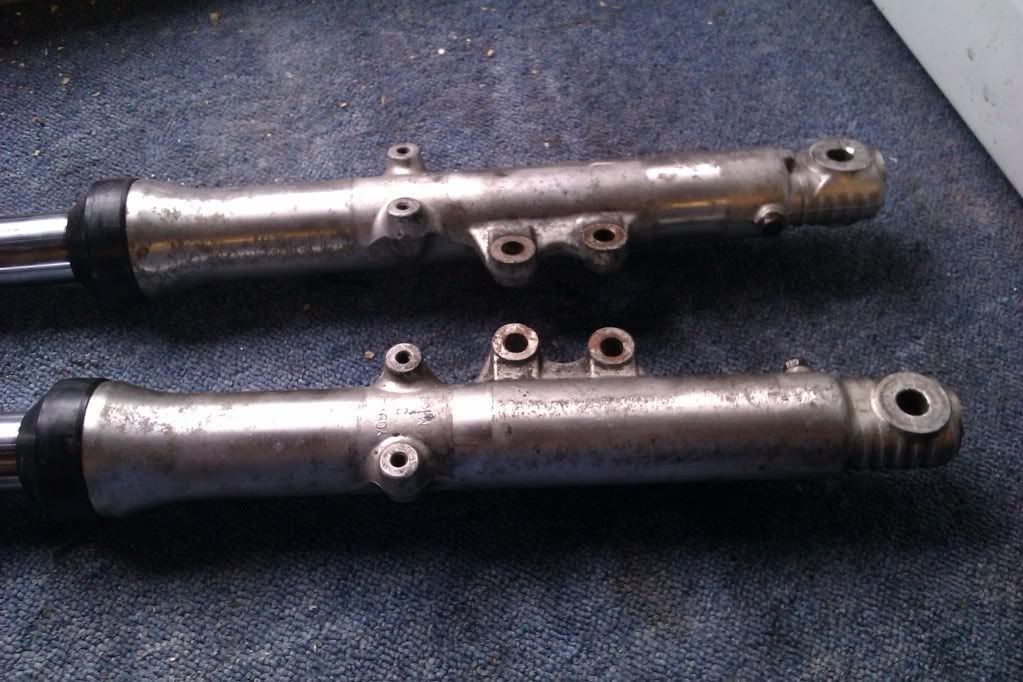 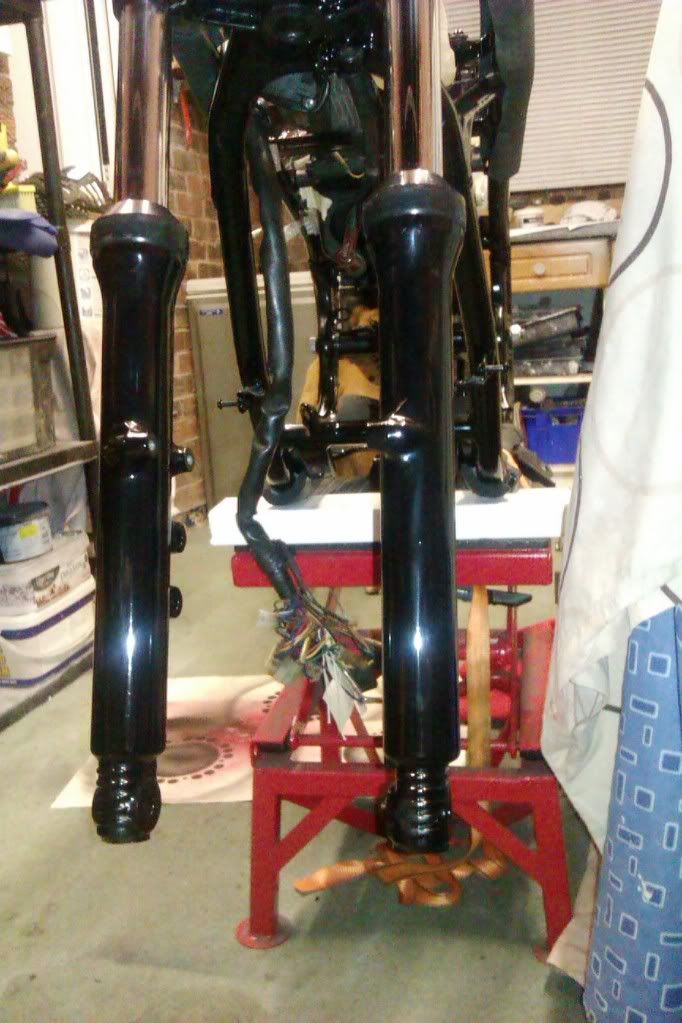 I should hopefully have a rolling chassis soon. |
|
|
|
Post by rdstars on Feb 29, 2012 15:25:57 GMT 1
Coming along nicely.
I've played with fairing repair and for me found the Acetone and scrap ABS/Lego method about the best, still remains flexible and also it's one piece not a welded joint. Quite like those kits you can buy but Acetone is cheep and scrap ABS always about round the house.
|
|
|
|
Post by Fingermaus on Feb 29, 2012 23:03:55 GMT 1
That sounds interesting, whats the method?
|
|
|
|
Post by Fingermaus on Feb 29, 2012 23:39:16 GMT 1
me interested too kelvin. finger have you clearcoated the panels yet ? be interested to know what you used in the end. I had a can of halfords aerosol lacquer lying around and did a test on the belly pan and bikini fairing.I'm so happy with it that I'll be doing the rest in this.The plastic repair hasn't pulled through on the pan. I'm going to do the tank in the 2k product you recommended too. I need to get it on soon though to give it time to go off.I hope to be smoking down the road by May. |
|