|
|
Post by andrel on Mar 30, 2018 21:53:31 GMT 1
I suppose we all want to re-live our youth. So when I came accross this bike - hideous gold paint touches notwithstanding - I could not resist. A numbers matching 1983 31K YPVS with papers and on the road. 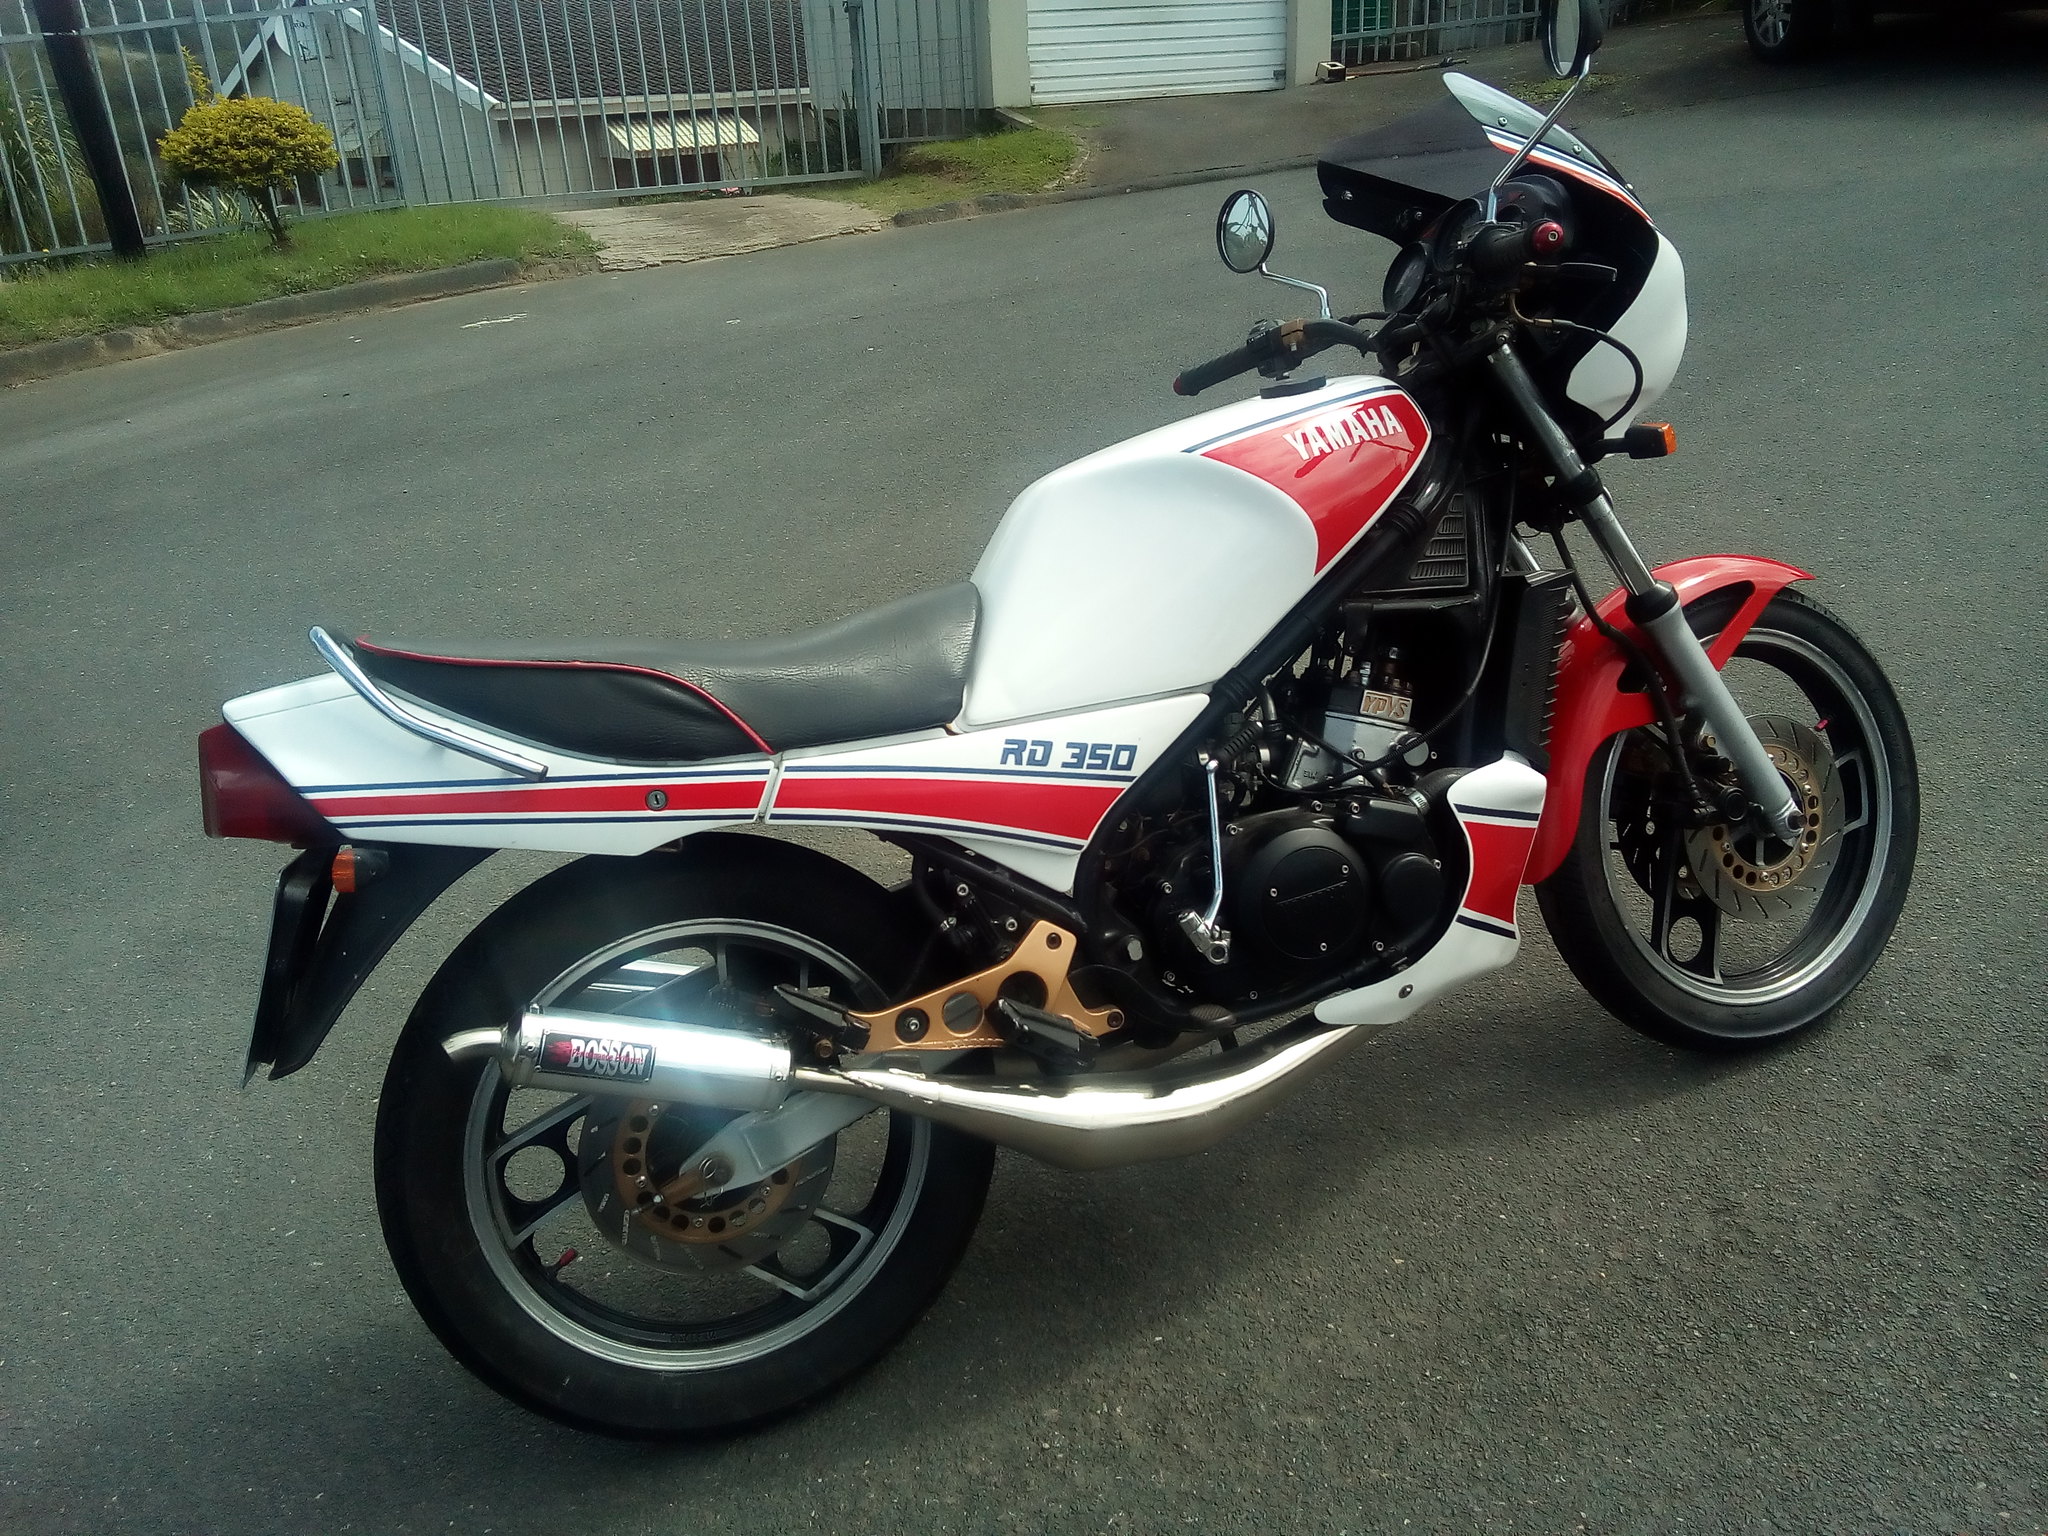 It was not period correct - wrong indicators, Bosson exhausts, black frame, etc and was the subject of a recent restoration which was not too great - forks badly pitted and seals leaking, brake calipher pistons corroded and without dust seals fitted, RZ250 CDI fitted, poked rectifier, stuffed battery, etc. Worst of all was a home-made front bikini fairing which was hideous. 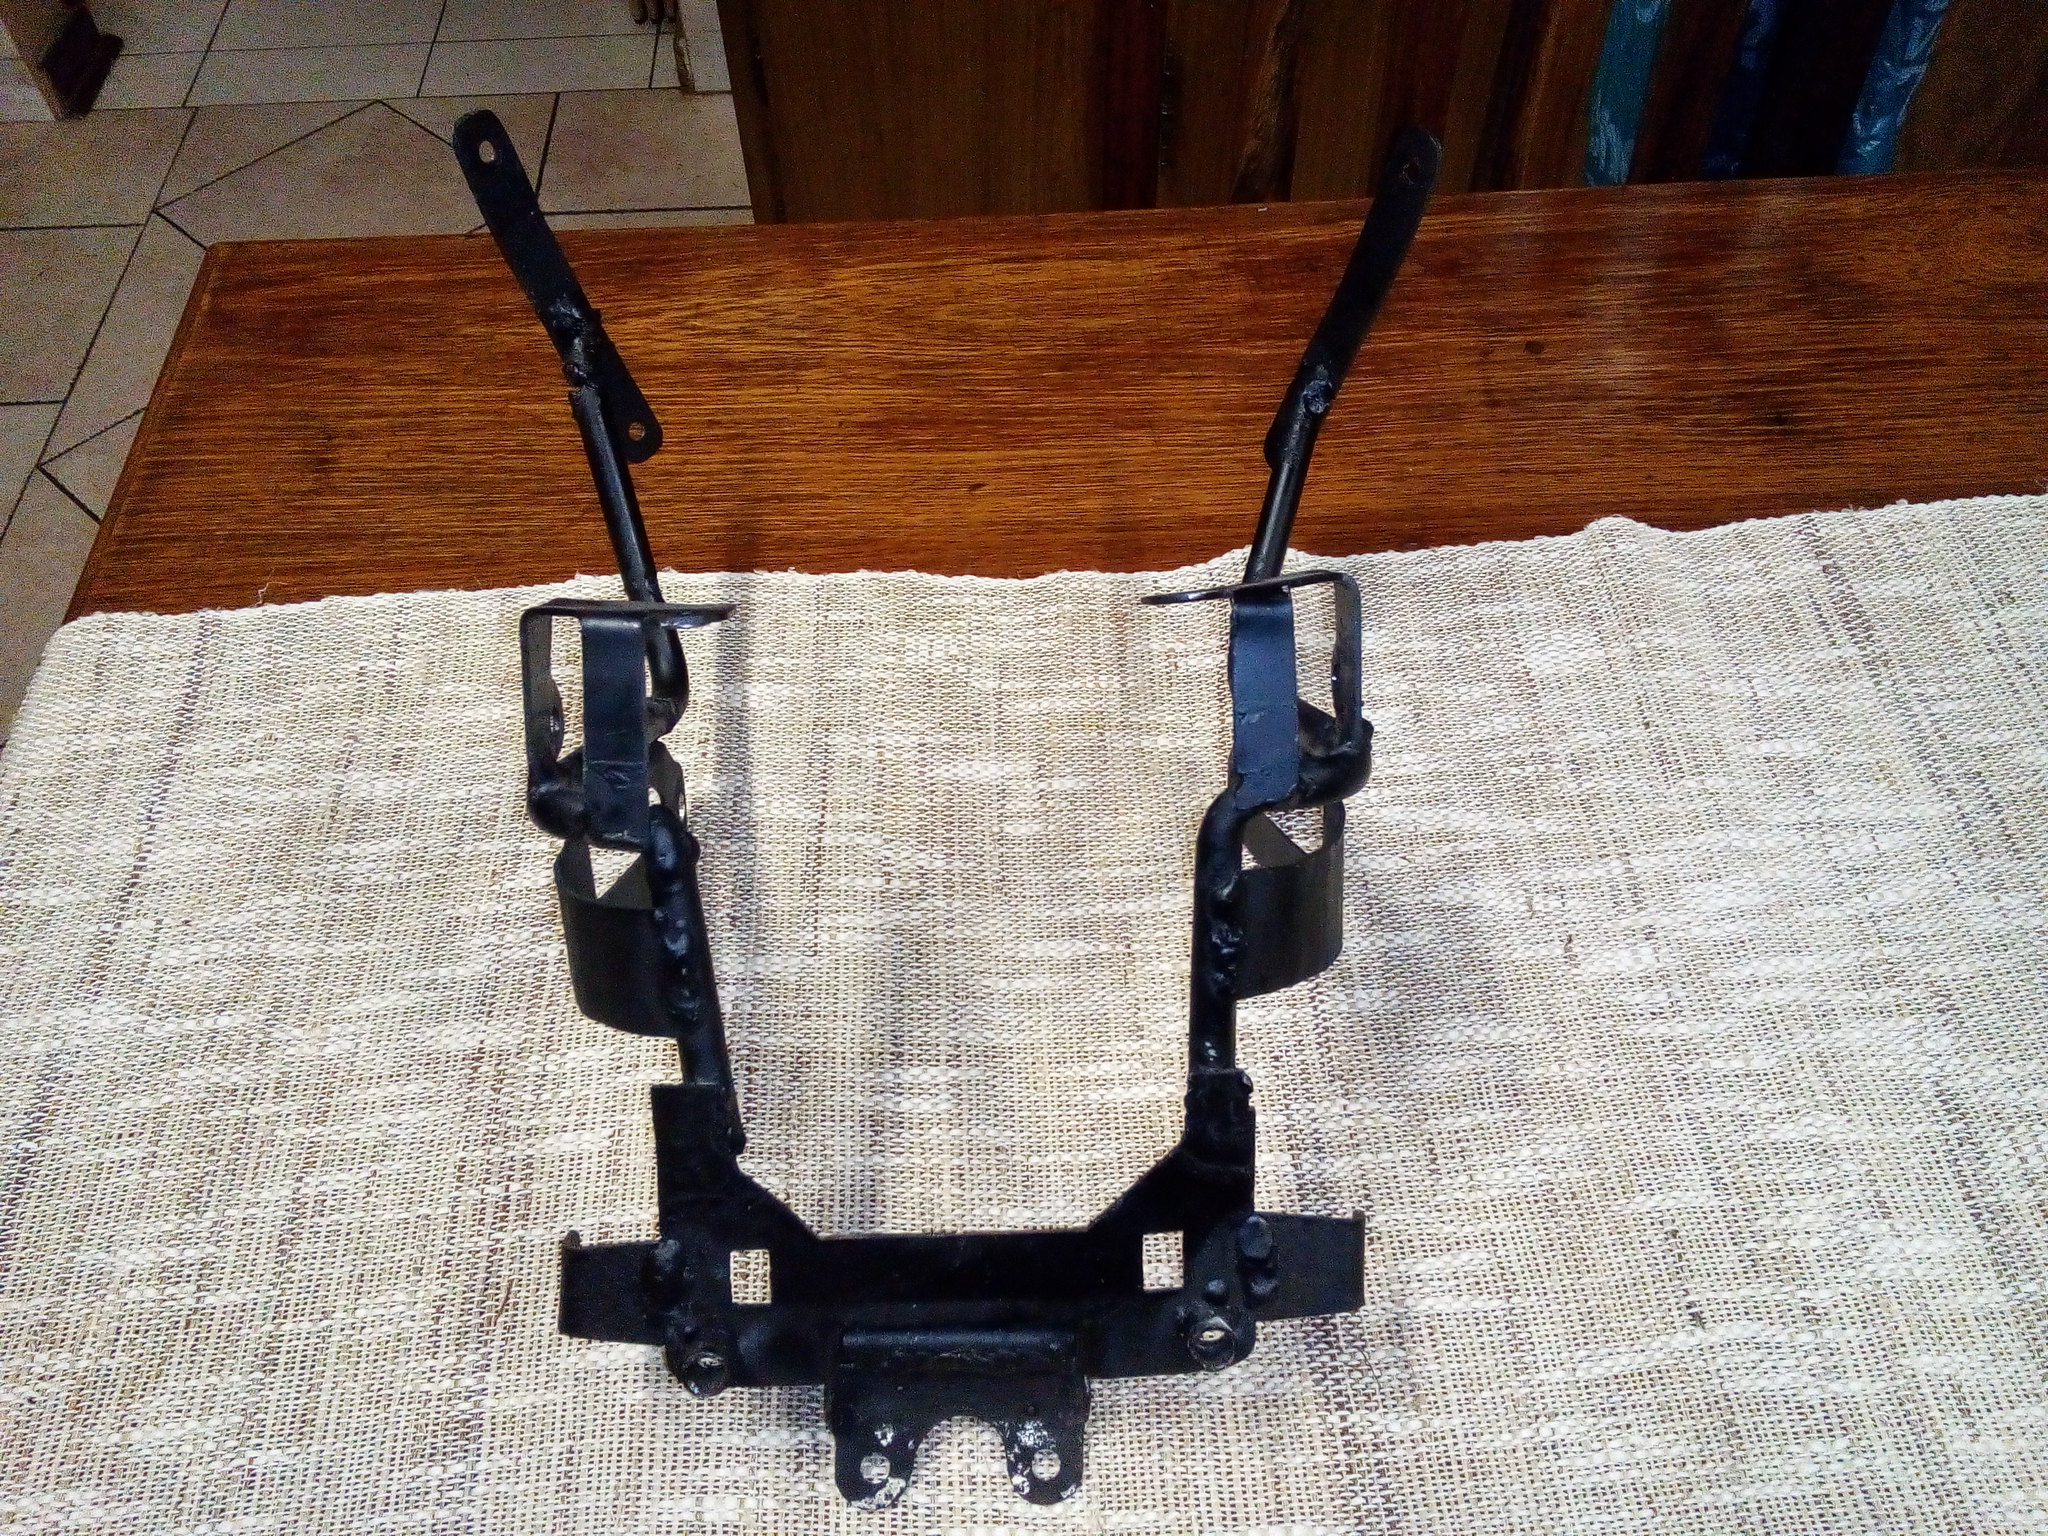 I trawled Fleabay for months before one picked up. It was heavily bid on (in the last few minutes as is typical), but I managed to secure it although it cost me a small fortune 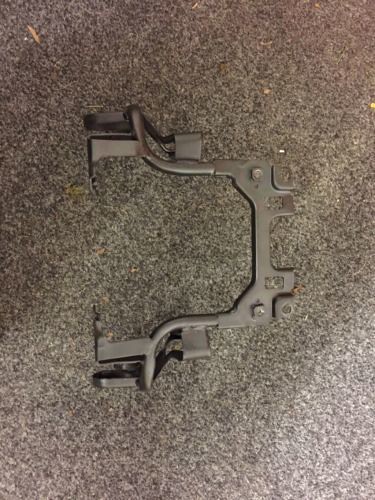 At least the re-build could begin after the frame was powder coated 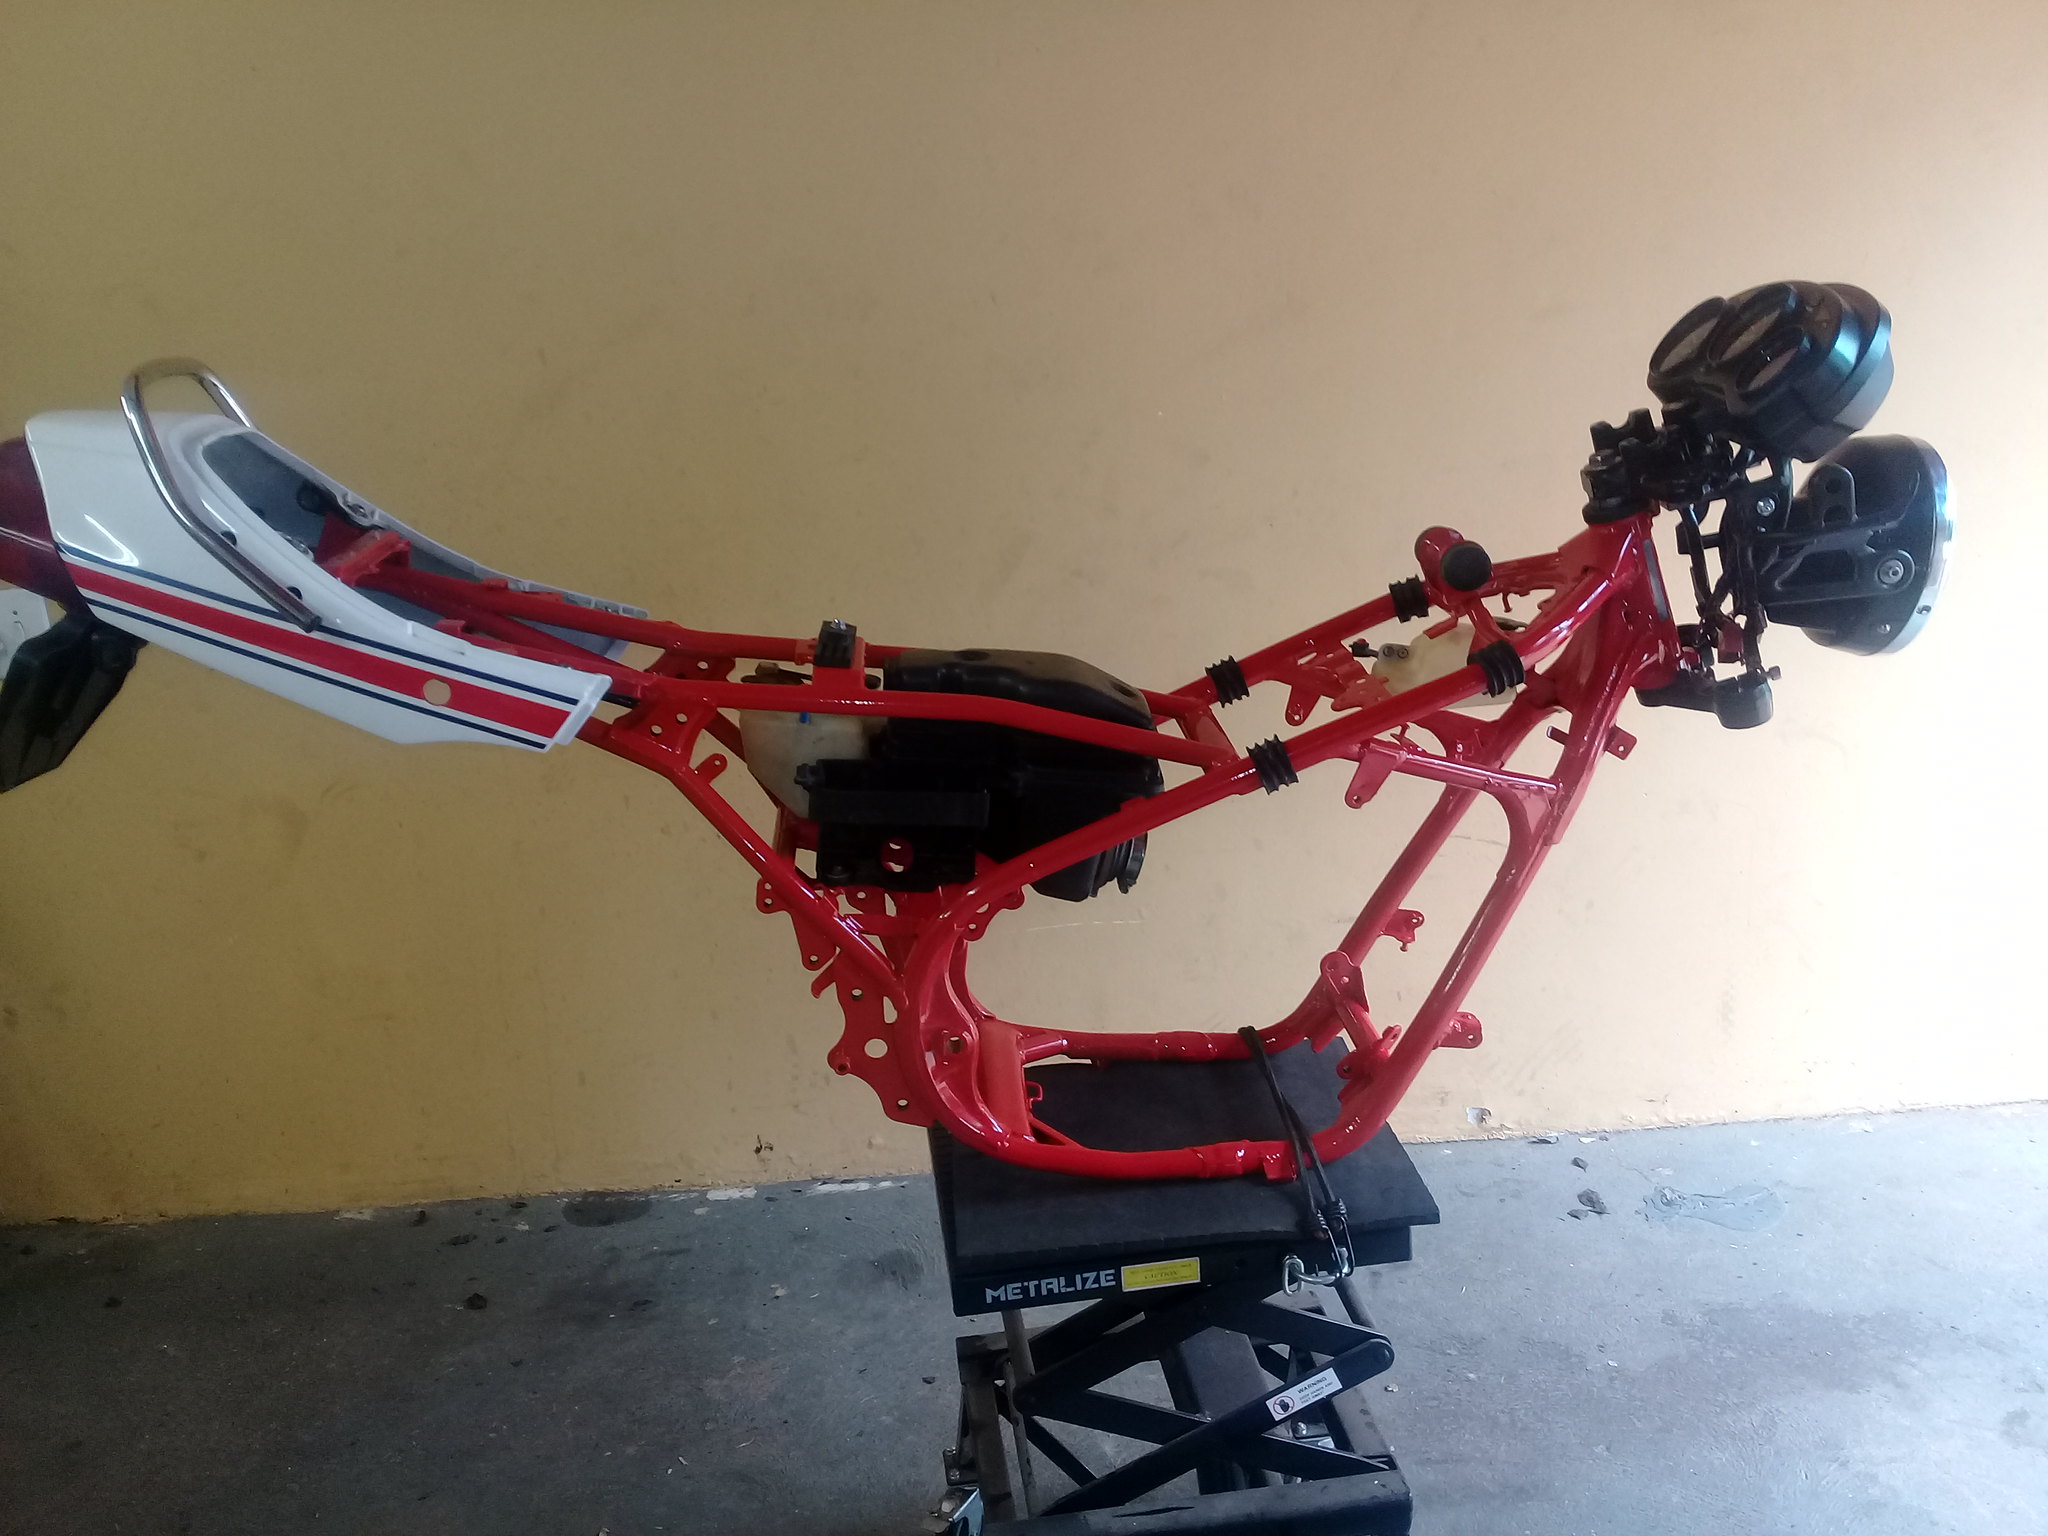 There is a long road ahead 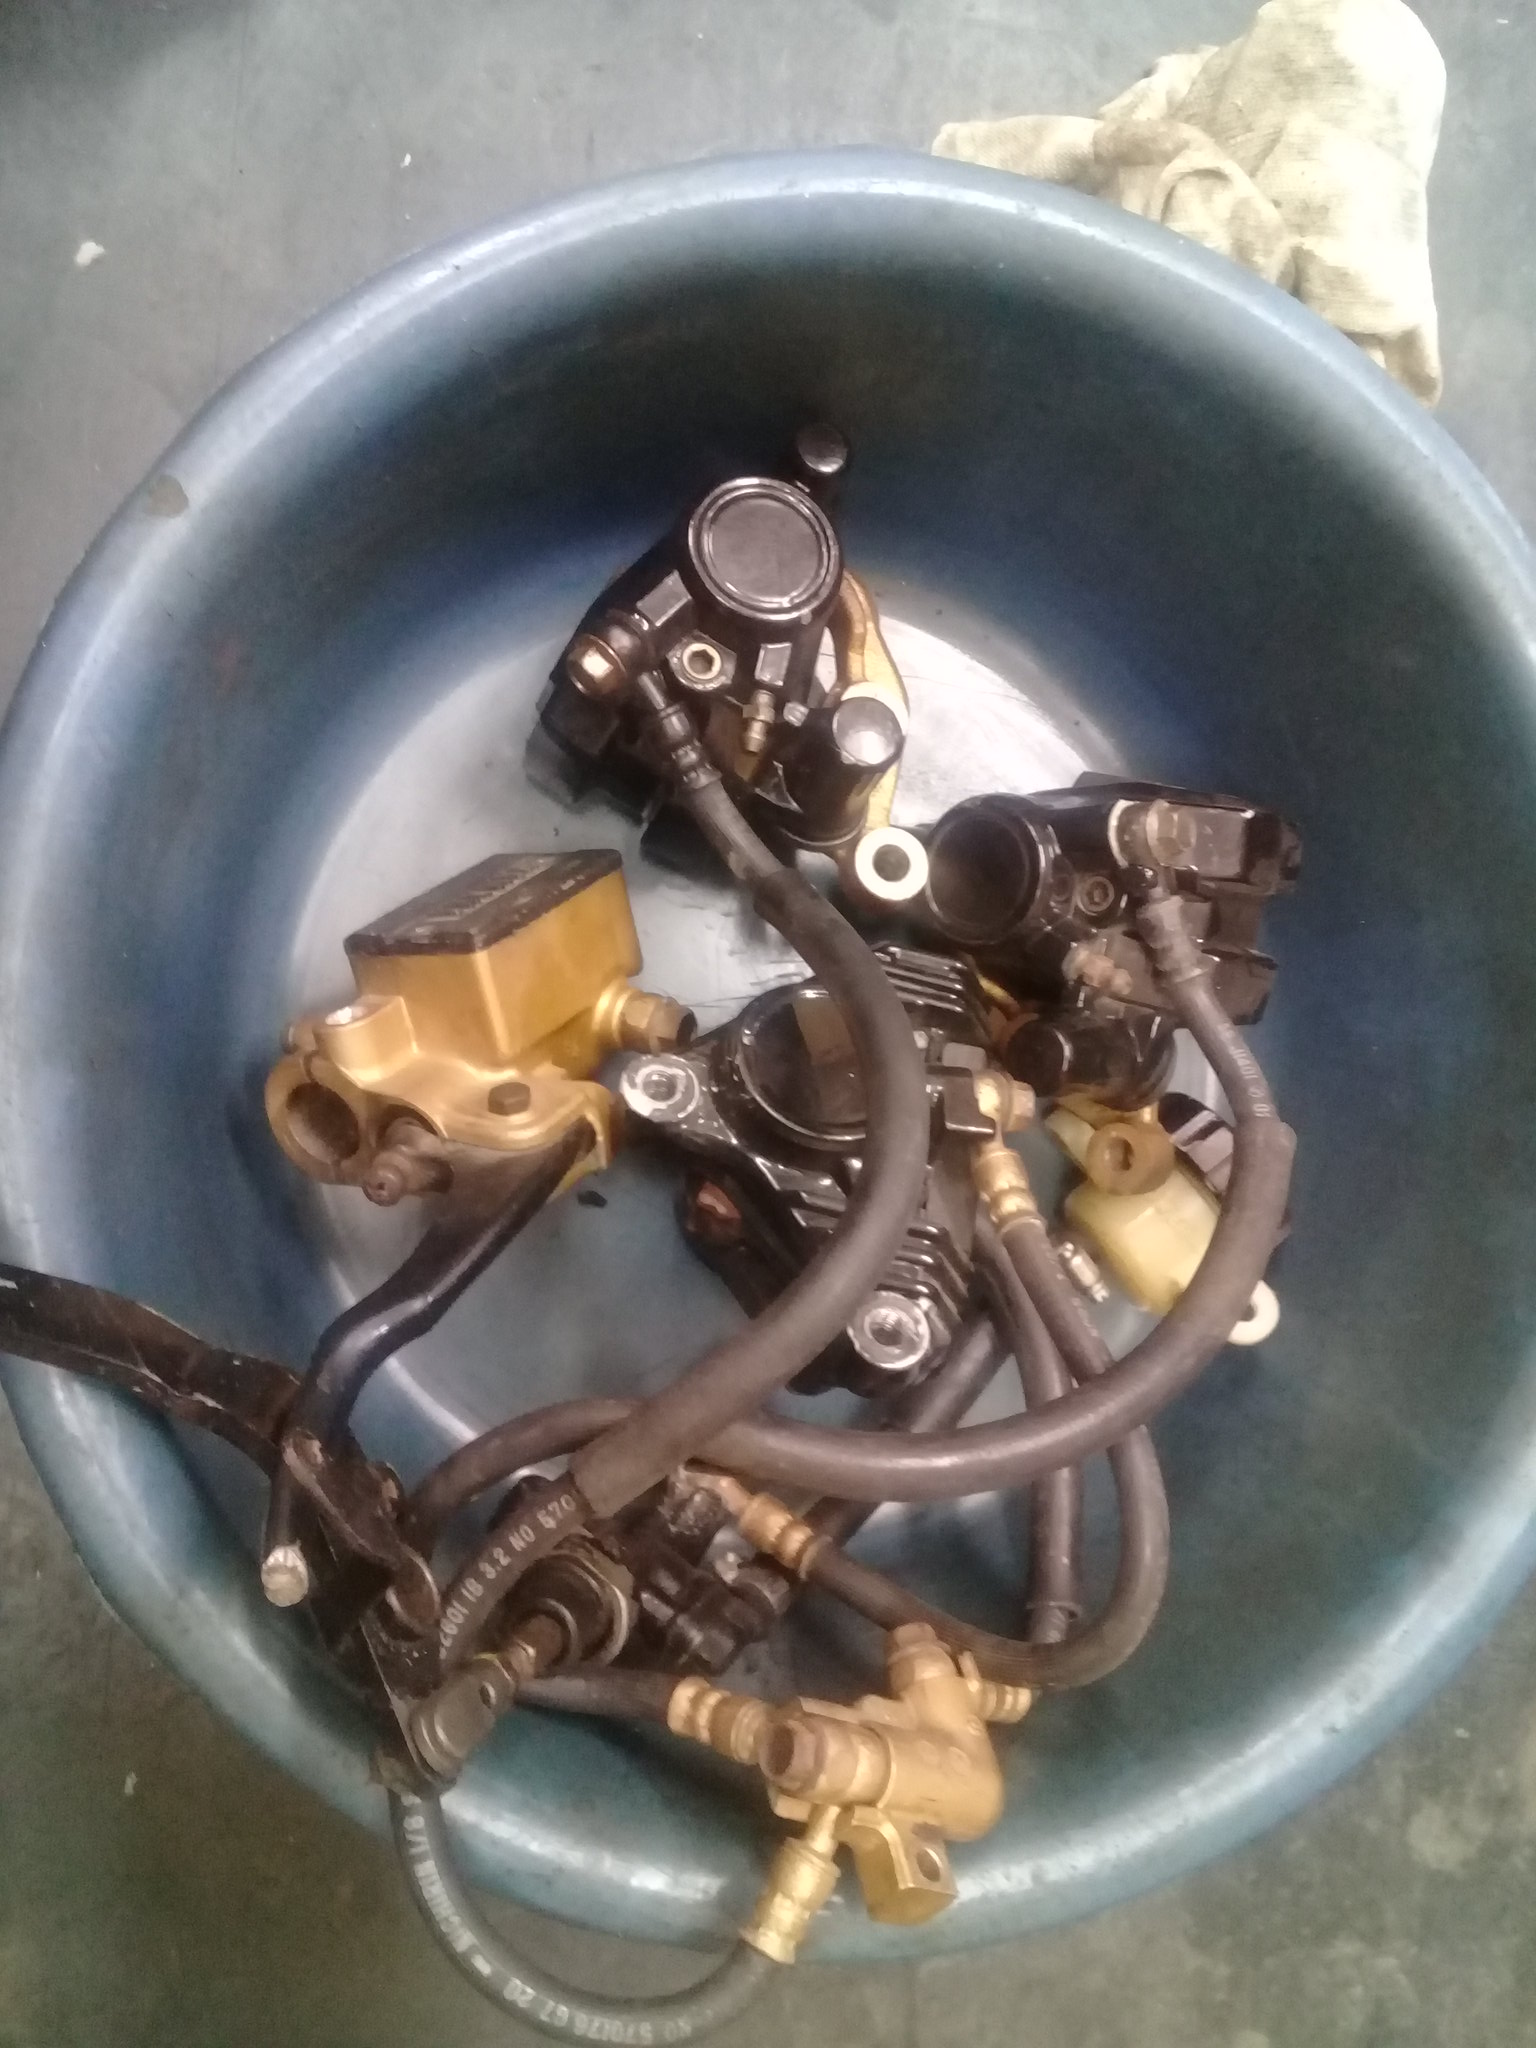 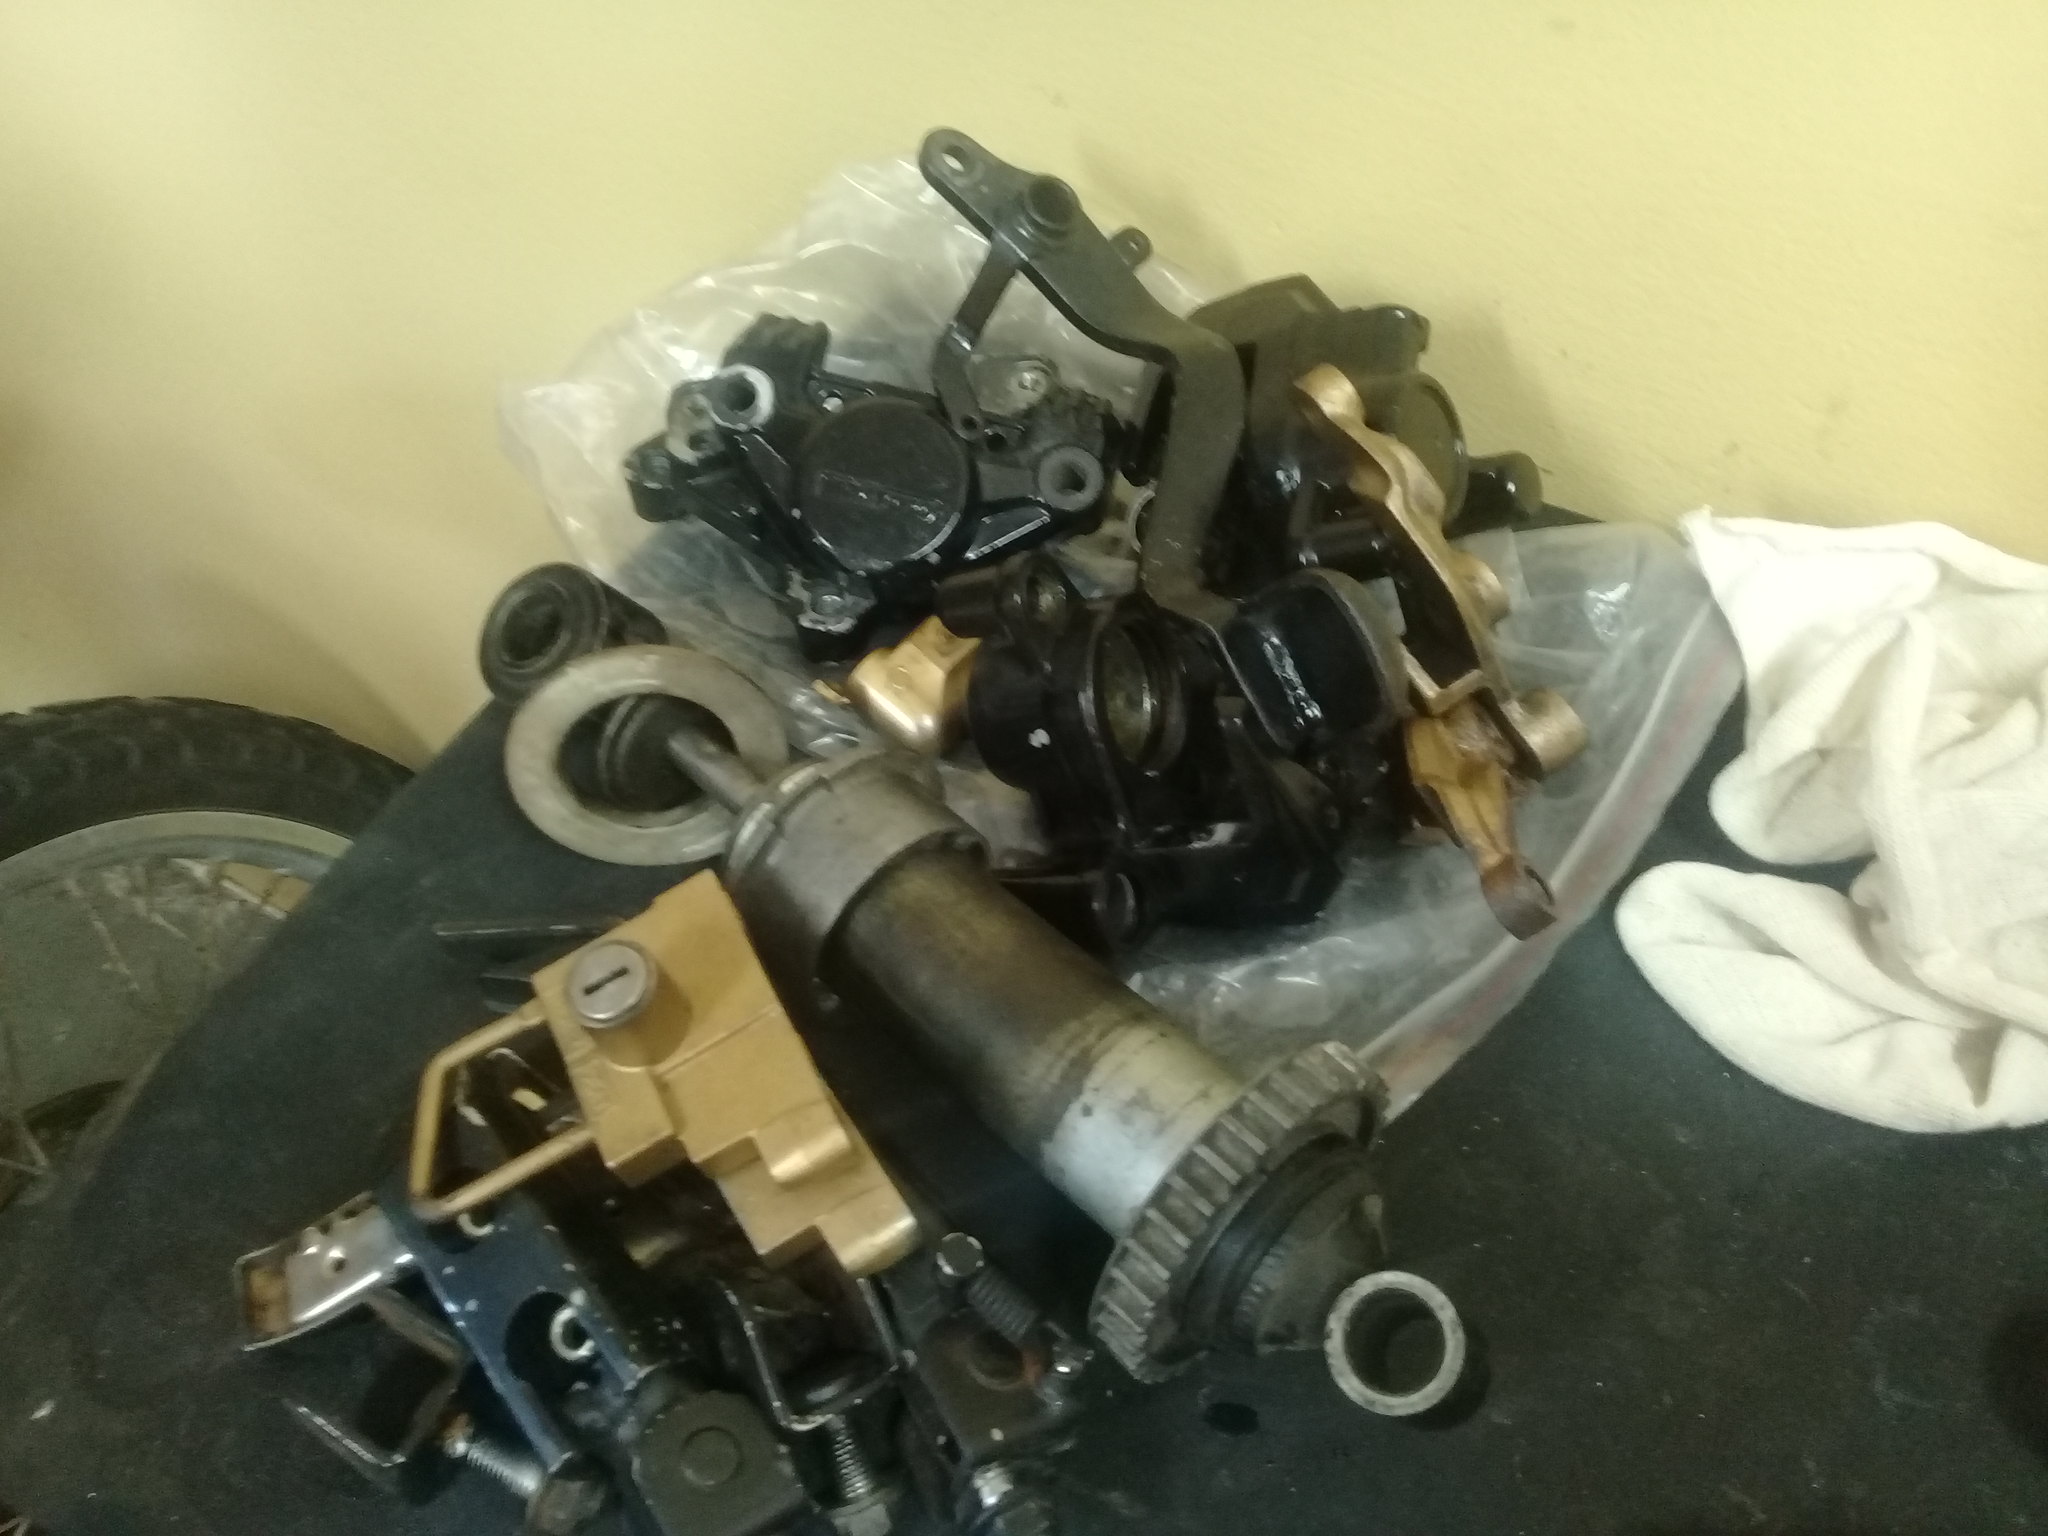 Unfortunatly here at the south-end of Africa I do not have quick access to the products and services available to you guys in the UK, but I am going to give it a good shot. Already learned a lot from reading many of the threads on the forum and I hope that the old hands on the forum would be able to offer some advice when I get stuck. |
|
|
|
Post by mark69 on Mar 30, 2018 22:15:43 GMT 1
Nice find, looks great, are there many in SA?
|
|
|
|
Post by andrel on Mar 30, 2018 22:33:36 GMT 1
Nice find, looks great, are there many in SA? Hi Mark, No, there are very few in circulation and when they do come up for sale, good ones easily fetch up to R12000 or 7000-odd pounds. Like this beauty from a friend that is currently on the market  Most of the nice examples are in the hands of collectors and RD enthusiasts |
|
|
|
Post by andrel on Apr 19, 2018 19:53:20 GMT 1
So I am steadily plodding along. Many of the parts are off for bead blasting, repairs, gunmetal coating, powdercoating etc. Managed to obtain a set of original exhaust from another local enthusiast and in our neck of the woods these are hen's teeth - especially ones in such good condition. This was also a key part of the build for me - I do not like the Bosson pipes the bike came with and want to have the stock look.  Another challenge currently is to obtain the headlight fairing brackets and a replacement oil sight glass for the front master cylinder as mine is clearly leaking. Luckily Norbo has both items and I have contacted him with an order so I am just waiting on that at the moment too. 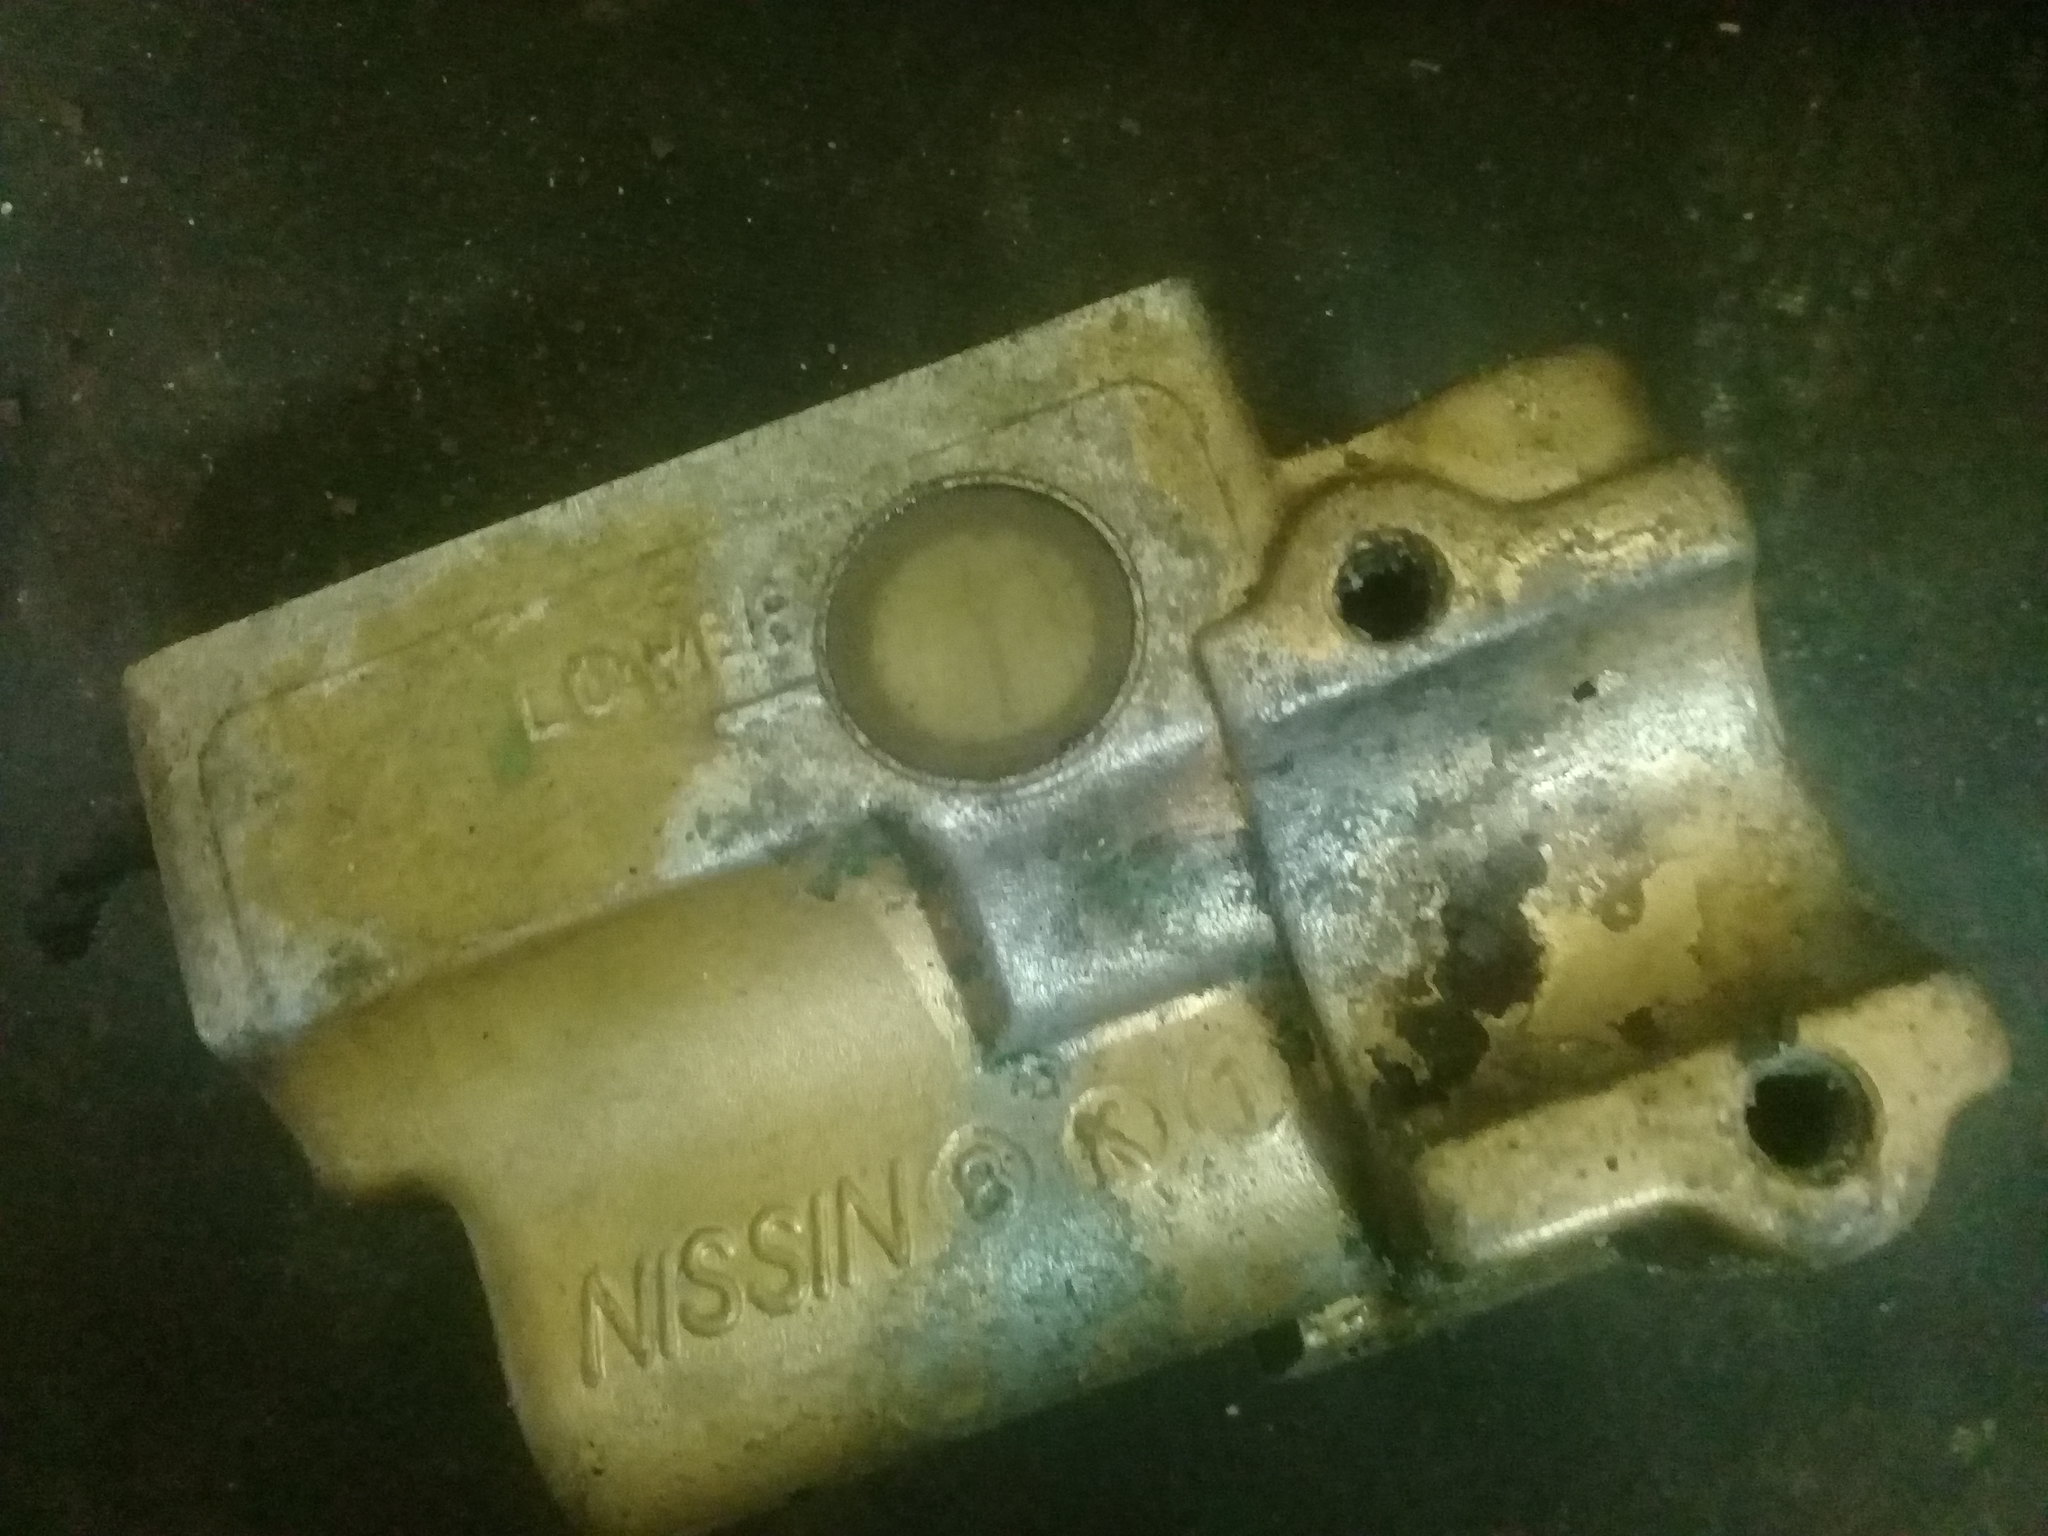 Are there any tips for removing the old and and re-fitting the new? Being glass, i erred on the side of caution and ordered two sets. I basically have to re-build the entire braking system (kits, caliper rubbers, pistons, seals and hoses), but I like to get the basics right before looking at other cosmetic improvements. |
|
|
|
Post by donkeychomp on Apr 19, 2018 20:57:52 GMT 1
I like it! And those exhausts but I've never heard of Bosson before. Keep up the good work.
Alex
|
|
|
|
Post by JonW on Apr 19, 2018 23:03:07 GMT 1
This is going to be nice when its done, It was a great start point and this work will only make it better. Go for it mate!
|
|
|
|
Post by andrel on Apr 20, 2018 7:40:56 GMT 1
I like it! And those exhausts but I've never heard of Bosson before. Keep up the good work. Alex Thanks Alex - they are a local performance exhaust manufacturer in South Africa. Here is a link to their FB page link web.facebook.com/Bosson-Performance-Exhausts-115564621873699/ Those pipes currently on the bike costs about 270 pounds. |
|
|
|
Post by donkeychomp on Apr 20, 2018 20:58:12 GMT 1
Thanks, but I'm not on farce book. I did find a price list, 400R for shipping. Whatever 400R is lol  Alex |
|
|
|
Post by dusty350 on Apr 20, 2018 21:03:56 GMT 1
R = Rand - South African currency   |
|
|
|
Post by bezzer on Apr 21, 2018 13:05:06 GMT 1
Thanks, but I'm not on farce book. I did find a price list, 400R for shipping. Whatever 400R is lol Alex Alex, At time of writing this, you get 16.9007 Rand to 1 pound, meaning 400 Rand (Shipping) will cost you £23.66 - Bargain!. |
|
|
|
Post by donkeychomp on Apr 21, 2018 21:27:23 GMT 1
Blimey that is cheap!
|
|
|
|
Post by andrel on Apr 22, 2018 13:27:51 GMT 1
Yes, it is nice to pay in pounds for something priced in Rands Conversely, it is a world of pain when i have to buy parts in pounds  |
|
|
|
Post by liffy16 on Apr 22, 2018 16:49:52 GMT 1
Looks a nice project and you won't have all the corrosion issue's that we get here in the uk !
where in sa are you?
|
|
|
|
Post by andrel on Apr 23, 2018 19:53:00 GMT 1
On the highveld 8n Pretoria were rust is normally no problem, but this bike is from Durban on the East coast where everything rusts. So i have a few rust issues to sort.
However seeing some of the pictures of rusted bikes in the UK, you guys probably have it worst.
|
|
|
|
Post by liffy16 on Apr 24, 2018 18:46:52 GMT 1
Nice one lived in boksburg many years ago got up to pretoria and down the cape via garden route on my 750 katana many years ago!!
Some uk bikes look like they've just come of the titanic
|
|
|
|
Post by andrel on Oct 20, 2018 22:21:20 GMT 1
So it is six months later - unreal how time flies by - and I have reached a milestone in my build. The bike is back on its wheels again and it is great to have a roller. These last few months have been spent mostly battling the frame. After having it powder coated I decided I did not like the colour so had it chemically stripped and then I re-spraypainted it. Having just finished that I realised that in the period when my mind was in neutral or high on thinners, that I mixed the 2K 2part paint to 1 part thinner and 10% hardner, instead of 2 part2 paint, 1 part hardner and 10% thinners. So it all had to come off again. Seems I was third time lucky. If you do a build like this then you should not be as forgetfull as me. Despite my best efforts in labelling and storing neatly, half the time is spent looking for a mislaid bolt, nut or other small part. But it is coming together slowly. Next up is re-building and re-fitting the entire braking system. In preparation I have had the parts bead blasted and guncoated. In between I have ordered new brake pistons, sealsand other odds and ends so just have to get on with putting it together. After that will be the wiring loom - pretty butchered and wired for a RZ 250 CDI I have managed to find an original 31K CDI so I hope that works. A question - according to the parts fich I have the front axle correct - spacer/collar on one side and speedo drive on the other. The stanchion on the speedo drive side sits slightly away from it and as you tighten the axle nut it drws in to engage the speedo drive in its top slot as intended. I am just wondering if it must have that "give" or whether I am missing anything? Parts galore 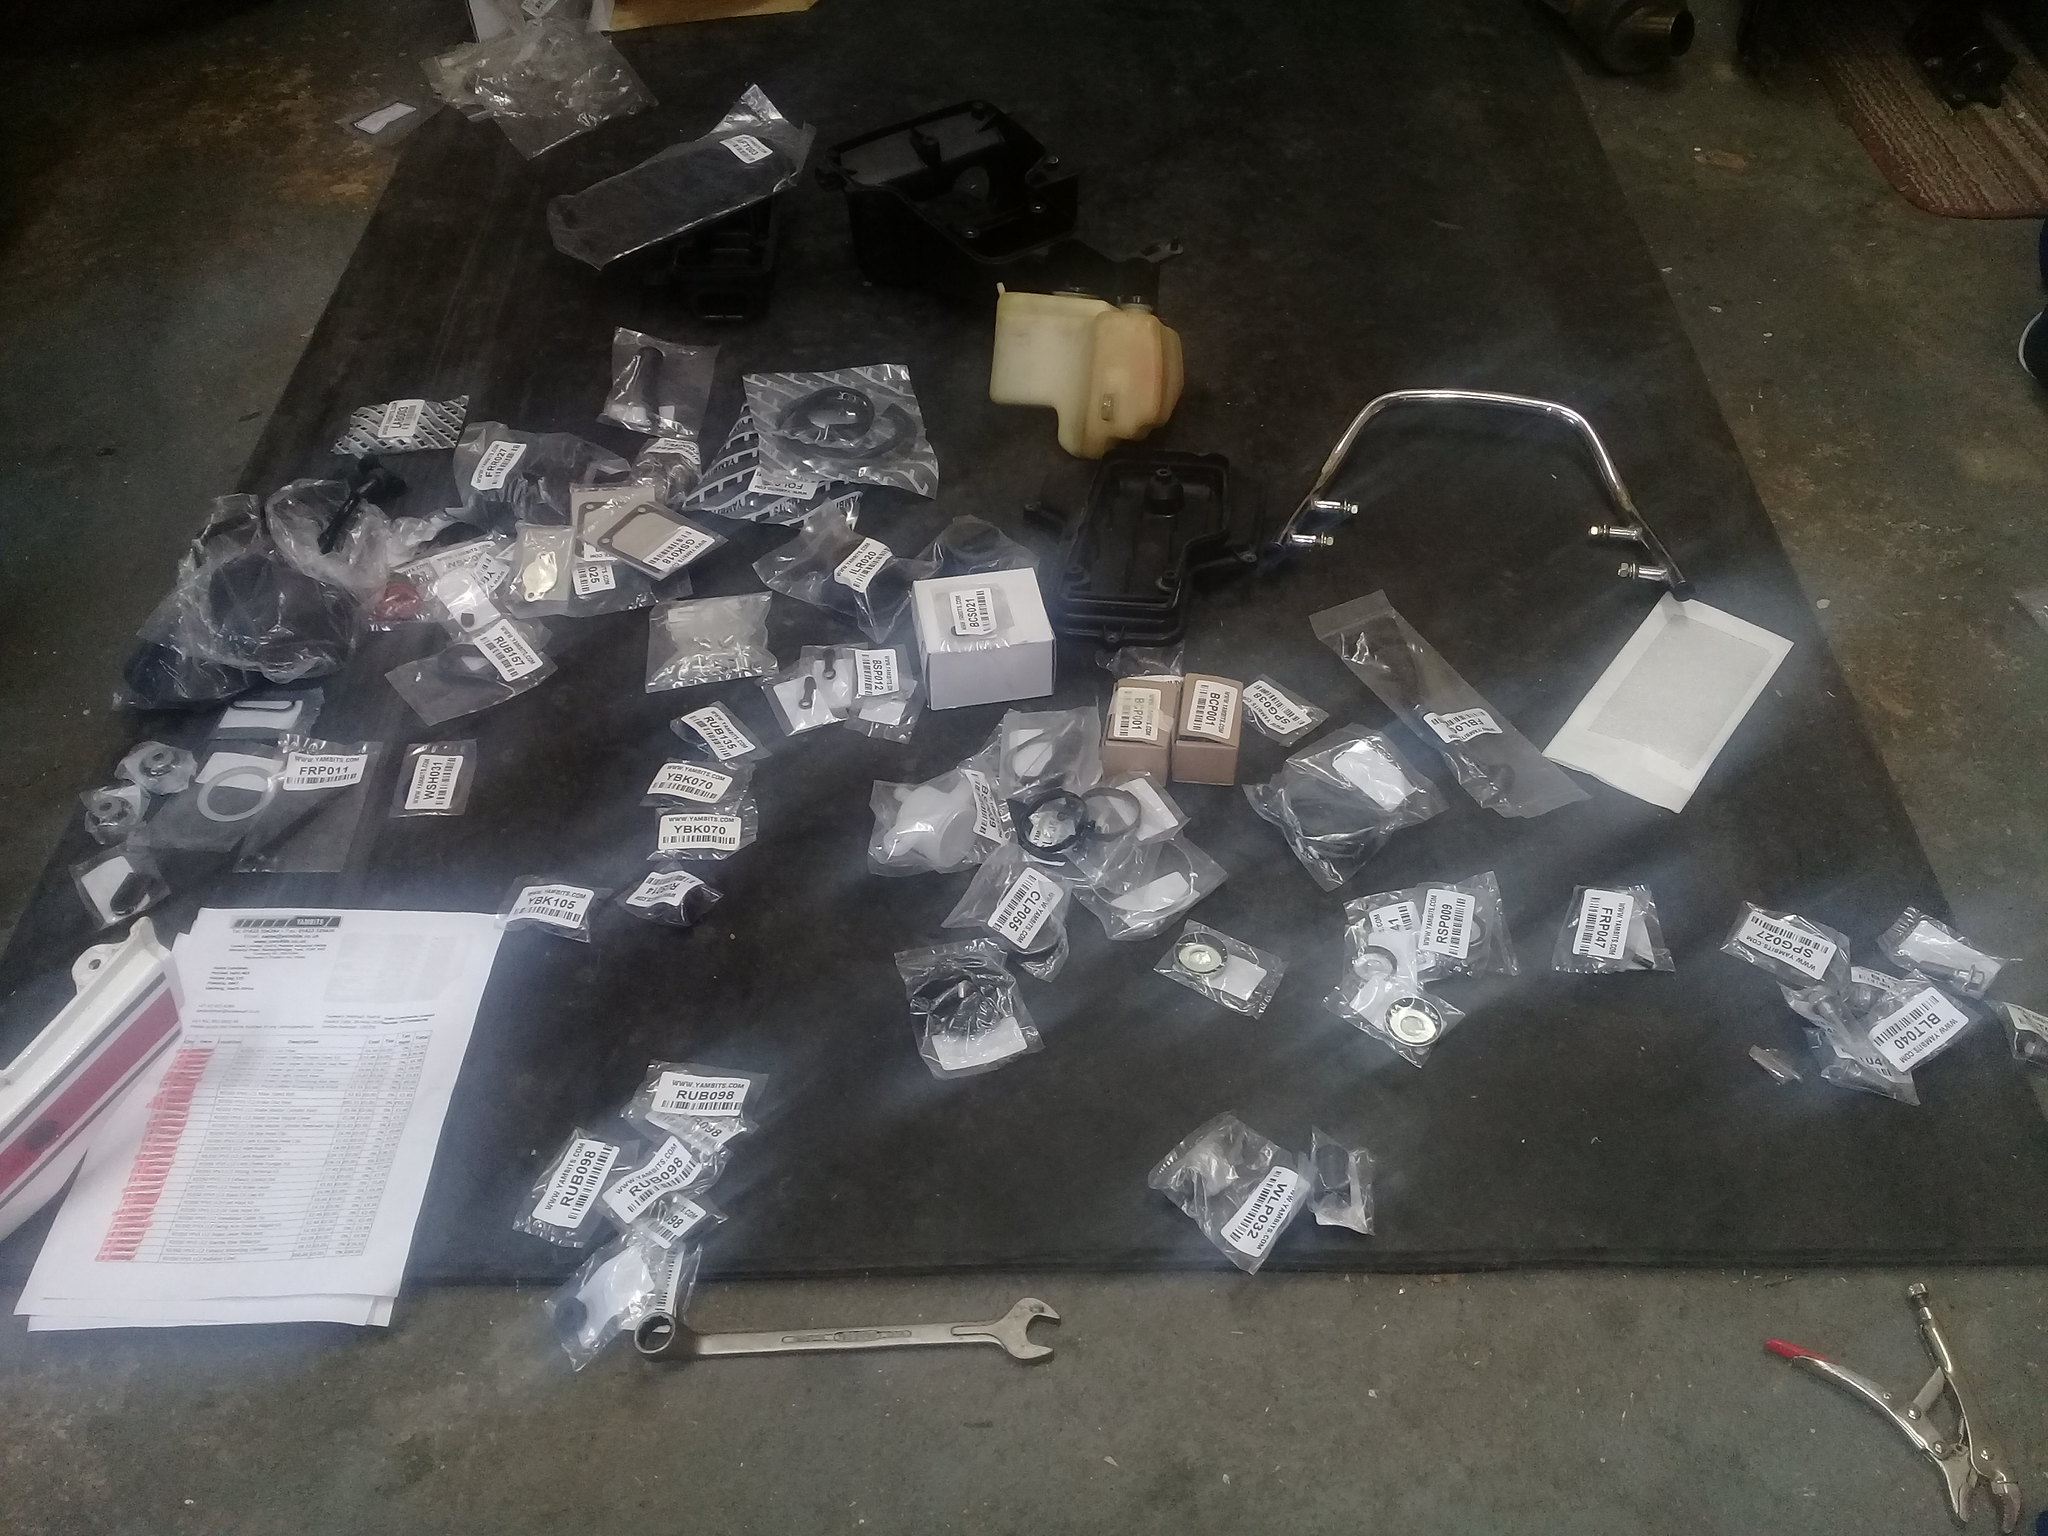 Fitting the black bits 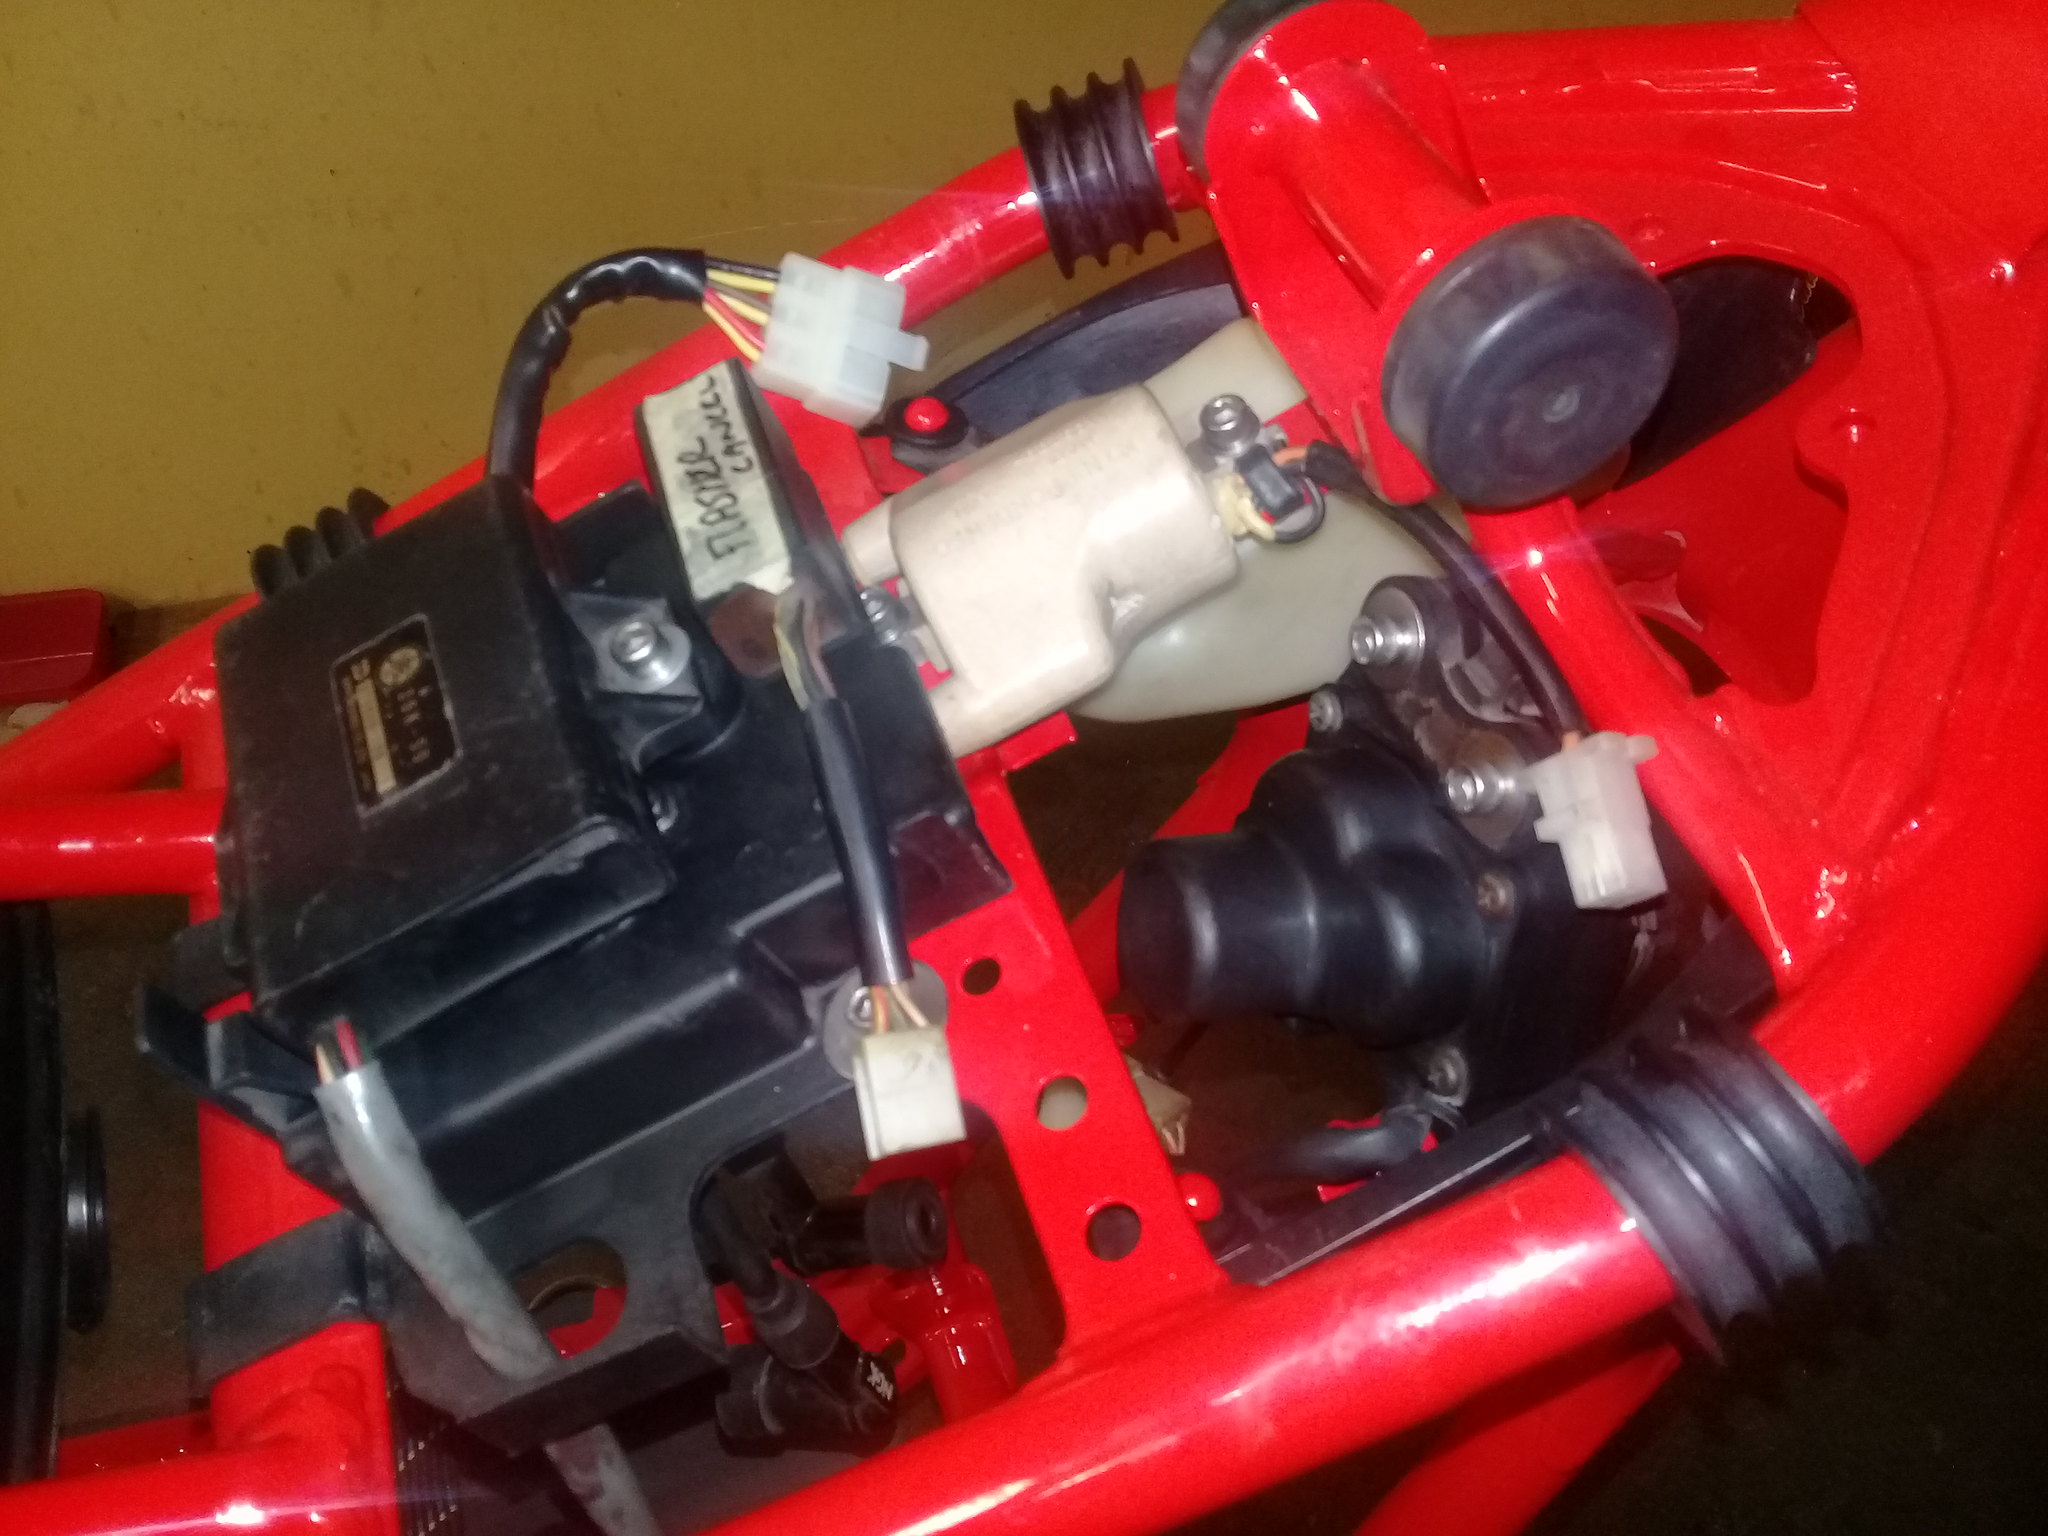 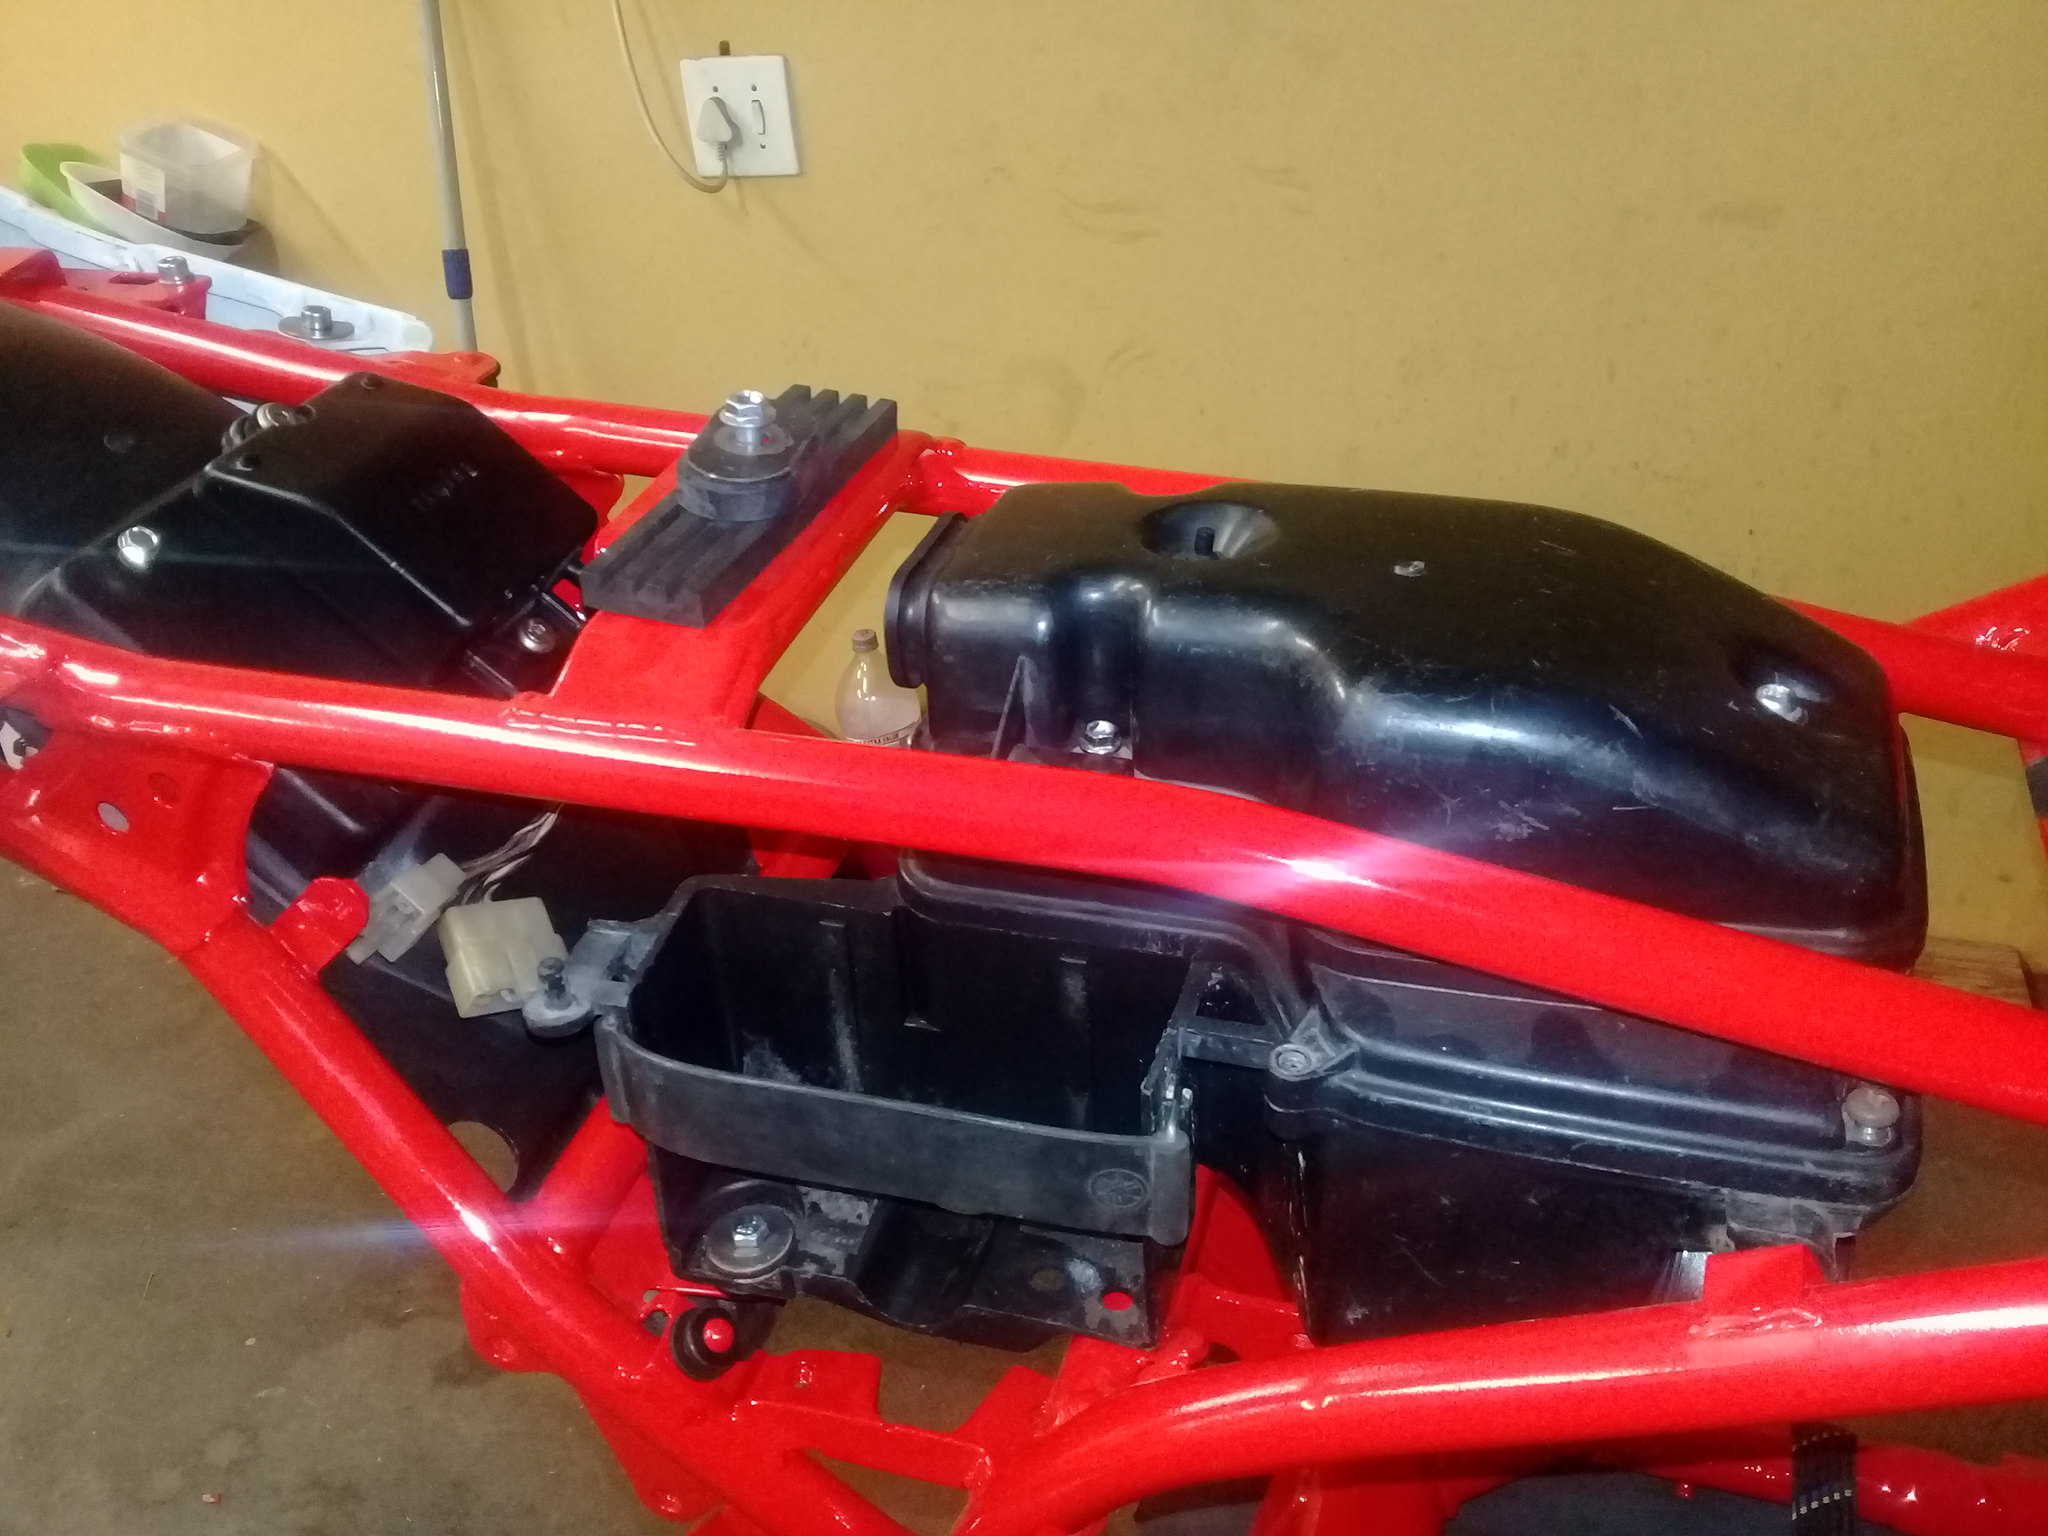 Then the rear suspension 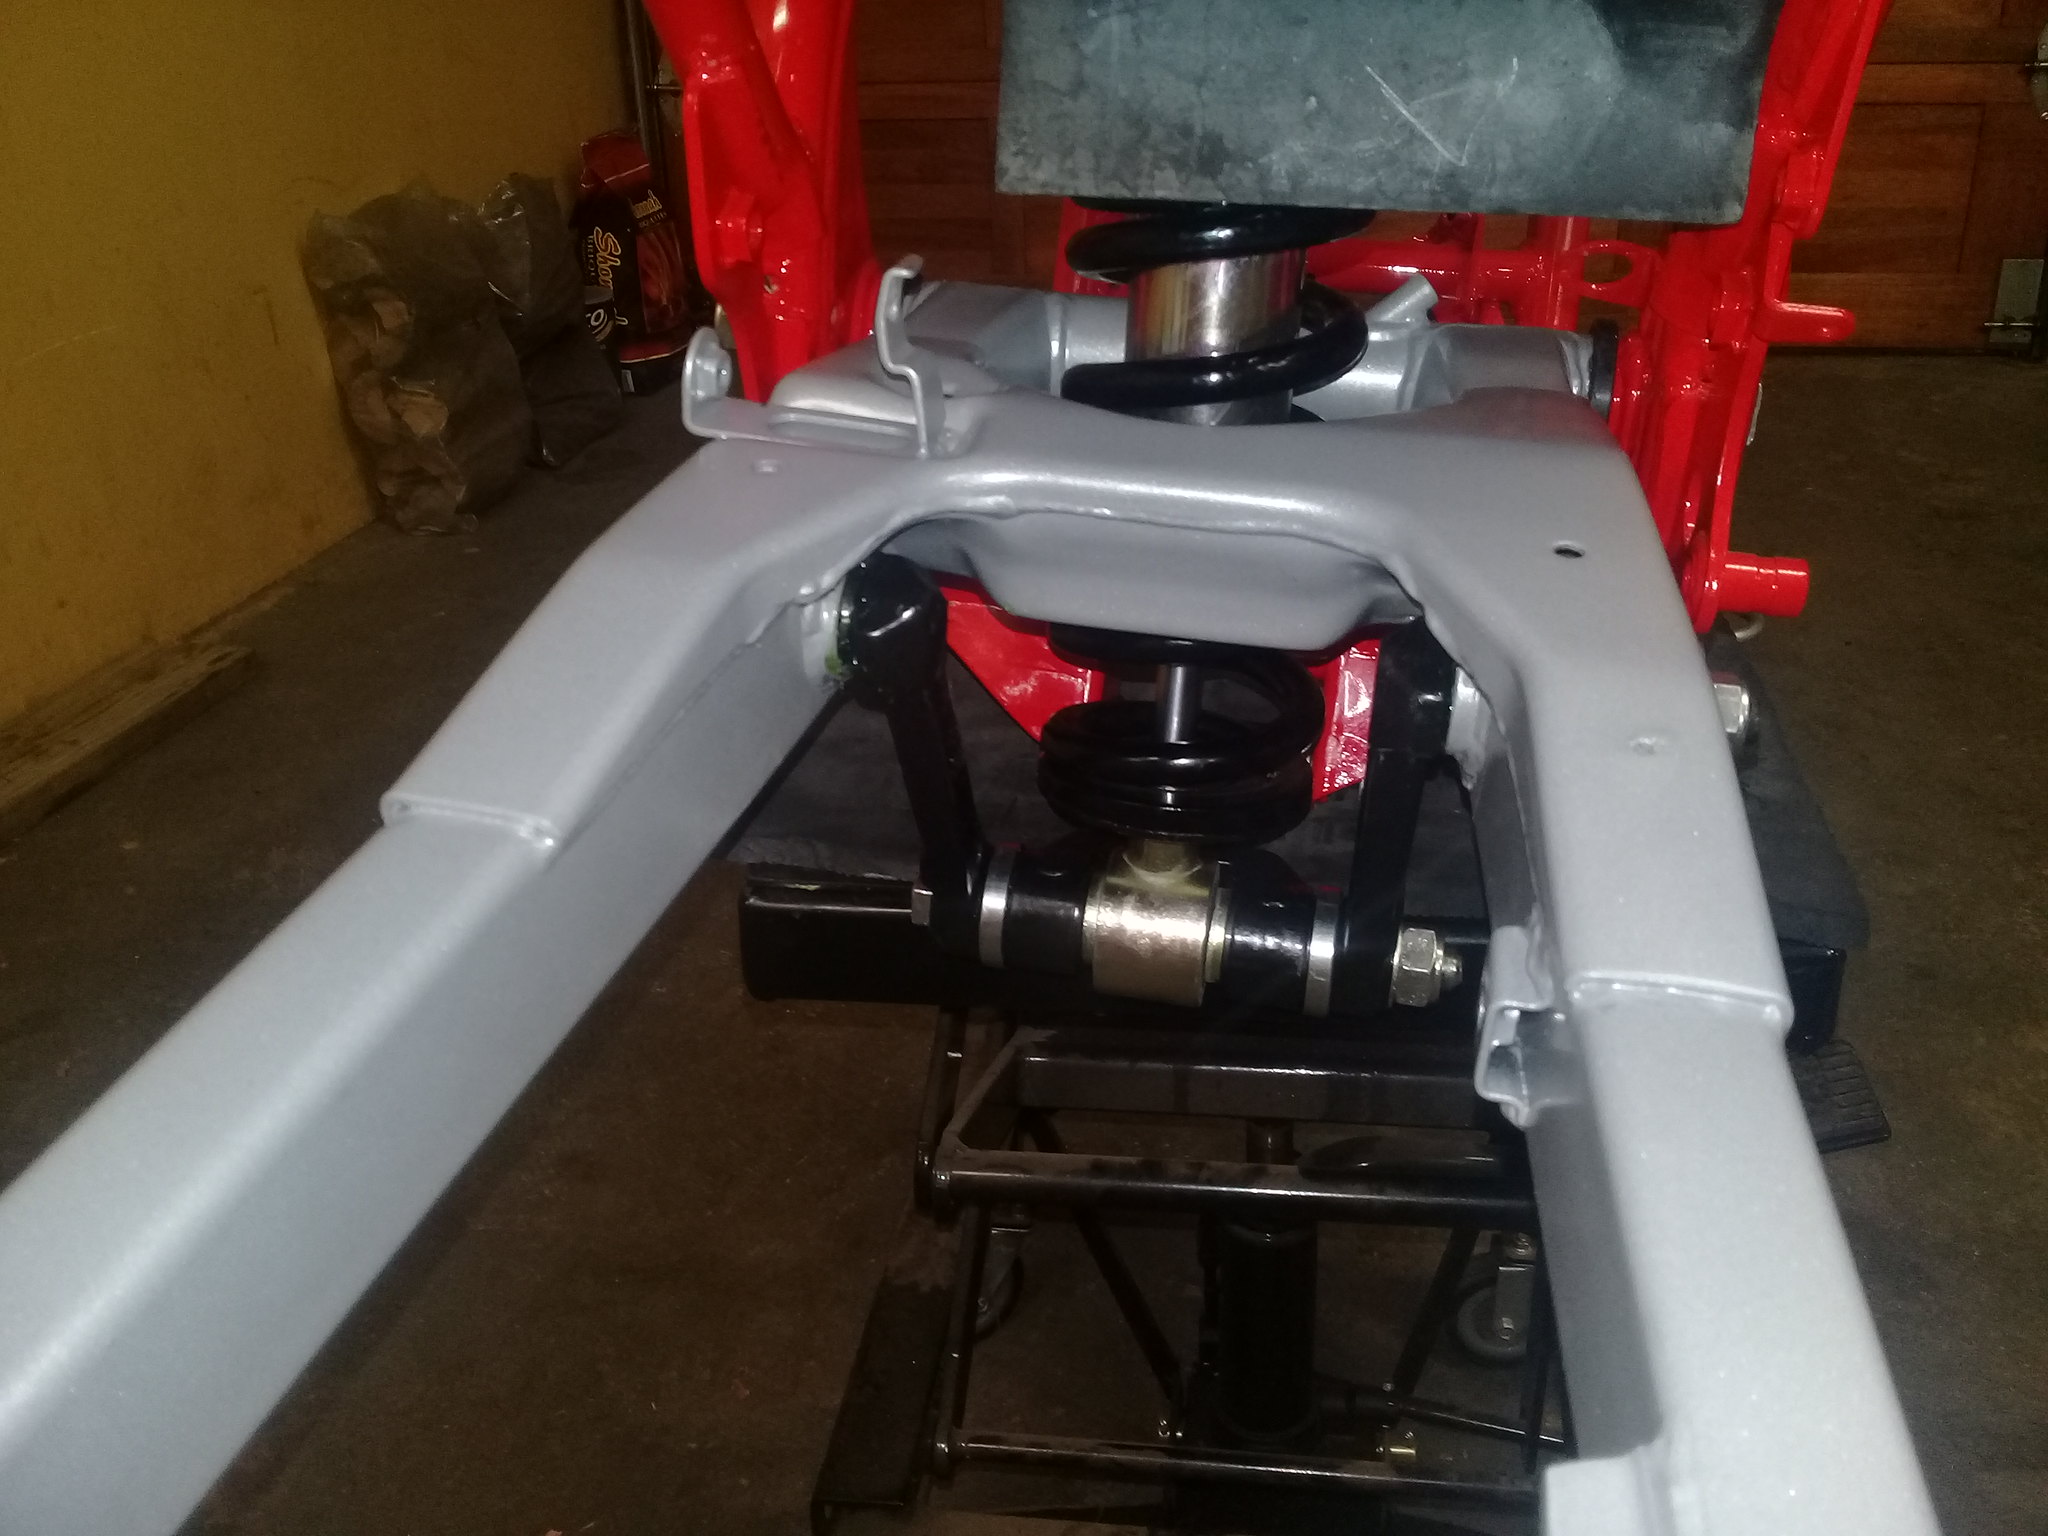 And soon she was on her feet 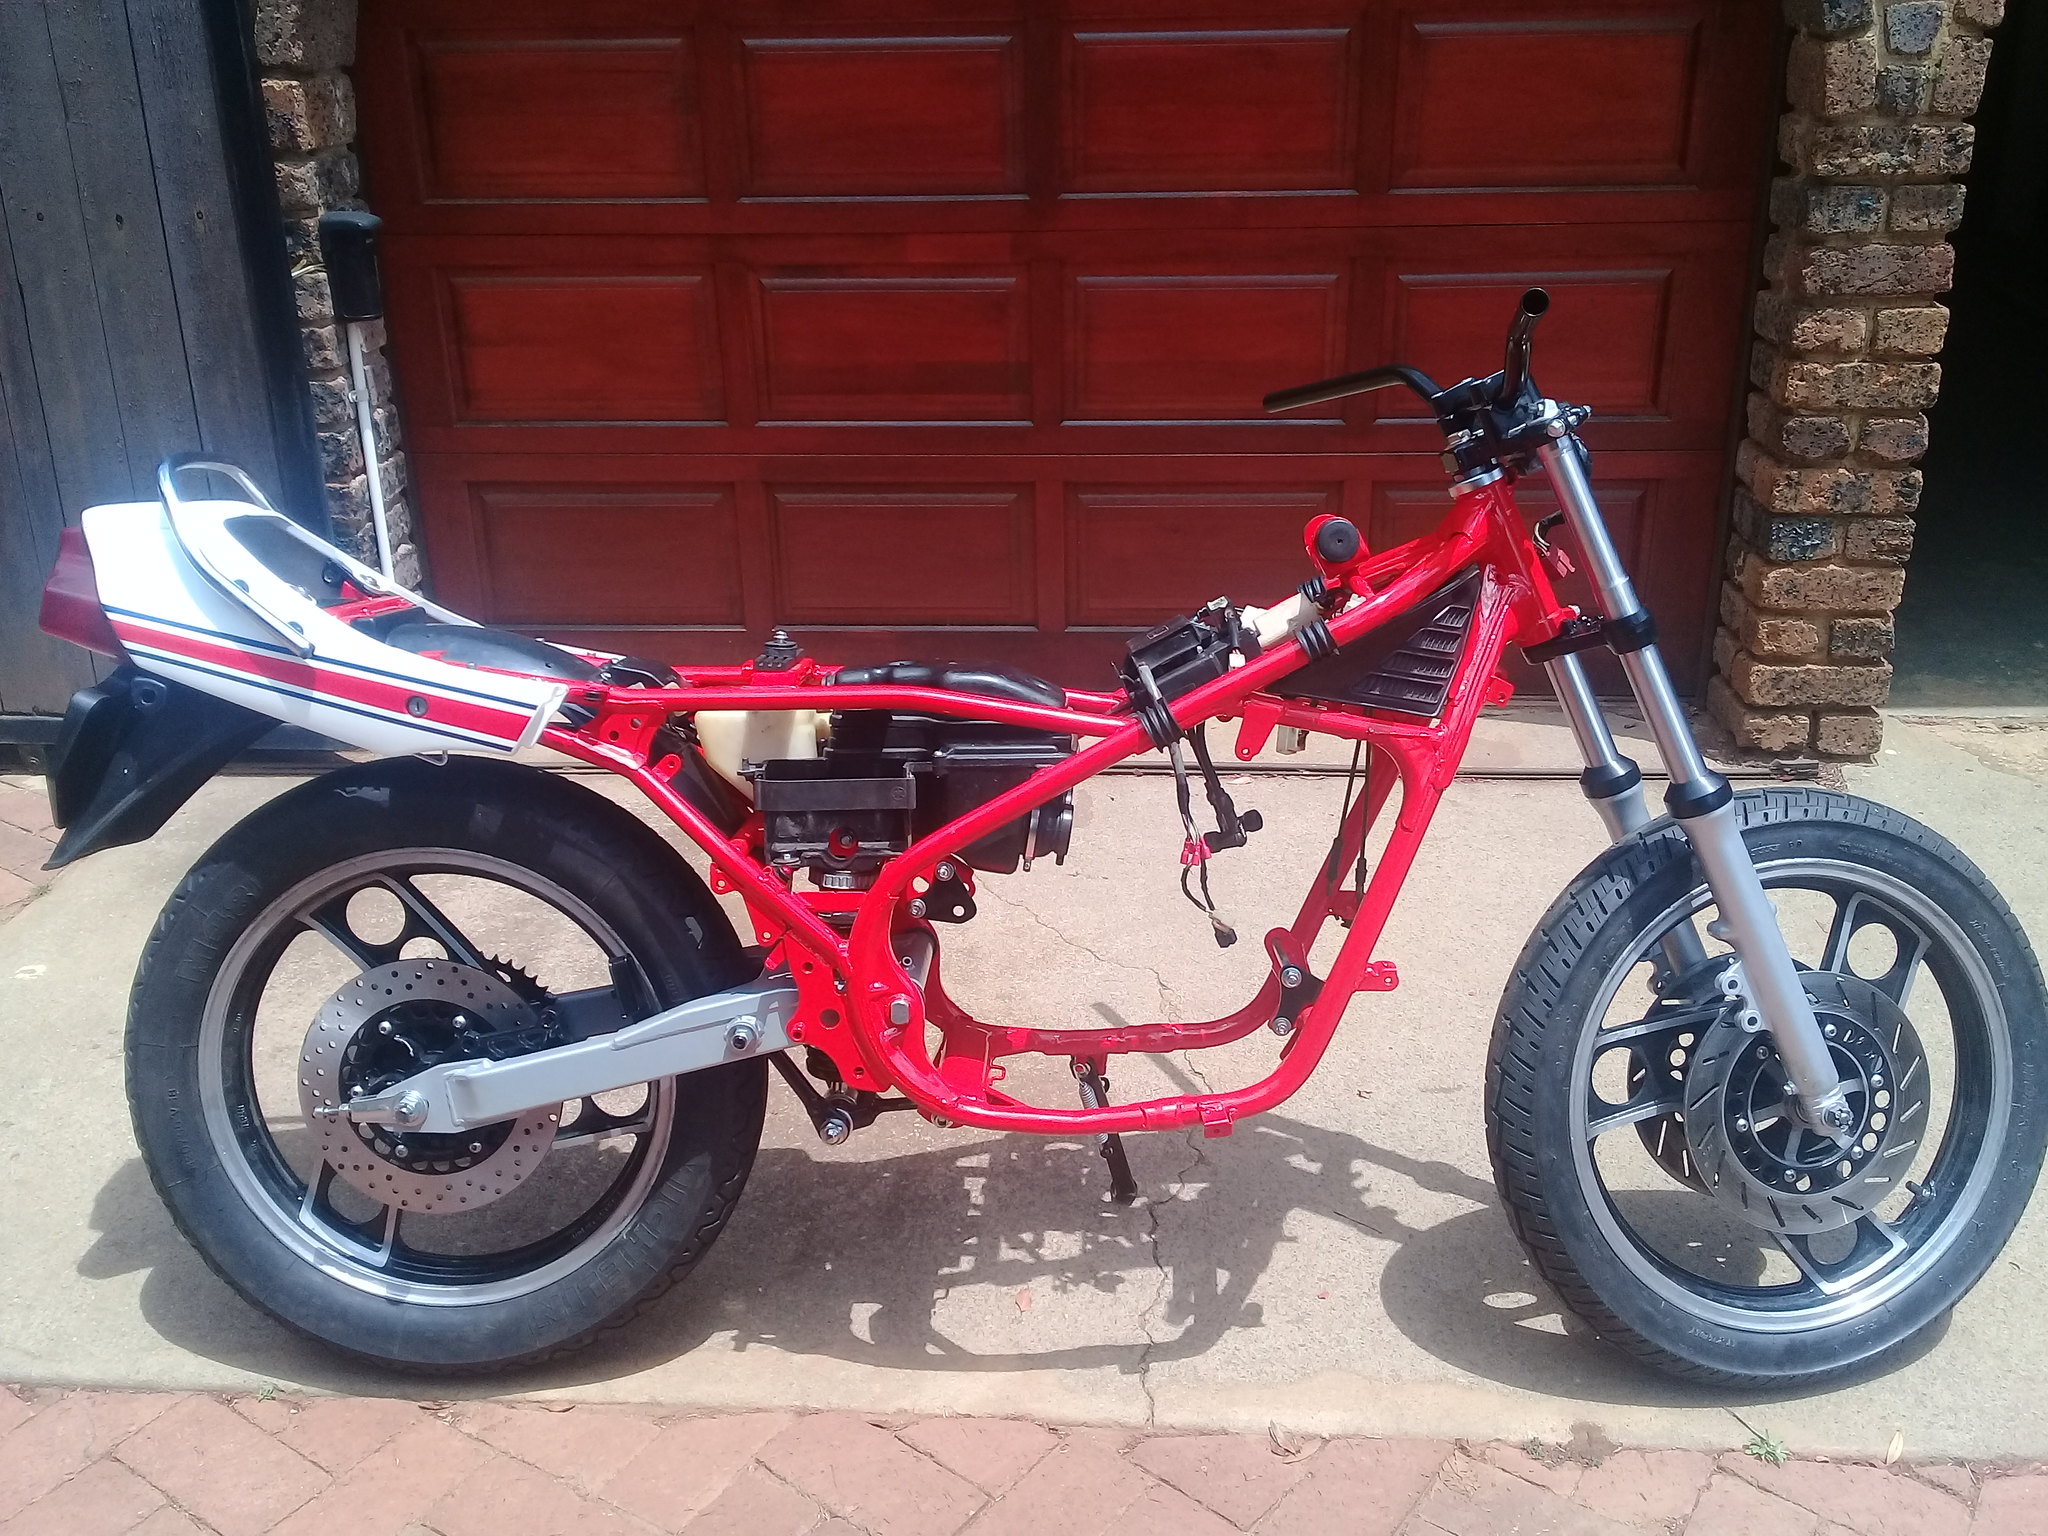  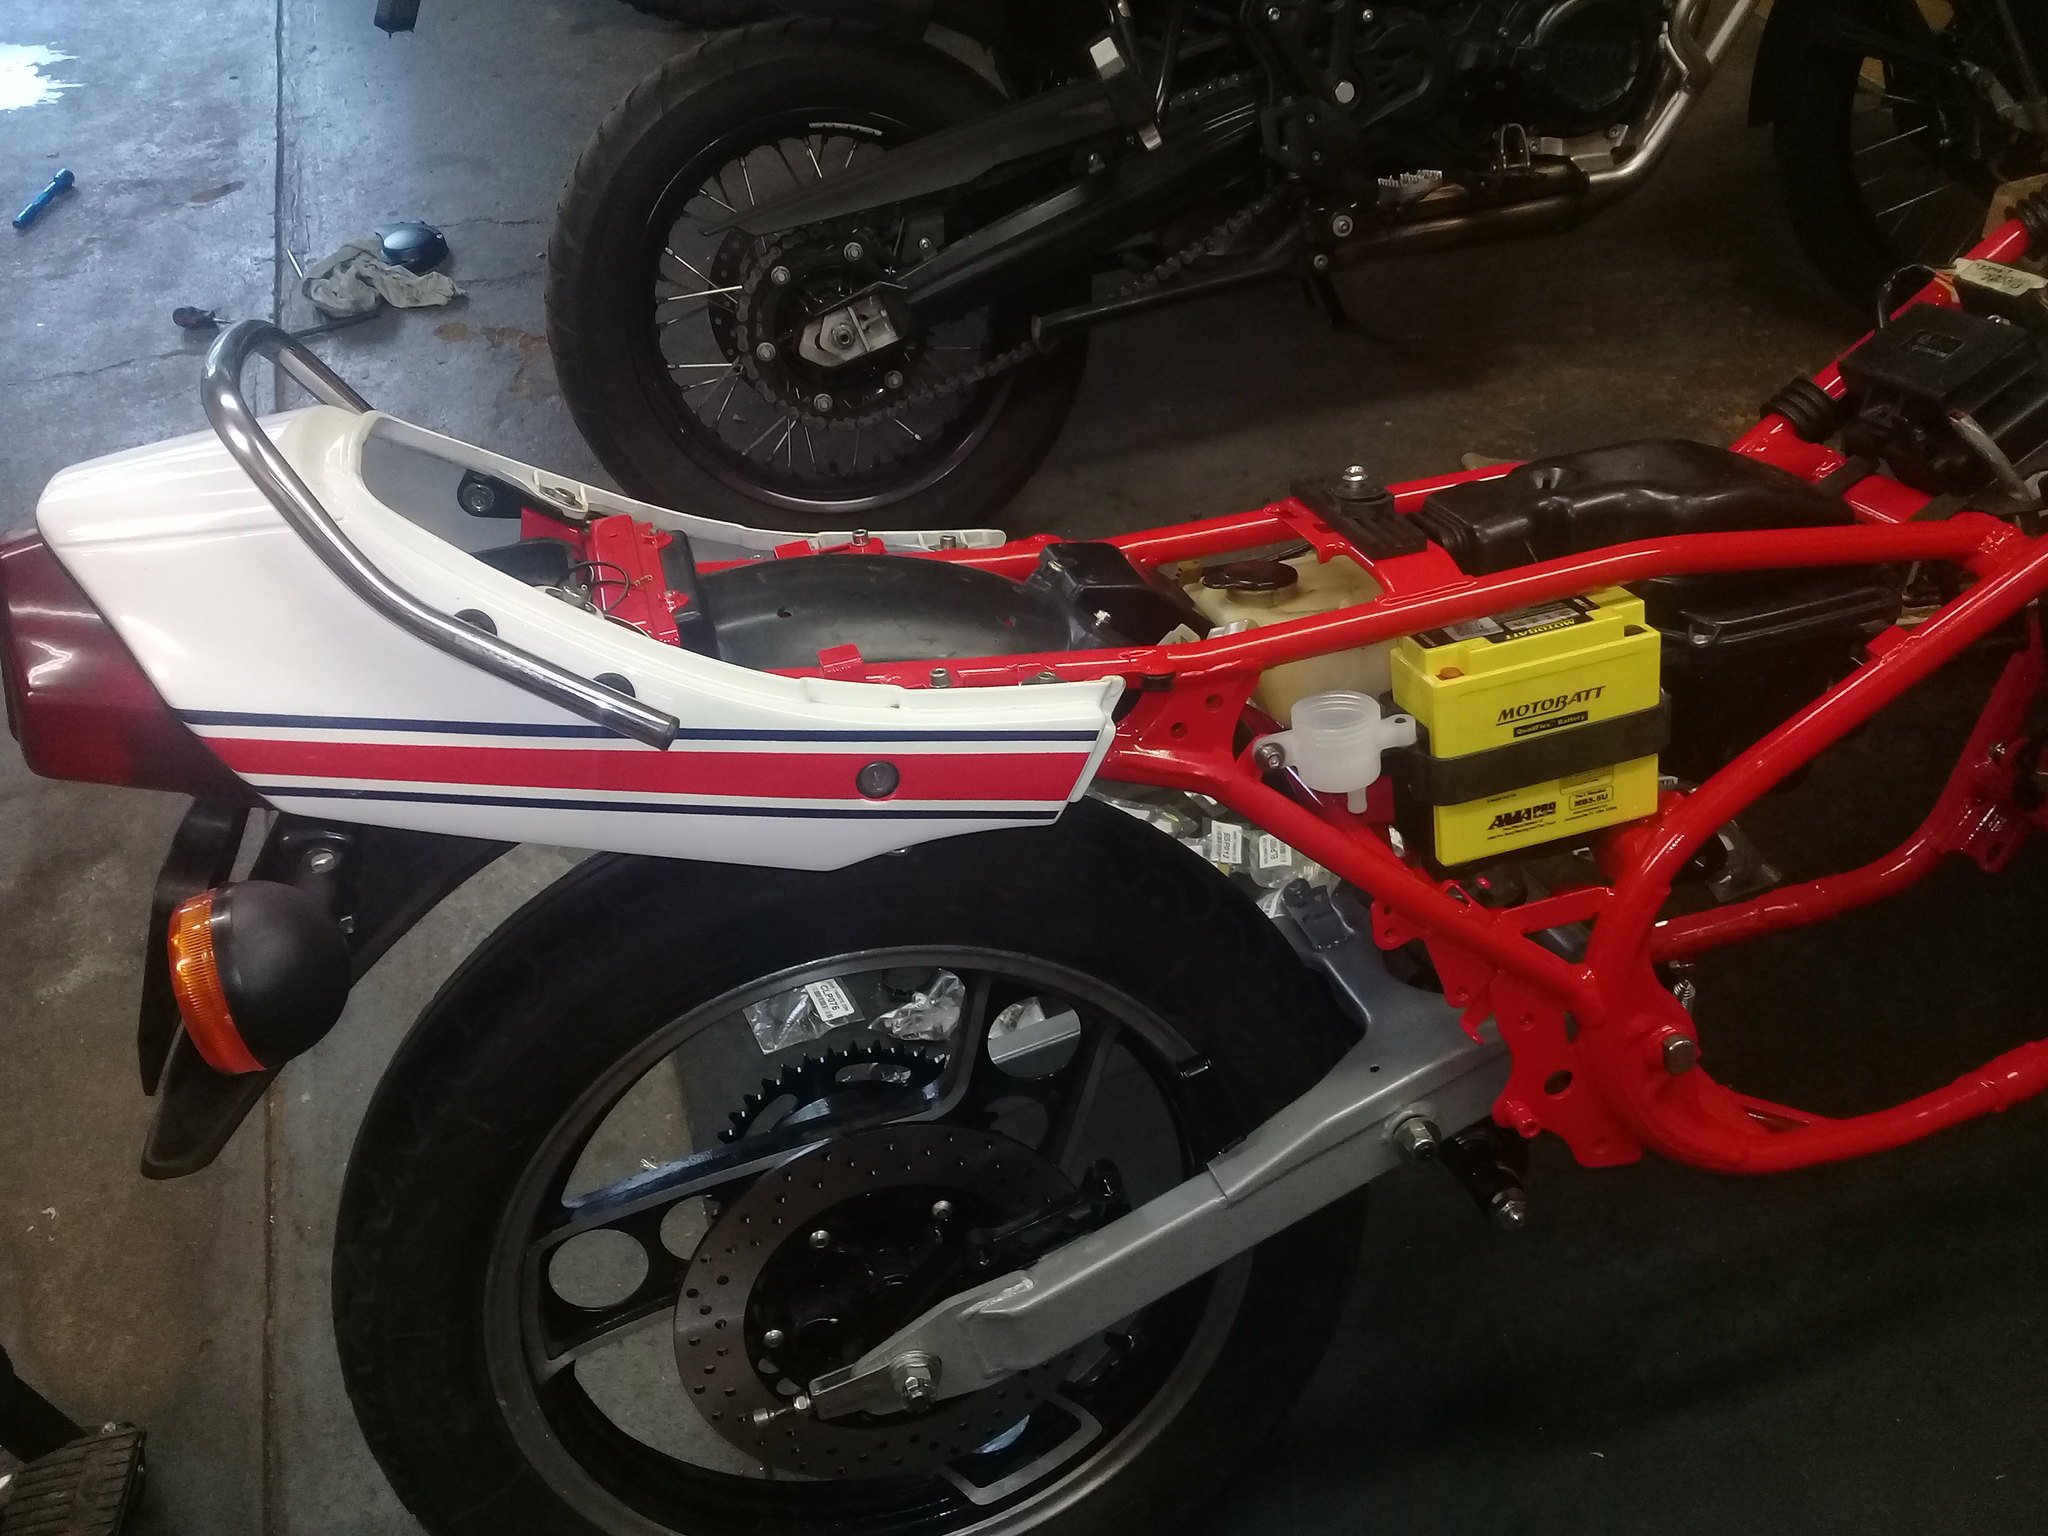 To be continued...... |
|
|
|
Post by panzermatt on Oct 21, 2018 0:05:09 GMT 1
lovely work, and i love the pictures. keep going mate!
|
|
|
|
Post by Ozhammer on Oct 21, 2018 10:57:02 GMT 1
Some excellent work Andrei, looks like that will be a nice example when finished.
|
|
|
|
Post by andrel on Oct 21, 2018 20:19:12 GMT 1
Thanks gents. So today it was time to tackle the braking - front to back and complete. First up the front calipers 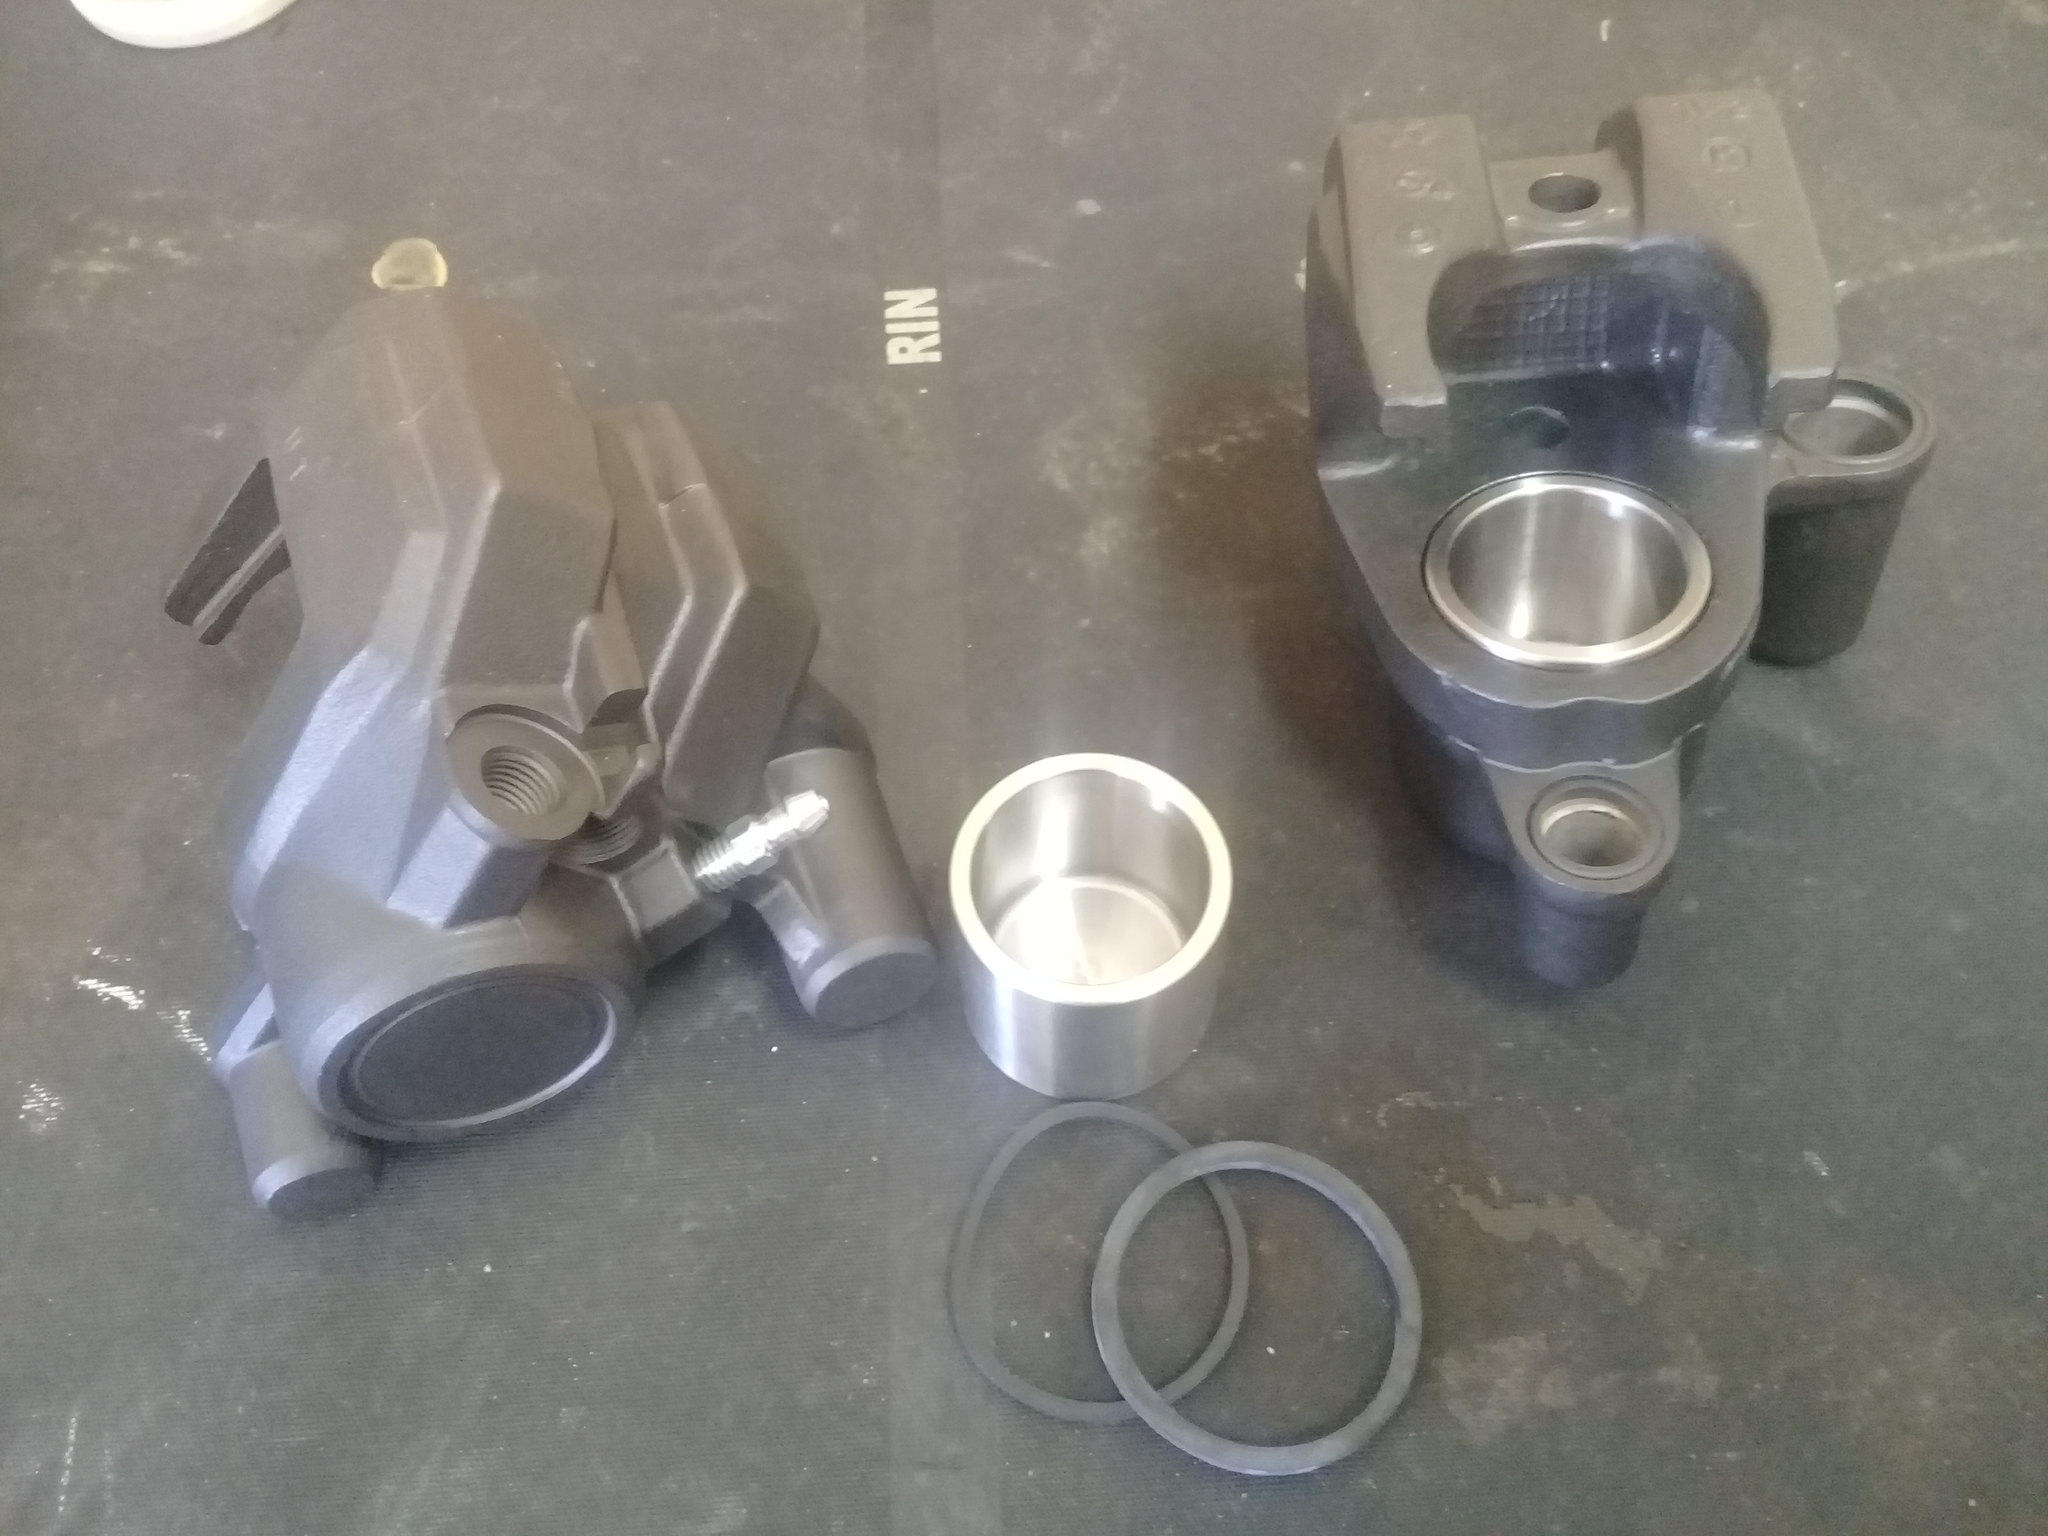 Found Yambits to be a bit of a hit and miss. On the positive side, at least their brake pistons is of the correct dimensions, but then again the two rubber seals in the rear brake calipher was too small so I re-used the old ones. 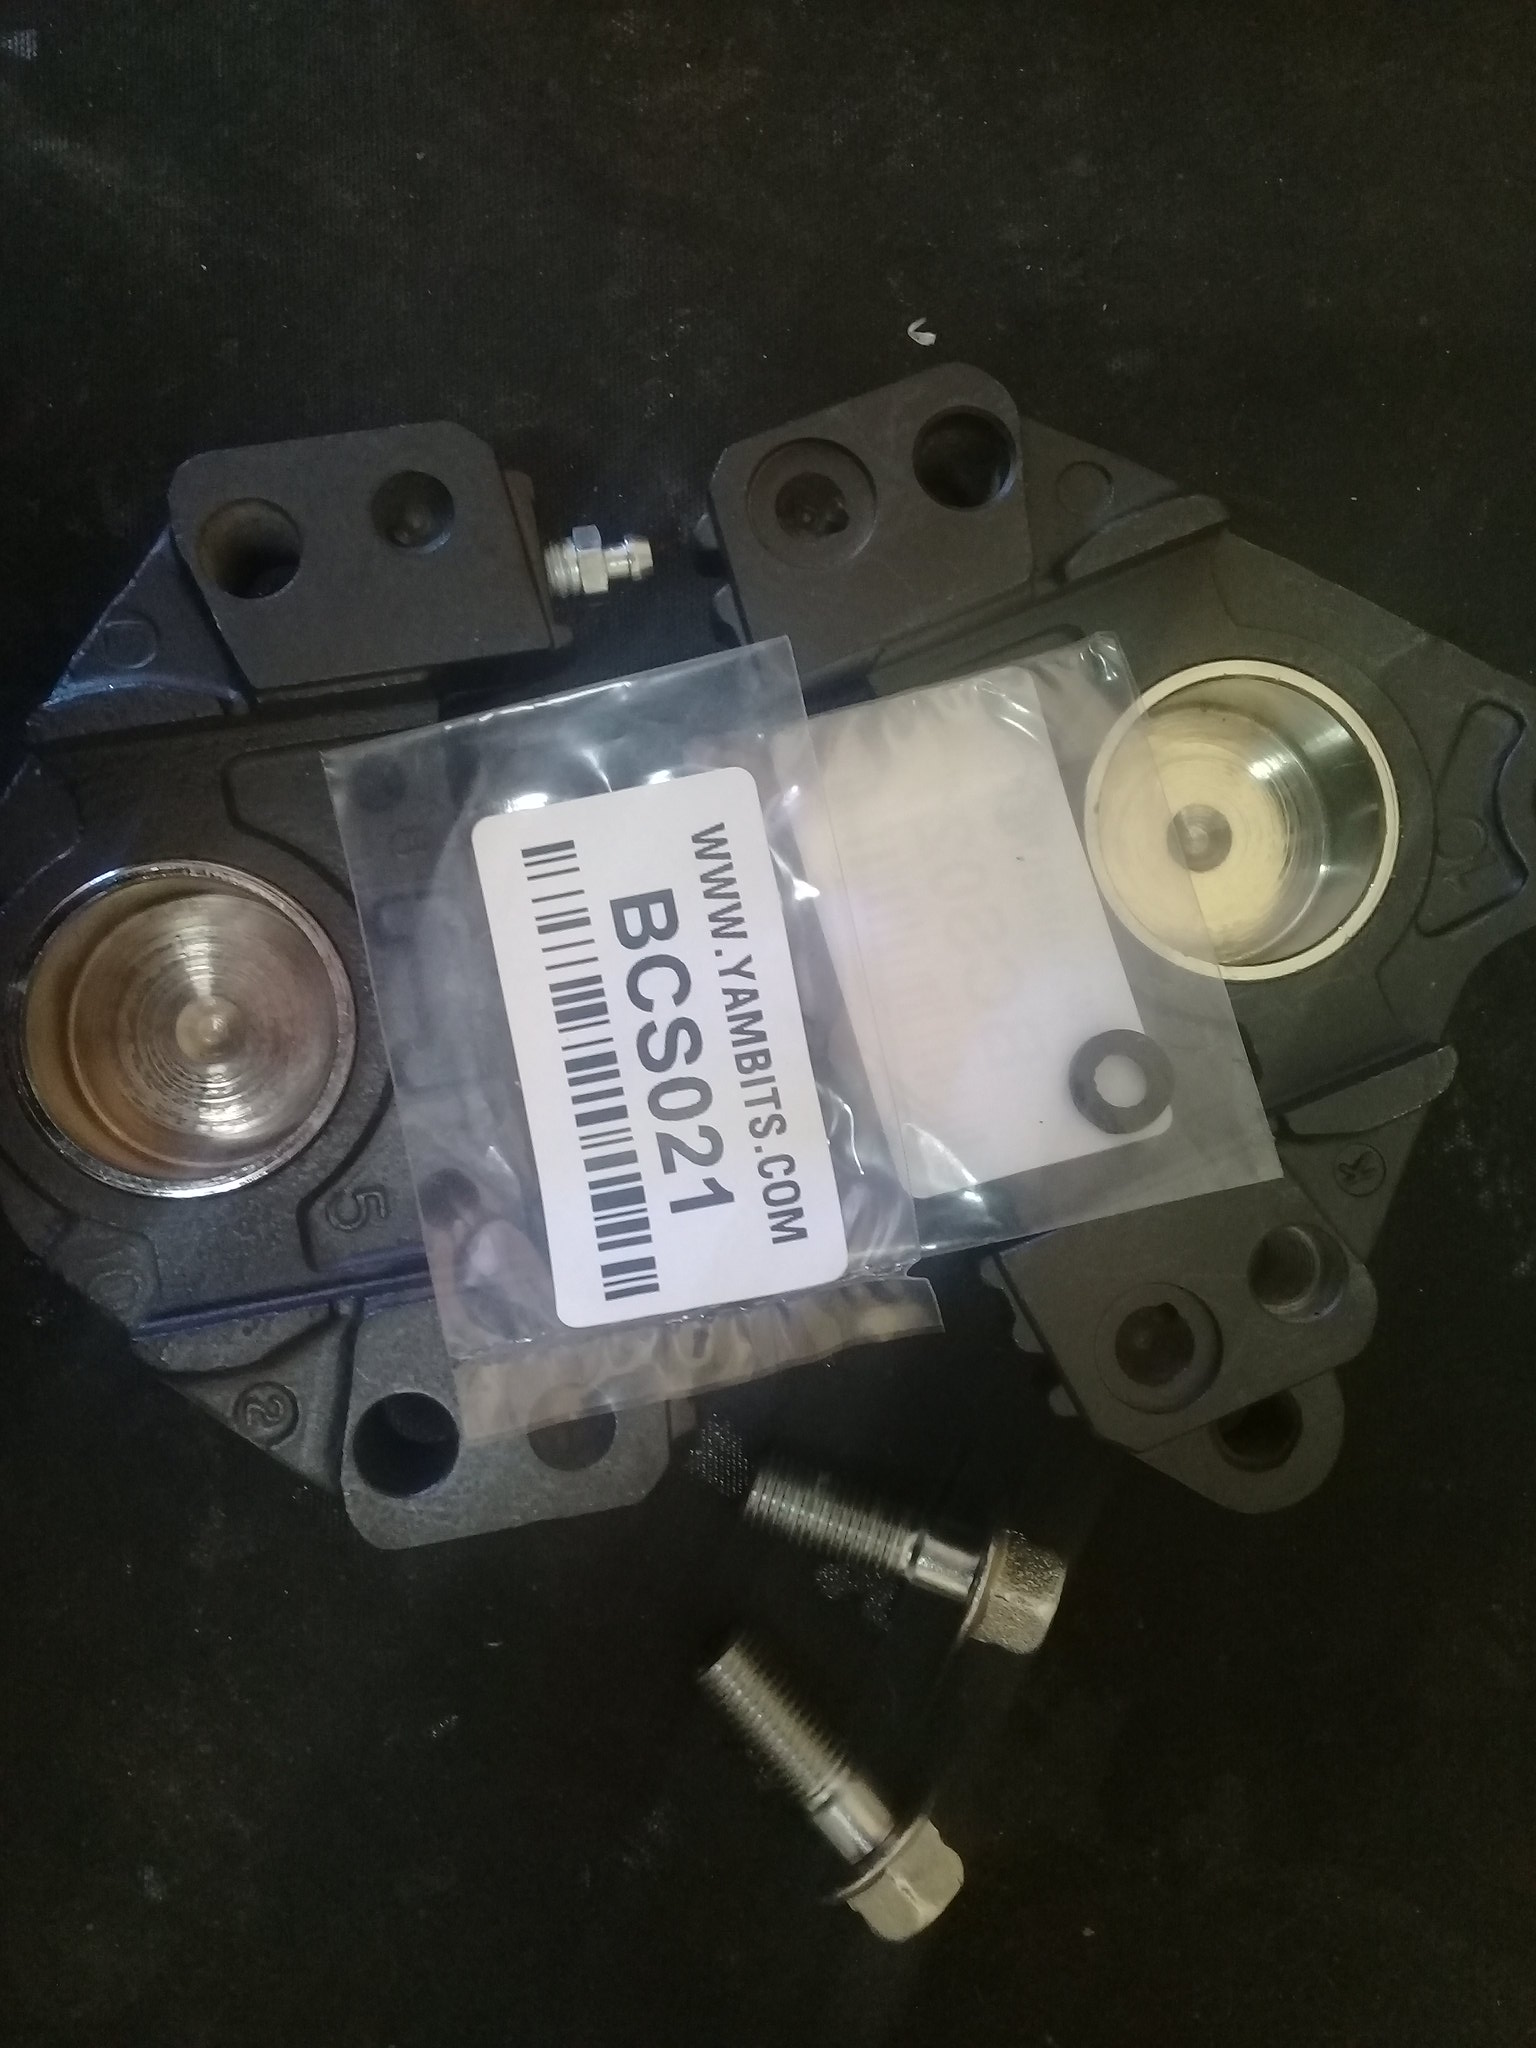 Yambits seal fitted on the right, old one on the left 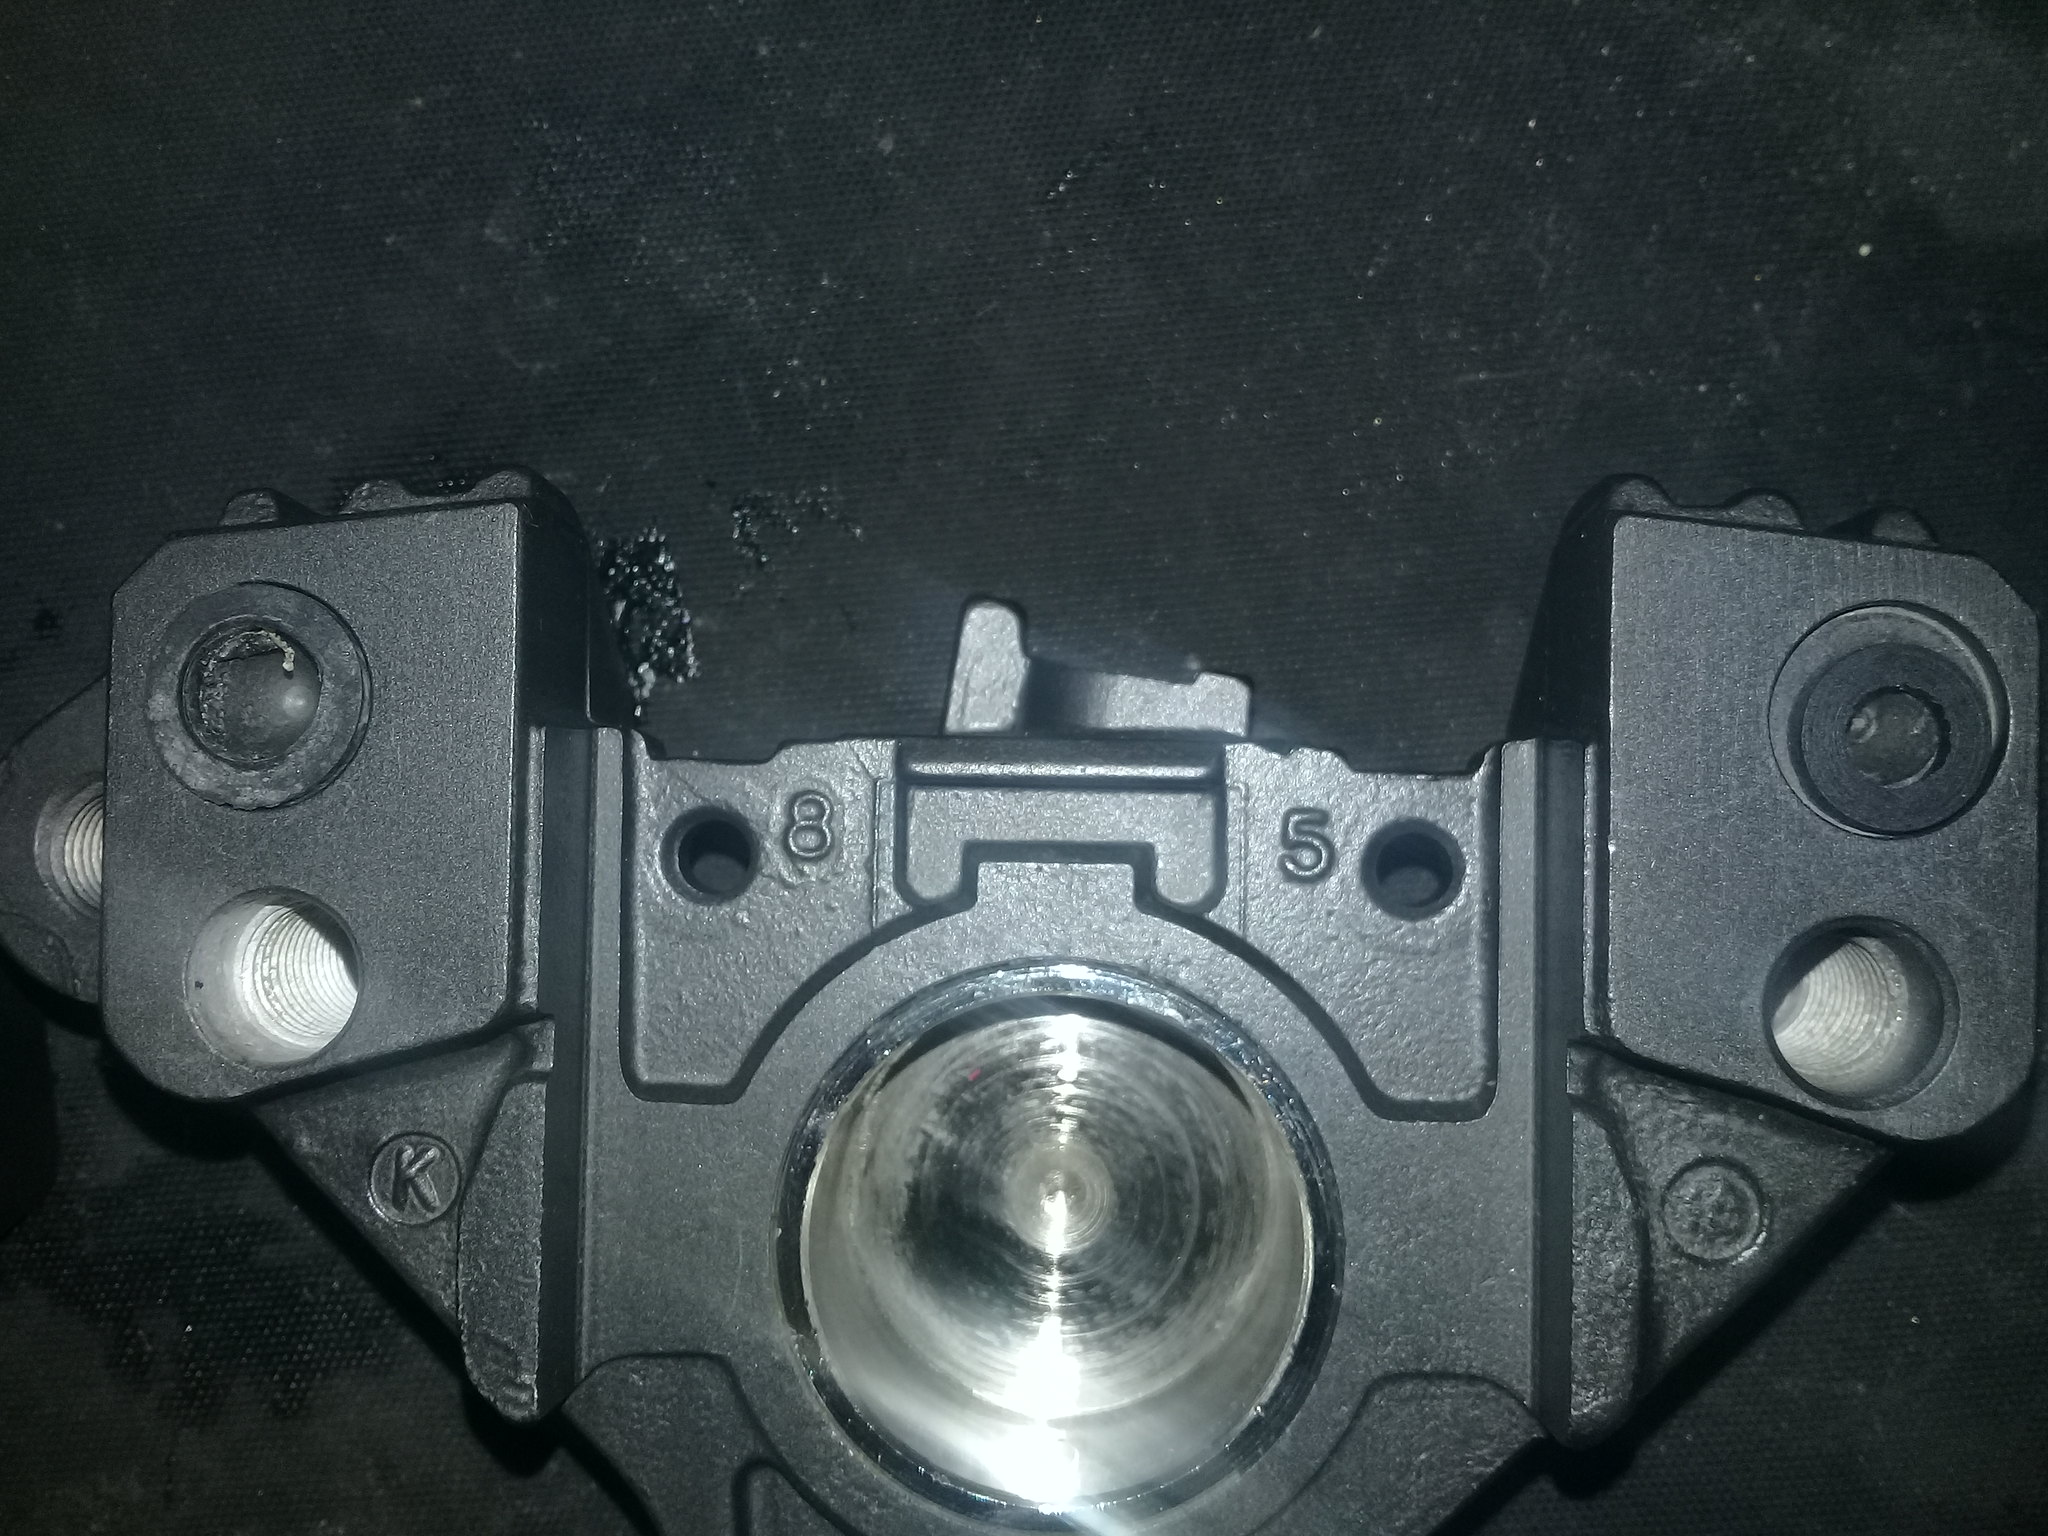 Yambits brake switched vs old brake switch 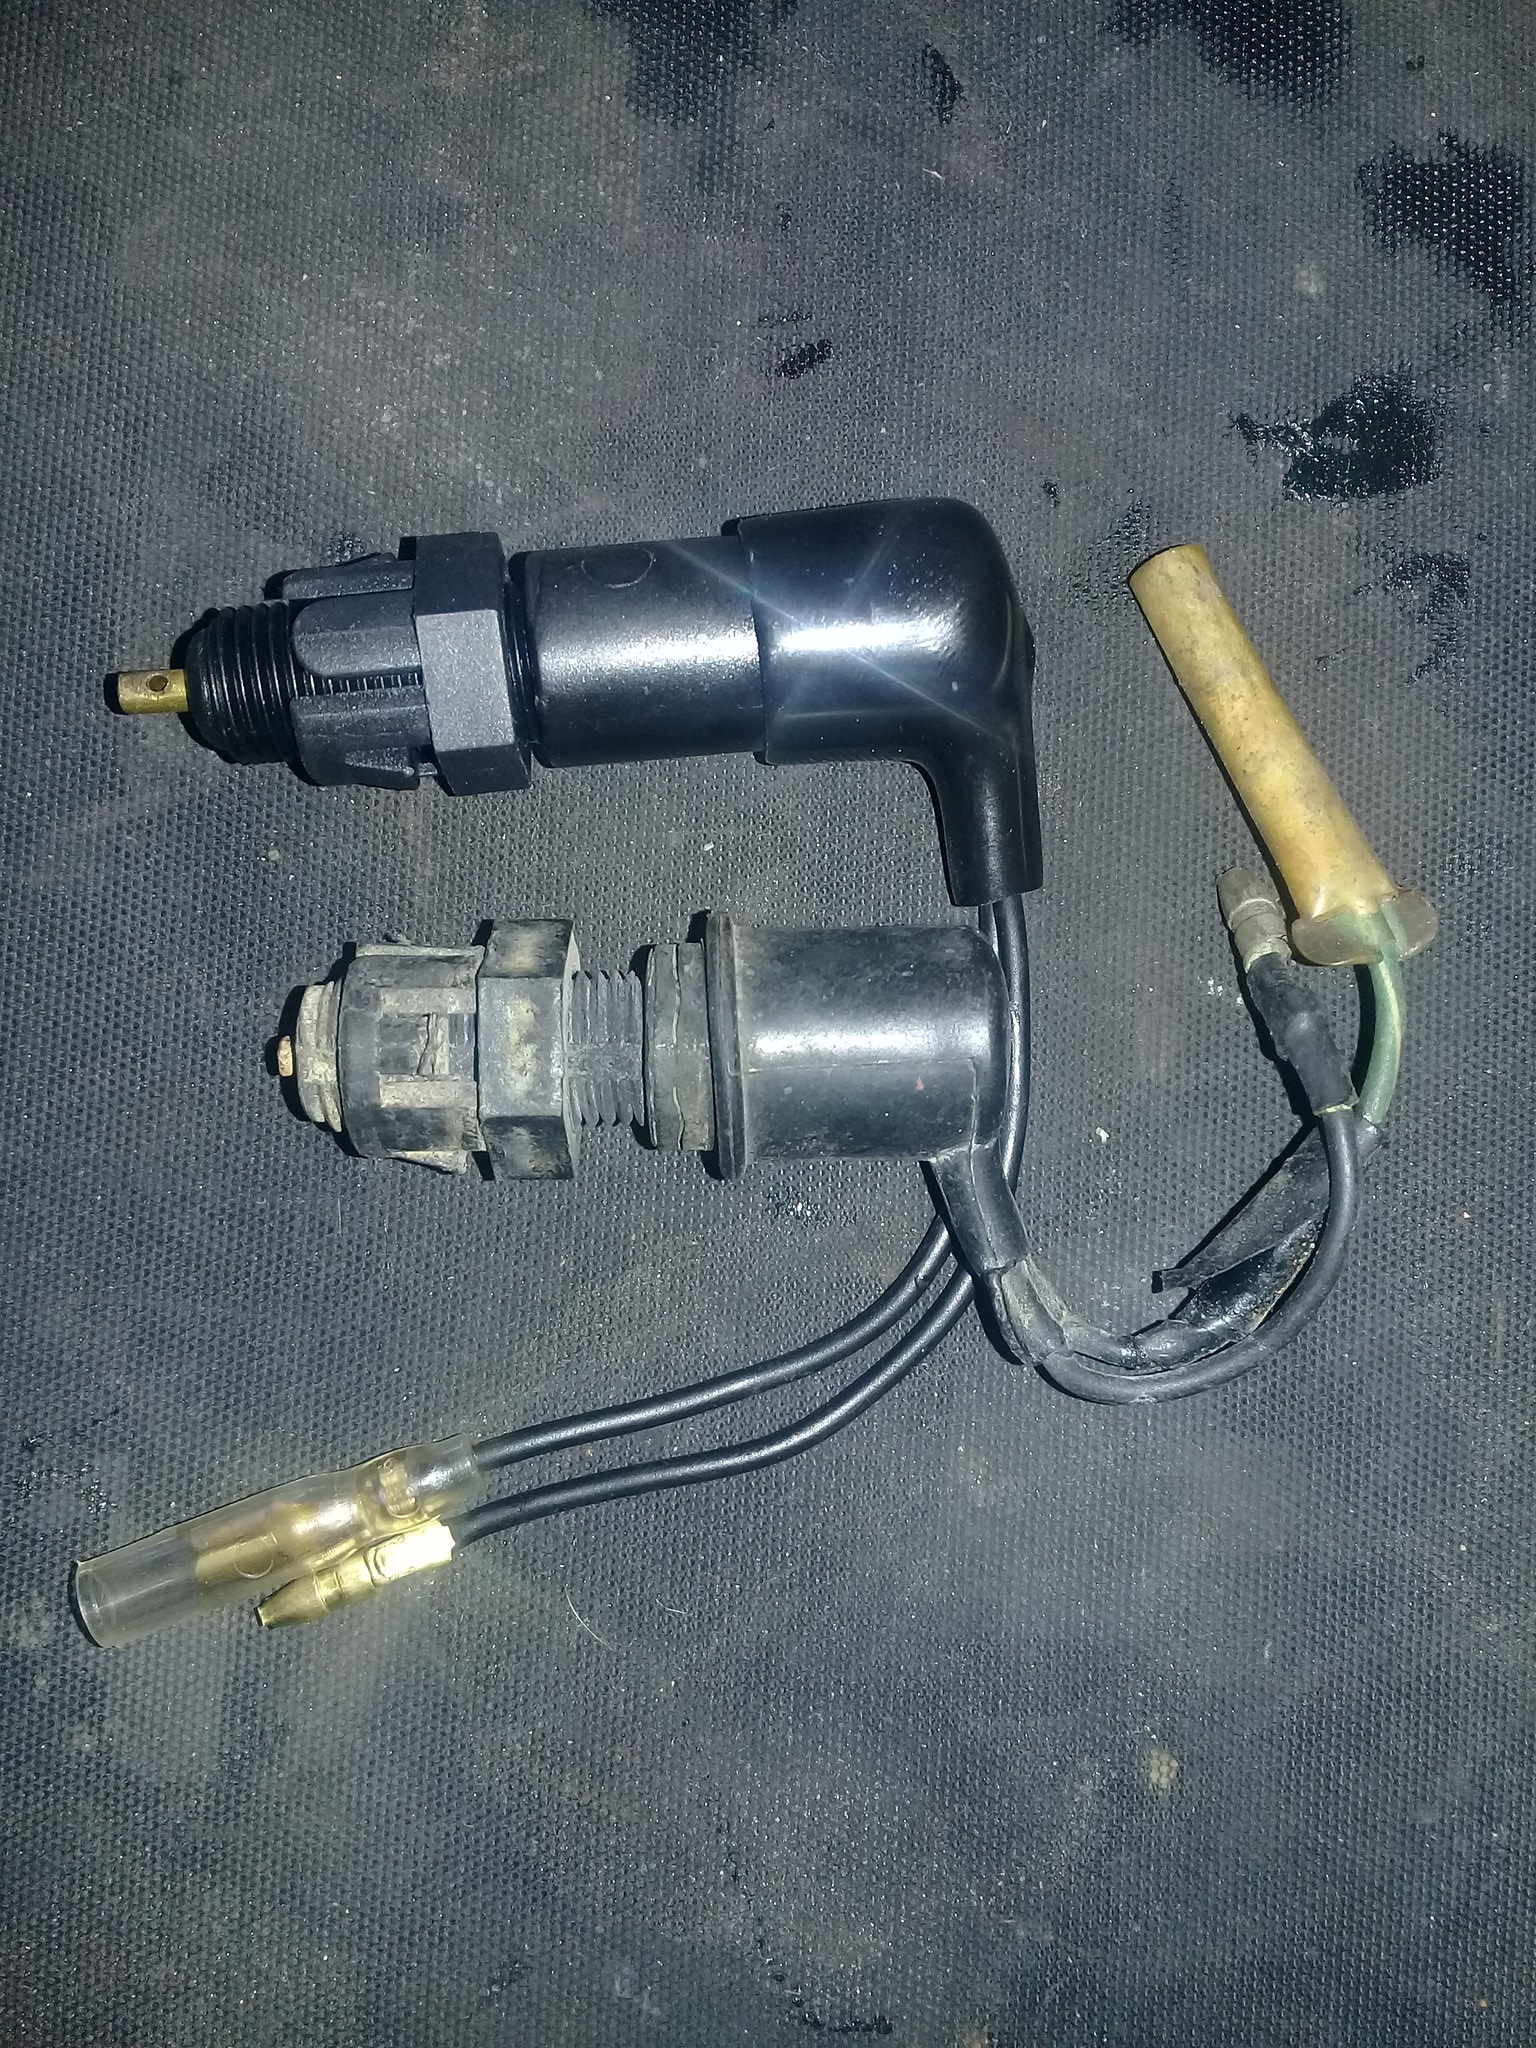 Front caliphers fitted. Very pleased with the gunmetal coating. Looks to be good quality and should last a long time.  Rear caliper an associated hardware fitted. As i have become accustomed to with this bike (parts missing and weird stuff done) the anti-rattle spring was MIA. Nothing I can do about that now. 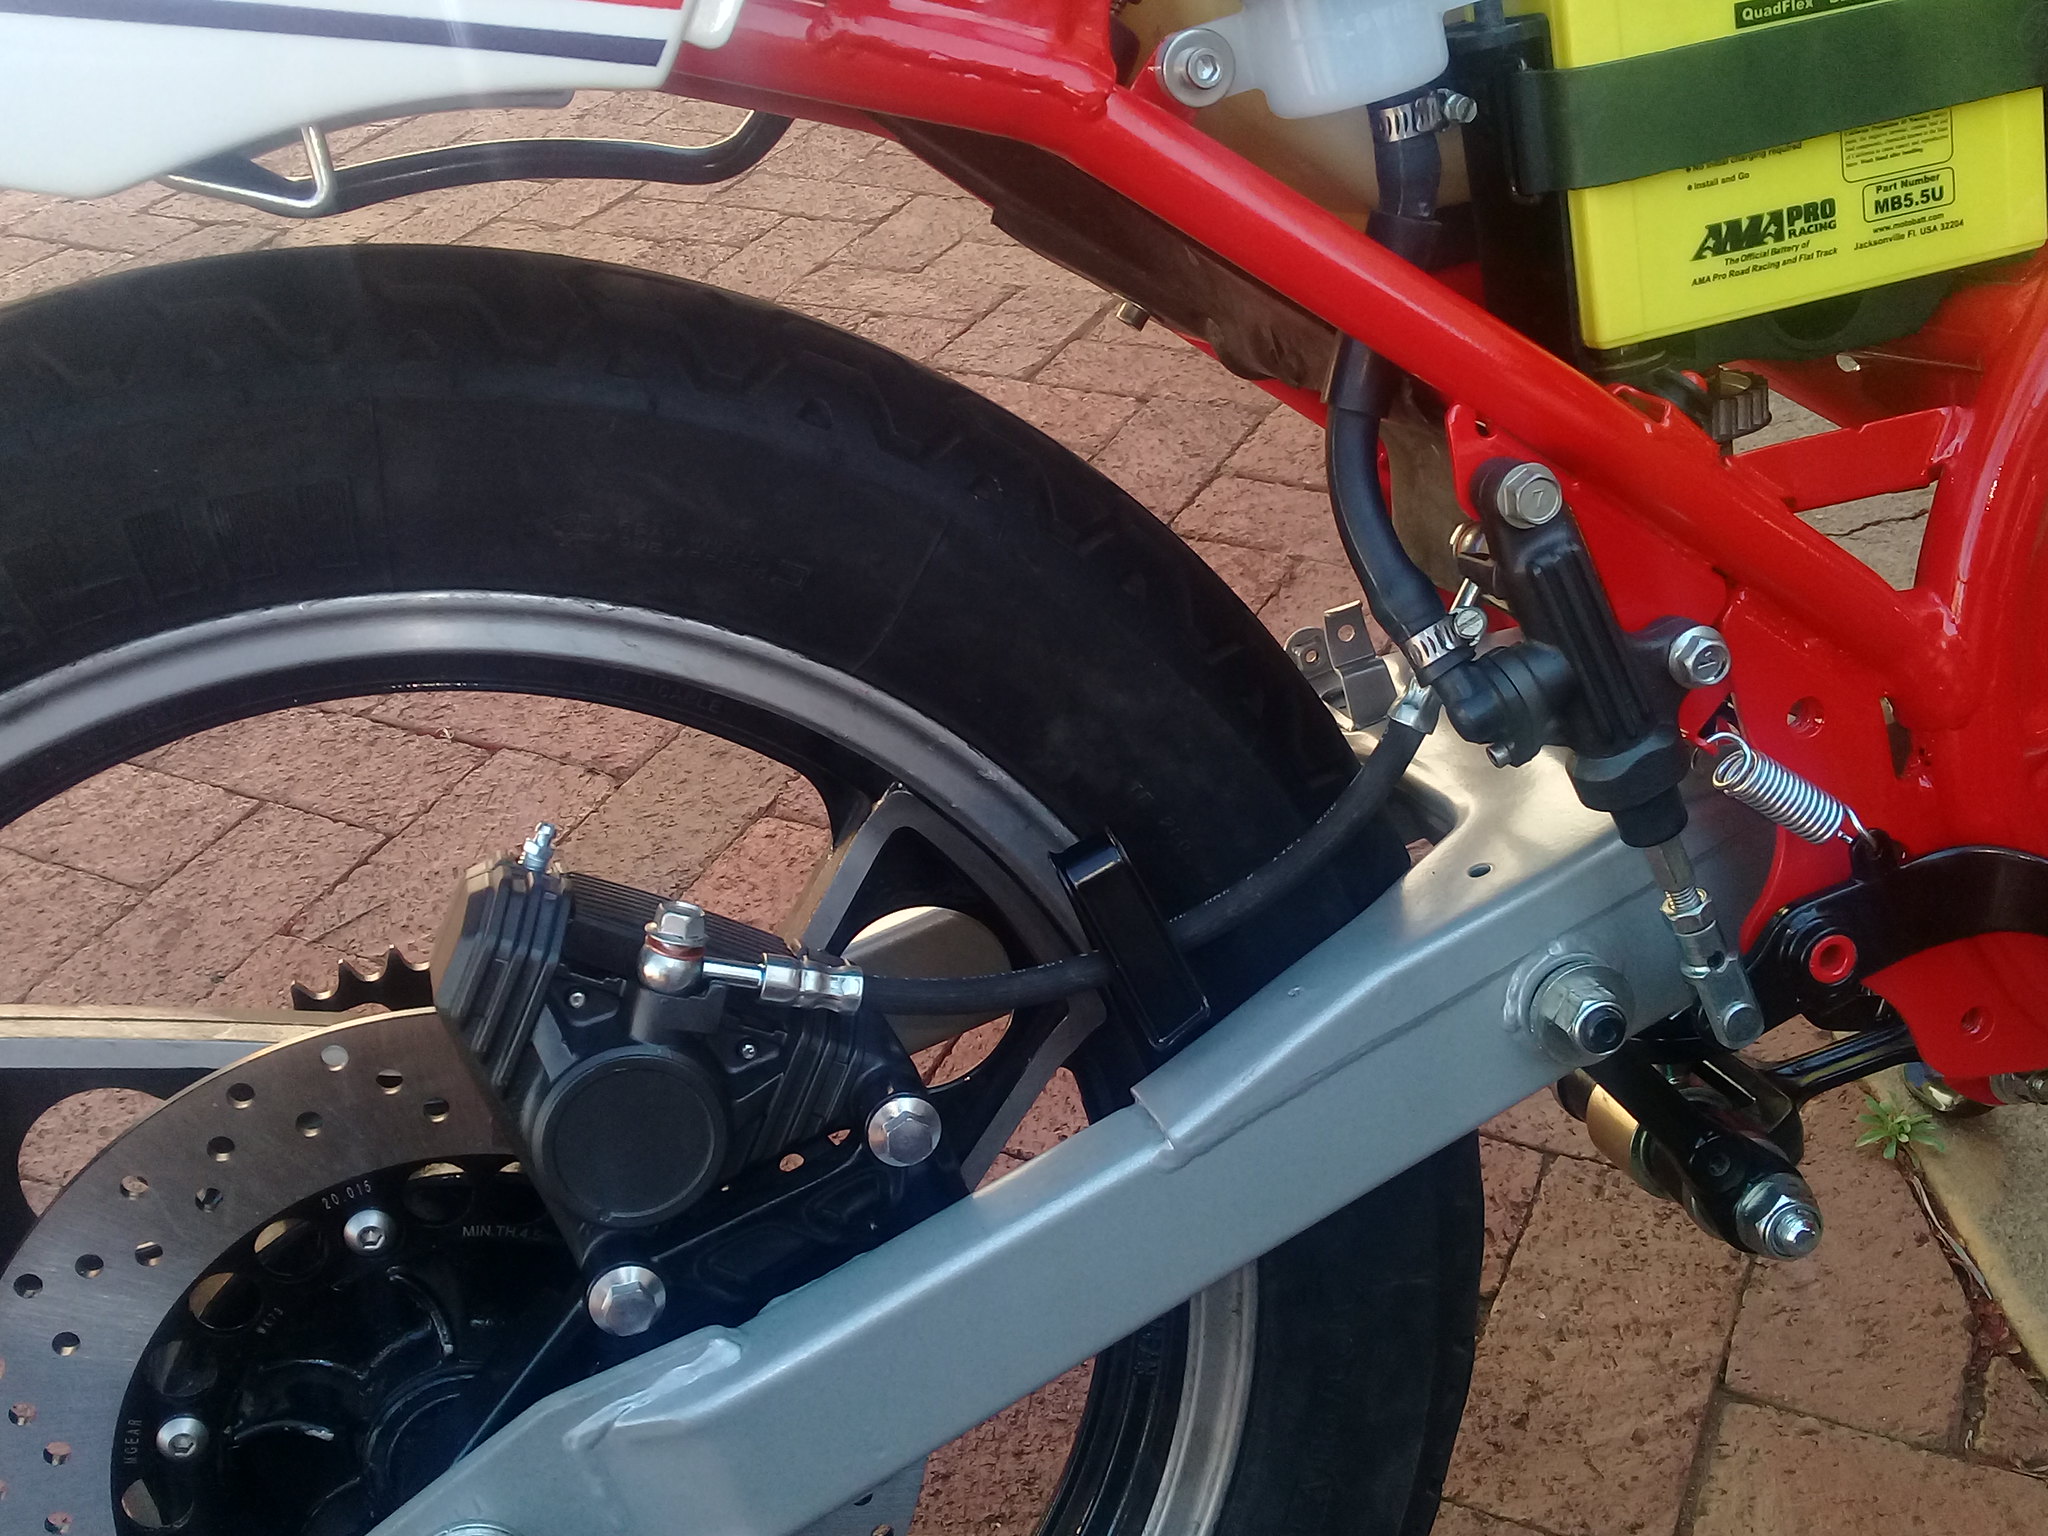 As soon as I get some more copper washers for the banjo bolts I will torque everything down and begin the long process of bleeding the brakes. Fitted and removed the front master cyclinder kit a few times and it doesnt quite feel right. Maybe when the reservoir is filled it will improve - will have to wait and see. Will source a few electrical bits and bobs during the week and then next weekend, if all goes according to plan, I want to repair and re-fit the wiring loom. That should be interesting as it has been quite butchered. Sure that I will be asking for some pointers along the way. |
|
|
|
Post by panzermatt on Oct 22, 2018 17:53:30 GMT 1
that is looking very very nice indeed. super job.
|
|
|
|
Post by andrel on Nov 4, 2018 17:33:47 GMT 1
So a nice productive weekend was had. After an initial hiccup with the front master cylinder I managed to finish and bleed the brakes. Very happy about that. Next was the wiring and this was a real mess - no nice original loom here. It has been worked a number of times. Previous owner had a RZ250 CDI fitted which I had to remove. Fitted a 2nd hand original one, but reading how much problems they give it will probably be poked when I try and start the bike - will wait and see. With the help of the manual's wiring diagram I set about idetifying what goes where.  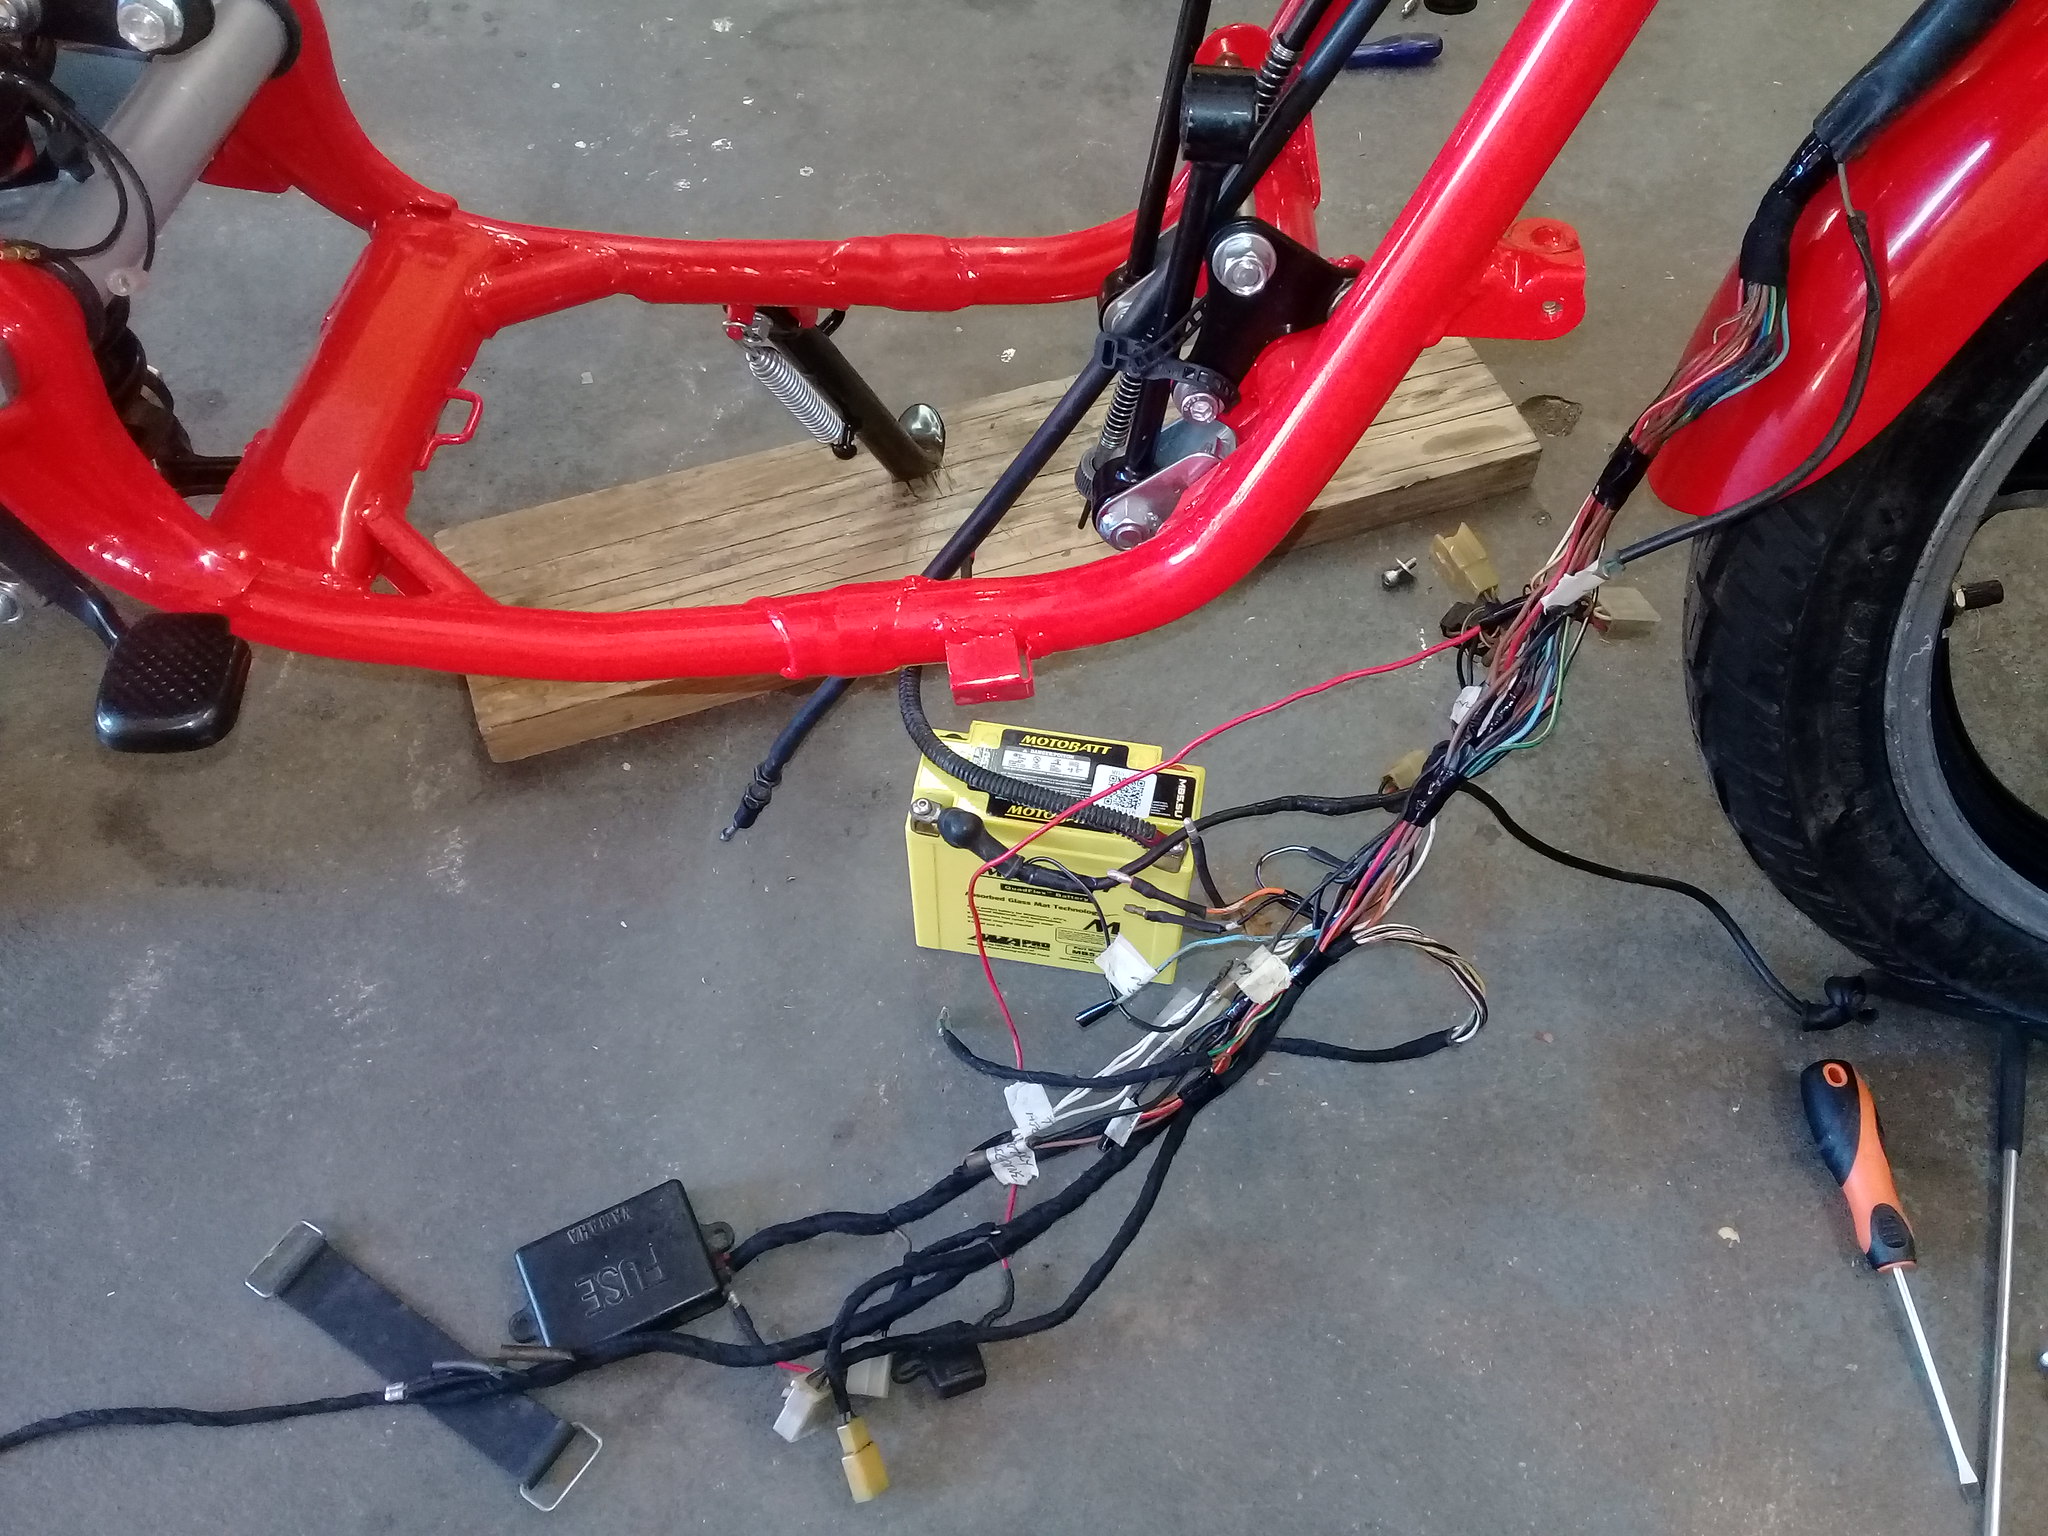 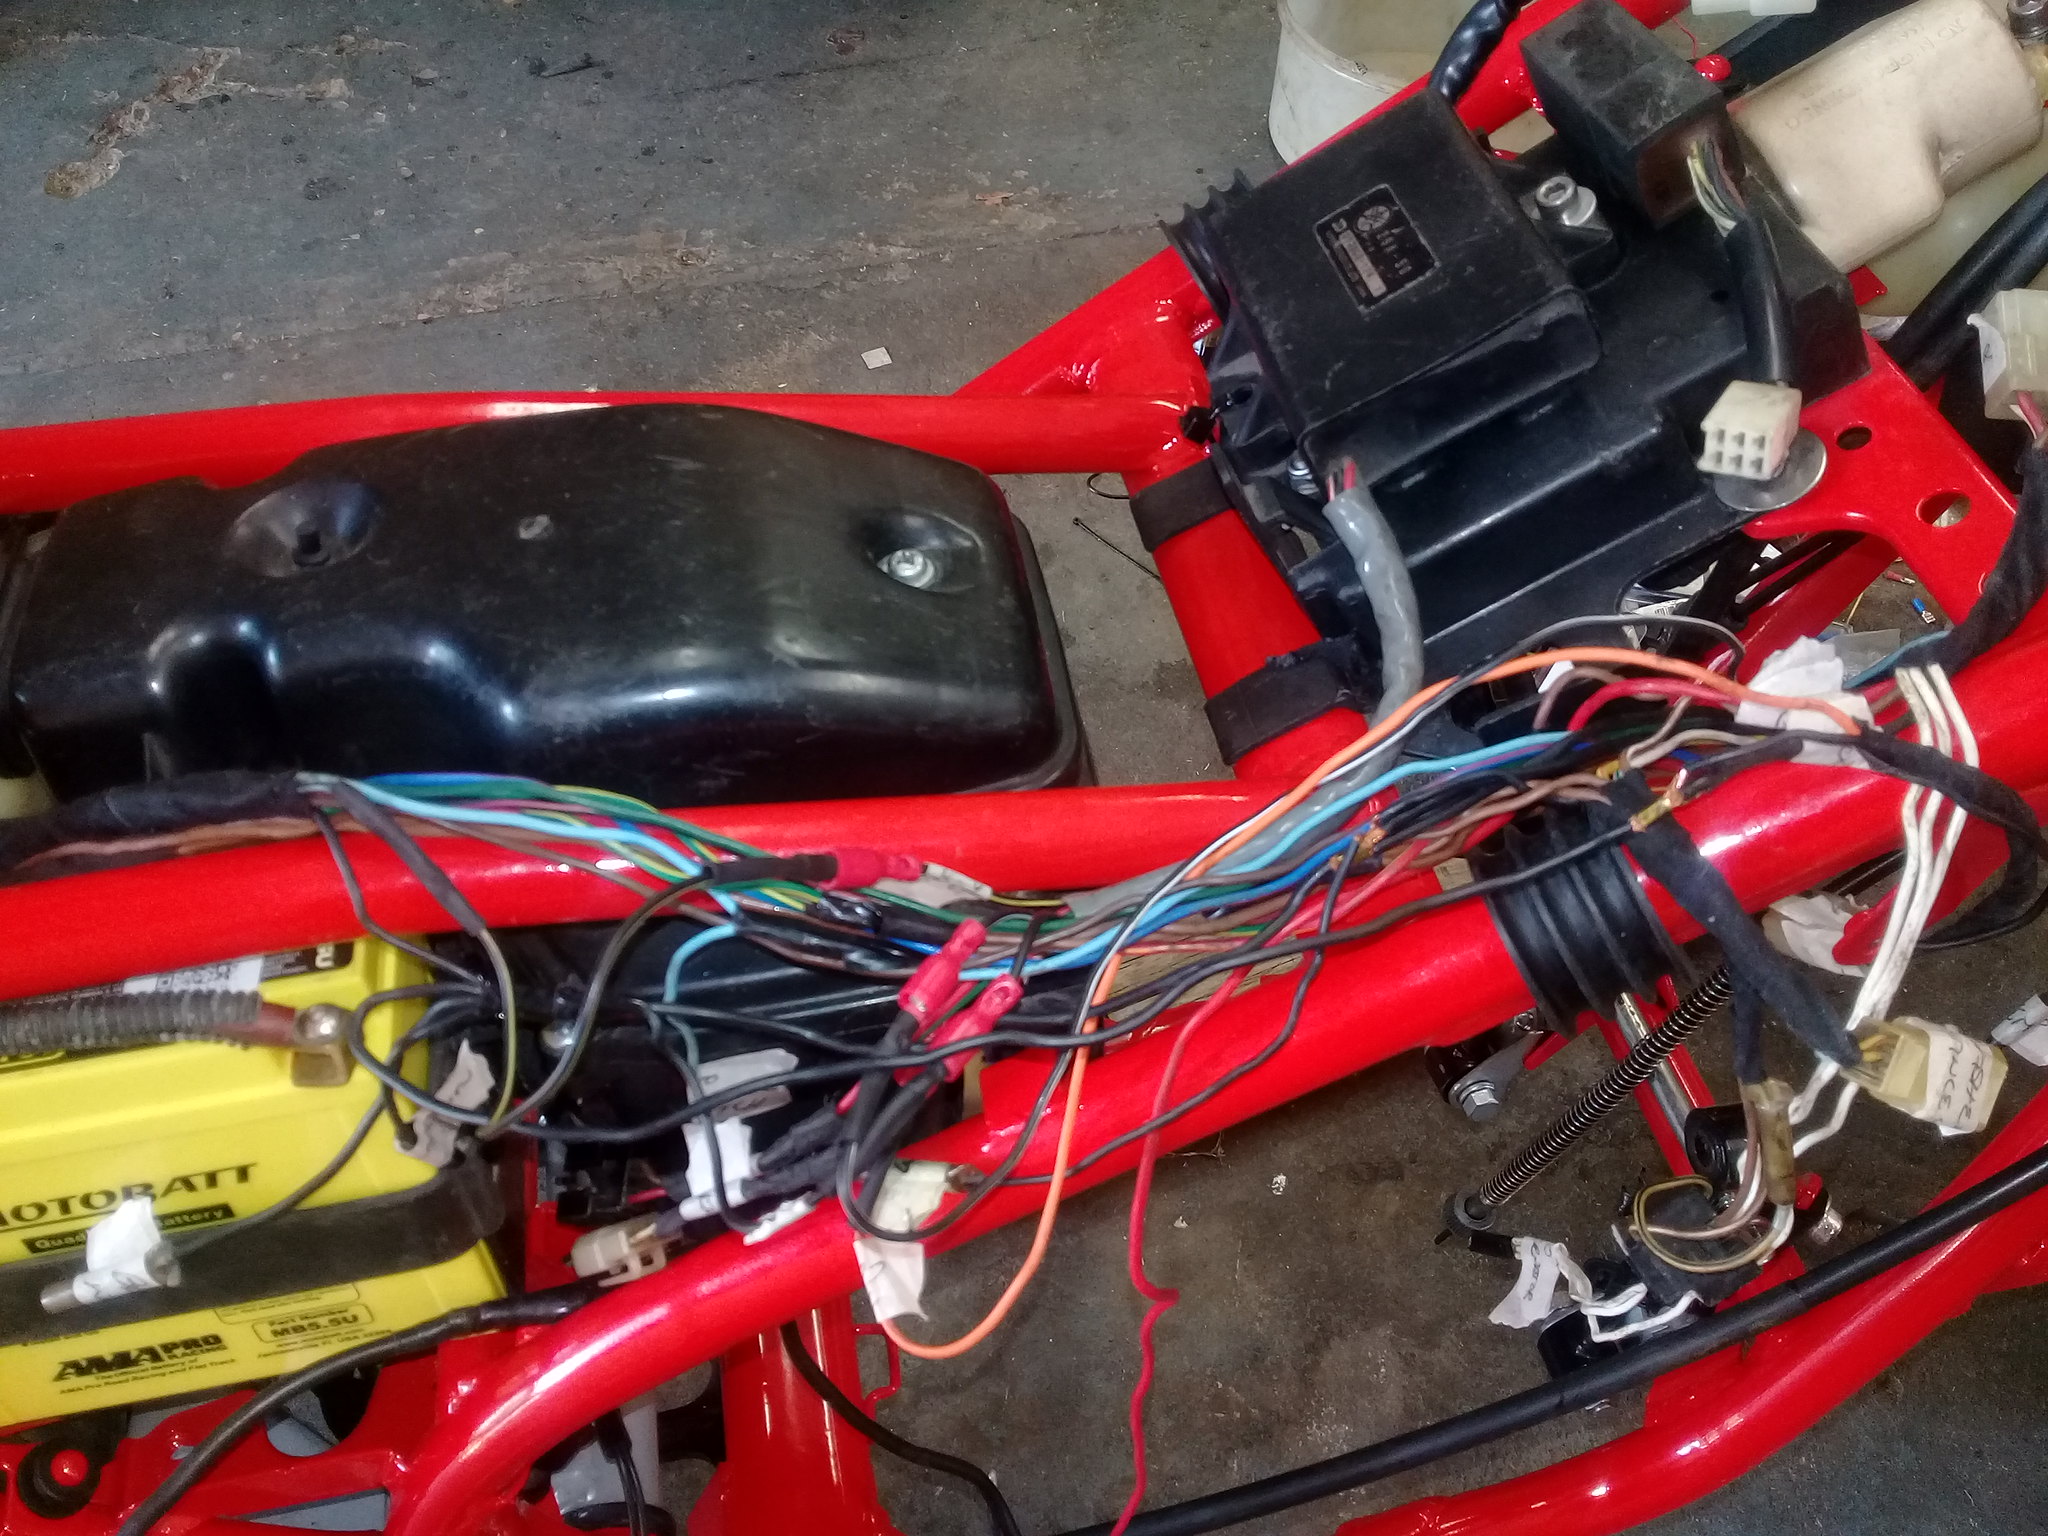 Managed to sort the majority out, but have to still make new connections to the alternator/stator once fitted. Turned the ignition on and the YPVS cycled - music to my ears. More good news was that all the electics work - lights, indicators, brake lights, passing light, hooters. Not too bad for my limited auto electrical skills. Wrapped everything with fabric tape and routed things neatly 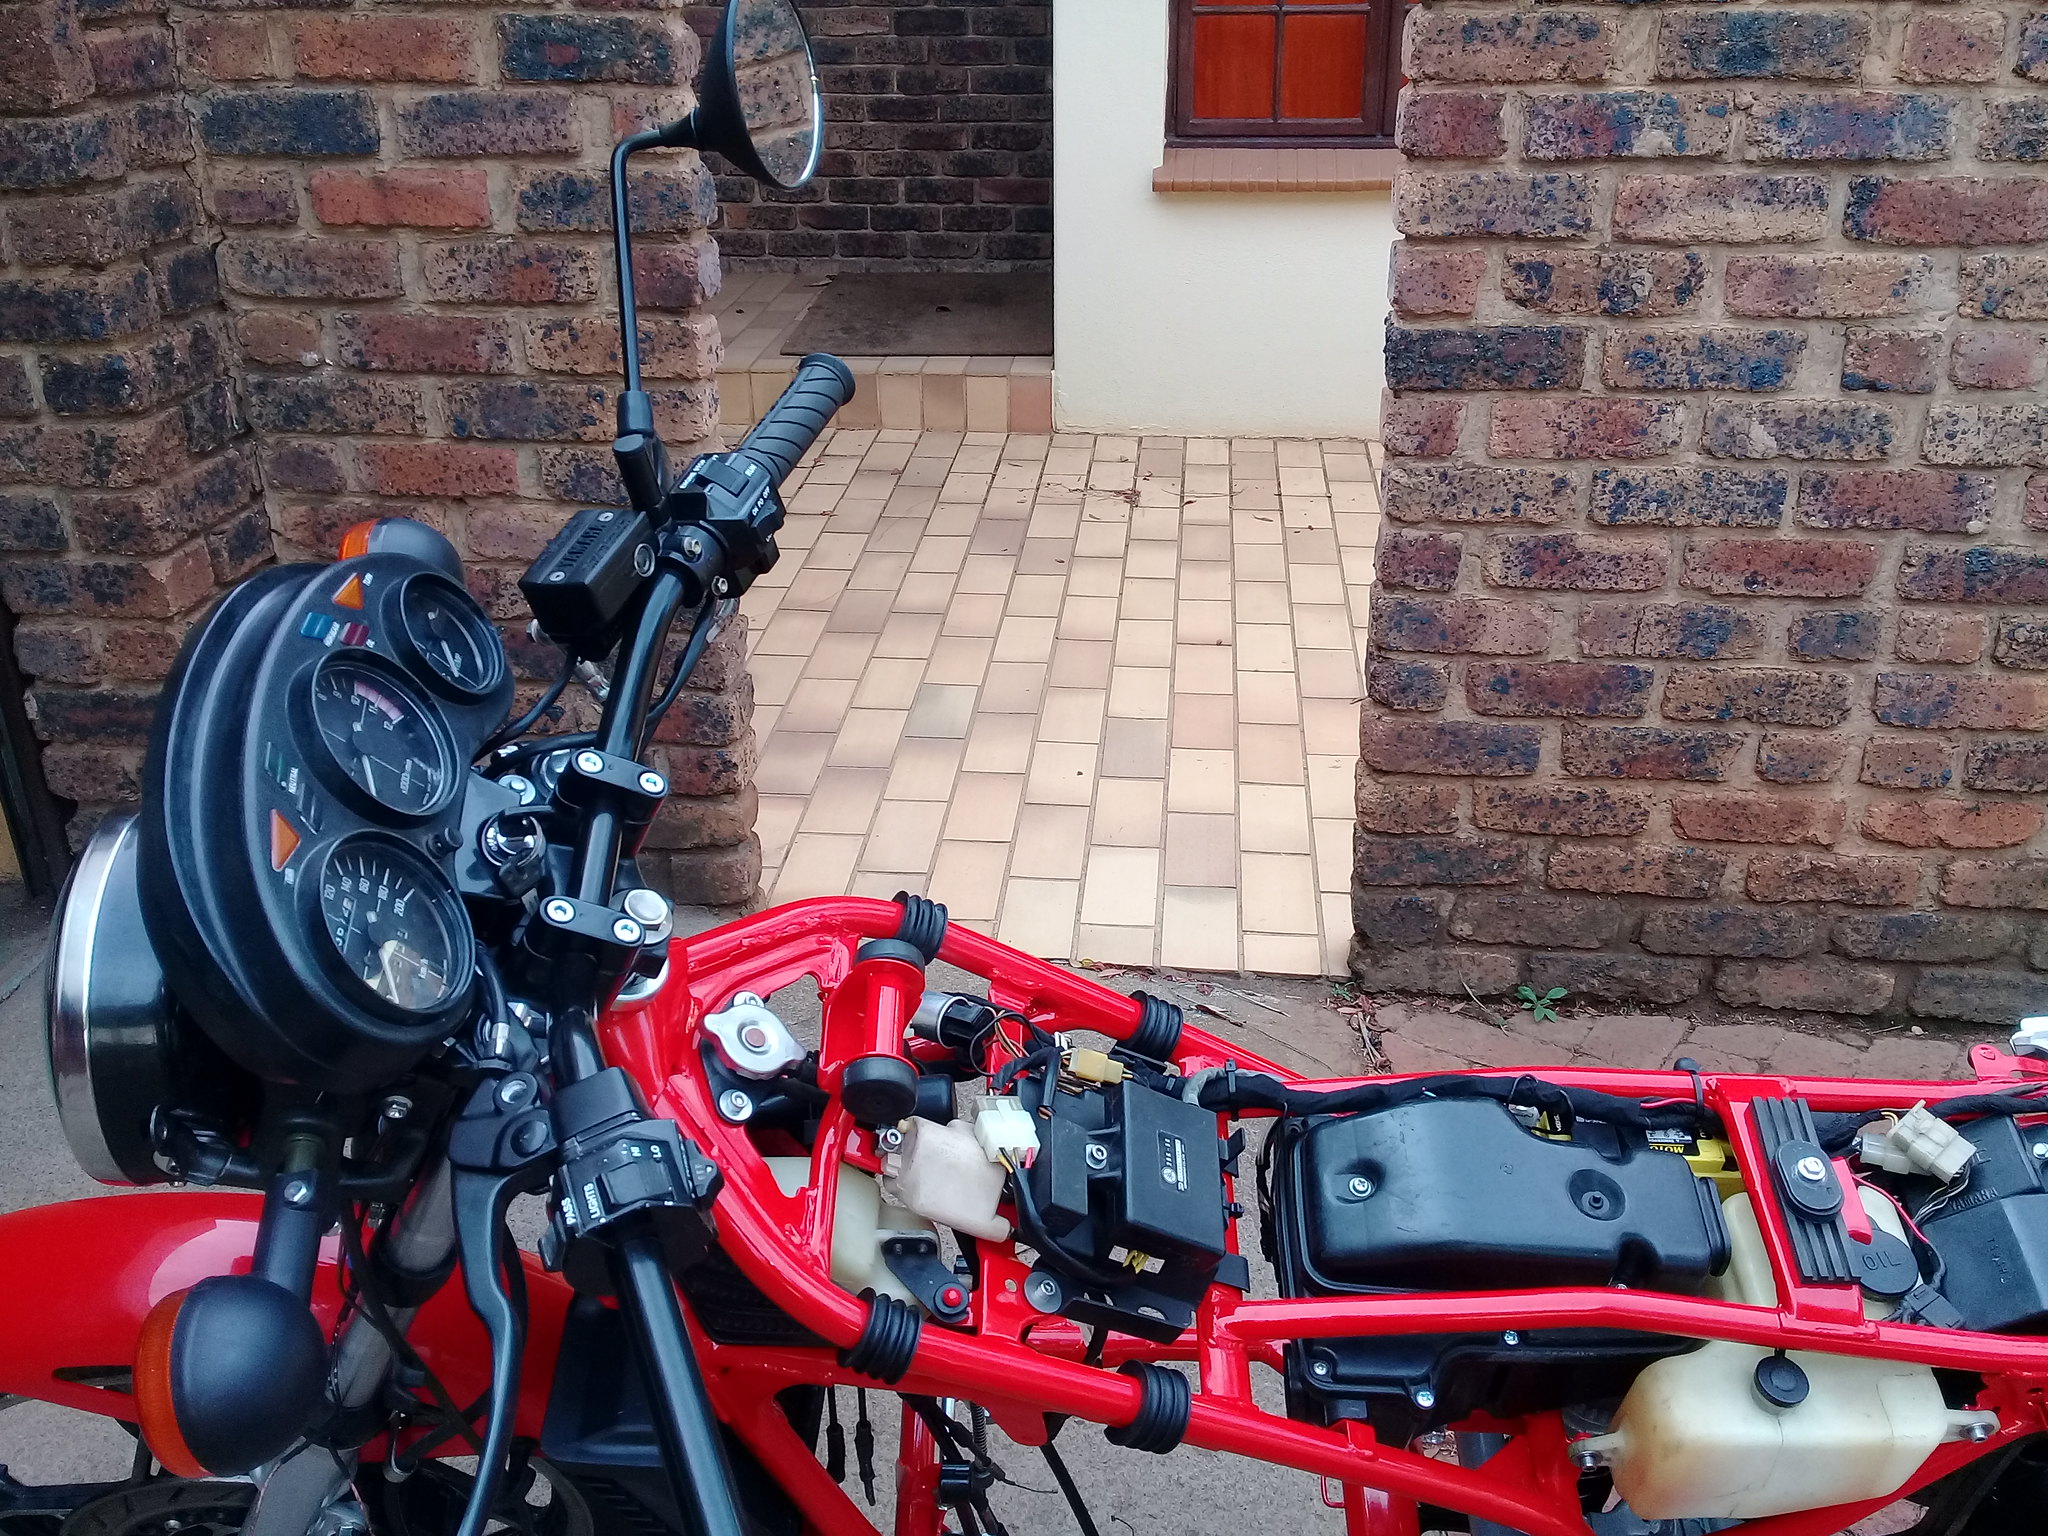 Fitted radiator, cover, throttle cable, mirrors (Yambits supplied two left hand thread) and a few other bits 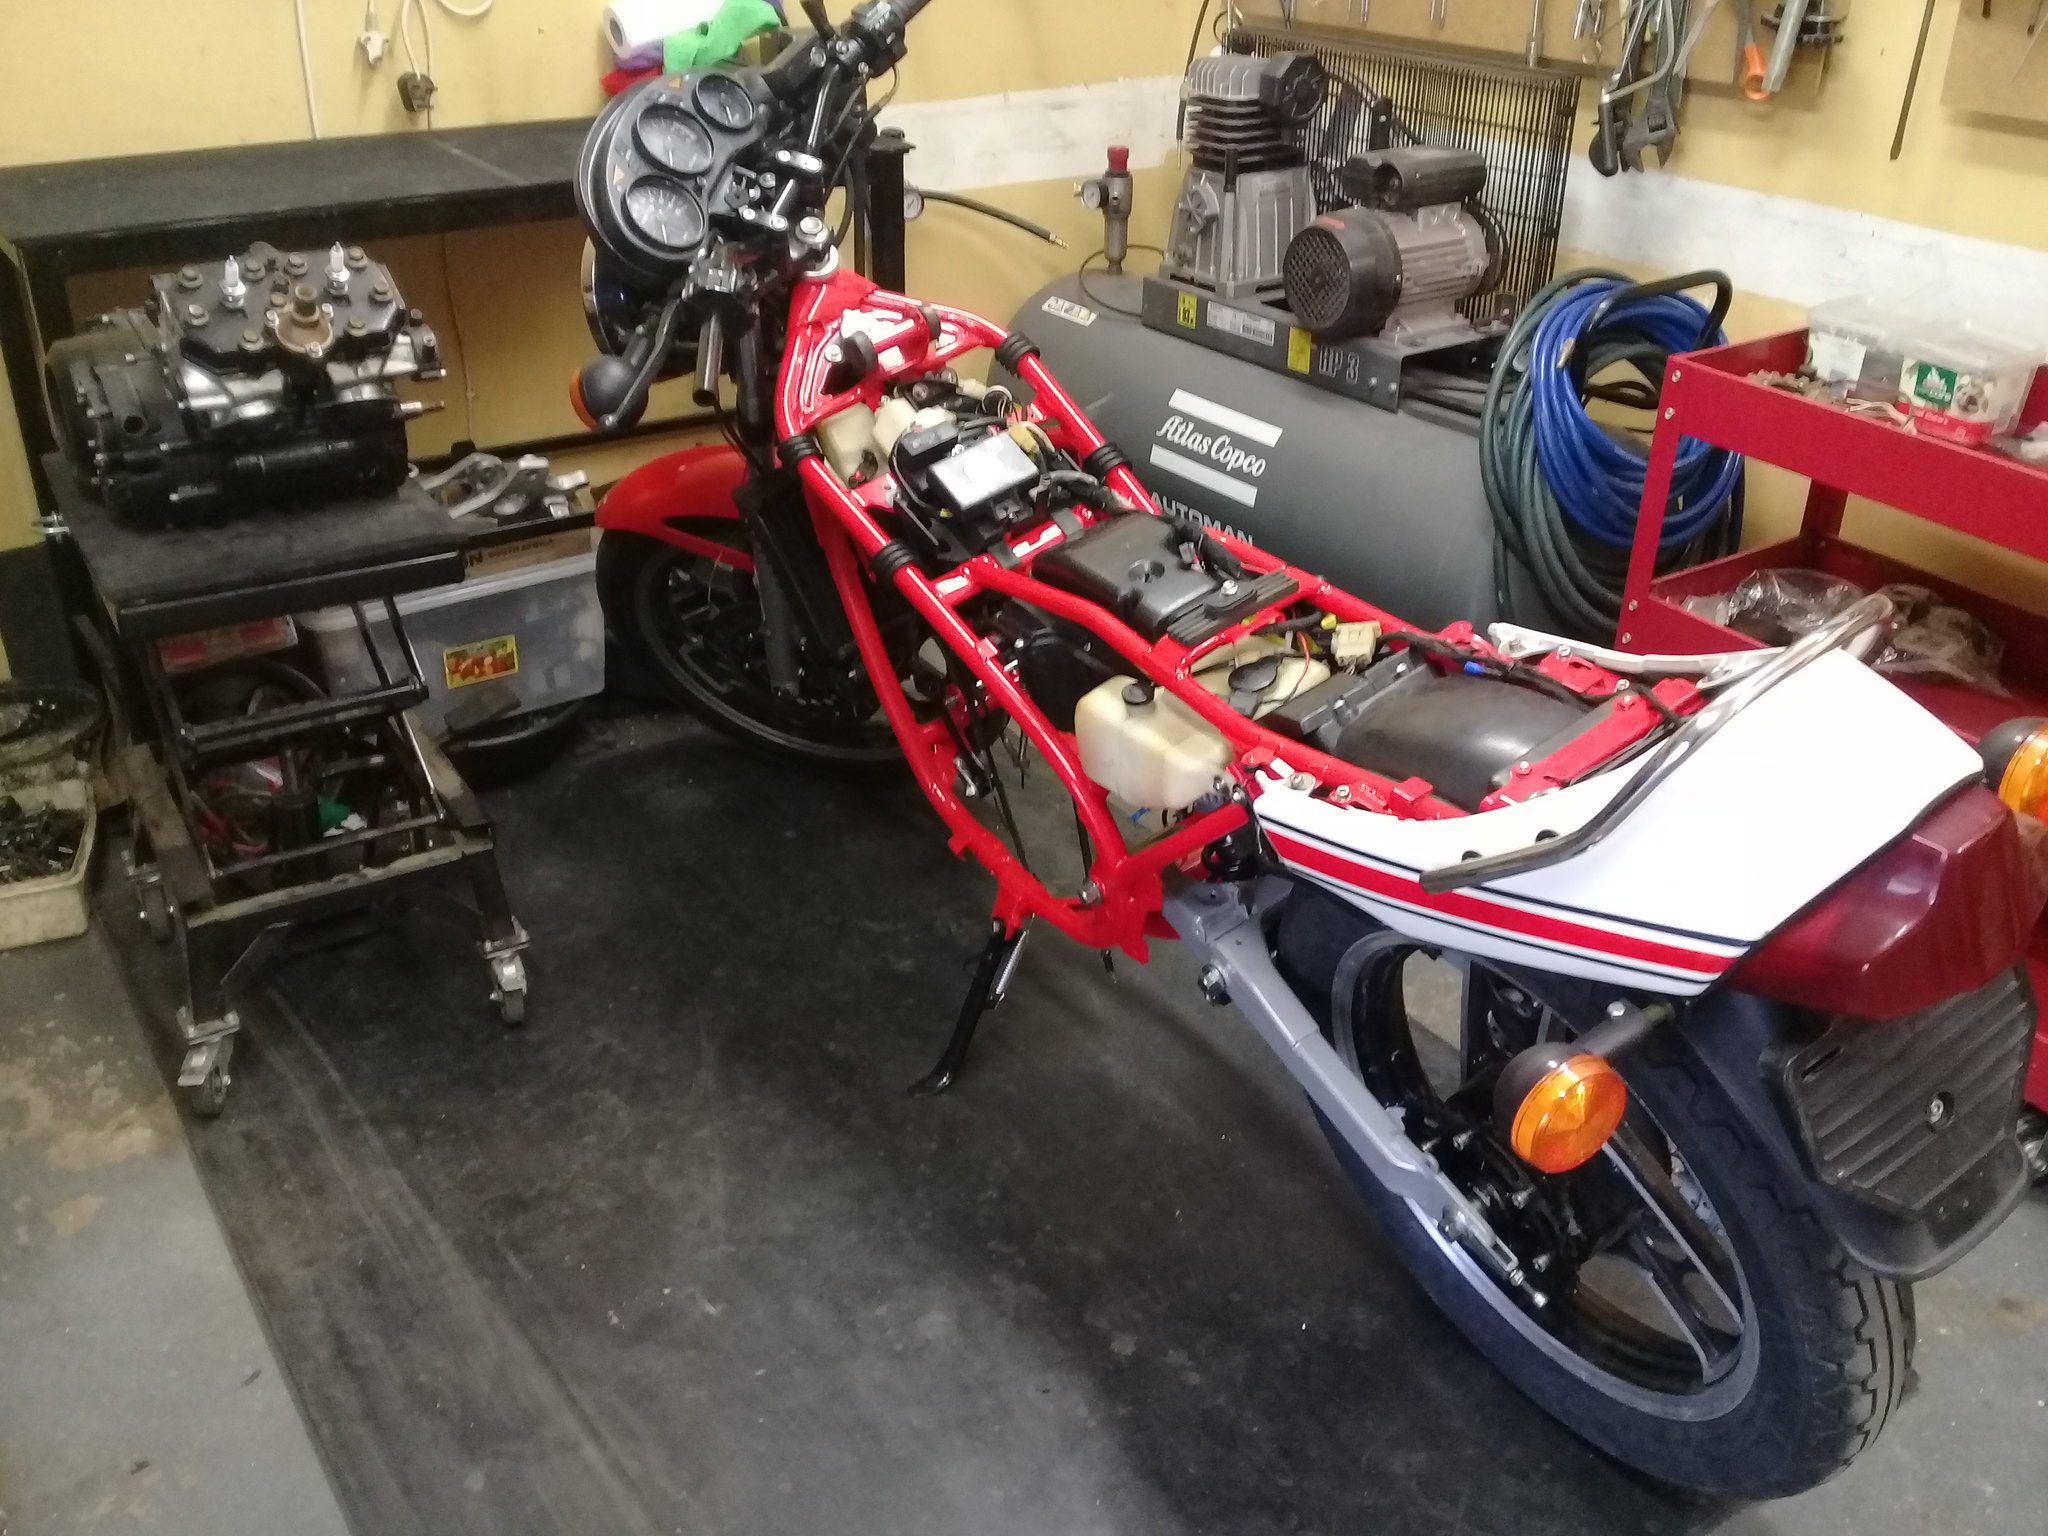 The stuff on the trolley is nearly all gone - As the motor was running recently and had a re-bore and new pistons rings fitted I am going to clean the exterior of the engine up and re-fit. Need to ride this bike a bit. Had a look at the pistons through the exhaust ports and at the condition oif the sparkplugs - all seem good. 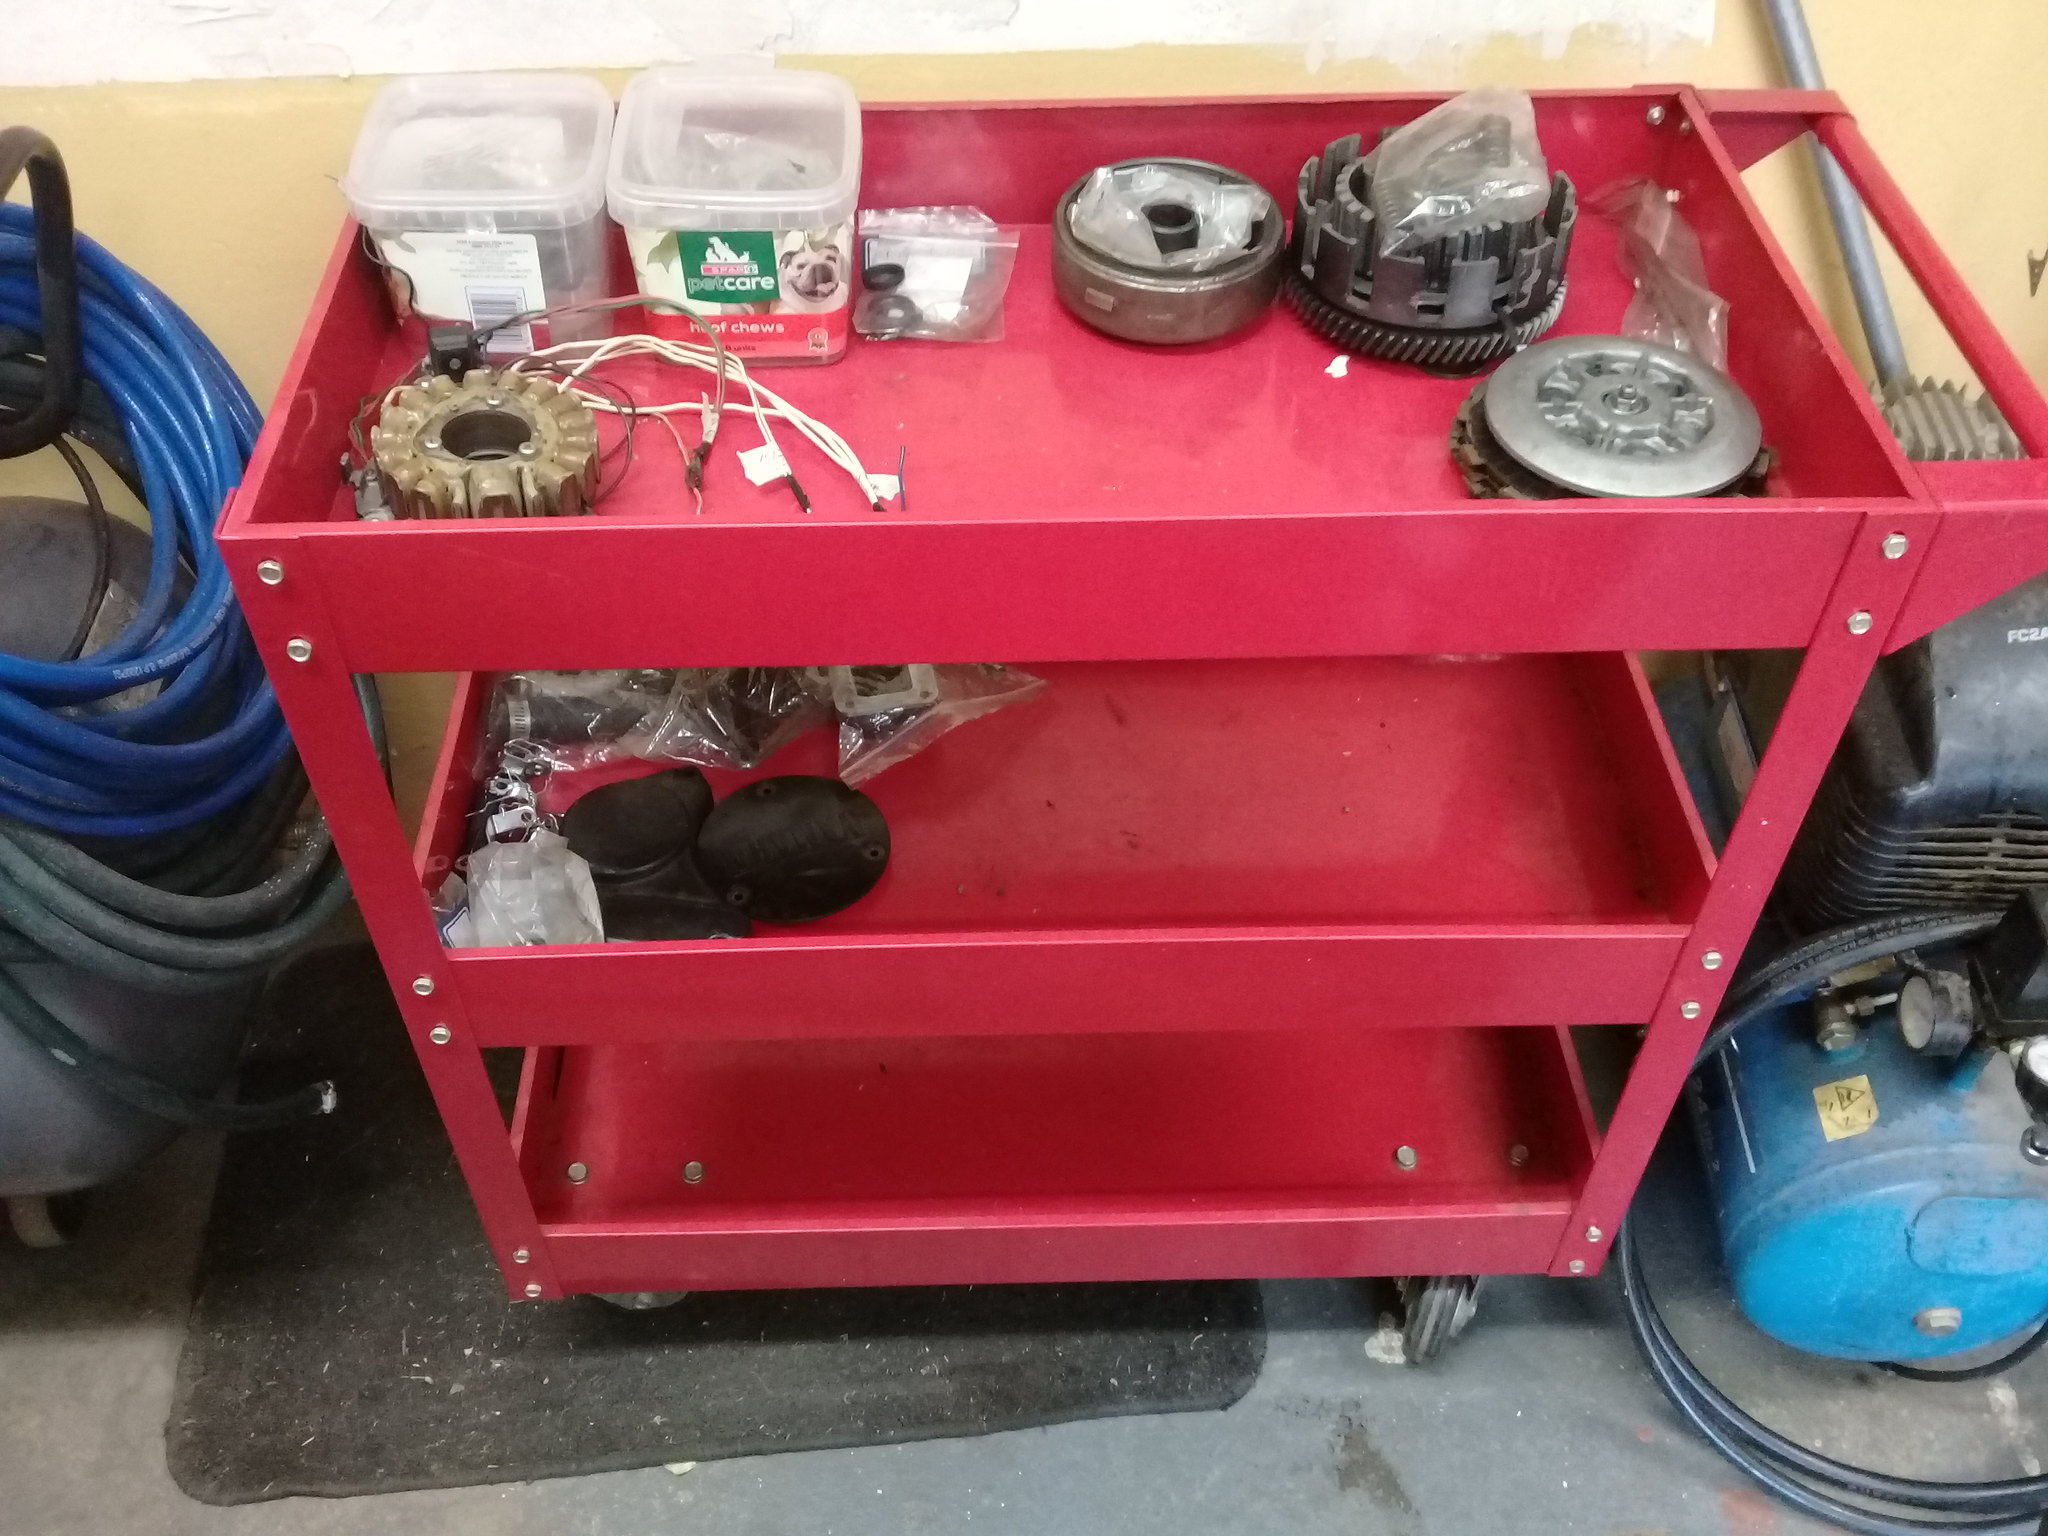 Some - limited for now - engine work next |
|
|
|
Post by darboots on Nov 7, 2018 11:26:12 GMT 1
Some good progress there... Making me want to get on with mine now...
|
|
|
|
Post by ian350n on Nov 10, 2018 10:08:17 GMT 1
Wow the bikes looking great.
|
|
|
|
Post by andrel on Nov 25, 2018 18:13:38 GMT 1
|
|
|
|
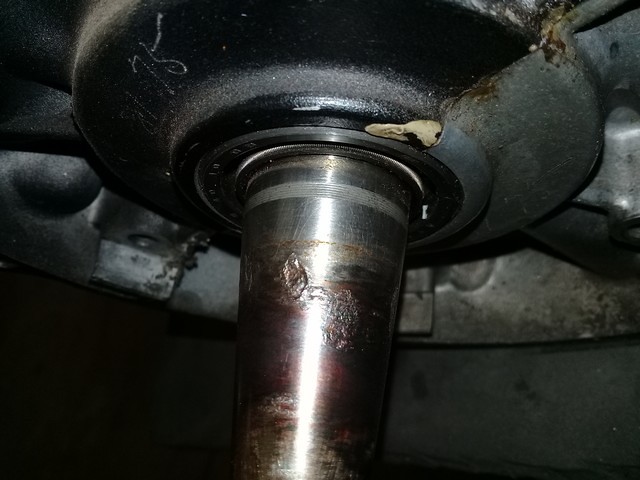
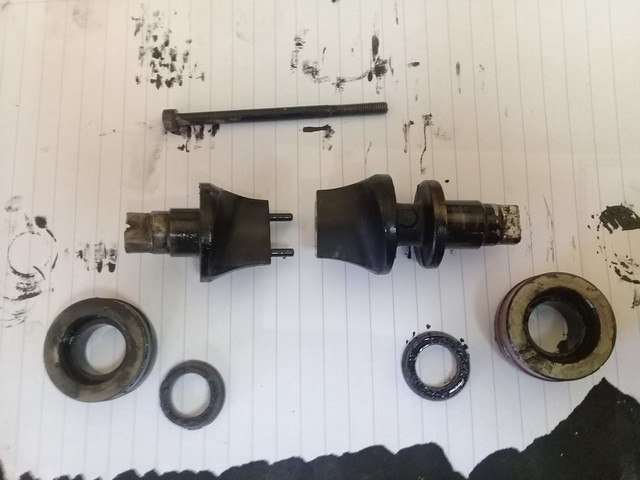
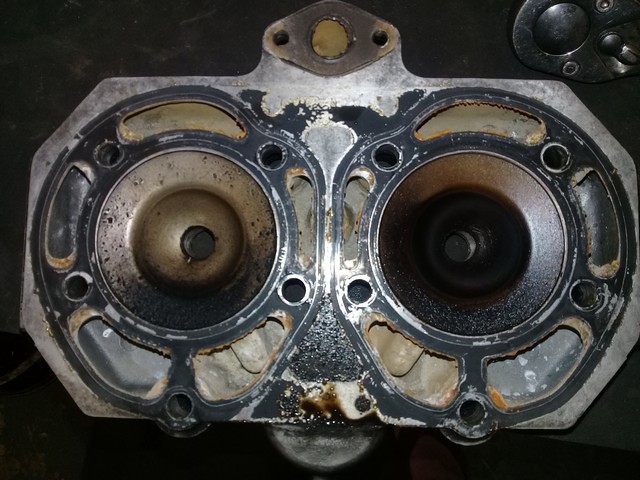
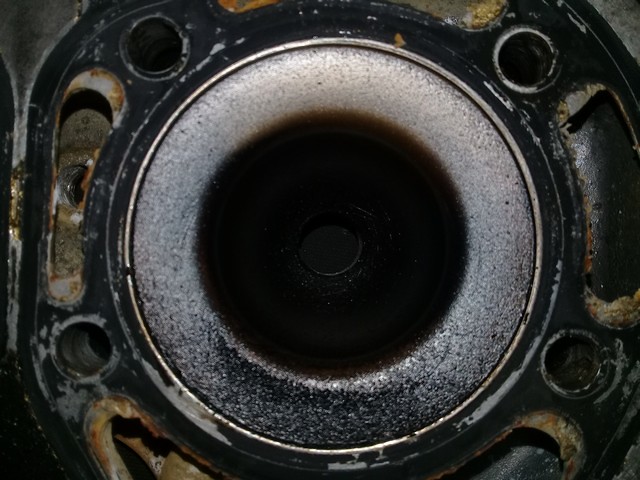
Post by andrel on Nov 25, 2018 18:26:58 GMT 1
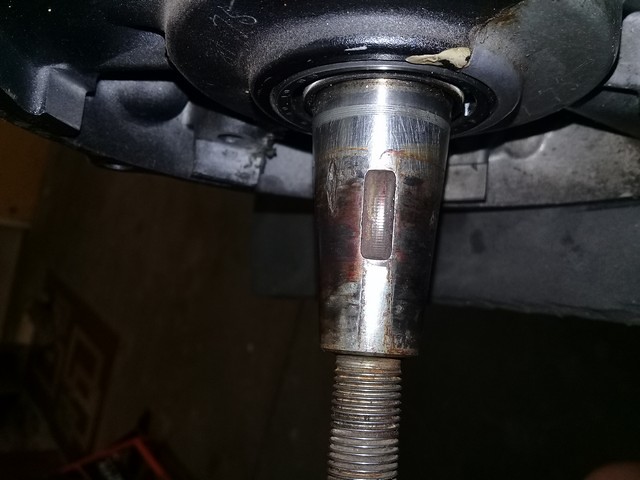
Thrust side of left hand piston and barrel shows some obvious scratches - seems I am in for a re-bore. Measured 64.80 piston diameter on caliphers so not sure if re-bore is still possible (.25 and .50 is what is referred to in the manual) 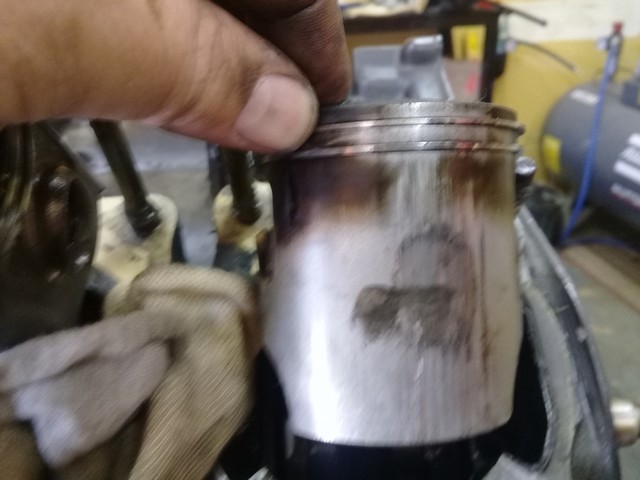 Found this pin stuck and dont want to force it - yet 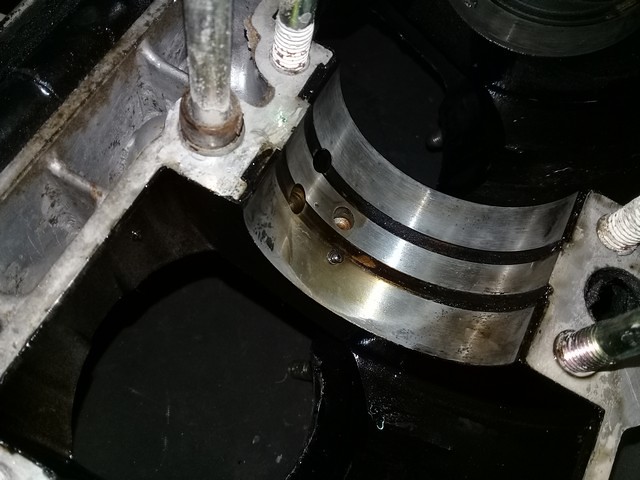 Just the tacho drive to go and a little while later I was done 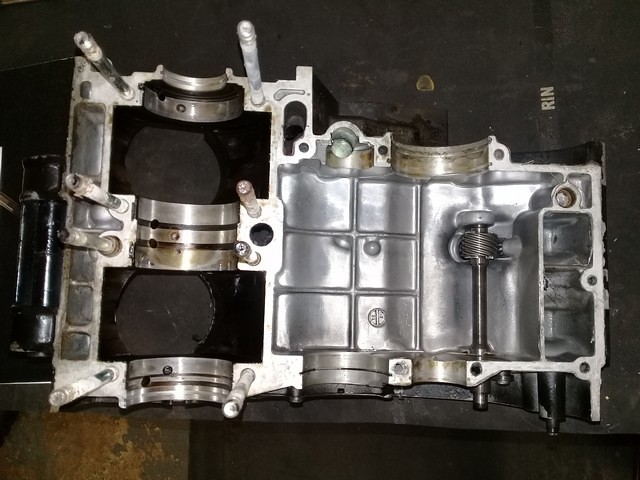 Now to assess the damage and the re-build costs. |
|
|
|
Post by panzermatt on Nov 25, 2018 18:57:30 GMT 1
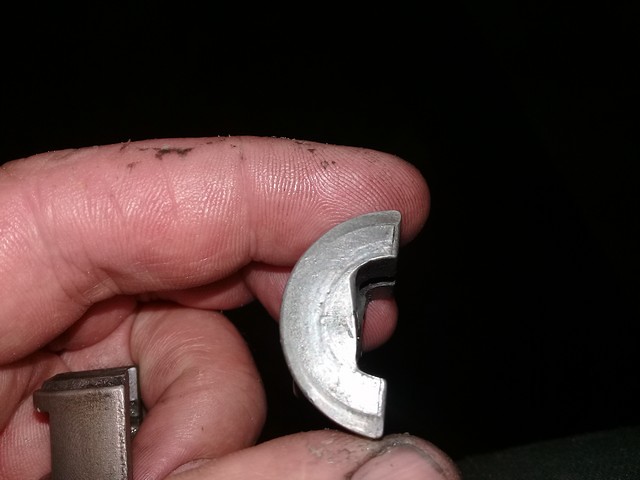
love this thread, it would seem you have a fair amount of damage there, why is the pin there??? is that not supposed to be hold a bearing in place?
|
|
|
|
Post by guiri on Nov 25, 2018 19:13:23 GMT 1
well done for all the effort. clearly someone with no idea has been at it before you..
|
|
|
|
Post by andrel on Nov 25, 2018 19:17:44 GMT 1
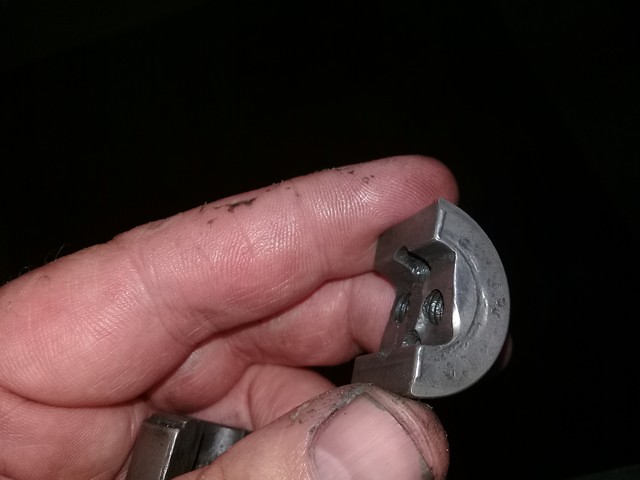
Correct, the way I understand things the pins engage to the front of the casing in order to prevent the bearings rotating and there should be a pin for each bearing.
Seems, however, that in this case a hole was made for the pin of one of the centre bearing lower down - have no idea why?
Also, the bearing on the primary drive side has no locating pin which also seems contrary to the manual.
|
|
|
|
Post by andrel on Nov 25, 2018 19:19:11 GMT 1
well done for all the effort. clearly someone with no idea has been at it before you.. Yes, now I know why someone came up with the term DPO (Dipshit Previous Owner) |
|
|
|
Post by dusty350 on Nov 25, 2018 20:44:29 GMT 1
Yamaha produced .25 and .50 oversize pistons. After that it was down to aftermarket firms to go larger. You will be pleased to know Mitaka, plus others, supply pistons and rings up to 2.25 I believe, so you've life in those barrels yet All 4 crank bearings have a locating pin; 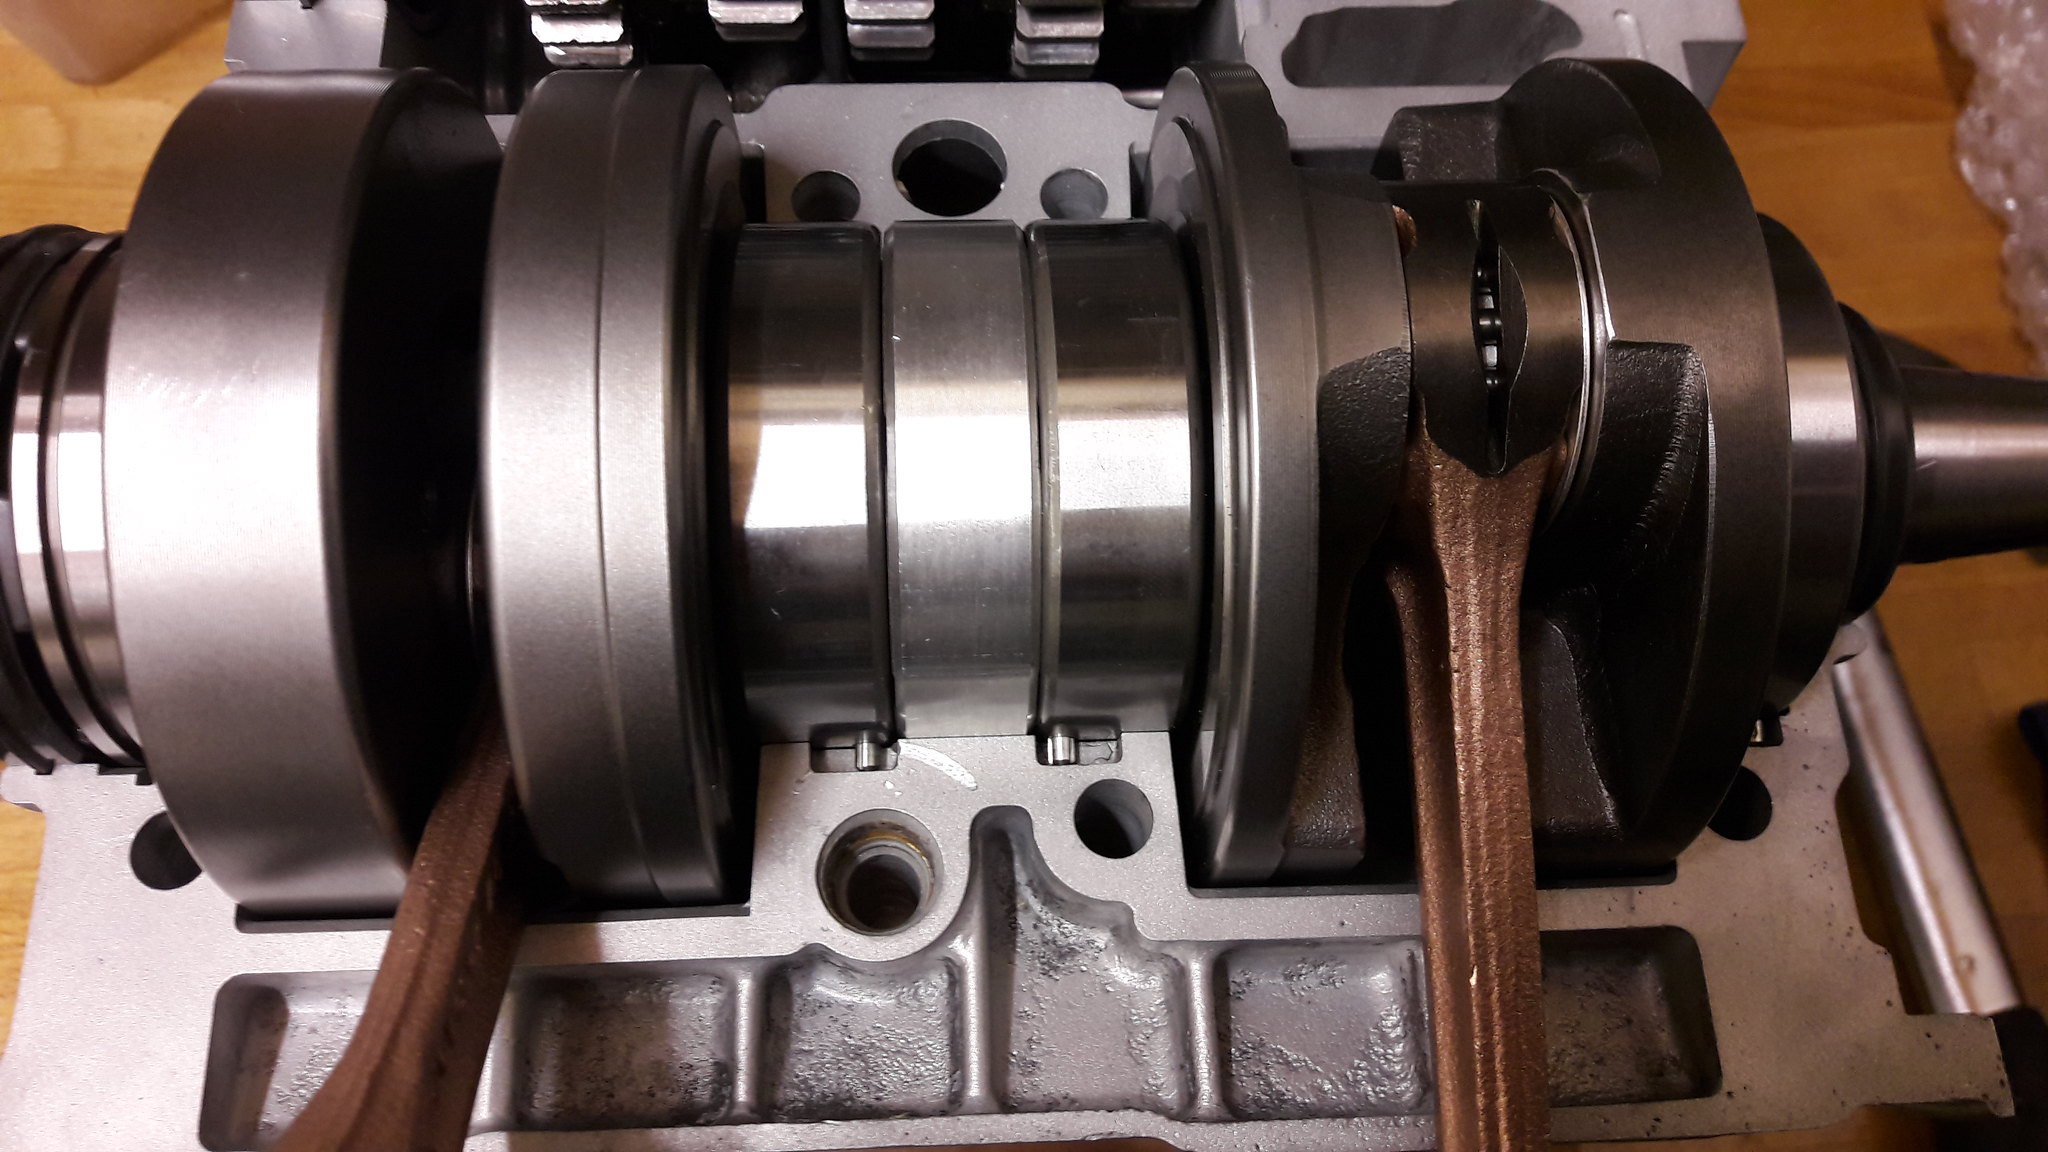 20181117_124844 20181117_124844 by David Miller, on Flickr I'm purely guessing here, but wonder if the case halves have been put together without the pin on the bearing located where it should be, trapping it where it is now ? You certainly wouldn't choose to put it there on purpose !! I', doing an Lc build thread at the mo in the resto section. A lot of the Yam parts prices are listed, so you can get a bit of an idea. Dusty |
|